Stop Killing Your Lavender! A No-Nonsense Guide to Getting It Right
I’ve spent a lot of time helping people with their gardens, and if there’s one plant that brings both joy and total frustration, it’s lavender. Everyone wants that gorgeous look and incredible smell, but so many people tell me they can’t keep it alive past the first season. And honestly, the number one mistake I see is kindness. People absolutely smother their lavender with rich soil and too much water, thinking they’re being helpful.
In this article
- First, Pick the Right Plant for the Job
- Soil Prep: Get This Right and You’re 90% There
- Planting for a Strong Start
- Ongoing Care: The Art of Doing Less
- Pruning: The Most Important Chore You’ll Do
- What About Growing Lavender Indoors?
- Harvesting and Making Your Own Infused Oil
- Quick Troubleshooting Guide
- Inspirational Gallery
But here’s the secret: lavender is tough. It comes from a tough place, and it doesn’t want to be pampered. To get those beautiful, fragrant results, you just need to mimic its native home—think hot, sunny hills with rocky, gritty soil. If you can get that part right, you’re pretty much guaranteed to succeed.
This guide is built on everything I’ve learned, including some of my own early failures. Let’s get into the practical stuff so you can enjoy this amazing plant for years.
First, Pick the Right Plant for the Job
Before you even think about buying a plant, you need to know that not all lavender is created equal. The type you choose affects its size, how well it survives the winter, and what it’s best used for. Picking the right one for your climate is step one. To be frank, a lot of disappointment comes from planting a heat-loving variety in a cold-winter state.
So, how do you choose? Here’s a quick rundown of the main groups you’ll find at the garden center.
For Cold Climates & Cooking: English Types
This is your classic, go-to lavender. It’s prized for that sweet, floral fragrance, and it’s the only one I’d ever recommend using in the kitchen for teas or baking. Its scent is way less medicinal than other types. A huge plus is its cold hardiness; it can generally handle winters down to USDA Zone 5 if the drainage is perfect. If you have chilly winters, this is your best bet. Look for compact varieties with deep purple flowers or classic ones that are known to be reliable and bloom a bit earlier.
For Hot, Dry Climates: Spanish Types
You can spot this one from a mile away thanks to the little bracts on top of the flowers that look like bunny ears. Spanish lavender absolutely loves the heat and thrives in places like California or Arizona (Zones 8-11). It is NOT cold-hardy at all, so don’t even try it in the north. The fragrance is stronger and leans more toward pine or eucalyptus. It’s a fantastic ornamental plant, but definitely not my first choice for sachets or cooking.
For Big, Fragrant Hedges: The Hybrids (Lavandins)
These are the workhorses of the lavender world. They’re vigorous hybrid plants that grow large and produce an incredible amount of fragrant oil—this is the type often grown in huge commercial fields. They tend to bloom a bit later in the summer and have a powerful, camphor-like scent. They’re pretty hardy, usually down to Zone 6. If you want to make big, fragrant bundles or have a lot of space to fill, these are a great choice. Some are famous for their high oil yield, while others are known for being large, beautiful plants perfect for crafting.
Soil Prep: Get This Right and You’re 90% There
If you only listen to one piece of advice, make it this one. Nearly every single lavender problem I’m asked to fix comes down to soil and water. The roots need oxygen to live, and they can’t get it in dense, mucky soil. They literally drown and then rot, and once that starts, there’s no going back.
So what does “well-drained soil” actually mean? It’s all about creating air pockets. Heavy clay soil is made of tiny particles that pack together, holding water and leaving no room for air. Lavender hates this.
The Super-Simple Drainage Test
Before you plant, do this quick test. It takes a little time but can save you a ton of headache and money.
1. Dig a hole about a foot deep and a foot wide.
2. Fill it with water and let it all drain out.
3. Fill it up a second time and start a timer.
If the water is gone in a few hours, you’re in good shape! If there’s still water standing in the hole after 8-10 hours, your soil is too heavy, and you’ll need to make some changes.
Creating the Perfect Lavender Home
If your soil failed the test, don’t worry! You have a couple of great options. The first is to amend the soil you have. The second, and often easier, option is to use a raised bed or a pot.
For planting in the ground: You need to add grit. My go-to recipe is to dig a hole twice as wide as the plant’s pot and mix the soil I removed with about 50% inorganic material. This isn’t the time for compost; you want things like coarse builder’s sand (never fine play sand!), pea gravel, or a landscaping product called squeegee. Mix it all up and use that to backfill the hole. This creates a permanent drainage system for the roots.
Let’s talk budget for a second. A lavender plant itself will probably cost you between $8 and $20 at a local nursery. A bag of pea gravel and a bag of coarse sand might run you another $5 each from a place like Home Depot or Lowe’s. So, for one plant, you can get the perfect setup for well under $40.

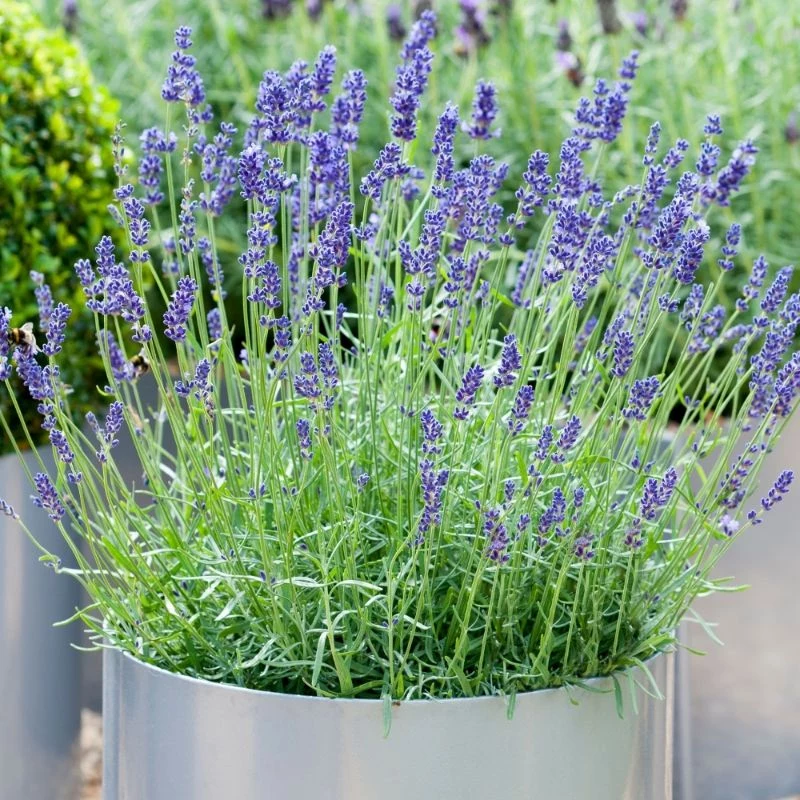
For pots and containers: This is a fantastic way to have total control. Start with a pot that’s at least 12 inches in diameter to give the roots room to grow for a couple of seasons. Terracotta is an awesome choice because it’s porous and helps the soil dry out faster. Use a standard potting mix but improve it heavily—I like to mix about 50% potting soil with 25% perlite and 25% coarse sand. This combo makes it almost impossible for the roots to get waterlogged.
A quick note on pH: Lavender likes its soil neutral to slightly alkaline. Most garden soils are fine, but if you live in an area with very acidic soil (lots of pine trees are a clue), you might want to add a small handful of garden lime.
Planting for a Strong Start
How you pop the plant in the ground actually matters a lot. Pay attention to a few small details now for a healthy plant later.
Plant Spacing for Airflow
Lavender needs good air circulation to stay healthy, especially in humid areas. Don’t crowd your plants! For smaller English types, I space them at least 18-24 inches apart. For the big hybrids, give them a full 3 feet of room to grow. It might look a little sparse at first, but trust me, they will fill in.
Pro Tip: Plant It High
This is a critical step. Never plant lavender too deep. The spot where the stems meet the roots is called the crown, and if you bury it with soil or mulch, it will trap moisture and rot. When you set the plant in the hole, make sure the top of its root ball is about an inch above the surrounding ground level. Then, just mound your soil mix up to meet it. This creates a tiny, well-drained hill for each plant.
Ongoing Care: The Art of Doing Less
Once it’s established, your main job is to just leave it alone. Seriously.

Watering Wisdom
For the first few weeks, you might need to water if it’s super dry. After that, an established lavender plant is incredibly drought-tolerant. My rule is simple: stick your finger two inches into the soil near the plant’s base. If it’s bone dry, go ahead and water it deeply. If you feel even a hint of moisture, walk away. Let it dry out completely between waterings.
The Great Mulch Debate
This is a big one. Standard organic mulches like wood chips or shredded bark are a disaster for lavender. They hold moisture right against the crown and are a leading cause of rot. I learned this the hard way on a project where a well-meaning crew killed an entire hedge of a hundred plants with bark mulch. We had to replant everything.
Here’s something you can do right now: Go look at your existing lavender. Is it mulched with wood chips? Rake that mulch back at least 6 inches from the base of the plant RIGHT NOW. You just helped it breathe and may have just saved it!
The best mulch is inorganic. A one-inch layer of pea gravel or light-colored landscape rock is perfect. It keeps the crown dry, keeps weeds down, and even reflects heat up into the plant, which it loves.
And what about fertilizer? Don’t do it. That’s it. It just encourages weak, floppy growth with fewer flowers.
Pruning: The Most Important Chore You’ll Do
Pruning isn’t optional; it’s essential for keeping your lavender looking good and producing tons of flowers. An unpruned plant will get woody and ugly fast.
The main pruning happens once a year, usually in late summer right after the big flower show is over. The most important rule is to never cut back into the old, brown, leafless wood. Lavender won’t regrow from that old wood, and if you cut it back to a woody stump, you’ve killed it.
But don’t let that scare you! It’s simpler than it sounds. Look closely at the stems. You’ll see the soft, silvery-green new growth. As long as you cut above the lowest set of those little green leaves, you’re in the safe zone. Don’t overthink it! Just gather the foliage in one hand and cut off about one-third of the plant’s total height, shaping it into a neat mound as you go.
What About Growing Lavender Indoors?
Ah, the big question for apartment dwellers. Can it be done? Yes… but it’s tricky. To be honest, lavender is not a natural houseplant because it craves two things most homes don’t have: intense sun and excellent air circulation.
If you want to try, here’s your best shot:
– Light is Everything: A sunny south-facing window is the absolute minimum. Even then, you’ll likely need to supplement with a good-quality grow light for at least 8-10 hours a day.
– Airflow is Key: Stagnant indoor air can lead to fungal problems. Placing a small fan nearby for a few hours a day can make a huge difference.
– The Right Pot & Soil: Use the gritty soil mix I mentioned earlier (50% potting mix, 50% grit like perlite/sand) in a terracotta pot with huge drainage holes.
– Water Carefully: Indoor pots dry out differently. Use the finger test and only water when the soil is completely dry to the touch.
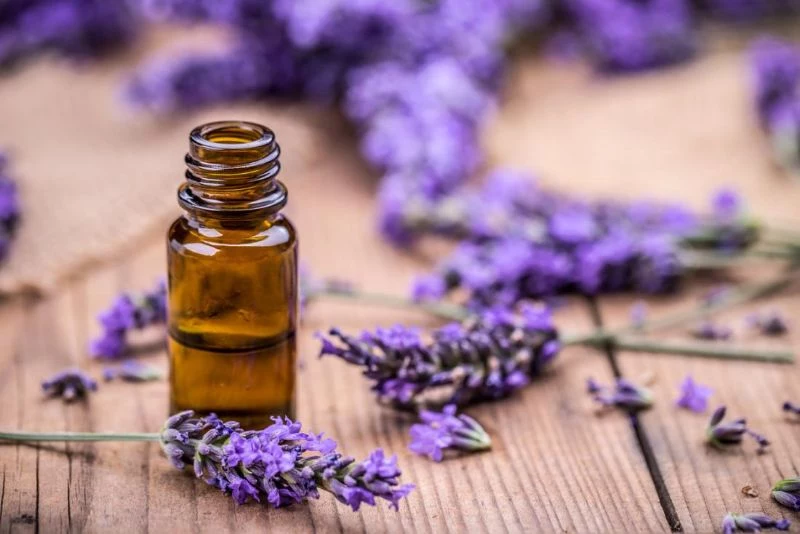
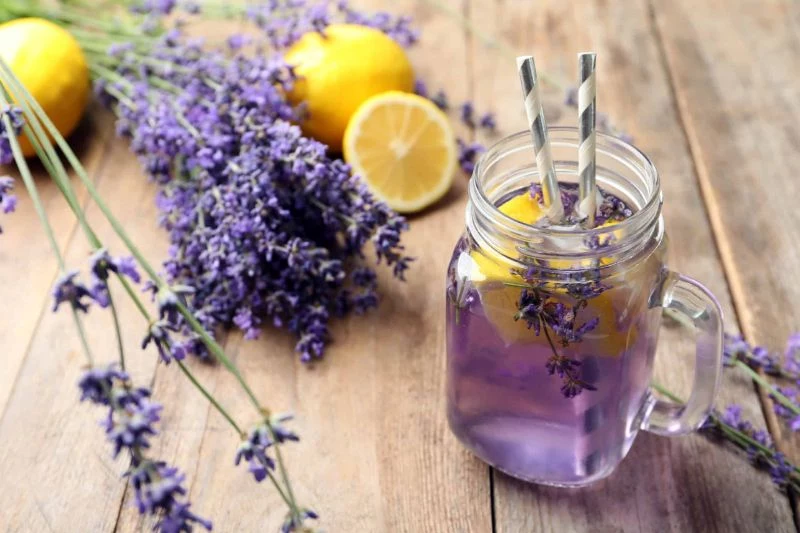
Harvesting and Making Your Own Infused Oil
One of the best parts of growing lavender is getting to use it! For drying, the best time to harvest is when the bottom few flowers on the stalk have opened, but most are still closed buds. Cut the stems in the morning after the dew has dried.
To dry them, just tie the stems in small bundles and hang them upside down in a dark, dry place with good airflow, like a closet. They’ll be ready in a few weeks.
A Better Way to Make Lavender-Infused Oil
Forget those instructions that tell you to leave a jar in the sun—sunlight will just make your oil go rancid. This method creates a lovely lavender-infused oil (not a distilled essential oil, which is a whole different process) that’s perfect for skin care.
1. Start with completely dry lavender buds. Fresh lavender has water, which will breed bacteria.
2. Choose a stable carrier oil like jojoba or sweet almond oil.
3. Combine them in a clean glass jar. A good rule of thumb to start is about 1 cup of dried lavender buds for every 2 cups of oil. Make sure the oil completely covers the buds.
4. Seal the jar and place it in a dark, warm spot (like a kitchen cabinet) for 4-6 weeks. Give it a gentle shake every so often.
5. Strain the oil through cheesecloth, squeezing out every last drop. Store it in a dark glass bottle, and it should last for up to a year.
Quick Troubleshooting Guide
Even with the best care, you might see some issues. Here are the most common ones.
Yellowing Leaves: Almost always a sign of too much water. Check the soil, and if it’s damp, stop watering immediately.
Leggy Growth, Few Flowers: This is typically caused by three things: not enough sun (it needs at least 6-8 hours of direct light), too much fertilizer (stop feeding it!), or a lack of pruning (get on a regular pruning schedule).
Winter Survival in Cold Zones: Success here comes down to two things: choosing an English variety and providing perfect drainage. Wet soil in winter is far more deadly than cold air. Avoid heavy mulch at all costs.
My final piece of advice is to just be patient. Lavender takes a couple of years to really hit its stride. Give it sun, give it drainage, and give it a good haircut once a year. If you can resist the urge to fuss over it, this tough plant will pay you back with years of beauty and fragrance.
Inspirational Gallery
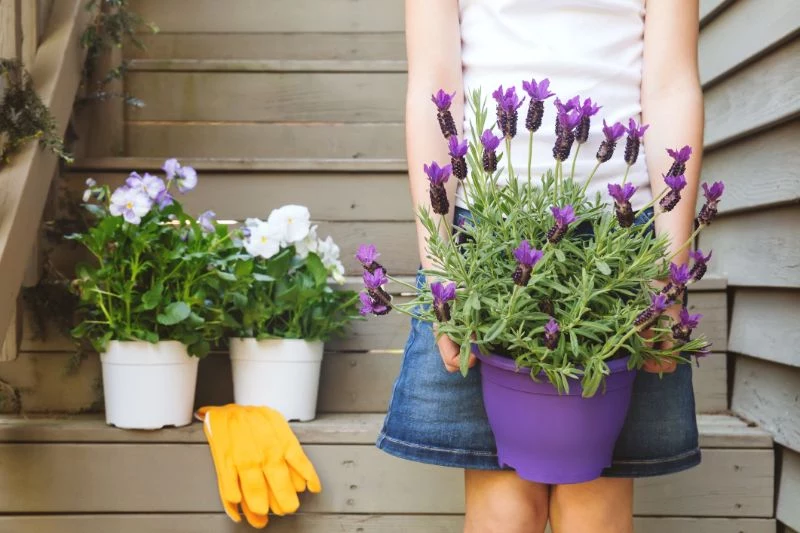
Terracotta Pots: Their porous clay allows soil to dry out evenly between waterings, which is exactly what lavender roots crave. This breathability is a huge advantage in preventing root rot.
Glazed or Plastic Pots: These non-porous containers hold moisture much longer. If you use one, ensure it has extra-large drainage holes and consider adding a layer of grit like perlite or fine gravel to the bottom third of your potting mix.
For beginners, terracotta is the safest bet to avoid accidental overwatering.
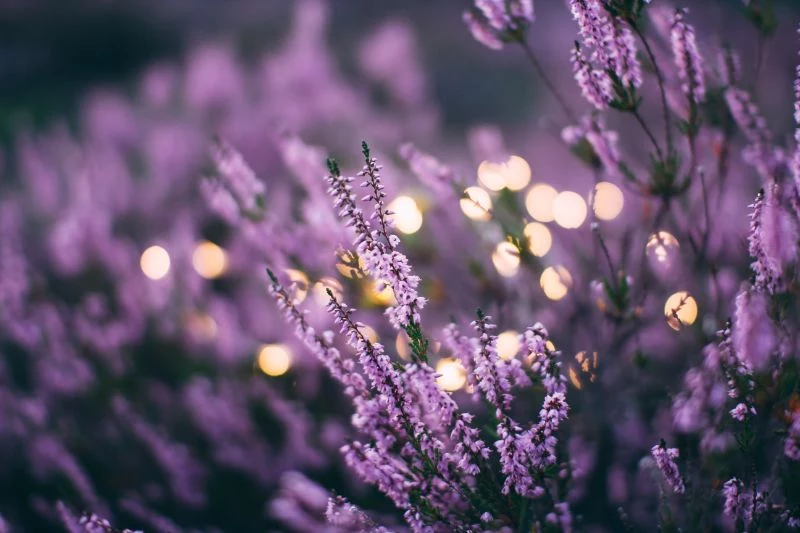
Bees are four times more likely to land on a purple flower than a yellow one. Planting lavender isn’t just for you; it’s a direct invitation to vital pollinators.
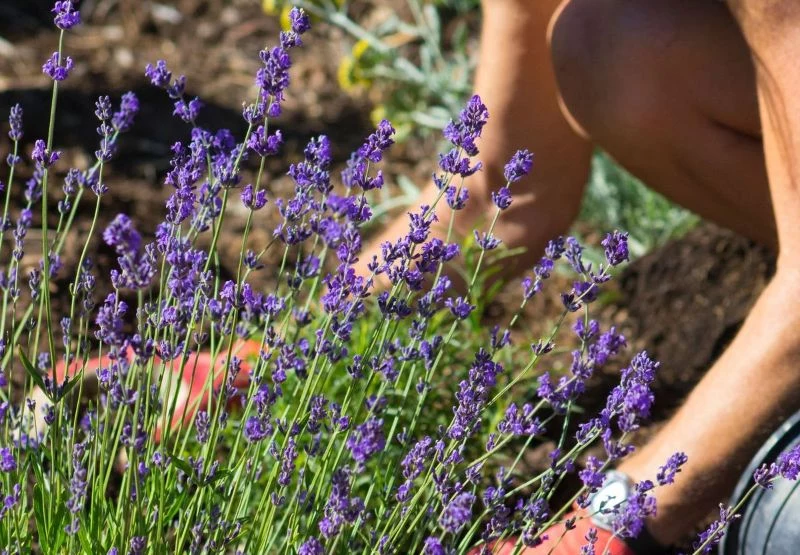
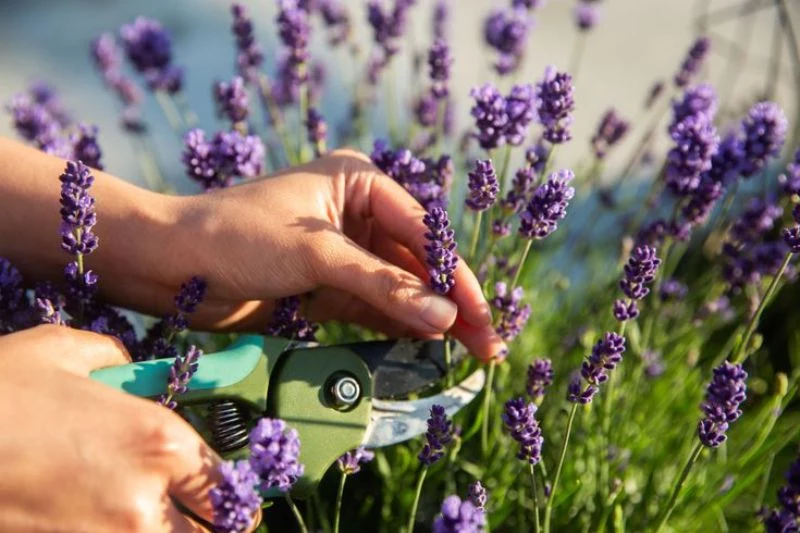
When your lavender is ready for harvesting, timing and technique are everything. For the most potent fragrance and color, follow these steps:
- Harvest in the morning, after the dew has dried but before the sun gets too hot and evaporates the essential oils.
- Look for stems where about half the buds have opened, but some are still closed. This is the peak moment.
- Cut the stems long, but be sure to leave at least two-thirds of the green leafy growth on the plant.
The single biggest mistake after overwatering is planting in the wrong soil. Even with perfect sun, lavender planted in heavy, nutrient-rich garden soil or dense clay is doomed. It holds too much water in winter, leading to fatal root rot. Before planting, amend the soil with coarse sand or fine pea gravel to create the sharp drainage it needs to thrive.
What are the best companion plants for lavender?
Think of plants that enjoy the same sun-drenched, dry conditions. Mediterranean herbs like Rosemary and Thyme are natural partners. For color and texture, try pairing the soft purple spires of lavender with the bold, flat heads of a stonecrop like ‘Autumn Joy’ Sedum, or the daisy-like blooms of Echinacea (Coneflower). They all love full sun and won’t compete for water.
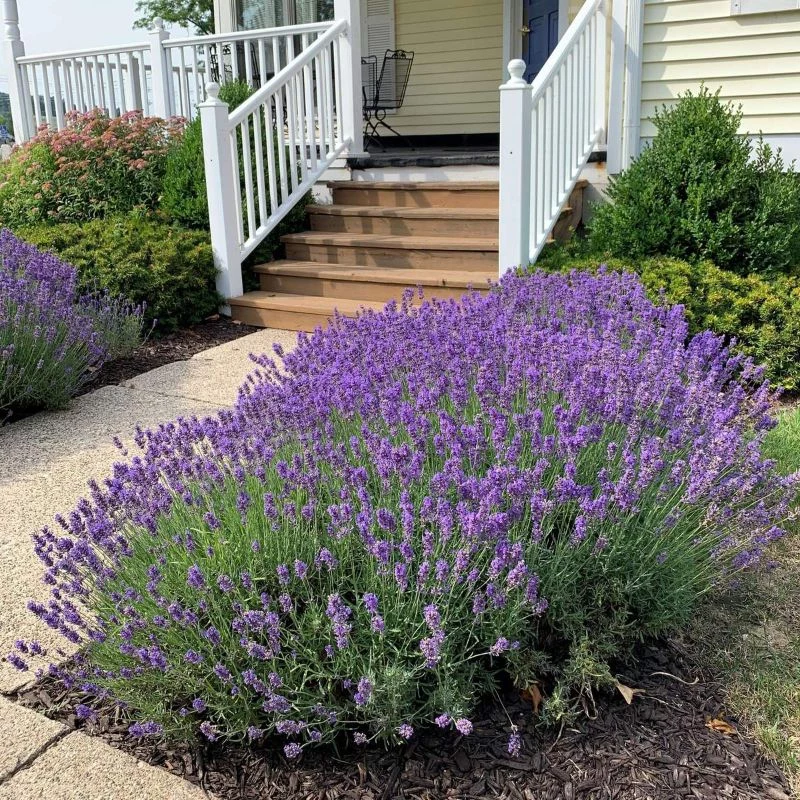
- That iconic scent released every time you brush past it.
- A beautiful, living border that buzzes with happy bees.
- A fragrant welcome home at the end of the day.
The secret? Planting a simple lavender hedge along a sunny walkway you use every day.
Pruning is not just for looks; it’s essential for preventing your lavender from becoming a woody, leggy mess with few flowers. A light trim after the first flush of blooms encourages a second, smaller bloom. The main structural prune should happen in late summer, about six weeks before the first frost. Never cut back into the old, brown wood—always stay in the green, leafy part of the stem to ensure new growth next spring.
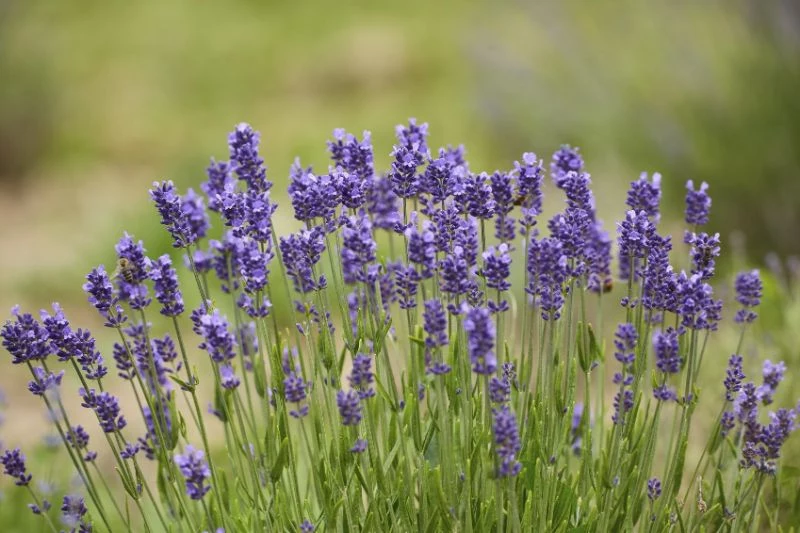
The lavender fields of Provence, France, cover an estimated 77,000 acres, baking under the hot Mediterranean sun.
While you might not have that kind of space, this fact is a powerful reminder of what lavender truly loves: heat and relentless sun. Don’t ‘protect’ your plant in a semi-shady spot. Give it the sunniest, hottest location in your garden, and it will reward you with the vibrant color and scent of southern France.
No big garden? No problem. The trend towards container gardening has led to fantastic compact varieties. Look for English lavenders like ‘Munstead’ or the particularly petite ‘Thumbelina Leigh’. These smaller cultivars provide the full sensory experience of classic lavender but are perfectly scaled for life in a pot on a sunny balcony, patio, or front step, bringing that cottage-garden feel to even the smallest of spaces.
Patience Pays Off: For a budget-friendly lavender hedge, consider growing from seed. While buying established plants gives you instant results, a packet of seeds from a reputable supplier like Johnny’s Selected Seeds costs a fraction of the price. English lavender (*Lavandula angustifolia*) is the easiest to start this way. It requires patience and a sunny windowsill, but the satisfaction of cultivating a whole row from tiny seeds is immense.


