Finally! How to Grow Brussels Sprouts That Don’t Disappoint
I’ve been growing my own food for what feels like a lifetime, and I’ve seen all sorts of gardening trends come and go. But Brussels sprouts? They’re a constant. They’re also a source of major frustration for a lot of people. It’s a shame, really. So many gardeners try them once, get loose, bitter sprouts or a plant that just flops over in the wind, and then they give up for good.
In this article
- First Things First: What Exactly Is This Plant?
- Choosing Your Champion: Which Variety is Right for You?
- Prepping the Ground: The Foundation of a Great Harvest
- Getting Started: Seeds vs. Transplants
- Planting and Summer Care
- Troubleshooting: “Help! My Sprouts Are…”
- Pest Control: The Unfortunate Reality
- Harvest Time: The Payoff!
- Storing Your Bounty
- A Final Thought
- Inspirational Gallery
Listen, I’ve made all those mistakes. My first few attempts were pretty pathetic. But over the years, I picked up the real-deal techniques from old-school market gardeners and a whole lot of my own trial and error. Now, pulling a stalk of perfect, tight sprouts from the garden after a hard frost is one of my favorite fall moments. It’s a flavor you just can’t replicate from a grocery store.
This guide isn’t about magic beans or weird shortcuts. It’s about doing things the right way to get a harvest you’ll actually be proud of. We’re going to cover everything from the ground up, so you can get a reliable, delicious crop every single year. It takes patience, but it’s so worth it.

First Things First: What Exactly Is This Plant?
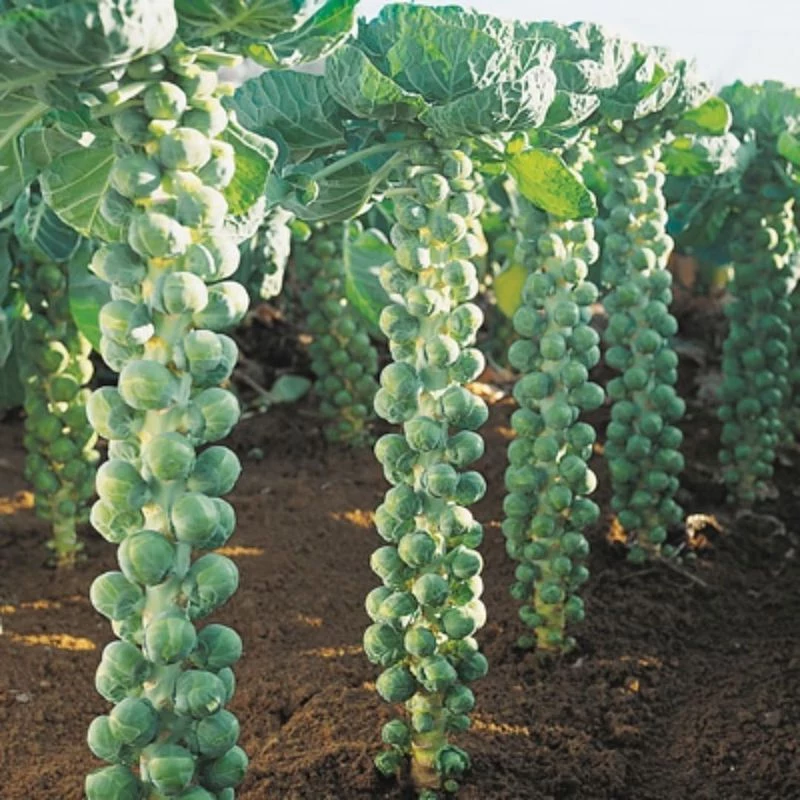
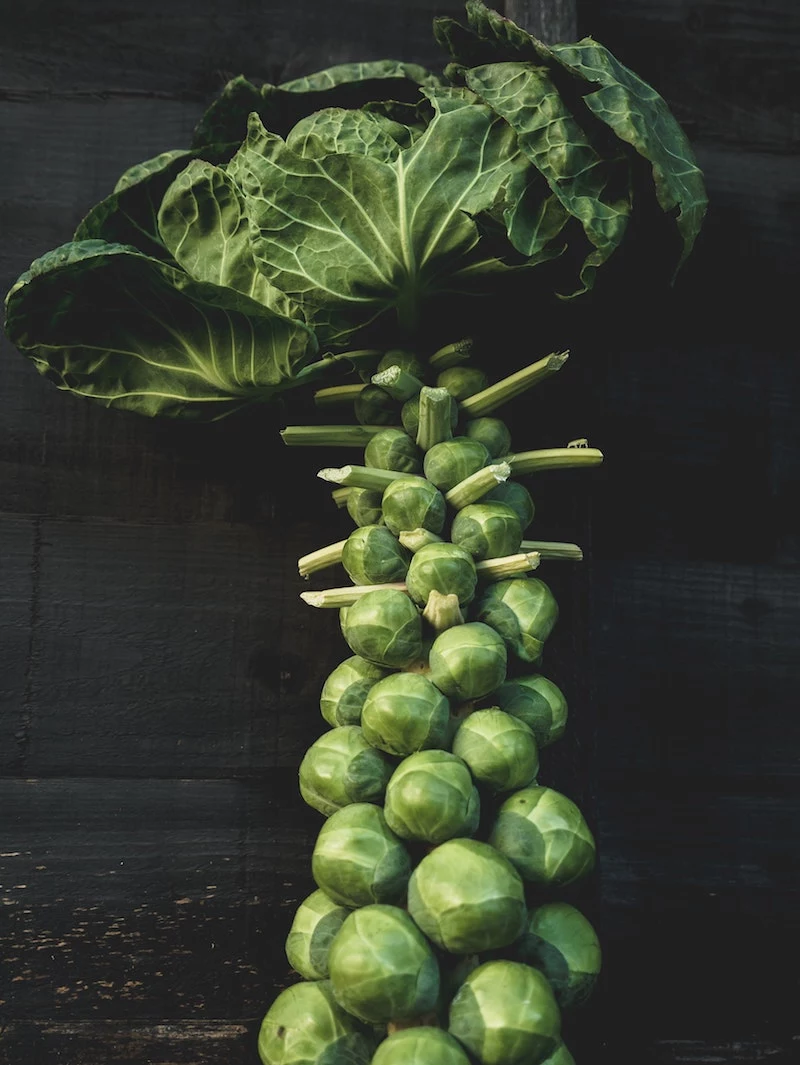
Before you even think about buying seeds, it helps to know what you’re dealing with. Brussels sprouts are part of the big, famous brassica family, which means they’re cousins with cabbage, broccoli, and kale. The important thing to know is that those little sprouts are actually tiny buds that grow where the leaf meets the main stalk.
But here’s the most critical piece of information: they are a long-season crop. Seriously, burn this into your brain. Most varieties need a solid 100 to 130 days to go from a baby plant to a full stalk ready for harvest. You can’t just plant them in August and hope for the best. This long timeline is why planning is everything.
Quick Win: Go find your area’s average first frost date right now. Just google “first frost date for [your zip code]”—the Farmer’s Almanac and other sites have this info. Write that date down. Everything we do from here on out will be based on counting backward from that date.
So, What’s the Big Deal with Frost?
You’ve probably heard people say that sprouts taste better after a frost. It’s not just an old wives’ tale; it’s straight-up plant biology. When the temperatures dip down (usually between 28 and 32°F), the plant goes into survival mode. It starts converting its stored starches into sugars to act as a natural antifreeze for its cells.
For us, this is a massive win. That process strips away a lot of the bitterness and makes the sprouts noticeably sweeter with a fantastic nutty flavor. If you harvest before a frost, you’ll get a taste that’s much more cabbage-like and, honestly, sometimes a bit harsh. Patience pays off in flavor.
Choosing Your Champion: Which Variety is Right for You?
Walking down the seed aisle can be overwhelming, but it really boils down to two main types: heirloom and hybrid. Neither is inherently “better,” they just have different goals. I’ve had great success with both.

- Heirloom varieties, like the classic ‘Long Island Improved,’ are old-school, open-pollinated types. The best part? The sprouts tend to mature at different rates up the stalk. This is perfect for a home gardener who just wants to grab a handful for dinner every few days over a couple of weeks.
- Hybrid varieties, with names like ‘Jade Cross E’ or ‘Diablo,’ have been bred for specific traits, like better disease resistance or super-uniform growth. The sprouts on these tend to be ready all at once. This is a huge plus if you want to harvest the whole stalk for a big holiday meal or for freezing. For beginners, a disease-resistant hybrid can be a great way to guarantee a win.
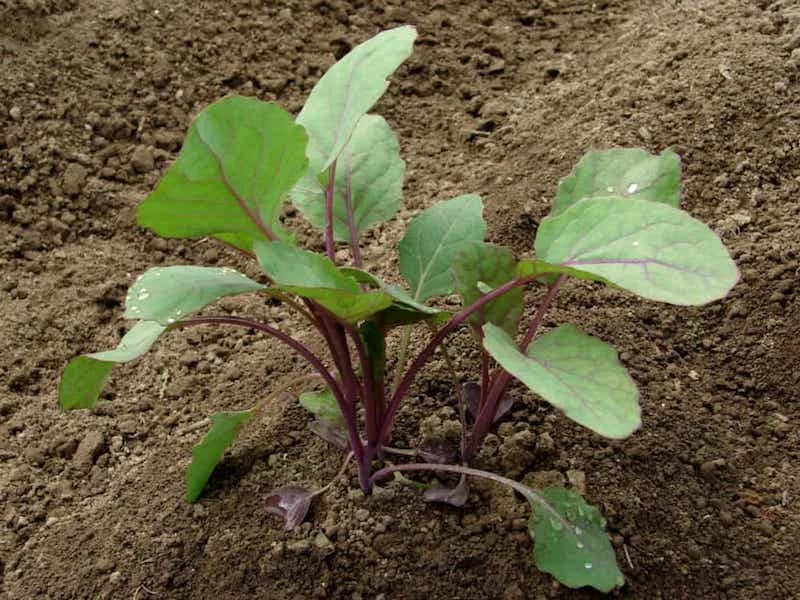
By the way, don’t be afraid to try a purple variety like ‘Redarling.’ They look incredible in the garden, and the flavor is often a bit richer and nuttier. I recommend planting one or two different types to see what you like best.
Prepping the Ground: The Foundation of a Great Harvest
Let’s be clear: Brussels sprouts are hungry plants. They’re heavy feeders and will suck a lot of nutrients out of the soil over their long life. You can’t just toss them in any old patch of dirt. A great harvest starts with great soil.
Gardener’s Shopping List
Before you start digging, here’s a quick list of things you’ll probably need. It makes the whole process feel more manageable, like a recipe.
- High-quality compost or aged manure
- A simple soil test kit (optional but highly recommended)
- Organic all-purpose fertilizer
- Kelp meal (for micronutrients)
- Sturdy stakes (at least 4 feet tall)
- Floating row cover fabric
- Soft garden twine
Location, Location, Location
Your sprouts need a spot that gets at least six hours of direct sun a day. Eight is even better. Without enough sun, you’ll get tall, weak plants with loose, leafy sprouts instead of tight, dense ones. Also, think about wind. These plants can get over three feet tall, and a strong summer storm can snap an unsupported stalk. A little protection from the wind helps.
Heads up for container gardeners! Yes, you can absolutely grow these in pots. You’ll need a big one, though—I’d say a 5-gallon container is the absolute minimum per plant. Use a high-quality potting mix, not garden soil, and be prepared to water more frequently, as pots dry out much faster.
Getting the Soil Just Right
The ideal soil pH for these guys is between 6.5 and 7.0, which is just about neutral. If your soil is too acidic, it can lead to a nasty disease called clubroot. I really recommend getting a simple soil test. You can get a kit from a garden center or send a sample to your local university extension office for about $15 to $25. It’s cheap money for priceless information about your soil’s health.
A few weeks before you plant, work a generous 2 to 3-inch layer of well-rotted compost into the top 8 inches of your garden bed. This provides slow-release nutrients and improves the soil’s ability to both drain and hold water. These plants also need a little-known nutrient called boron to form properly. A lack of it can cause hollow stems and tiny sprouts. I always add a light dusting of kelp meal—about a small handful worked into the soil around where each plant will go—to cover my bases.
Getting Started: Seeds vs. Transplants
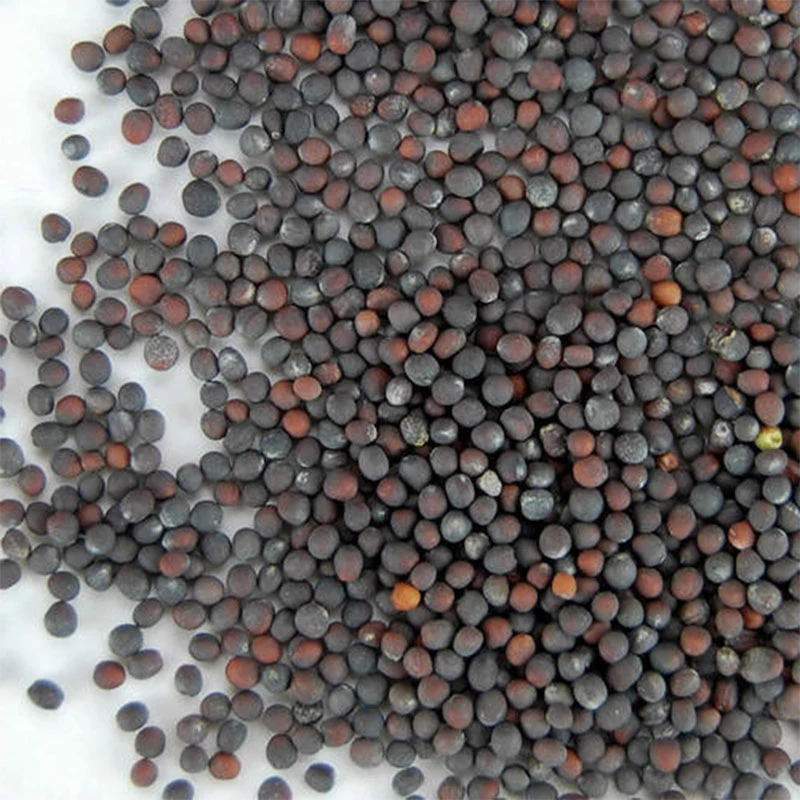
You can either start your own plants from seed or buy young transplants from a nursery. I almost always start from seed because it’s way cheaper (a pack of seeds is a few dollars versus $4-6 for a 4-pack of plants) and gives me access to way more interesting varieties.
For most of us, starting seeds indoors is the way to go. Remember that frost date? Count back about four months—that’s your target date for planting seedlings in the garden. You’ll want to start the seeds inside about 4 to 6 weeks before that garden date.
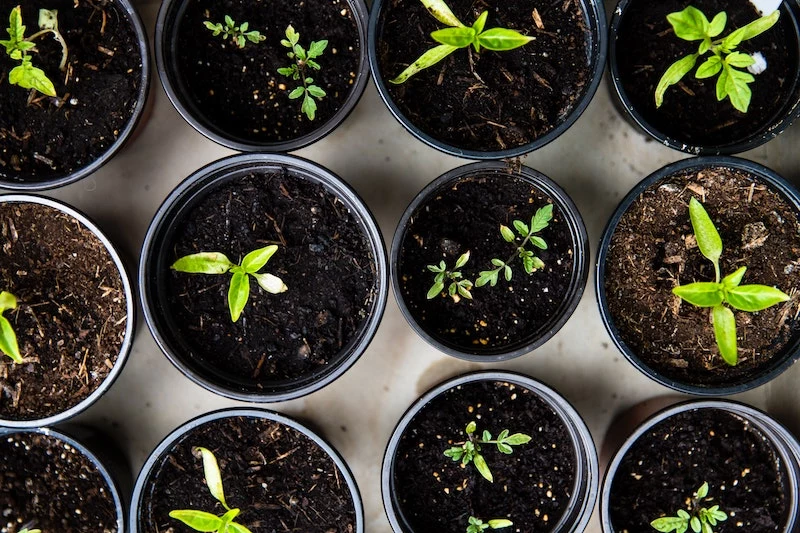
Once your seeds sprout, they need a ton of light. A sunny windowsill is not going to cut it; you’ll end up with weak, leggy seedlings. You really need a set of shop lights or dedicated grow lights. Keep the lights just a couple of inches above the tops of the seedlings for 14-16 hours a day. This is a step you just can’t skip.
The Most Skipped Step: Hardening Off
You can’t just take your cozy indoor seedlings and throw them into the great outdoors. The shock will kill them. You have to gradually introduce them to the sun and wind over a week or so. This is called hardening off, and I’ve seen more beginners fail here than anywhere else. Take your time!
- Days 1-2: Put them outside in a shady, protected spot for an hour. Bring ’em back in.
- Days 3-4: Give them a few hours outside, including a little bit of gentle morning sun.
- Days 5-6: Let them hang out for most of the day in a spot with dappled light.
- Days 7-10: Slowly increase their exposure to direct sun and wind. By the end, they should be tough enough to handle a full day outside.
Planting and Summer Care
Once your seedlings are hardened off, plant them in your prepped garden bed, spacing them about 18 to 24 inches apart. It looks like a crazy amount of space at first, but trust me, they’ll fill it. Plant them a little deeper than they were in their pots to help create a sturdier base. Water them in well with a half-strength liquid fertilizer like fish emulsion to give them a gentle start.
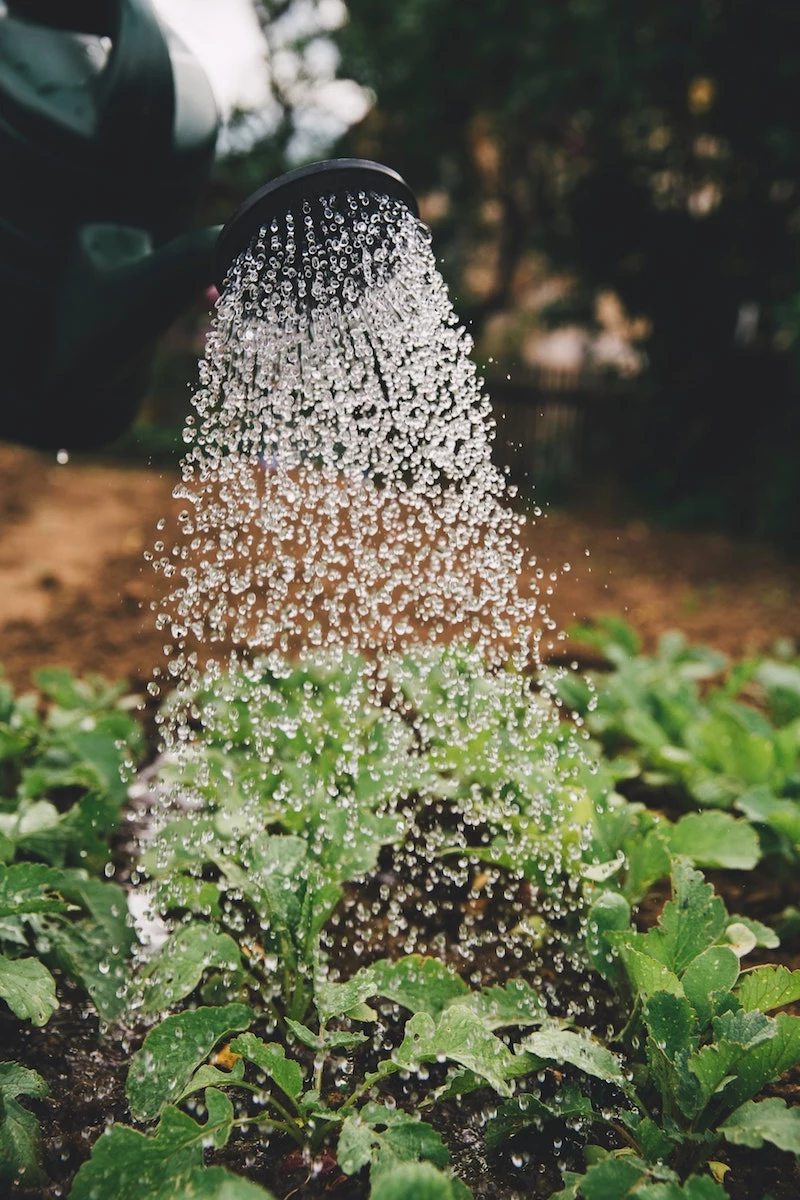
Throughout the summer, your job is simple: provide consistent water (about an inch per week, deep at the roots), mulch with straw or shredded leaves to keep weeds down, and feed them. I side-dress with a nitrogen-rich fertilizer about a month after planting, then switch to something lower in nitrogen and higher in phosphorus and potassium in late summer to encourage sprout growth, not just leaves.
And please, stake your plants! I drive a 4-foot stake a few inches from each plant and loosely tie the stalk to it with soft twine. A top-heavy plant loaded with sprouts is no match for a strong gust of wind.
Troubleshooting: “Help! My Sprouts Are…”
It’s totally normal to hit a snag. Here are a few of the most common SOS calls I get.
- “…Loose and Leafy, Not Tight.” This is a classic. It’s usually caused by one of three things: not enough direct sunlight, inconsistent watering during a heatwave, or feeding them too much nitrogen late in the season, which tells the plant to make leaves, not sprouts.
- “…Falling Over!” You didn’t stake it, did you? It’s okay, we’ve all been there. A tall, heavy plant needs support. Next time, make staking a non-negotiable step right after planting.
- “…Tiny and Bitter.” You probably got impatient and harvested too early! The magic really does happen after that first frost or two. Let them experience some cold weather to sweeten up.
Pest Control: The Unfortunate Reality
If you grow brassicas, you are going to get pests. It’s just a fact of life. Your best defense is being in your garden regularly and catching problems early.
The number one enemy is the cabbage worm—those little green caterpillars that chew holes in the leaves. I’ll never forget the year I thought I could skip the row cover. I spent every single morning for a month picking hundreds of them off by hand. Now, a lightweight floating row cover goes on the second my plants are in the ground. It’s a physical barrier that stops the white cabbage butterfly from laying its eggs. A big roll costs maybe $15-$30 and will last you for years. It’s the best investment you can make.
Harvest Time: The Payoff!
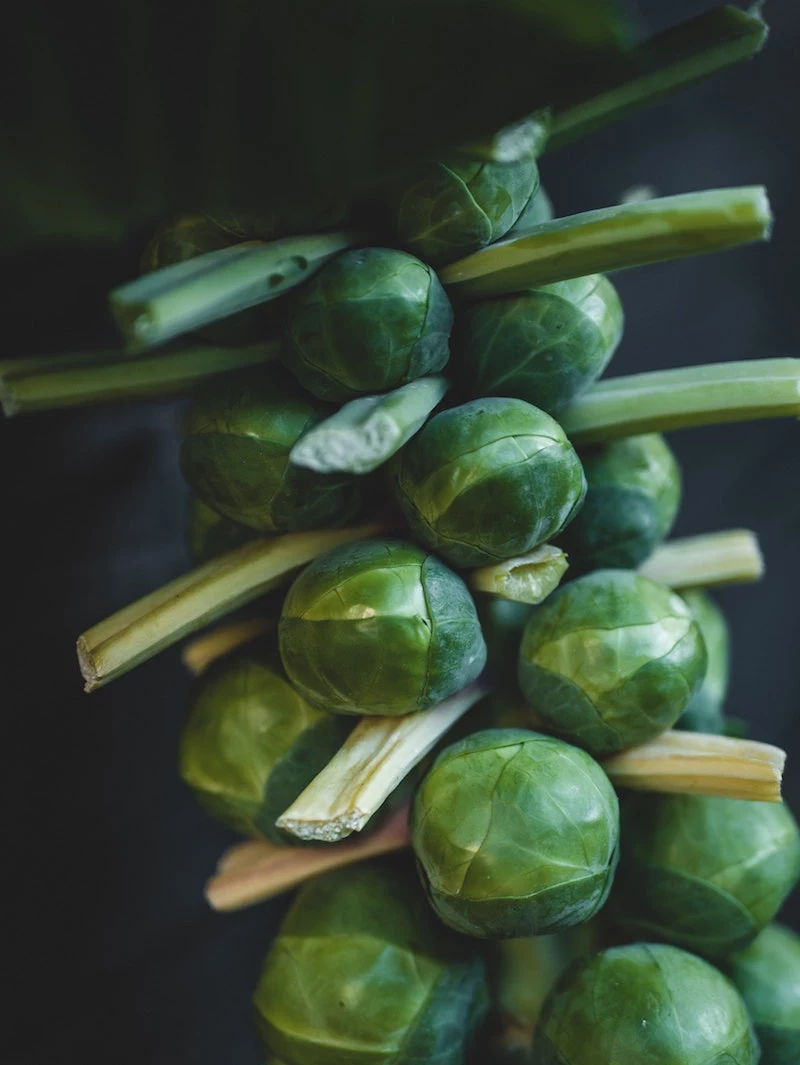
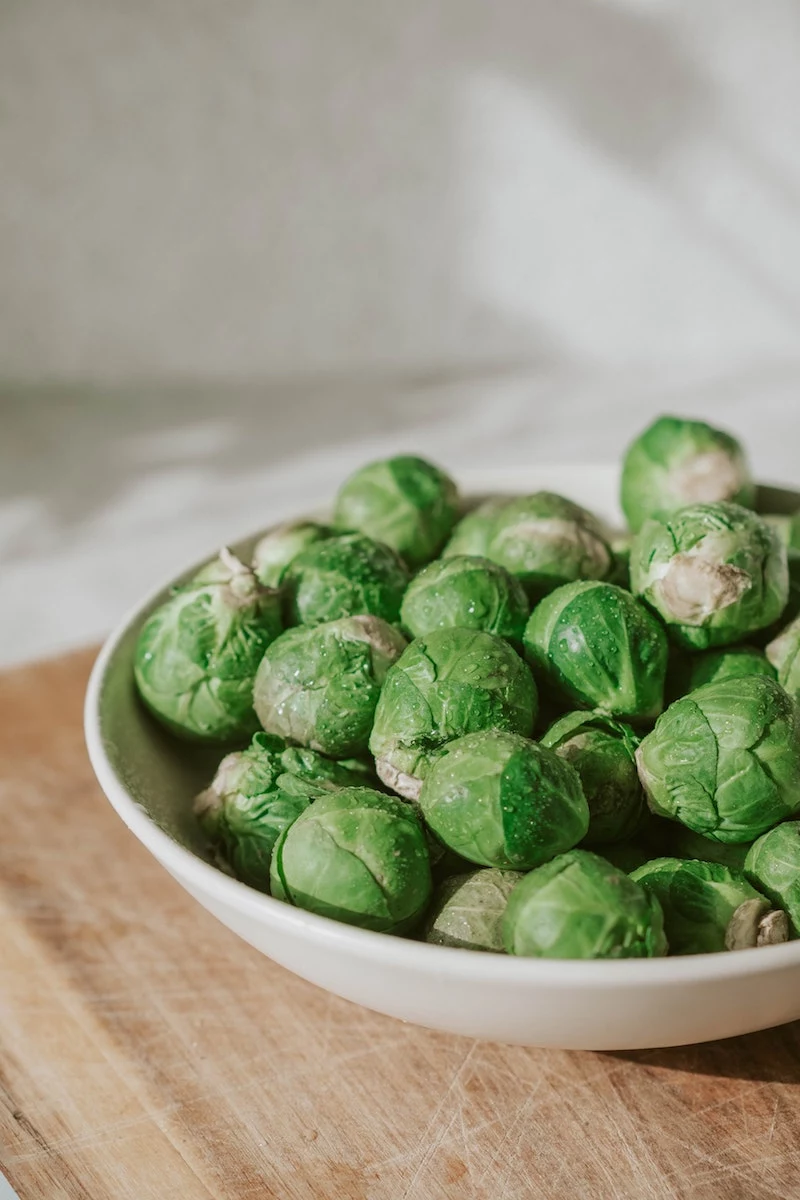
This is the moment! After your garden has had a light frost or two, check your sprouts. They should be firm, green, and about 1 to 1.5 inches wide. They mature from the bottom up. Start at the bottom, and snap off the ripe sprouts with a quick downward twist. As you pick a sprout, remove the big leaf below it. This sends more energy to the sprouts growing further up the stalk.
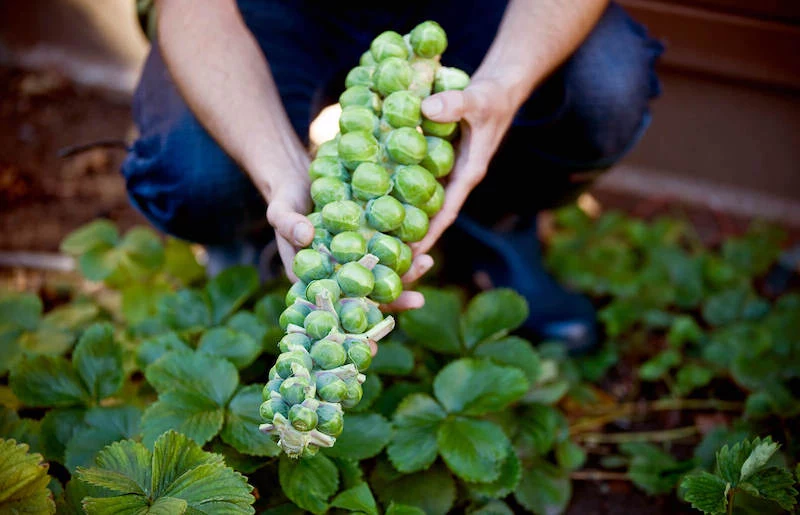
If you want to feel like a real pro, you can harvest the whole stalk at once. Just use a small saw or loppers to cut the plant at its base. It’s incredibly satisfying to carry that giant stalk into the kitchen.
Storing Your Bounty
Fresh sprouts are best, but they store surprisingly well. Unwashed, they’ll keep in a plastic bag in your fridge’s crisper drawer for at least a week. For longer-term storage, you can do what my grandfather did: pull up the entire stalk, roots and all, and hang it upside down in a cold basement or garage that stays just above freezing. The sprouts will stay fresh on the stalk for a month or more.
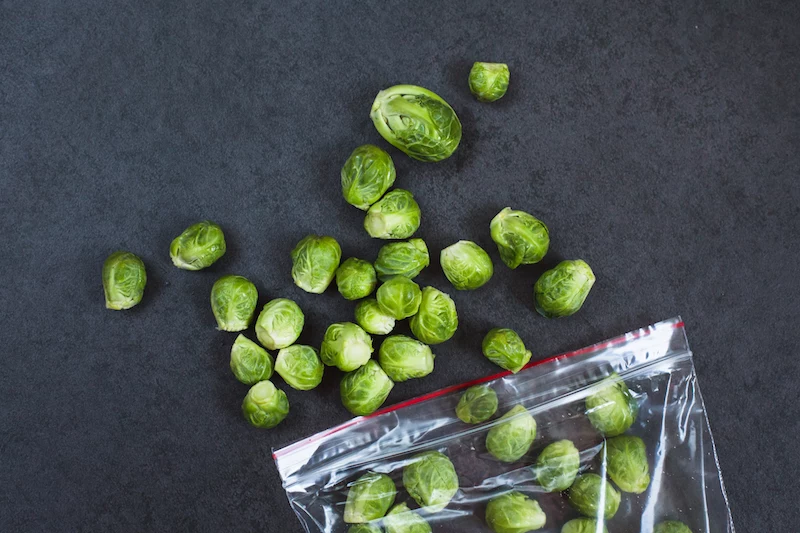
Oh yeah, and they freeze beautifully. Just blanch them in boiling water for 3-4 minutes, dunk them in ice water, dry them thoroughly, and pack them in freezer bags.
A Final Thought
Growing Brussels sprouts is a journey. It teaches you about patience and the rhythm of the seasons. There will be challenges. You will fight cabbage worms. But when you carry that beautiful, frost-sweetened stalk into your kitchen in the late fall, you’ll get it. You’ll understand why it’s worth every bit of the effort.
Lesser-known trick: Don’t throw away the top of the plant! The big cluster of leaves at the very top is also delicious. You can chop it off after you’ve harvested the sprouts and cook it just like you would collard greens or cabbage. It’s a great bonus crop!
Inspirational Gallery
The tell-tale sign of a Cabbage White butterfly, with its delicate white wings and black-tipped markings, is a warning to any brassica grower.
These butterflies might look charming, but they lay eggs that hatch into voracious green cabbage worms. These caterpillars can skeletonize leaves overnight. For an organic approach, cover your young plants with floating row covers from brands like Agribon as a physical barrier. Alternatively, a targeted spray of Bacillus thuringiensis (Bt), a naturally occurring bacteria sold under names like Thuricide or Dipel, will eliminate the worms without harming bees or other beneficial insects.

Choosing the right variety is half the battle. Your seed packet choice can dramatically influence your success.
- Heirloom Charm: ‘Long Island Improved’ is a tried-and-true heirloom variety dating back to the 1890s. It produces smaller, densely packed sprouts with a superb nutty flavor, especially after a frost. It’s perfect for gardeners who want to save seeds.
- Modern Reliability: ‘Diablo F1’ is a modern hybrid known for its vigor and producing very uniform, tight sprouts all the way up the stalk. It also boasts better disease resistance, making it a great choice for beginners seeking a more predictable harvest.
A common mistake: Feeding your Brussels sprouts too much nitrogen. While essential for initial growth, an excess of nitrogen later in the season encourages the plant to produce lush, beautiful leaves at the expense of firm, tight sprouts. If your plants are all top and no bottom, switch to a low-nitrogen fertilizer, like a 5-10-10 formula, once the main stalk is well-established. This will channel the plant’s energy into sprout development where you want it.
Why are my sprout stalks falling over?
This frustrating issue, called lodging, happens when the tall, top-heavy plant can’t support its own weight, especially in wind or rain. Brussels sprouts have shallow root systems for their size. To prevent this, mound soil up around the base of the stalk as it grows, a technique called “hilling.” This encourages more roots to form and provides physical stability. For very tall varieties or in windy locations, a sturdy 3-4 foot stake driven in at planting time is cheap insurance for a straight, strong stalk.
- Repels the destructive cabbage moth.
- Deters aphids and other common pests.
- Attracts beneficial pollinators.
The secret? Aromatic companion planting. Interspersing your Brussels sprouts with strongly scented herbs like rosemary, thyme, or mint can confuse pests looking for their favorite meal. Planting nasturtiums nearby can also serve as a “trap crop,” luring aphids away from your sprouts.


