Japanese Holly: The Real-Deal Guide to Getting It Right
After more than two decades in the landscaping world, I’ve probably planted, pruned, and saved more Japanese hollies than I can count. I’ve seen them look absolutely stunning as elegant foundation hedges, and I’ve seen them fail miserably because of a few simple, totally avoidable mistakes.
In this article
Here’s the thing: this plant isn’t just some generic green filler. It’s a true workhorse. It can be a dense, low border, a formal sculpted topiary, or a tall, narrow screen. But its success, and I mean whether it lives or dies, really depends on you understanding what it needs from the get-go.
So many people get drawn in by those charming, boxwood-like leaves and its reputation for being tough. They grab a few from the garden center, pop them in the ground, and expect instant perfection. Honestly, it rarely works out that way. More often than not, I get a call two years later to look at sad, yellowing plants with sparse, leggy growth. The problem is almost never the plant itself—it’s usually a mismatch in soil, water, or just how it was planted.
So, let’s go beyond the little plastic care tag. I’m going to share the nitty-gritty field knowledge that makes the difference between a plant that just survives and one that truly thrives for decades.
First, Let’s Get to Know the Plant
Before you even think about grabbing a shovel, it pays to understand what you’re working with. This shrub originally comes from places with naturally acidic soil and reliable moisture. That right there is the biggest clue to making it happy in your yard.
Its Roots are a Bit Needy
Unlike a big oak tree with a massive taproot, Japanese holly has a very fine, dense, and shallow root system. These delicate roots are fantastic at slurping up water and nutrients, but they’re also super sensitive. This has a few big implications:
- They dry out fast. Those shallow roots are vulnerable in hot weather or sandy soil. A young plant is especially at risk during its first couple of summers before it’s fully established.
- They HATE wet feet. That same fine root system absolutely cannot stand being submerged in water. If you have heavy clay soil that turns into a bathtub after it rains, the roots will be starved of oxygen. This is a welcome mat for root rot fungi, which is probably the number one killer of these plants.
- They don’t like to compete. Planting a Japanese holly right next to a giant maple tree is a bad idea. The tree’s bigger, more aggressive roots will always win the battle for water and nutrients.
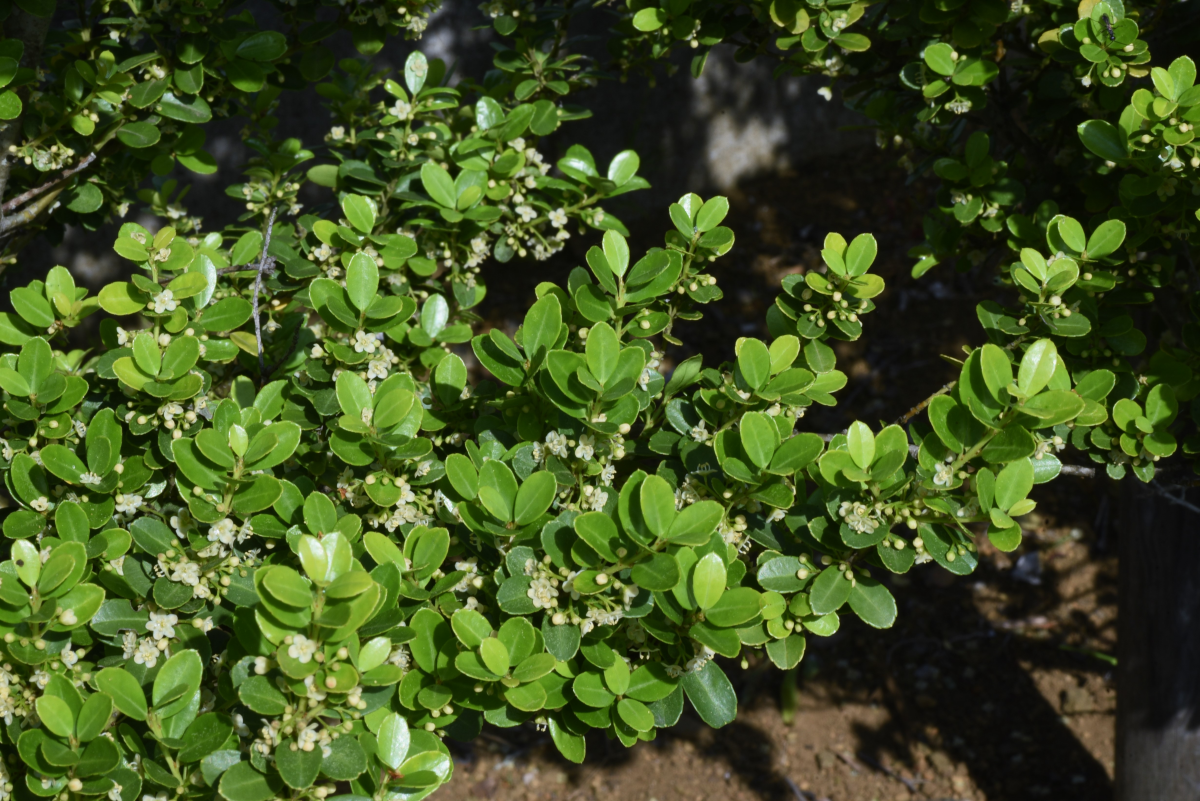
Let’s Talk Berries (Male vs. Female Plants)
A lot of people love the idea of those cute little black berries in the winter. But here’s a crucial fact: hollies have separate male and female plants. Only the female plants make berries, and they’ll only do it if a male plant is close enough for pollination. The flowers themselves are tiny and you’ll barely notice them.
If berries are a must-have for you, you need to plant both. A good nursery can tell you which cultivars are male and which are female. As a rule of thumb, one male plant can pollinate about 5 to 10 female plants within a 50-foot radius. Bees and wind take care of the rest.
Quick tip: If you want an inconspicuous pollinator that just blends in, look for a workhorse male cultivar. But if you want a pollinator that’s also a showpiece, ‘Golden Gem’ is a fantastic male option with bright yellow foliage.
Heads up! While the berries are pretty, they are considered toxic to people, dogs, and cats if eaten in large amounts. It’s something I always make sure to mention to clients with small kids or curious pets.
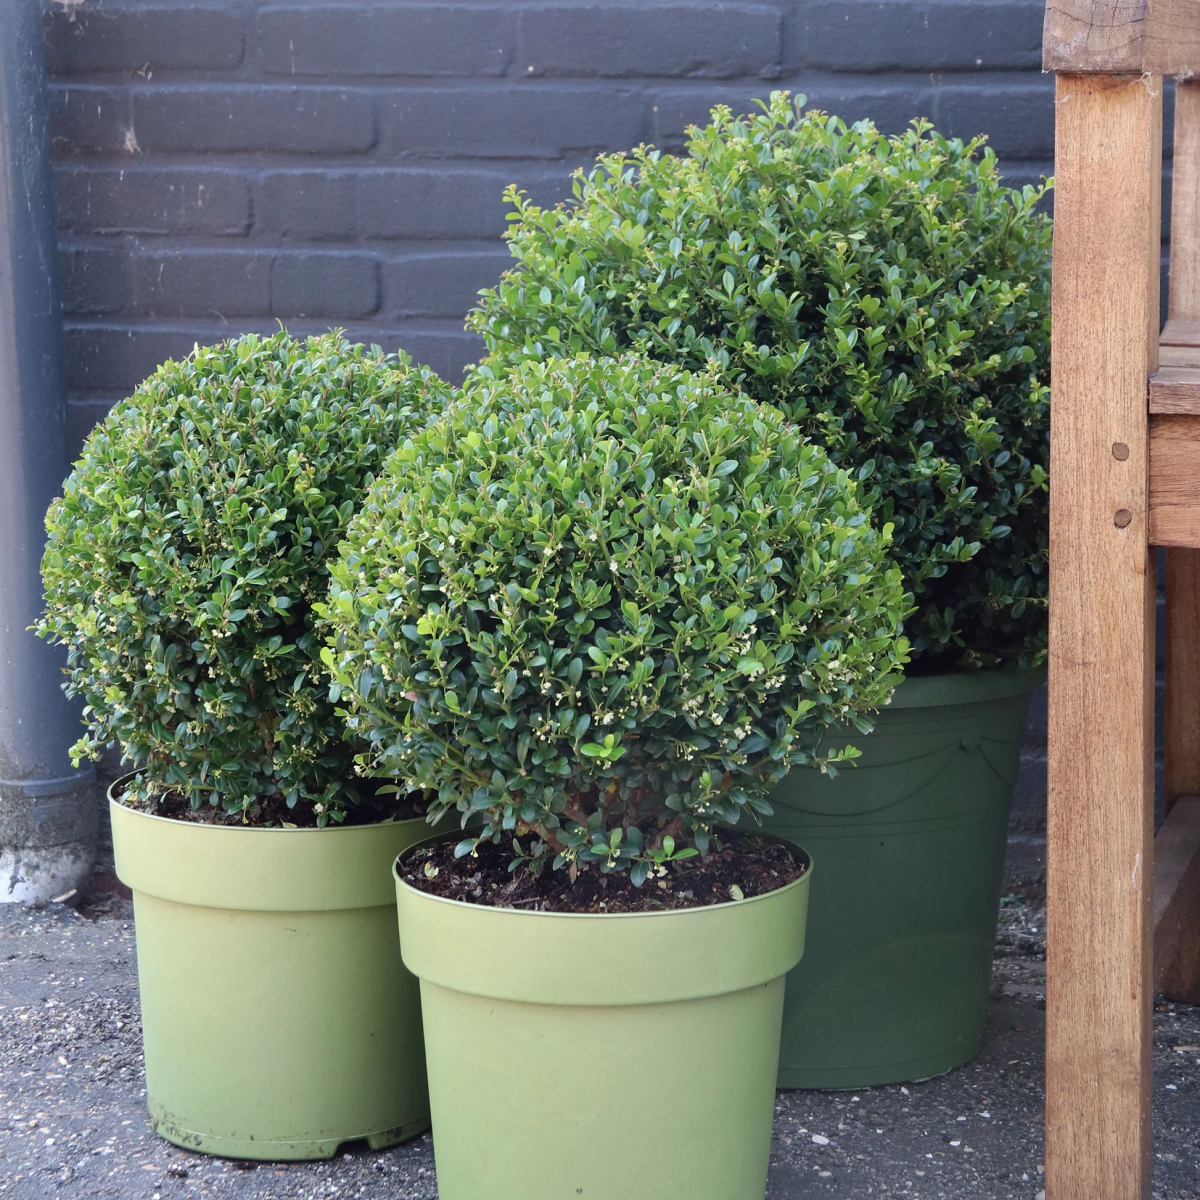
Choosing the Right Holly for the Job
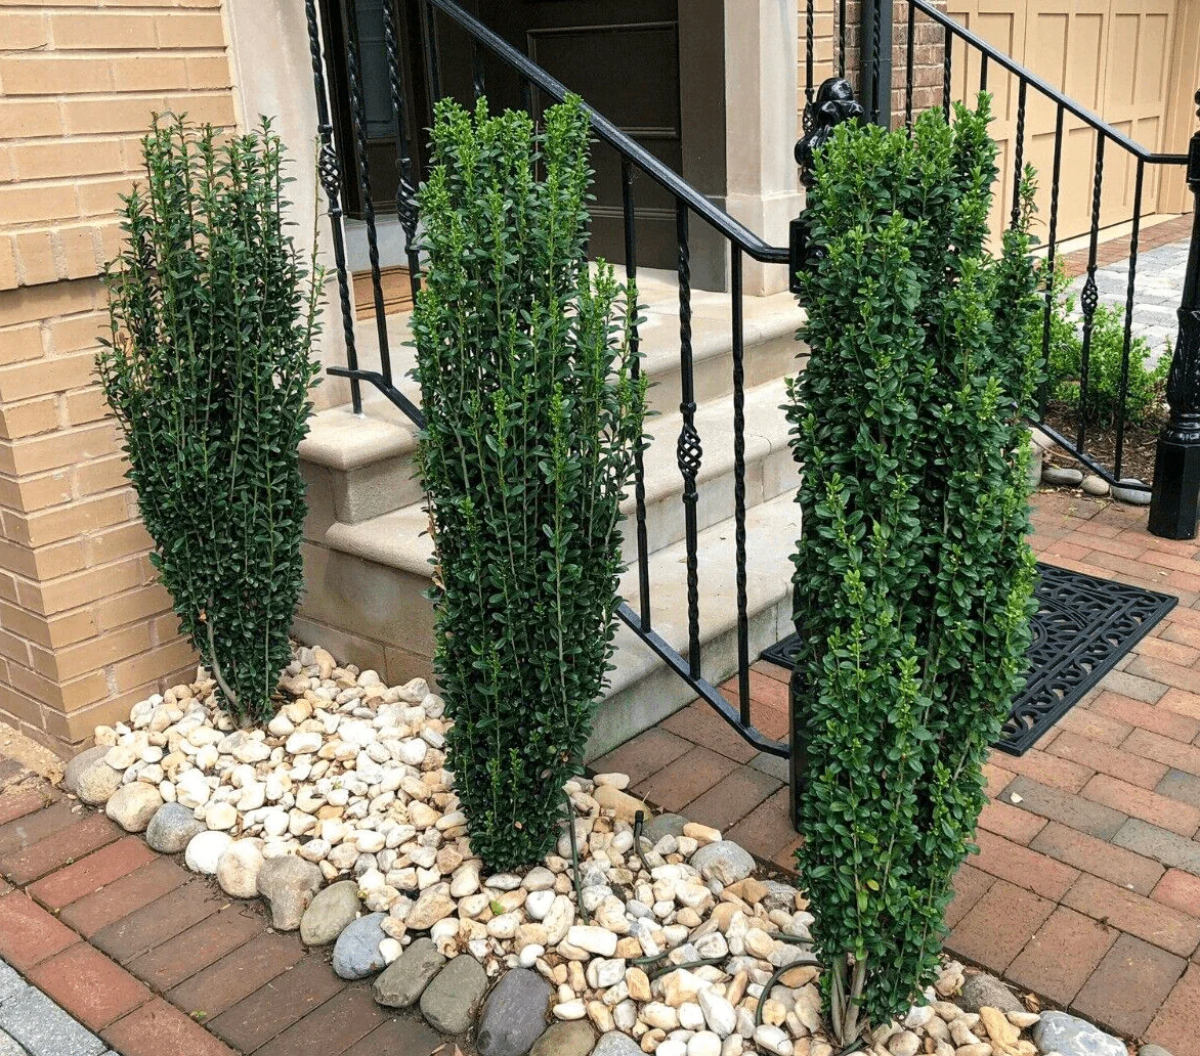
Okay, this is probably the most important decision you’ll make. “Japanese Holly” is a broad category, and picking the wrong type for your space is a classic mistake. I’ve seen people plant a ‘Sky Pencil’ under a window only to have it shoot up to 8 feet and block the view. Match the plant’s mature size to the spot, not its size in the pot!
Here are a few of the most common varieties I work with, along with my notes from the field:
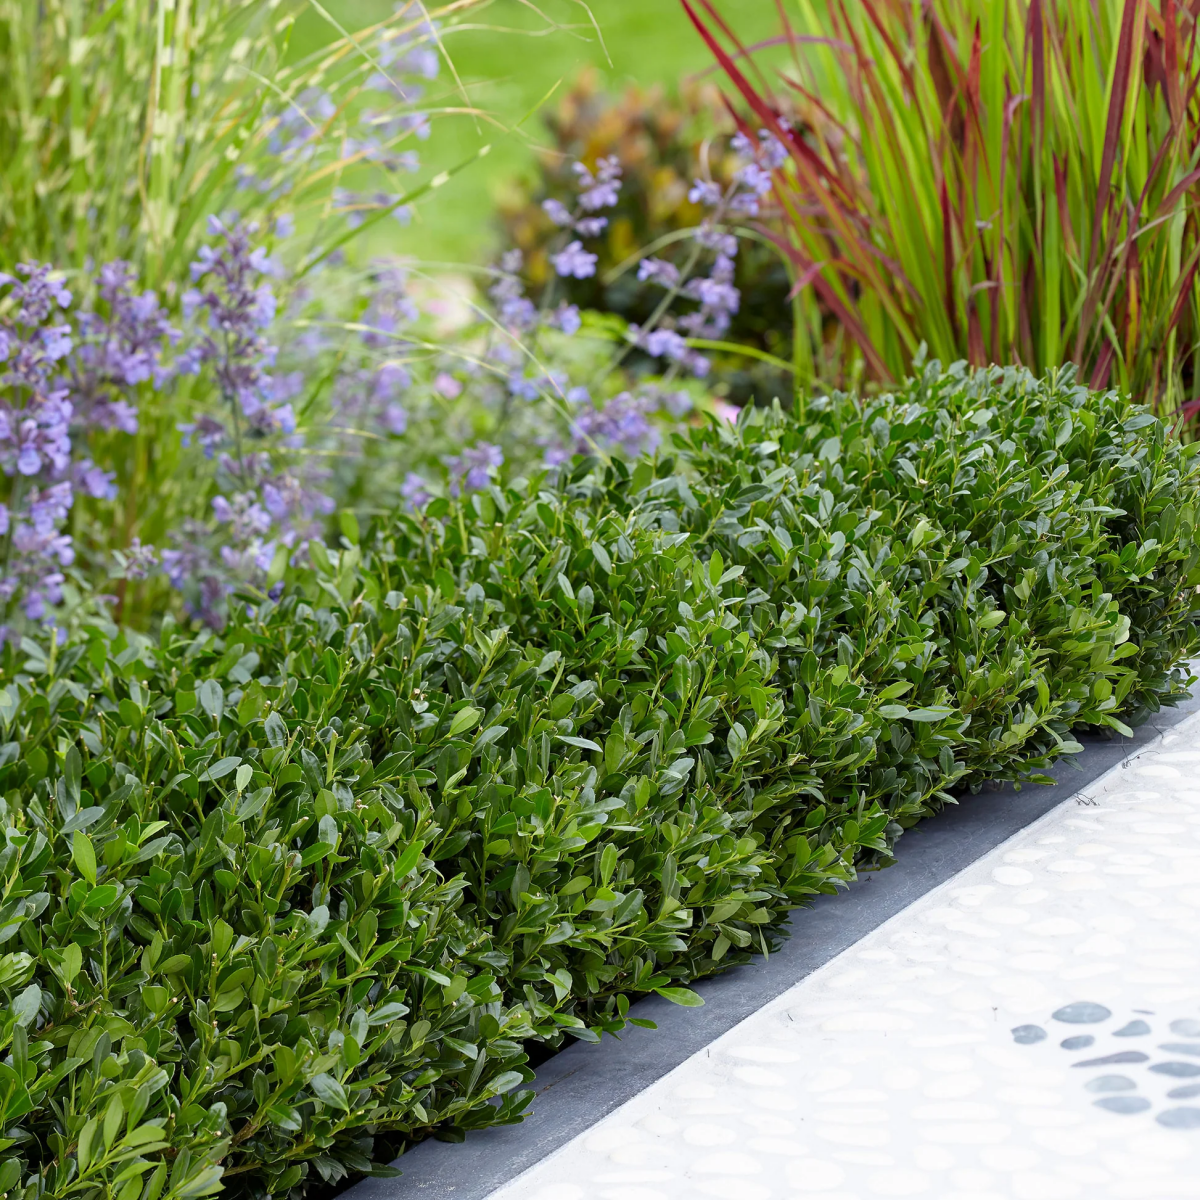
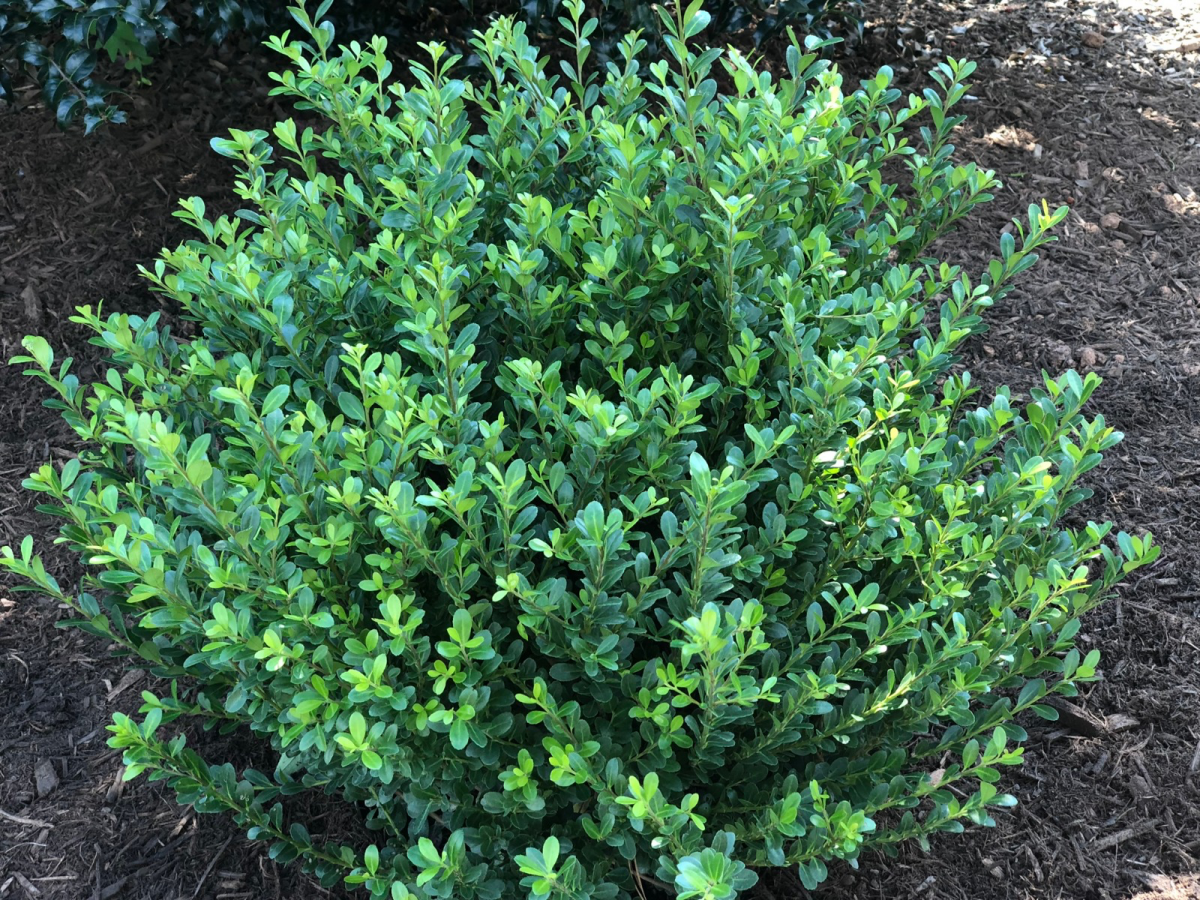
- For a Low Border: ‘Helleri’ is a classic. It’s a low-growing, mounding shrub that usually gets about 2-3 feet tall and 3-4 feet wide. It’s perfect for low hedges or mass plantings. It’s tough, but don’t even think about putting it in a soggy spot.
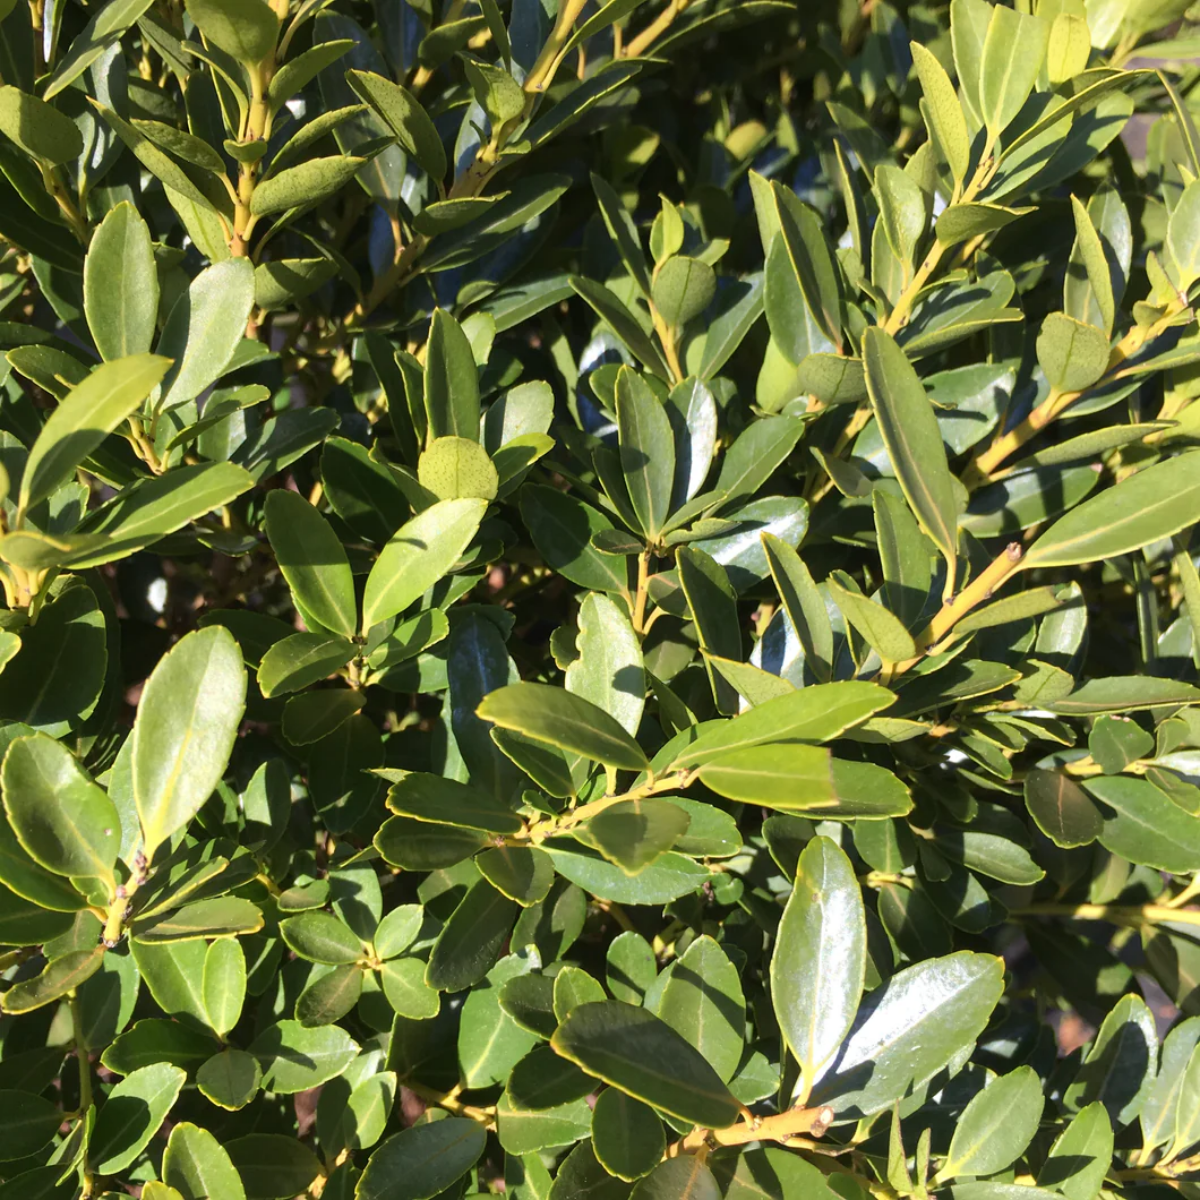
- For a Medium Hedge: ‘Convexa’ is one of the most reliable and hardy options out there. It has a unique convex, or “bubble-shaped,” leaf. It can get 6-8 feet tall if you let it go, but it handles shearing into a formal hedge beautifully. It’s a female and a heavy berry producer if a male is nearby.
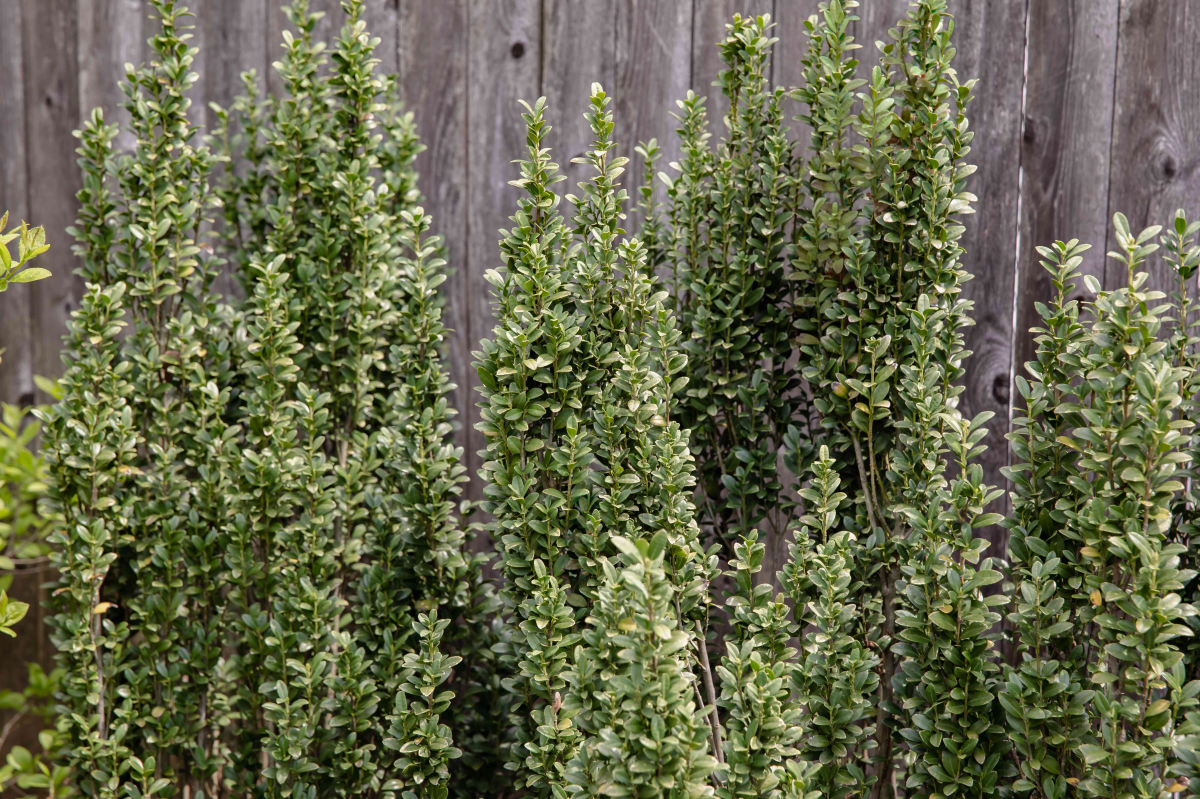
- For a Tight, Vertical Accent: ‘Sky Pencil’ is famous for its super narrow, upright form. It’s a problem-solver for tight spaces. However, it has a weakness: heavy snow or ice can bend and break the branches. My pro tip? In the winter, loosely tie the branches together for support. Use something soft that won’t cut into the bark, like strips of old cloth or even pantyhose, tied in a loose loop.
- For a Splash of Color: ‘Golden Gem’ is a low, spreading variety with brilliant yellow-gold leaves. It needs a decent amount of sun to keep that color, but in really hot climates, it can get a little scorched. It’s a male plant, so it’s a great choice to plant alongside your female varieties for pollination.
- For a Softer Texture: ‘Hoogendorn’ is another lower, spreading type, but its foliage is a bit flatter and more delicate than ‘Helleri’. I find it works really well when you want a softer look for a groundcover or border.
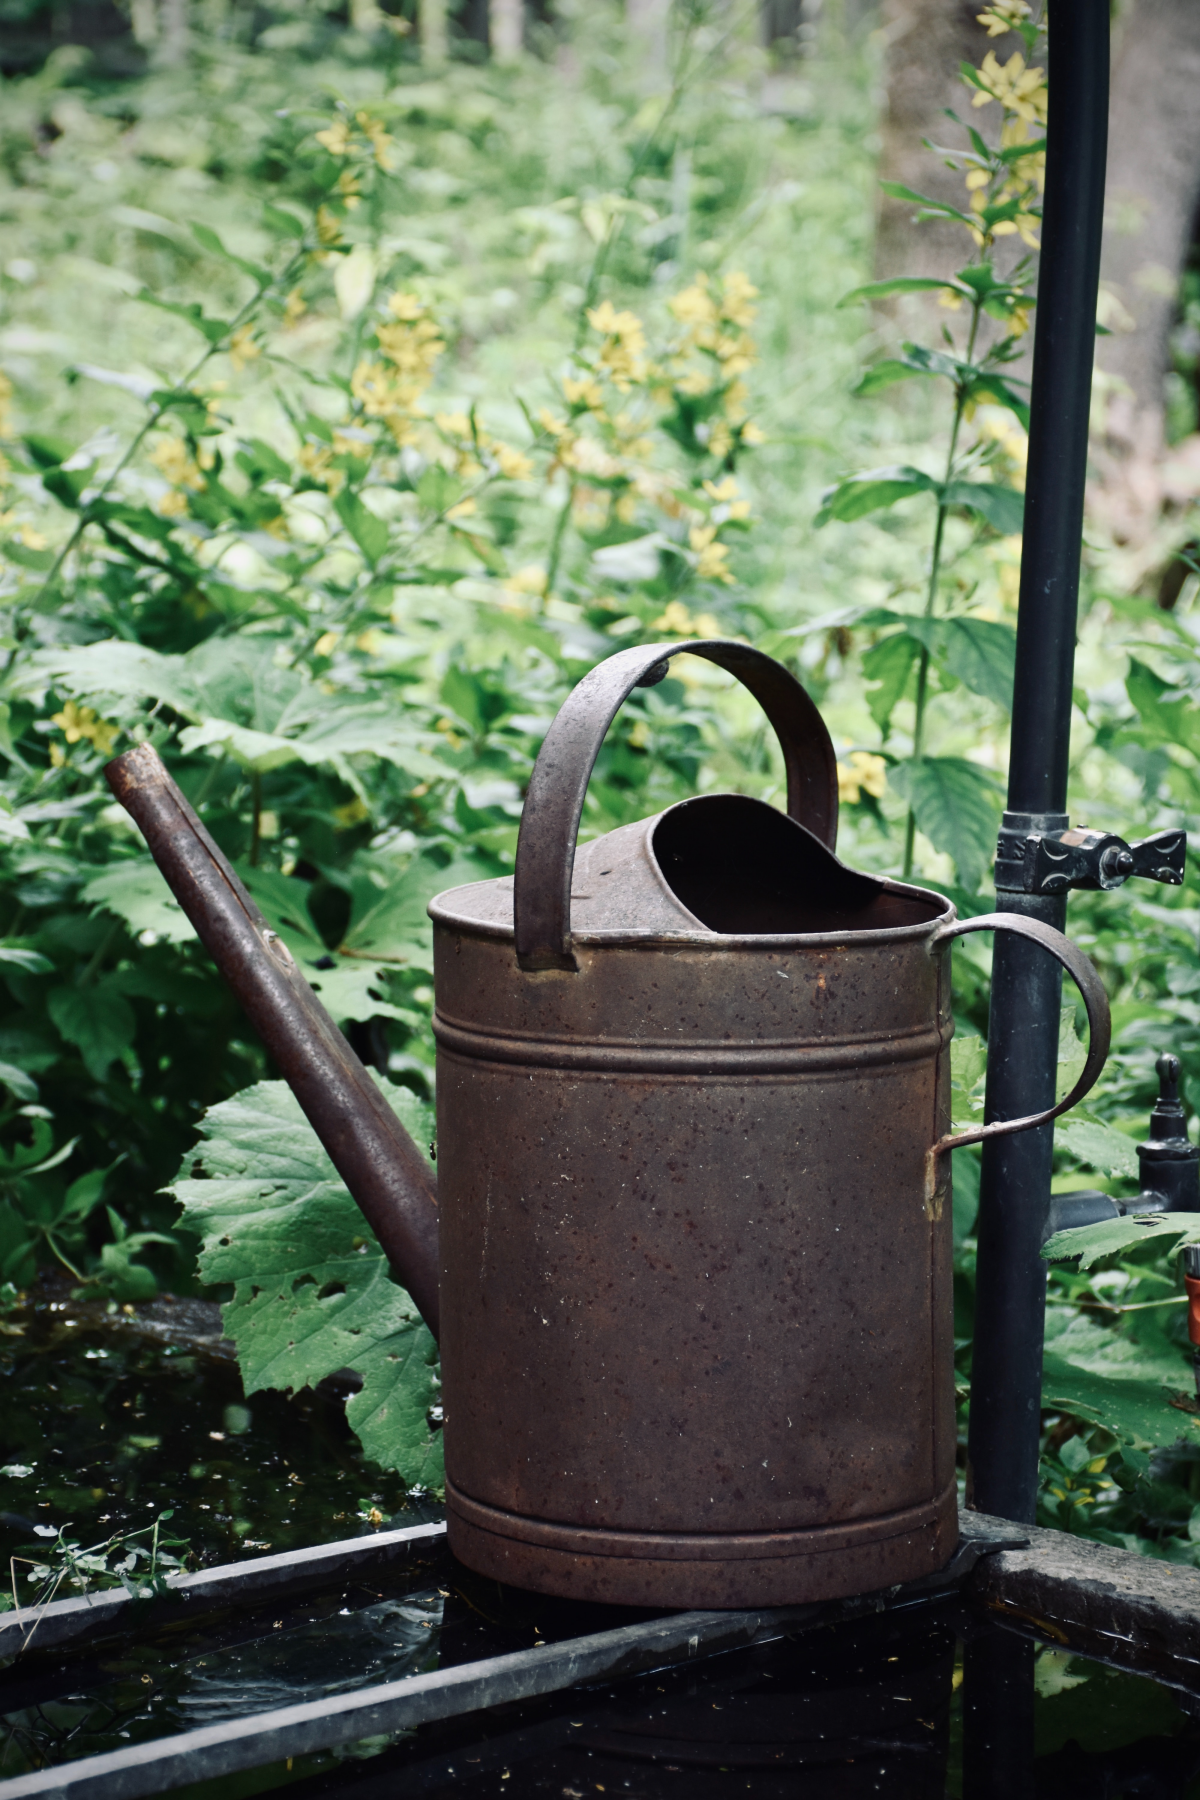
Planting Done Right: The Foundation for Success
I always say that 90% of a plant’s future is decided before it even goes in the ground. For Japanese holly, this is gospel. A little extra prep work will save you so much trouble down the line.
Step 1: The Drainage Test (Don’t Skip This!)
This is it. The most critical step. Before you even buy the plant, dig a hole where you plan to plant it, about a foot deep and a foot wide. Fill it with water and let it drain. Then fill it again and time how long it takes to disappear.
If the water is gone within a few hours (draining at 1-2 inches per hour), you’re golden. If water is still sitting in that hole after 8-10 hours… stop. You have a serious drainage problem, and planting a holly there is a death sentence. You’ll need to either pick another spot or fix the drainage by building a raised bed.

Step 2: Get the Soil Just Right
Japanese hollies need acidic soil to thrive (a pH between 5.0 and 6.5). If your soil is too alkaline (above 7.0), the plant can’t absorb iron, and you’ll see yellow leaves with green veins. A simple soil test from a garden center can tell you your pH. If it’s too high, you can lower it by adding elemental sulfur or using a fertilizer formulated for acid-loving plants, like Espoma Holly-tone.
No matter what, amending your soil with organic matter is always a good idea. I use well-rotted compost or pine bark fines to improve drainage in clay and help retain water in sand.
Step 3: The Actual Planting Process
Forget the old advice to dig a hole twice as deep. The right way is to dig a hole two to three times as wide as the root ball, but only as deep as the root ball itself.
When you place the plant in the hole, make sure the root flare—where the trunk starts to widen into roots—is sitting slightly above the surrounding ground level. Planting too deep is a common and fatal mistake.
Gently tease the roots if they are circling in the pot. Backfill with the native soil you dug out, water it in thoroughly, and then add your mulch.
A Real-World Budget & Spacing Example
Let’s get practical. Say you want to plant a 15-foot hedge using the ‘Convexa’ holly, which gets about 5-6 feet wide. My go-to rule for a dense hedge is to space plants at half their mature width. So for a 6-foot wide shrub, you’d plant them 3 feet apart (center to center). For a 15-foot run, you’d need 5 plants.
Here’s a rough cost breakdown for a DIY project:
- Plants: Five 5-gallon ‘Convexa’ hollies will likely run you between $40 and $70 each. Let’s call it $250.
- Soil Amendment: You’ll want a couple of bags of pine bark soil conditioner, which are about $10 a bag. So, $20.
- Mulch: You’ll need about 4-5 bags of mulch at around $5 a bag. So, $25.
You’re looking at a starting cost of around $295 for a beautiful 15-foot hedge that you did yourself. And remember, don’t expect a perfect, solid hedge overnight. It will take a good 2-3 years for the plants to really grow together and fill in.
Your 5-Minute Holly Health Check
Here’s a quick win you can do right now. Go outside and look at the base of your shrubs. Is mulch piled up against the trunk like a little volcano? Bad news. That traps moisture and invites rot. Pull it back a good 3-4 inches from the trunk on all sides. You just prevented the #1 cause of trunk rot. Easy, right?
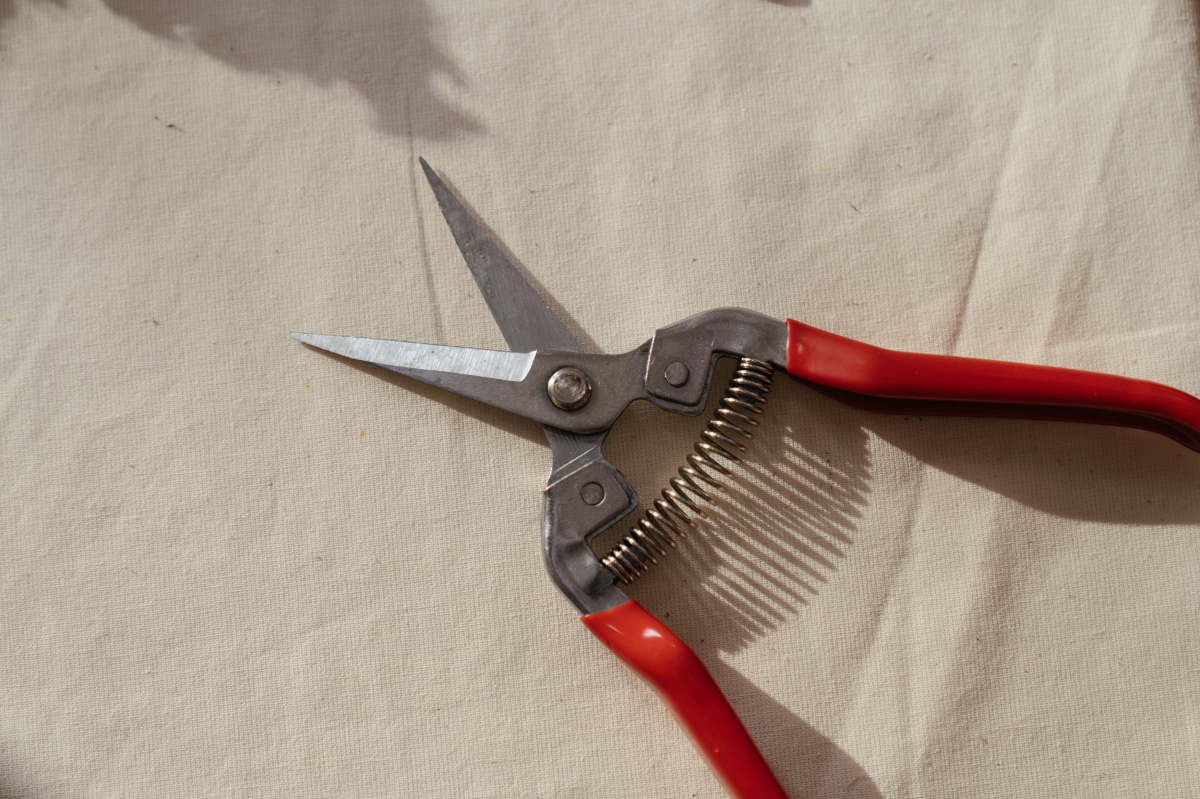
How to Prune Like a Pro
Pruning is how you give your holly character. The right cuts keep it healthy and sharp; the wrong ones can ruin it.
For formal, sheared hedges, the most important rule is to keep the base slightly wider than the top. This lets sunlight reach the bottom branches, preventing that ugly, bare-legged look. You can do light touch-up shearing during the growing season, but avoid any major trimming after mid-summer.
For a more natural look, use hand pruners to selectively thin out branches from the inside of the plant. This is my preferred method for controlling size while still letting the plant look like a plant.
And if you inherit a giant, overgrown beast? Don’t be afraid to do a hard renewal pruning in late winter. You can cut the whole thing down to about 6-12 inches from the ground. It looks terrifying, but a healthy holly will explode with new growth from the base, giving you a brand-new shrub over the next couple of years.
Troubleshooting: What to Do When Things Go Wrong
Even with good care, problems can pop up. Here’s what I see most often in the field.
- The Symptom: Yellow Leaves.
The most likely cause is almost always overwatering or poor drainage. Check that first. If the soil isn’t soggy, it could be a pH issue or a nutrient deficiency. A soil test is your best bet before you start adding things. - The Symptom: C-Shaped Notches on Leaf Edges.
You’ve got adult black vine weevils. The real damage, though, comes from their larvae in the soil, which eat the roots. This one can be tough to control, but applying beneficial nematodes to the soil is an effective, non-chemical approach. - The Symptom: Tiny Yellow Dots on Leaves & Fine Webbing.
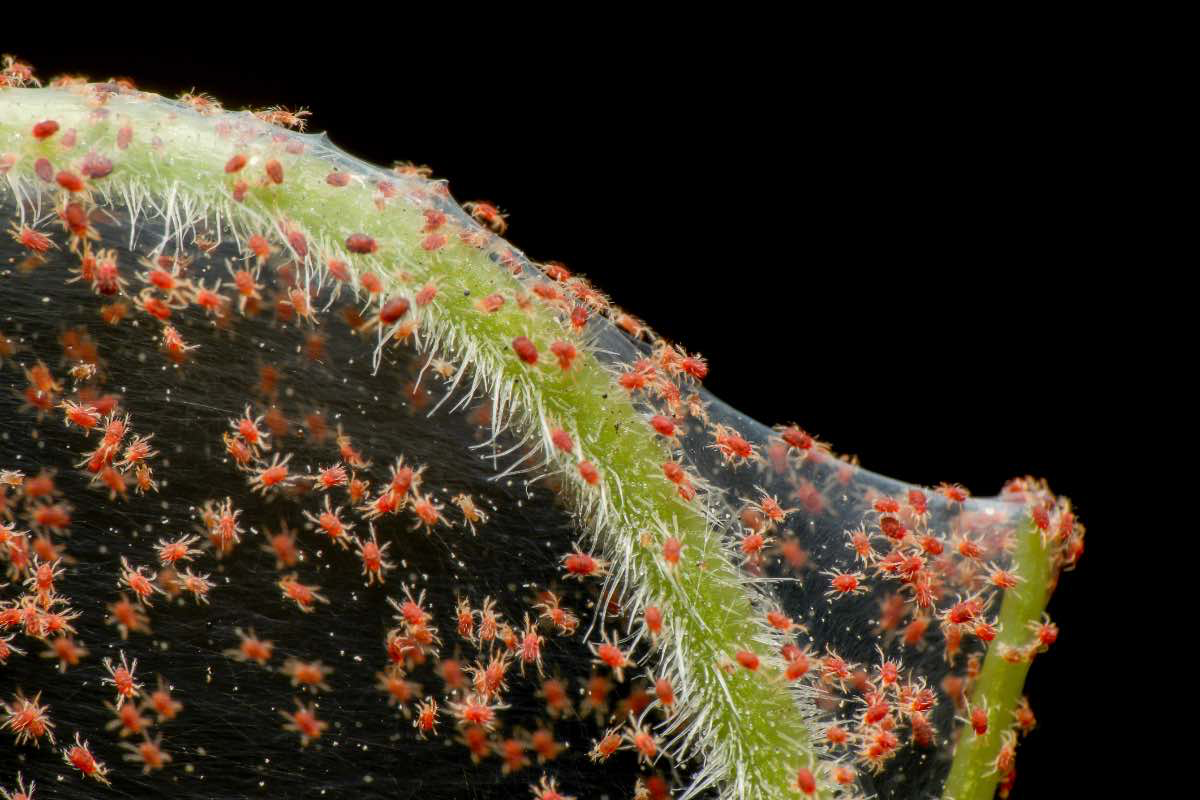
This points to spider mites, which love hot, dry weather. First, try blasting them off with a strong spray of water from the hose, making sure to hit the undersides of the leaves. If they persist, insecticidal soap can work wonders. - The Symptom: Brown, Crispy Leaves After Winter.
That’s classic winter burn, caused by harsh wind and sun drying out the leaves. It’s most common on new plants or those in really exposed spots. Making sure your holly is well-watered before the ground freezes is the best prevention.
A Final Bit of Advice
Japanese holly is an amazing, versatile shrub, but it’s not a ‘set it and forget it’ plant. It asks for respect for its two most basic needs: well-drained, acidic soil and consistent moisture. My experience has proven time and again that a few extra hours preparing the site is the single best investment you can make. It will save you so much money and frustration in the long run.
So get the soil right, choose the right variety for your space, and don’t be afraid to prune it with confidence. If you do that, you’ll have a source of structure and beauty in your garden for a very, very long time.
Galerie d’inspiration
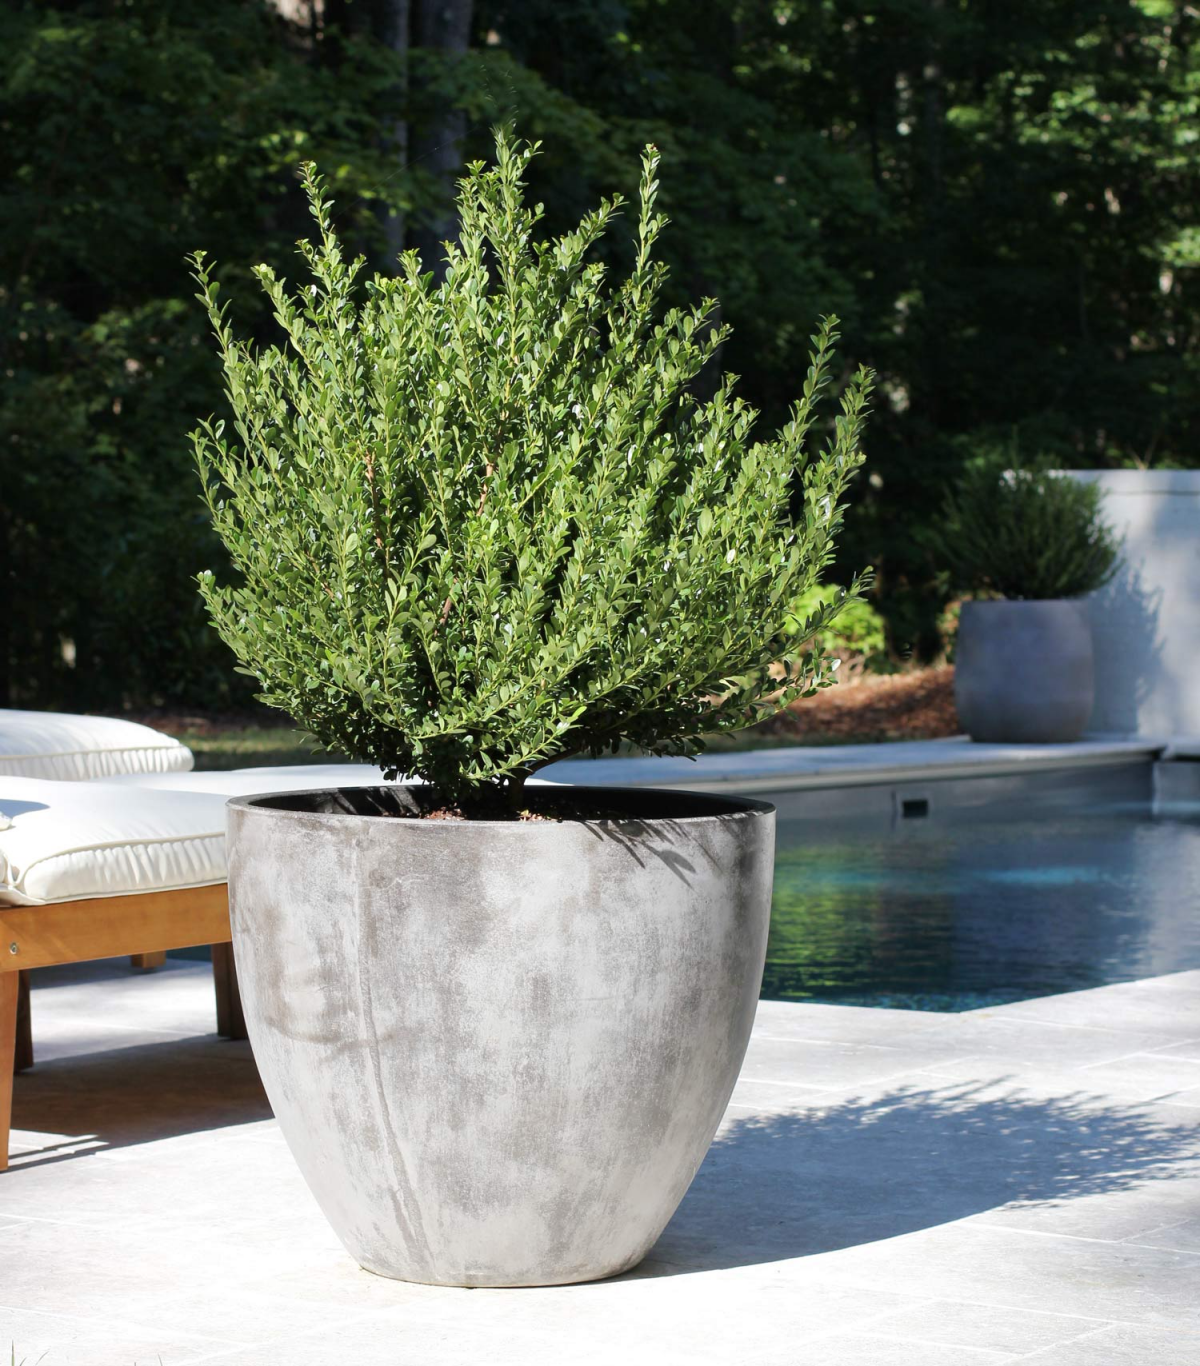
For a sharp, vertical statement: The ‘Sky Pencil’ variety is your go-to. It grows in a narrow, columnar shape, perfect for flanking a doorway or adding height to tight spaces without taking up precious garden real estate.
For a low, mounding border: Look for ‘Helleri’. This cultivar naturally grows in a dense, low, and wide dome, making it ideal for defining pathways or creating soft, undulating green edges along a garden bed.
Choosing the right cultivar from the start prevents a constant battle of pruning to force a plant into a shape it doesn’t want to be.
Over the last decade, Boxwood Blight has decimated countless formal gardens, leaving homeowners with a costly and heartbreaking problem.
This is where the Japanese holly shines as a modern hero. Genetically, it is not susceptible to the same blight that plagues boxwoods (*Buxus* species). For gardeners who love that classic, small-leaved, formal hedge look, switching to a variety like *Ilex crenata* ‘Green Lustre’ offers nearly identical aesthetics with superior disease resistance and priceless peace of mind.

How do I prune for a natural look versus a formal hedge?
For a dense, formal hedge, light shearing in late spring after the first flush of growth is key. Use sharp hedge shears to create a clean, solid surface. For a more natural, specimen look, put the shears away. Instead, use hand pruners to selectively cut individual branches back to a side branch deeper inside the plant. This thins the shrub, allows light to penetrate, and encourages a graceful structure rather than a dense wall of green. This ‘renewal pruning’ is best done in late winter before new growth begins.
The fine texture and deep green of Japanese holly make it a superb backdrop. To create a multi-layered garden, pair it with:
- Bold Textures: The large, ribbed leaves of Hosta ‘Sum and Substance’ or the glossy foliage of Rhododendrons.
- Color & Form: The feathery, burgundy foliage of a weeping Japanese Maple (*Acer palmatum*).
- Seasonal Interest: Drifts of Astilbe for feathery summer plumes or Hakone grass for cascading movement.


