The Slow-Burn Guide to Growing Peonies from Seed (It’s Worth It!)
I’ve been deep in the world of plants for a long time, from huge commercial nurseries to quiet garden consultations. And honestly, nothing has taught me more about the art of patience than growing peonies from seed. It’s so tempting to just buy the roots, plant them in the fall, and get flowers in a year or two—and there’s absolutely nothing wrong with that! It’s a great way to get a gorgeous plant.
In this article
But growing from seed… that’s a different kind of magic. It’s a slow, deliberate dance that can take five, six, or even seven years to see the first bloom. My first try? A total flop. I treated them like regular old flower seeds, and I got nothing but dirt and disappointment. That failure sent me digging through old horticulture books and talking to propagation pros. What I learned is that peony seeds play by their own ancient rules, and if you don’t know them, you’re out of the game.
This guide is everything I wish I had back then. Think of it as a roadmap for a really rewarding, long-term project.
The Big Secret: Why Peony Seeds Are So Fussy
Before you even think about buying seeds, you have to get this one thing straight: peony seeds are programmed to be difficult. It’s a survival thing. They have what’s called a “double dormancy,” which is just a fancy way of saying they need two different signals, in the right order, to wake up.
First, the tiny embryo inside needs a cozy period of warmth to grow a root. Second, it needs a long, chilly nap to break down a chemical that stops the leaf from growing. If you get the order wrong, or skip a step, the seed will just sit there and eventually rot. It’s a brilliant natural system to make sure the seedling doesn’t pop up in the middle of a harsh winter.
Understanding this two-step process is the absolute key. It’s why just tossing seeds in the garden in spring almost never works. You have to become the master of their seasons.
Where to Get Your Seeds (This Part Matters!)
Your entire multi-year project hinges on starting with good seeds. I learned this the hard way after wasting a full year on a packet of cheap, dried-out seeds from some random online marketplace. Not a single one sprouted. Don’t make my mistake; investing a little more upfront saves you so much time and frustration.
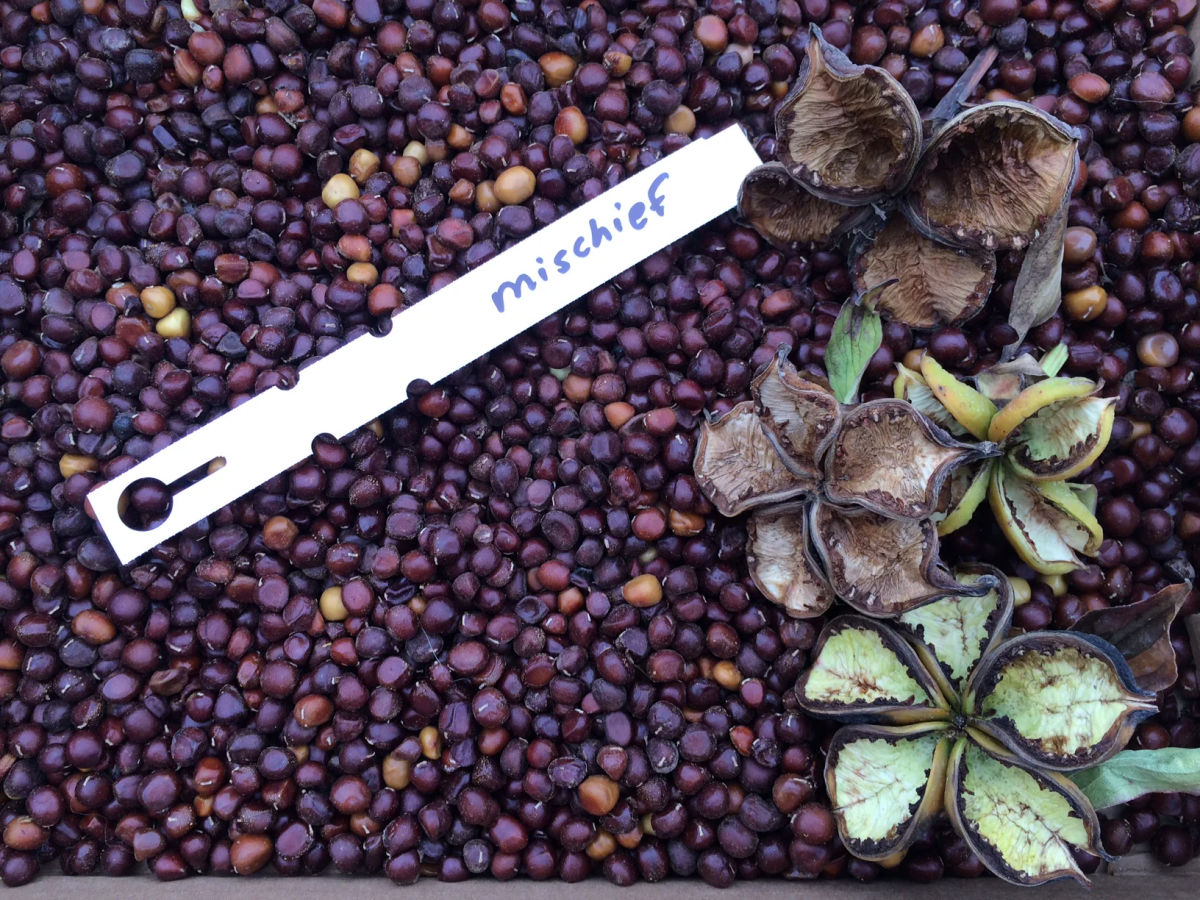
- Harvesting Your Own: If you’ve already got peonies, this is a great option. After the petals fall, a weird-looking seed pod forms. Let it ripen on the plant until it starts to split open in late summer. The seeds should be plump, dark, and almost feel a little moist. Grab them right away! If they dry out completely, they fall into a super-deep sleep that’s much harder to wake them from.
- Specialist Growers: This is my go-to. Find a nursery that specializes in peonies. They sell fresh seeds from known, healthy plants. Expect to pay a bit more, maybe $15 to $25 for a small packet, but it’s worth every penny. Always ask when they were harvested; fresh is best.
- Seed Swaps: Trading with other gardeners is fantastic, but know what you’re getting. A seed from a fancy named peony won’t grow into a clone of its parent. It’s a genetic lottery! The baby plant will be a surprise mix of its ancestors, which is how new varieties are born. You’re not just a gardener; you’re a creator.
The Pro Technique: The Baggie Method
While you can plant seeds directly in the garden in the fall and let nature do the work, it’s risky. A weird winter, a dry spell, or hungry chipmunks can ruin the whole thing. For way more reliable results, I use the indoor “baggie method.” It gives you total control.
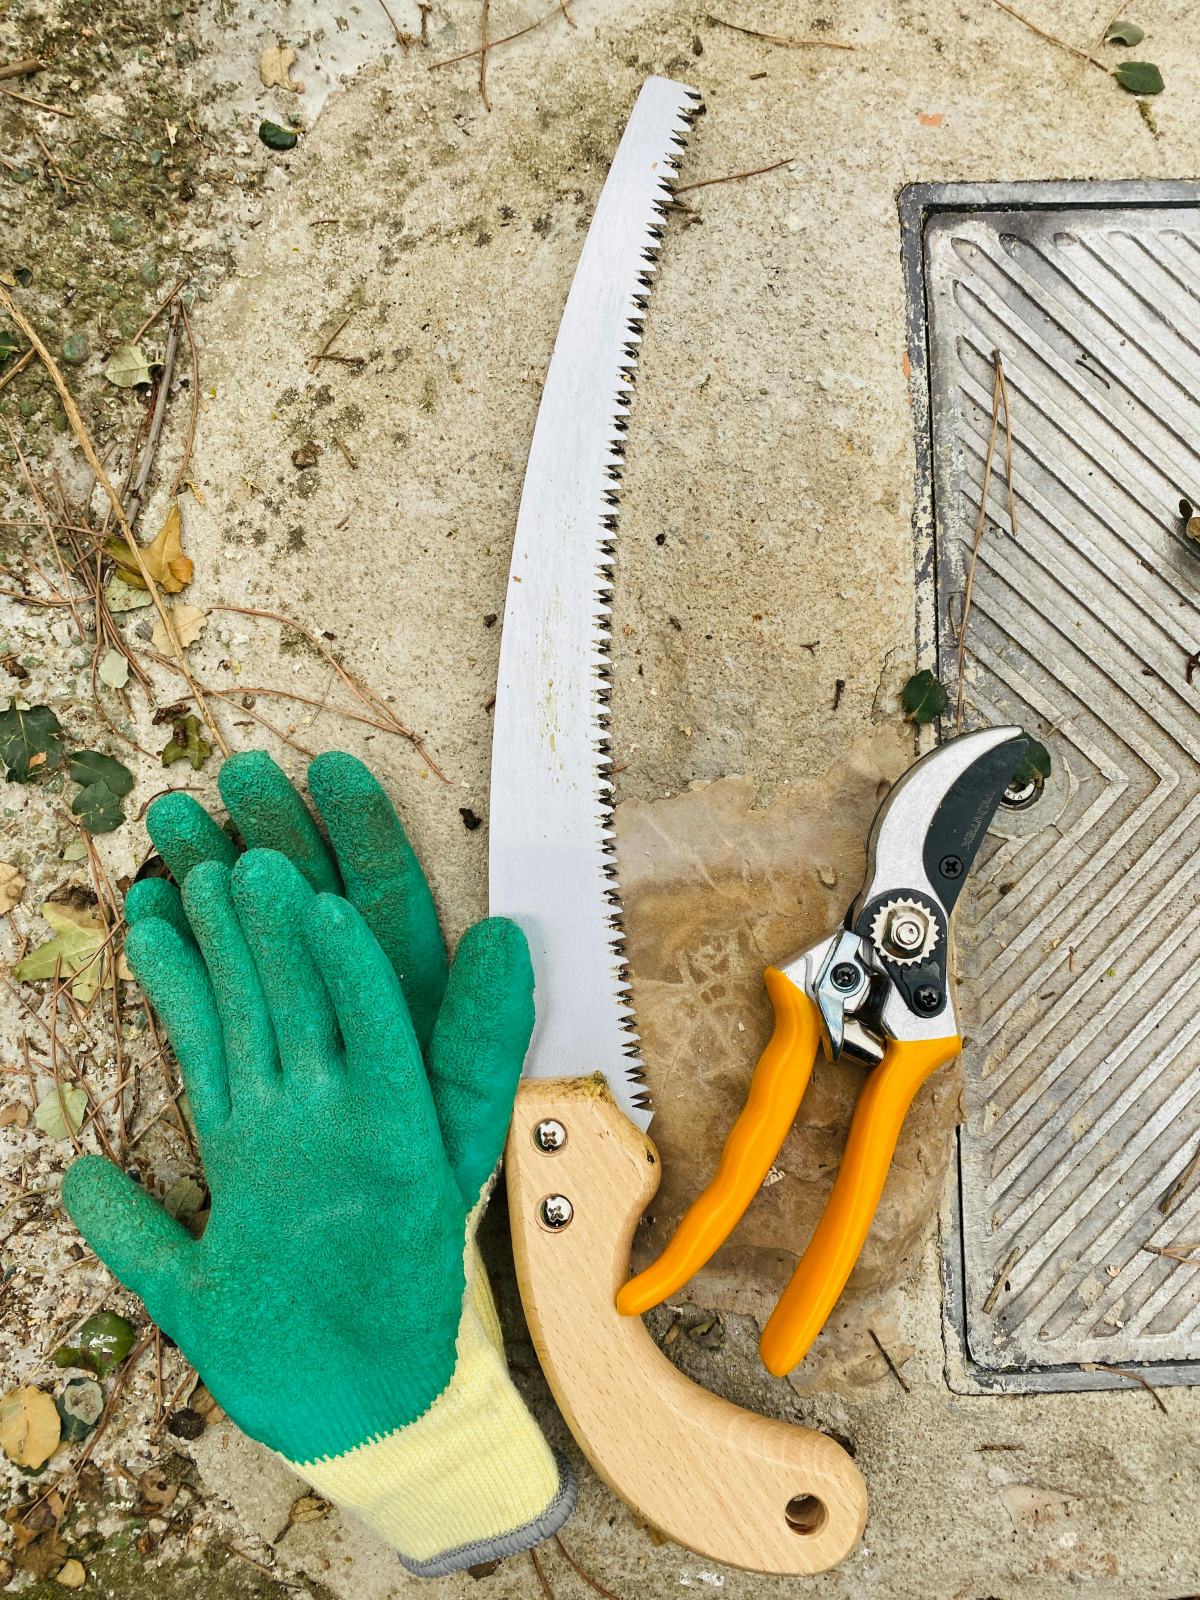
Your Shopping List:
Getting set up is pretty cheap. Here’s what you’ll need:
- Fresh Peony Seeds ($15-$25 from a specialist is a good bet)
- Quart-sized sealable plastic bags (a box is like $5)
- Coarse Vermiculite or Peat Moss (a bag of vermiculite costs about $10 and will last you for ages)
- A permanent marker
Step 1: The Warm Nap (for the Root)
First, get your vermiculite or peat moss damp—like a wrung-out sponge, not soaking wet. Too much water is the fastest way to rot your precious seeds. Mix a handful of seeds with a cup or so of the damp vermiculite right in the plastic bag. Seal it up, leaving a little air inside, and label it with the date and type of peony. Now, stash it in a warm, dark place. Around 70°F (21°C) is perfect. The top of your fridge is often a great spot. Then, you wait. Check the bag every couple of weeks. In about 2-3 months, you should see a tiny white root poking out. Success!
Step 2: The Cold Sleep (for the Leaf)
Once most seeds have a root, it’s time to trick them into thinking it’s winter. Move the whole bag into the fridge—the crisper drawer is ideal since it holds a steady temperature between 35-40°F (2-4°C). Don’t let it freeze! This cold period needs to last for another 3-4 months. You probably won’t see anything happening, but trust the process. The magic is happening inside the seed.
Heads up! Sometimes things go a little sideways in the bag. Don’t panic.
- “Help, I see mold!” This usually means it’s too wet. Open the bag for a few hours to let it air out. You can try to gently wipe the mold off unaffected seeds. Some people even use a very diluted spritz of hydrogen peroxide.
- “It’s been 3 months and no roots!” Be patient, some are slower than others. But if nothing happens after 4 months, the seeds might have been too old or just weren’t viable. This is why buying from a good source is so important.
Planting and First-Year TLC
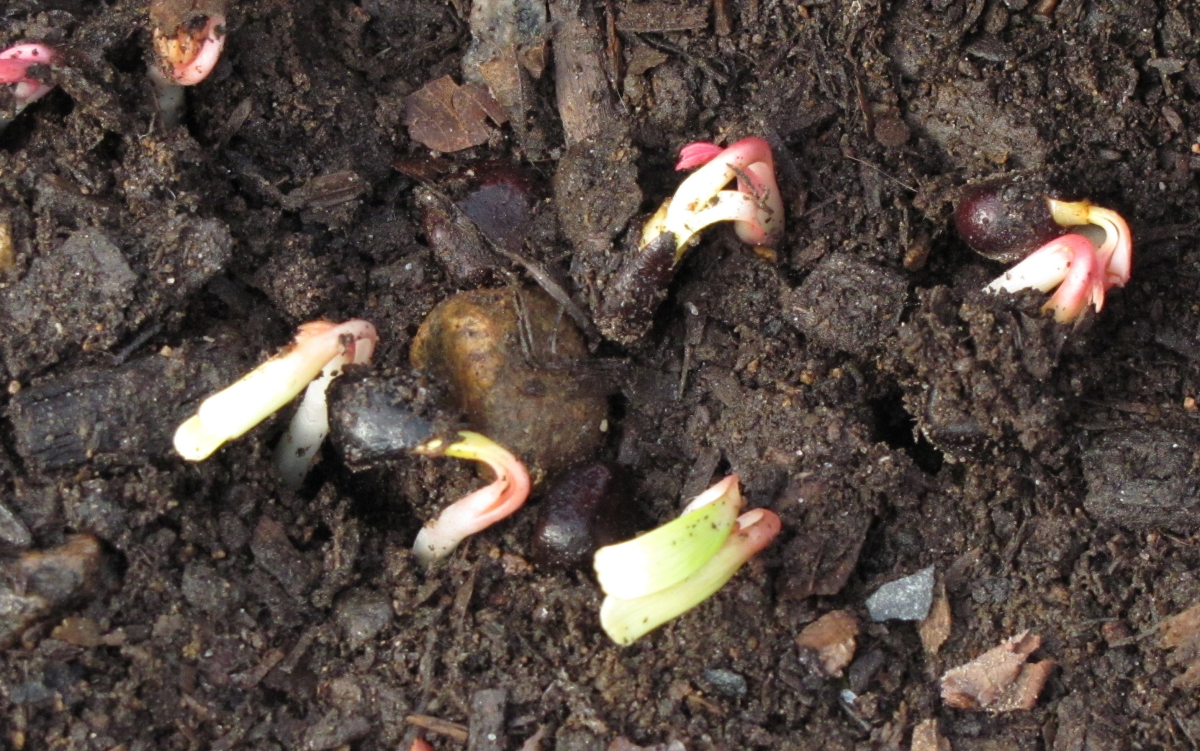
Come early spring, you can finally take the bag out of the fridge. It’s go-time! Some might already have a tiny leaf shoot, while others will sprout soon after planting.
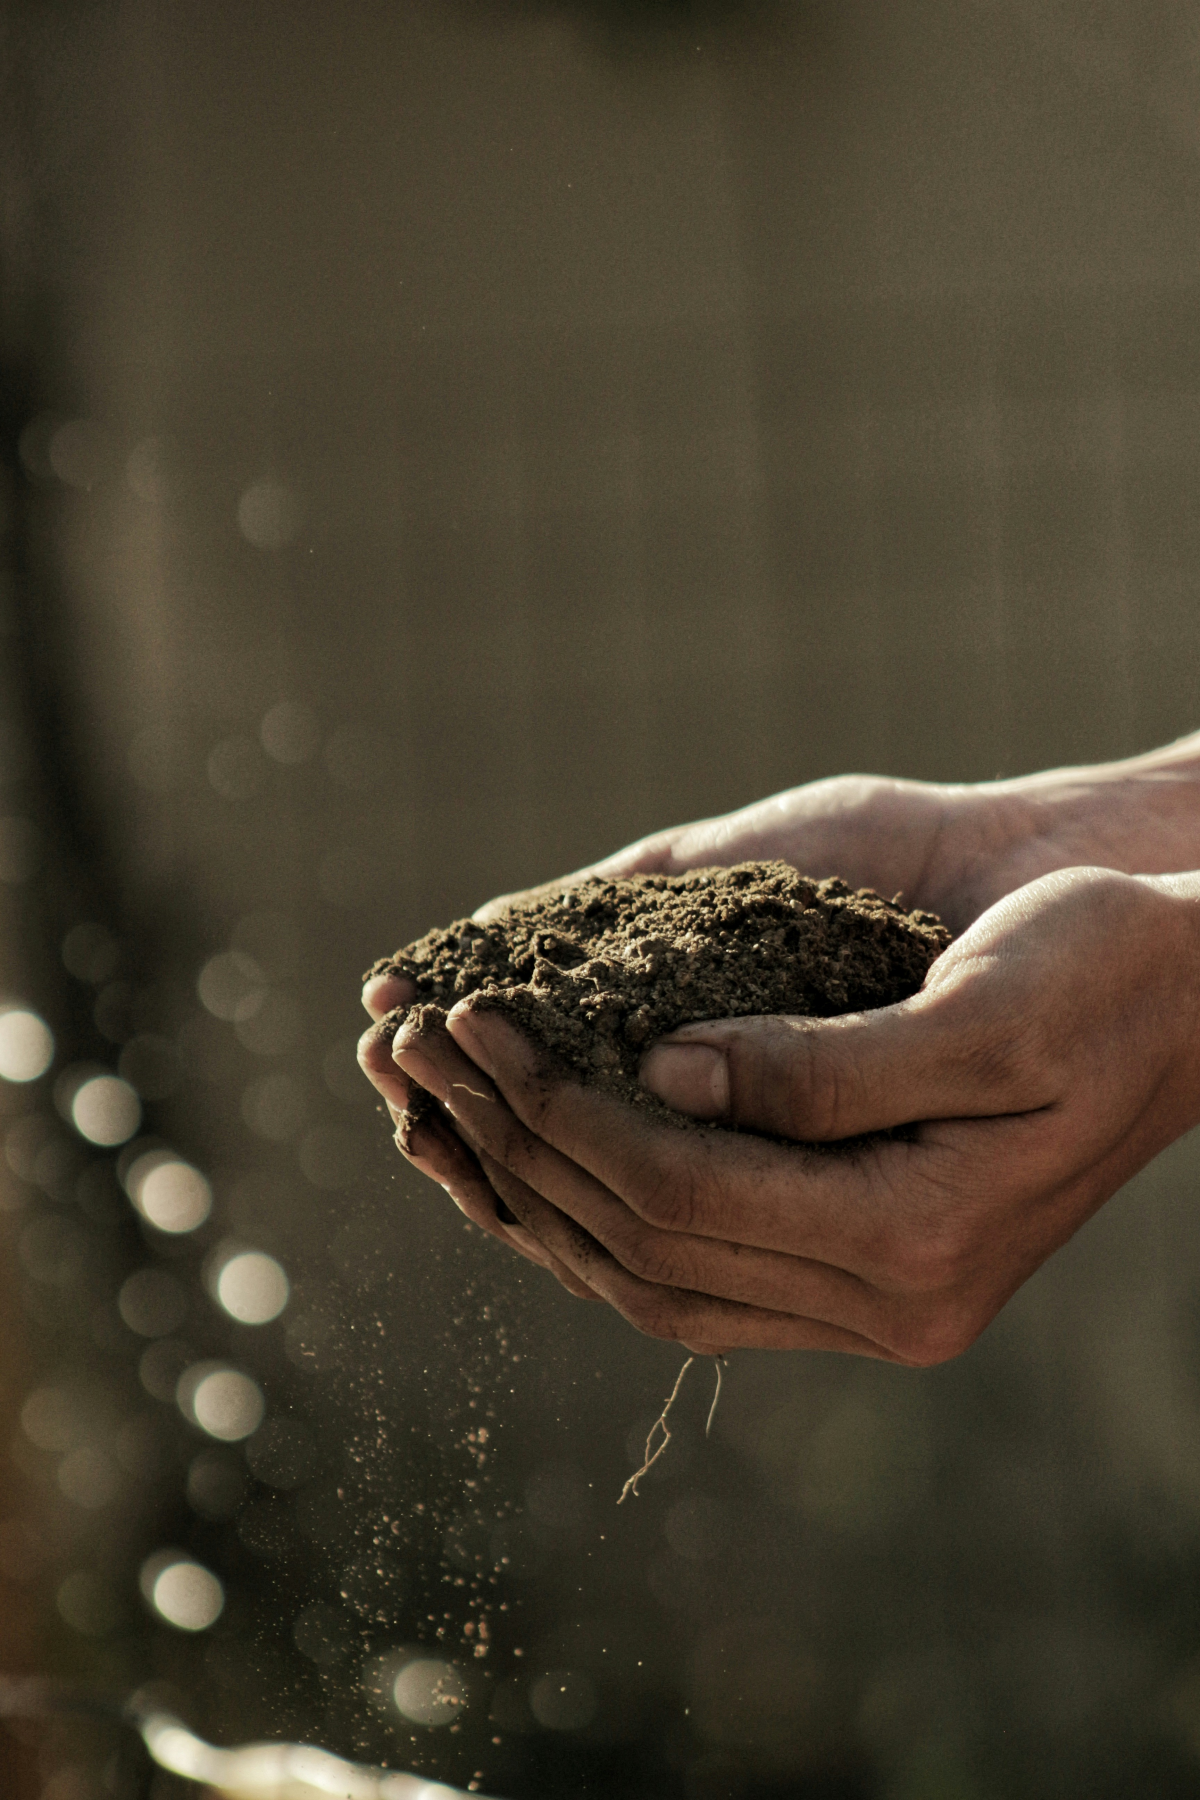
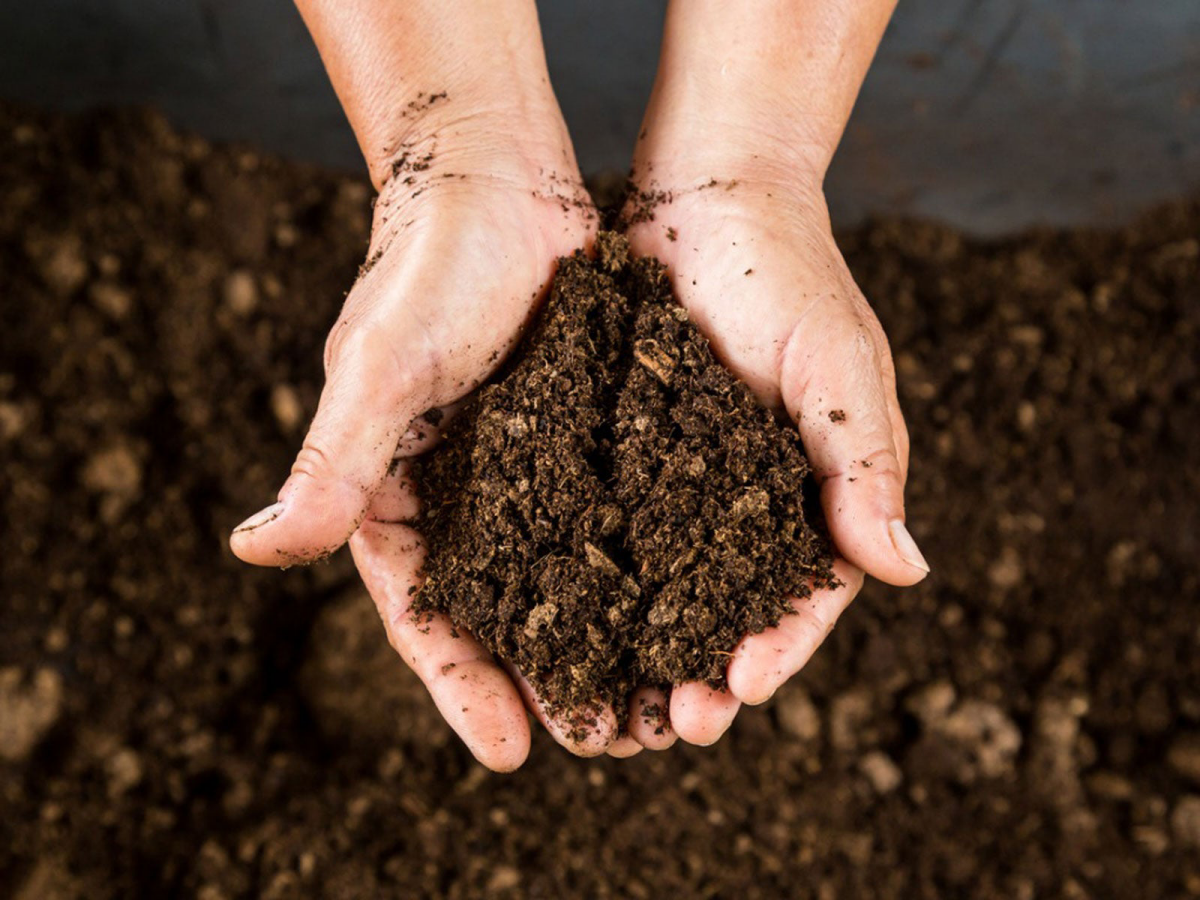
Get the Soil Right: Seedlings need fluffy, well-draining soil. I make my own mix: one part good quality potting soil, one part perlite, and a half part coarse sand. A small bag of perlite is about $8 at a garden center, and it’s a lifesaver for preventing root rot. Please, do not use heavy soil from your garden.
Potting Them Up: Go for deep pots, at least 4-6 inches. Peonies grow a long taproot right away and hate being cramped. Fill your pots, then gently place each sprouted seed with its root pointing down. The top of the seed should be about half an inch below the surface. Water them in with a gentle spray to avoid blasting them out of place.
For their first year, treat them like babies. Keep them in a spot with bright but indirect light—a hot afternoon sun will scorch their single, precious leaf. Keep the soil moist but never soggy. And here’s a tip: do not fertilize them in their first year. The seed has all the energy they need, and fertilizer will just burn their delicate new roots.
The Long Game: Seedling to Flowering Plant
Okay, let’s be real about the timeline. This is a marathon, not a sprint. To keep you motivated, here’s what the journey generally looks like:
- Year Two: Getting Stronger. In the fall, that first little leaf will die back. That’s normal! The following spring, you should see a more robust shoot with a few leaves. It’s still a tiny plant. At the end of this year, you can move it from its pot into a protected nursery bed in the garden to give the roots more space.
- Years Three & Four: Building the Foundation. The plant will get bigger and bushier each year. Now you can start feeding it. In the spring, I use a balanced, low-nitrogen fertilizer (look for numbers like 5-10-10). Too much nitrogen gives you lots of leaves but no flowers.
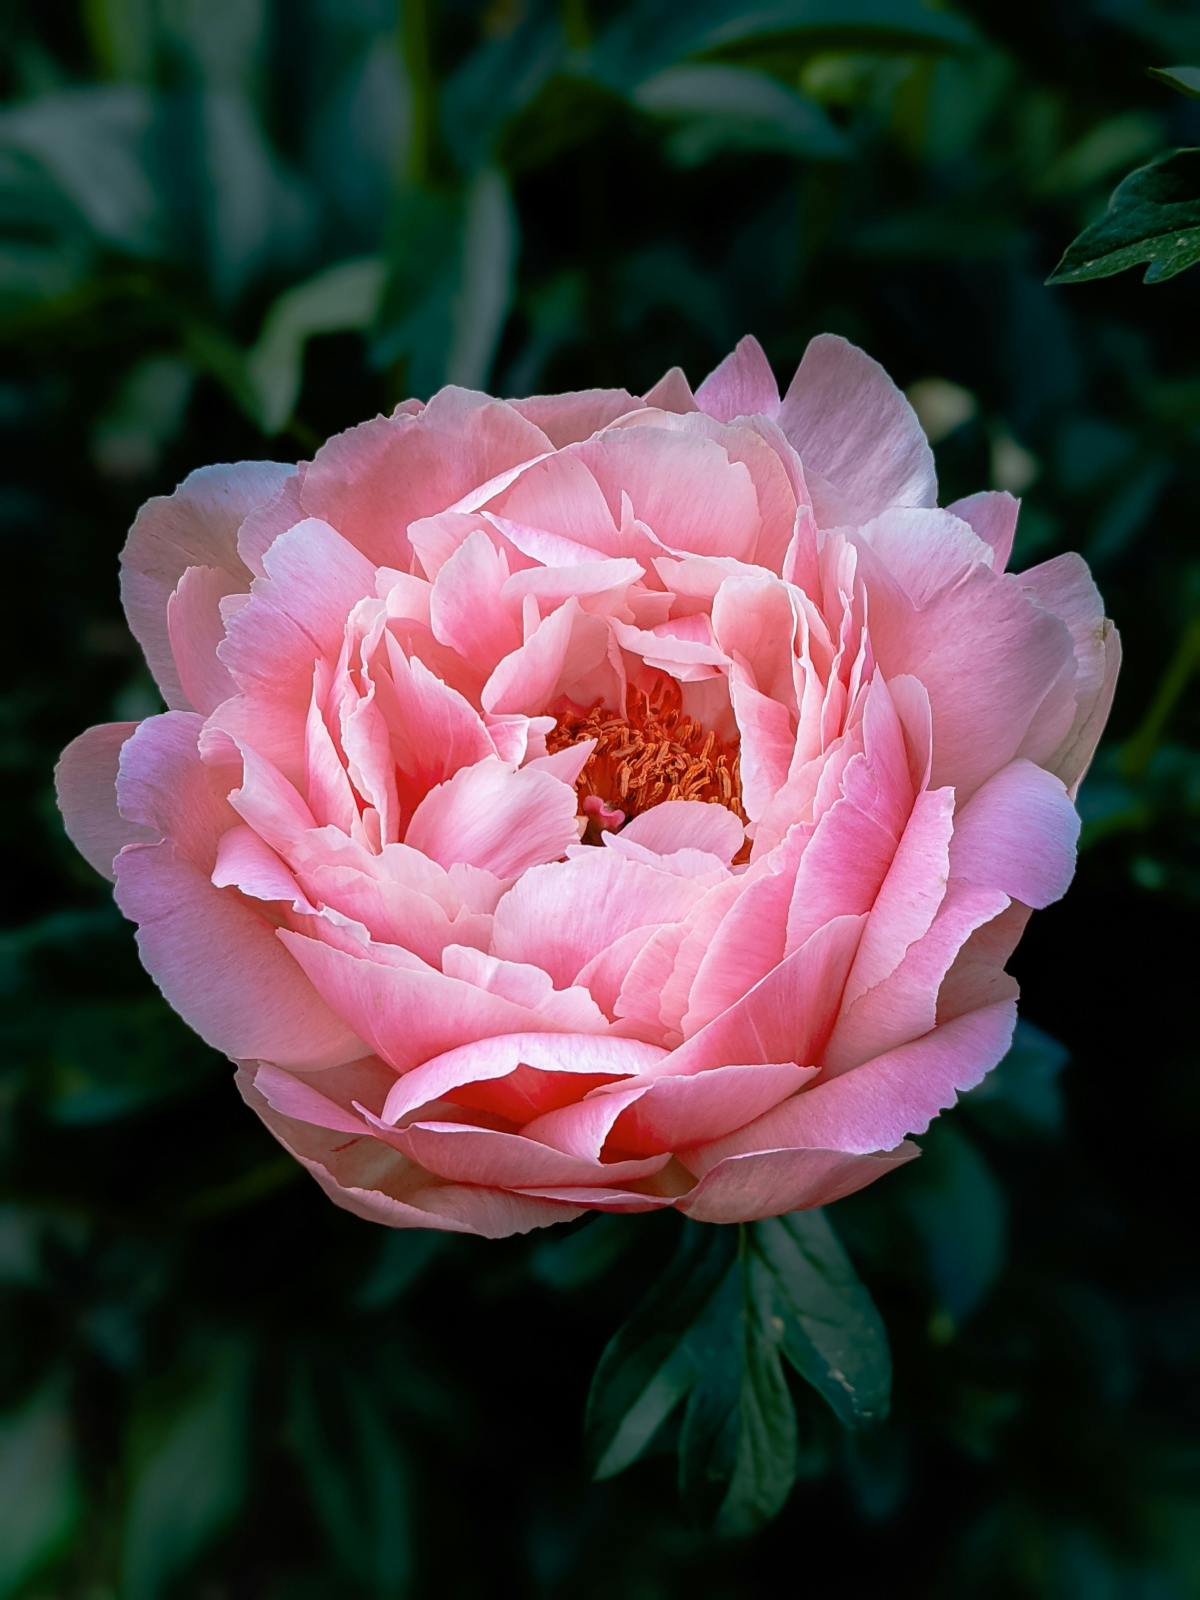
- Year Five (and Beyond!): The Big Moment. Sometime between year four and seven, you might see it. Your very first flower bud. It will be the most exciting thing in your garden! The first bloom is often small and might not have its final color or form, but it’s a start. Every year after, the flowers will get bigger and better.
When you’re ready to move it to its forever home, remember this…
THE #1 MISTAKE THAT GUARANTEES NO FLOWERS: Planting it too deep. I am completely serious. Get a ruler if you have to. The little growth buds (they look like pinkish ‘eyes’) on the root crown must be no more than two inches below the soil surface—and only one inch deep in warmer climates. If you plant it deeper, you’ll get a beautiful, healthy bush that never, ever blooms. If you remember nothing else, remember this.
Final Thoughts on This Crazy, Wonderful Project
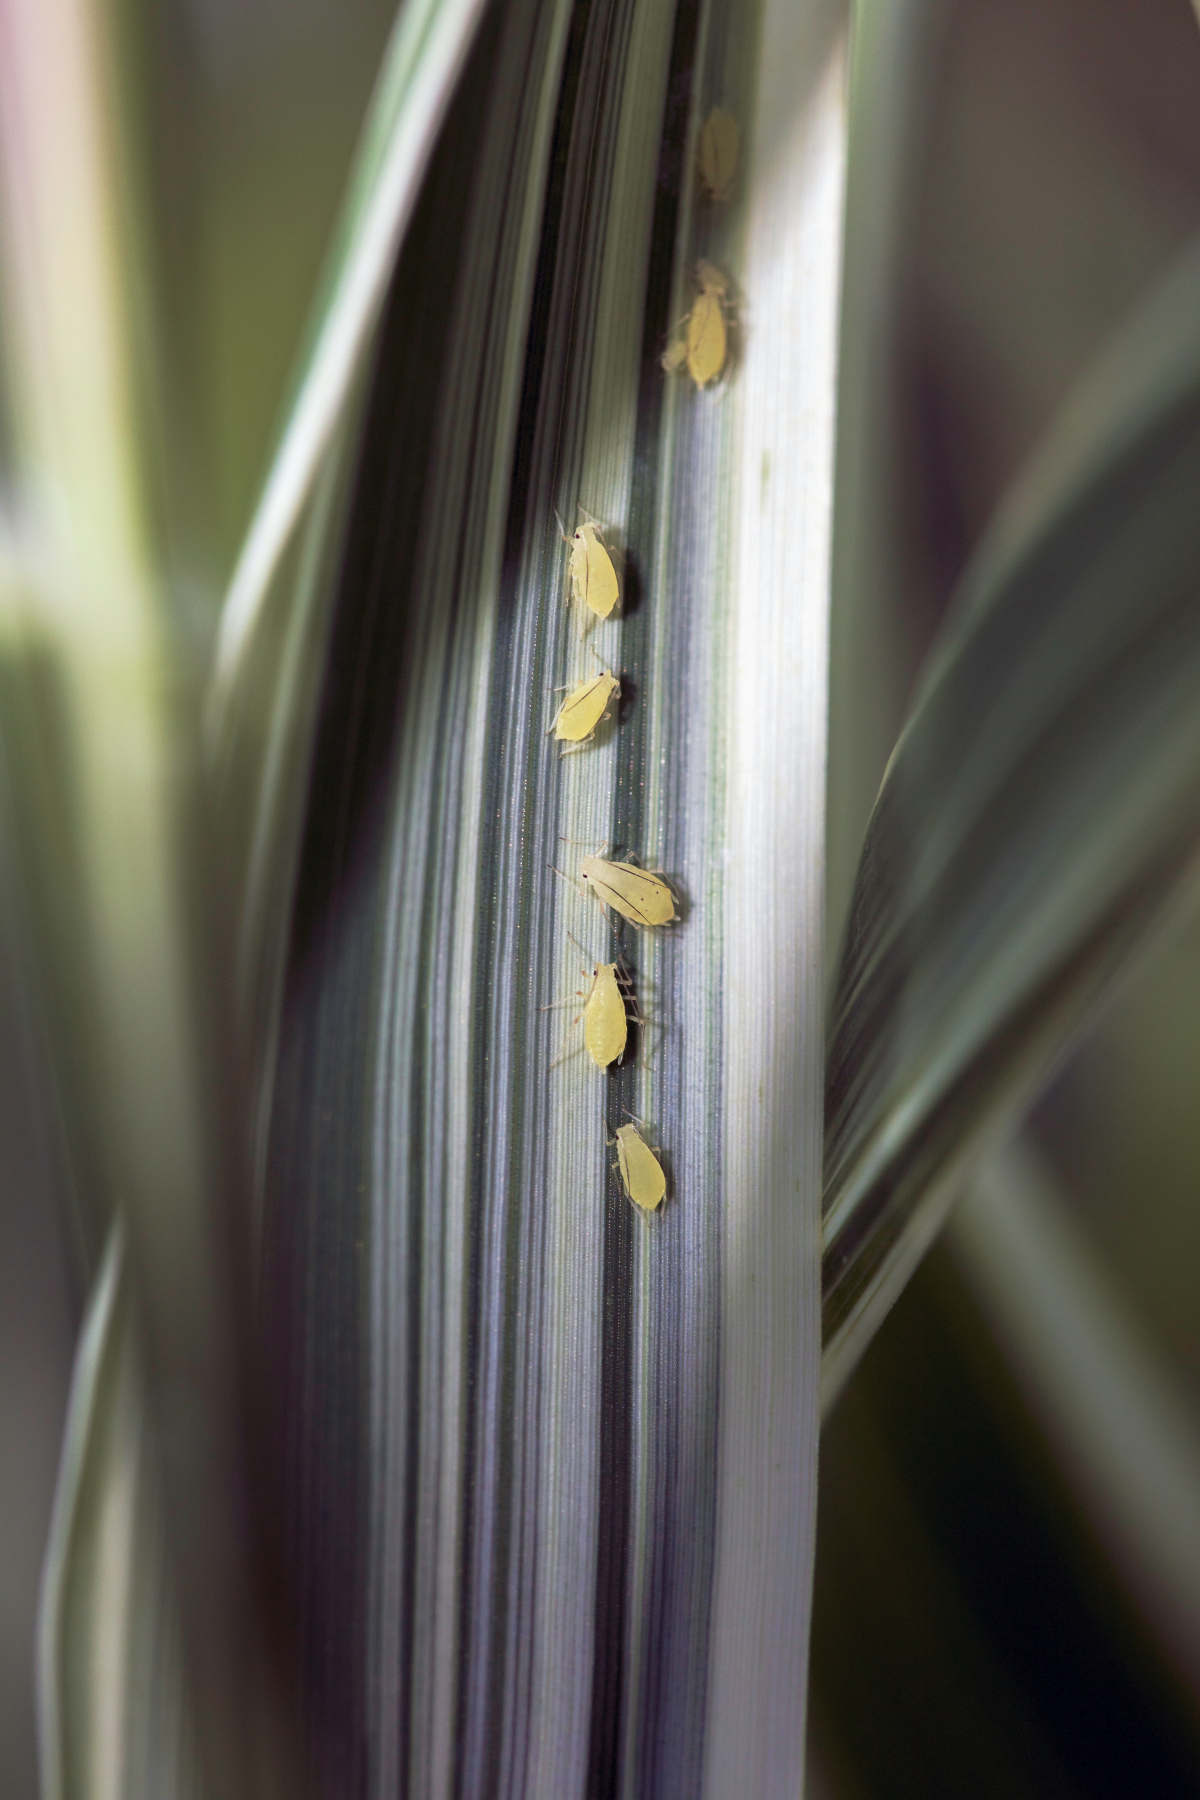
Growing peonies from seed is an act of discovery. You’ll have to deal with potential issues like fungal rot (good air circulation is your friend!) or critters snacking on your seeds if you plant them outside (a simple screen of hardware cloth works wonders).
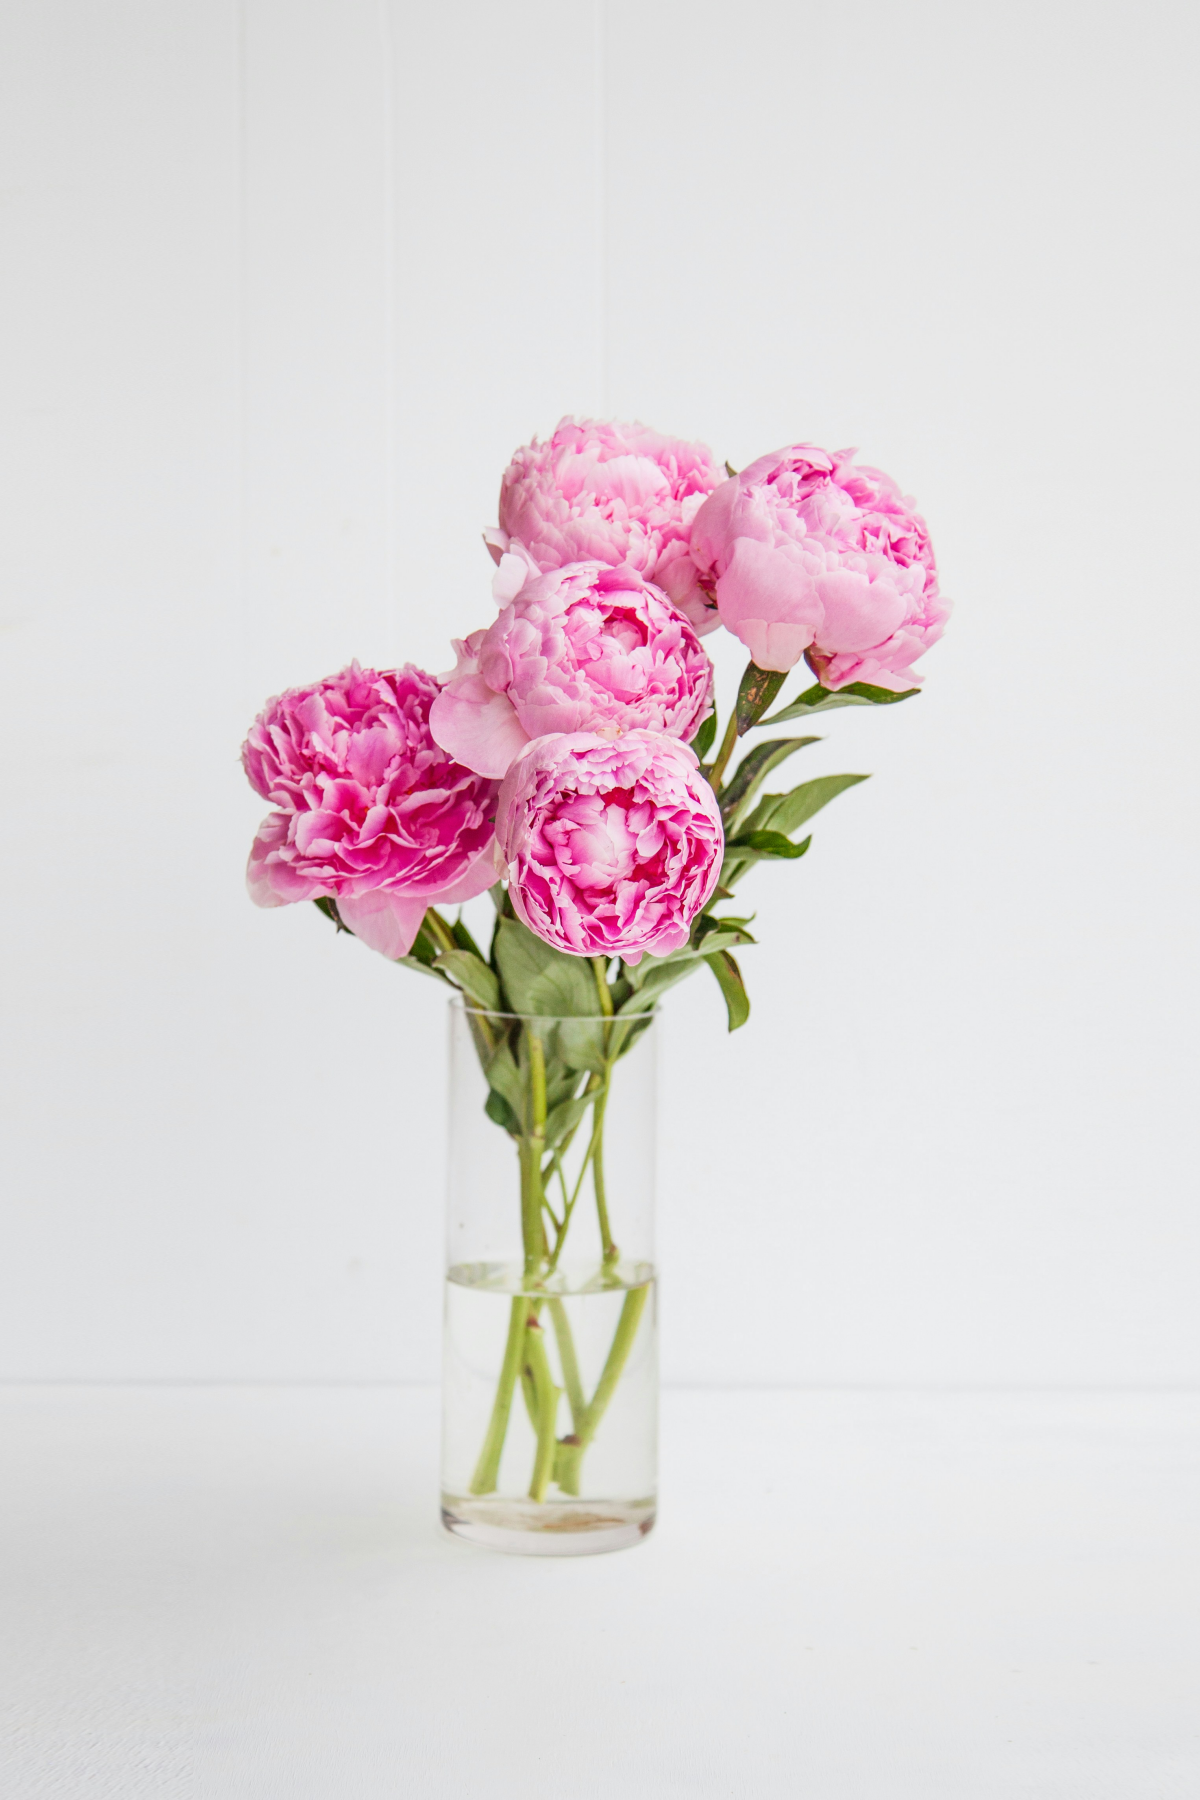
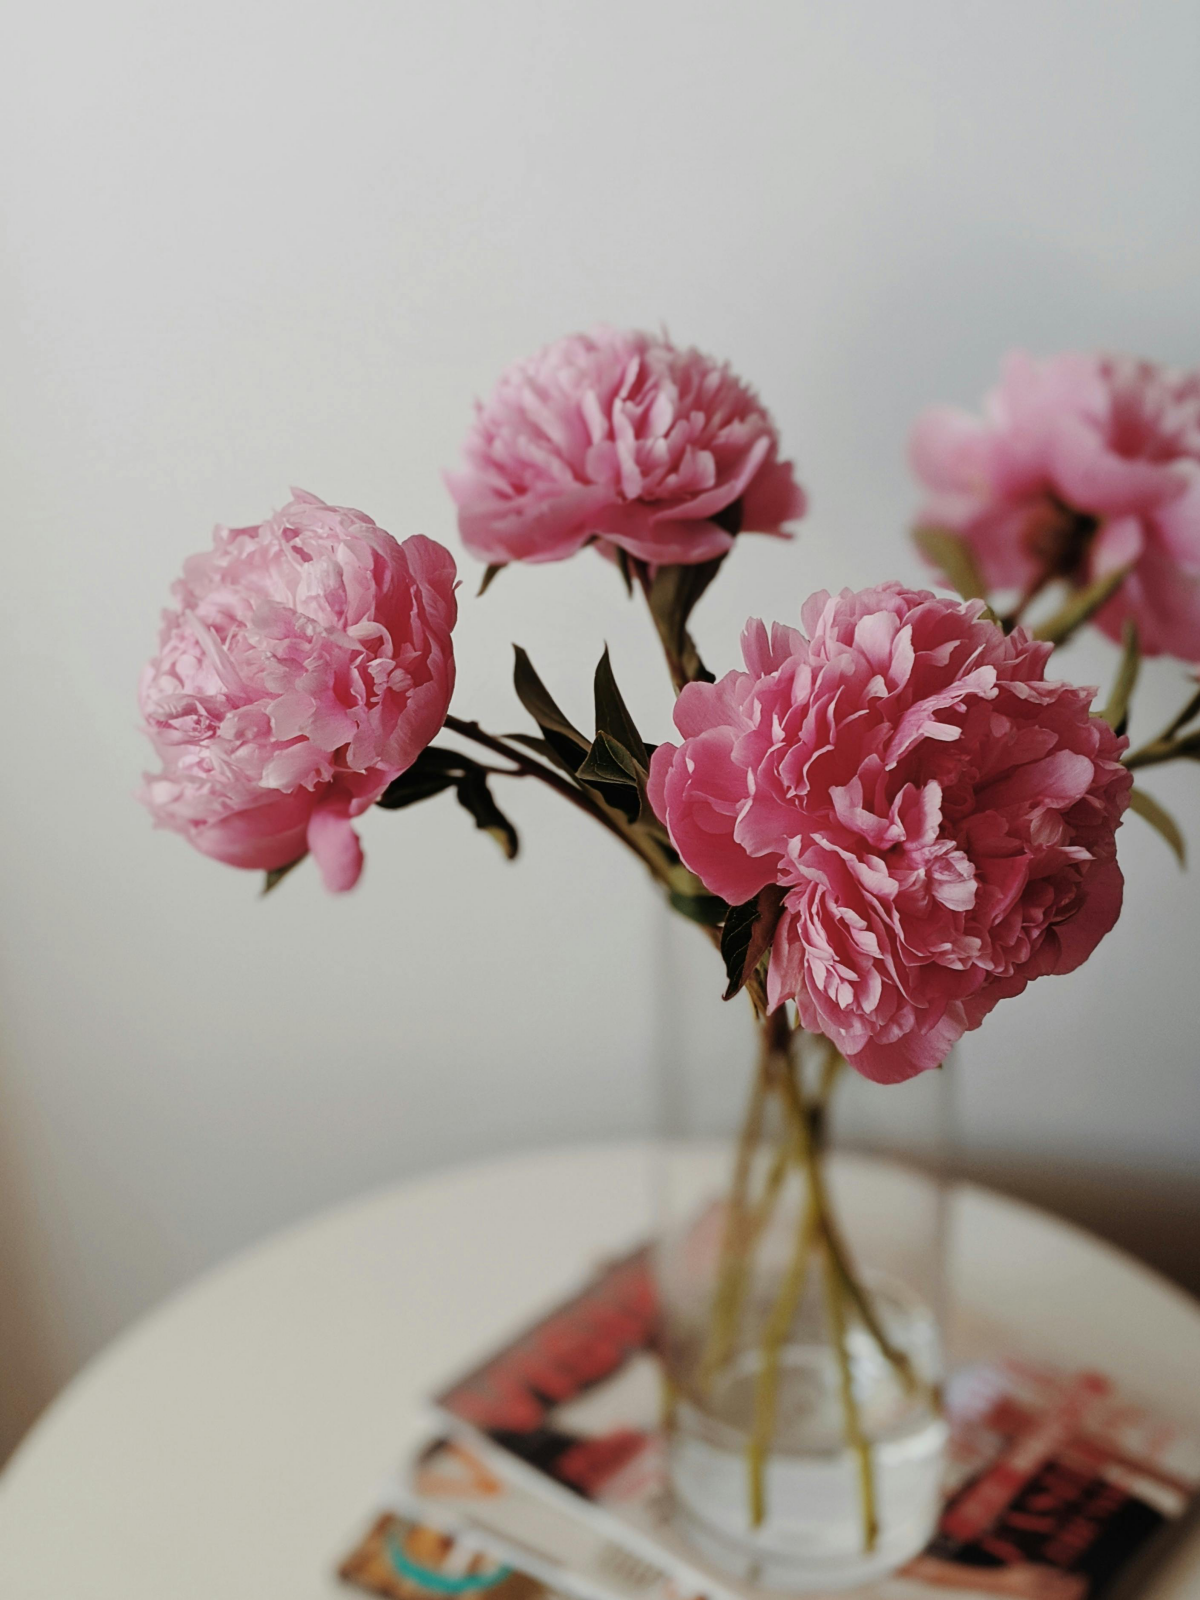
But the biggest thing to embrace is the surprise. Because of genetics, you truly have no idea what you’re going to get. It could be pink or white, single-petaled or a big fluffy double. That’s the beauty of it. If you have your heart set on a specific, perfect flower for your landscape, you should definitely buy a root division from a nursery.
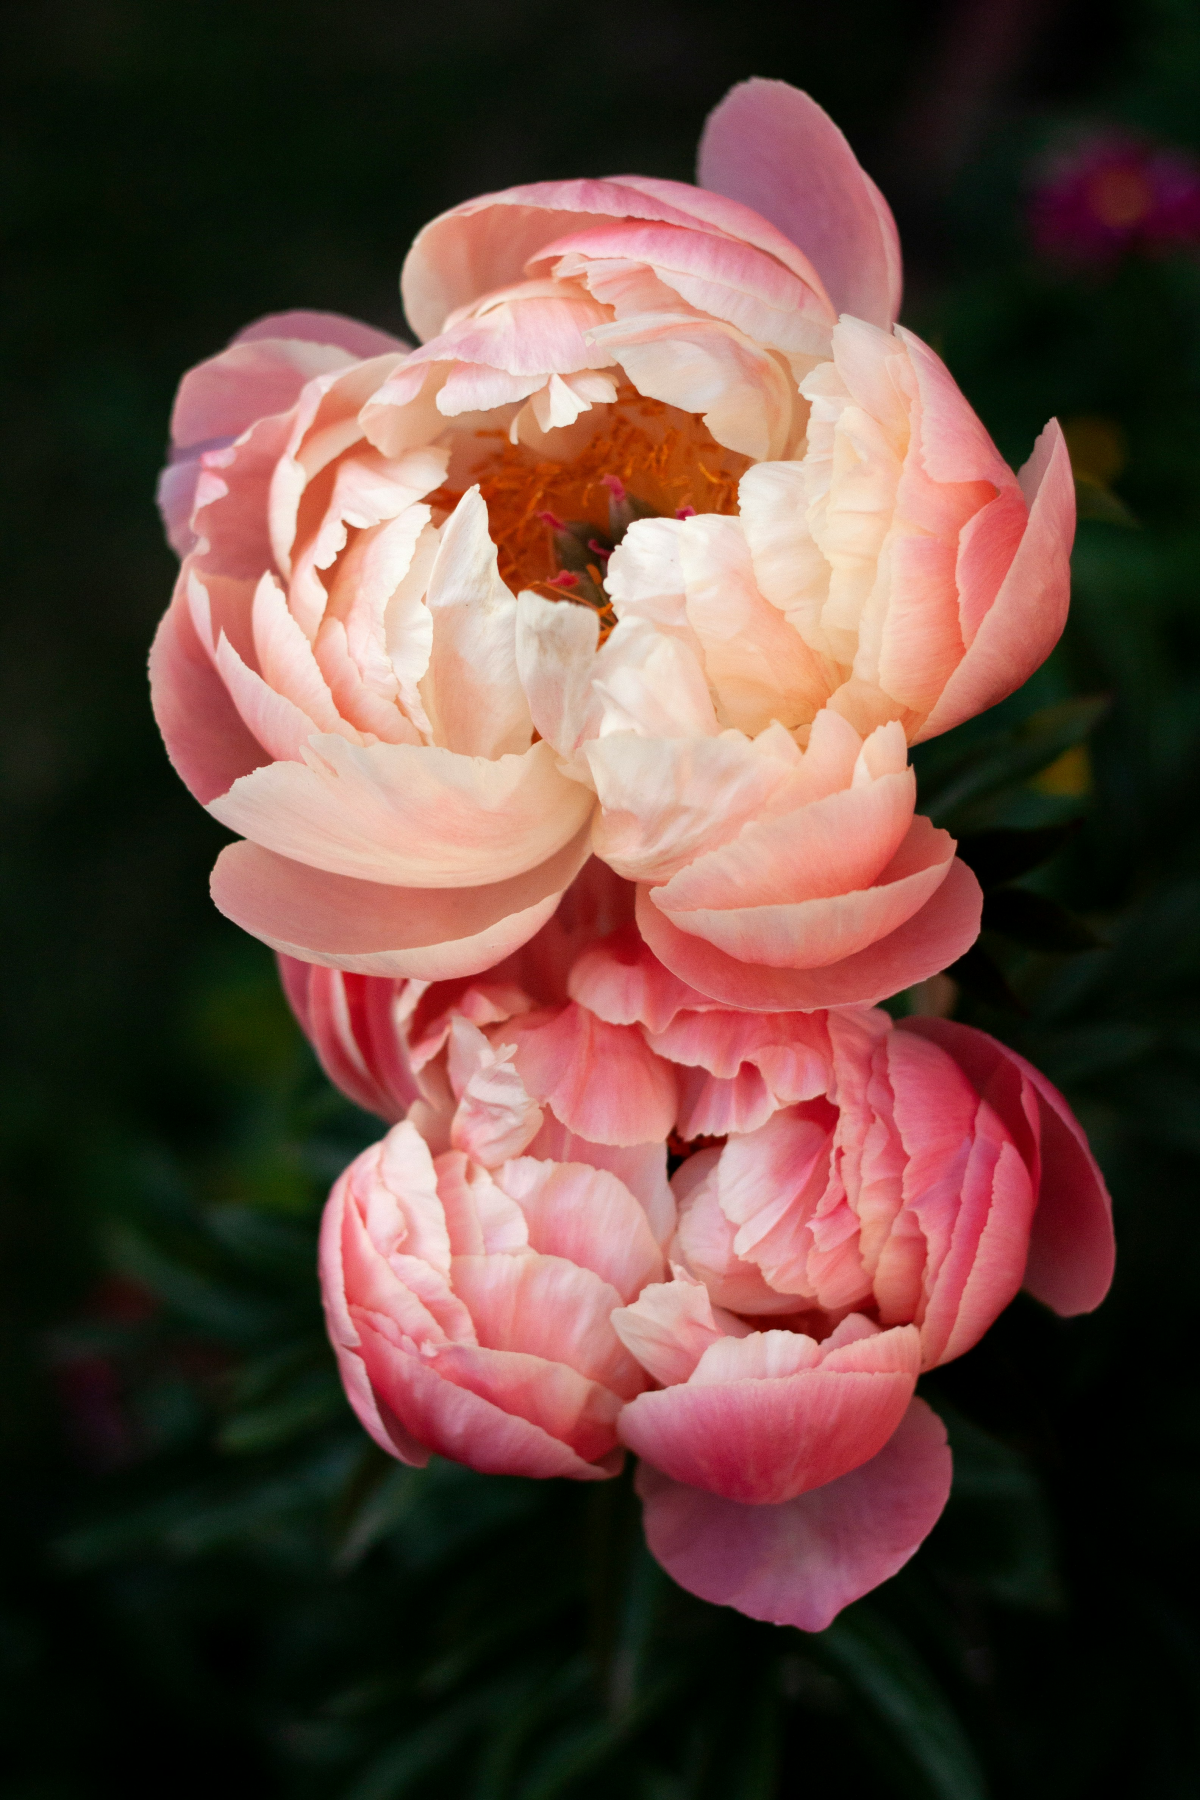
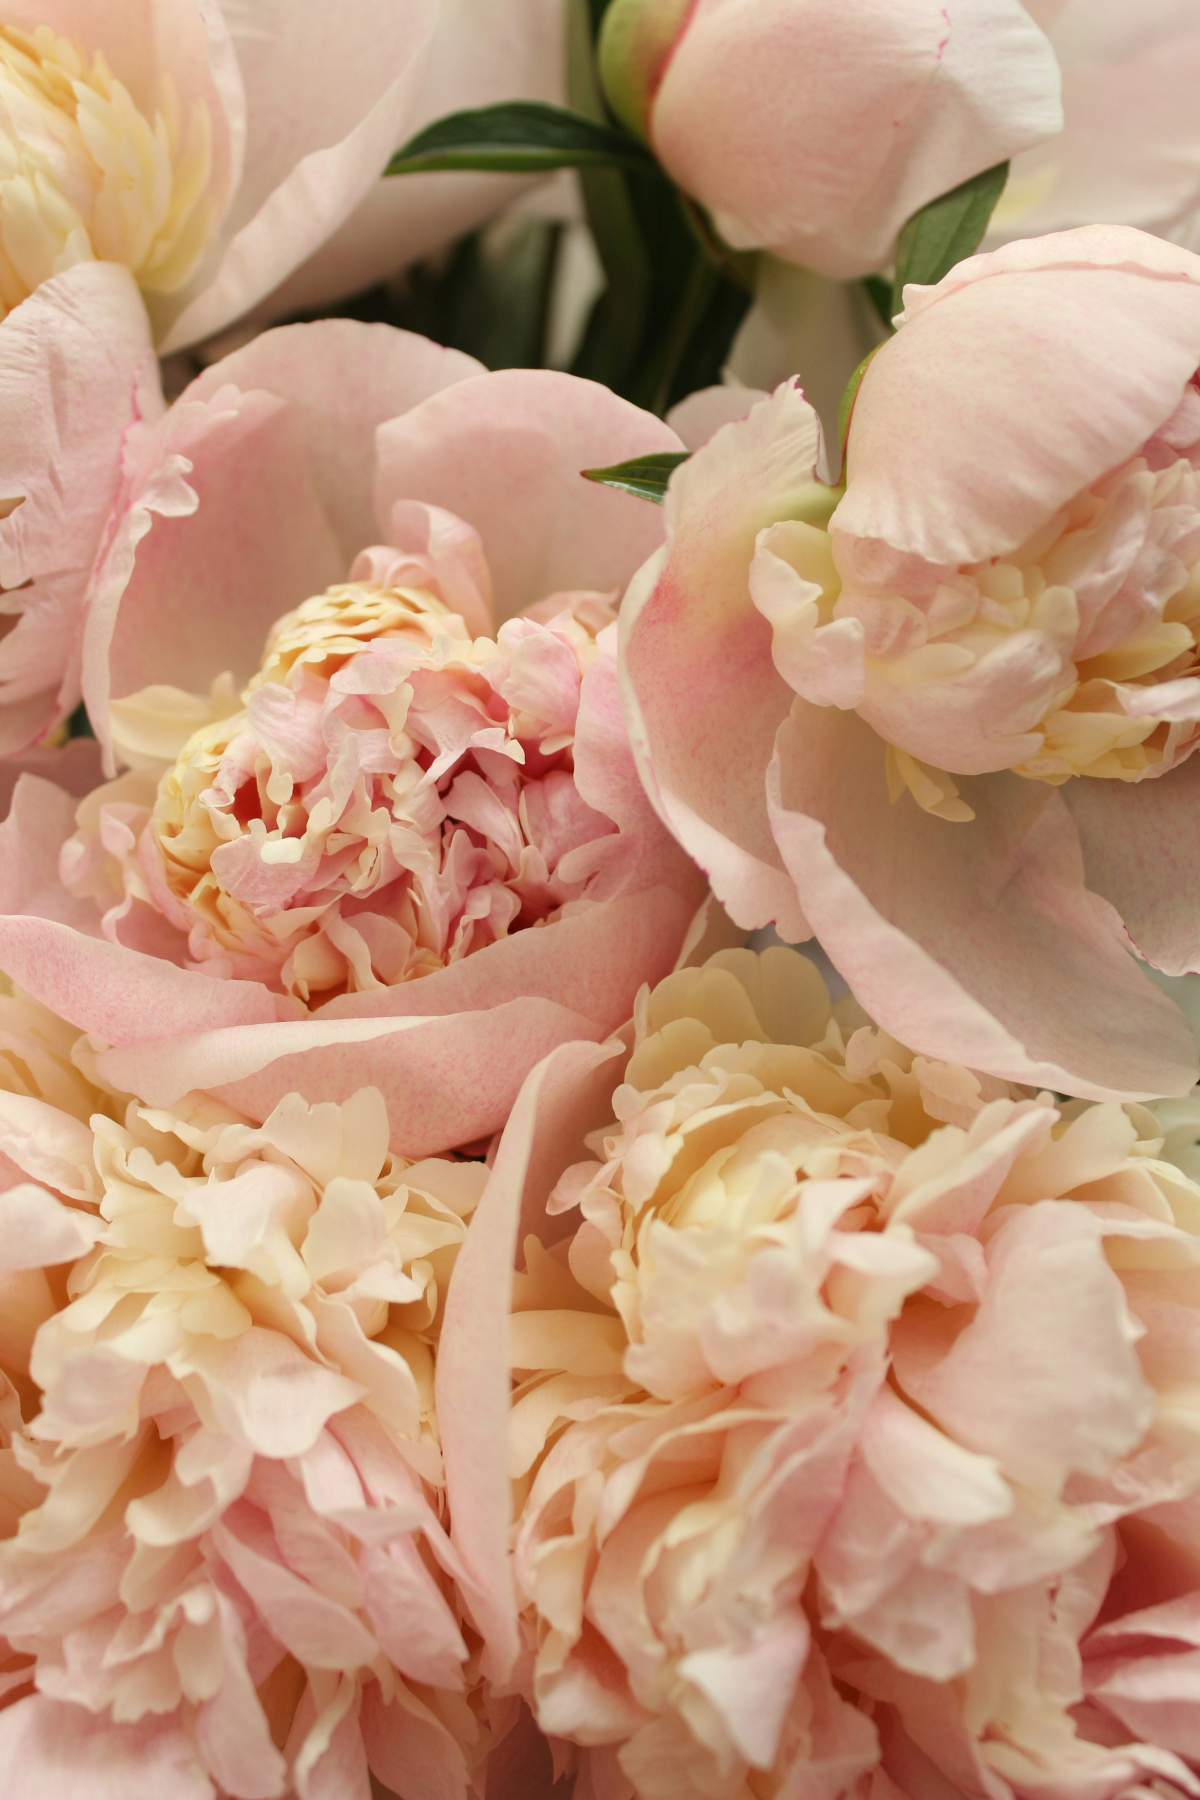
This project is for those of us who love the process. The first time one of my own seedlings bloomed, it was a simple, single-petaled blush pink flower. Nothing like the fancy ones in the main garden. But it was infinitely more meaningful. It was a plant that existed nowhere else in the world, born from five years of patience. It’s a challenge, for sure, but seeing that unique flower finally open makes all the waiting worthwhile.
Galerie d’inspiration
My peony seed sprouted a root in its baggie, but now months have passed and there’s no leaf. Did I fail?
Quite the opposite—you’ve succeeded at the first stage! This is the classic sign of the peony’s double dormancy. The seed needed warmth to grow its root, and now it needs a distinct period of cold to trigger the leaf shoot. If it’s still in its warm spot, you’re just keeping it in stasis. Move the rooted seed (still in its moist medium) to the refrigerator (around 4°C / 40°F) for 60-90 days. This mimics winter and gives it the signal to finally wake up and grow.
Did you know? Peonies are one of the longest-lived garden perennials. A well-sited plant started from a root division can easily live for 50 years, but some plants, particularly in their native China, have been documented to bloom for over a century. Growing from seed is like planting a piece of history for future generations.
When your seedlings are ready for their first real pot, the soil mix is critical. Forget standard potting soil, which is often too dense and moisture-retentive. Create a custom blend that ensures perfect drainage and prevents rot.
- 50% High-quality cactus or succulent mix (like Black Gold or Hoffman)
- 30% Perlite or pumice for aeration
- 20% Fine pine bark or orchid bark for structure
This gritty, fast-draining mix will keep the delicate roots healthy as they develop.
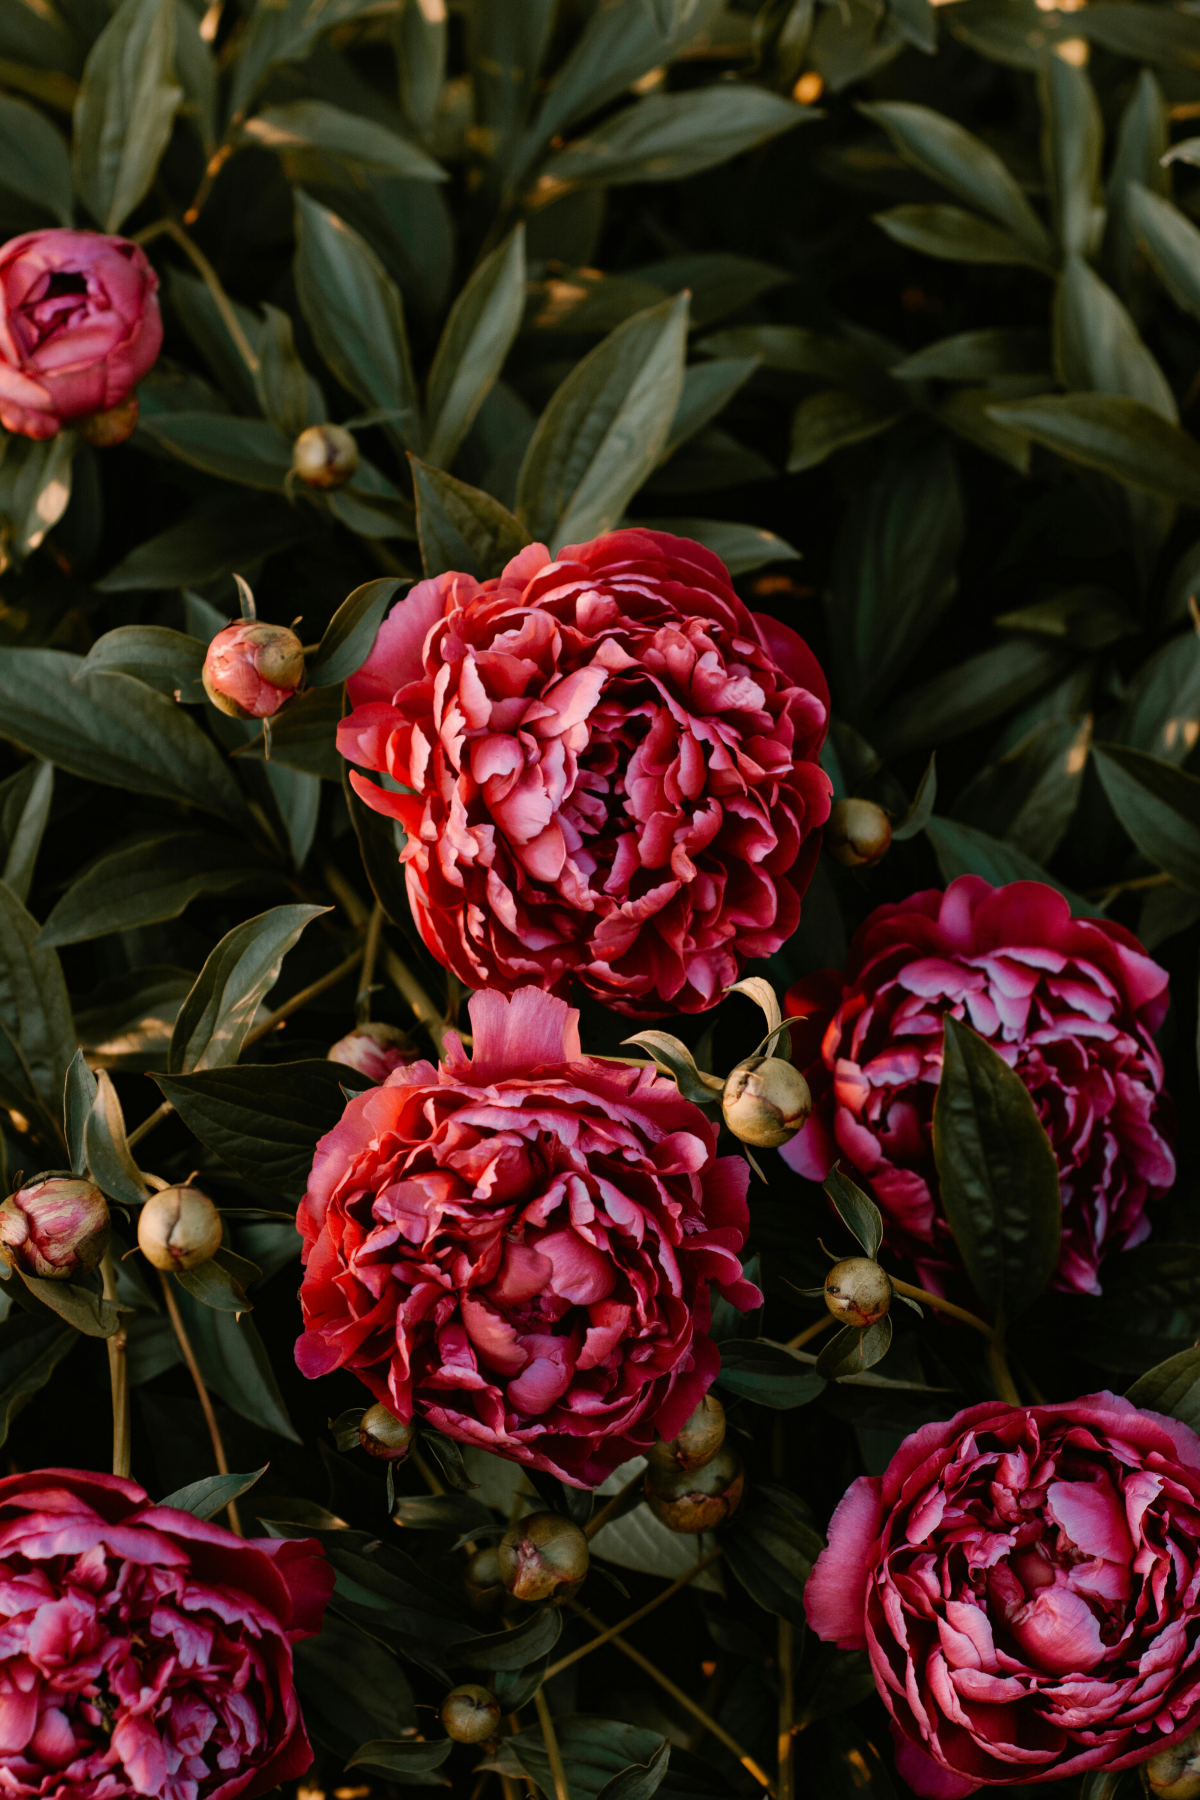
Herbaceous Peony: This is the classic garden peony. Its seeds will produce plants that die back to the ground each winter, sending up new shoots in spring. They are known for their huge, often fragrant, globe-like flowers.
Tree Peony (Paeonia suffruticosa): Growing these from seed is a master-level challenge. The resulting plant is a woody shrub that retains its structure year-round. They bloom earlier than herbaceous types, often with enormous, flatter flowers in exotic color patterns.
Starting from seed means you could even, with immense luck and patience, create a spontaneous intersectional (Itoh) hybrid.
As you nurture your tiny seedling through its first few years, resist the urge to use high-nitrogen fertilizers. These encourage lush, weak leaf growth at the expense of the all-important root system. Instead, a very light top-dressing of a phosphorus-rich organic fertilizer, like bone meal or Espoma Bulb-tone, once a year in the spring is all it needs. The goal is slow, strong, and steady development from the ground up.
- A more vigorous, naturally branching root system.
- Enhanced resistance to transplant shock and soil pathogens.
- Increased ability to absorb water and essential nutrients.
The secret? Mycorrhizal fungi. When potting up your seedlings for the first time, introduce a granular inoculant like Mykos or Great White. This creates a symbiotic relationship with the roots, giving your plant a powerful underground advantage for its long journey to maturity.
A common pitfall: Planting the seedling too deep. Once your young peony is ready for its final garden spot (after 2-3 years in a pot), placement is everything. The ‘eyes’ or growth buds at the crown of the plant should be no more than 1.5 to 2 inches below the soil surface. Planting it even an inch deeper can delay flowering by years, or prevent it altogether.
The incredible genetic diversity of peony seeds is what makes this process so magical. Unlike buying a cloned root, you are participating in a genetic lottery. The seeds from a simple white peony could carry recessive genes for deep reds, yellows, or intricate petal forms not seen in the parent. You are not just growing a plant; you are revealing a unique, never-before-seen floral identity.


