Spider Mites on Your Plants? Here’s Exactly What to Do
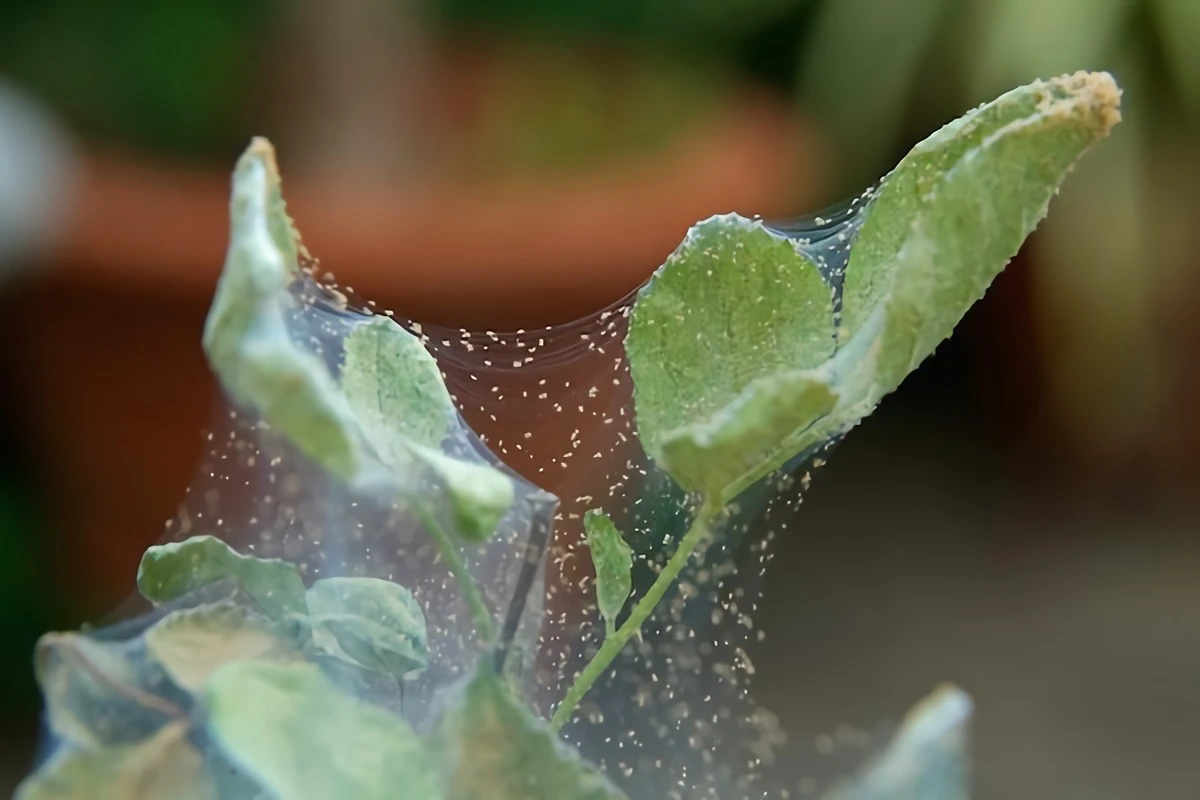
I still remember my first real run-in with spider mites. It wasn’t in some fancy greenhouse or for a client; it was in my own living room. I had this gorgeous collection of calatheas, you know, the ones with the incredible leaf patterns. But I watched them start to fade, the leaves turning yellow and crispy. I figured it was me—too much light, not enough water? It was only when I spotted that super-fine, silky webbing from a leaf to its stem that the dread set in. By then, the infestation was already serious.
In this article
That whole mess taught me the most important lesson about these pests: you have to catch them early and be relentless. It’s a battle of consistency.
Over the years, I’ve helped so many people save their plants from these tiny terrors. They’re honestly one of the most common issues you’ll face, whether your jungle is indoors or out. This guide is all about sharing what actually works, based on real-world experience. Forget the quick fixes that never last. Let’s dive into how to spot them, how to get rid of them for good, and—most importantly—how to stop them from ever coming back.
First, Know Your Enemy
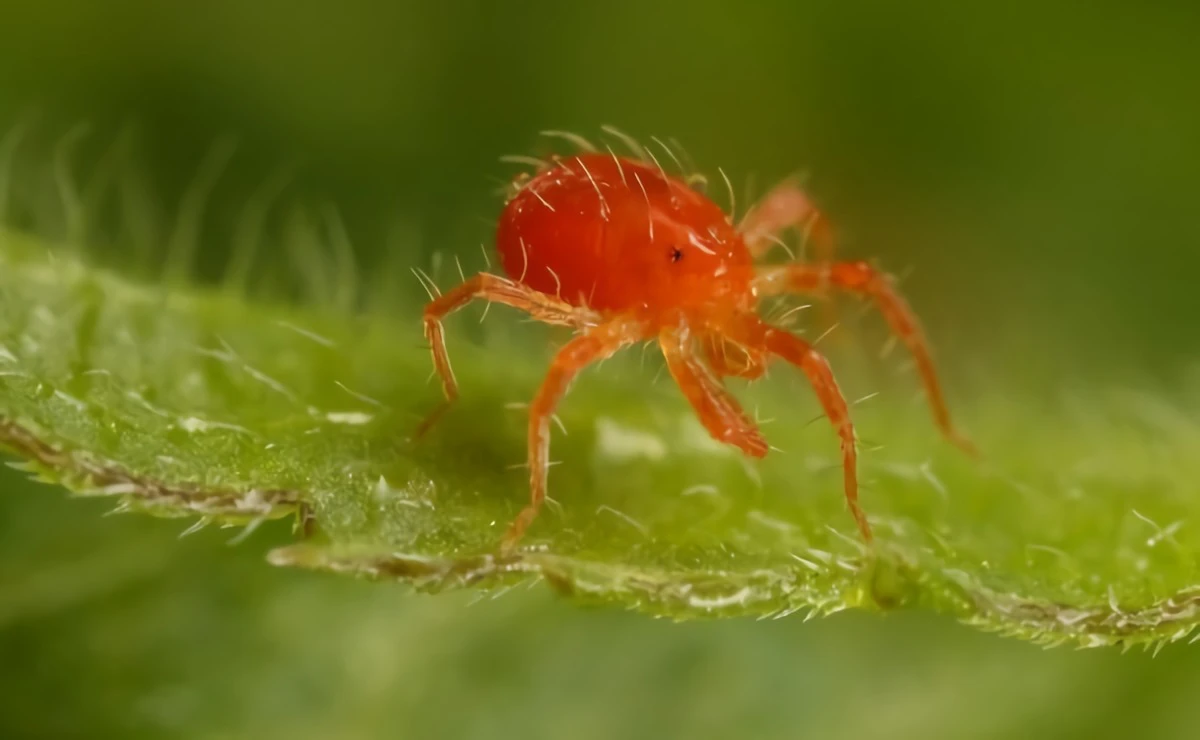
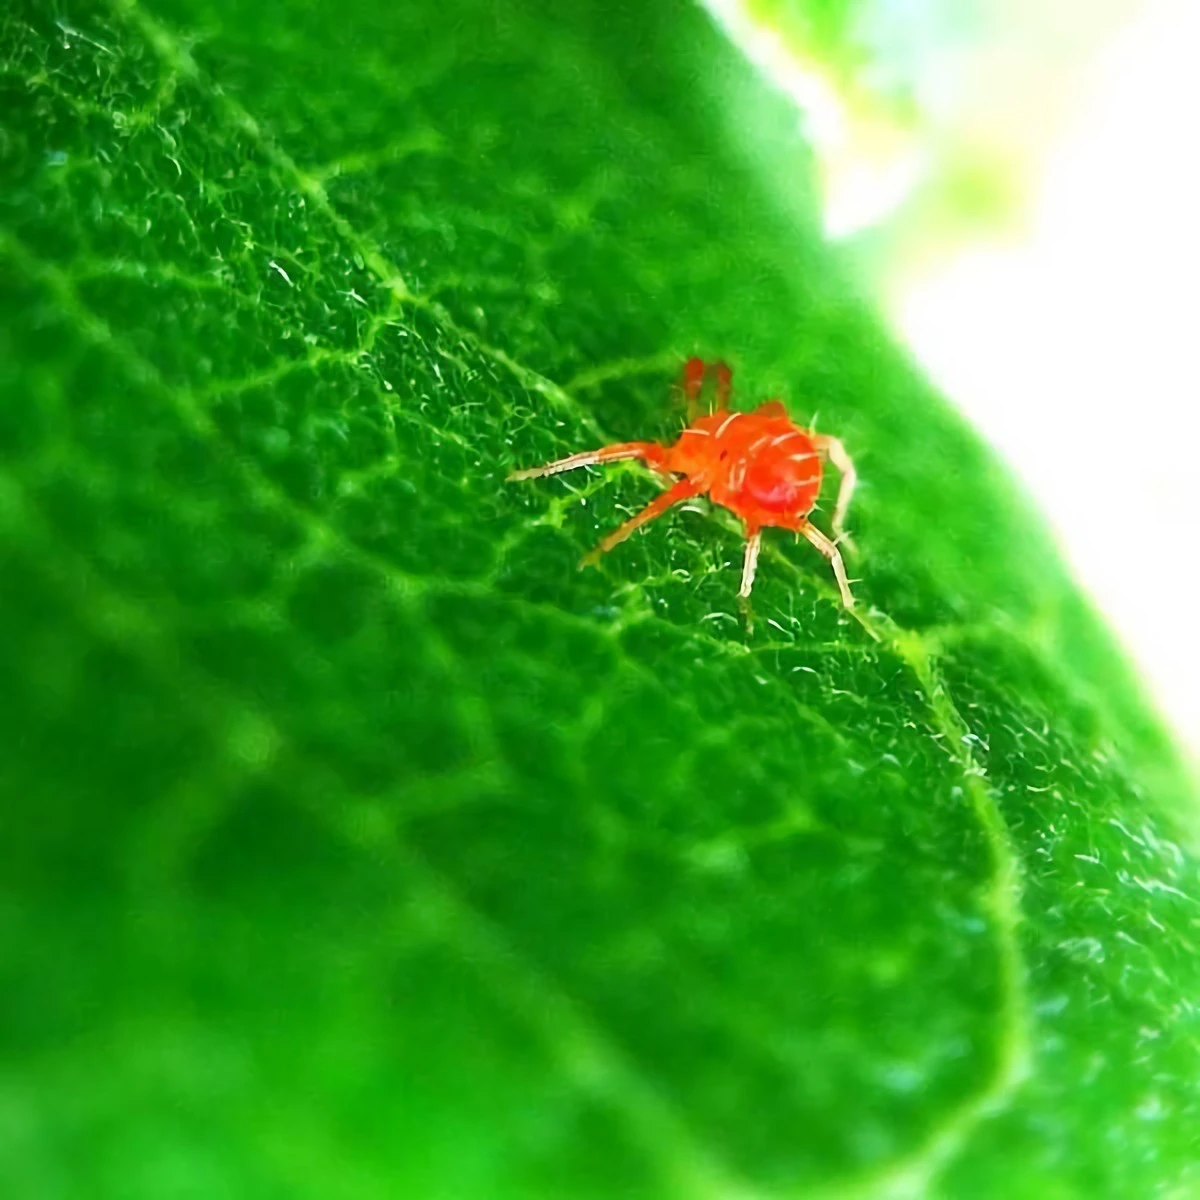
Before you start spraying, you need to know what you’re up against. A lot of people call them insects, but they’re actually arachnids, closer relatives to spiders and ticks. This is a super important distinction because that general-purpose bug spray you have under the sink probably won’t touch them. You need something that works on arachnids, which is usually labeled as a miticide.
Why One Spray Is Never, Ever Enough
This is the number one mistake I see people make. They spray their plant once, breathe a sigh of relief, and then a week later, the mites are back with a vengeance. It’s discouraging, but it happens for a very specific reason: their life cycle is incredibly fast.
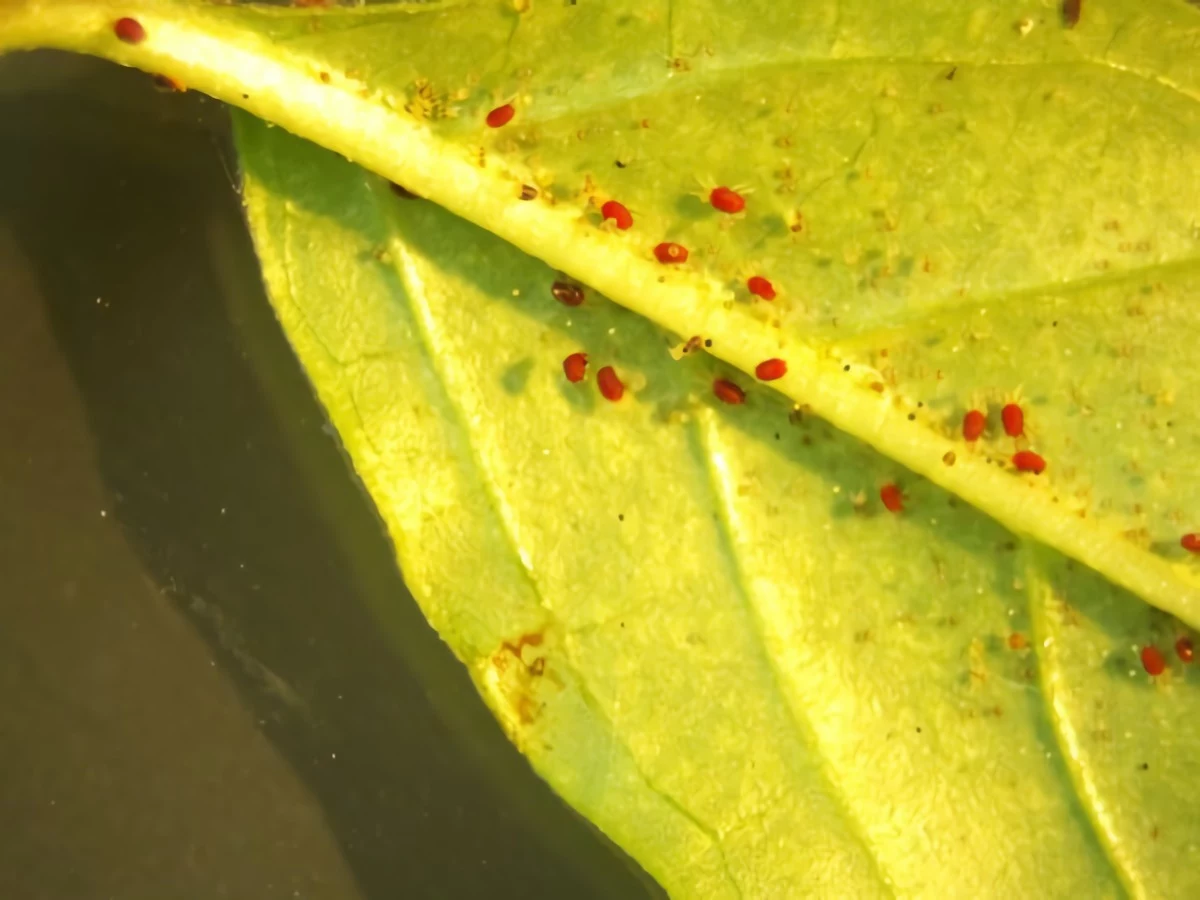
An adult female can pop out up to 20 eggs a day, usually on the underside of leaves. These eggs are mostly immune to sprays. In just a few days, they hatch into larvae, then quickly morph into nymphs, and finally, adults. The whole process, from egg to egg-laying adult, can take as little as a week in hot, dry conditions (think anything over 80°F with low humidity). Because sprays only kill the active mites, the eggs just wait it out, hatch, and start the party all over again.
So, you have to re-apply your treatment every 3-5 days for at least two or three weeks. This is non-negotiable! You’re aiming to catch each new wave of hatchlings before they’re old enough to lay more eggs.
How They Wreck Your Plants
Spider mites have tiny, piercing mouthparts they use to puncture individual plant cells and suck out the chlorophyll. Each puncture leaves a tiny, pale dot. When thousands of mites are doing this, the dots merge together, making the leaf look stippled, yellow, or even bronzed. The plant can no longer photosynthesize properly and starts to starve. The webbing you see is a sign of a well-established colony; they use it for protection and to travel between leaves.
Are You Sure It’s Spider Mites? How to Check
I’ve seen plenty of gardeners chase their tails, blaming nutrient deficiencies or watering issues when spider mites were the real culprit all along. Here’s how to be sure.
The Classic White Paper Test
This is the easiest, most reliable way to check, no fancy gear required. Just grab a sheet of plain white paper and hold it under a leaf you’re suspicious of. Give the leaf a few good taps. You’ll see tiny specks fall onto the paper, looking like dust. Now, watch those specks for 10-15 seconds. If any of them start to move… congratulations, you have mites. For extra confirmation, wipe your hand across the paper. If you see reddish-brown streaks, you’ve just squished some adult mites.
Quick challenge: If you’re reading this because you’re worried about a specific plant, pause right now. Go grab a piece of paper and test it. Seriously, go do it! Finding them early is half the battle.
Level Up with a Jeweler’s Loupe
If you really want to be sure and get a close-up look, a simple 10x or 20x hand lens (also called a jeweler’s loupe) is an amazing tool. You can grab one online for $5 to $15, and it’ll make you feel like a plant detective. Look at the underside of a leaf through the loupe, and you’ll see everything: the tiny, translucent eggs, the slow-moving mites, and even their shed skins. It removes all doubt.

Your Battle Plan: A Layered Approach to Control
Getting rid of pests for good is rarely about one magic bullet. It’s about combining a few methods, starting with the simplest and least toxic. Think of it as a multi-pronged attack.
Step 1: Isolate and Attack!
Before you do anything else, get that plant away from your other plants. I mean it. Move it to another room. Spider mites can easily travel on air currents or even on your shirt sleeve to a new plant. Quarantine is your most powerful first move.
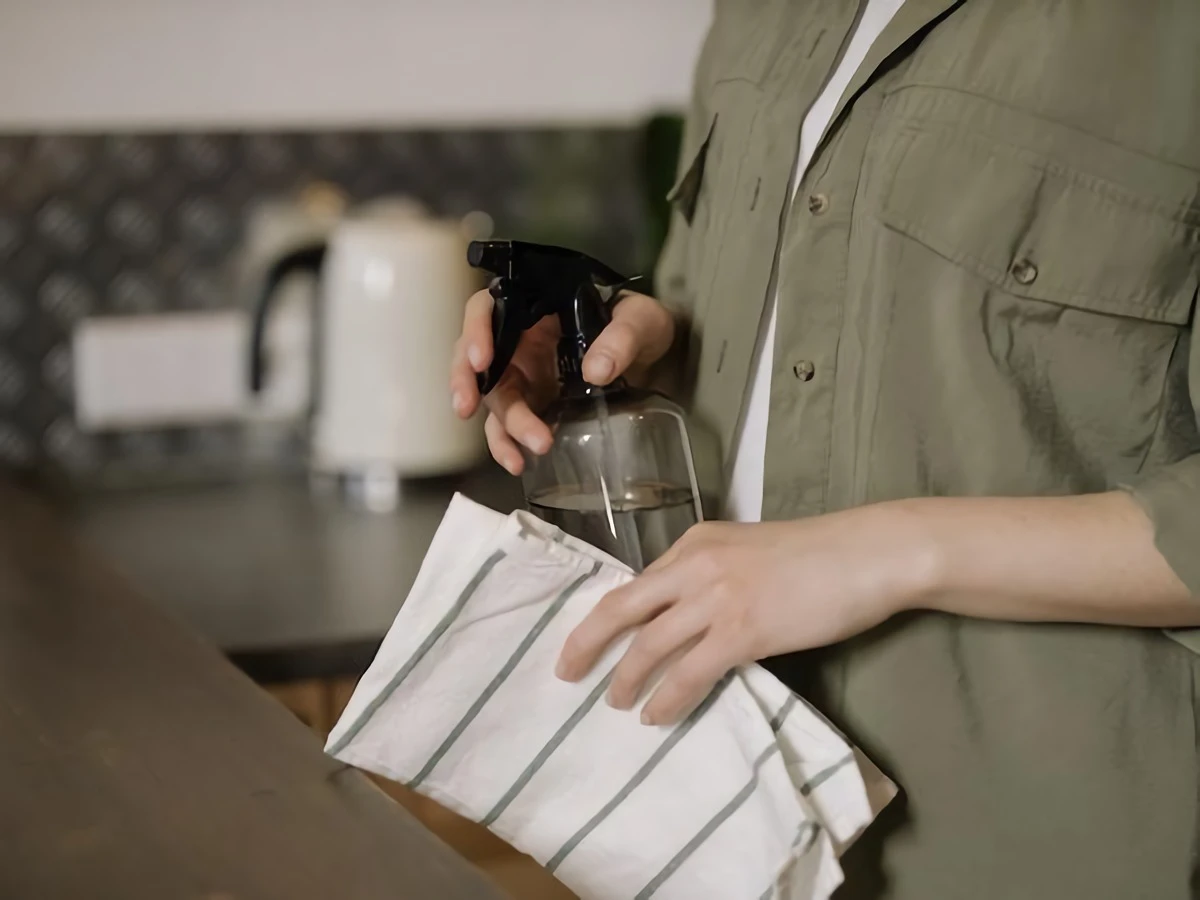
Next, physically remove as many as you can. For a tough plant, take it into the shower and give it a solid spray-down with lukewarm water. Focus on the undersides of the leaves to blast away mites and their webbing. For more delicate plants, a soft, damp cloth will do. Wiping down each leaf, top and bottom, can remove a huge chunk of the population.

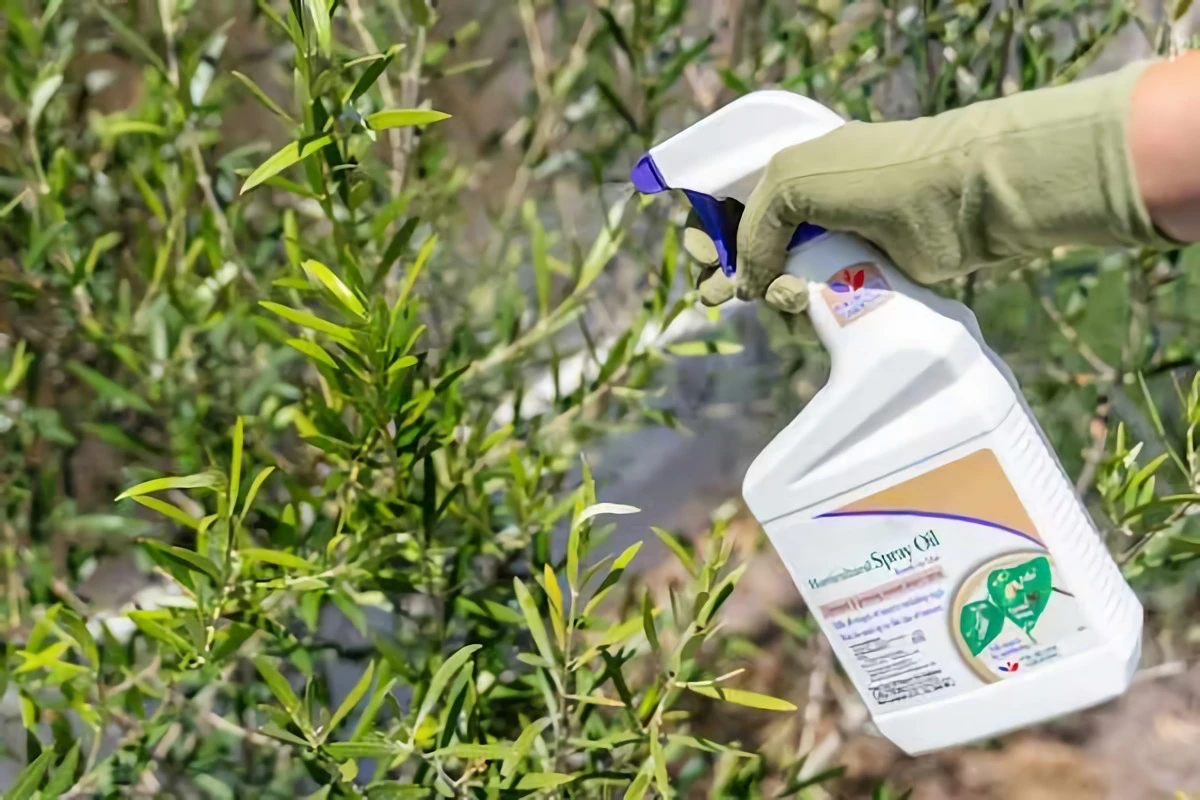
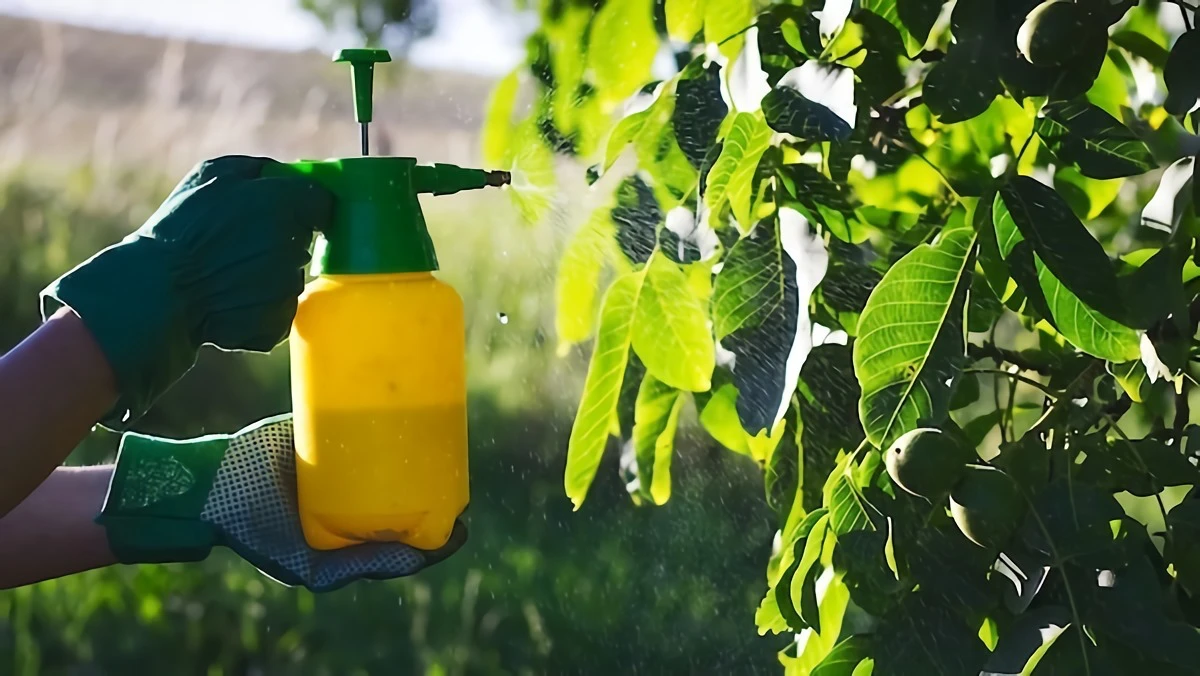
Step 2: The Sprays (Your Main Line of Defense)
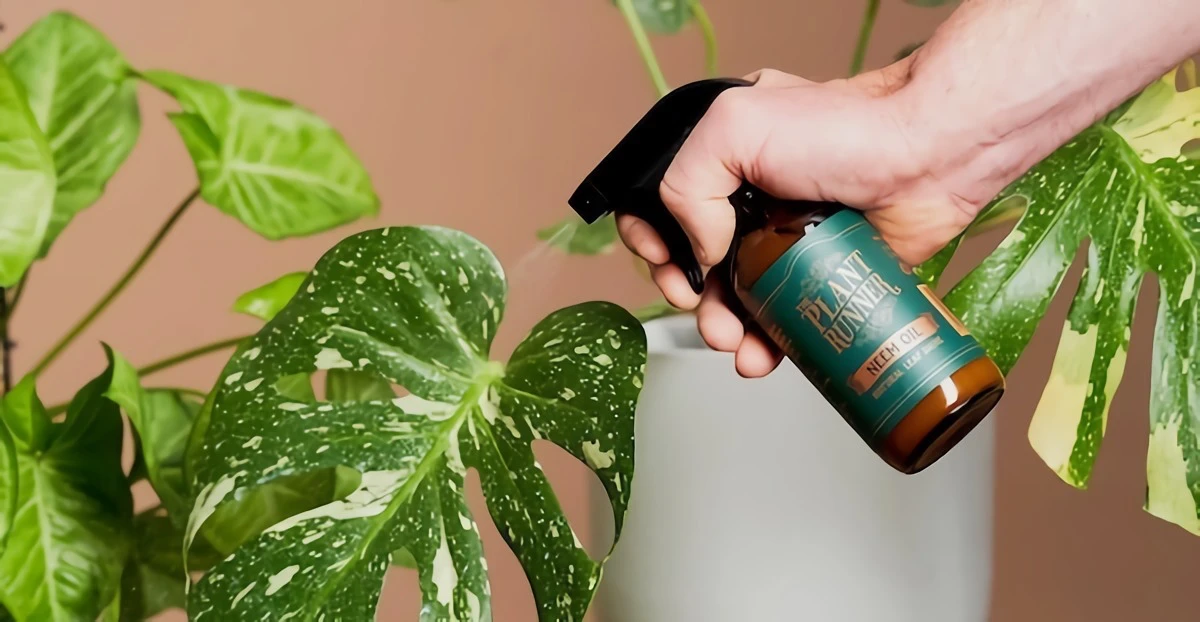
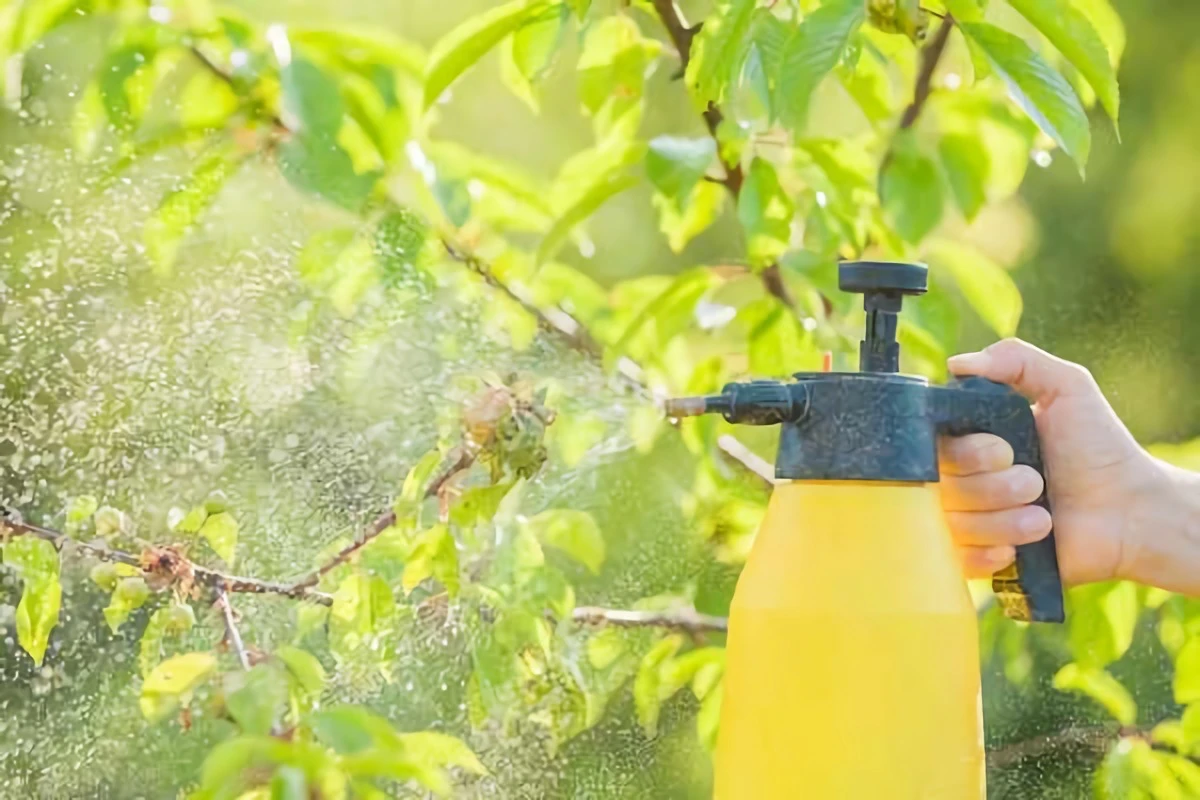
Okay, after you’ve washed the plant, it’s time to treat it. These are contact sprays, meaning they have to physically touch the mite to work. Thorough coverage is everything. If you miss a spot, the mites in that spot will survive and rebuild.
Spraying 101: Use a sprayer that creates a fine mist. Start from the bottom of the plant and work your way up, making sure the undersides of the leaves are completely soaked. You want to see the solution dripping off the leaves. And a heads up! Always spray in the early morning or evening. Spraying in direct, hot sun can scorch the leaves.
So, Which Treatment Should You Use?
Let’s break down the most common options, because they aren’t all the same.
- For a quick, cheap, and easy fix, go with insecticidal soap. It’s my go-to first choice. You can find a ready-to-use bottle at any garden center for about $8-$15. It works by dissolving the mites’ outer layer. Look for products with “potassium salts of fatty acids” on the label. If you’re making your own, use 1-2 teaspoons of a pure castile soap (like Dr. Bronner’s) in a quart of water. And please, don’t use dish soap—the degreasers can damage leaves. Pro Tip: If you make your own spray, it will separate. Shake the bottle every 30 seconds while spraying, or you’ll just be spraying plain water by the end!
- For a longer-lasting, preventative approach, try neem oil. A bottle of 100% cold-pressed neem oil concentrate will run you $10-$20 but will last for years. It works by suffocating the mites and also messes with their ability to eat and reproduce. It’s a fantastic tool, but you have to be careful. Never apply it in high heat (over 90°F) or to a thirsty plant, as it can burn the leaves.
- For a serious infestation, you might consider predatory mites. This is a ‘set it and forget it’ biological solution where you release good bugs to eat the bad bugs. A shipment of these tiny hunters costs around $25-$40 and can be ordered online from insectaries. This is an amazing choice for a greenhouse or a large plant collection, but it’s probably overkill for a single houseplant. Just remember, you have to stop using all other sprays (even soap) before and after you release them.
A quick note on safety: Both insecticidal soap and neem oil are considered low-risk and organic, but that doesn’t mean you can be careless. Let the plant’s leaves dry completely before letting pets or kids get near it. It’s not toxic to touch once dry, but you don’t want anyone licking wet leaves. Predatory mites are completely harmless to people and pets.
Step 3: Be Persistent (The Crucial Schedule)
Remember that life cycle? This is where you outsmart it. Pick your treatment and stick to the schedule: spray every 3-5 days for at least three weeks. Mark it on your calendar. Skipping even one treatment can let the population rebound, and you’ll be right back where you started.
When the Basics Aren’t Cutting It
Sometimes, you’re facing a really stubborn infestation, and you need to bring out the big guns. This is when you might consider a chemical miticide, but I say this with a lot of caution.
This is an absolute last resort. These synthetic products carry higher risks and, by the way, mites are known for developing resistance to them quickly. If you must go this route, buy a product specifically labeled as a ‘miticide’ or for spider mites. And please, read the label. The label is a legal document, not a friendly suggestion. It will tell you exactly what protective gear to wear (gloves and eye protection at a minimum), how to apply it safely, and what the risks are. Safety is not optional here.

Prevention Is the Real Cure
Honestly, the best way to deal with spider mites is to never get them in the first place. This is what I focus on most.
1. Quarantine all new plants. This is the golden rule. Keep any new plant in a separate room for at least four weeks. Inspect it weekly for pests before you introduce it to the rest of your collection.
2. Inspect your plants regularly. Make it part of your watering routine. Look under leaves. Check stems. Catching a problem when it’s just a few mites is a million times easier than fighting an army.
3. Keep your plants clean. Dust isn’t just ugly; it’s a five-star hotel for mites. Give your indoor plants a shower or wipe their leaves down every so often. Mites love hot, dry, and dusty conditions, so raising the humidity with a humidifier or pebble trays can also help a lot.
Final Thoughts: Recovery and When to Say Goodbye
After the battle is won, what should you expect? It’s important to know that the damaged, stippled leaves will not heal. Think of them as battle scars. The real sign of victory is seeing fresh, green, and undamaged new growth emerging from your plant.
And sometimes, you have to be realistic. If a plant is more than 75% covered in webbing and most of its leaves are dead, it might be too far gone. In that case, the best thing you can do for the rest of your plants is to let it go. But don’t just toss it in the compost bin! You could infest your entire neighborhood’s compost supply. Carefully and completely seal the plant in a plastic trash bag before putting it in the garbage. It’s a tough call, but sometimes it’s the smartest one.
Dealing with spider mites is frustrating, I get it. But with the right knowledge and a little persistence, you absolutely can win. The reward—a healthy, thriving plant collection—is more than worth the effort.
Inspiration:
Tired of spraying and wondering if there’s a more natural way to fight back?
Absolutely. Consider introducing beneficial insects as a proactive defense. For spider mites, the predatory mite Phytoseiulus persimilis is a voracious and highly effective natural enemy. These tiny predators are specialist hunters that feed exclusively on spider mites and their eggs. They are best released at the very first sign of an infestation, as they require prey to survive. It’s a chemical-free, self-sustaining solution ideal for greenhouse environments or large indoor plant collections. Just remember, you must stop all pesticide use, even organic ones, as they will harm your new allies too.
Over 90% of spider mite eggs are laid on the undersides of leaves, making them invisible to a casual glance and resistant to topical sprays.
This is why thoroughness is non-negotiable. When treating your plants, don’t just spray the tops of the leaves. Turn each leaf over and ensure your solution, whether it’s neem oil or insecticidal soap, makes direct contact with the underside. Use a soft cloth to gently wipe the leaves after spraying to physically remove as many mites and eggs as possible. This manual removal drastically increases your chances of breaking their rapid life cycle.

Neem Oil: A true multi-tool. A product like Bonide’s Neem Oil works by suffocating mites on contact but also acts as an antifeedant and hormone disruptor for any survivors, slowing down reproduction.
Insecticidal Soap: This is a pure contact killer. Brands like Garden Safe offer soaps that work by dissolving the mites’ waxy outer layer, causing dehydration and death. It has no residual effect, making it safer for beneficial insects once it’s dry.
Choose neem for a persistent, multi-pronged attack and soap for a quick, targeted knockdown with less long-term impact on the plant’s ecosystem.
Once the battle is won, focus on prevention by creating an environment mites hate. A simple change in humidity can make all the difference.
- Boost humidity around susceptible plants (like Calatheas and Alocasias) with a small humidifier.
- Group plants together to create a more humid microclimate.
- Regularly misting the leaves can deter mites, but ensure good air circulation to prevent fungal issues.
The goal? Keep relative humidity consistently above 50-60%, a level at which spider mite reproduction slows dramatically.


