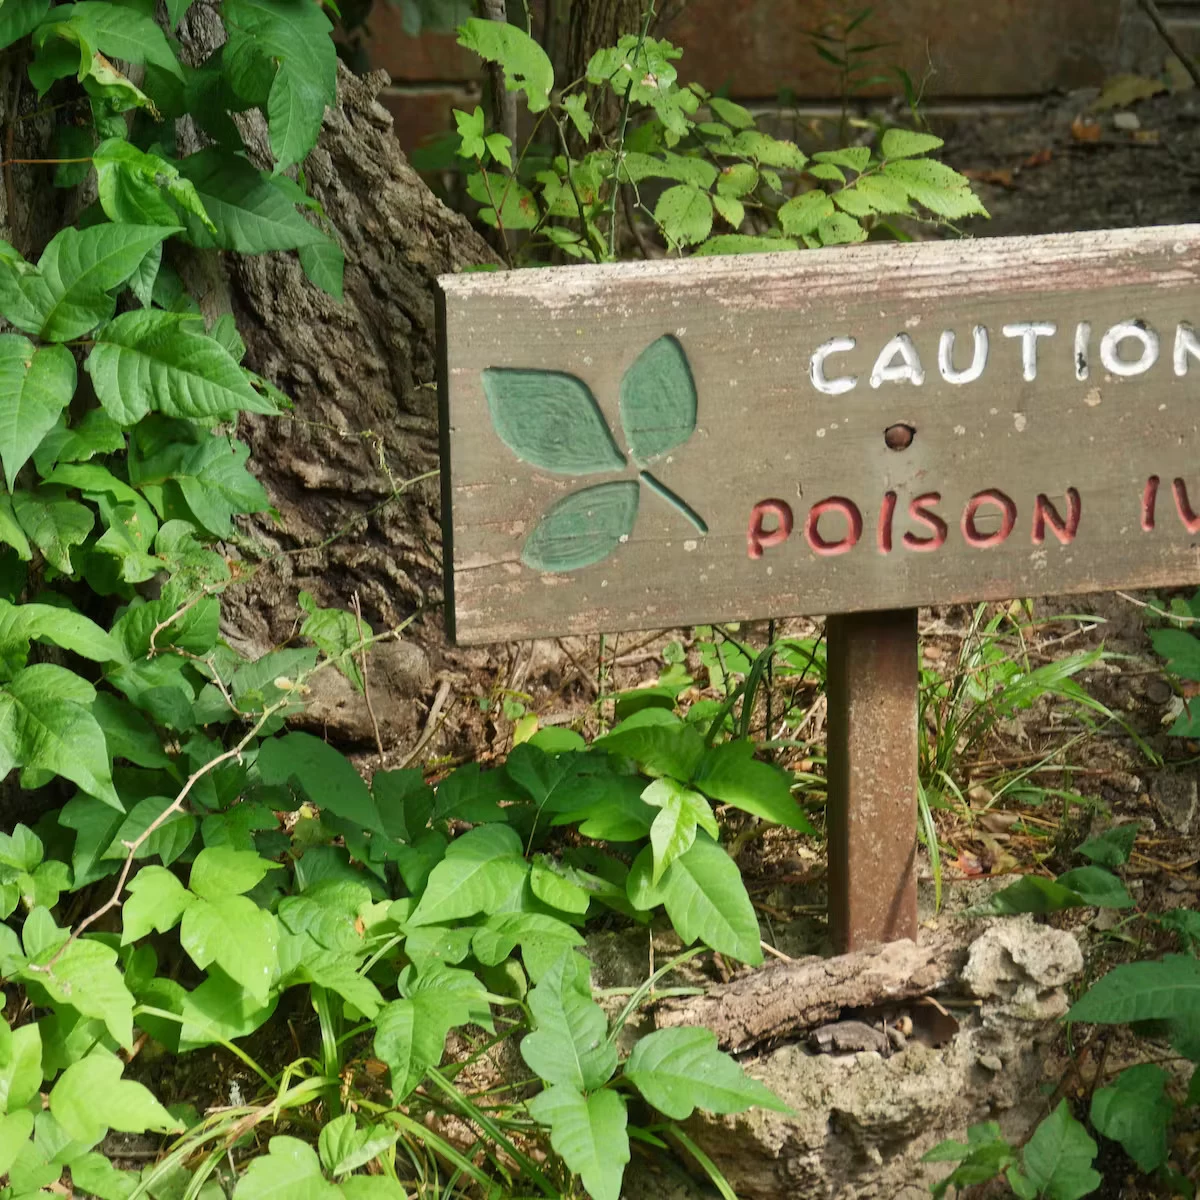
I’ve spent a lot of time in landscaping and ecological work, and if there’s one plant that commands respect, it’s poison ivy. I’ve seen tough guys completely taken out for a week by a single, careless brush with a leaf. I’ve also seen homeowners turn a small patch into a full-blown yard disaster through simple mistakes. So let’s get this straight: this isn’t just a weed. It’s a chemical hazard that you need to approach with a solid plan.
My goal here is to walk you through the pro-level techniques I use myself, so you can clear this stuff out safely and for good. We’re skipping the garden myths and focusing on what actually works.
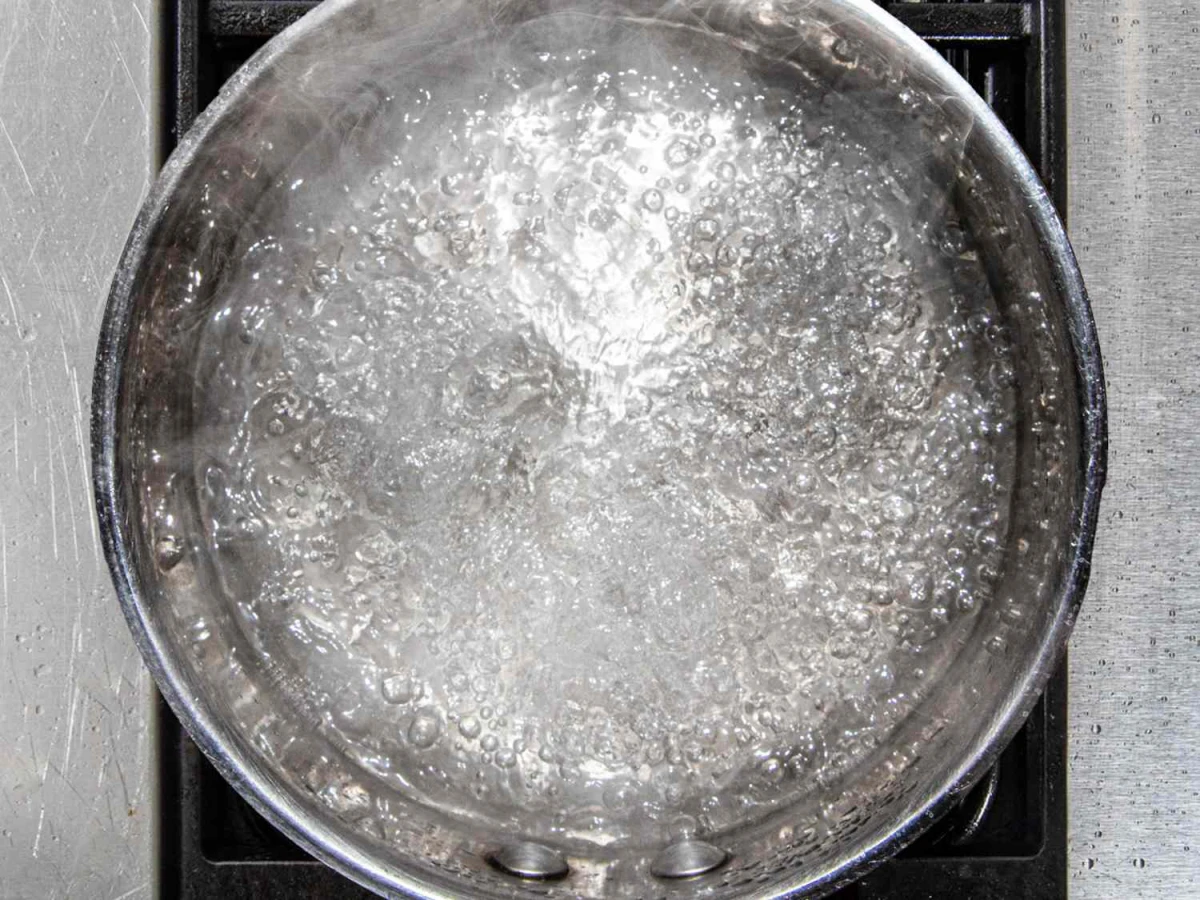
Oh, and a quick heads-up: if you’re reading this after you think you’ve touched it, stop right now. Go wash the area with a grease-cutting soap (like Dawn dish soap or a dedicated product like Tecnu) and COOL water. Don’t use hot water—it just opens up your pores and can make the reaction worse. Now, let’s get you prepared for the main event.
First, Know Your Enemy
Before you even think about touching this plant, you have to understand what makes it so nasty. The rash isn’t an infection; it’s a powerful allergic reaction to an oil called urushiol. And here’s the kicker: you might not be allergic now, but you can become allergic after a few exposures. I’ve met landscapers who were “immune” for years and then suddenly developed a terrible reaction. Don’t risk it.
What is Urushiol, Really?
Imagine an invisible, super-sticky, long-lasting grease. That’s basically urushiol. It’s a yellowish oil present in every single part of the plant—leaves, stems, flowers, berries, and especially the roots. It takes less than a grain of salt’s worth to cause a reaction in most people.
The real problem is its staying power. On a dry surface like a garden tool, a boot, or a fence post, that oil can stay chemically active for one to five years. Yes, you read that right. This is the
1 way people get a mystery rash. They handle a dead vine or a contaminated tool, thinking the danger is gone. With poison ivy, a dead plant is NEVER a safe plant.
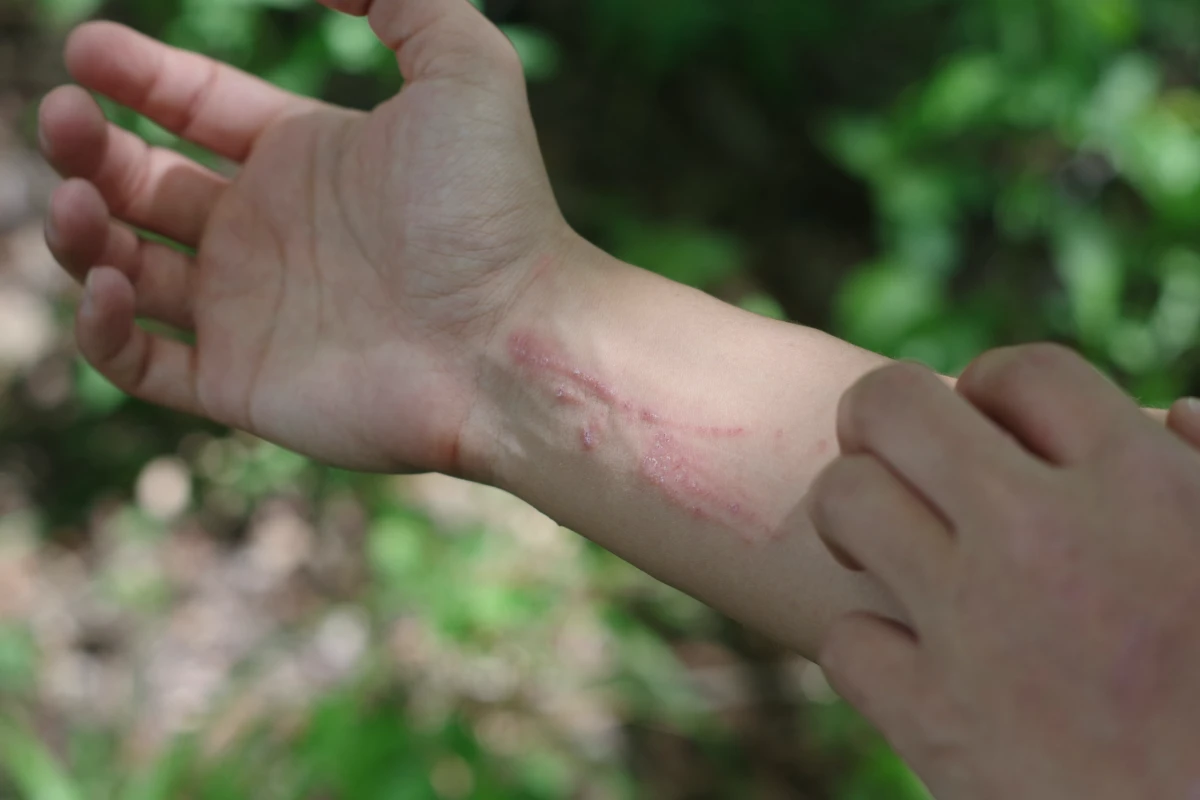
When urushiol gets on your skin, it takes a while to sink in and bond with your skin proteins. Your immune system then flags these new cells as invaders and launches an all-out attack. That’s what causes the signature blistering, swelling, and maddening itch. This delay is why the rash usually doesn’t show up for 12 to 72 hours, long after you’ve forgotten what you touched.
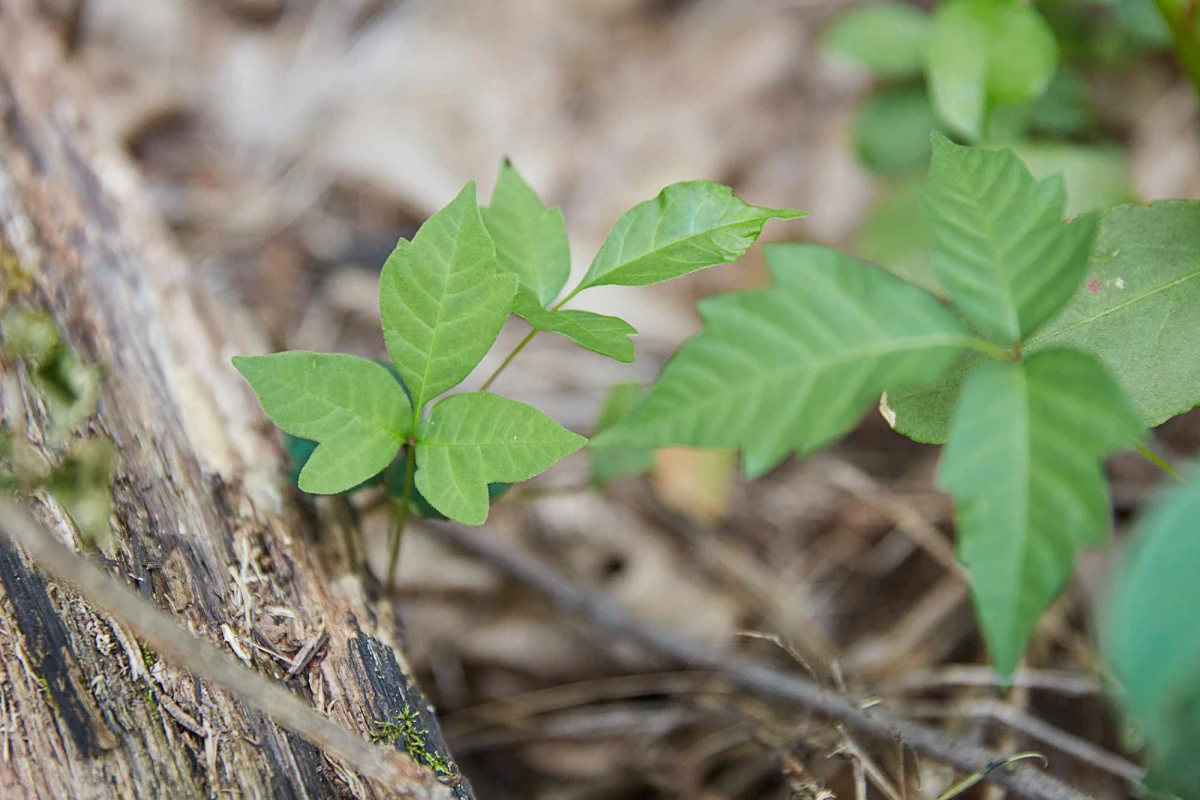
How to Spot It (In Any Season)
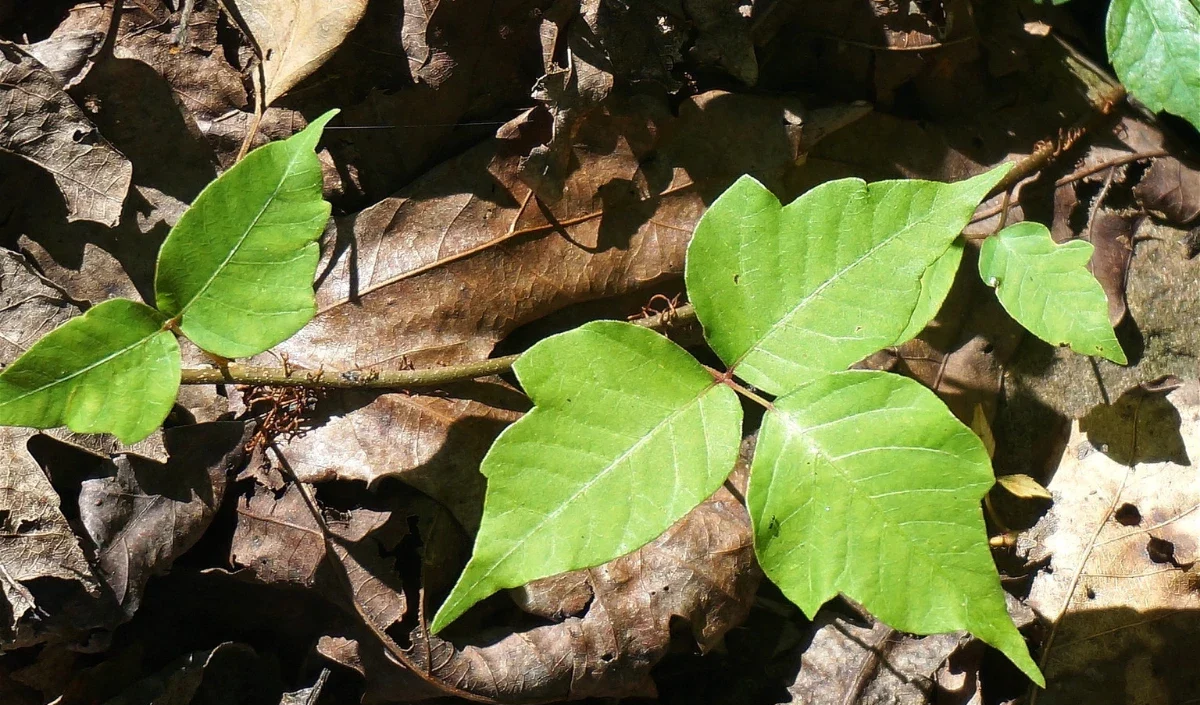
The old saying “Leaves of three, let it be” is a decent start, but it’s not foolproof. Lots of innocent plants have three leaves. Here’s what to really look for:
The Classic Look: It has three leaflets. The middle one has a slightly longer stem, while the two side leaflets are attached closer to the main stalk. The side leaflets often look like little mittens, with a small notch or “thumb” on one side.
It’s a Shape-Shifter: This is what trips people up. Poison ivy can grow as a low ground cover, a free-standing shrub in sunny spots, or—most famously—a thick, climbing vine.
The Dead Giveaway (Even in Winter): When it climbs, it uses these thick, dark, hairy-looking aerial roots that cling to trees and walls. If you see a vine that looks like it’s covered in coarse hair, that is almost certainly poison ivy, even with no leaves on it. The vines are packed with urushiol and are dangerous year-round.
Seasonal Color: In the spring, new leaves often have a reddish, shiny tint. They turn a dull green in the summer. But in the fall, they put on a show with brilliant displays of yellow, orange, and deep red. On the ground, you might also find clusters of waxy, whitish berries.
Rule
1: Your Safety Comes First
I can’t say this enough: do not rush this job. Before you pull a single weed, you need to gear up properly. This is non-negotiable. Spending a bit on the right gear can save you from weeks of misery and a hefty doctor’s bill.
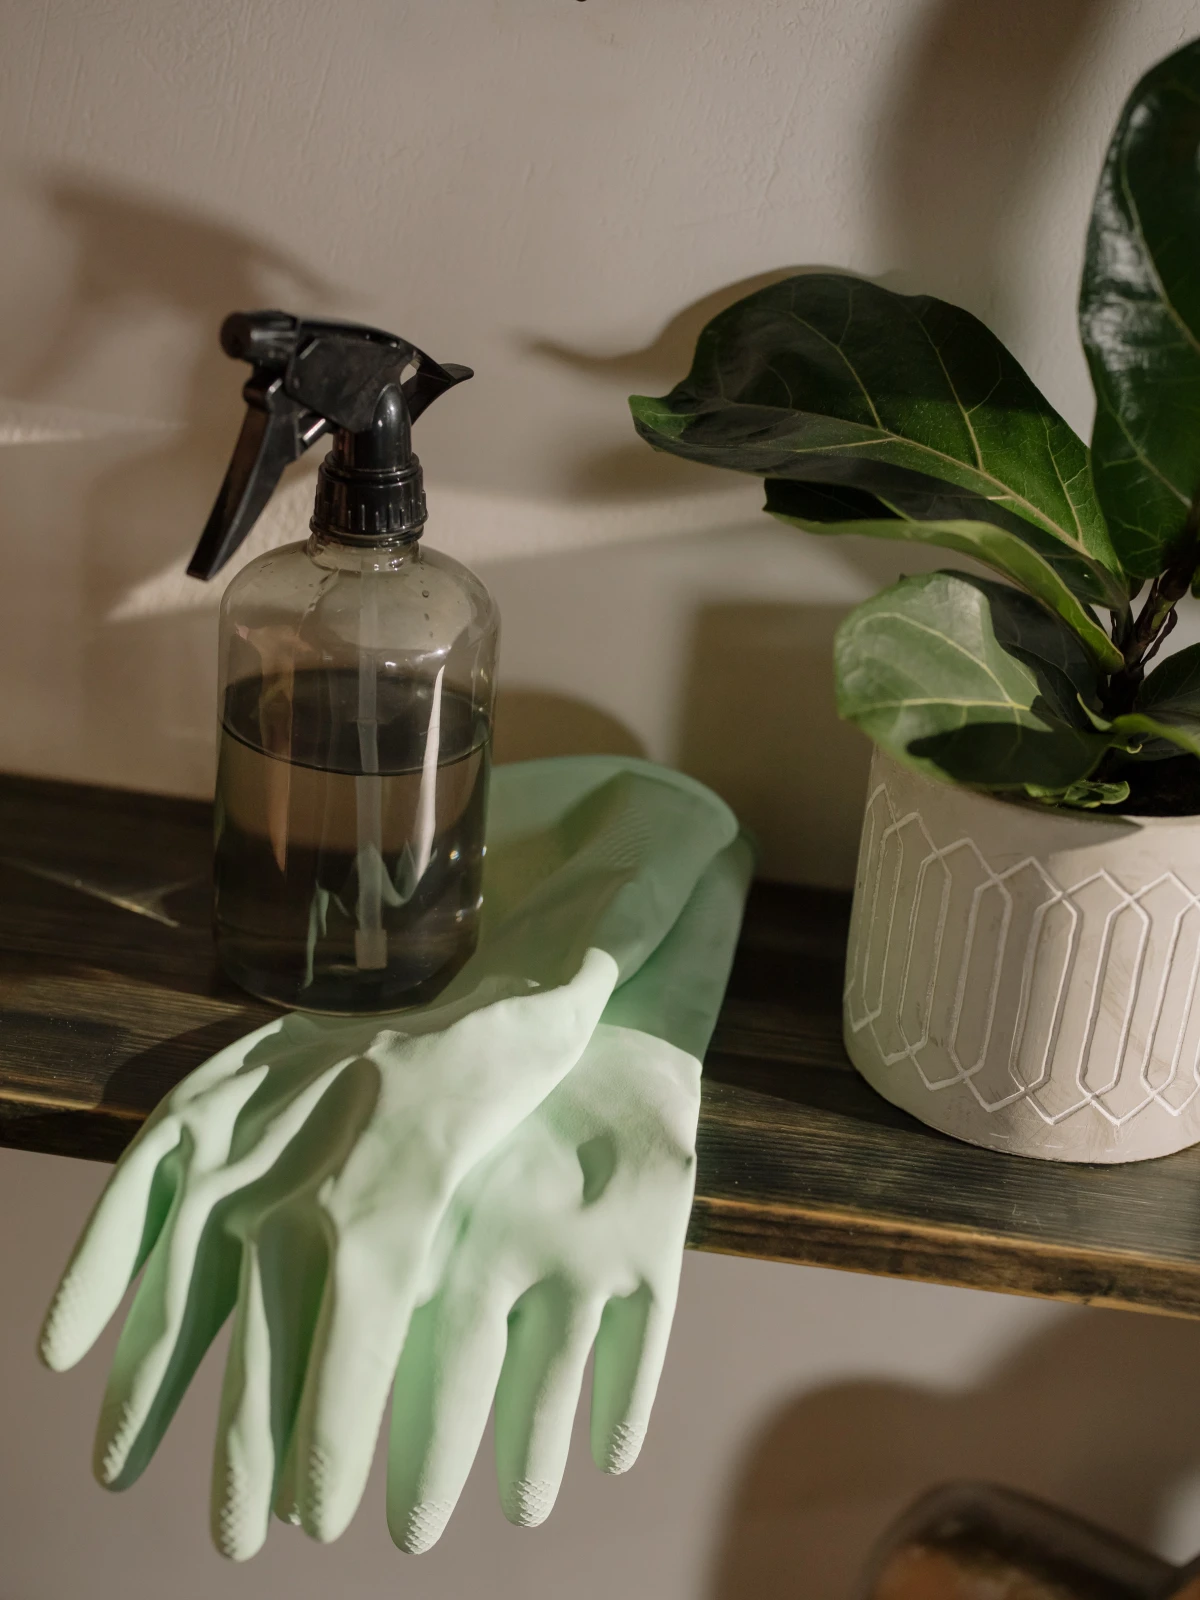
Your Poison Ivy Battle Armor
This is the essential kit. Expect to spend between $50 and $75 for a complete setup from a place like Home Depot, Lowe’s, or a local hardware store. It’s worth every penny.
Disposable Coveralls ($15-20): Get a full-body painter’s suit with a hood, like the ones made by Tyvek. This creates a total barrier, preventing the oil from getting on your clothes and then into your car or house.
Waterproof Gloves ($10-15): Do NOT use cloth or leather; the oil will soak right through. The pro method is to double-glove. Start with a thin pair of disposable nitrile gloves, then put a pair of heavy-duty, long-cuffed rubber or neoprene gloves over them. If the outer glove rips, you’re still protected.
Eye Protection ($5-10): Goggles are best. A snapped vine can easily splash urushiol toward your eyes, and that’s an emergency room situation.
Rubber Boots: Canvas sneakers and leather boots are porous. They’ll absorb the oil and re-expose you every time you wear them. Tall rubber boots are the only safe choice.
Duct Tape ($5): You’ll use this to create an impenetrable seal. Tape your gloves to your coverall sleeves and your boot tops to your coverall legs. No skin exposed. Period.
The Most Important Warning: NEVER Burn Poison Ivy
Listen up, because this is critical. Never, ever, ever burn any part of a poison ivy plant. When urushiol burns, the oil vaporizes and hitches a ride on smoke particles. Inhaling that smoke can cause a severe, life-threatening allergic reaction in your throat and lungs. People have been hospitalized from this. It’s not a myth; it’s a real and serious danger.
Choosing Your Attack Plan
The right method depends on where the ivy is, how much there is, and your patience level. Let’s be real about what works and what doesn’t.
For most situations, you’re choosing between three main strategies. Here’s a quick rundown:
Manual Removal: This is the most effective but also the most labor-intensive. It’s best for small-to-medium patches where you can physically get to the plants. Cost: Just your time and the cost of safety gear. Time: Slow and meticulous.
Smothering: A great low-effort, safe option for large, flat areas. It takes a long time, though. Cost: Minimal, just the cost of a tarp or cardboard. Time: Very slow—at least one full growing season.
Herbicides: The last resort for huge, inaccessible, or stubborn infestations. It’s effective but requires extreme care. Cost: The price of the chemical and sprayer ($30-$60). Time: Kills the plant in a few weeks, but follow-up is needed.
Method 1: Manual Removal (The Gold Standard)
If you’re willing to be careful, nothing beats pulling the plant out by the roots. The best time to do this is after a good rain when the soil is soft and the roots are less likely to snap. Avoid hot, humid days—you’ll be miserable and risk overheating in your gear.
After suiting up completely, start at the edge of the patch. Use a digging fork to loosen the soil around the plants. Trace a stem down to the ground and start digging around the root crown. Gently pull while using a trowel to pry the roots loose. Your goal is to get the whole root system. Place everything—every leaf, stem, and root fragment—directly into a heavy-duty contractor bag. Don’t pile it on the ground first.
A common mistake is thinking you’re done after one session. You’re not. You will miss some root fragments. Patrol the area for the next year and pull any new sprouts as soon as they appear. This follow-up is a required part of the process, not a sign of failure.
Method 2: Smothering (The Slow-and-Steady Method)
If you have a big, flat patch of ivy, this is a fantastic set-it-and-forget-it technique. First, carefully cut the ivy down to the ground (bagging the cuttings, of course). Then, cover the entire area with something that blocks all light. Heavy-duty black plastic (6 mil or thicker) or thick, overlapping layers of cardboard work well. Extend the covering at least 2-3 feet beyond the edge of the patch to stop the roots from escaping. Weigh it all down with rocks or bricks. Then, you wait. Leave it covered for at least one full growing season, but honestly, two is better to be certain you’ve starved the root system to death.
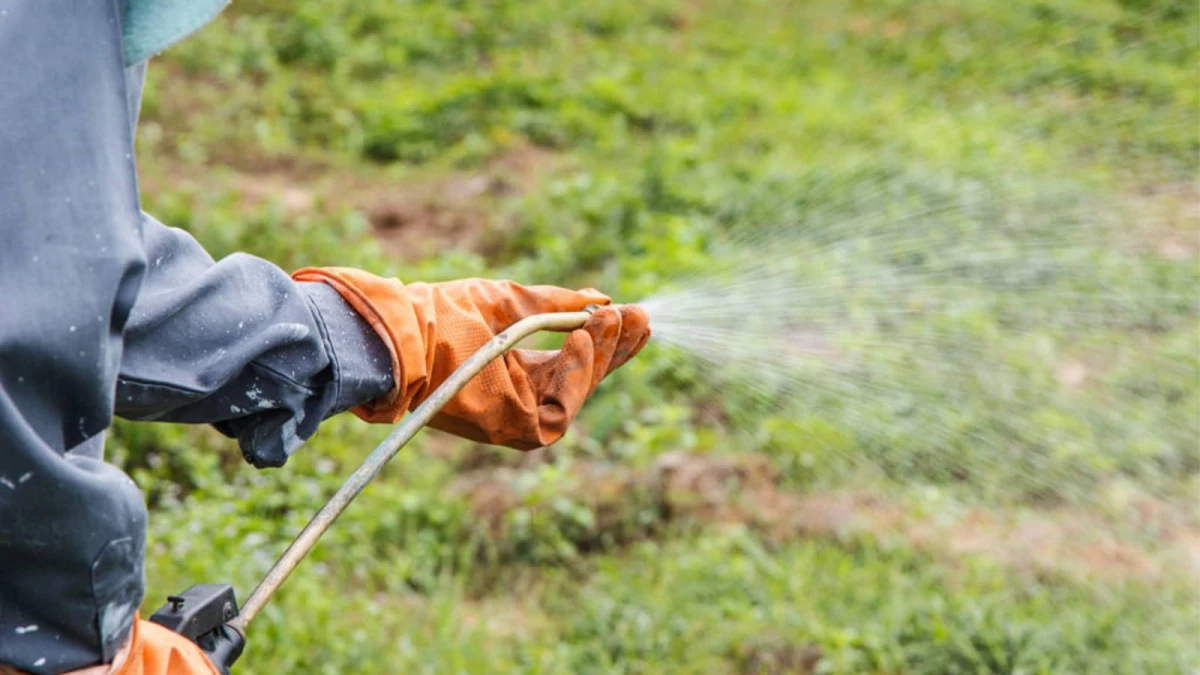
Method 3: Herbicides (When You Must)
Sometimes, an area is just too big or the ivy is wrapped up in plants you want to keep. In that case, a targeted herbicide application is the most practical choice. The label is the law—read it and follow it exactly.
For poison ivy, products containing Triclopyr are often a better choice than Glyphosate (the active ingredient in Roundup) because Triclopyr targets broadleaf plants and woody vines but won’t typically harm your lawn grasses when used correctly. Look for products specifically labeled “Poison Ivy & Tough Brush Killer.”
Pro Tip: The Cut-Stump Method. For those huge, hairy vines climbing a tree, don’t just spray everywhere. Instead, take a pair of loppers and cut a section out of the vine about a foot off the ground. Immediately—within five minutes—use a cheap paintbrush to paint concentrated Triclopyr directly onto the fresh cut of the rooted stump. This sends the herbicide straight to the root system, killing it from the source without collateral damage.
The Cleanup: Don’t Get a Rash After the Fact
Getting the ivy out is only half the battle. The decontamination phase is where most people slip up. You have to assume everything you wore and used is covered in urushiol.
Follow this cleanup ritual exactly:
Tools First: While still wearing your outer gloves, wipe down all your tools (pruners, shovels, etc.) with rubbing alcohol or a degreasing soap and water. Set them aside on a clean surface.
Outer Gloves Off: Carefully peel off your heavy outer gloves.
Boots Off: Still wearing your coveralls and inner gloves, take off your rubber boots. Clean them thoroughly as you did your tools.
Coveralls Off: Now, carefully roll the coveralls off your body, turning them inside-out as you go. This traps the oil on the inside. Place them and your inner gloves directly into a trash bag.
The Final Shower: Head straight to the shower. Wash your entire body with lukewarm water and a grease-cutting soap. Scrub gently and rinse thoroughly.
Final Loose Ends: Disposal, Pets, and Calling a Pro
What about the bag of ivy? This is a big question. The plant material you bagged is still hazardous. First, check with your local municipality or waste management company. Some have specific guidelines for hazardous plant disposal. If they don’t, the standard procedure is to seal the heavy-duty contractor bag securely with duct tape and toss it in with your regular trash. Clearly labeling the bag “POISON IVY” is a courteous thing to do for sanitation workers.
A warning for pet owners: Your dog can’t get the rash, but they can bring the urushiol oil into your house on their fur. If you think your pet has run through a patch, put on your rubber gloves and give them a bath with a pet-safe shampoo. Towel them dry before letting them back on the furniture!
When to tap out and call for backup? If the ivy is covering more than 15-20% of your yard, is 30 feet up a prized tree, or if you’re highly allergic, it’s time to call a professional. It’s not worth the risk. Expect to pay anywhere from $300 for a small, simple job to over $1,000 for a large-scale, difficult removal. Get a few quotes before you decide.
Tackling poison ivy is a serious task, but with the right knowledge and a healthy dose of respect for the plant, you can absolutely win. Take your time, be safe, and you’ll be able to enjoy your yard without fear.
John combines 12 years of experience in event planning, interior styling, and lifestyle curation. With a degree in Visual Arts from California Institute of the Arts and certifications in event design, he has styled luxury weddings, corporate events, and celebrity celebrations. John believes in creating memorable experiences through innovative design and attention to detail.
To provide the best experiences, we use technologies like cookies to store and/or access device information. Consenting to these technologies will allow us to process data such as browsing behavior or unique IDs on this site. Not consenting or withdrawing consent, may adversely affect certain features and functions.
Functional
Always active
The technical storage or access is strictly necessary for the legitimate purpose of enabling the use of a specific service explicitly requested by the subscriber or user, or for the sole purpose of carrying out the transmission of a communication over an electronic communications network.
Preferences
The technical storage or access is necessary for the legitimate purpose of storing preferences that are not requested by the subscriber or user.
Statistics
The technical storage or access that is used exclusively for statistical purposes.The technical storage or access that is used exclusively for anonymous statistical purposes. Without a subpoena, voluntary compliance on the part of your Internet Service Provider, or additional records from a third party, information stored or retrieved for this purpose alone cannot usually be used to identify you.
Marketing
The technical storage or access is required to create user profiles to send advertising, or to track the user on a website or across several websites for similar marketing purposes.