That White Fuzz on Your Plant’s Soil? Here’s What to Actually Do About It
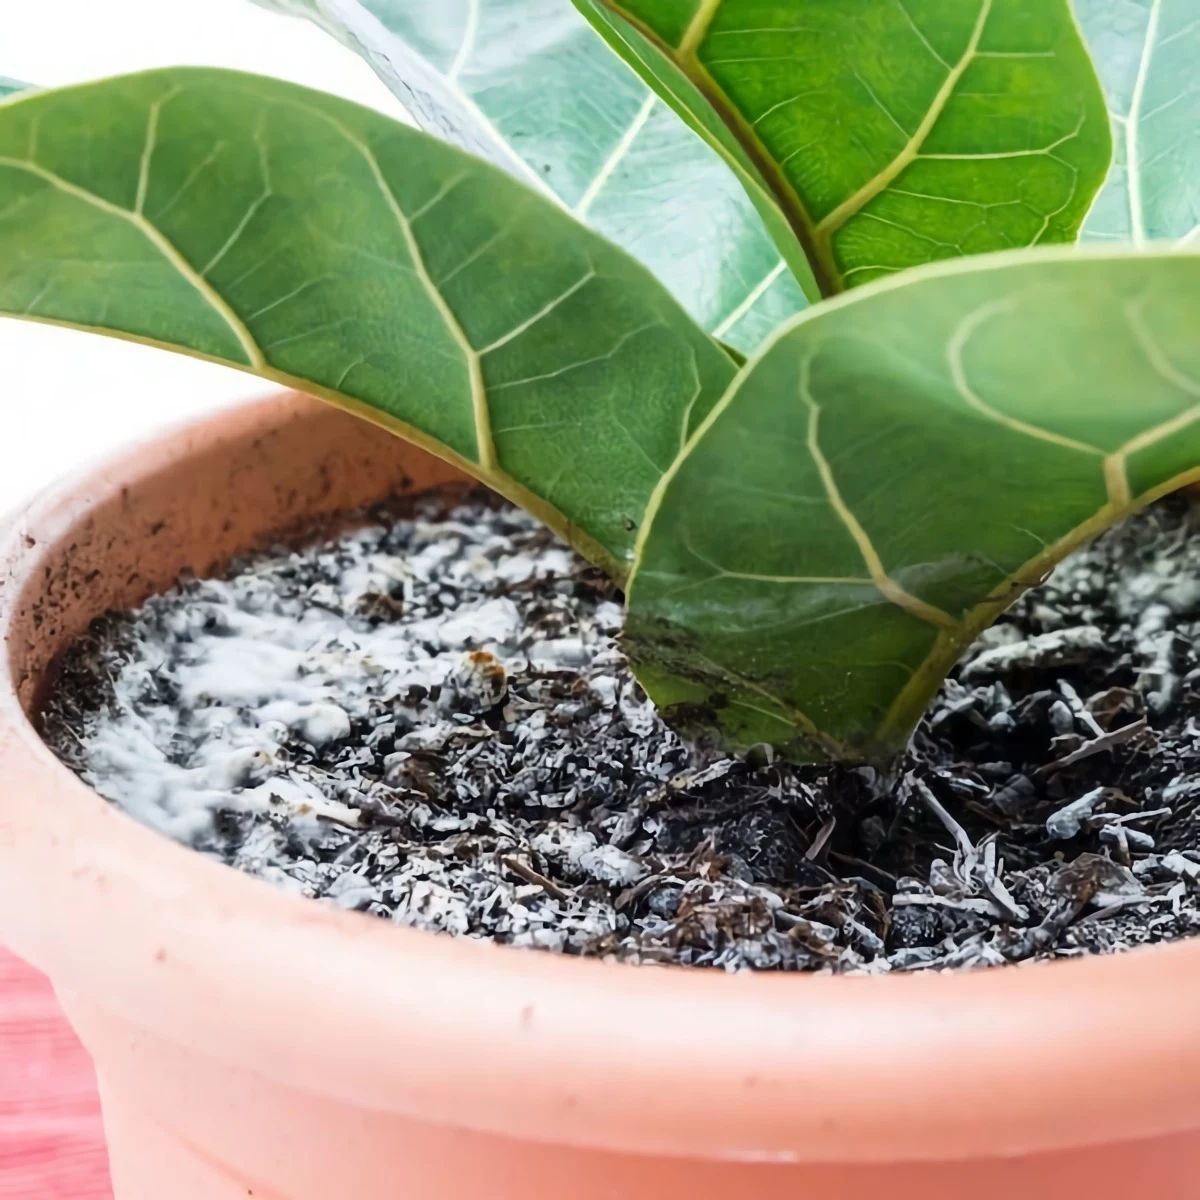
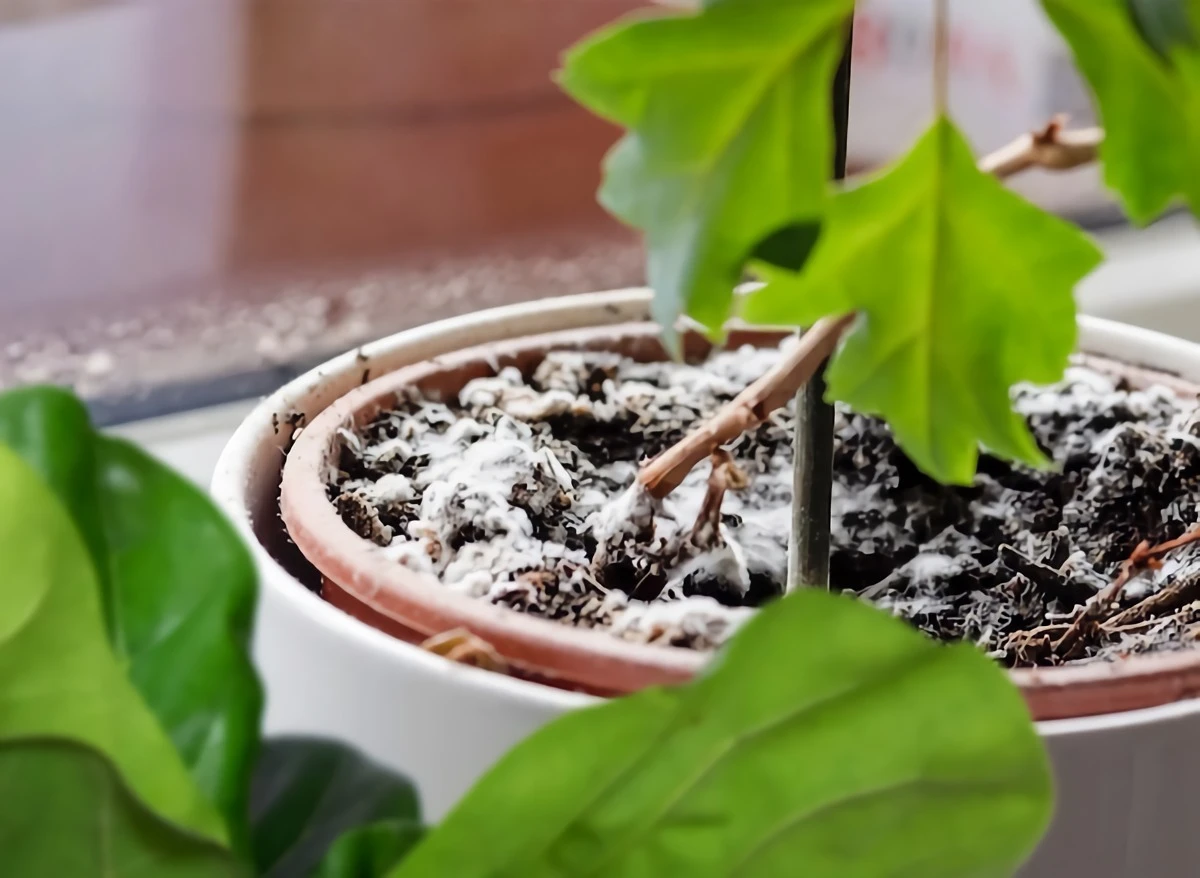
So, you’ve spotted it. That weird, fuzzy white layer that’s suddenly appeared on top of your houseplant’s soil. If you’re feeling a little bit of panic, take a deep breath. You’re not alone, and honestly, it’s rarely a five-alarm fire.
In this article
- Why Is It Even There? Understanding the Cause
- First, Play Detective: Assess the Situation
- Making the Call: Scrape or Repot?
- Method 1: The Quick Scrape and Top-Dress
- Method 2: The Full Repot (A Fresh Start)
- A Hard Pass on Most “Natural” Home Remedies
- The Real Secret: Creating a Mold-Proof Environment
- Inspiration:
I’ve been working with plants for a long, long time, from huge commercial operations to tiny, treasured collections. And this is probably the number one question I get from new plant parents. That white stuff is almost always a harmless type of fungus just doing its thing. Think of it less like a disease and more like a little yellow flag your plant is waving. It’s a signal that something in its environment—usually moisture and airflow—is a bit off balance. The good news? It’s totally fixable.
Why Is It Even There? Understanding the Cause
To really solve this, you have to know what you’re up against. Mold spores are literally everywhere. They’re floating in the air, hanging out in your potting mix… they’re nature’s microscopic cleanup crew. You can’t get rid of them, and you wouldn’t want to. They only become a visible, fuzzy problem when you accidentally create the perfect vacation spot for them to thrive.
For mold to throw a party on your soil, it just needs a few things:
- Too Much Water: The most common culprit. If the top layer of your soil stays damp for days on end, you’ve rolled out the welcome mat.
- Yummy Food: Standard potting soil is full of tasty organic stuff like peat moss and composted bark. It’s basically a buffet.
- Stuffy Air: Without good air circulation, humidity gets trapped right at the soil’s surface. It’s like a tiny, humid dome perfect for mold growth.
That’s it. Understanding this tells you that just scraping the mold off is like wiping up a spill without fixing the leaky pipe. It’s a temporary fix, but the problem will come right back if the environment stays the same.
First, Play Detective: Assess the Situation
Before you start tossing soil around, take a moment to diagnose what’s really going on. Don’t just look at the mold; look at the whole system.
TRY THIS NOW: Go to your nearest houseplant and stick your index finger about two inches into the soil. Don’t just poke the top. Is it bone dry? Soaking wet? You just learned more about your plant’s needs in 10 seconds than from an hour of guessing. This is your #1 mold prevention tool, right there.
Now, check the plant itself. Are the leaves yellowing? Is the stem mushy? If the plant looks sick, the mold might be a symptom of a bigger issue like root rot. But if the plant looks happy and is pushing out new growth, the fuzz is likely just a surface-level annoyance.
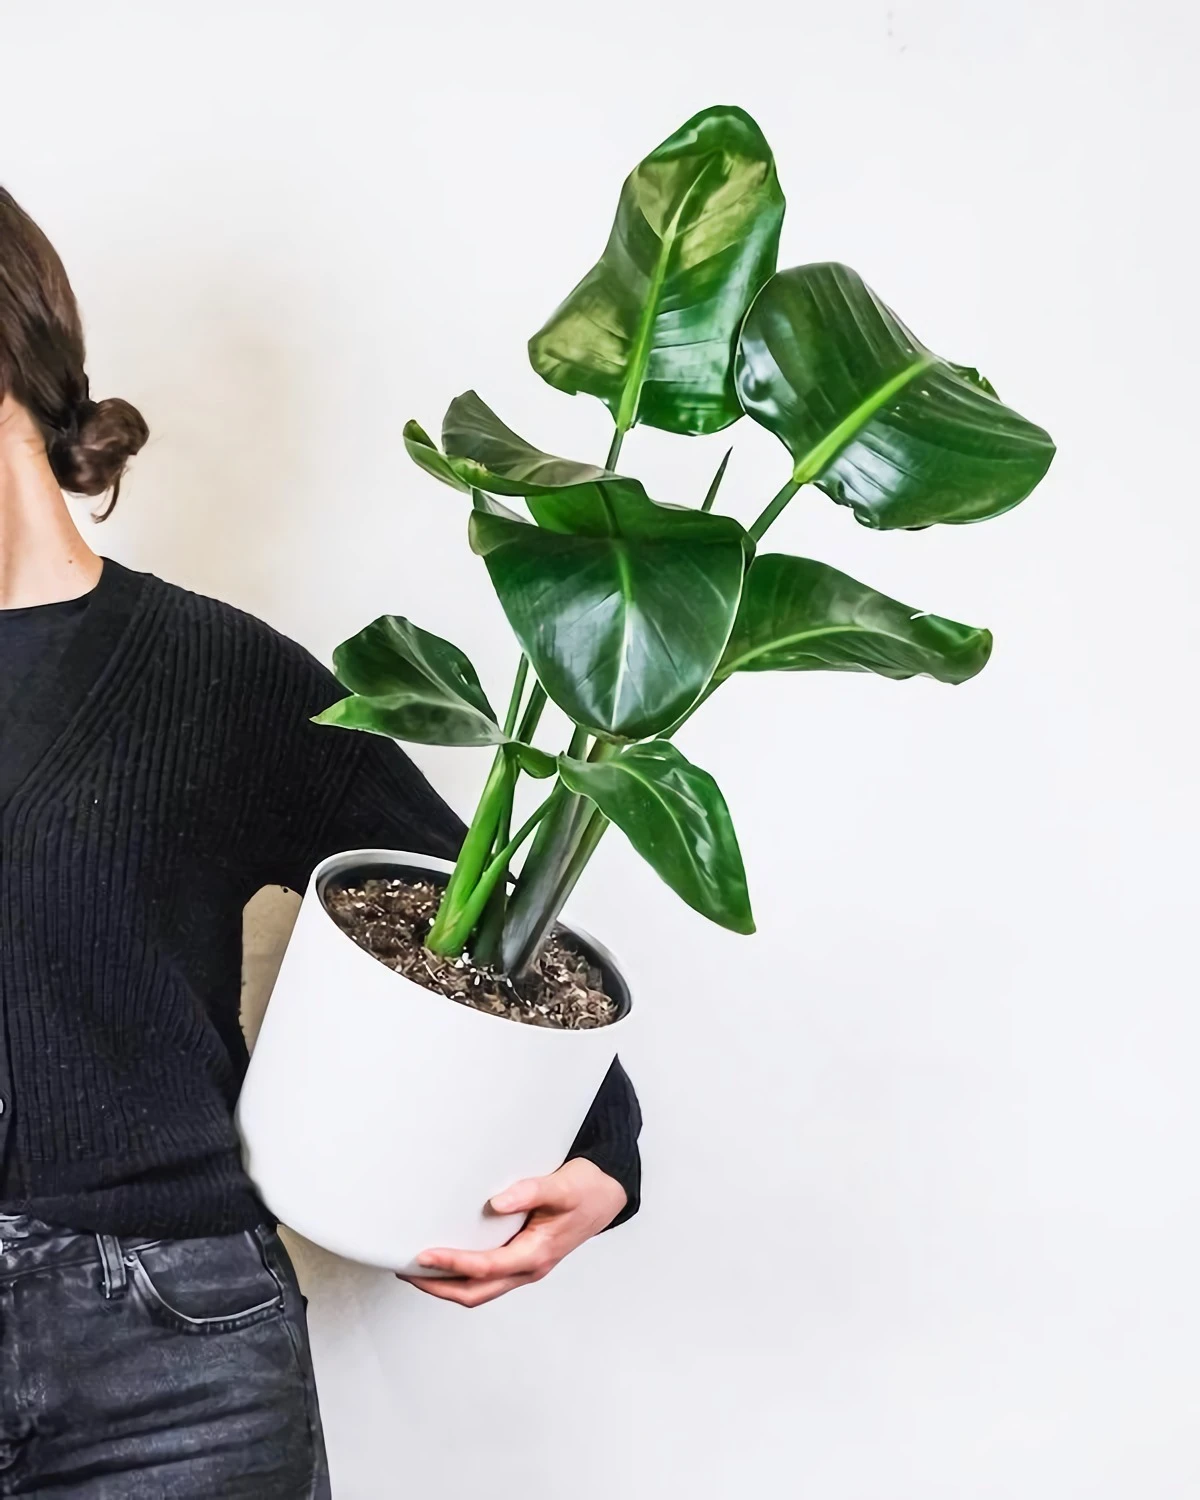
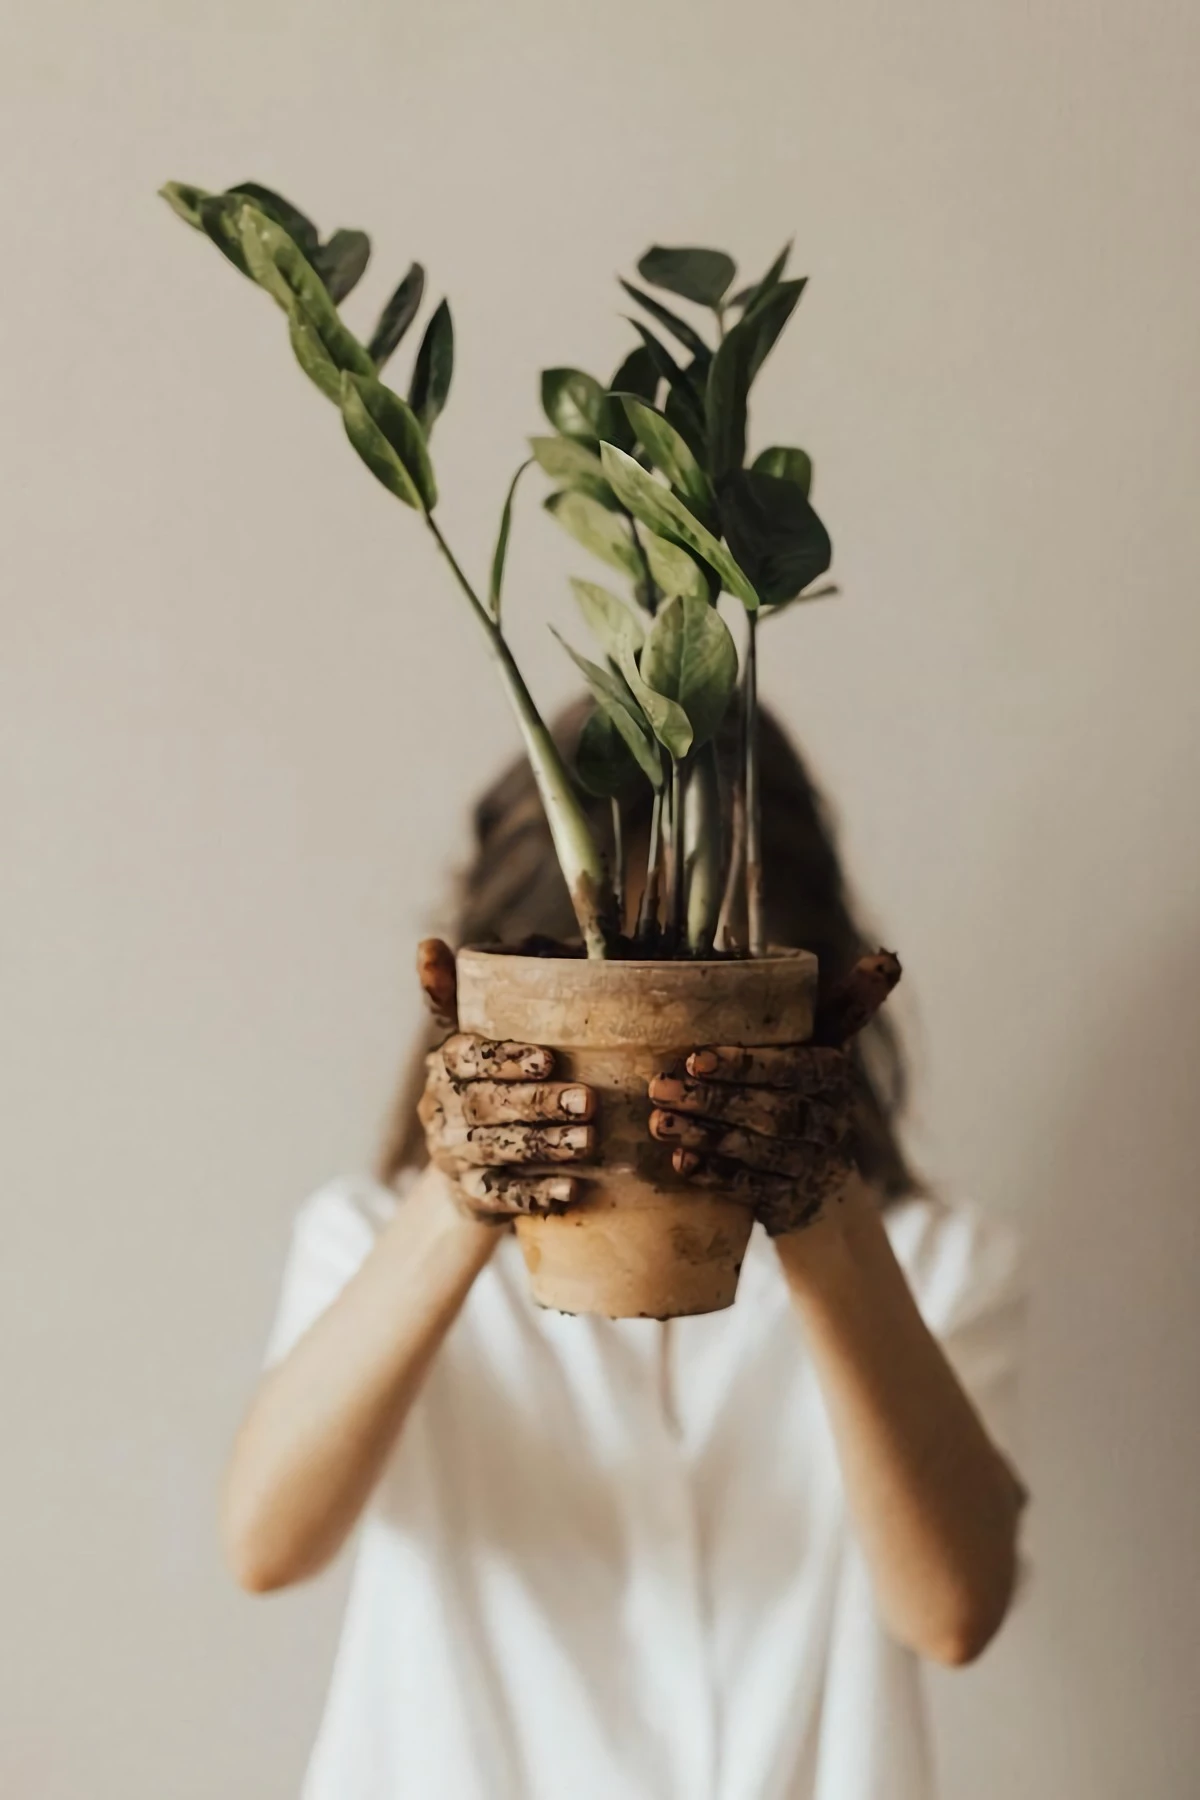
Finally, look at the pot. Does it have drainage holes? If not, we’ve found a major suspect. Pots without drainage are a recipe for disaster, creating a swampy mess at the bottom. And the material matters, too. Think of it this way: a terracotta pot is like wearing cotton—it’s porous and lets the soil breathe and dry out faster. It’s a great choice for plants that hate wet feet. On the flip side, plastic and glazed ceramic pots are like a raincoat—they hold moisture in. Neither is bad, you just have to water less often with non-porous pots.
Making the Call: Scrape or Repot?
Okay, you’ve done your assessment. Now it’s time to decide on your plan of attack. It really comes down to how bad the situation is.
You should probably just scrape the mold off if:
- The mold is only in a few small patches on the surface.
- Your plant otherwise looks vibrant, green, and healthy.
- The soil doesn’t smell sour or funky.
It’s time for a full repot if:
- The mold is covering most of the soil surface.
- The soil has a distinctly sour, swampy smell.
- Your plant is showing signs of distress (yellowing leaves, mushy stems, no new growth).
Method 1: The Quick Scrape and Top-Dress
This is your go-to for minor cases. It’s simple and effective when paired with fixing the underlying watering issue.
Just grab a spoon and gently scrape off the top half-inch or so of moldy soil. Be careful not to damage any shallow roots. Toss that soil in the trash, not your compost bin. Now, top it off with something that mold hates. Instead of more potting mix, I like to add a thin, quarter-inch layer of something inorganic that dries fast. Coarse horticultural sand works great, but a lesser-known trick is to use chicken grit (the insoluble granite kind).

Quick tip: You can find horticultural sand at any garden center. For chicken grit, check a local farm or feed supply store—a small bag is usually super cheap, often under $10, and lasts forever.
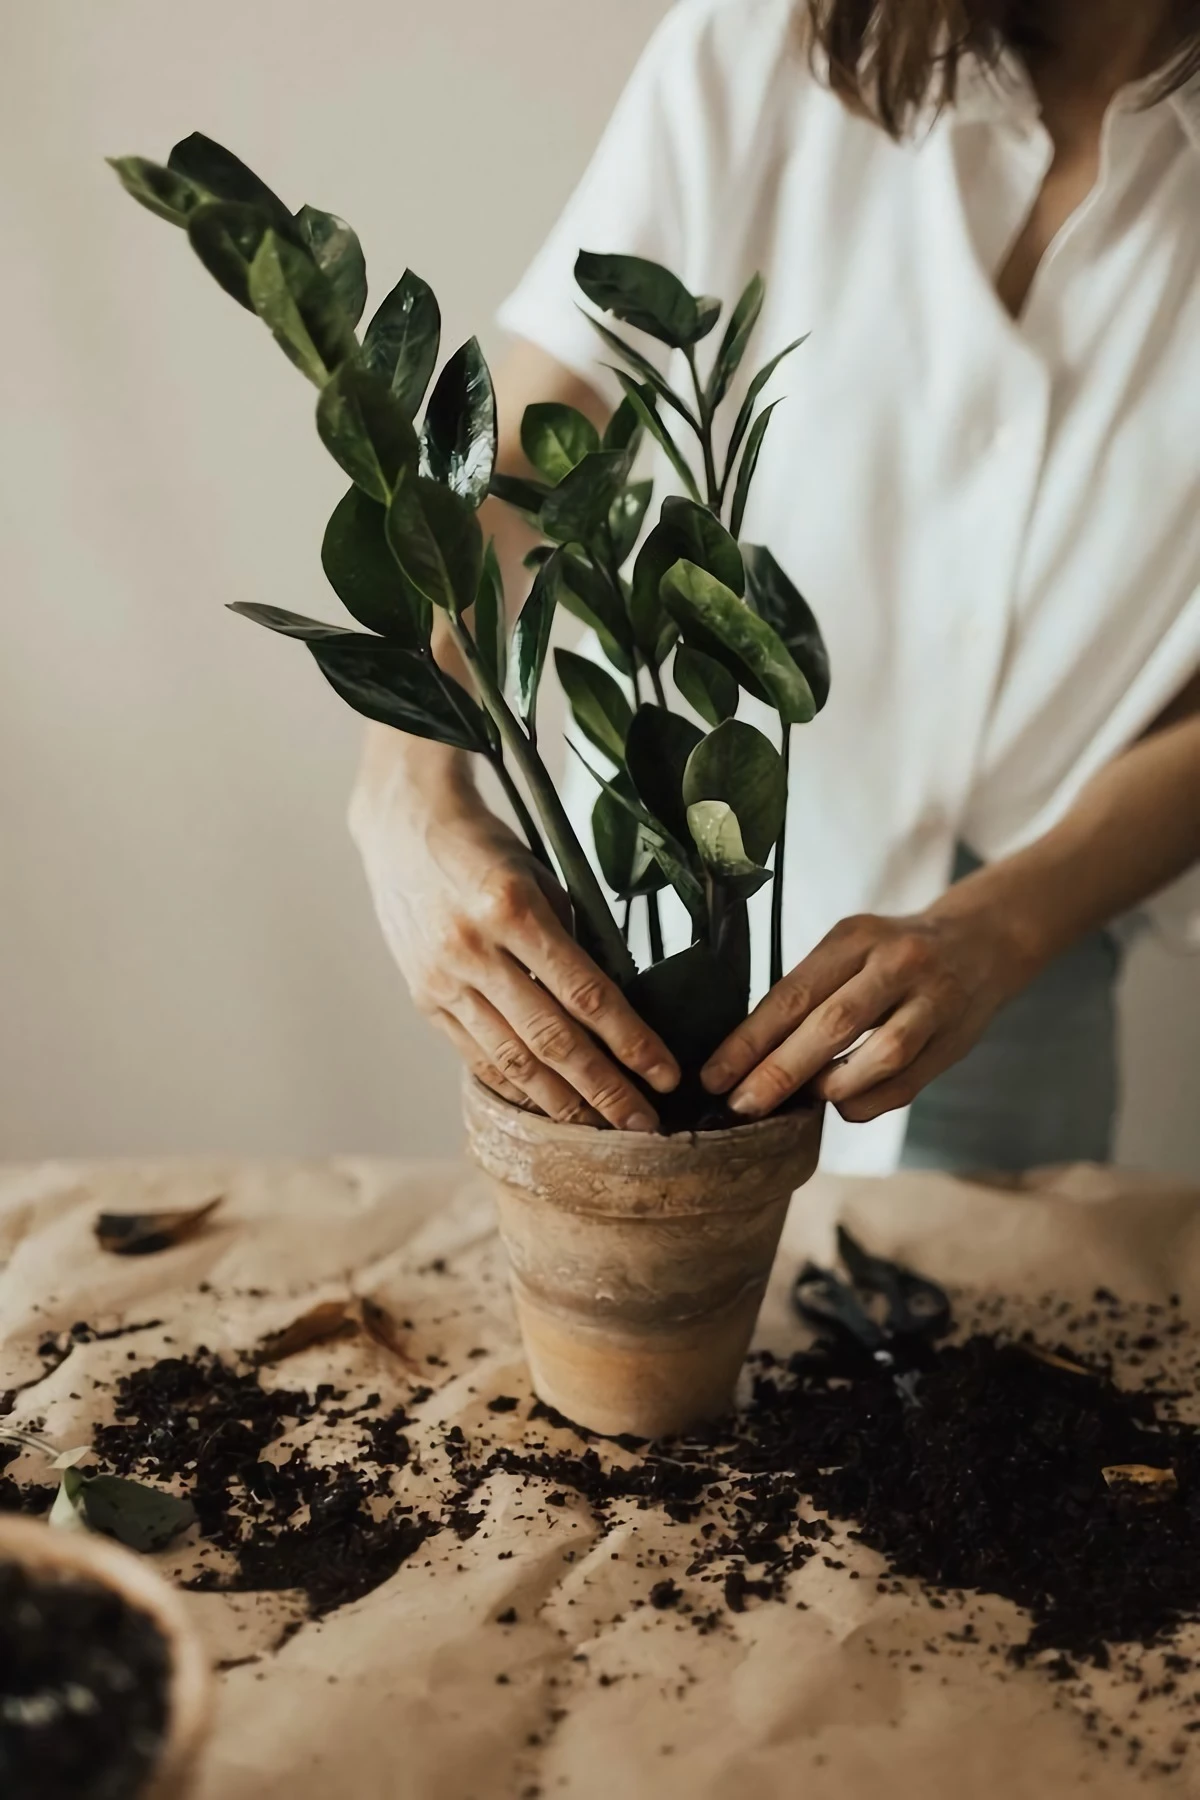
Method 2: The Full Repot (A Fresh Start)
If things are looking grim, a full repot is the best path forward. It’s more work, but it gives your plant a complete reset.
Heads up! For a typical 6-inch plant, set aside about 20-30 minutes for this. Don’t rush it.
First, get your little mold-busting toolkit ready. It’s not as expensive as you might think. You’ll need:
- Fresh Potting Mix: $8-$15 for a good-sized bag.
- A Bag of Perlite: About $5-$10. This is crucial for aeration!
- A Clean Pot (with drainage!): Can be anywhere from $5 to $20.
Gently slide the plant out of its pot and crumble away as much of the old, sad soil as you can. Now, inspect the roots. Healthy roots are firm and whitish-tan. Rotted roots are brown, mushy, and might even smell bad. You have to be ruthless here. Take some clean scissors and trim off every single piece of rot. If you leave any, it can spread to the new soil.
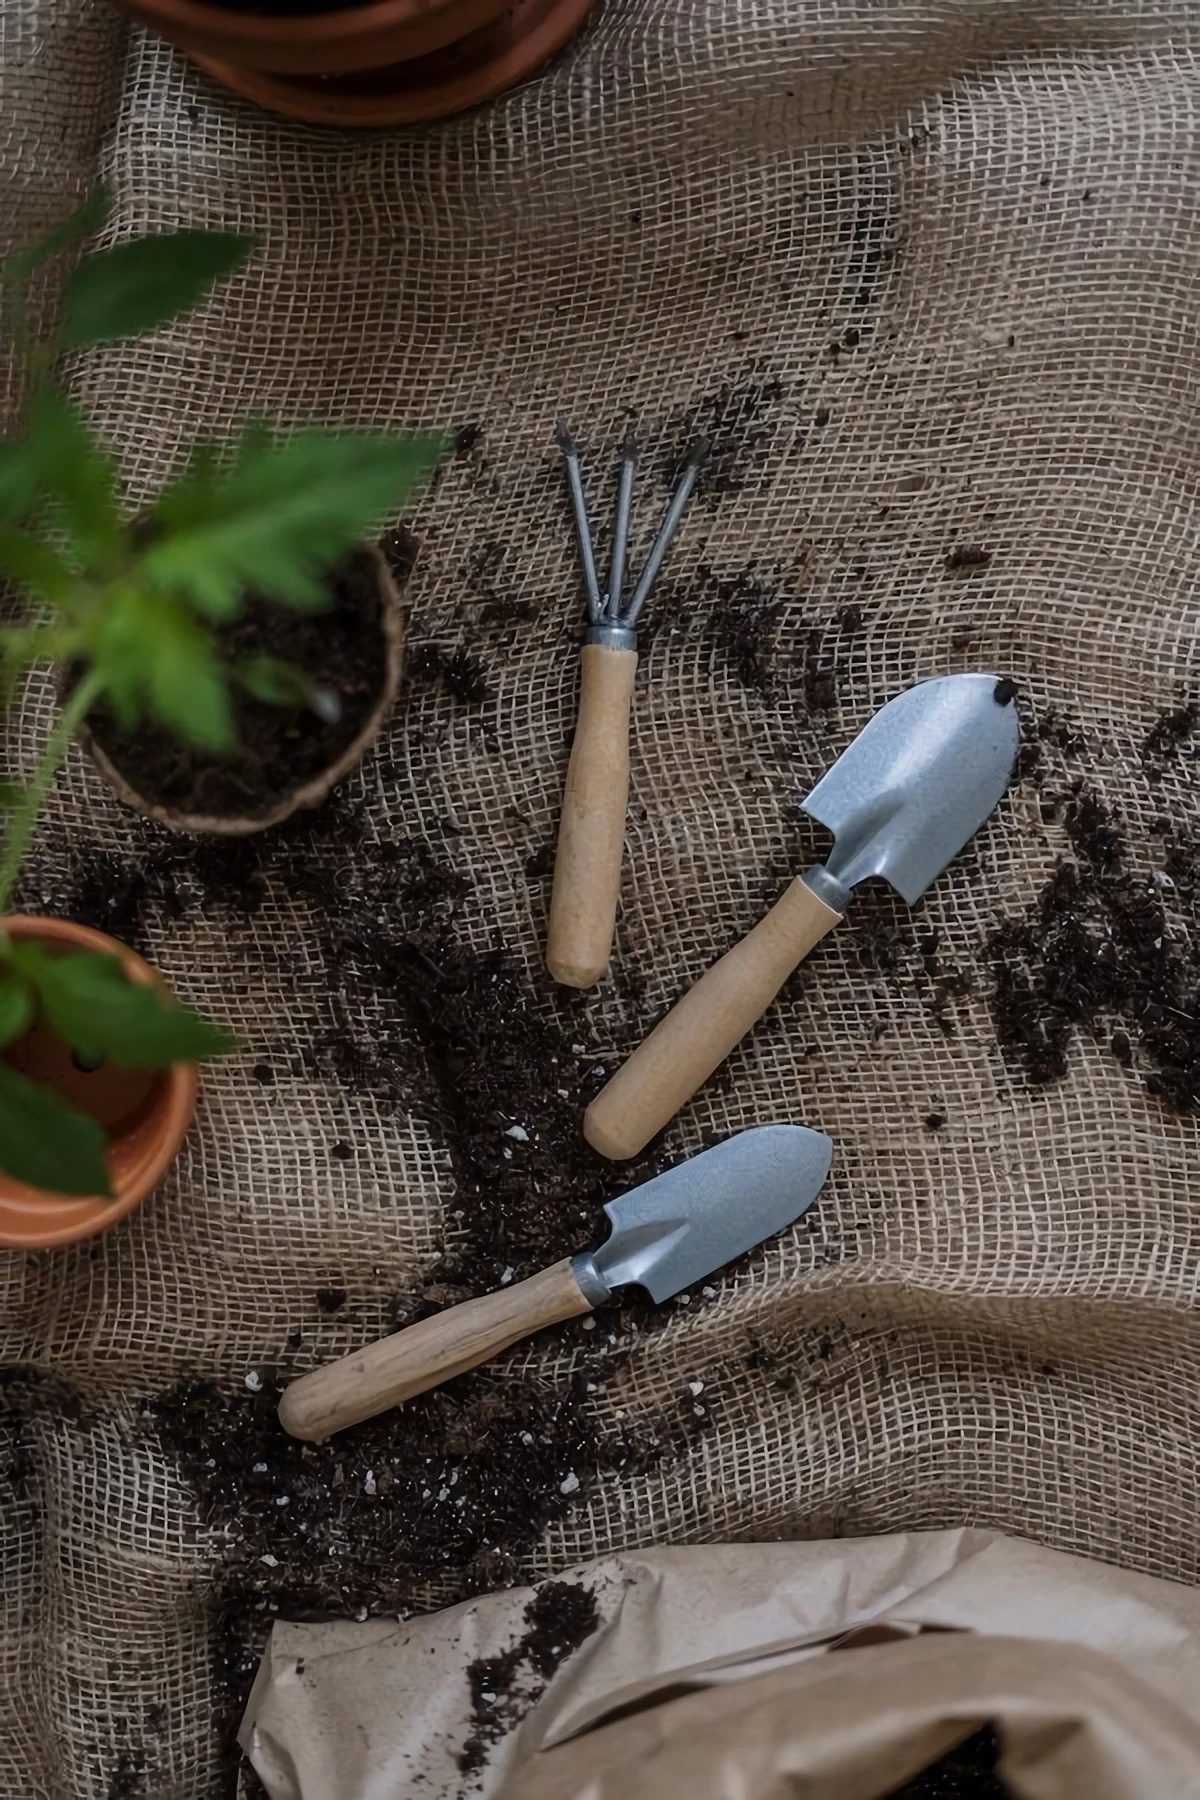
By the way, you don’t need fancy ‘sterile’ scissors. Just wipe the blades with a bit of rubbing alcohol on a cotton ball before you cut. Done!
Scrub the pot clean (a little soap and water is fine, just rinse well) and repot your plant into a fresh mix. I recommend a mix of 3 parts potting soil to 1 part perlite to keep it light and airy. Water it lightly, and give it a week out of direct sun to recover.
A Hard Pass on Most “Natural” Home Remedies
You’ll see a ton of advice online about sprinkling cinnamon or spraying vinegar on moldy soil. As someone who has seen the aftermath of these experiments, I have to be frank: please don’t.
I’ll admit, in my early days, I absolutely nuked a beautiful fern by trying that baking soda ‘trick.’ The mold was gone, but so was the fern. That’s how I learned to fix the environment, not just attack the symptom. Baking soda and vinegar drastically alter the soil’s pH, which can lock out nutrients and chemically burn your plant’s roots. And cinnamon? It might have mild antifungal properties, but a light dusting does next to nothing against an established mold colony and can turn into a crust that blocks air and water.
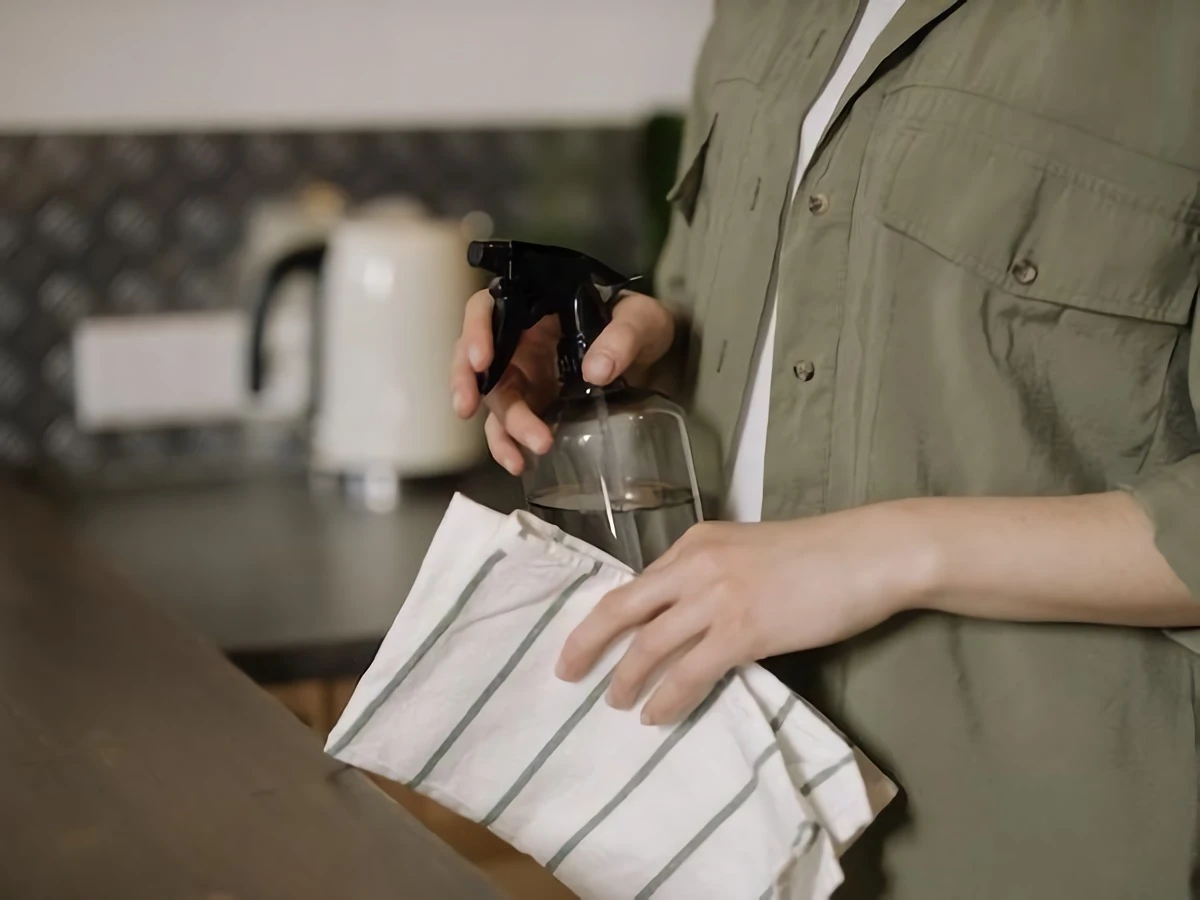
If you absolutely feel the need to spray something, a properly diluted neem oil solution is a much safer bet. Just know it’s a temporary fix if you don’t also address the watering and airflow issues.
The Real Secret: Creating a Mold-Proof Environment
Getting rid of mold once is easy. Keeping it away is the real win. This is all about mastering two things.
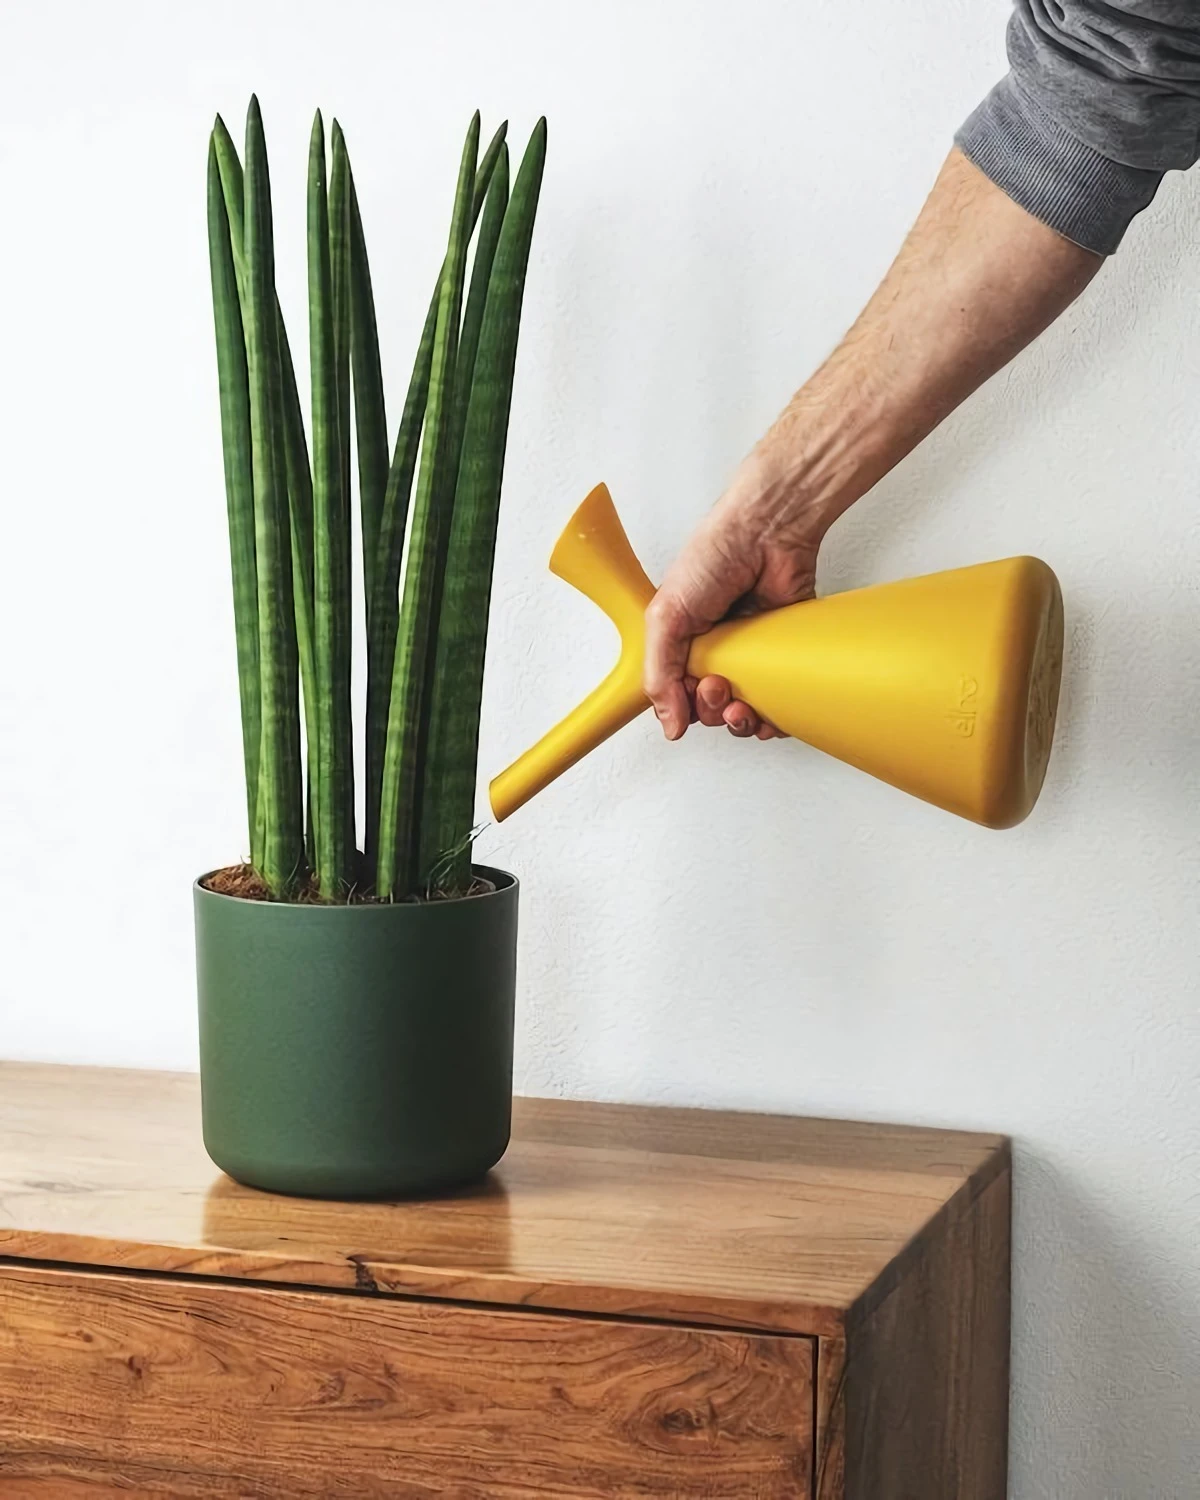
First, change how you water. Stop giving your plant little sips every few days. That keeps the topsoil constantly damp. Instead, embrace the ‘soak and dry’ method. When it’s time to water (use that finger test!), drench the soil until water flows freely out the bottom. Then, and this is the important part, let the top few inches get completely dry before you even think about watering again.
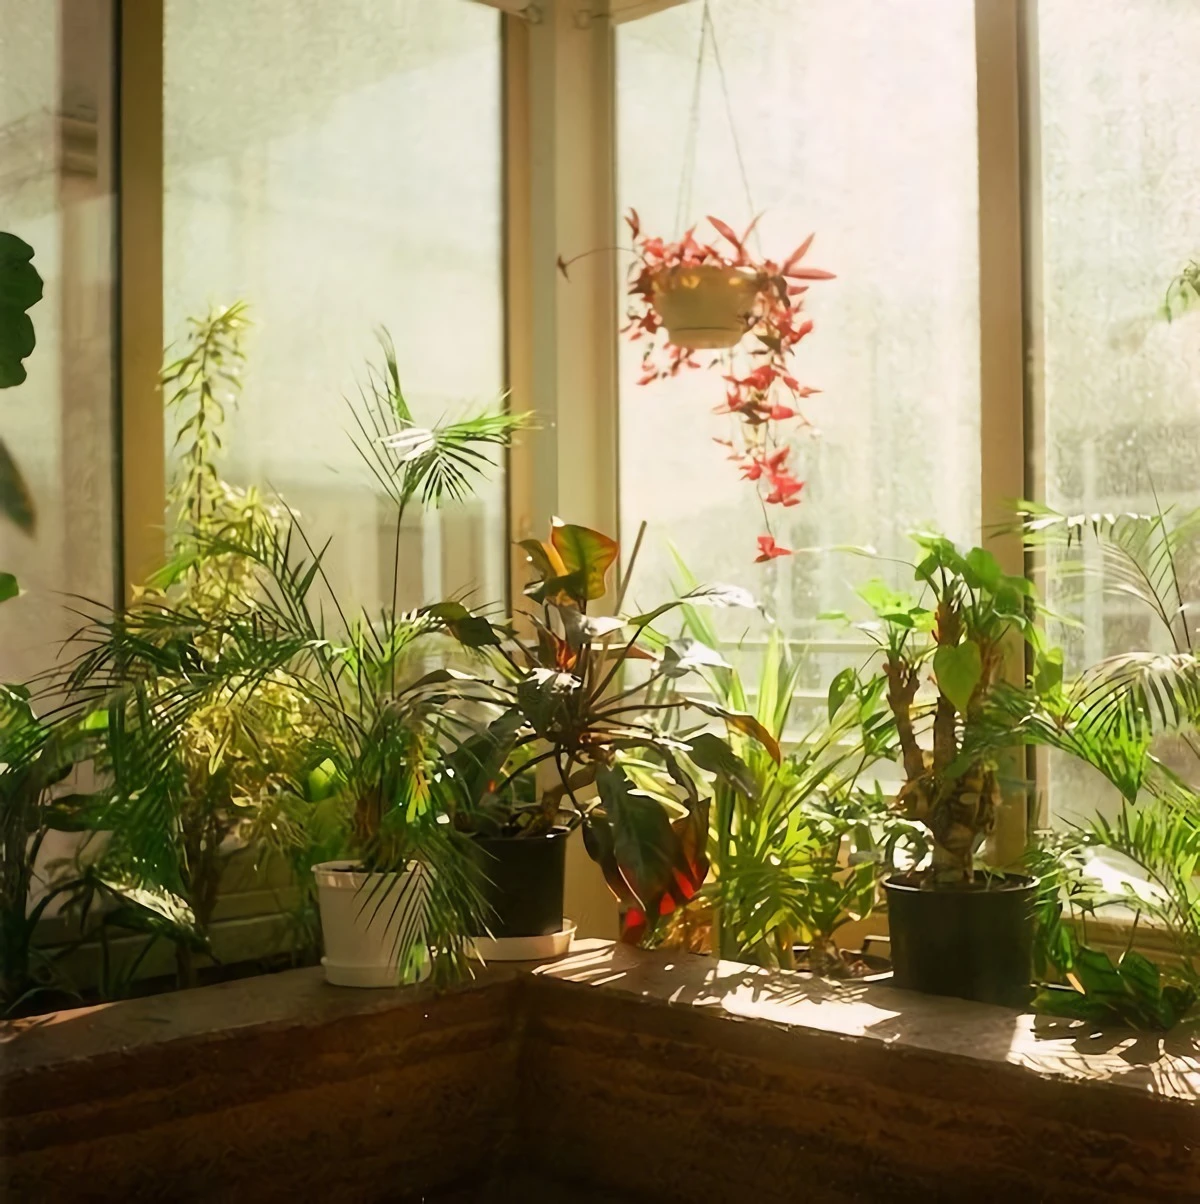
Second, prioritize air circulation. This is the most overlooked part of houseplant care. You don’t need a wind tunnel, just some gentle air movement. If your plant is in a stuffy corner, even a small, cheap oscillating fan running on low for a few hours a day can make a world of difference. It mimics a natural breeze and is one of the most effective mold prevention tools there is.
And remember, sometimes a white, crusty substance isn’t even mold. If you have hard water, it could just be mineral salts left behind after watering. If it’s hard and crystalline instead of soft and fuzzy, that’s what you’ve got. You can just scrape it off.
Ultimately, don’t be too hard on yourself. Seeing mold is a learning experience. By paying attention to the soil, water, and air, you’re not just fighting fuzz—you’re becoming a more observant and skilled plant parent.
Inspiration:
Wondering how to boost your soil’s defenses against mold?
Think about what you add to your potting mix. Adding amendments can dramatically improve drainage and aeration, making the soil surface less hospitable for fungal growth. A simple and effective trick is to mix in ground cinnamon when you repot. Cinnamon is a natural fungicide that can help deter mold spores from taking hold. For a 6-inch pot, a teaspoon mixed into the top few inches of soil is enough to make a difference without harming your plant.
Over 90% of plant species form a symbiotic partnership with fungi known as mycorrhizae, which are essential for nutrient absorption.
While the white fuzz on your soil isn’t this beneficial type, it’s a good reminder that fungus isn’t always the enemy! A healthy soil ecosystem is teeming with microscopic life. The key is balance. When you see surface mold, it’s simply a sign that one type of fungus has found an opportunity to overpopulate due to excess moisture, not an invasion to be feared.
Your pot choice matters more than you think. While that glossy, non-porous ceramic pot looks chic, it holds moisture for much longer. For plants prone to damp soil issues, a switch to classic unglazed terracotta can be a game-changer. Terracotta is porous, allowing water to evaporate through its walls, which helps the soil dry out more evenly and quickly. This natural ‘breathing’ process is one of the easiest ways to prevent a mold-friendly environment from developing in the first place.
- Create space between your plants to let air flow freely.
- Run a small, quiet oscillating fan like a Vornado Flippi for a few hours a day.
- On mild days, crack a nearby window to introduce fresh air.
The secret? Consistent air movement. Stagnant, humid air trapped at the soil’s surface is the mold’s best friend. Improving circulation is just as crucial as adjusting your watering schedule.
Perlite: These small, white volcanic glass pebbles are extremely lightweight and porous. They don’t absorb water but instead create tiny air pockets in the soil, dramatically improving aeration and preventing compaction.
Pumice: Heavier than perlite, pumice is a porous volcanic rock that won’t float to the top of the soil over time. It holds a small amount of water and nutrients while also boosting drainage.
For most common houseplants, a mix with 10-20% perlite from a brand like Miracle-Gro is a great, accessible choice to fight sogginess.
That ‘bottom watering’ method you see online isn’t just a trend; it’s a strategic move against surface mold. By placing your pot in a tray of water for 15-30 minutes, you allow the roots to draw moisture up from below. This technique thoroughly hydrates the root ball while leaving the top inch of soil relatively dry, effectively removing the damp surface that mold loves to colonize.


