Mealybugs Driving You Crazy? Here’s How to Win the Fight for Good
I’ve been around plants my whole life, from managing massive commercial greenhouses to fussing over my own little collection of succulents. And let me tell you, few things test your patience quite like those stubborn little cotton balls we call mealybugs. I’ll never forget my first real throwdown with them. We had a greenhouse packed with high-end orchids, and someone spotted a tiny, fluffy speck on a stem. We figured, “How bad can it be?” A week later, we were in a full-blown war that took months to win. That taught me a critical lesson: with mealybugs, you have to know your enemy inside and out.
In this article
These pests aren’t just annoying; they’re master survivors. They hide in plain sight, multiply like crazy, and wear their own little suits of armor. Just spraying what you see is a recipe for failure. So, this guide isn’t about miracle cures. It’s about sharing the real, professional-grade knowledge you need to finally get rid of them. We’re going to cover the exact strategies the pros use, but tailored for your home. It takes patience, yeah, but you absolutely can win this.
Getting to Know the Enemy: What Makes a Mealybug Tick
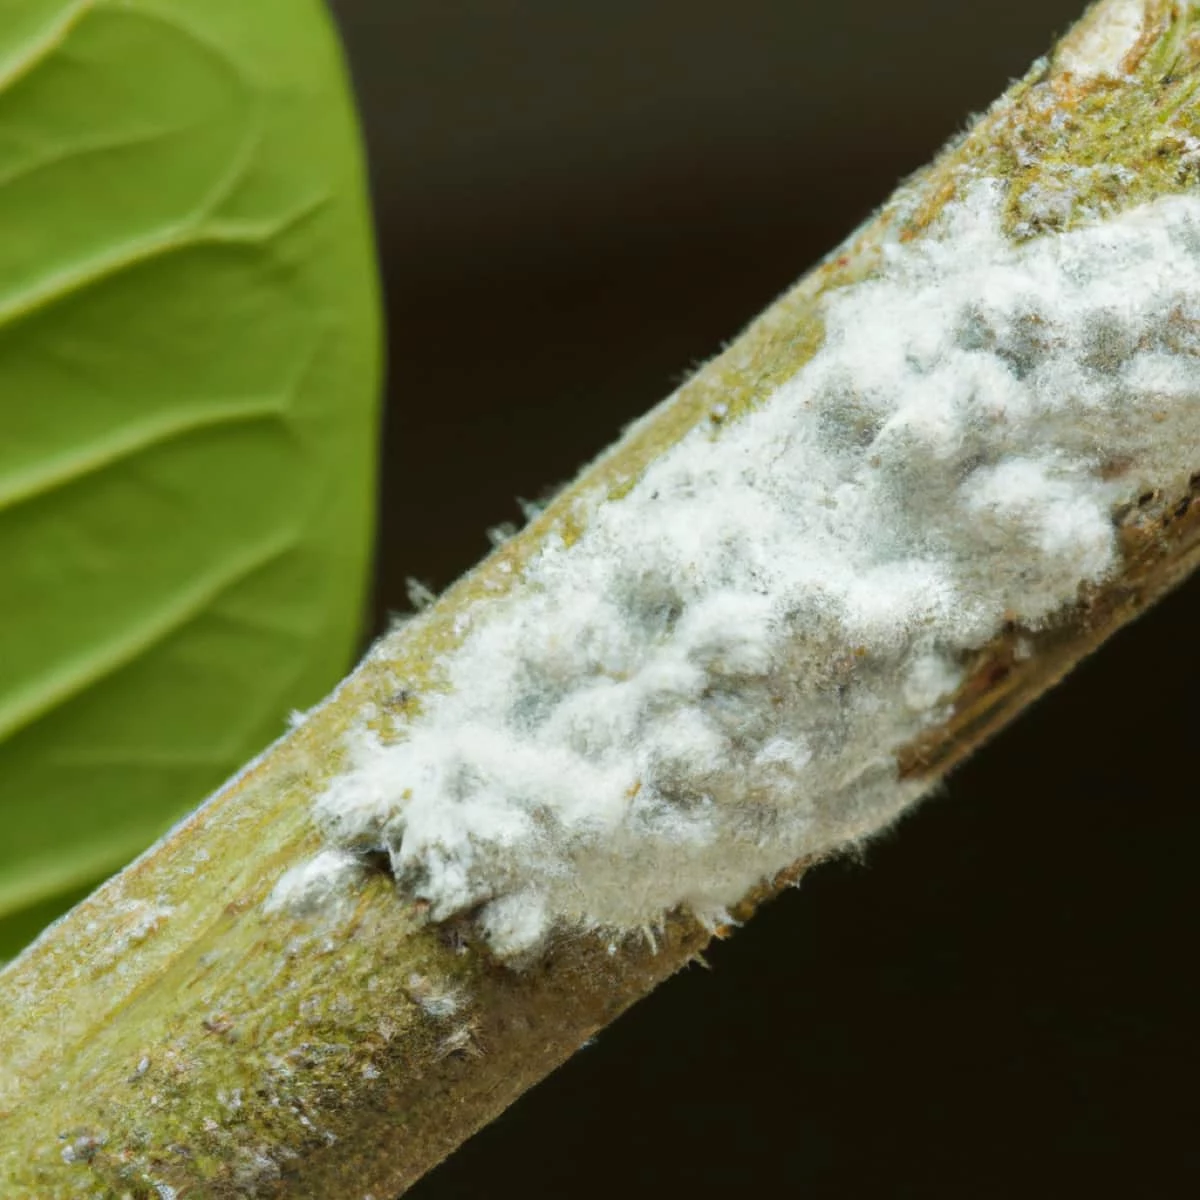
To beat any pest, you need to think like them. Blasting a bug you see today does nothing for the eggs and babies that will pop up next week. Mealybugs are a type of scale insect, but they skip the hard, armored shell, opting for a soft, waxy defense instead. What you’re usually looking at is the adult female, but the real trouble is often brewing where you can’t see it.
Their Life Cycle is Your Battle Plan
In warm indoor conditions, a mealybug can go from egg to egg-laying adult in about a month. This is why a couple of them can turn into an infestation before you’ve even finished your coffee.
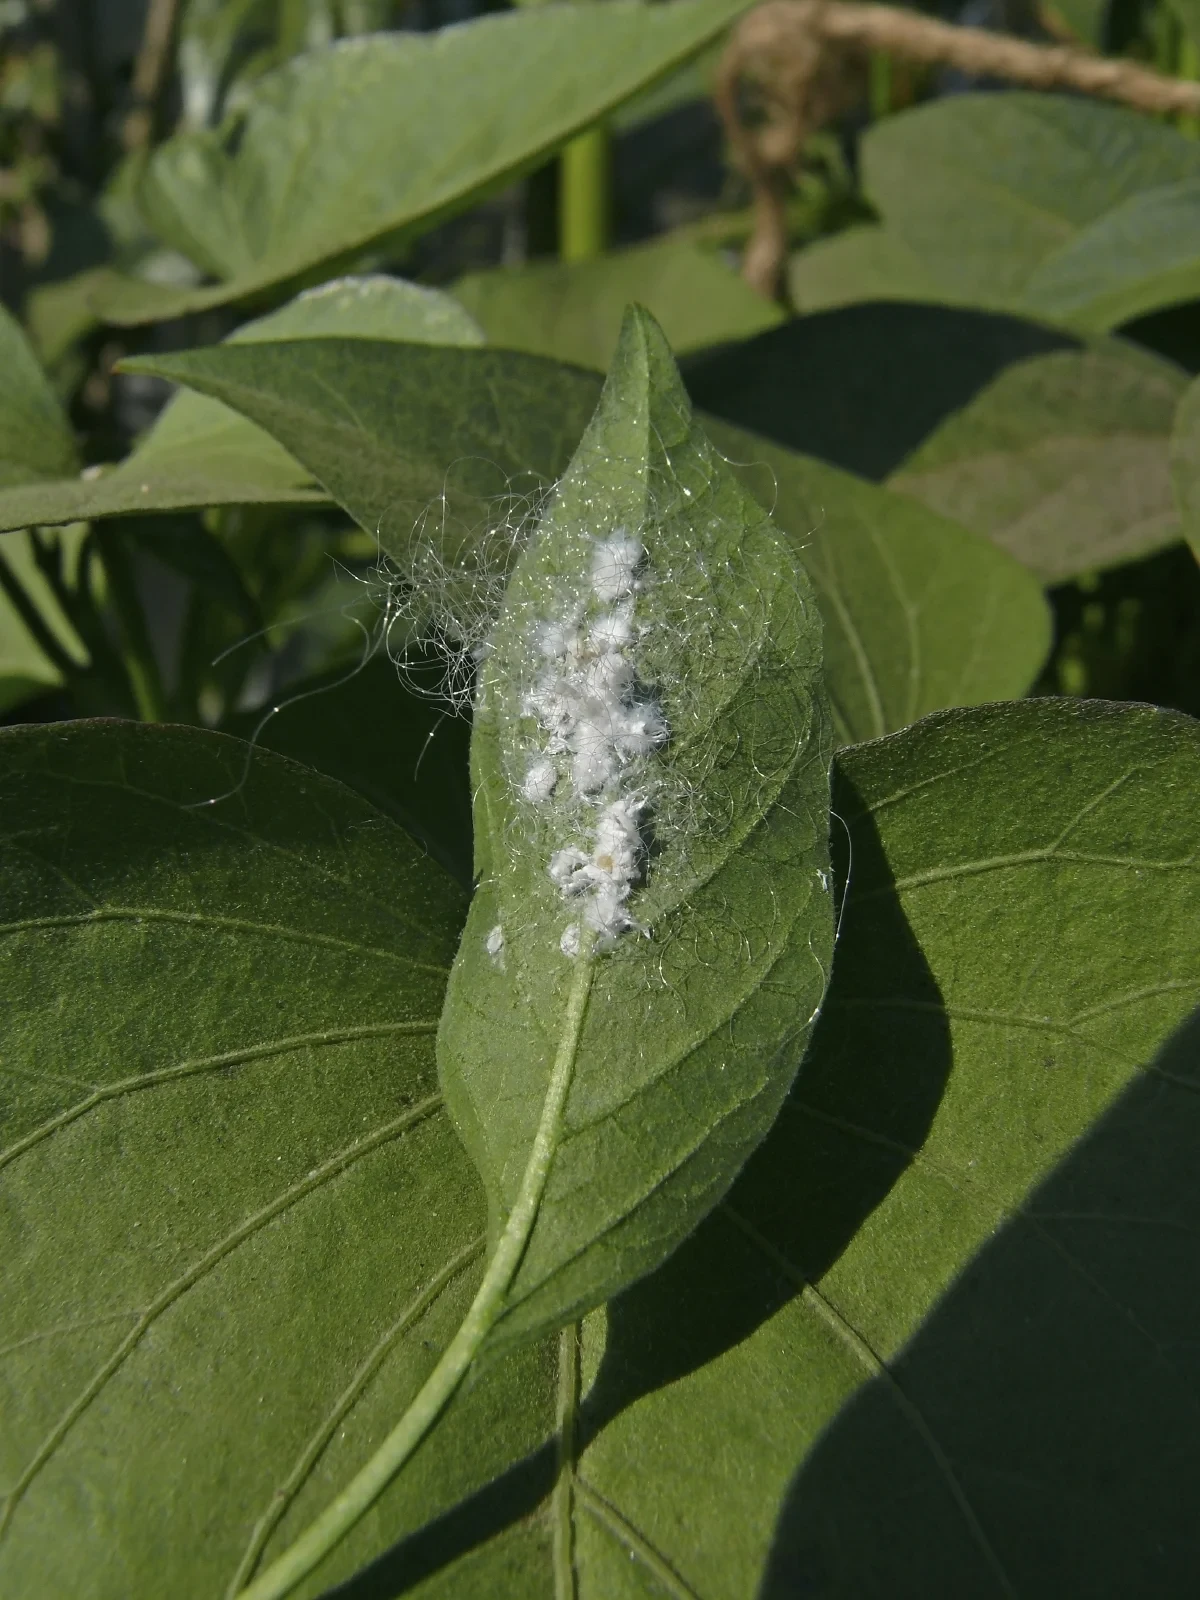
- The Eggs: Female mealybugs lay hundreds of eggs inside a cozy, waxy, cotton-like sac. They’re smart about it, tucking these sacs into the tightest spots—like where a leaf meets the stem or deep in the crown of a succulent. These sacs are super water-resistant, which is why a simple spray often doesn’t touch the next generation.
- The Crawlers: This is their most vulnerable stage and your biggest opportunity. When the eggs hatch, tiny, yellowish-pink crawlers (the technical term is nymphs) emerge. They have legs and are on the move, looking for a good spot to eat. They can even get carried by a breeze or hitch a ride on your watering can to a new plant. This is how the problem spreads.
- The Nymphs: Once a crawler finds a good spot, it starts sucking sap and producing its signature white, waxy coating. They become less mobile as they grow, shedding their skin a few times.
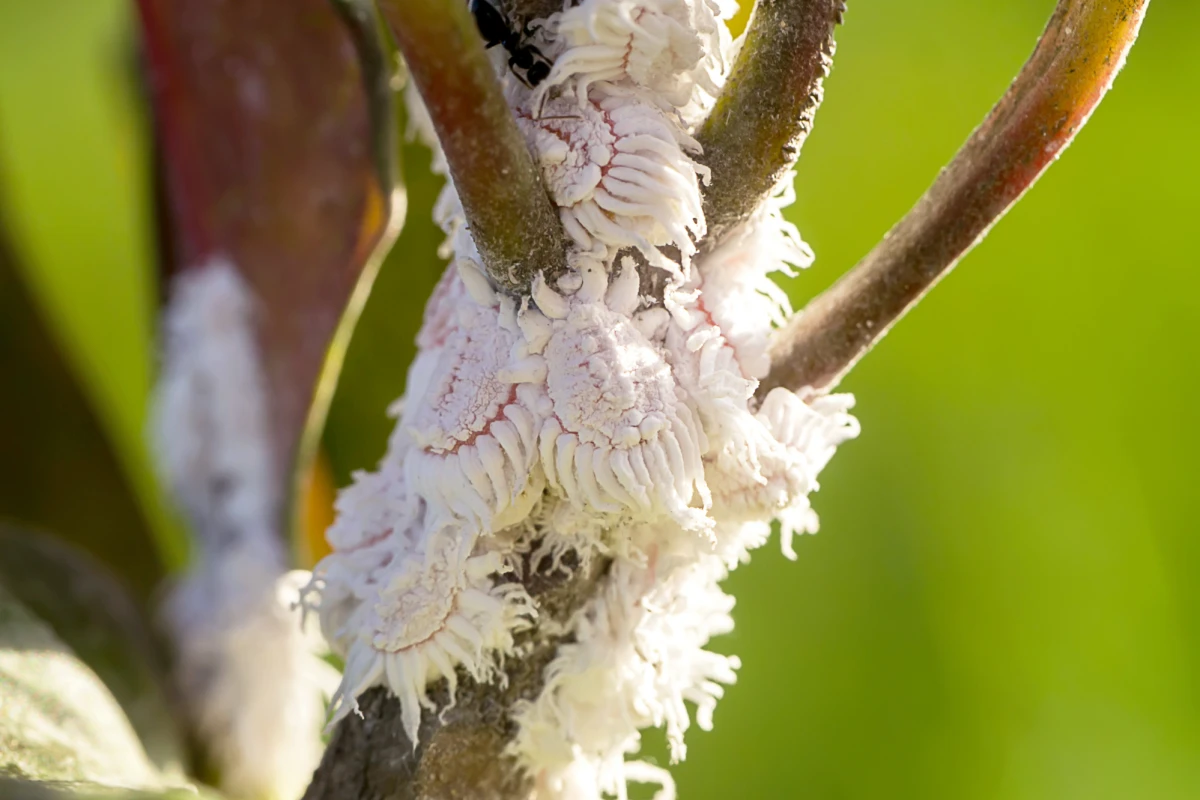
- The Adults: The adult females are the oval, cottony bugs we all recognize. They pretty much stay put, eat, and make more mealybugs. The adult males, by the way, are a whole different story. They’re tiny, gnat-like flies whose only job is to mate. If you see tiny flies buzzing around an infested plant, that’s a sign you’ve got a seriously established population.
That Fluffy White Stuff is Body Armor
That powdery coating is a brilliant defensive tool made of wax. It’s hydrophobic, which is a fancy way of saying it repels water. Ever tried to spray a mealybug with water and watched it just bead up and roll off? That’s the wax doing its job, protecting the insect underneath. It’s why what you spray with is just as important as how you spray.
The Sticky Mess They Leave Behind
Mealybugs survive by piercing the plant and drinking its sap. The sap is full of sugar but low on other nutrients, so they have to drink a ton of it. They poop out the excess sugar as a clear, sticky liquid called honeydew. This stuff causes two major headaches. First, it’s the perfect food for a black fungus called sooty mold. The mold itself doesn’t eat the plant, but it grows a thick, dark layer on the leaves, blocking sunlight and slowly starving your plant. Second, that honeydew attracts other pests, especially ants. If you see a conga line of ants marching up your ficus, follow them. They’ll often lead you right to a hidden colony of mealybugs they are “farming” for the honeydew. Oh, and about the ants: don’t panic about them. Once you get rid of the mealybugs (their food source), the ants will pack up and leave on their own.
The Pro-Level Strategy: An Integrated Approach
In the green industry, we don’t just nuke everything with the strongest chemical on the shelf. We use a smarter, tiered strategy that starts with the simplest methods first. It’s way more effective in the long run and safer for everyone.
Step 1: Prevention and Physical Removal (The Groundwork)
Honestly, this is the most important step. Good habits can stop an infestation before it even begins. This is where you get the most bang for your buck.
Quarantine Is Not a Suggestion: This is the golden rule. Every single new plant that enters your home gets put in isolation for at least 3 to 4 weeks. A separate room is ideal. Check it once a week—under leaves, in the crevices, near the soil. It’s a million times easier to treat one new plant than your entire collection.
The Mealybug First-Aid Kit: Before you even find a pest, have your response kit ready. It’s simple and cheap.
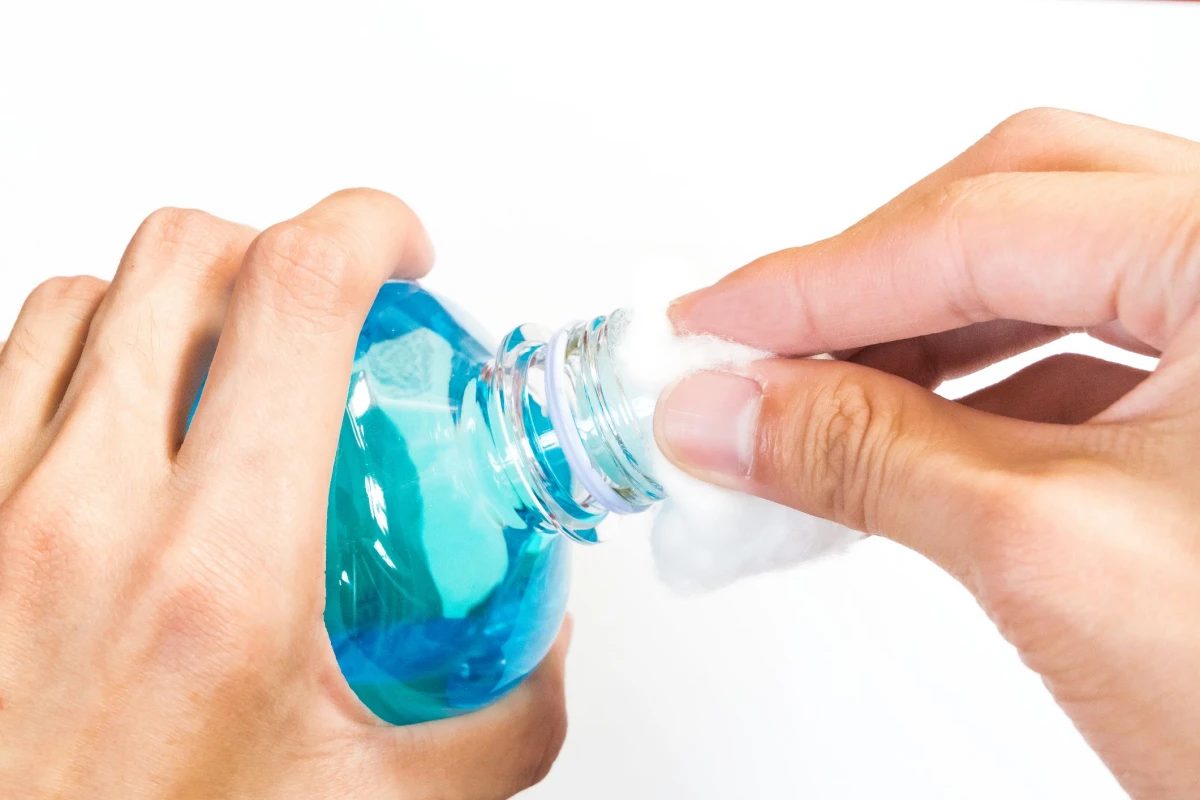
- 70% Isopropyl Rubbing Alcohol: The classic. You can get a bottle at any pharmacy or grocery store for like, $2.
- Cotton Swabs or a Small Craft Brush: For precision application.
- A Good Sprayer Bottle: Don’t reuse an old Windex bottle! Get a new one dedicated to your plants.
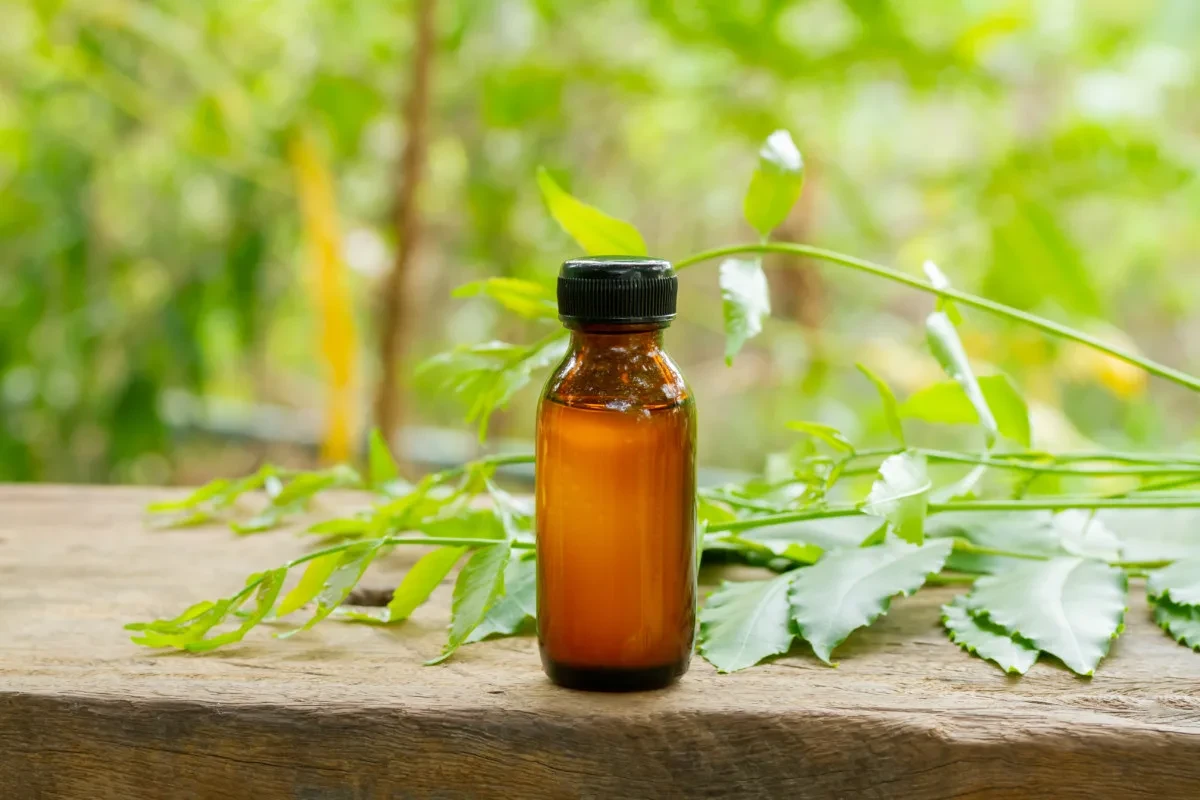
- 100% Cold-Pressed Neem Oil: A bottle costs about $10-$15 at a garden center or online and will last you ages. Make sure it’s 100% pure, not a pre-mixed, diluted product.
- Pure Castile Soap: A few drops are needed to help the neem oil mix with water. Dr. Bronner’s is a popular choice.

Spot Treatment with Alcohol: Found a few mealybugs? Your first move is to eliminate them directly. Dip a cotton swab in 70% isopropyl alcohol and gently dab each and every bug. The 70% solution is key because it evaporates slowly enough to dissolve the bug’s waxy coat and kill it. (Heads up! The 91% stuff evaporates too fast to work well). A common mistake is not testing first. Some plants with sensitive leaves, like ferns, can get burned.
Quick Tip: The 24-Hour Patch Test. Not sure if your plant can handle alcohol? Here’s how to check: 1. Find a single, older leaf that you wouldn’t miss too much. 2. Dab a small, out-of-the-way spot with your alcohol-dipped swab. 3. Wait 24 hours. If there’s no brown or yellow spot, you’re good to go!
Step 2: Contact Sprays When Things Get Serious
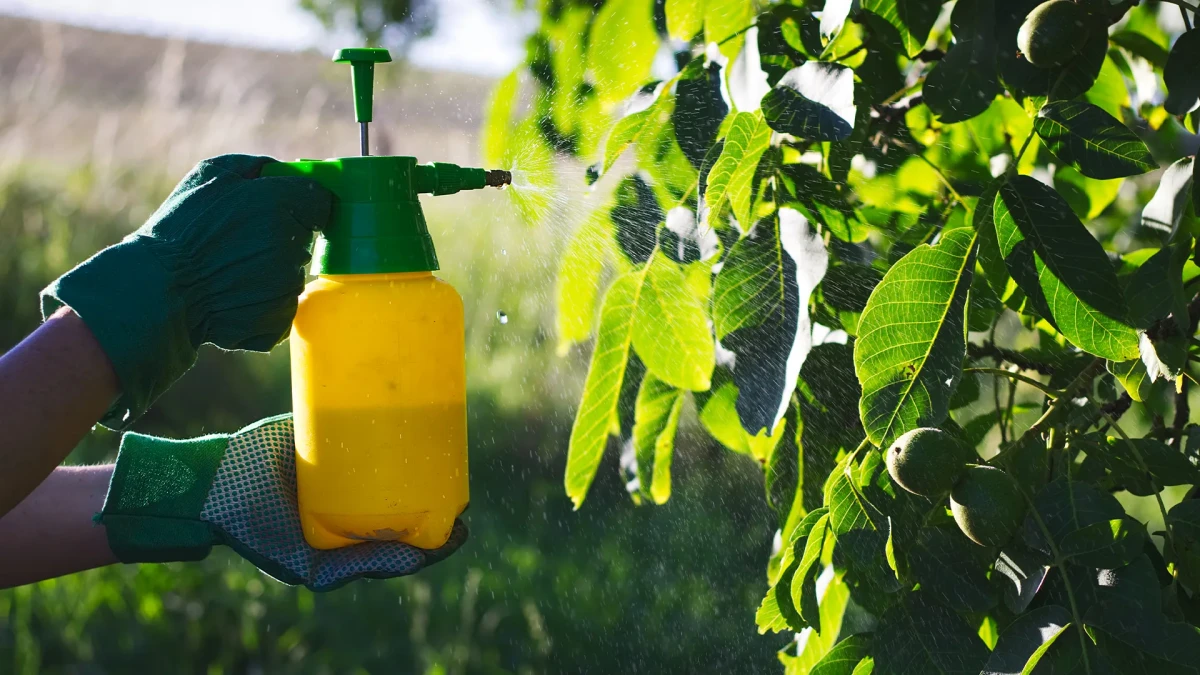
If you have more than a few pests, it’s time for sprays. These are called “contact” sprays because they only kill what they touch. That means you have to be incredibly thorough.
A Quick Rundown of Your Options (No Tables Allowed!):
Let’s break down the main players. Think of Rubbing Alcohol as your sniper rifle—perfect for spot-treating individual bugs you can see. Its biggest risk is potentially burning sensitive leaves, so always do that patch test. Then you have Insecticidal Soap, which is your crowd-control tool. It’s great against the tiny, vulnerable crawlers and for washing down the whole plant. It’s not the same as dish soap, which can strip the natural oils from leaves. Real insecticidal soap is much safer. Finally, there’s Neem Oil, the all-in-one workhorse. It suffocates pests, messes with their ability to eat, and disrupts their growth. Its biggest drawback? You can’t spray it in direct sun or high heat, or you’ll scorch the leaves.
How to Use Neem Oil the Right Way:
Mixing neem is a common place where people go wrong. Oil and water don’t mix, right? You need something to bind them together, called an emulsifier. A little bit of mild soap does the trick.
- My Go-To Recipe: In a one-liter spray bottle, combine 1 teaspoon of 100% cold-pressed neem oil and 1/2 teaspoon of pure Castile soap with one liter of warm water. The warmth helps everything mix. Shake it like crazy before you spray, and shake it every minute or so during application to keep it from separating.
- Safety First! Never, ever spray neem oil in direct sunlight or when it’s hotter than 85°F (30°C). The oil plus sun will literally fry your plant’s leaves. Always spray in the evening or early morning.
Step 3: Bringing in the Good Bugs (For a Bigger Fight)
If you’re dealing with a large outdoor garden or a greenhouse, you can bring in natural predators. It’s a fascinating part of pest management but a bit overkill for a few houseplants.
The most famous predator is a special type of lady beetle often called the “Mealybug Destroyer.” Both the adults and their larvae are total eating machines. Good to know: the larvae look a lot like giant mealybugs! They’re alligator-shaped, waxy, and look kind of like punk-rock mealybugs on steroids. People sometimes kill them by mistake, so learn to spot the difference. You can order these beneficial bugs online, but it’s an advanced strategy for bigger problems.
When the Problem is Hidden: Root Mealybugs
Okay, so what if your plant just looks miserable—stunted, yellowing, always thirsty—but you can’t find a single pest on the leaves? It’s time to check underground. You might have root mealybugs.
These sneaky pests live in the soil and feed on the roots. To find them, you have to gently slide the plant out of its pot and look at the root ball. You’re looking for small, white, waxy specks that look a bit like grains of rice. A common source of confusion is perlite, those little white balls in potting mix. Here’s how to tell: perlite is lightweight, irregular, and will crumble under pressure. Root mealybugs are more uniform, waxy, and will… well, they’ll squish.
If you find them, it’s time for a rescue mission. 1. Take the plant to a sink and gently wash all the old soil off the roots. 2. Prepare a bucket with a solution of either insecticidal soap or your neem oil mix at the standard strength. 3. Submerge the entire root ball in the solution and let it soak for 15-20 minutes. This will kill the pests. 4. Gently rinse the roots and repot the plant in fresh, sterile potting mix and a clean pot. Throw the old infested soil in a sealed bag in the trash—not your compost!
Your plant might look a little droopy for a day or two after this ordeal, but it’s way better than letting its roots get eaten. Just keep it out of direct sun while it recovers.
The Last Resort: Systemic Insecticides (Read This Carefully)
For a severe infestation on a valuable indoor plant, some people turn to systemics. This kind of product is absorbed by the plant, making its sap poisonous to any bug that tries to feed on it. They come as granules you sprinkle on the soil or as a liquid you water in.
CRITICAL WARNING: This is the nuclear option and comes with huge responsibility.
- DANGER TO POLLINATORS: Systemics make the entire plant toxic, including its pollen and nectar. DO NOT use them on any outdoor plants or indoor plants that you might put outside. They are lethal to bees and butterflies and are a major environmental concern. In my opinion, they should only ever be considered for indoor-only, non-flowering houseplants.
- NEVER on Edibles: Do not use a systemic insecticide on anything you plan to eat unless the label specifically says it’s safe for that exact crop and you follow the waiting period precisely.
- Check Local Laws: Many of these chemicals are now banned for residential use in different areas.

To be frank, I only recommend this as a final, last-ditch effort to save a truly special indoor plant that hasn’t responded to anything else.
Your Action Plan: How to Be Consistent
Consistency is everything. One good spray won’t cut it. You have to break the life cycle. Here’s a sample weekly plan:
- Day 1: Isolate the plant. Use your alcohol-dipped swabs to manually remove every visible mealybug and egg sac you can find. Then, give the plant a thorough shower with insecticidal soap, soaking every nook and cranny.
- Day 7: Inspect closely. You’ll probably find some small, newly-hatched crawlers. Today, spray thoroughly with your neem oil mixture. Alternating products is a pro-tip to prevent pests from building up resistance.
- Day 14: Inspect again. Back to the insecticidal soap spray.
- Day 21: You guessed it. Inspect, then spray with the neem oil mix.
- Continue for 4-6 Weeks: You need to keep up this weekly routine for at least a month to make sure you’ve wiped out every new generation. When you’ve gone two full weeks without seeing a single mealybug, you can finally declare victory.
Troubleshooting & FAQs
Help! I keep spraying, but they keep coming back!
Nine times out of ten, this means you’re either missing the egg sacs tucked away in deep crevices or you’ve got a hidden infestation of root mealybugs. It’s time to un-pot the plant and check the roots.
I burned my plant’s leaves with neem oil! What did I do wrong?
You almost certainly sprayed in direct sun or when it was too hot. The oil on the leaves essentially fried them. Rinse the leaves gently with water and move the plant to a shady spot to recover. It will be fine, but it’s a lesson learned!
Sometimes You Have to Know When to Fold ‘Em
Part of being a good plant parent is knowing which battles are worth fighting. If you have a common, cheap plant that is absolutely crawling with mealybugs and spreading them to others… sometimes the smartest move is to just throw it out. I know, it feels awful. But putting the plant and its soil in a sealed bag and tossing it can save the rest of your collection. It’s not failure; it’s strategy.
Fighting mealybugs is a test of your observation skills and your patience. But by understanding how they operate and using a layered, consistent approach, you can absolutely come out on top. And hey, the skills you pick up will make you a better, more attentive plant owner for years to come.
Inspirational Gallery with Photos
Isopropyl Alcohol: A direct contact killer. Applied with a cotton swab, it dissolves the mealybugs’ waxy coating and dehydrates them instantly. It’s perfect for spot-treating individual pests you can see, but evaporates quickly and has no lasting effect.
Neem Oil: A broader, more preventative solution. When sprayed, products like Bonide’s Neem Oil act as a repellent and growth regulator, disrupting the pests’ life cycle. It’s less of an instant kill and more of a long-term management strategy. For a full infestation, using both methods in tandem is a powerful combination.
- Quarantine every new plant for at least two weeks in a separate room.
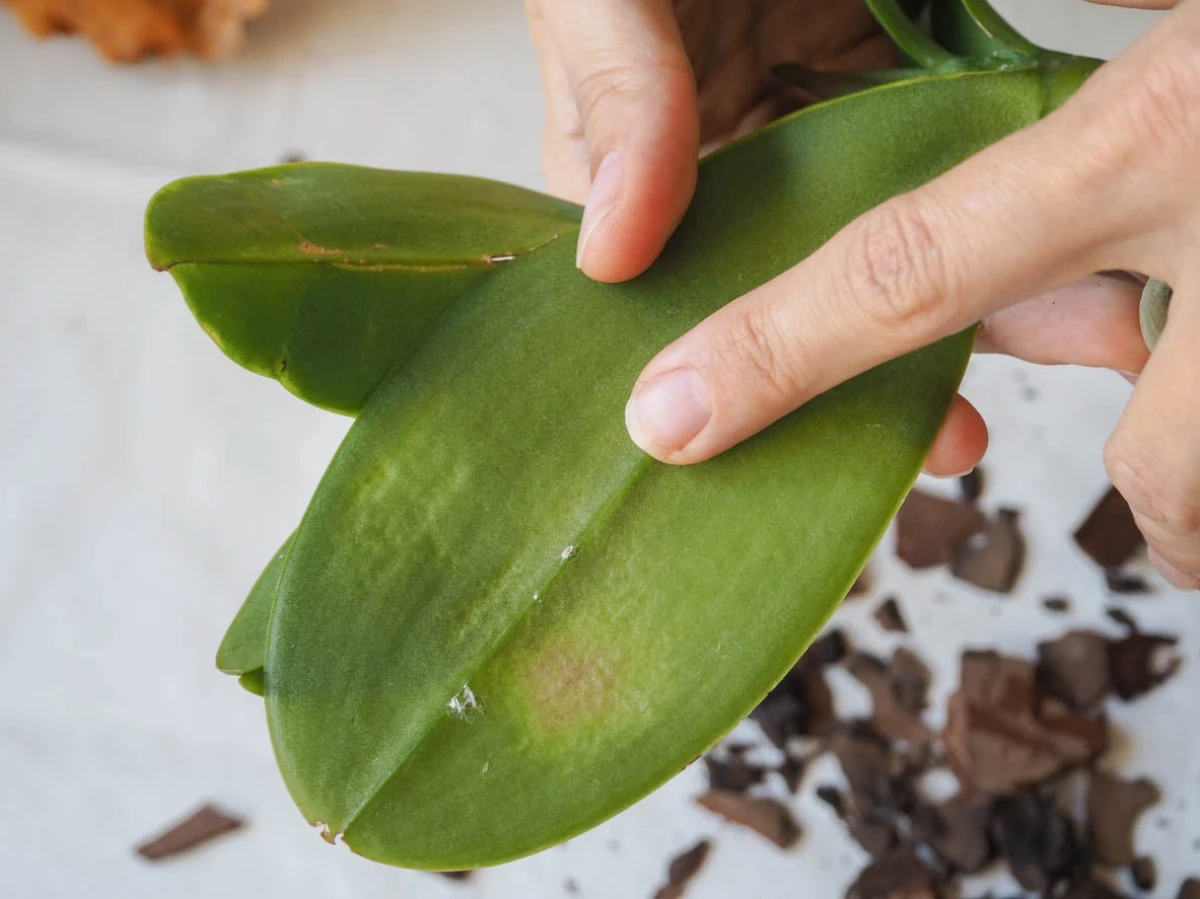
- Wipe down leaves (top and bottom) with a damp cloth before introducing it to your collection.
- Use a small magnifying glass to inspect tight crevices, like leaf axils and root crowns, where pests love to hide.
The secret to avoiding a full-blown infestation? An ounce of prevention. A thorough welcome-home checkup for new plants is your first and best line of defense.
A single female mealybug can lay up to 600 eggs in her lifetime, which can hatch in as little as 7-10 days under ideal indoor conditions.
This explosive reproductive rate is why a single, overlooked pest can lead to a widespread problem seemingly overnight. Diligence isn’t just recommended; it’s essential. Missing even one egg sac during treatment can restart the entire infestation cycle.
Thinking of escalating your fight?
Consider introducing beneficial insects. The Mealybug Destroyer (Cryptolaemus montrouzieri) is a specialized lady beetle whose larvae are voracious predators of mealybugs at all life stages. For a contained indoor collection, this can be an incredibly effective, chemical-free solution. You can order them online from biological control suppliers like Arbico Organics, turning your home into a tiny, balanced ecosystem.
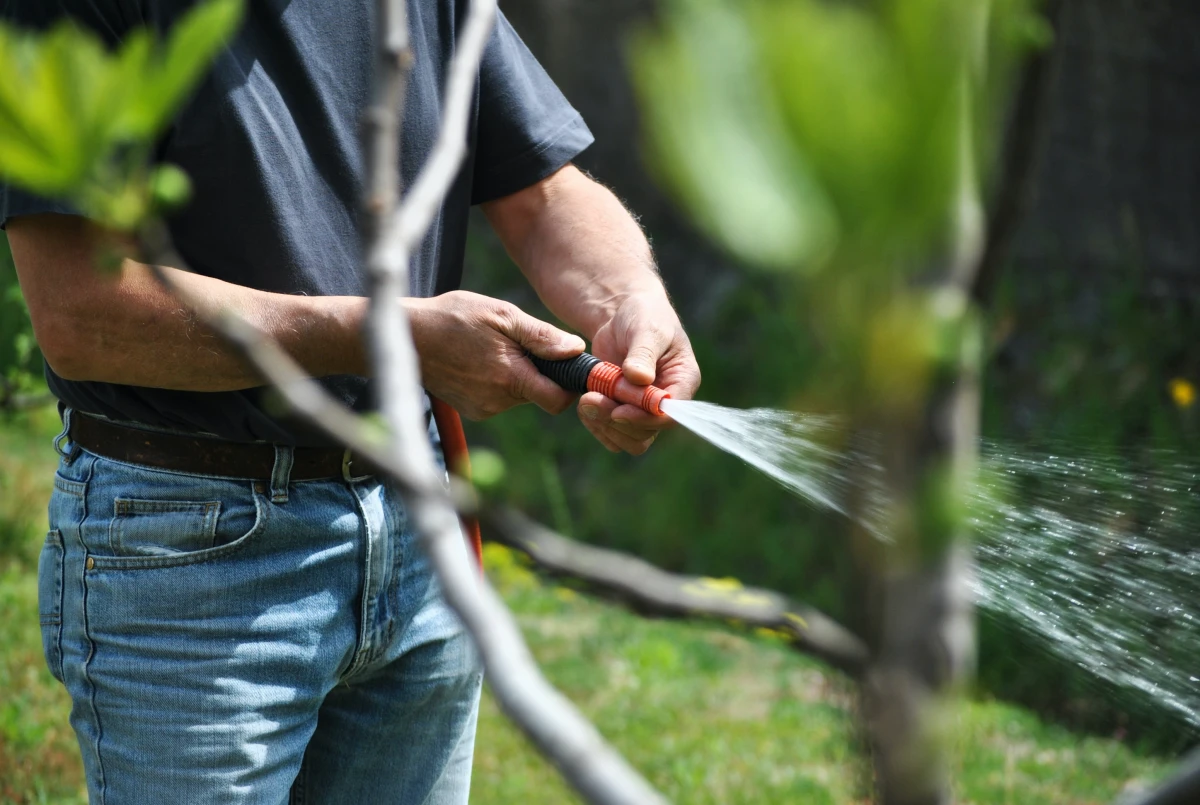
The Hidden Ally: Your Shower Head. For plants sturdy enough to handle it (like a Fiddle Leaf Fig or Monstera), a gentle but firm shower can work wonders. It physically dislodges many adult mealybugs and their sticky honeydew residue, which can lead to sooty mold. Just be sure to wrap the pot in a plastic bag to avoid overwatering the soil.
If you spot a line of ants marching up your houseplant, follow them. They aren’t admiring the foliage.
For a gentler, homemade alternative to harsh chemicals, an insecticidal soap spray is highly effective. It works by dissolving the mealybugs’ outer layer. But not all soap is created equal.
- Mix 1 tablespoon of pure castile soap (like Dr. Bronner’s unscented) into 1 quart (about 1 liter) of water.
- Avoid using dish detergents or soaps with degreasers and fragrances, as these can damage plant leaves.
- Spray the plant thoroughly, focusing on the undersides of leaves and stems where pests hide.
Critical Mistake: Treating the plant but not the pot. Mealybugs, especially root mealybugs, can live in the soil and on the inner rim of the pot. When you treat the foliage, you’re only handling half the problem. If an infestation is severe, it’s often wise to repot the plant entirely, gently washing the roots and placing it in a fresh pot with new, sterile soil.
Don’t underestimate the power of a simple toolkit. Having a dedicated ‘pest control caddy’ makes responding quickly much easier. Include fine-tipped cotton swabs for precise alcohol application, a soft-bristled toothbrush for gently scrubbing colonies off stems, and a clearly labeled spray bottle just for your insecticidal soap or neem oil mix. Small upgrades make a huge difference.
- Your Hoyas suddenly develop a sticky residue.
- Your prized succulent seems to have tiny, unmoving cotton fluff at its base.
- New growth on your Philodendron is stunted or deformed.
What do these have in common? They are all classic, early warning signs of a mealybug visit. Learning to spot these subtle clues before an infestation becomes obvious is key to winning the war with minimal effort.


