Your Overgrown Backyard is Overwhelming. Here’s How to Finally Tackle It.
I’ve spent a lot of time helping people reclaim their land, and I’ve walked through more neglected backyards than I can count. Honestly, the story is almost always the same. A space that used to be for family get-togethers and kids playing slowly becomes a graveyard for forgotten things. It starts with an old lawn chair, then a pile of leftover bricks from a project. Before you know it, nature moves back in, and the yard just feels… lost. Clearing this out is about more than just tidying up. It’s about getting back a safe, useful, and valuable part of your home.
In this article
So many people look at the mess and just freeze. It feels like one gigantic, impossible job. But when I look at it, I see a series of small, totally manageable steps. The trick is having a system. My whole approach breaks down into four phases: Assess, Sort, Remove, and Restore. This turns that monster task into something you can actually accomplish. It’s the same process I use on professional jobs, and it works because it’s logical and, most importantly, safe.
Feeling completely overwhelmed? Let’s start with a quick win. Before you do anything else, grab one contractor bag and spend just 15 minutes picking up the easy stuff—the obvious, surface-level trash. No digging, no heavy lifting, no sorting. Just 15 minutes. There. You’ve officially started!
Phase 1: A Smart Assessment of the Battlefield
Before you even think about grabbing a shovel, you need to understand exactly what you’re up against. Just diving in headfirst is the most common mistake I see, and it’s how people get hurt or waste a ton of energy. A careful assessment is what separates a pro job from a weekend of frustration.
The Initial Safety Walk-Through
Your very first move is a slow, careful walk around the whole area. Your goal isn’t to move anything yet—it’s to play detective and spot hazards. You need to be looking for a few specific things.
First, check for pests. Old woodpiles, forgotten compost heaps, and general junk piles are five-star resorts for rodents, wasps, and other critters. Look for droppings or nests. Be extra cautious around things like old grills or stacked materials. Oh yeah, a good tip is to tap on a structure from a safe distance with a long pole. It’s much better to discover an angry wasp nest now than when you’re halfway through taking something apart.
And what if you find something bigger? If you uncover a snake, raccoon, or other wildlife, don’t be a hero. Give them space and let them move on. If they seem stuck or aggressive, a quick call to your local Animal Control for advice is the right move.
Next, look for things that could fall on you. Does that old shed have a lean to it? Are the fence posts wobbly? Give them a gentle push. Pro tip: The easiest way to check for wood rot is to jab it with a screwdriver. If the tip sinks in easily, that wood is compromised and unstable. Mark these areas as high-risk and stay clear until you have a plan to deal with them safely.
Finally, scan the ground for hidden dangers. Overgrown grass is notorious for hiding broken glass, rusty metal, and old garden stakes. I’ve seen some nasty injuries from stuff like this, so please, walk carefully and wear sturdy, thick-soled boots.
Mapping Out Your Plan of Attack
Once you know where the hazards are, sketch out a simple map of your yard. It doesn’t have to be art—just a basic layout. Then, divide the yard into logical zones. For example:
- Zone 1: The patio and area right next to the house.
- Zone 2: The overgrown flower beds along the fence.
- Zone 3: That scary corner behind the shed.
Breaking it down like this makes the project feel so much smaller. A 10×10 foot zone of just weeds and light debris might only take you 2-3 hours. But a zone with an old playset you need to dismantle? That could be a whole weekend project. This helps you set realistic goals.
Here’s a little trick I teach all my crews: Start clearing the zone that is furthest from your disposal point (which is usually your driveway or the street). You clear that far zone first, then move to the next closest one, working your way back toward your exit. Why? This means you’re never dragging new piles of junk across an area you’ve already beautifully cleared. It’s a simple efficiency hack that saves a surprising amount of work.

Phase 2: Sorting Like a Pro (This is the Real Secret)
With your map and safety check done, the real work begins. But don’t just start throwing everything into one giant pile. That’s a rookie move that just creates a second, even messier project for later. Systematic sorting is the key.
The Right Gear for the Job
First, safety. This stuff isn’t optional. At a minimum, you’ll need:
- Steel-Toed Boots: An absolute must. They’re around $50-$150 and worth every penny.
- Heavy-Duty Gloves: Get thick leather ones. They’ll run you $15-$30. I learned this lesson the hard way with a nasty splinter from some old pressure-treated wood that got infected. Not fun.
- Safety Glasses: Protect your eyes from flying debris. Non-negotiable.
- Long Sleeves and Pants: Guards against scratches, poison ivy, and surprise bug bites.
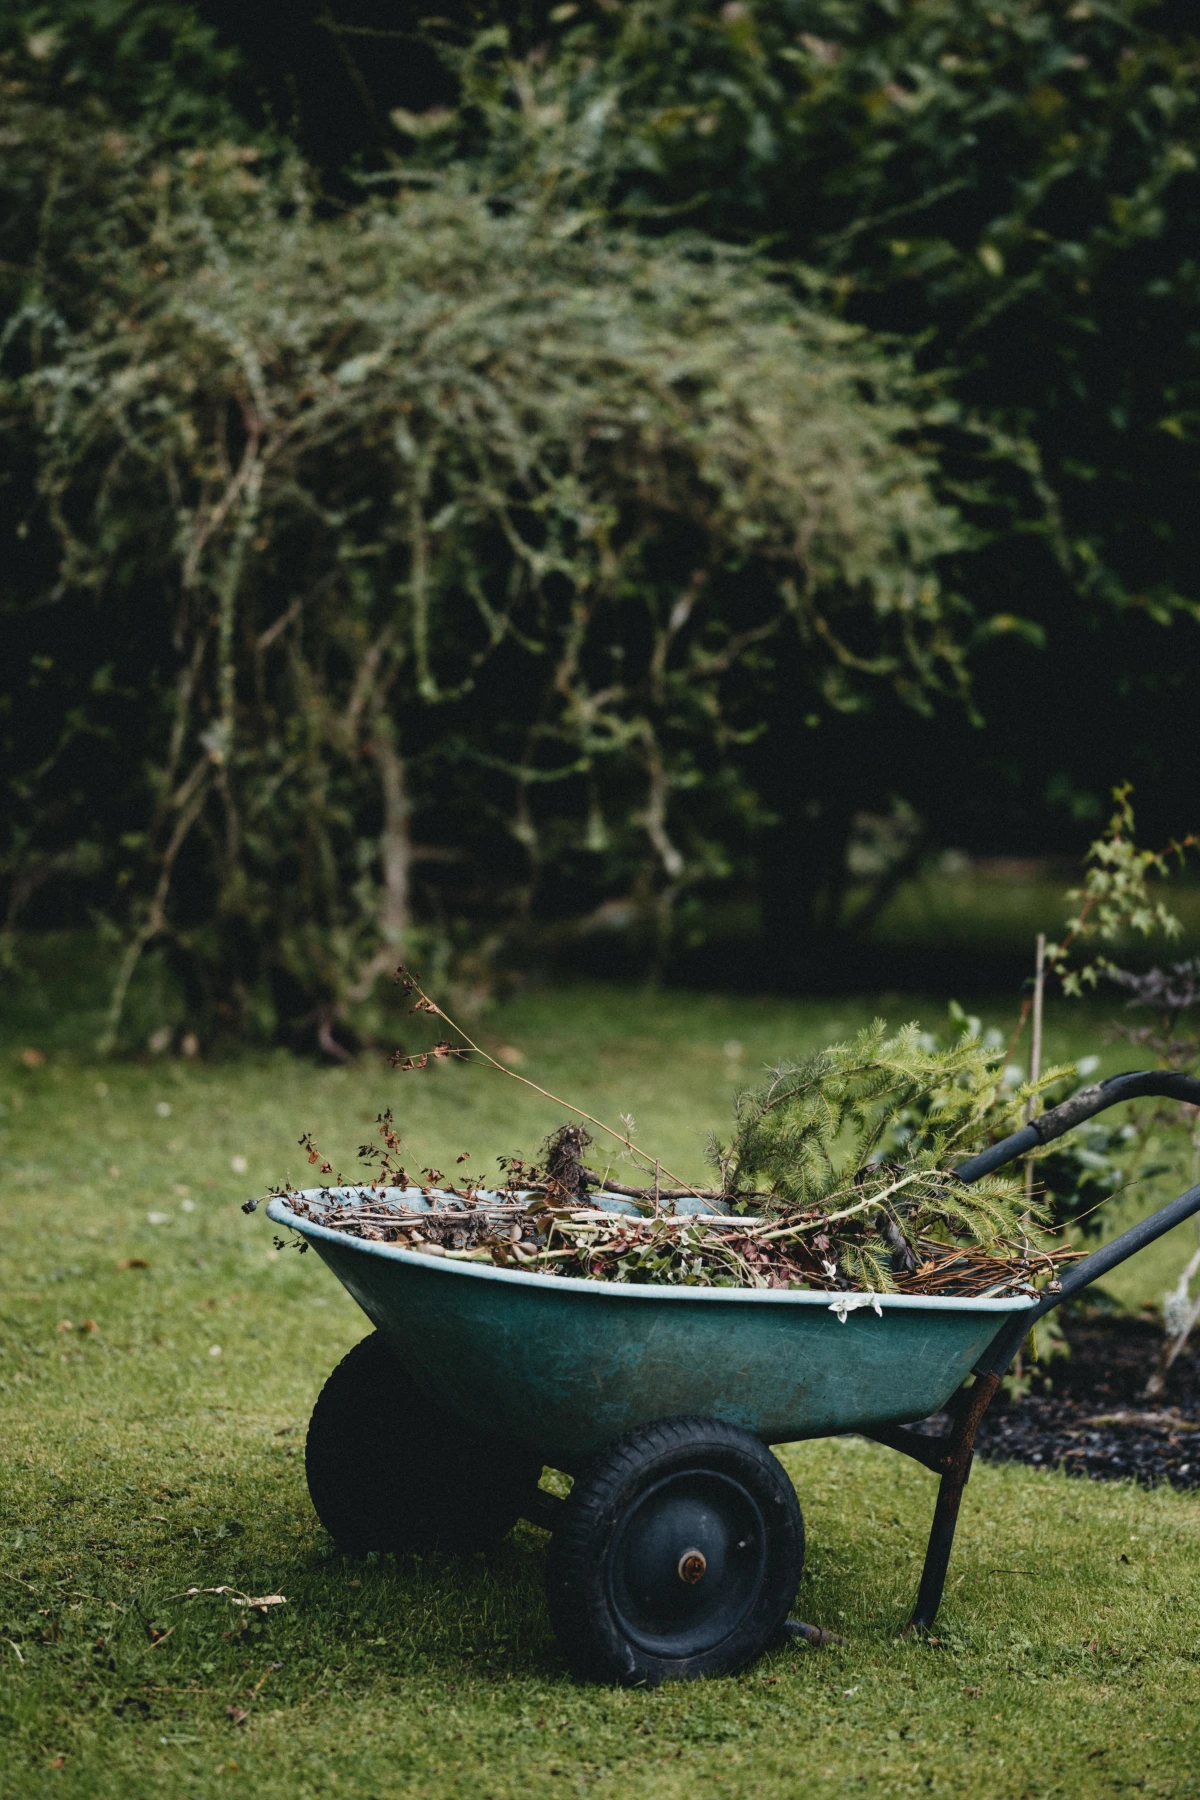
For tools, a good wheelbarrow is your best friend. Look for one with an air-filled tire; it handles rough ground much better. You can buy a decent one for $80-$200 or rent one from a place like Home Depot for about $20 a day. You’ll also want contractor-grade trash bags, a flat-headed shovel, and a good saw (a bow saw or a reciprocating saw is great for this work).
The Tarp Method: Your Sorting Station
This is a core technique we use on every job. Before you start clearing, lay out a few large, heavy-duty tarps in a staging area near your driveway. Label them with a marker or spray paint for different categories:
- Green Waste: Leaves, branches, weeds.
- Scrap Metal: Old grills, pipes, metal furniture.
- Inerts: Bricks, concrete, stones.
- Junk: Plastic stuff, old toys, anything not recyclable.
- Wood: Keep clean, untreated wood separate from painted or pressure-treated wood.
As you clear each zone, you bring the items to the staging area and put them on the correct tarp. It feels a little slower at first, but trust me, it makes the final disposal process incredibly fast and organized.
Phase 3: Getting Rid of It All
Now that everything is sorted, you have to decide what to do with it. Let’s be realistic about your options: dispose, recycle, repurpose, or sell.
What to Do With Common Backyard Junk
Let’s run through some common items you’ll find:
- Old Furniture: If it’s metal with just surface rust, a good sanding and a can of spray paint can work wonders. But if the frame is broken or the rust is deep, it’s scrap. Break it down to save space.
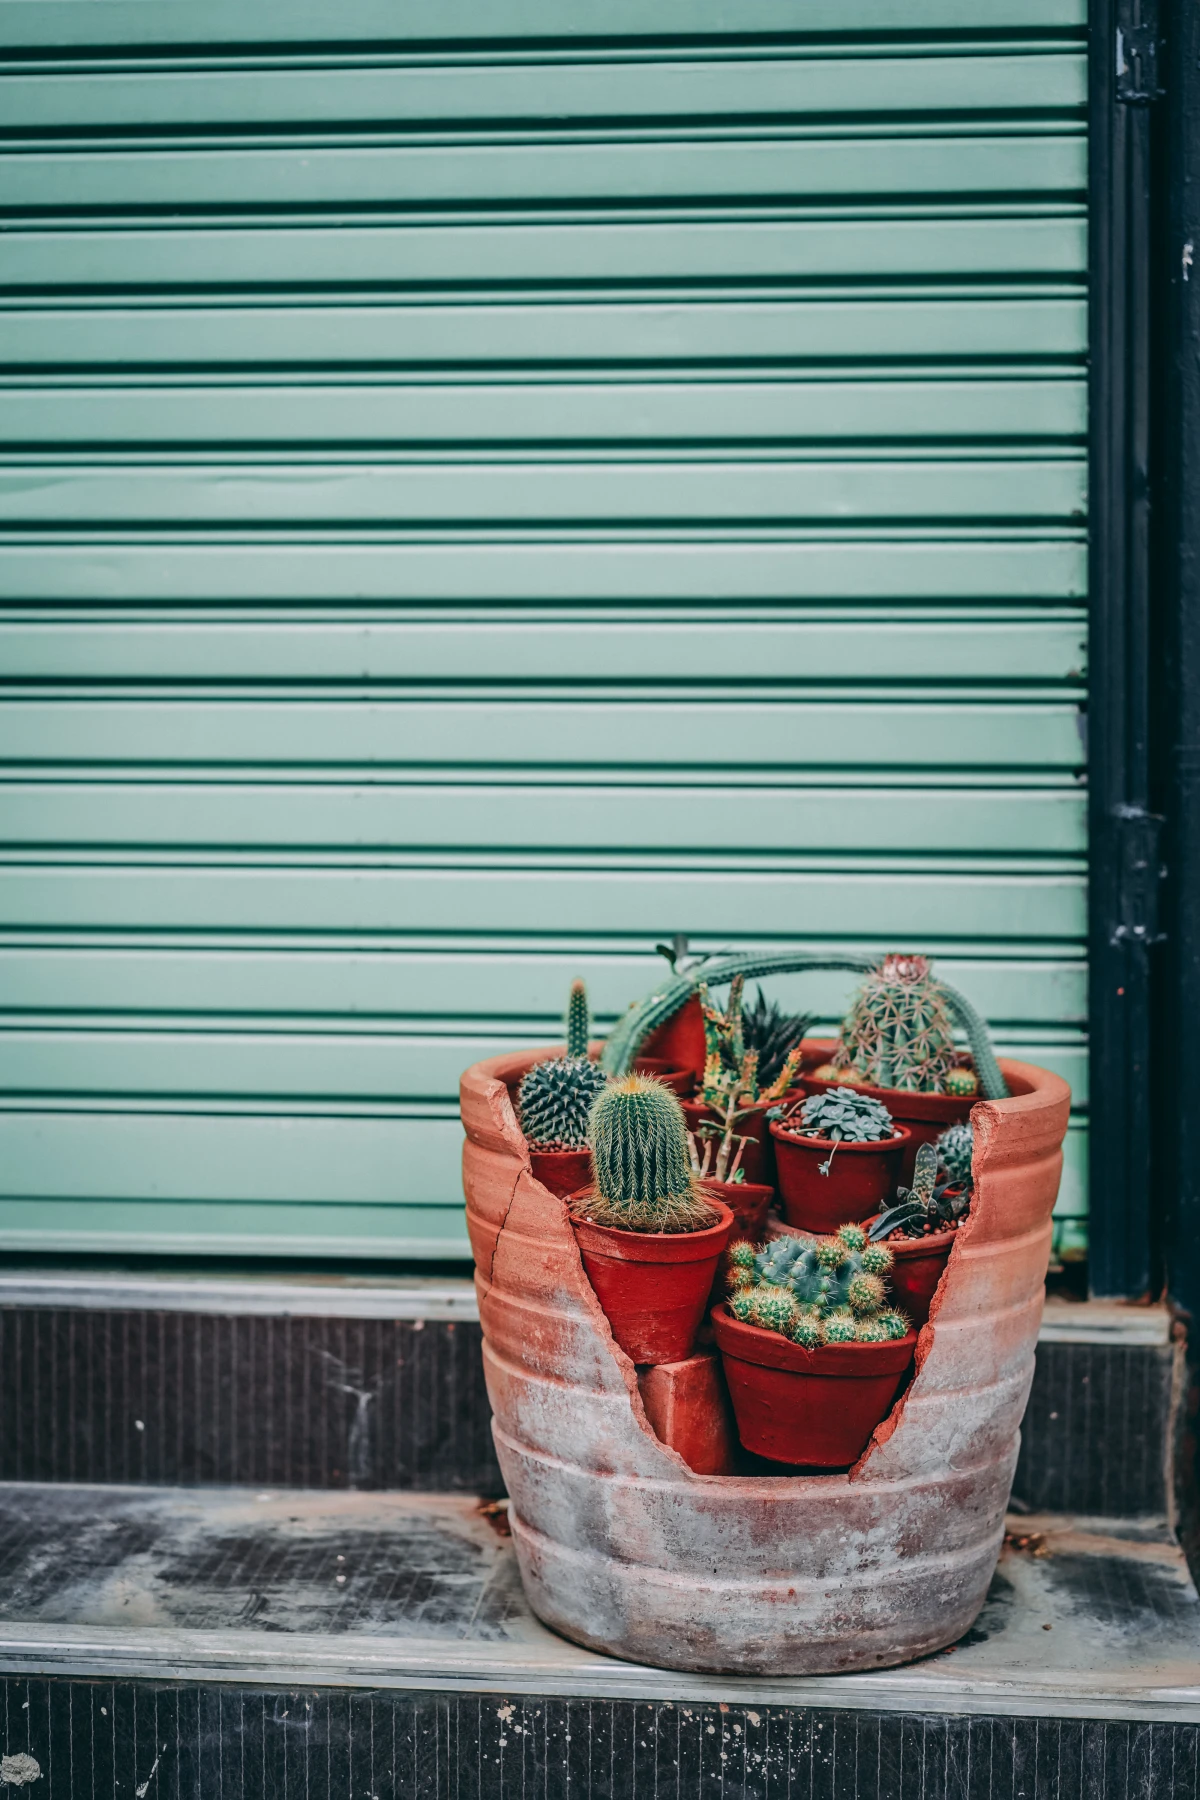
- Broken Pots: Don’t toss them! You can sterilize whole pots with a 1-to-9 bleach and water solution to reuse them. Broken terracotta pieces, or ‘crocks,’ are perfect for putting in the bottom of new pots to help with drainage.
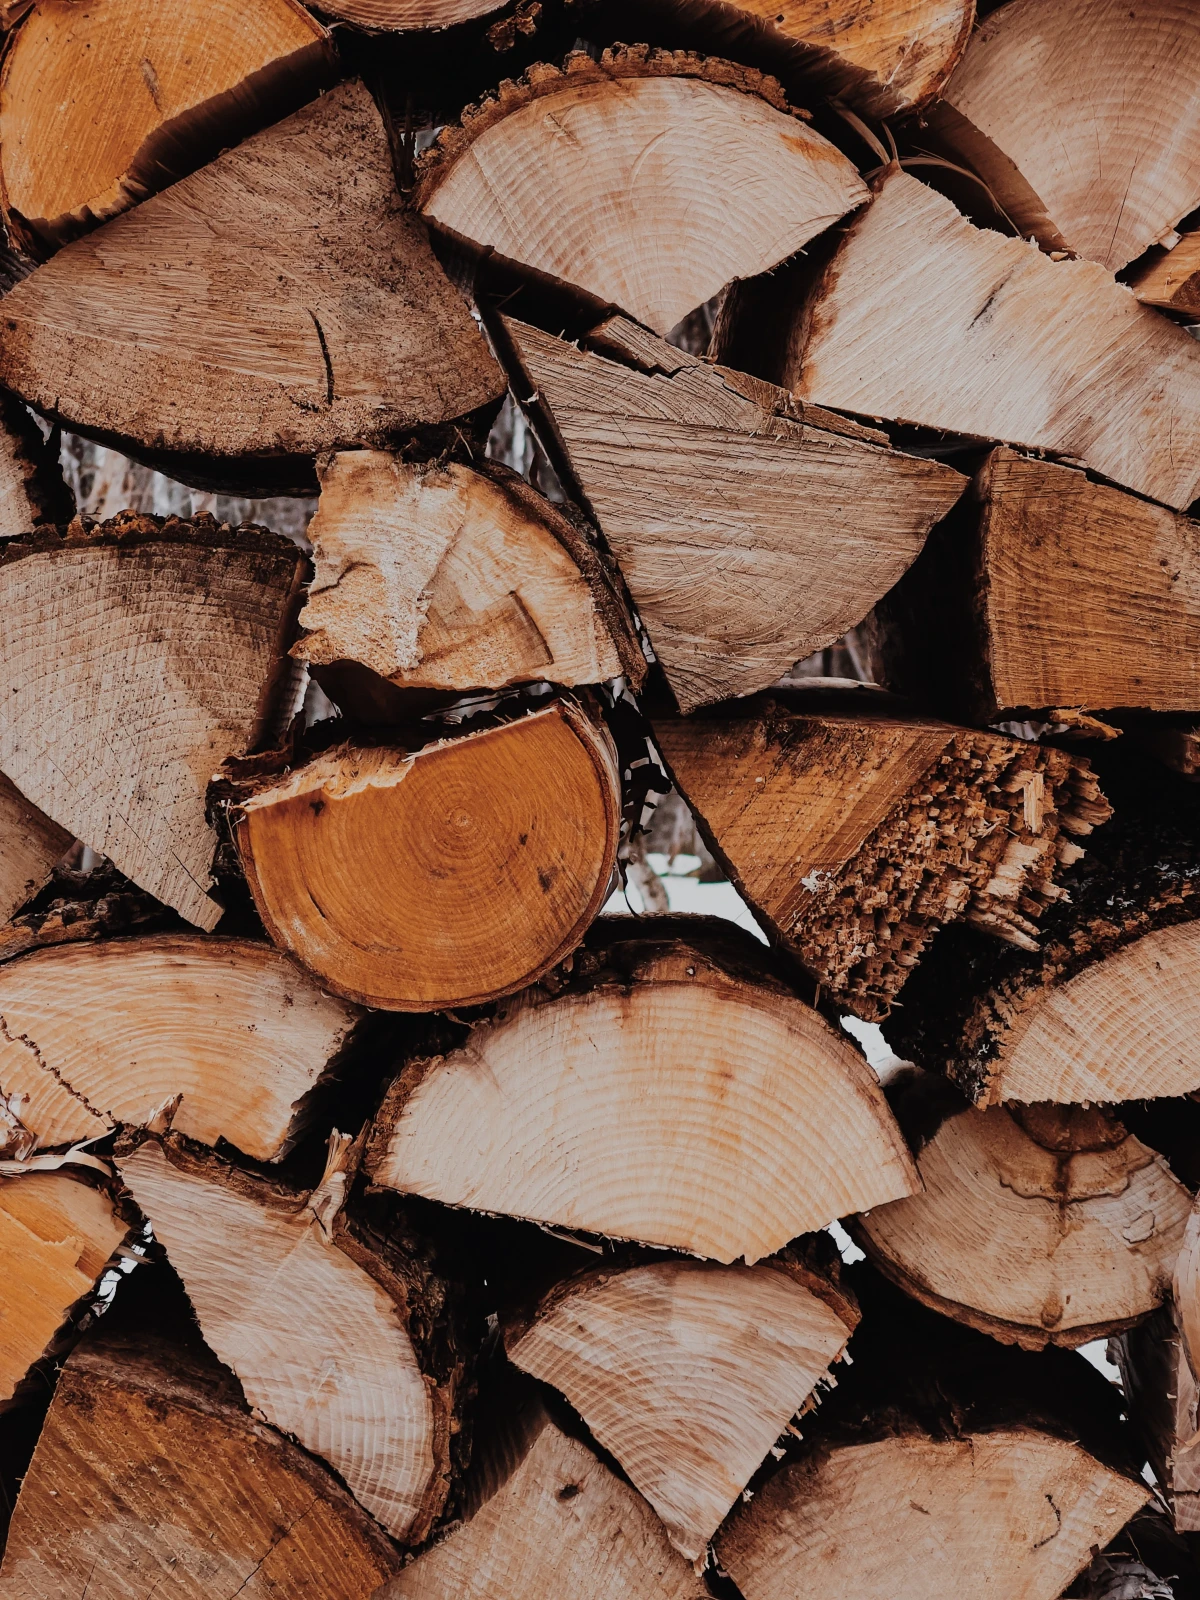
- Old Log Piles: Be careful here—these are prime real estate for pests. Any wood that’s soft or crumbles is rotten. It’s only good for compost or maybe the base of a special garden bed. Solid hardwood can be kept for firewood. But a heads-up: older pressure-treated wood contains some nasty chemicals. It can never be burned and must be disposed of according to your local landfill’s rules for construction debris.
- Plant Debris: Composting is the best-case scenario. If you don’t have the space, most towns have a green waste program, either with a special bin or a drop-off site.
- Old Play Sets: If it’s rotted or rusty, it’s a major safety liability. Don’t sell it or give it away. The only safe move is to dismantle it completely with a reciprocating saw and socket set. Sort the pieces into your tarp piles.
- Leftover Charcoal: Don’t trash it! Natural lump charcoal (not the chemical briquettes) is basically biochar. Crush it up and add it to your compost or garden beds. It’s fantastic for soil health.
Disposal Options: DIY vs. Renting vs. Hiring
Okay, for the big piles, you have three main choices. There’s no single right answer; it’s a trade-off between cost and effort.
- DIY Hauling: This is the cheapest option if you have a truck. You just pay the dump fee, which can be anywhere from $30 to $100+ per load depending on weight. The downside? It’s a ton of physical work and can take multiple trips and a whole day.
- Dumpster Rental: A great middle ground. A company drops off a dumpster, you fill it, they haul it away. It’s way less effort than driving to the dump yourself. Expect to pay between $250 and $500 for a week-long rental for a residential-sized dumpster.
- Junk Removal Service: This is the easiest, fastest, but most expensive option. A crew comes and does all the lifting and hauling for you. For a moderately cluttered backyard, you’re likely looking at a bill between $300 and $700. It’s a huge time-saver, and they’re usually done in a few hours. Always get at least three quotes!
When You’re in Over Your Head (It’s Okay!)
Sometimes a project is just too big or too dangerous for a DIY approach. Knowing when to call for help is smart, not a sign of failure.
If you find old cans of paint, pesticides, oil, or batteries, stop right there. These are household hazardous waste (HHW) and can’t go in the trash. Look up your local HHW rules for special drop-off sites or events. And a major warning: if you have an old shed or home and suspect there might be asbestos in the siding or insulation, do not touch it. That is a job exclusively for certified abatement pros. It’s expensive, but your health is not worth the risk.
Likewise, if you have huge items like an old boat or hot tub, or if your assessment revealed a failing retaining wall or a rotting deck, it’s time to call in the specialists. Get a structural engineer for the wall and a licensed contractor for the deck. Don’t mess with major structural issues.
Phase 4: Restoring Your Yard and Keeping It Clean
Getting the junk out is a huge victory, but you’re not quite done. The last step is to heal the ground and put systems in place so it never gets that bad again.
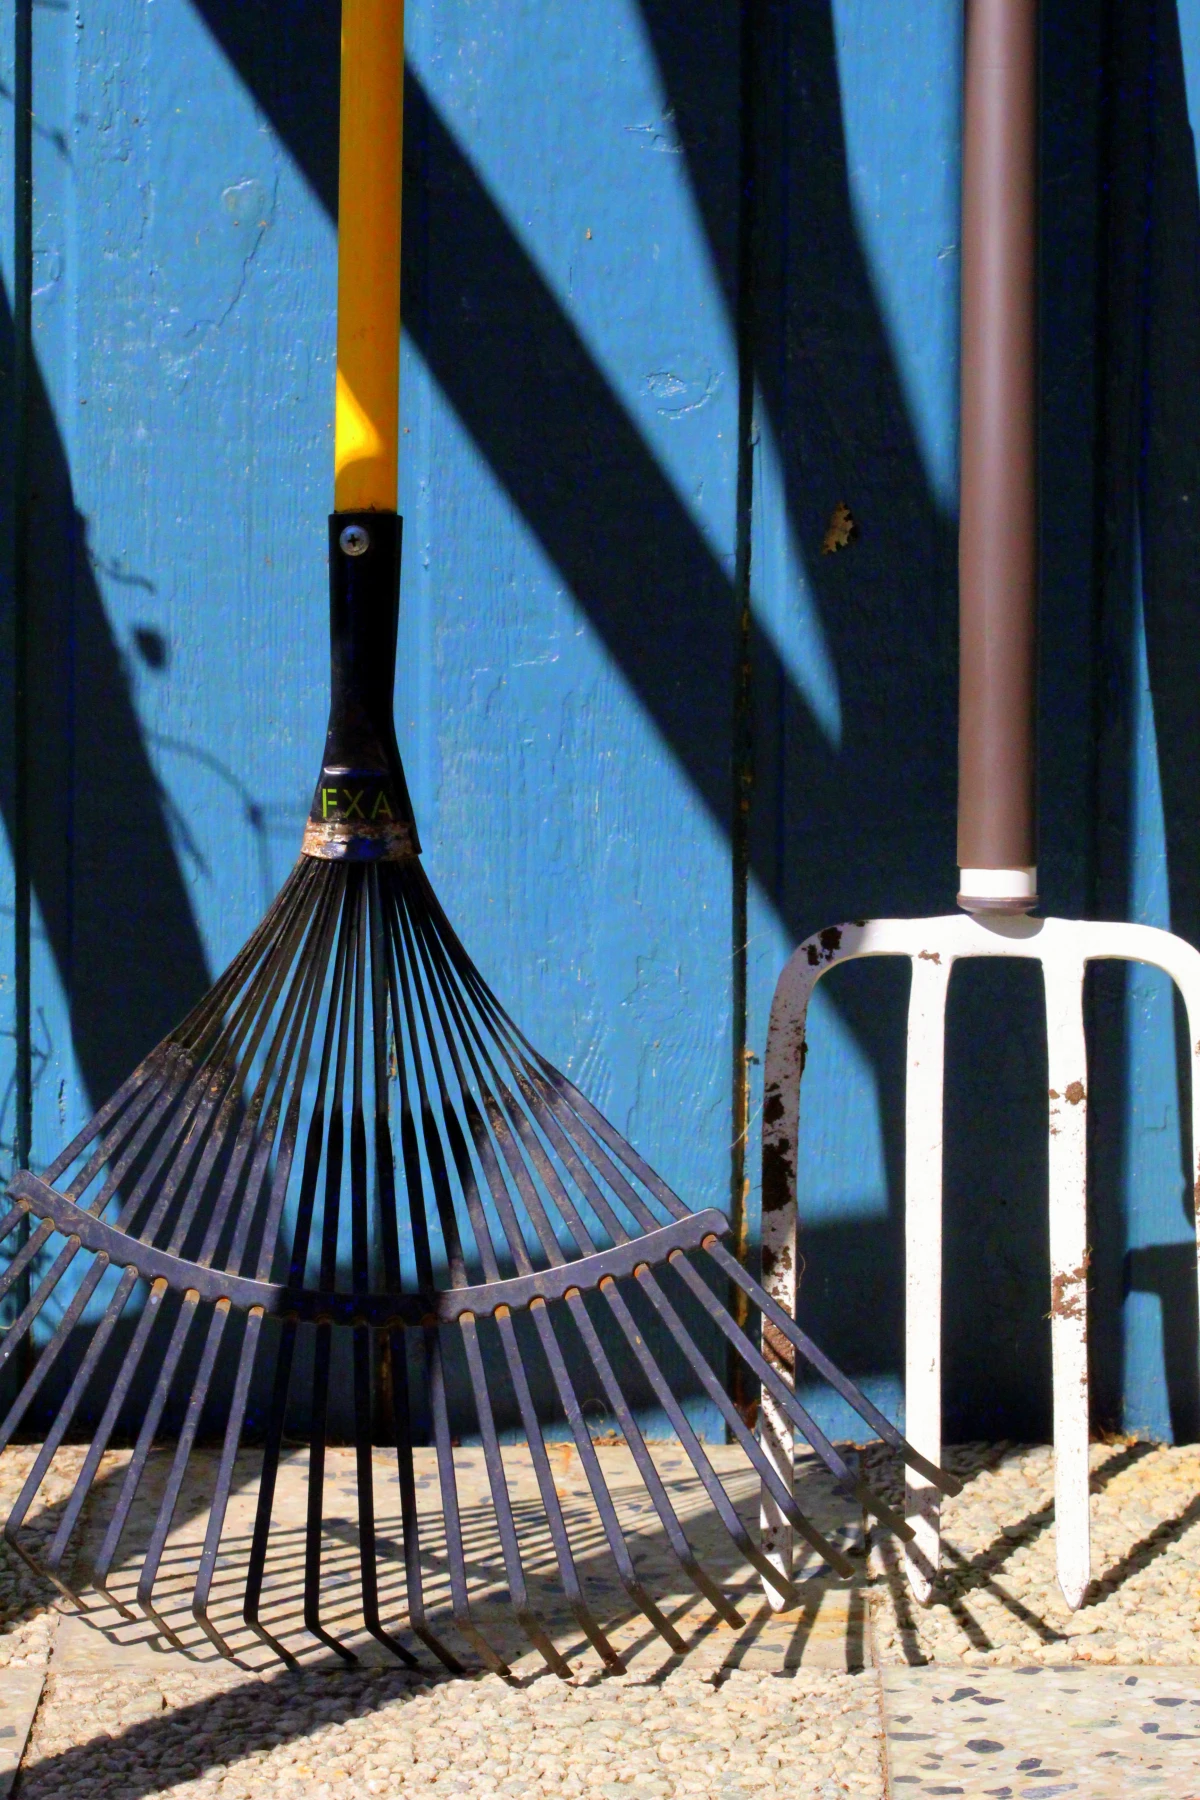
Once the ground is clear, you’ll probably notice compacted soil. You can bring it back to life by poking it all over with a garden fork to aerate it, then spreading a thick layer of compost on top. This reintroduces nutrients and life into the soil.
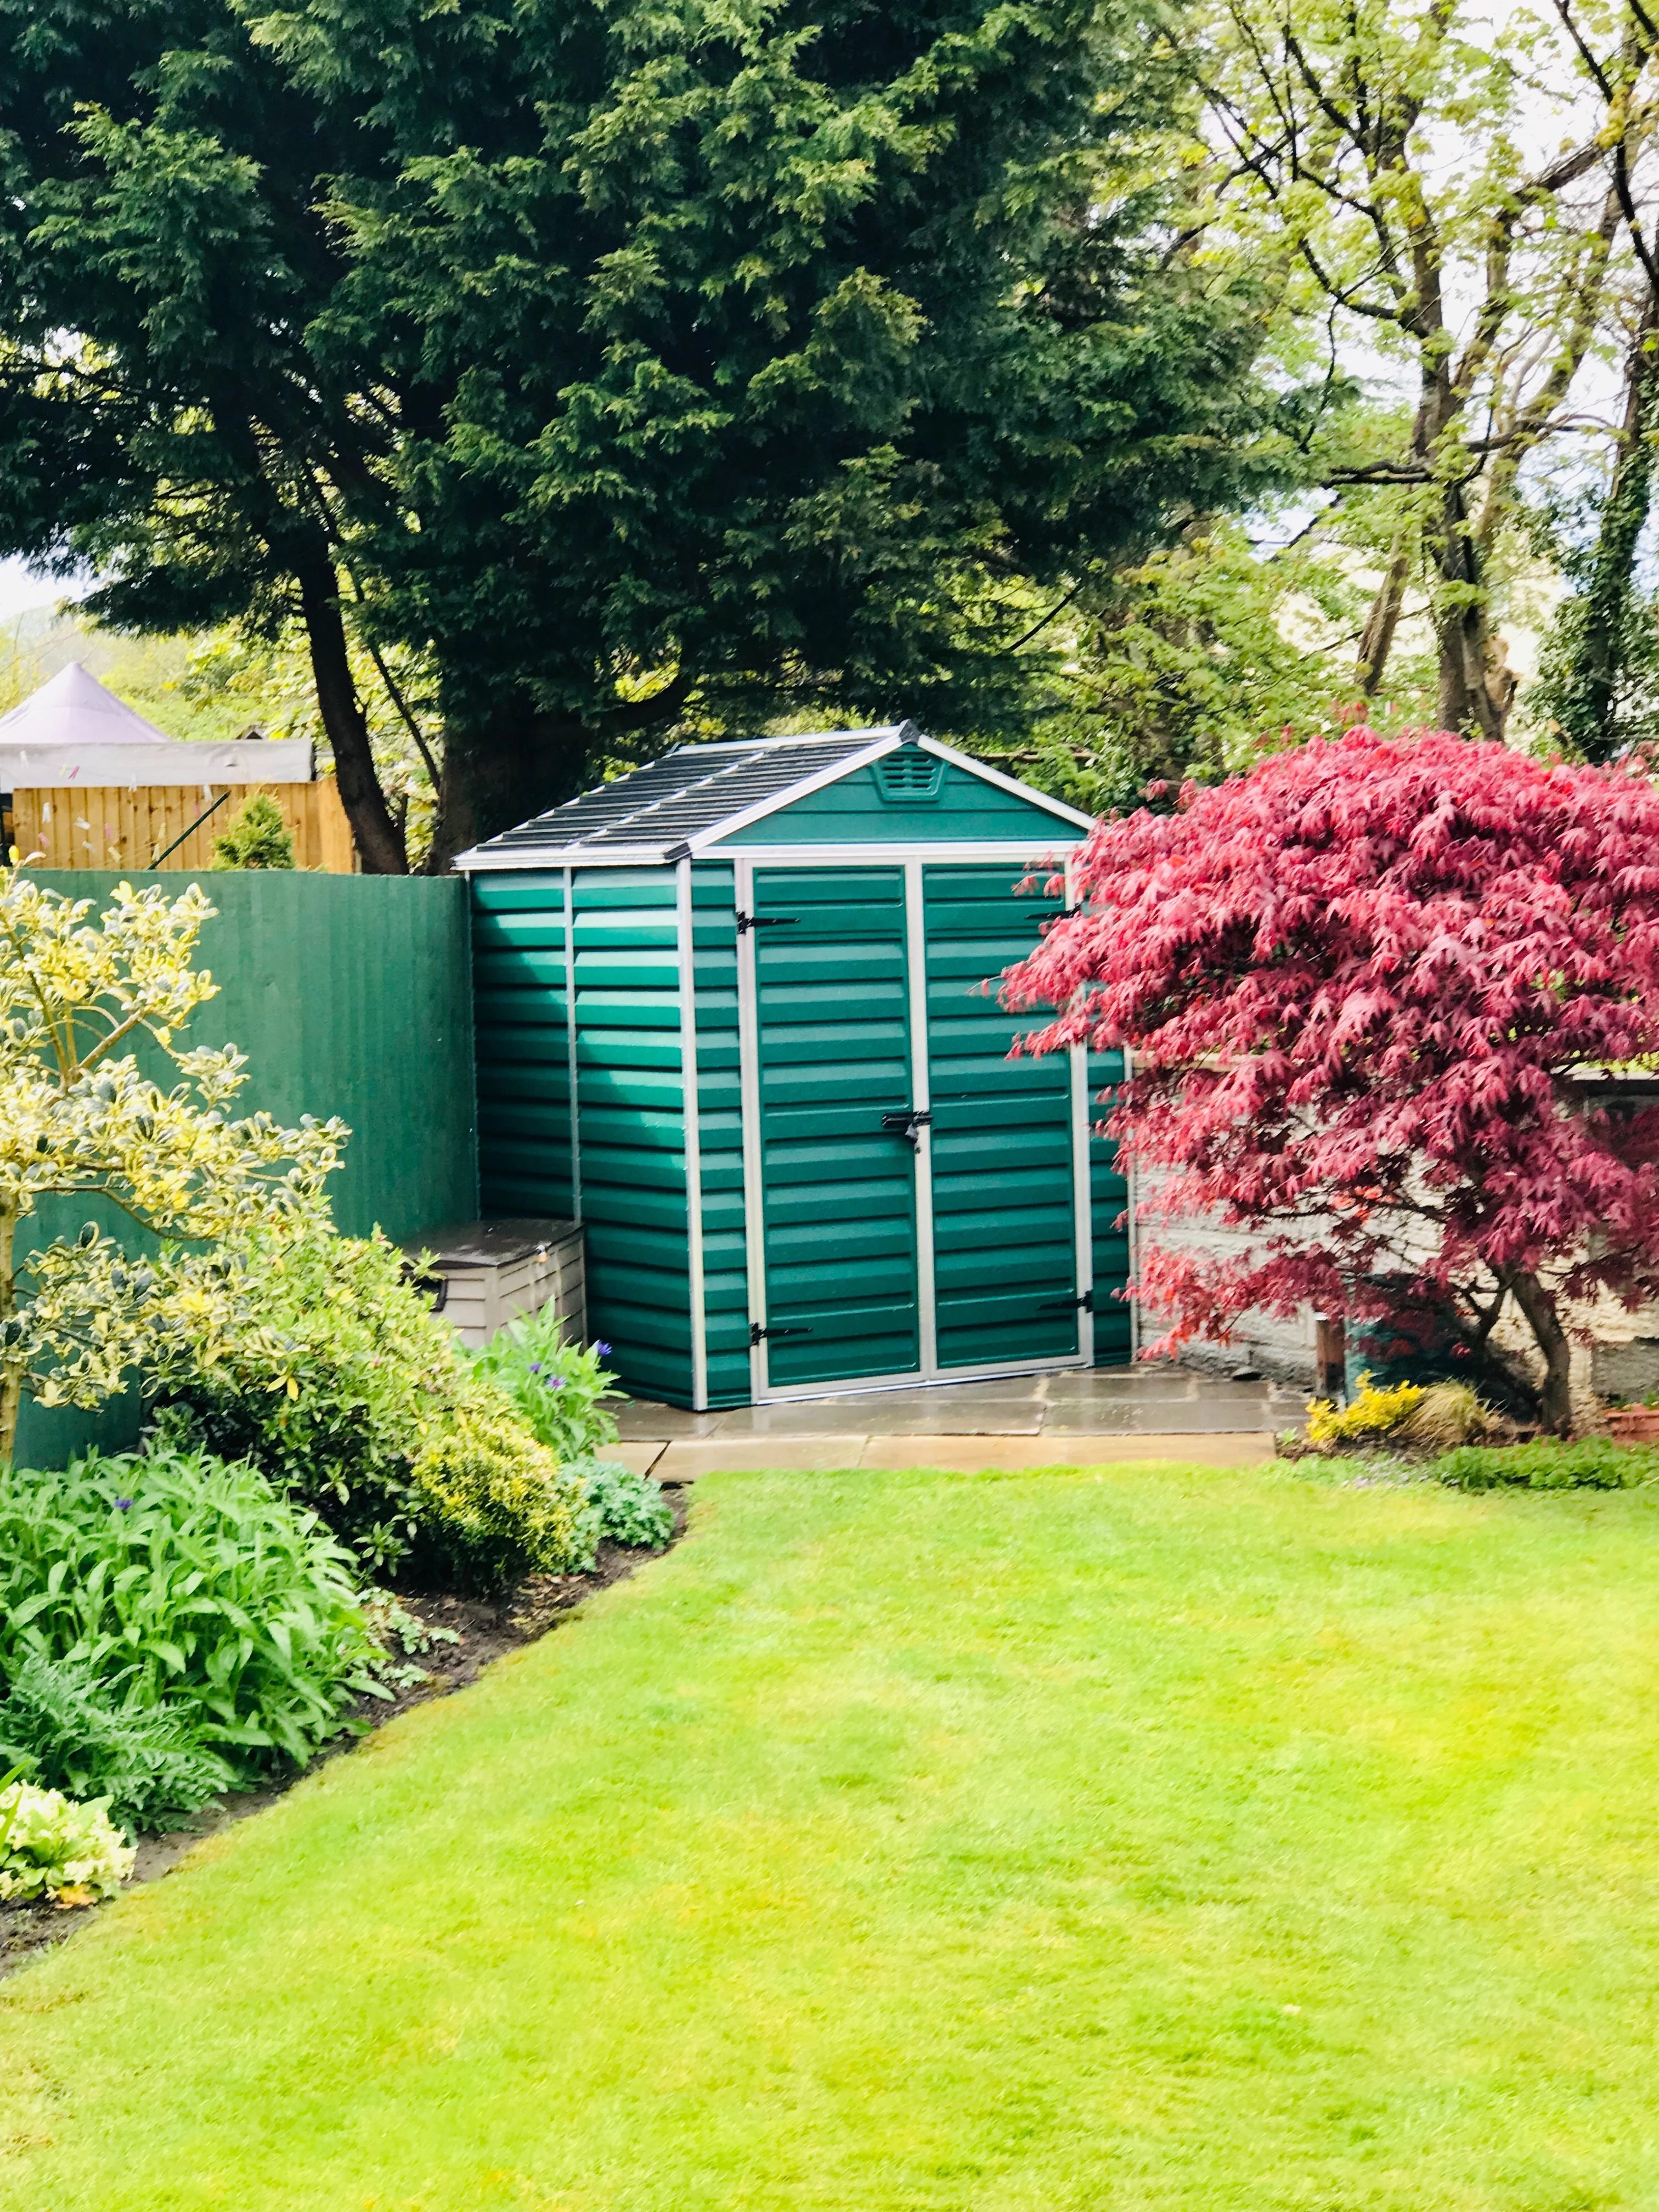
To prevent the clutter from coming back, give everything a permanent home. Build a proper rack to get firewood off the ground. Get a small shed or deck box for tools. Set up a dedicated, contained compost bin. Taking on a backyard jungle is a big project, but if you take it one zone at a time, you can absolutely do it. The reward is getting a beautiful, safe part of your home back to enjoy for years.
Inspiration:

The junk is gone, but now I’m facing a wall of indestructible vines. What’s the pro-level move?
The biggest mistake is just cutting invasive groundcovers at the surface; they’ll often grow back stronger. For tenacious plants like English Ivy or Vinca minor, the key is to starve them of light. After cutting everything back as low as possible, lay down overlapping layers of thick cardboard (be sure to remove all plastic tape!). Wet it down thoroughly, then cover the entire area with a 4- to 6-inch layer of arborist wood chips or compost. This sheet mulching technique suffocates the plants and their root systems over a season, improving your soil for future planting at the same time.
A single, mature Japanese Knotweed plant can send roots down 10 feet and spread 23 feet outwards, making it one of the most challenging invaders to remove.
When you encounter extreme invasives like Knotweed or running bamboo, simple digging won’t work and can even worsen the problem by spreading root fragments. This is a moment to pause your DIY efforts and call in a professional. Specialized removal services have the right equipment and approved herbicides to eradicate these plants methodically, saving you years of frustrating and often futile battles.


