Forget Store-Bought: How to Build a Wasp Trap That Actually Works
I’ve spent a long time in property management and pest control, and let me tell you, I’ve seen way too many summer cookouts get dive-bombed by a single, determined yellowjacket. They’re not just annoying; they can be genuinely dangerous, especially for kids or anyone with an allergy. Over the years, I’ve learned that you don’t win by going to war—you win by being smarter than the wasps.
In this article
- First, Know Your Enemy
- How This Simple Trap Outsmarts a Wasp
- The 5-Minute Workhorse: Building the Perfect Bottle Trap
- Trap Placement: Where You Hang It Matters Most
- The Secret Sauce: Bait Recipes for Every Season
- Maintaining and Emptying Your Trap Safely
- Seriously Though: When to Call a Professional
- Galerie d’inspiration
And your best tool? A simple homemade trap. Honestly, the commercial traps you buy at the hardware store for $15 or $20 a pop can be a real letdown. Plus, they often use chemicals I’m not crazy about having around my family. The great news is you can build something far more effective for practically free using stuff you already have. This isn’t just a recipe list; it’s a playbook of tips I’ve perfected in the field. We’ll cover how to build it, what to put in it, and exactly where to hang it for maximum effect. And most importantly, how to stay safe doing it.
First, Know Your Enemy
Before you build anything, you need to know who you’re after. Not all flying, stinging insects are the same. Our main targets are the social wasps—the ones who crash your picnic.
- Yellowjackets: These are the big ones. They look like stockier, more aggressive bees and are total scavengers. If something is bothering your food or drinks, it’s almost certainly a yellowjacket. This trap is PERFECT for them.
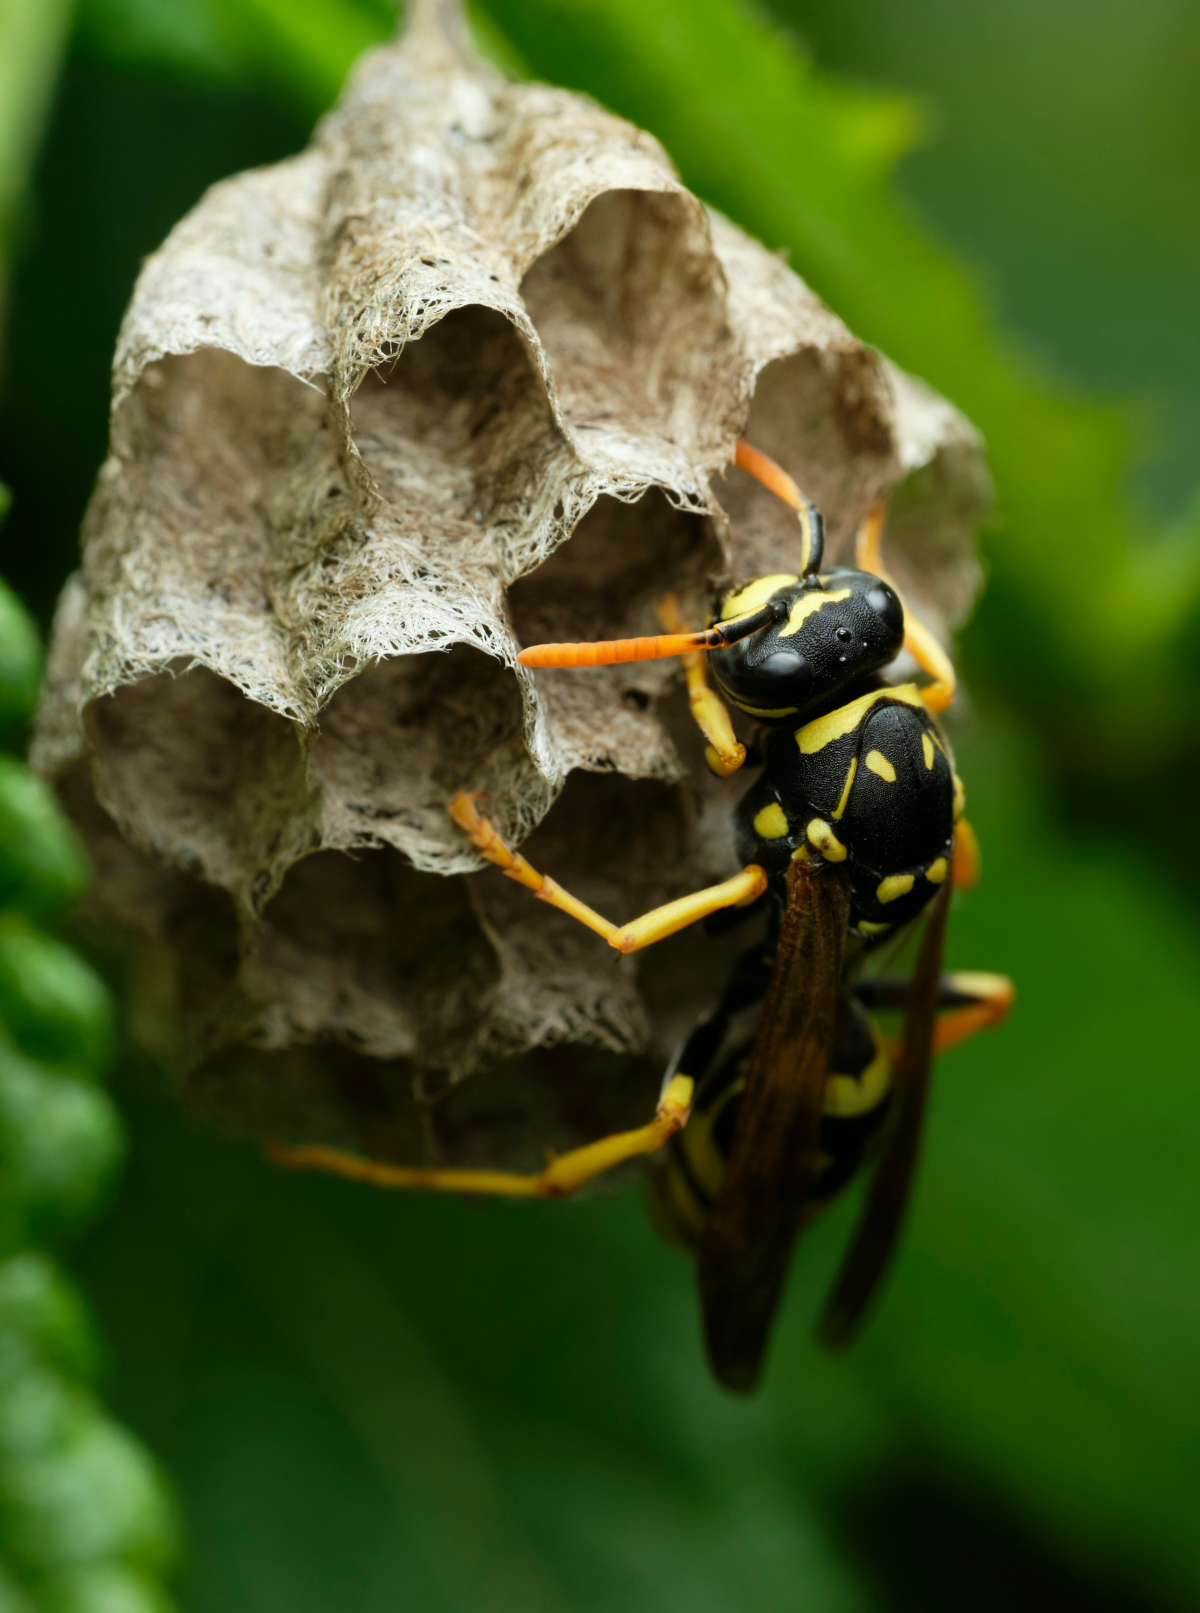
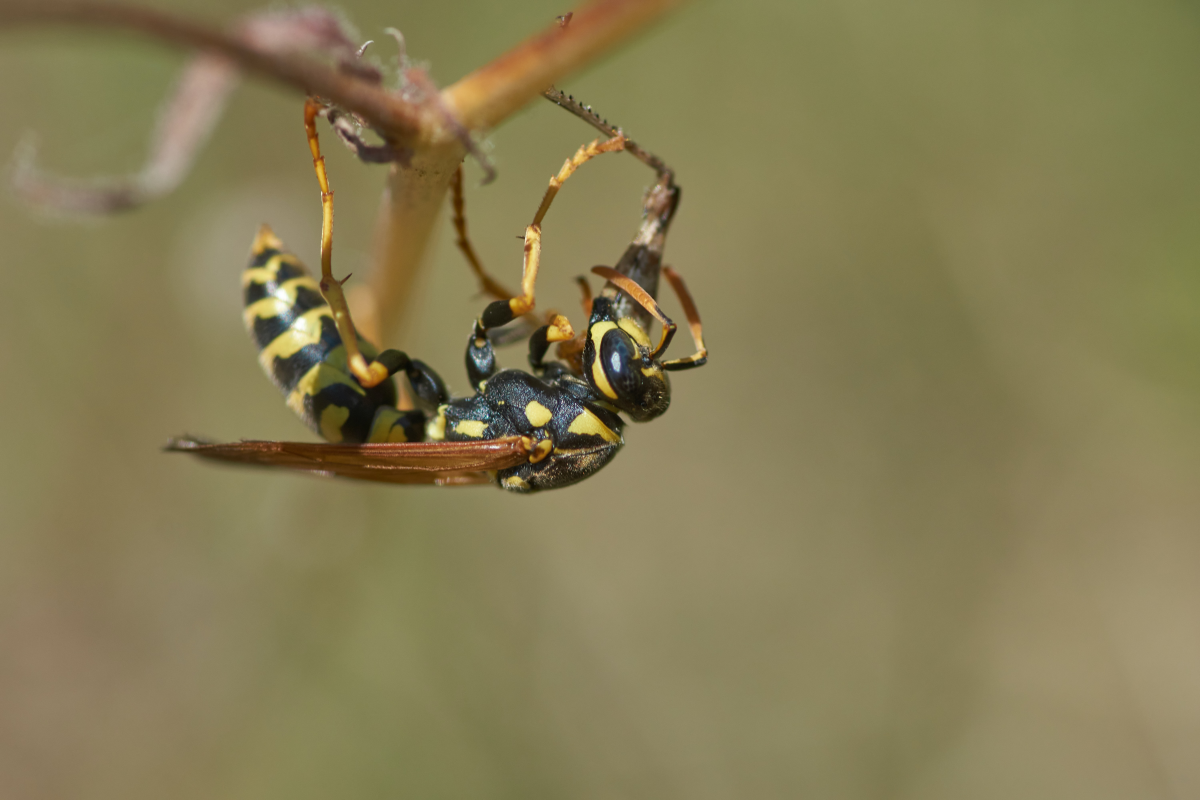
- Paper Wasps: These are the skinny ones with long, dangly legs. They build those open, umbrella-shaped nests under the eaves of your house. They’re generally less aggressive and aren’t really interested in your lunch. To be frank, traps don’t work well on them.
The Wasp’s Yearly Menu (This is Key!)
Okay, this is probably the most important secret to successful trapping. A wasp colony’s diet changes big-time over the season. If you get this right, you’ll be a trapping master.

In spring and early summer, the colony is in growth mode. The queen is laying eggs, and workers are feeding the babies. They need sugar for energy—think nectar and fruit. At this time of year, they will almost completely ignore protein baits.
But in late summer and fall, everything flips. The colony is mature, and its job is to raise new queens for next year. These new royals need a massive amount of protein to develop. The workers become aggressive meat-hunters, going after everything from your hamburger to the cat’s food. A sugar-only trap just won’t cut it now.
How This Simple Trap Outsmarts a Wasp
The design we’re making is brilliant in its simplicity. It works on two principles: a funnel they can’t figure out and a liquid bait that does double duty.
The funnel is easy. A wasp flies in through the wide opening, drawn by the scent. When it wants to leave, its instinct is to fly up and out. It’ll buzz around the top of the bottle, bumping against the sloped sides, completely unable to find that small hole it came through at the bottom.
The liquid bait is both the lure and the end of the line. But here’s the crucial part: you have to add a surfactant, like dish soap. Normally, insects can stand on water because of surface tension. A drop or two of soap breaks that tension completely. The second they touch the liquid, they sink. Heads up: this is non-negotiable! Just 2-3 drops is all you need. Without it, they’ll just have a nice drink and fly away.
The 5-Minute Workhorse: Building the Perfect Bottle Trap
The classic 2-liter soda bottle trap is a classic for a reason—it just works. And honestly, building one of these takes five minutes, tops. A few small tweaks I’ve learned make it even better.
What You’ll Need:
- A 2-liter plastic soda bottle (the rigid plastic is much better than flimsy water bottles)
- A sharp utility knife or heavy-duty scissors
- Some wire or strong twine for hanging
- A drill or even a hot nail held with pliers works in a pinch
Step-by-Step Guide:
- Clean It Out: First, rinse the bottle with hot water. You don’t want any leftover sugar on the outside attracting bugs to the wrong spot.
- Make the Cut: Carefully cut the top third of the bottle off. A good landmark is right where the curved shoulder straightens out into the main cylinder. Quick tip: To get a perfectly straight cut, I sometimes just follow the top or bottom edge of the bottle’s label as a guide. And please be careful—knives and slick plastic can be a bad combo.
- Flip the Funnel: Take that top piece you just cut, unscrew and toss the cap, and simply invert it. That’s your funnel.
- Put It Together: Nest the funnel into the bottom half of the bottle. You want the mouthpiece pointing down, with at least an inch of space between its opening and where the bait liquid will be. This gap is vital.
- Secure It: Even if it feels snug, I always secure the funnel to the base with a couple of staples or a little waterproof tape. A strong gust of wind or a curious raccoon can easily knock it apart otherwise.
- Add a Hanger: Punch two holes opposite each other near the top rim. Thread your wire or twine through to make a handle. Pro tip: Use wire. I’ve seen squirrels chew right through twine to get at the sweet bait inside. Oh, and if ants become a problem, just smear a thick ring of petroleum jelly (like Vaseline) on the wire hanger. They won’t cross it.
Trap Placement: Where You Hang It Matters Most
Putting a trap in the wrong place can be useless or, even worse, make your problem seem bigger. The goal is to lure wasps away from you.
I had a client once who insisted on hanging a trap right next to his grill. Let’s just say the wasps got to the burgers before the guests did. That’s why we have the 20-foot rule! Hang traps along the perimeter of your yard, at least 20 to 30 feet away from your deck, patio, or play areas. As a general rule, I aim for one trap every 50-75 feet along the property line to create an effective barrier.
A little sun is your friend. A trap in a sunny spot warms the bait, which makes it release more scent and attract wasps from further away. Just know it’ll also evaporate faster, so you’ll have to refill it more often. Also, try to hang them about four to five feet off the ground, right in their typical flight path.
The Secret Sauce: Bait Recipes for Every Season
Okay, let’s talk bait. This is where the magic happens. Always fill the trap with about two inches of liquid, no more.
Early Season (Sweet Tooth Time)
From spring until about mid-July, it’s all about sugar.
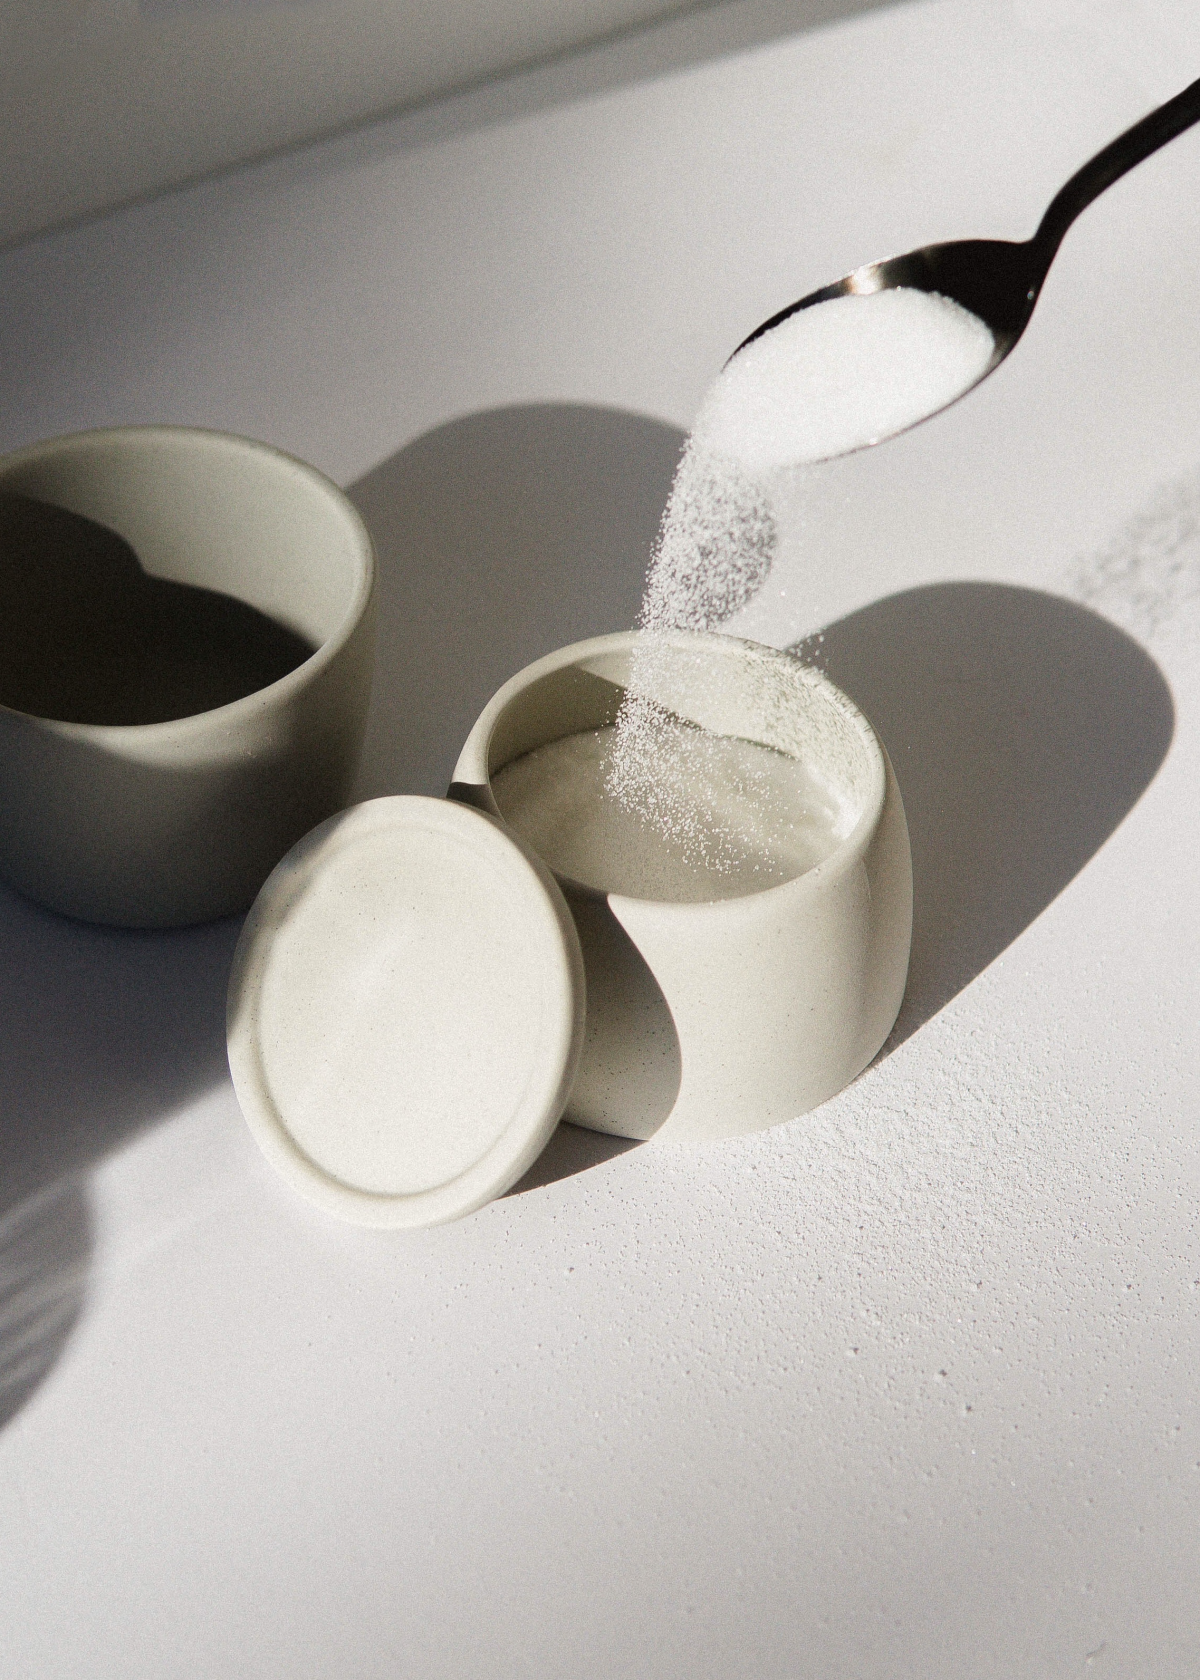
- Upgraded Sugar Water: A simple mix of one part sugar to four parts warm water works. I find raw sugar or adding a splash of something fruity like apple juice or a teaspoon of jam gives it an edge.
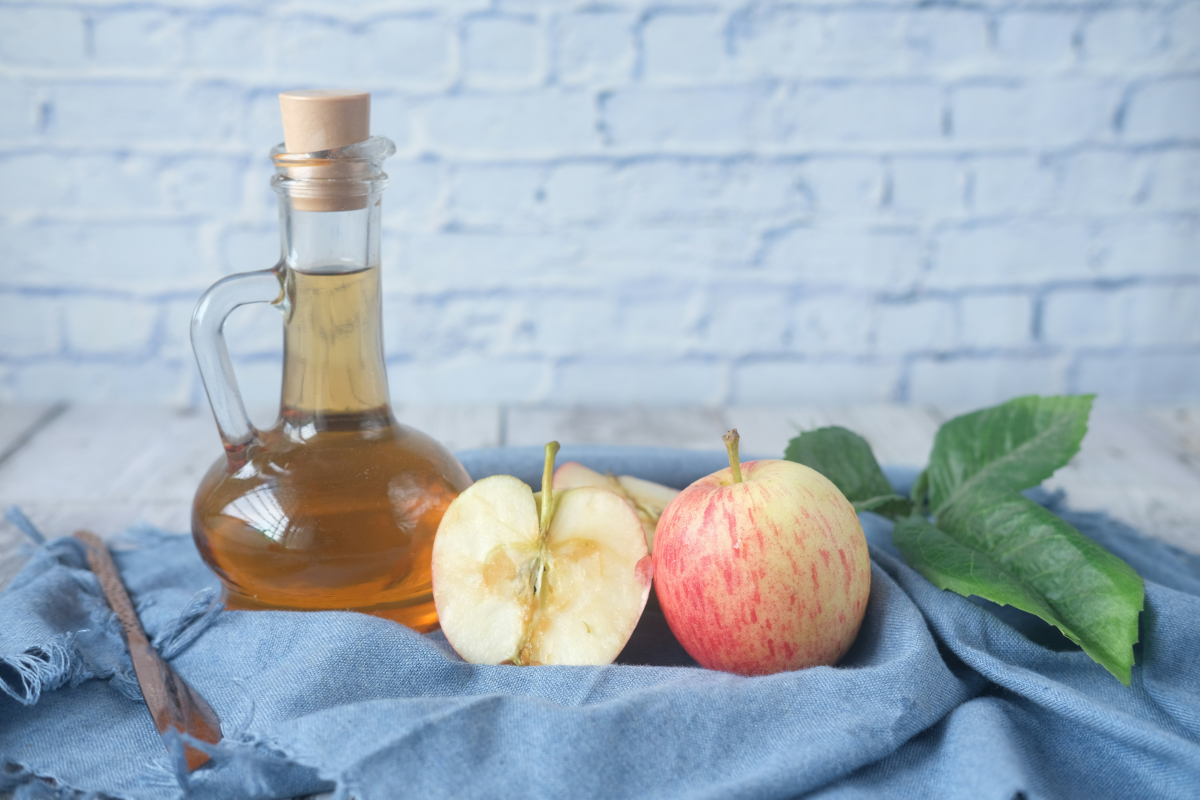
- The Bee-Safe Trick: Sweet baits can attract honeybees, and we definitely don’t want that. The solution is simple: add a tablespoon of white vinegar to your sweet mix. Wasps don’t mind it, but bees can’t stand it. This is a must-do.
Late Season (Protein Power)
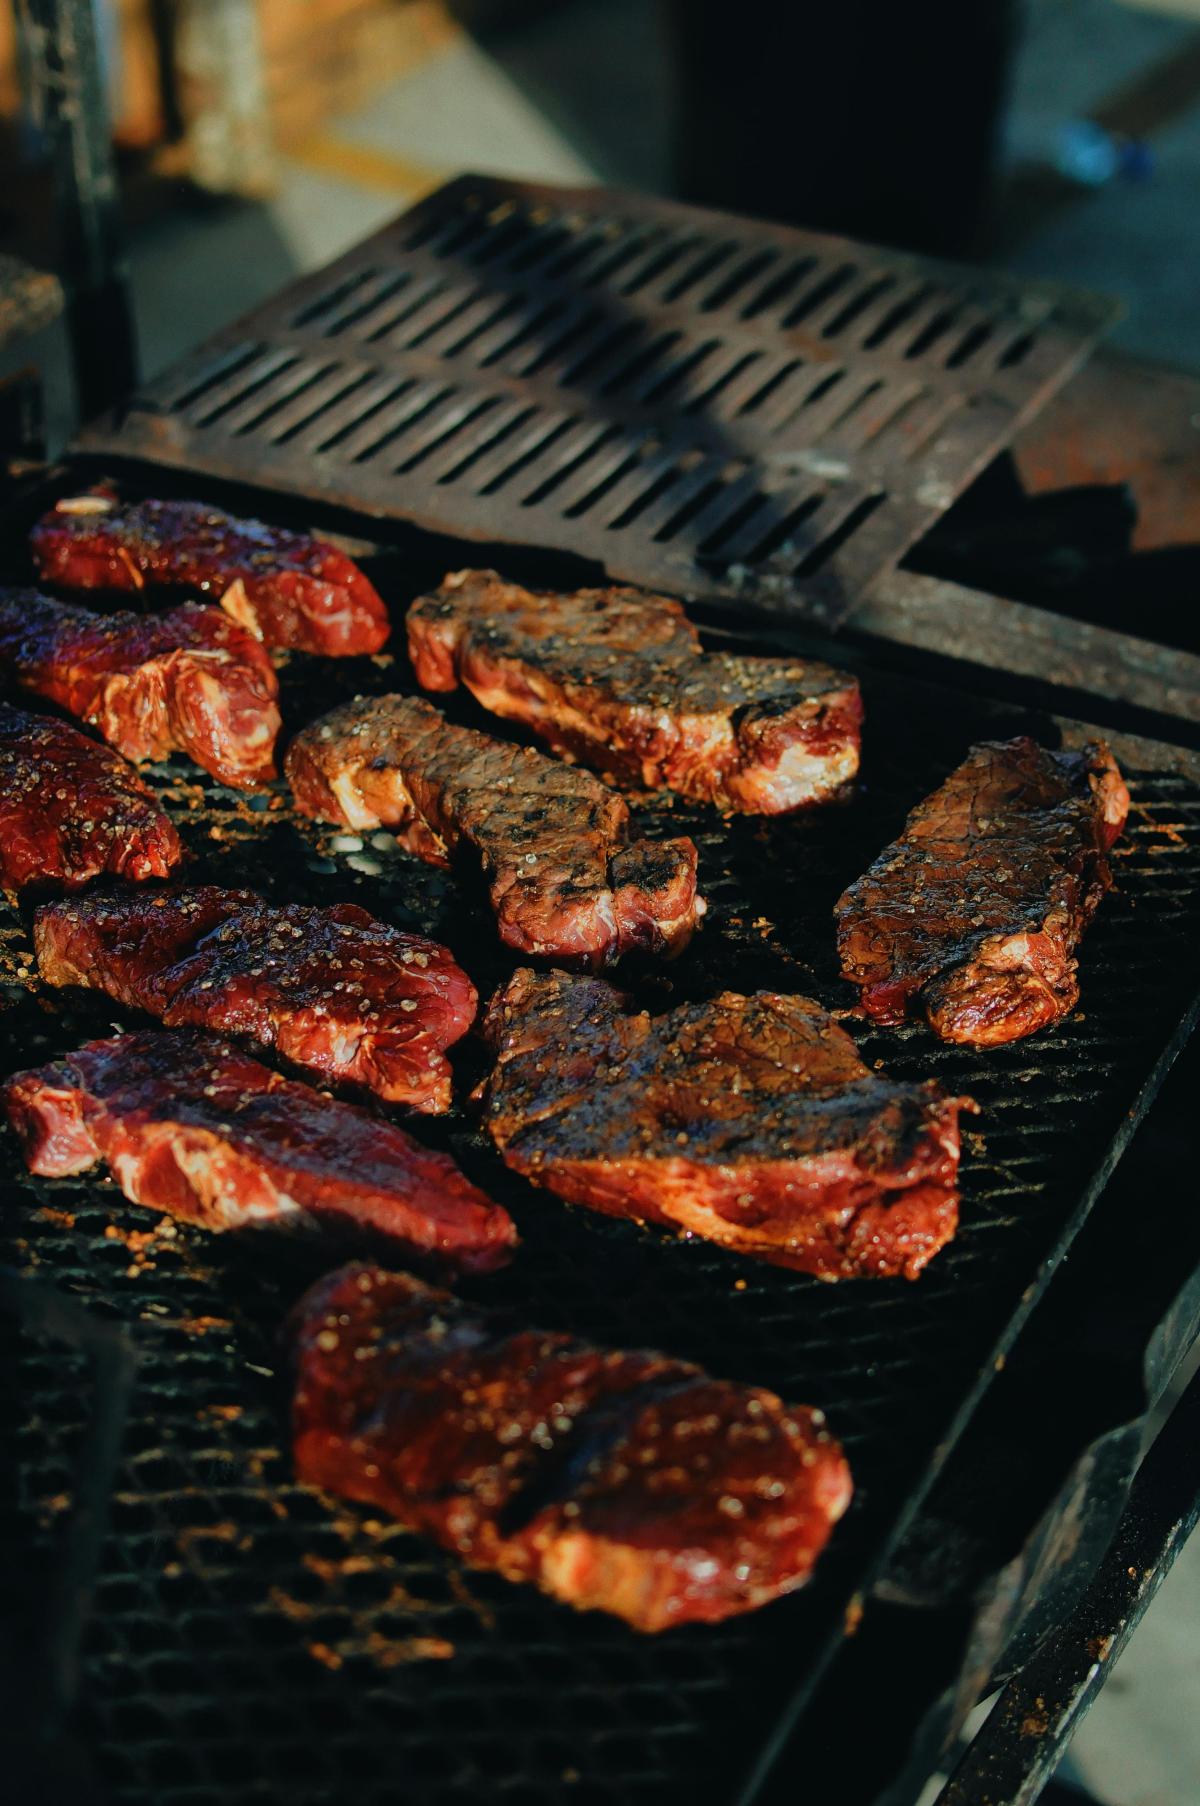
From late July through fall, it’s meat time.
- Raw Meat: A one-inch cube of raw chicken, fish, or even a piece of hot dog works like a charm. You can just drop it into the liquid.
- Canned Pet Food: A spoonful of wet cat food, especially a fishy one, is incredibly effective. The smell is potent, so maybe place these traps a little further from the house.
- The Combo Punch: My go-to for late summer is a mix. I’ll use a sweet liquid (like apple juice with vinegar and soap) and then add a chunk of meat. This gets them whether they’re looking for sugar or protein.
In a rush? If you’ve got a party in a few hours, here’s the quick-and-dirty method for late summer: put a spoonful of wet cat food in a cup of water, add 2-3 drops of dish soap, and set it 30 feet from your door. You’ll be amazed at what happens by sundown.
Maintaining and Emptying Your Trap Safely
Don’t just set it and forget it. A full trap needs to be handled carefully.
Always empty it in the cool of the morning or evening when wasps are least active. And wear gloves! To be extra safe, I put the whole trap in a plastic bag and leave it in the sun for an hour to make sure any survivors are taken care of. Then, empty the contents into another sealed bag and put it in the trash—don’t just dump it in the yard.
If your trap isn’t catching anything, change the bait to match the season or move the trap to a sunnier spot further away from your house. A little tinkering is all it takes.
Seriously Though: When to Call a Professional
These traps are for managing wandering foragers, not for removing a nest. That’s a whole different ballgame.
IF YOU OR ANYONE IN YOUR FAMILY HAS A KNOWN STING ALLERGY, DO NOT ATTEMPT ANY OF THIS. A single sting can be a life-threatening emergency. The risk is absolutely not worth it. Call a licensed professional who is insured and equipped for the job.
And I can’t say this enough: never, ever place a trap right next to a nest. You’re just asking for trouble. If you see a large nest (bigger than a football), or if it’s inside a wall or in the ground, that’s a job for the pros. Period.
But for keeping those stray scavengers out of your hair? These traps are your best friend. They let you take back your yard without spraying a bunch of chemicals around. Just be smart, be safe, and get ready to enjoy your summer again.
Galerie d’inspiration
A single wasp can fly up to 1,000 feet from its nest in search of food.
This is why trap placement is as critical as the bait inside. Hanging a trap right on your deck or picnic table is a common mistake; you’re essentially inviting them into your space. Instead, think like a perimeter guard. Place your traps 20 to 30 feet away from your main outdoor living areas, creating an interception zone. Position them along likely flight paths—near garbage cans, compost piles, or at the edge of a wooded area—to catch foragers before they ever spot your lemonade.
For Early Season (May-July): The Sugar Rush
Wasps are fueling up. Your best bet is a sweet cocktail. Mix equal parts water and sugar, add a generous splash of apple cider vinegar (its fermentation scent is a strong attractant), and a few drops of dish soap to break the surface tension. A slice of overripe banana or a splash of non-diet soda can supercharge the mix.
For Late Season (August-October): The Protein Binge
Now they’re feeding larvae and new queens. Skip the sugar and go for savory. A small piece of raw chicken, canned tuna in oil, or even a spoonful of wet cat food will draw them in. Submerge the protein in water with a little dish soap to ensure they drown.


