Your No-Nonsense Guide to Making Amazing Compost (Even if You’re a Total Beginner)
My first compost pile was, to be frank, a disaster. I was a kid, full of more gusto than sense, and I created this soggy, stinky heap behind my grandfather’s shed. He took one look, shook his head, handed me a pitchfork, and gave me two pieces of advice that changed everything: “It needs to breathe, and it’s hungry for leaves.” That was it. But it was the start of a lifelong obsession with turning what most people see as trash into something alive and essential.
In this article
After years of managing composting for community gardens and my own backyard, I’ve seen it all. This isn’t just about recycling your scraps. It’s about creating ‘black gold’ that will make your garden explode with life. Let’s get into the real dirt on how it works.
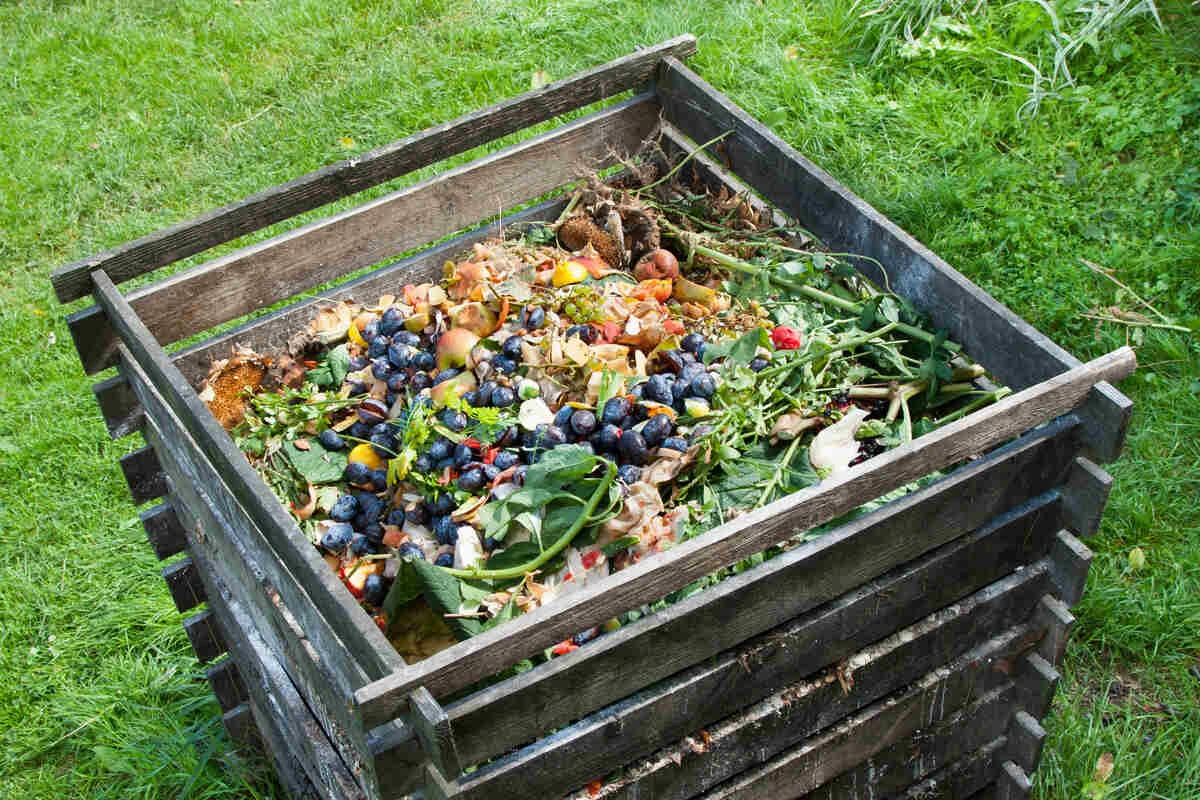
What’s Actually Happening in That Pile?
Before you toss in a single banana peel, it helps to know you’re not making a garbage pile—you’re building a city for microscopic workers. Seriously. Your compost heap is a metropolis of bacteria, fungi, and other critters working 24/7. Your only job is to keep them happy.
Think of it like this:
- The Bacteria Crew: These are your first responders. They tear through all the soft, wet stuff like kitchen scraps and fresh grass clippings. They work so fast they generate a ton of heat, which is exactly what you want.
- The Fungi Crew: While bacteria handle the easy stuff, fungi (like molds and yeasts) are the heavy-lifters. They break down tough, woody things like twigs, cardboard, and dried leaves. Ever see those white, web-like threads in a healthy pile? That’s them, hard at work.
- The Finishing Crew (Actinomycetes): These guys are a special kind of bacteria that show up toward the end. They’re responsible for that incredible, earthy smell of a forest floor after it rains. If your compost has that smell, you’ve nailed it.
So, what do these workers need? Just two things: food and air. The food part is all about the famous Carbon-to-Nitrogen ratio. It sounds technical, but it’s just about balancing “Browns” (carbon) and “Greens” (nitrogen). A good target is about 30 parts carbon to 1 part nitrogen. Getting this balance right is the single most important skill in composting.
Location, Location, and Picking Your System
Where you put your pile is almost as important as what goes in it. I once helped a buddy move his entire bin because he put it at the bottom of a small hill. The first big rain turned it into a foul-smelling swamp. We spent a whole Saturday shoveling stinking sludge to higher ground. A lesson learned the hard way!
Here’s a quick checklist for the perfect spot:
- Good Drainage: Never, ever in a low spot where water puddles. A level or slightly sloped area is perfect.
- Some Sun, Some Shade: Full sun can bake your pile dry, especially in hot climates, while deep shade can keep it too damp. A spot with morning sun and afternoon shade is the sweet spot.
- Easy Water Access: You’ll need to add water occasionally. Having a hose nearby will save you from lugging heavy watering cans.
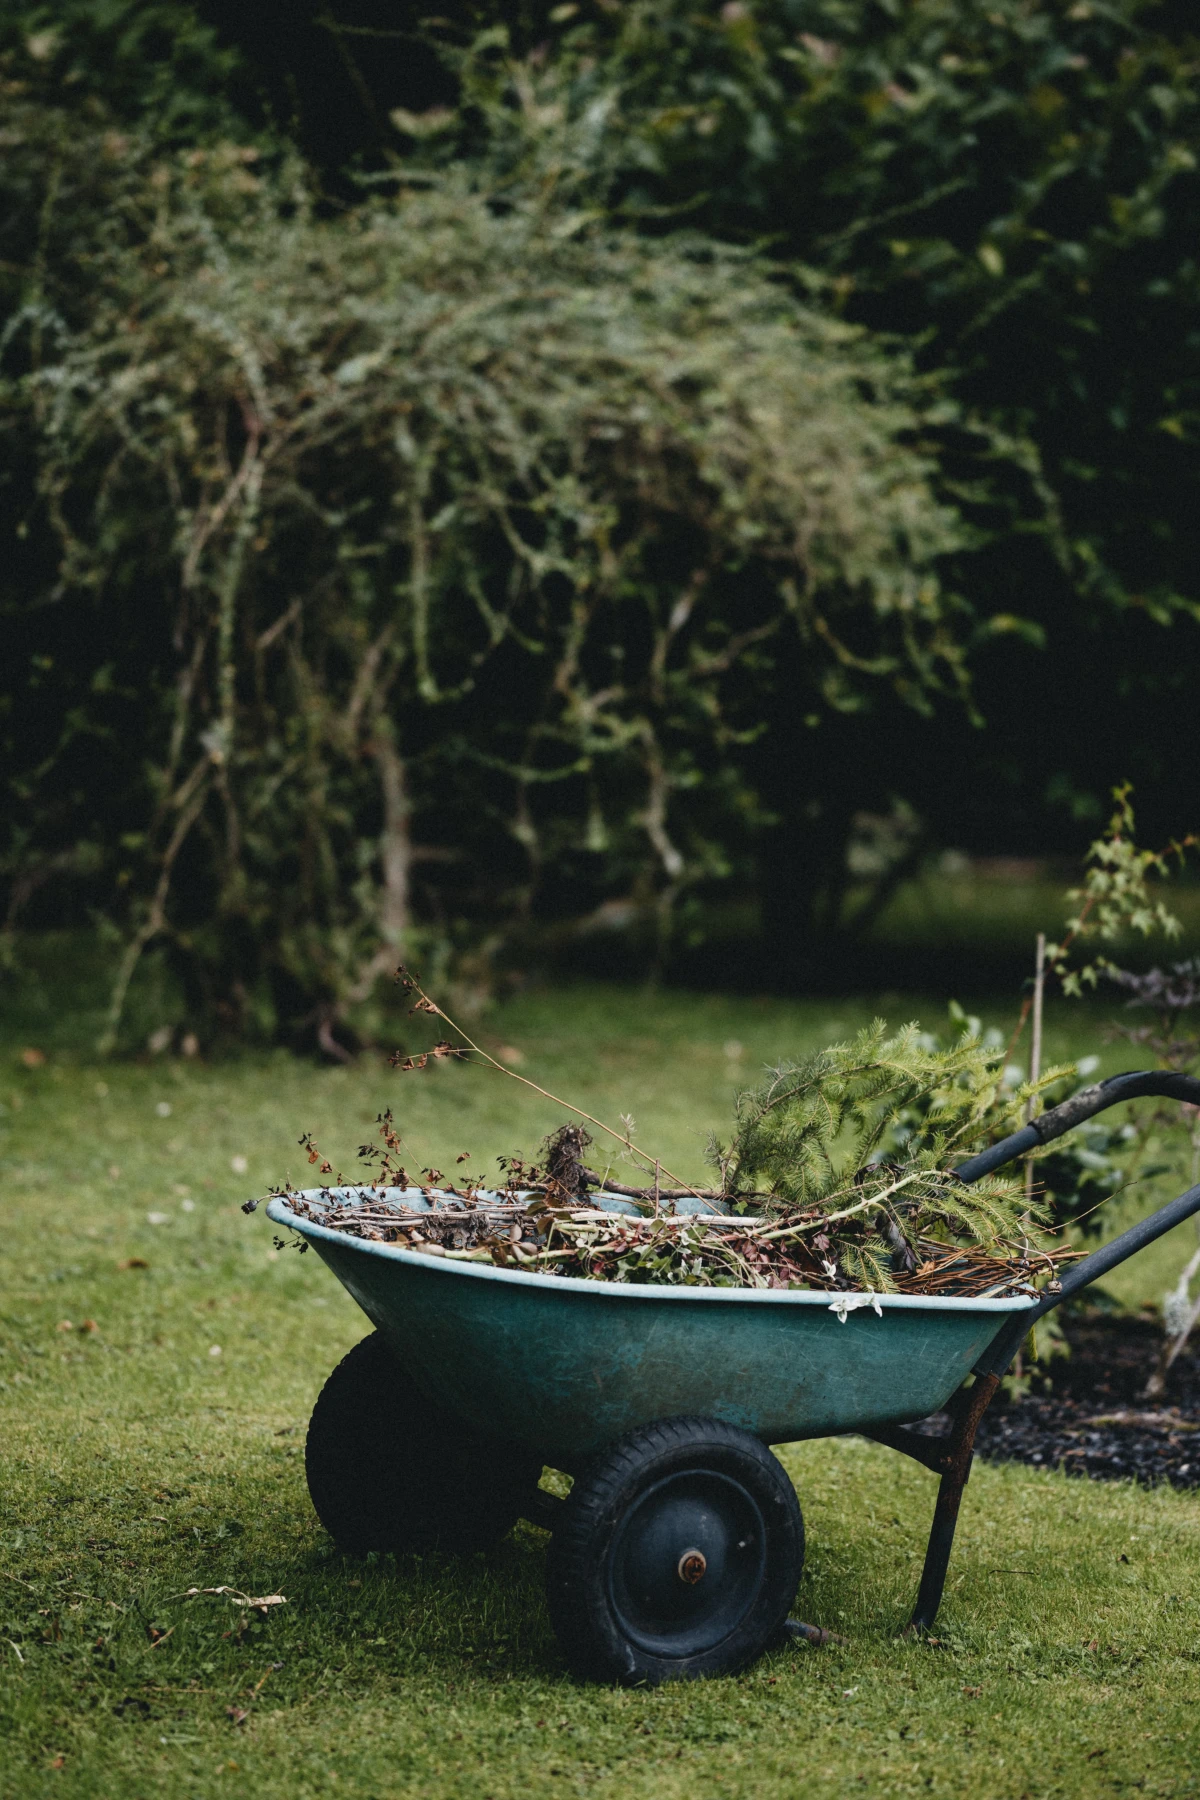
- Convenience & Clearance: Make sure you can get a wheelbarrow to it easily. Oh, and check your local rules! Many towns require compost piles to be a certain distance (like 10-20 feet) from buildings or property lines. A quick call to your town office can save you a big headache later.
Choosing the Right Composter for You
The right system really boils down to your budget, space, and how much effort you want to put in. There’s no single ‘best’ one.
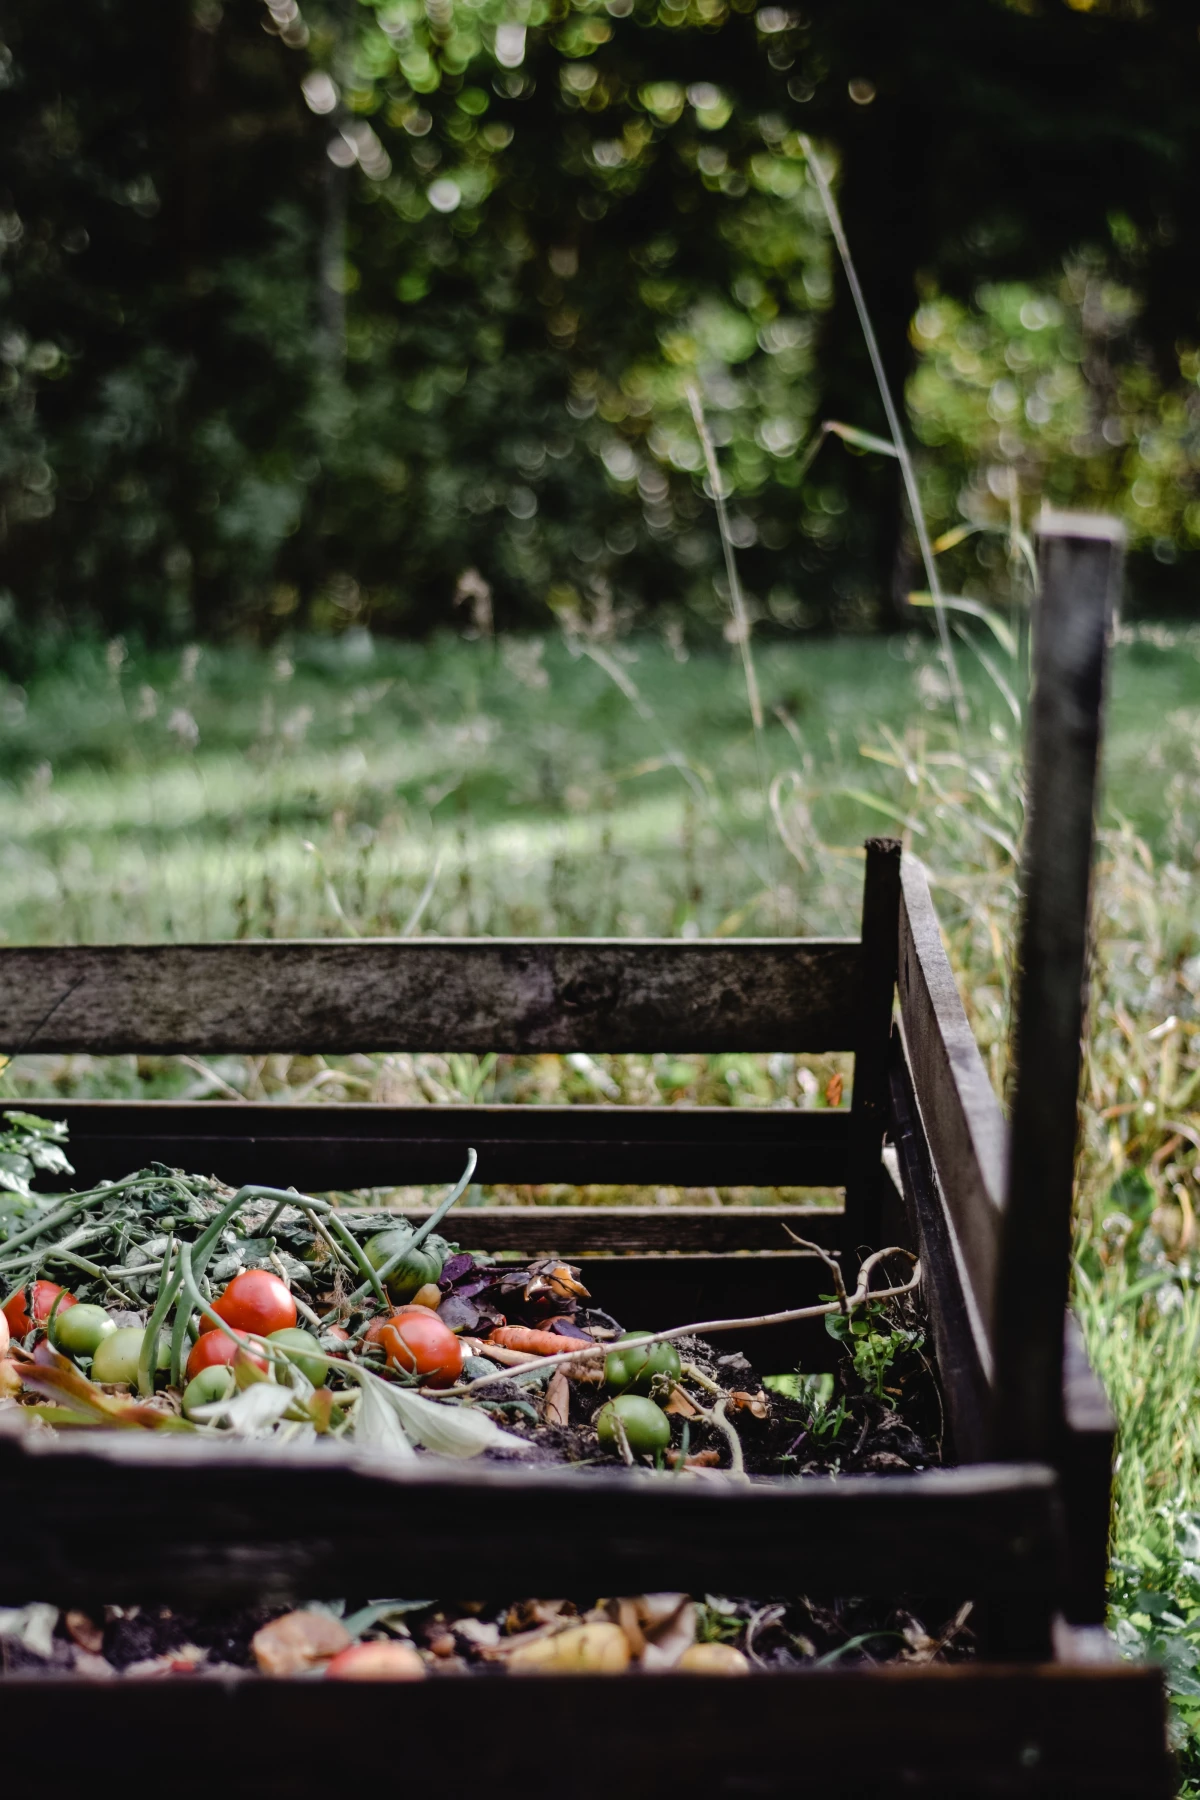
For those with a decent-sized yard, the Open Pile is the classic. It’s literally just a heap on the ground. The cost is zero, but it can look a bit messy and be harder to keep pests away. If you have the space and a more relaxed attitude, it’s a great way to start.
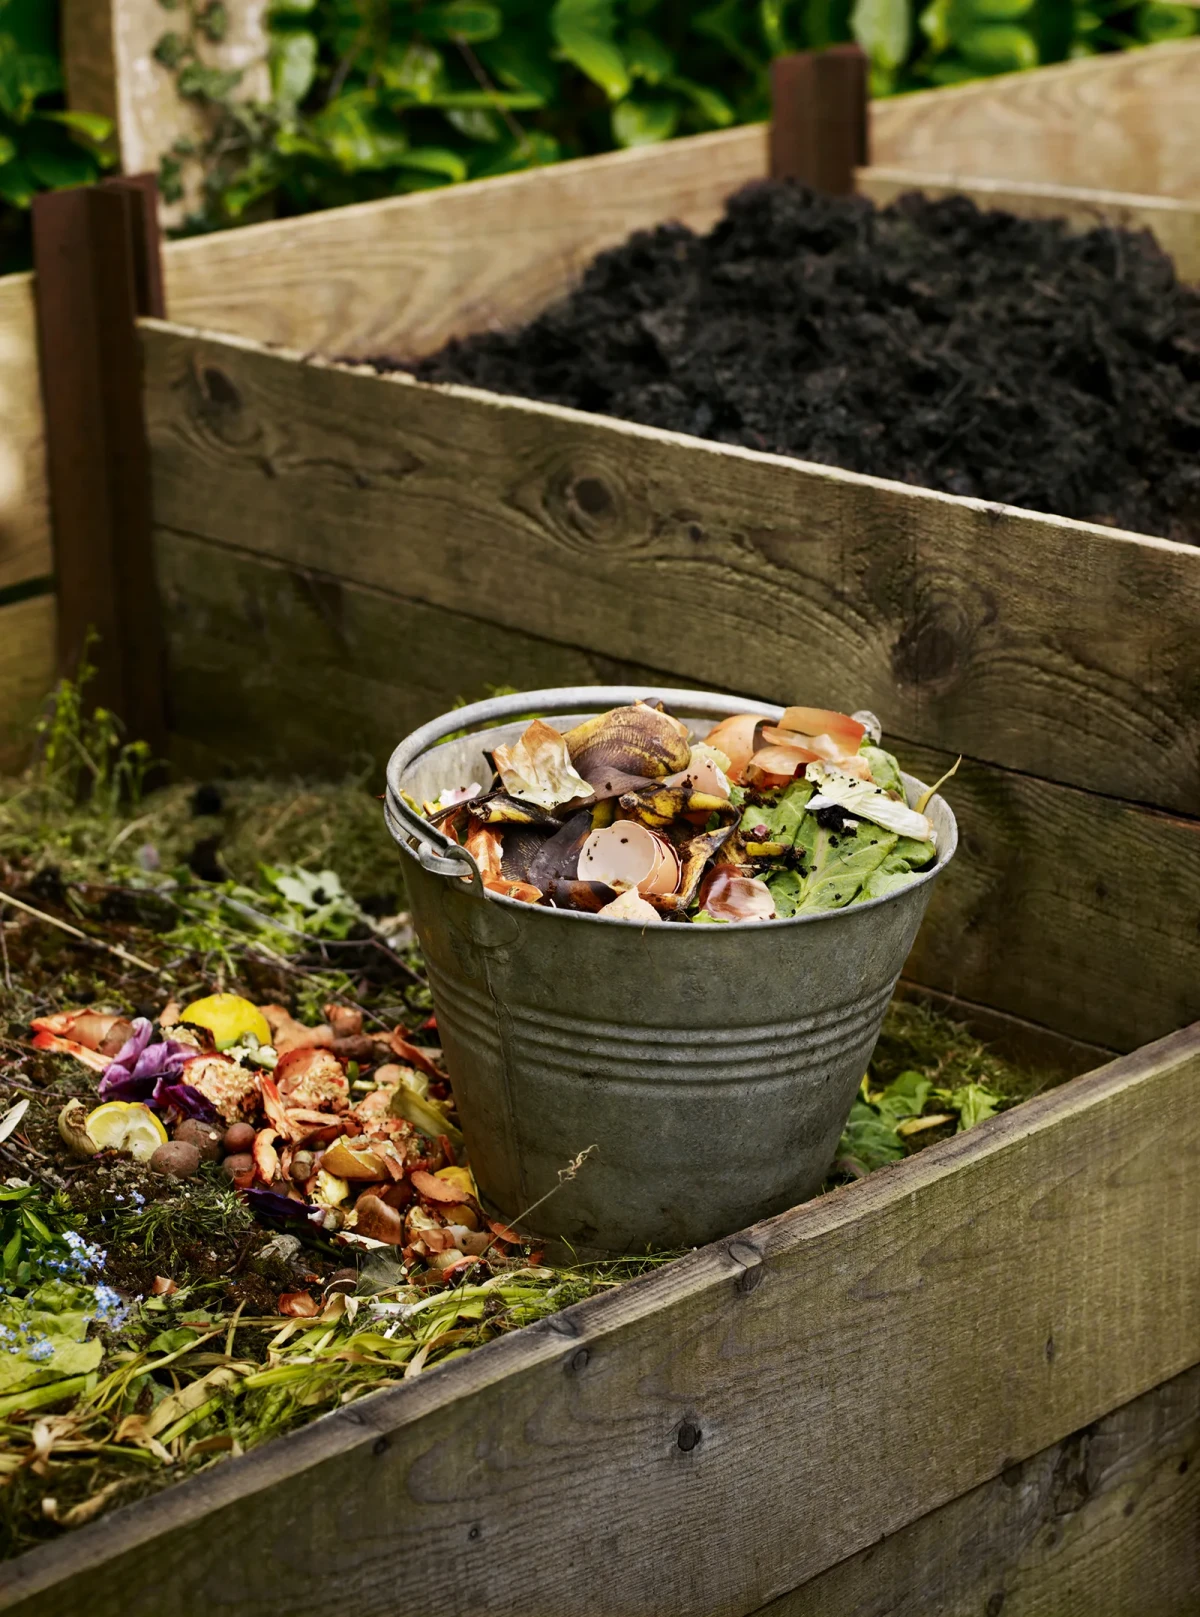
If you’re serious about making a lot of compost quickly, the Three-Bin System is the gold standard. This is what the pros and community gardens use. You build one pile in the first bin, turn it into the second bin to aerate, and let it cure in the third. It’s incredibly efficient. A quick tip: You can build one yourself in under an hour with four reclaimed shipping pallets. Just stand them up in a ‘U’ shape for the sides and back, and use the fourth for the front wall or to start a second bin. Connect them with heavy-duty zip ties or wire. It’s a pro-level setup for next to nothing.
For most suburban yards, Enclosed Bins and Tumblers are the most popular choice. You can find sturdy plastic stationary bins at places like Home Depot or Lowes for between $75 and $200. They keep things tidy and pests out. Tumblers are the ones on a stand that you crank to turn. They’re great for aeration and can cost anywhere from $100 to over $300. Heads up, though: because they’re smaller, they rarely get hot enough to kill stubborn weed seeds.
And for those with no yard at all? Don’t worry, you can still make amazing compost with a Worm Bin (Vermicomposting). This is a totally different beast that uses red wiggler worms instead of heat. It’s perfect for a balcony, garage, or even under the kitchen sink. You can’t put huge volumes in, but the resulting worm castings are one of the most incredible fertilizers on the planet. A starter kit with a bin might run you $80-$150, or you can make a simple one from a plastic tote. The worms themselves? You can order a pound of them (that’s about 1,000 worms!) online for around $30 to $50.
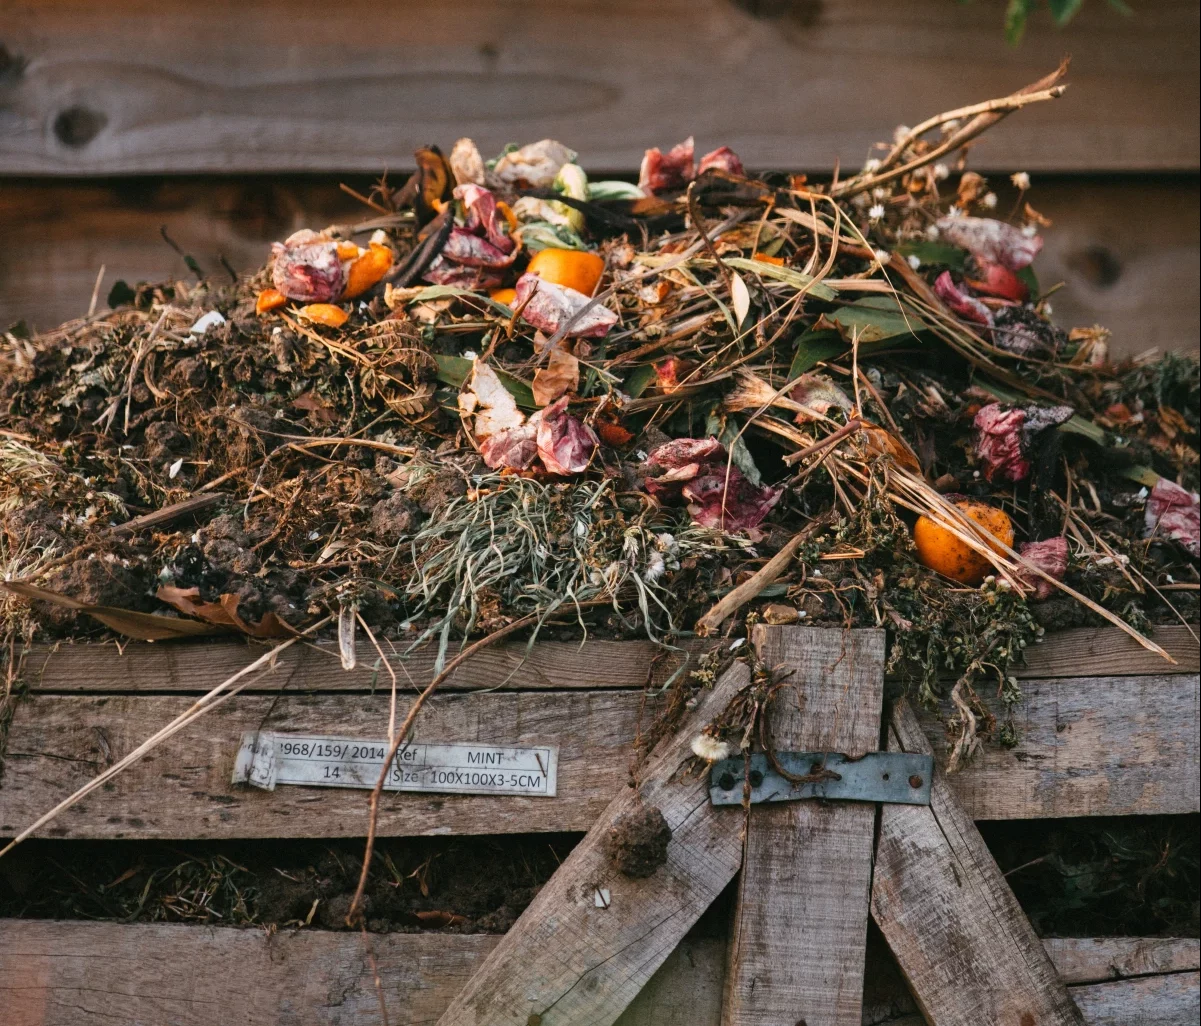
The Perfect Recipe: Browns, Greens, and What to Ban
Getting that carbon-to-nitrogen ratio right feels like an art at first, but here’s a super simple way to think about it. I call it the ‘bucket method’: for every one bucket of green stuff you add, toss in two to three buckets of brown stuff. That’s it! This simple visual guide will get you surprisingly close to the perfect mix.
“Browns” (Carbon for Energy)
These are your dry, woody materials. They give microbes fuel and create air pockets.
- The Best: Dried leaves are compost gold. A mix of different types is fantastic.
- Easy & Free: Shredded cardboard and newspaper. Just avoid glossy ads and remove any plastic tape. Corrugated cardboard is amazing for creating air pockets.
- Use Sparingly: Wood chips, sawdust (from untreated wood only!), and pine needles. These are very high in carbon and take a long time to break down, so mix them in well.
- Good Structure: Straw or hay. Just be aware that hay is often loaded with seeds that might sprout in your garden later.
“Greens” (Nitrogen for Growth)
These are your fresh, moist, and often green materials. They provide the protein that makes the microbes multiply and heat up the pile.
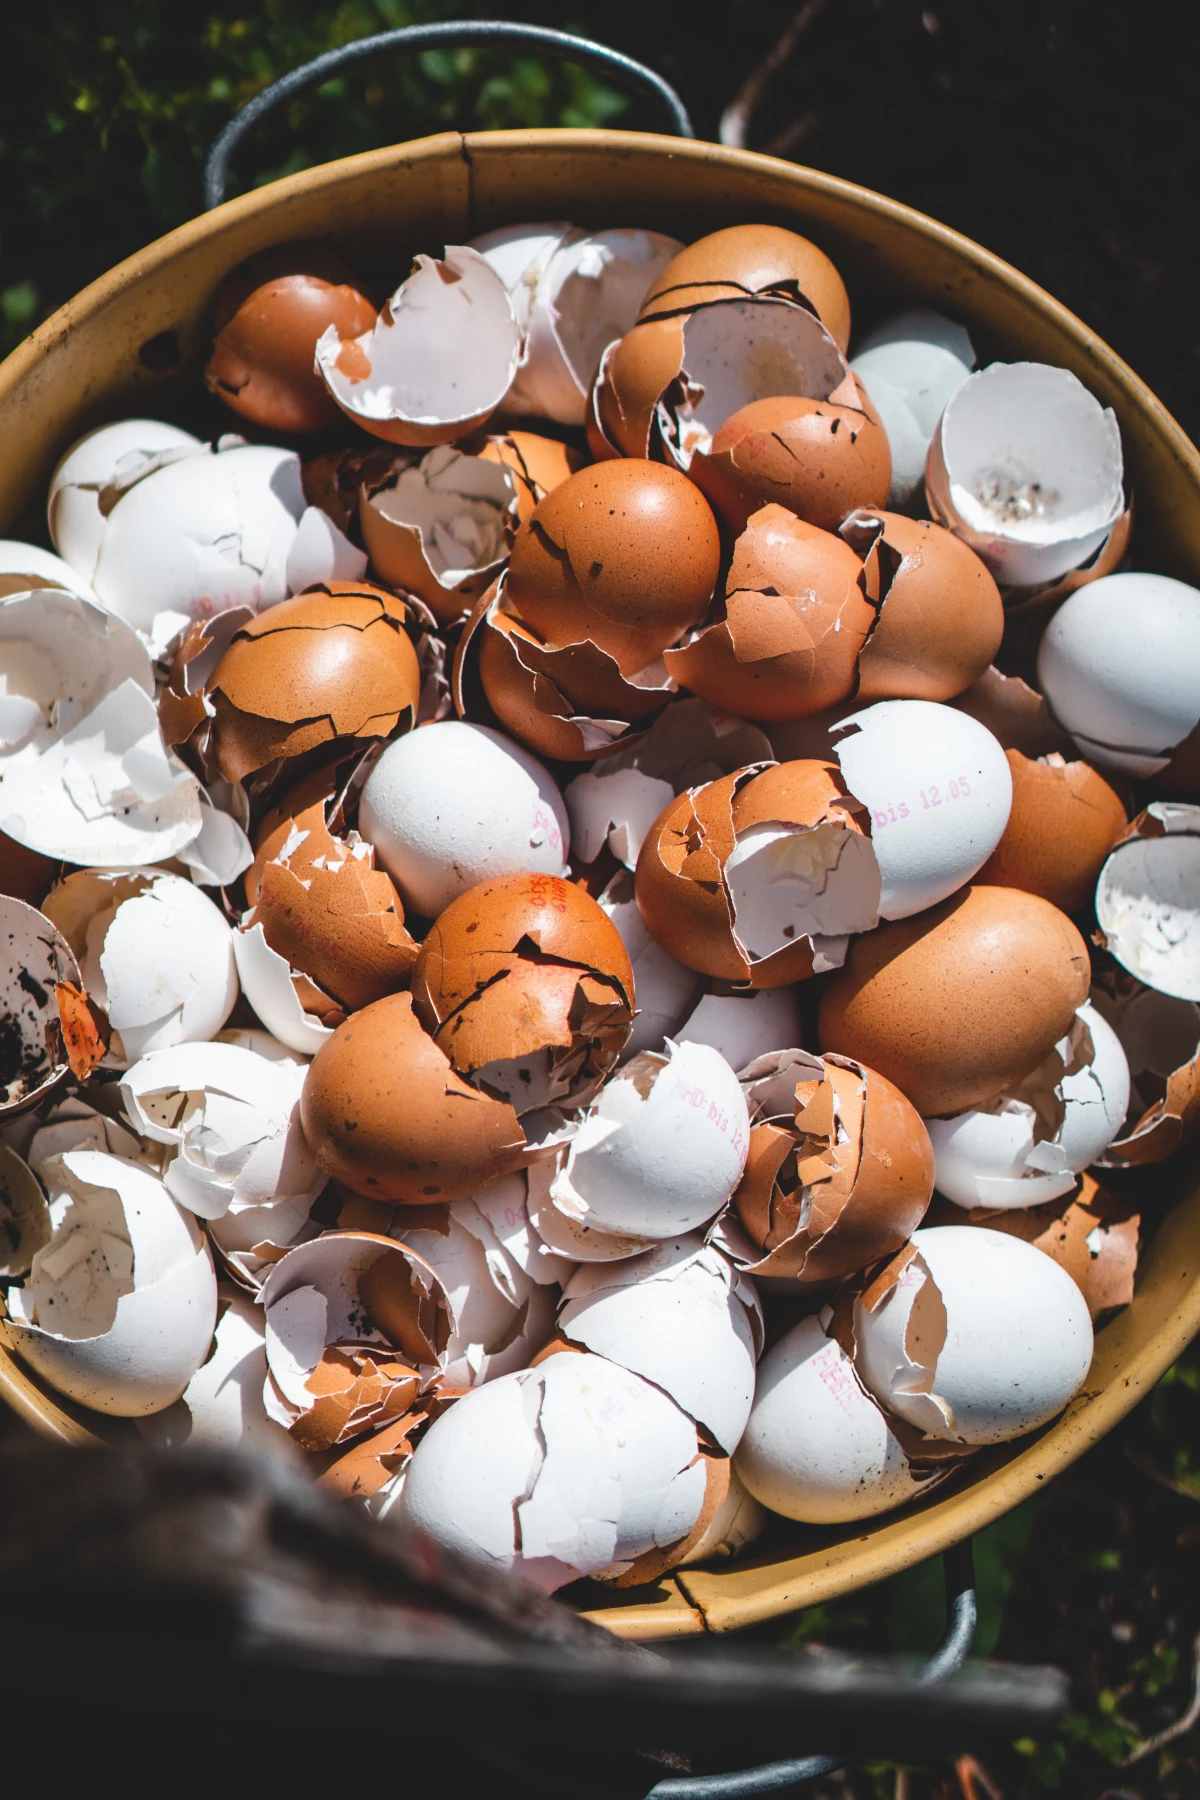
- Kitchen Scraps: Veggie peels, fruit cores, coffee grounds, and tea bags (pull the staple out). Crushed eggshells are great, too.
- Grass Clippings: This stuff is rocket fuel! But a word of warning: NEVER add a thick layer of fresh grass. It will compact into a slimy, stinking mat that chokes out all the air. Always mix it with at least three times its volume in browns.
- Manure: If you have access to it, manure from plant-eaters (chickens, rabbits, cows) is a fantastic activator. Never use waste from dogs or cats.
- Weeds: Fine to add, but only if they haven’t gone to seed. Pesky weeds are better left to dry out on a tarp in the sun for a week before you toss them in.
What to Absolutely Keep Out of Your Pile
This is where most beginners go wrong. Adding the wrong thing can attract every raccoon in a five-mile radius and make your pile smell horrific.
- Meat, Fish, Bones, Dairy, and Oily Foods: This is a non-negotiable NO. They rot, smell awful, and are a massive invitation for rodents and other critters.
- Dog or Cat Waste: This is a serious health hazard. Their waste can contain parasites and pathogens harmful to humans that can survive the composting process.
- Diseased Plants: Things like powdery mildew or tomato blight can survive in a cooler home compost pile and get spread right back into your garden next year. It’s safer to bag this stuff and throw it out.
- Treated or Painted Wood: Sawdust or chips from this wood can leach nasty chemicals like arsenic into your beautiful compost.
- Coal or Charcoal Ash: Unlike wood ash (which is fine in small amounts), coal ash contains heavy metals that are bad for your soil.
- A quick note on ‘Compostable’ Packaging: Be very careful with this! Many of those ‘compostable’ cups, utensils, and bags you see today will only break down in a high-temperature industrial facility, not in a backyard pile. It’s a common mistake that just leaves you with bits of plastic-like material in your finished compost.
How to Make Your Pile 100% Rodent-Proof
Fear of rats is probably the number one reason people hesitate to compost. But honestly, it’s easy to prevent. If you have an enclosed plastic bin, you’re already 90% of the way there. If you’re building your own bin or using an open pile, line the bottom and sides with 1/2-inch hardware cloth (a tough metal mesh). Rats can’t chew through it. The number one rule is to always bury your kitchen scraps deep inside the pile. Dig a hole in the center, dump the scraps in, and then cover them with at least 8-10 inches of brown material. If they can’t smell it, they won’t come looking for it.
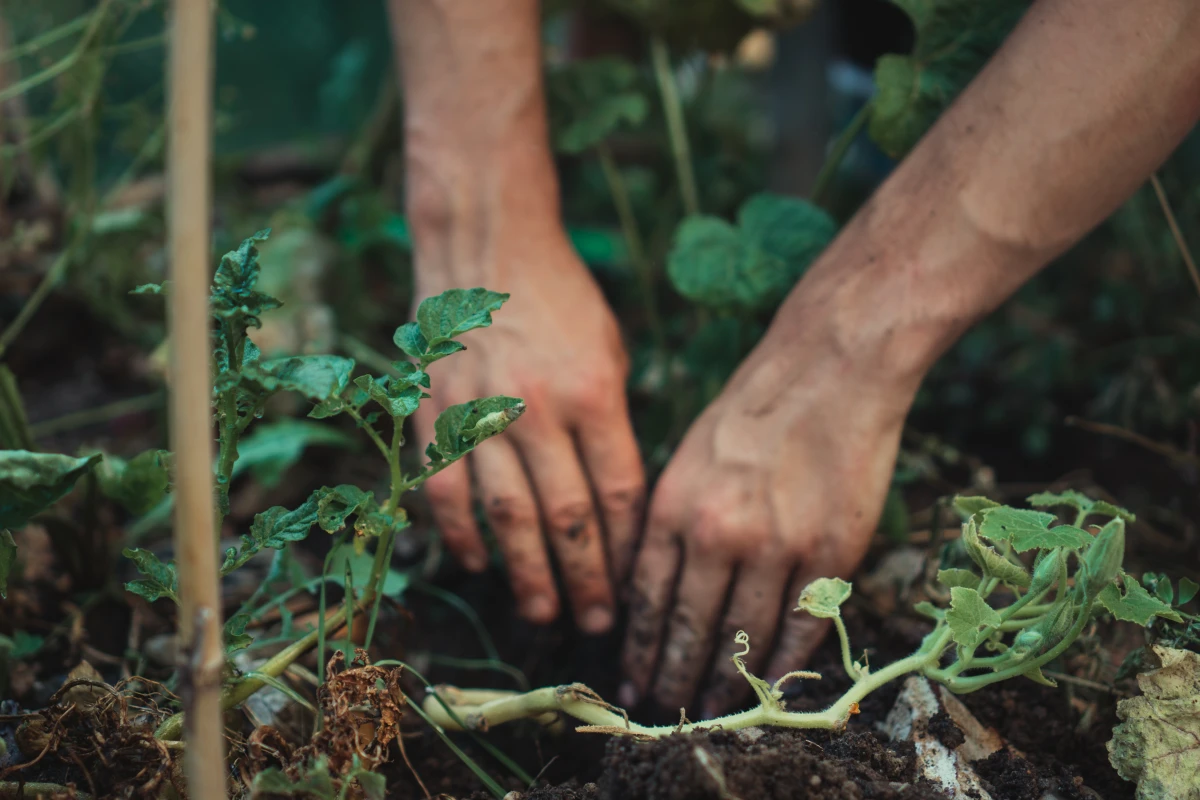
Building and Managing Your Living Pile
Okay, you’ve got your spot, your system, and your ingredients. Let’s build this thing!
1. The Foundation: Start with a 6-inch layer of coarse stuff like twigs or chopped branches. This creates an airy base so your pile can breathe from the bottom up.
2. Layering: Now, just start adding your materials in thin, alternating layers, following that ‘one bucket of greens to three buckets of browns’ rule. Every few layers, it’s a great idea to toss in a shovel-full of regular garden soil or finished compost to ‘inoculate’ the pile with good microbes.
3. Add Water: As you build, lightly spray each layer with a hose. You’re aiming for the dampness of a wrung-out sponge. If you grab a handful and squeeze, only a drop or two of water should come out.
4. Get Some Mass: For a pile to get really hot and active, it needs to be at least 3 feet wide by 3 feet deep by 3 feet tall. Anything smaller will struggle to hold onto its heat.
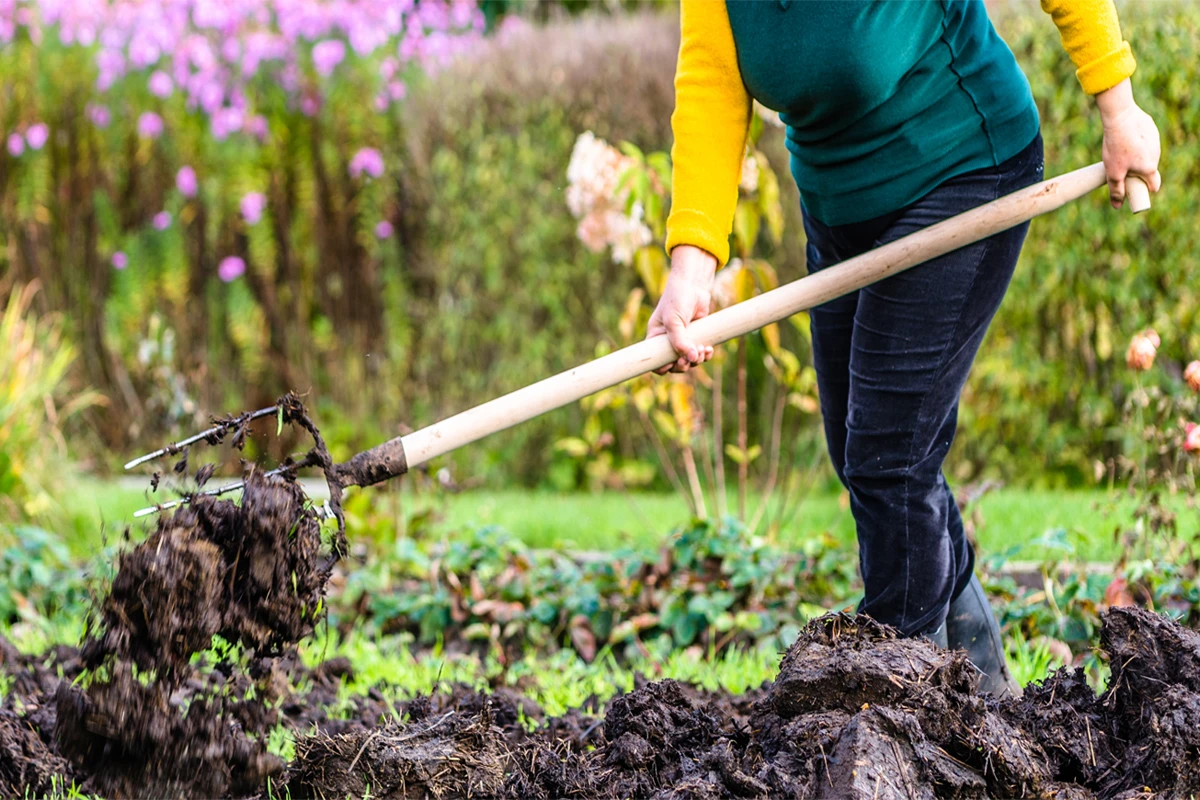
Turning and Winter Care
Turning the pile is just mixing it up with a pitchfork. This is crucial for getting oxygen to your microbe city. For a fast, ‘hot’ compost that’s ready in a few months, you’ll want to turn it every 4-7 days. For a slow, ‘cold’ compost that’s ready in a year, you can get away with turning it just once or twice a season. It’s less work, just takes longer.
And what about winter? This is a huge question for anyone in a cold climate. Your pile will essentially go dormant once it freezes, but that’s okay! Think of it as a holding bin. You can keep adding your kitchen scraps all winter long. Just keep a big pile of bagged leaves or a bale of straw nearby, and every time you add a bucket of scraps, cover it with a thick layer of browns. Come spring, when things thaw out, you’ll have a massive pile of perfectly layered ingredients ready to be turned and take off.
Troubleshooting Common Problems
Don’t panic if things go wrong. Every single person who composts runs into issues. Here are the fixes:
- Smells like ammonia? It has too much nitrogen (too many greens). The fix is easy: mix in a bunch of carbon-rich browns like shredded cardboard or dry leaves.
- Smells like rotten eggs? It’s gone anaerobic, meaning it has no oxygen. It’s either too wet or too compacted. Fix it by turning the pile immediately and mixing in lots of dry, bulky browns (like wood chips or straw) to open up air channels.
- Not heating up? It’s one of three things: too dry, not enough nitrogen, or too small. First, check the moisture. If it’s dry, water it while you turn it. If it’s damp enough, add a ‘hot’ nitrogen source like fresh grass clippings or manure. If it’s still cold, you probably just need to add more material to the pile.
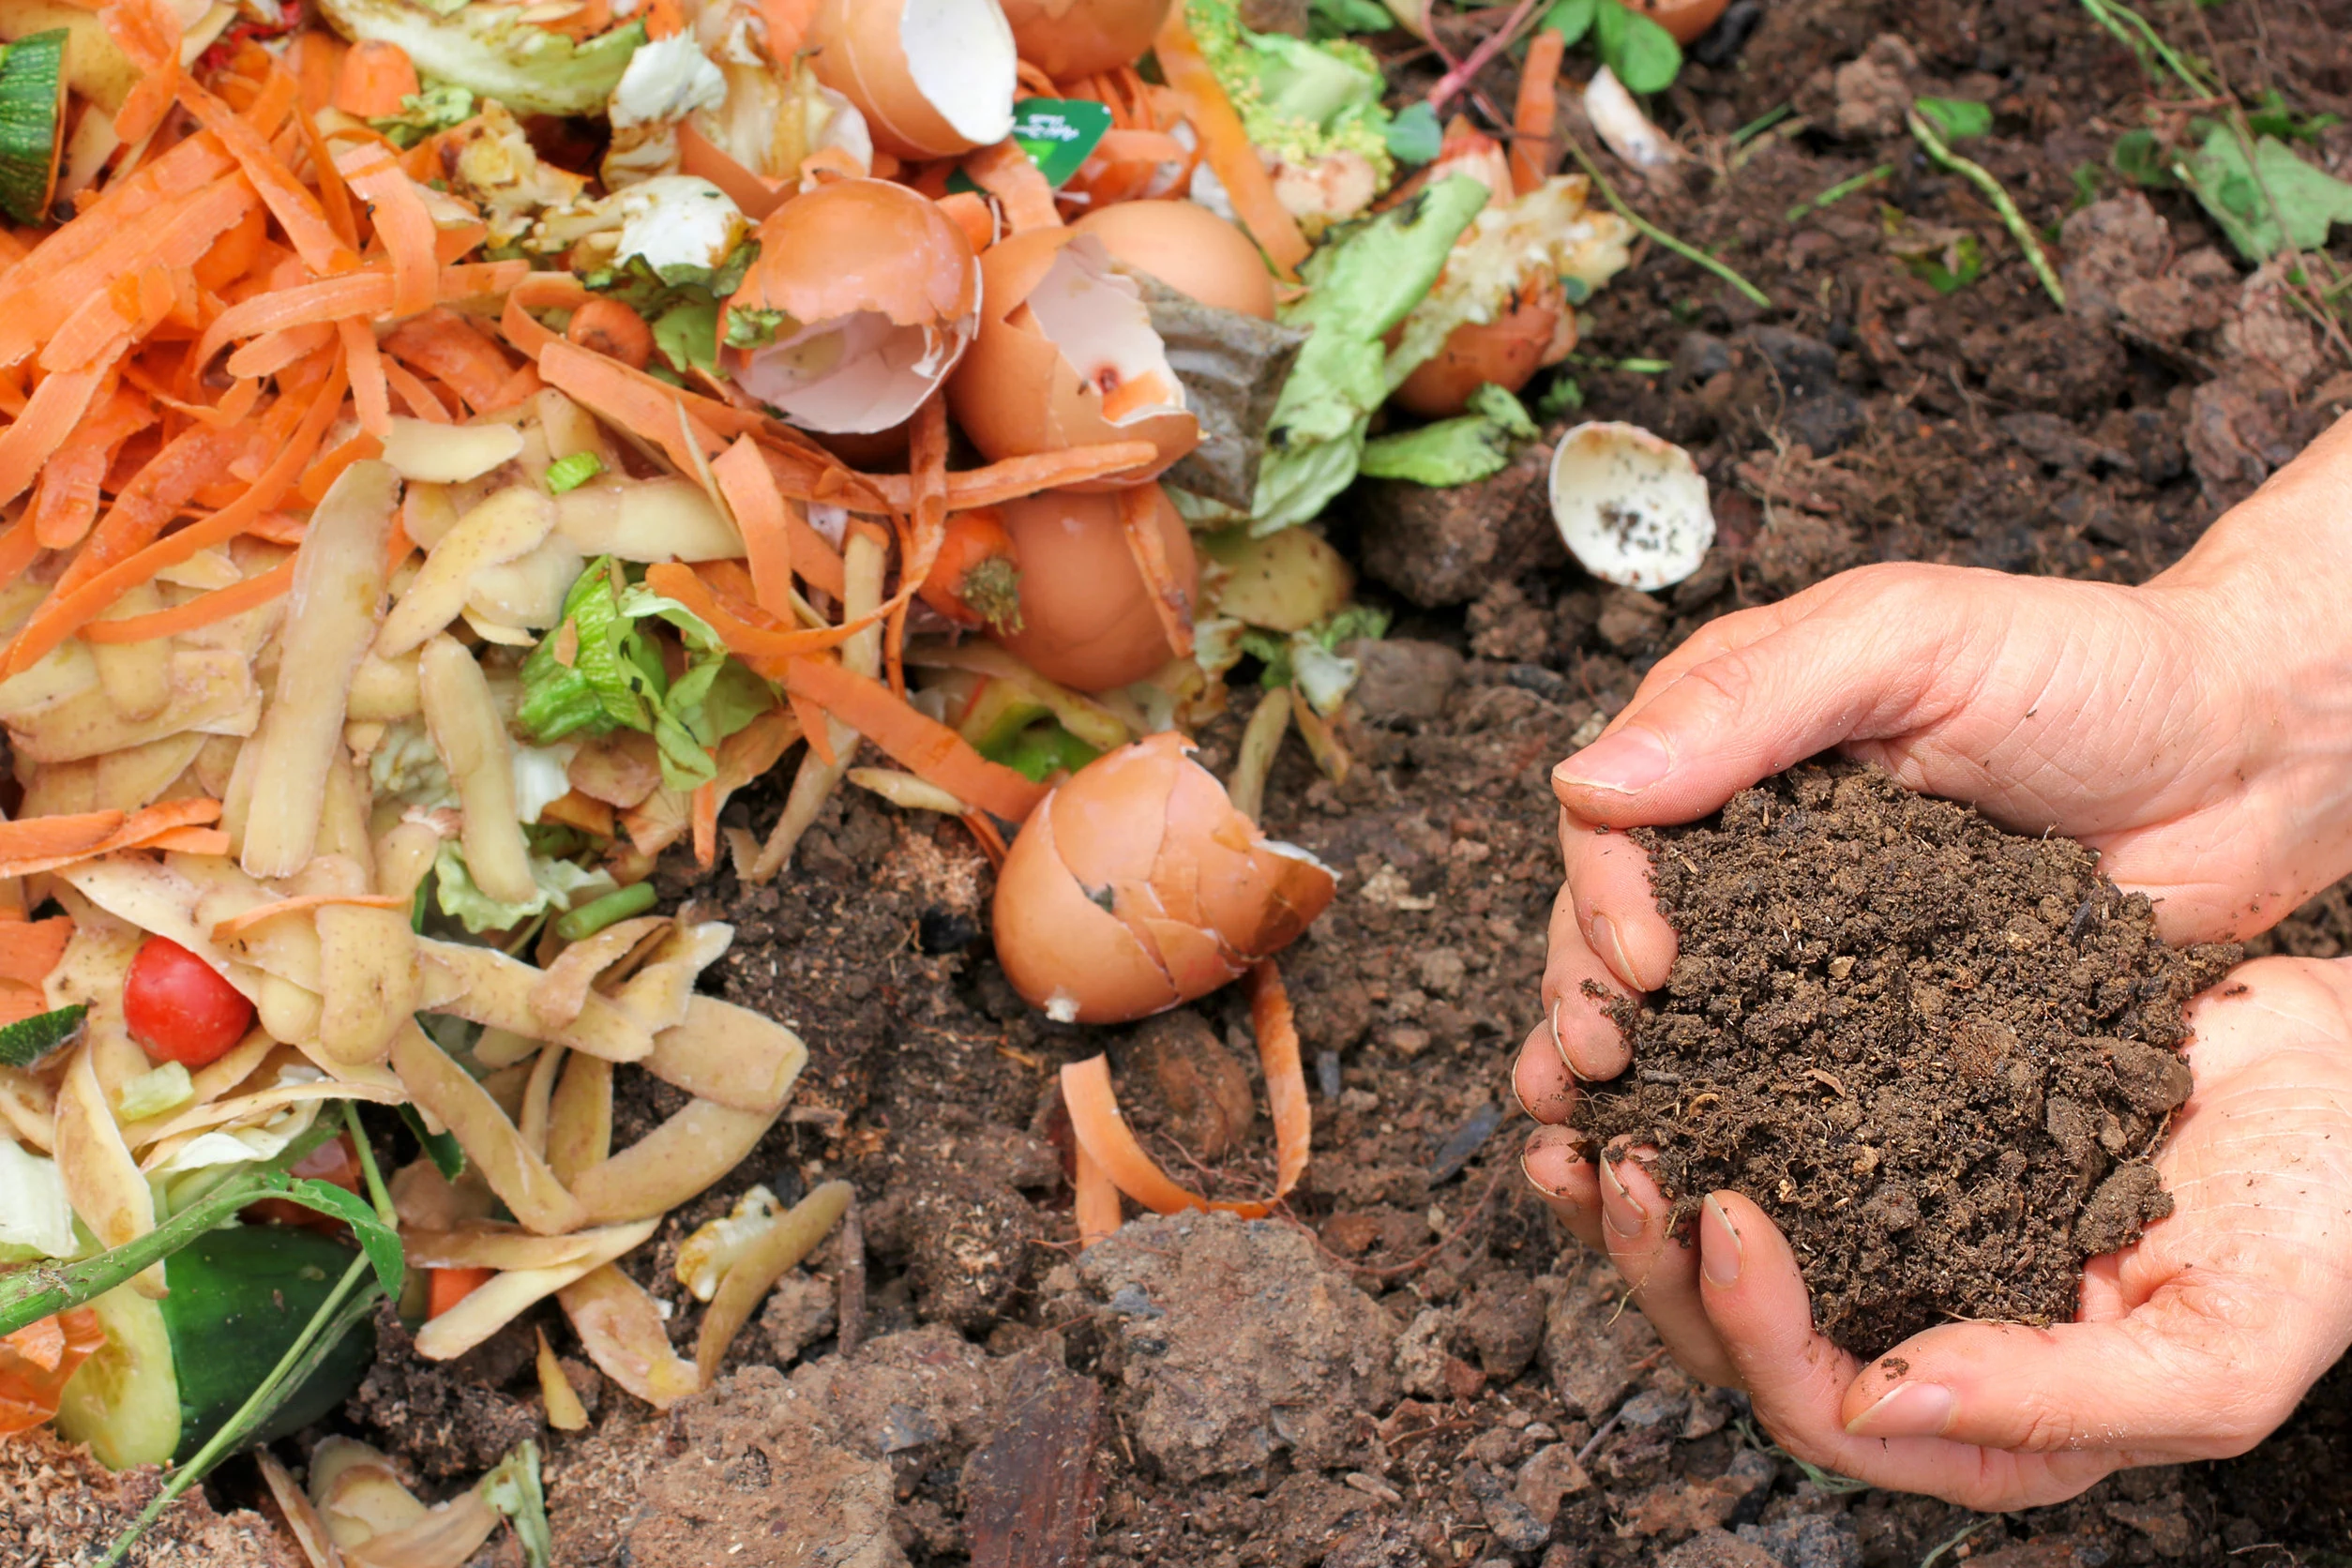
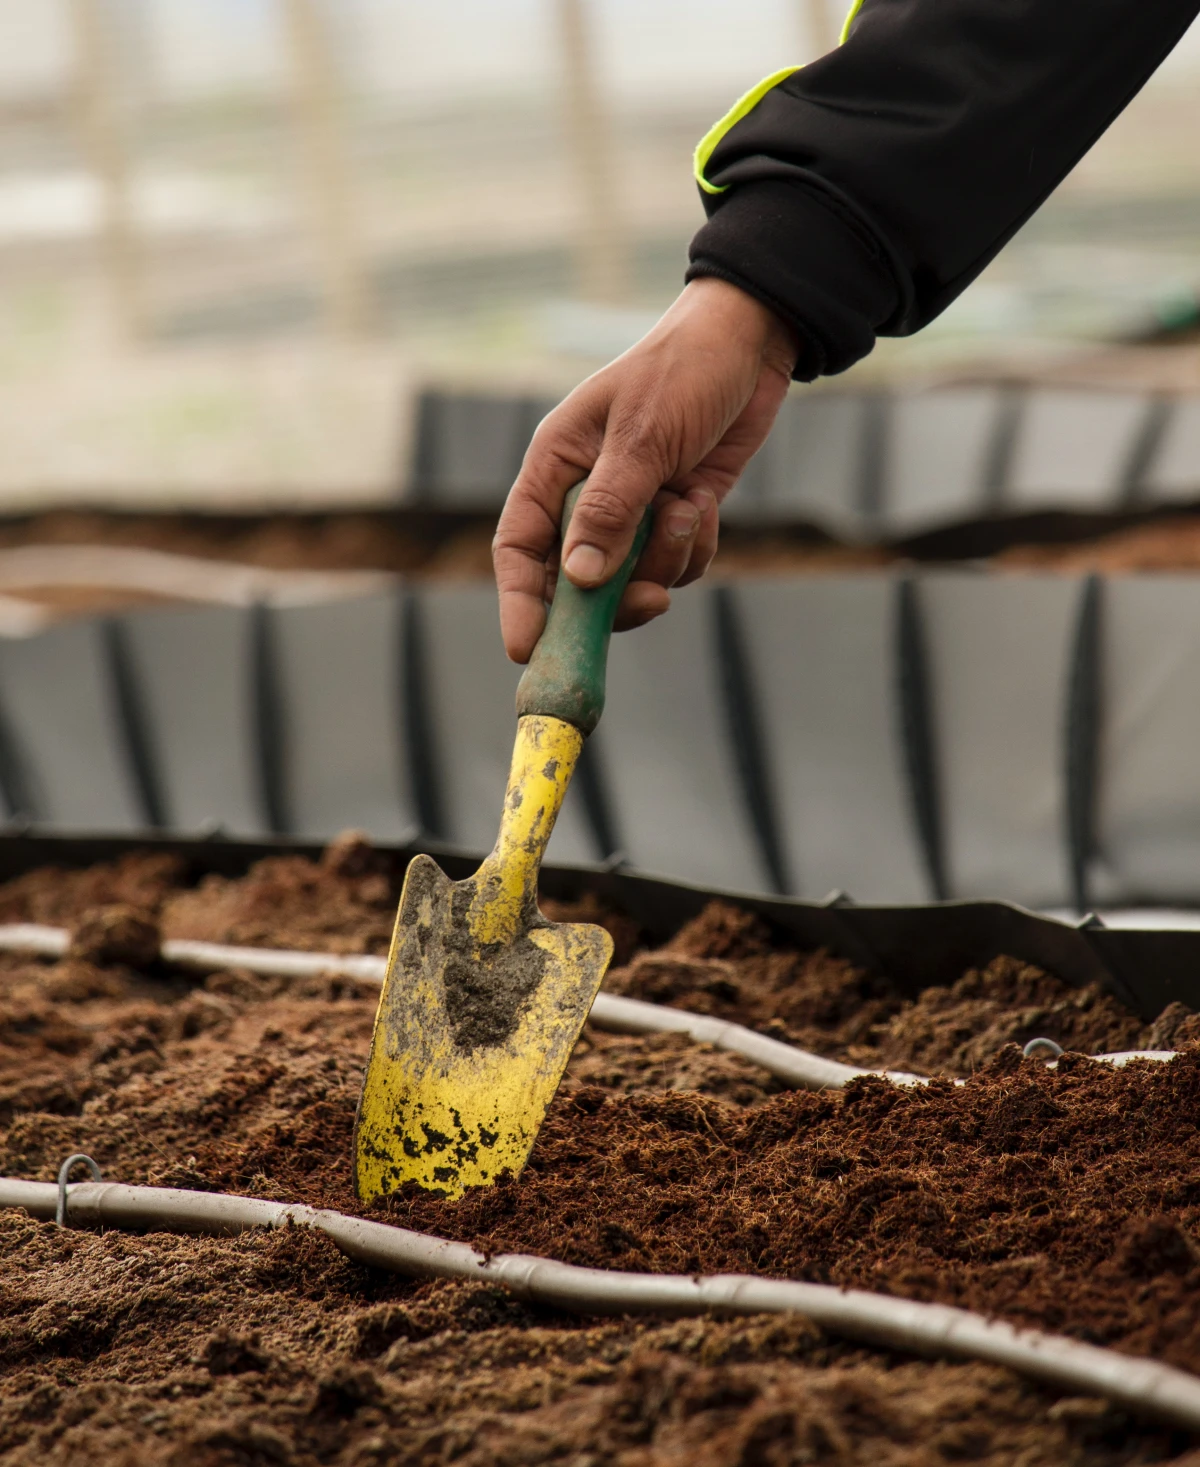
The Payoff: Harvesting Your Black Gold
You’ll know it’s ready when the pile has shrunk, stopped producing heat, and has turned into a dark, crumbly, sweet-smelling material. You shouldn’t be able to recognize any of the original ingredients. To get the best stuff, I recommend screening it. You can make a simple screen by stapling half-inch hardware cloth to a wood frame. The fine stuff falls through, ready for your garden, and any larger bits can be tossed back into the next pile.
Spread a 1-2 inch layer on your garden beds, use it as a nutrient-rich mulch around plants, or mix it into your potting soil. You just grew your own fertilizer!
By the way, if all this feels a little overwhelming, just do this one thing today: Put a small container with a lid on your kitchen counter. Start putting your coffee grounds, eggshells, and veggie peels in it. That’s it. You’ve officially started. The rest will come.
Inspirational Gallery with Photos
Tumbler vs. Stationary Bin: A rotating tumbler, like the popular FCMP Outdoor IM4000, makes turning your compost effortless—just give it a spin every few days. This aeration speeds up decomposition, often yielding finished compost faster. However, they typically have a smaller capacity. A classic stationary bin, whether a DIY pallet construction or a store-bought model like the Geobin, holds much more material but requires manual turning with a pitchfork, which can be hard work.
According to the EPA, food waste sent to landfills is a major source of methane, a greenhouse gas over 25 times more potent at trapping heat in the atmosphere than carbon dioxide.
Every bucket of scraps you compost is a direct action against this. You’re not just feeding your garden; you’re actively preventing harmful gases from entering the atmosphere, turning a climate problem into a garden solution.
My compost pile smells like ammonia or rotten eggs! What did I do wrong?
Don’t panic! A foul smell is the most common rookie mistake, and it’s easy to fix. It means your pile has gone ‘anaerobic’—lacking oxygen, usually from too many wet ‘greens’ (like grass clippings or kitchen scraps). The solution is twofold: add more ‘browns’ to soak up moisture and provide carbon, and turn the pile. Toss in shredded newspaper, torn-up cardboard egg cartons, or dry leaves, then give it a good mix with a pitchfork to get air flowing again. The smell should dissipate within a day or two.
- Dramatically reduces the time to get finished compost.
- Generates high, sustained heat (130-160°F / 55-70°C) that kills most weed seeds and pathogens.
- Results in a finer, more consistent final product.
The secret? Active aeration. Instead of just turning the pile, some advanced systems use perforated pipes or blowers to force air through the compost, keeping the microbial party going at full blast.
To keep your microscopic workforce healthy, it’s crucial to be selective about their diet. Avoid these common additions that can attract pests or introduce pathogens.
- Meat, fish, and bones
- Dairy products and greasy foods
- Waste from dogs or cats
- Diseased or insect-infested plants
- Treated wood or coal ash
A single red wiggler worm can process its own body weight in organic matter every single day.
This incredible appetite is what powers vermicomposting, or worm composting. It’s an ideal method for apartment dwellers or anyone without a yard. In a compact, multi-tiered bin like the Worm Factory 360, a colony of red wigglers silently transforms your kitchen scraps into nutrient-dense castings—one of the most coveted soil amendments in the world.
Don’t have space for a bin? Try ‘trench composting.’ Simply dig a trench about 12 inches deep in your garden bed, fill it with your kitchen scraps for the week, and cover it back up with the soil you removed. The organic matter will break down directly in the ground, enriching the soil right where your plants will need it next season. It’s an invisible, no-fuss method that improves soil structure and fertility with zero equipment.
Important note on paper products: Not all cardboard and paper are created equal for your compost pile. Always opt for matte, non-glossy materials. Things like newspaper, paper towel rolls, and plain brown cardboard boxes are perfect. Avoid glossy magazines, thermal receipt paper, and brightly colored gift wrap, as the inks and coatings can contain heavy metals or plastic compounds you don’t want in your future garden soil.
- Find four wooden pallets of the same size (ask local businesses).
- Stand them on their sides to form a square.
- Use heavy-duty zip ties or wire to lash the corners together tightly.
- Optionally, line the inside with chicken wire to prevent material from falling out.
That’s it. You’ve just built a large-capacity, well-aerated compost bin for next to nothing.
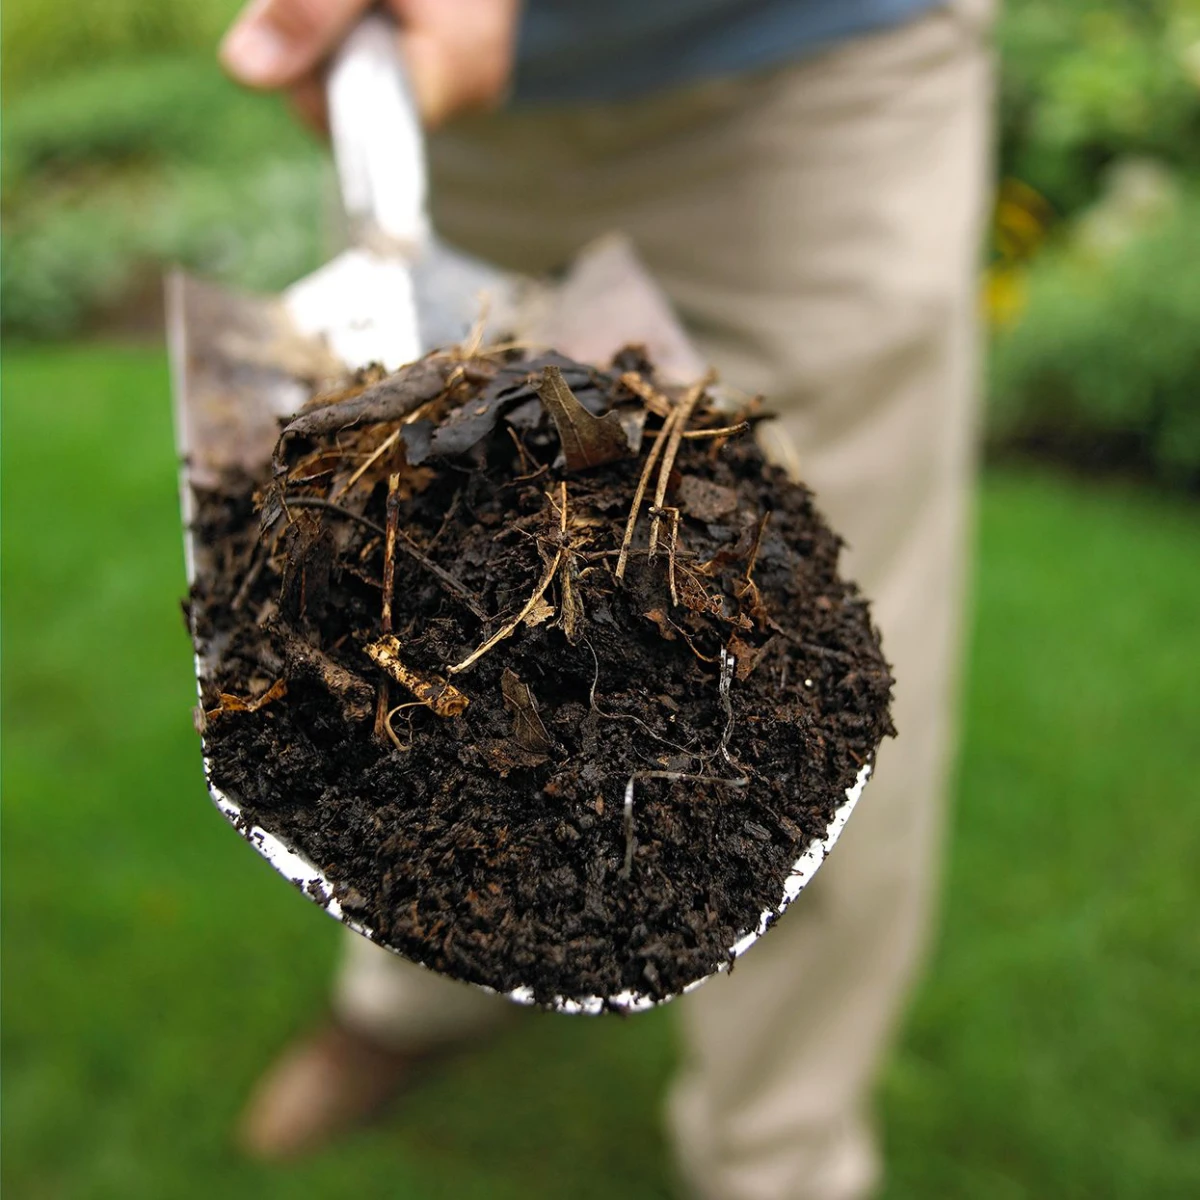
When your compost is ready, it won’t resemble food scraps at all. It will be dark, rich, and crumbly, with a texture like moist chocolate cake. The true sign of success, however, is the smell. It should have a deep, pleasant, earthy aroma reminiscent of a forest floor after a rainstorm. This scent, caused by the actinomycetes bacteria, is lovingly known by gardeners as ‘geosmin’—literally, ‘earth smell’. If you’ve got it, you’ve struck black gold.


