Tired of Weedy, Grimy Gravel? Here’s How to Make It Look Brand New
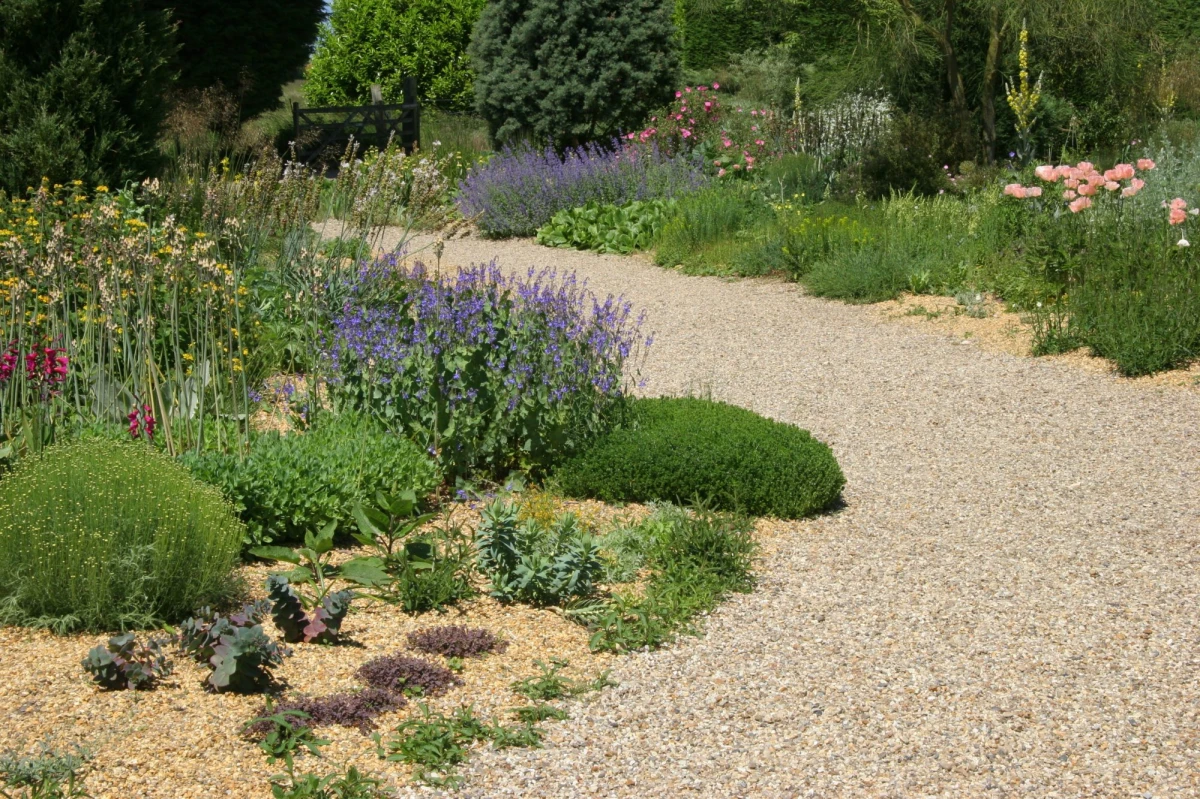
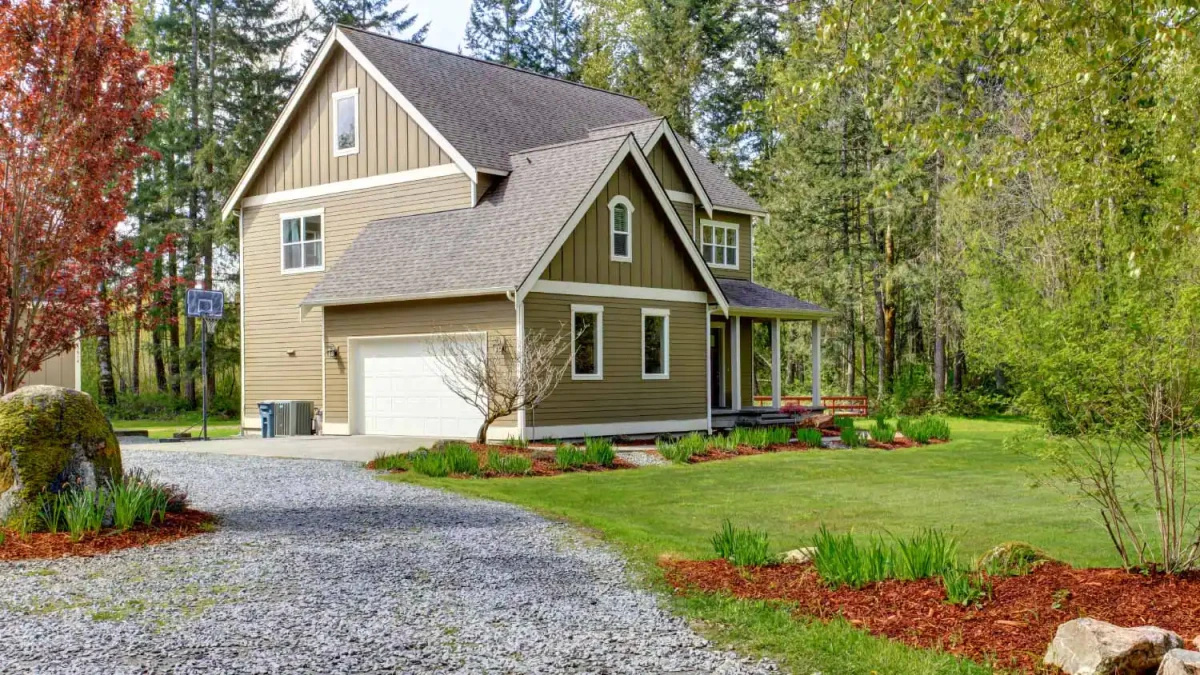
I’ve seen it a hundred times. A homeowner invests in a beautiful gravel driveway or path. It looks incredible at first—that crisp, satisfying crunch underfoot, the sharp, clean lines. But give it a few years, and… well, things can get a little messy. The edges blur, weeds pop up everywhere, and a slick layer of green or black grime covers the once-pretty stones. Suddenly, that charming feature is an eyesore.
In this article
So many people think gravel is a “set it and forget it” deal. To be frank, it’s not. But the good news is that bringing it back to life is totally doable, and you don’t have to be a pro to get professional results. It’s about more than just a quick blast with the hose; it’s about understanding what’s going on under the surface. I’m going to walk you through the exact system the pros use, from the basic setup to the full restoration.
First Things First: Know Your Gravel Bed
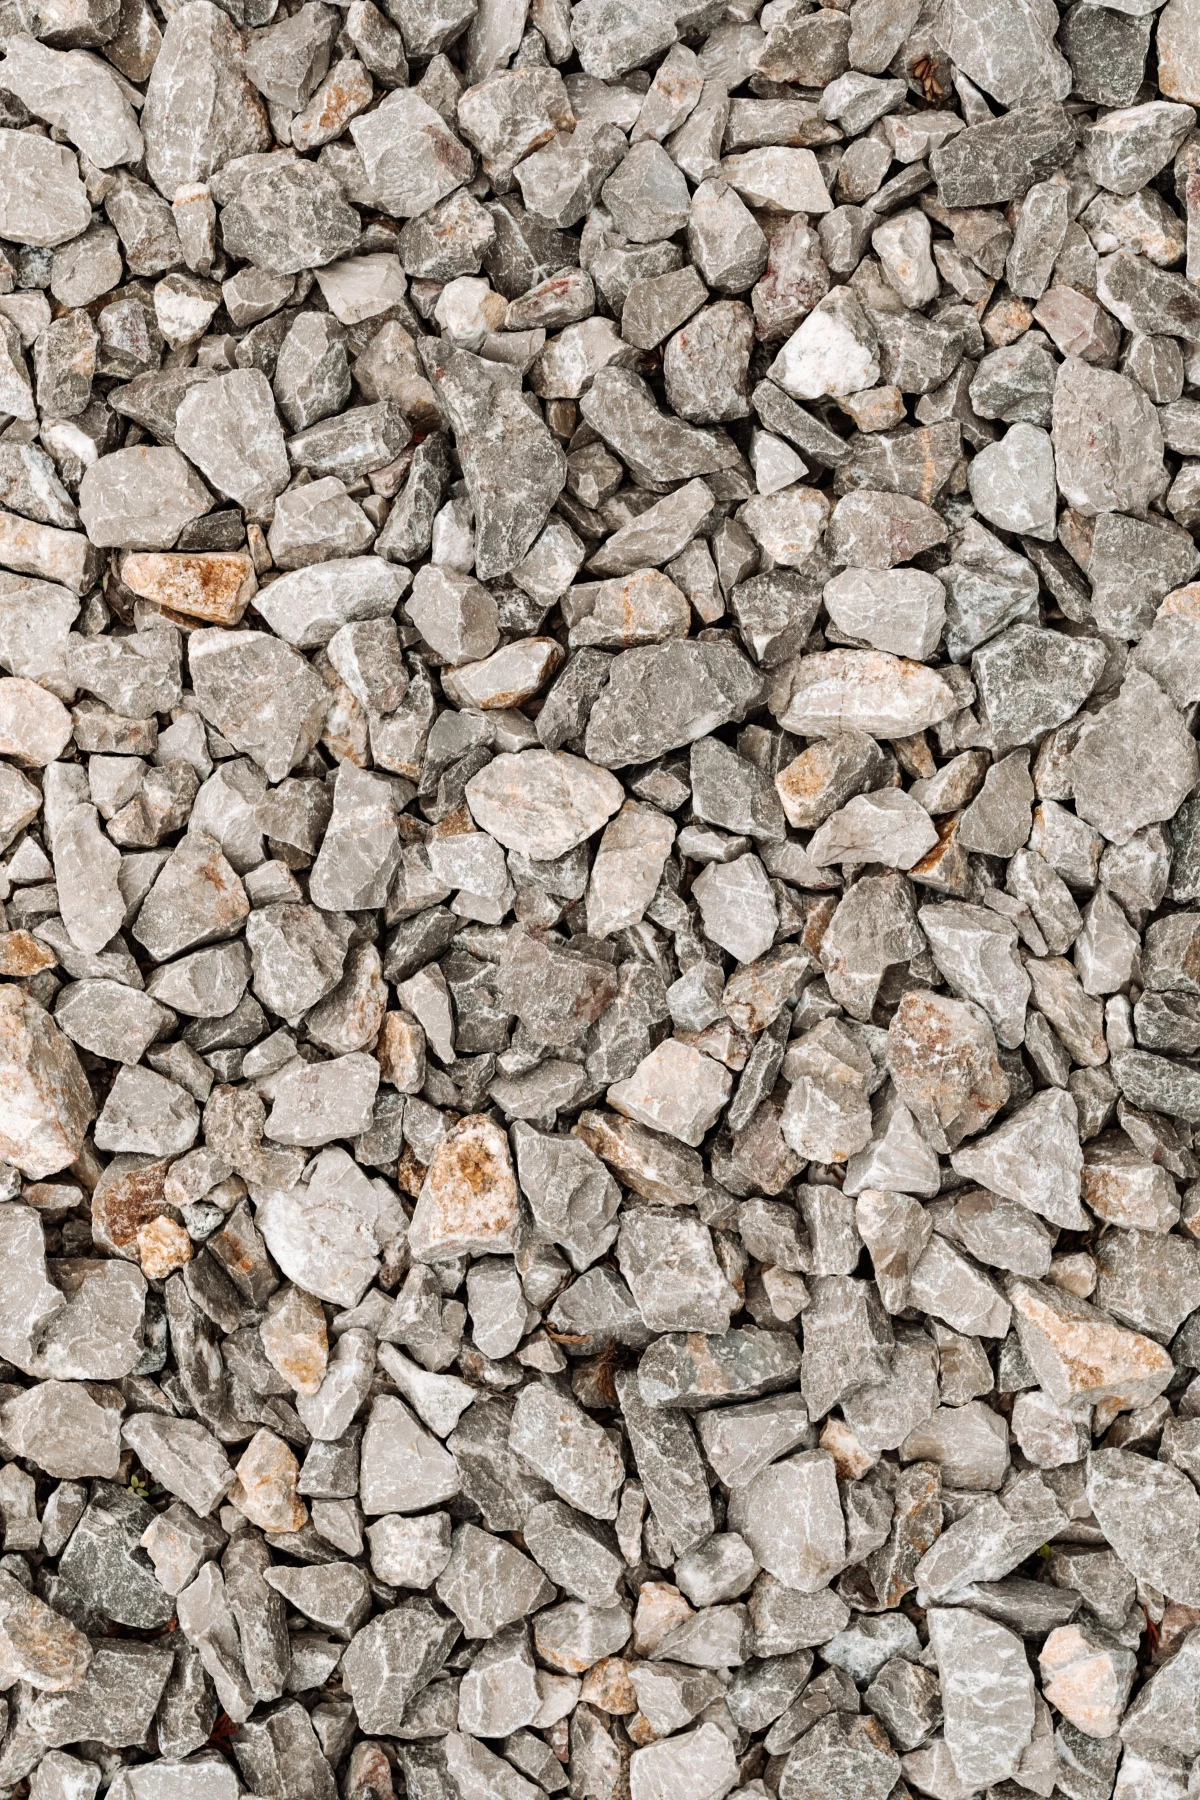
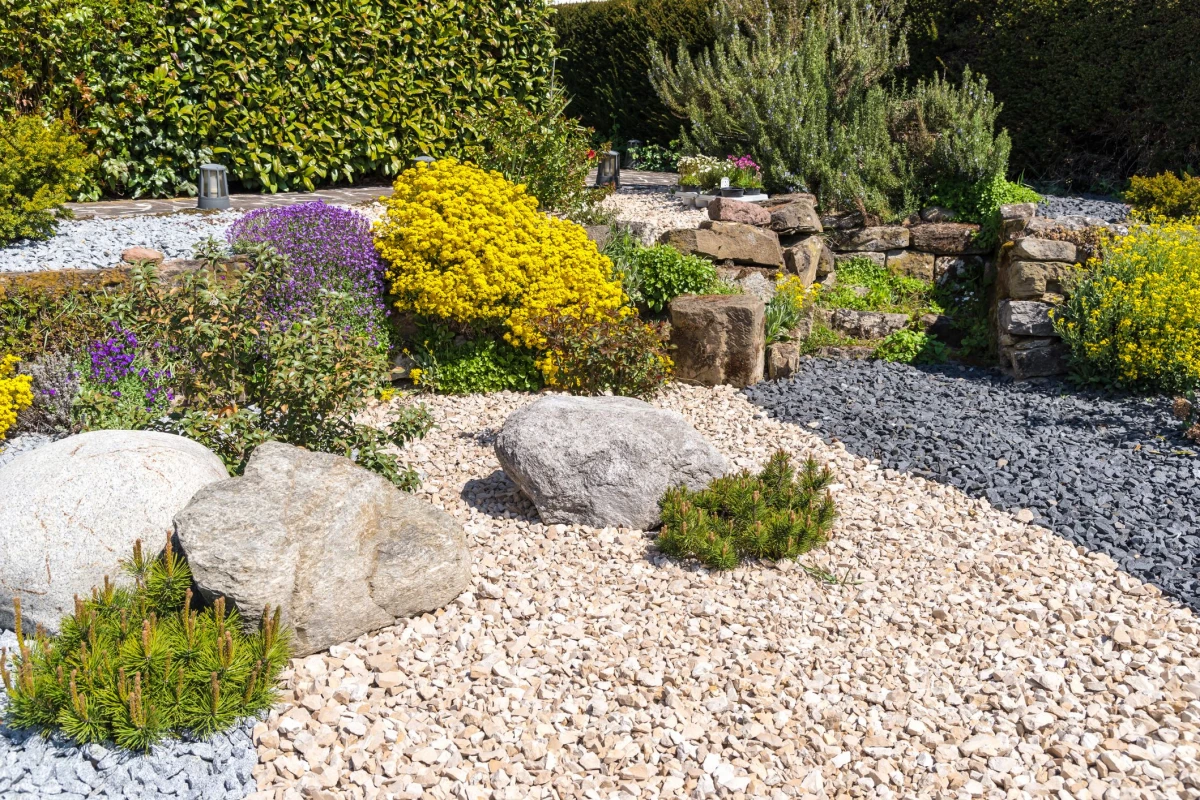
Before you grab a single tool, you need to understand that a proper gravel area is a layered system, not just a pile of rocks. Getting this wrong is how you create bigger problems. Seriously, I once had to fix a driveway where the owner used a pressure washer to dig out weeds and ended up destroying the base layer—a very expensive mistake.
Essentially, you have a compacted soil subgrade at the bottom, then a sub-base of larger crushed stone for stability. On top of that, there’s often a layer of landscape fabric to block weeds and keep the layers separate. Finally, you have your pretty decorative gravel on top—pea gravel, river rock, you name it. Blasting this with high pressure can tear the fabric and mess up the whole system. The goal is to clean it, not re-engineer it.
So, Why Does It Get So Nasty?
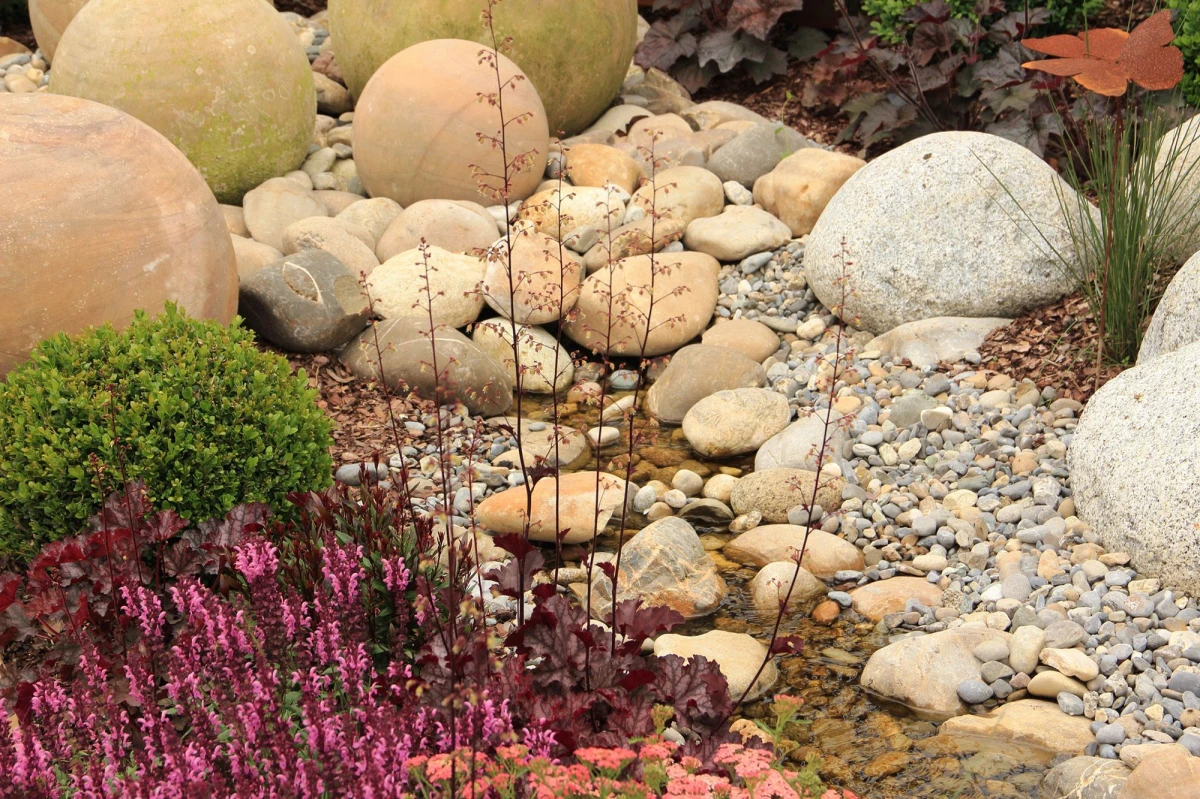
It’s pretty simple. Over time, organic stuff like leaves, grass clippings, and airborne dust settles between the stones. This gunk clogs the spaces that are meant for water drainage. When water can’t drain, you get pooling, which is the perfect breeding ground for that slimy algae and moss. Even worse, that layer of decomposed material becomes the perfect potting soil for weed seeds. A seed can’t sprout in clean stone, but it’ll have a field day in that dirt.
Is Your Gravel Past the Point of No Return?
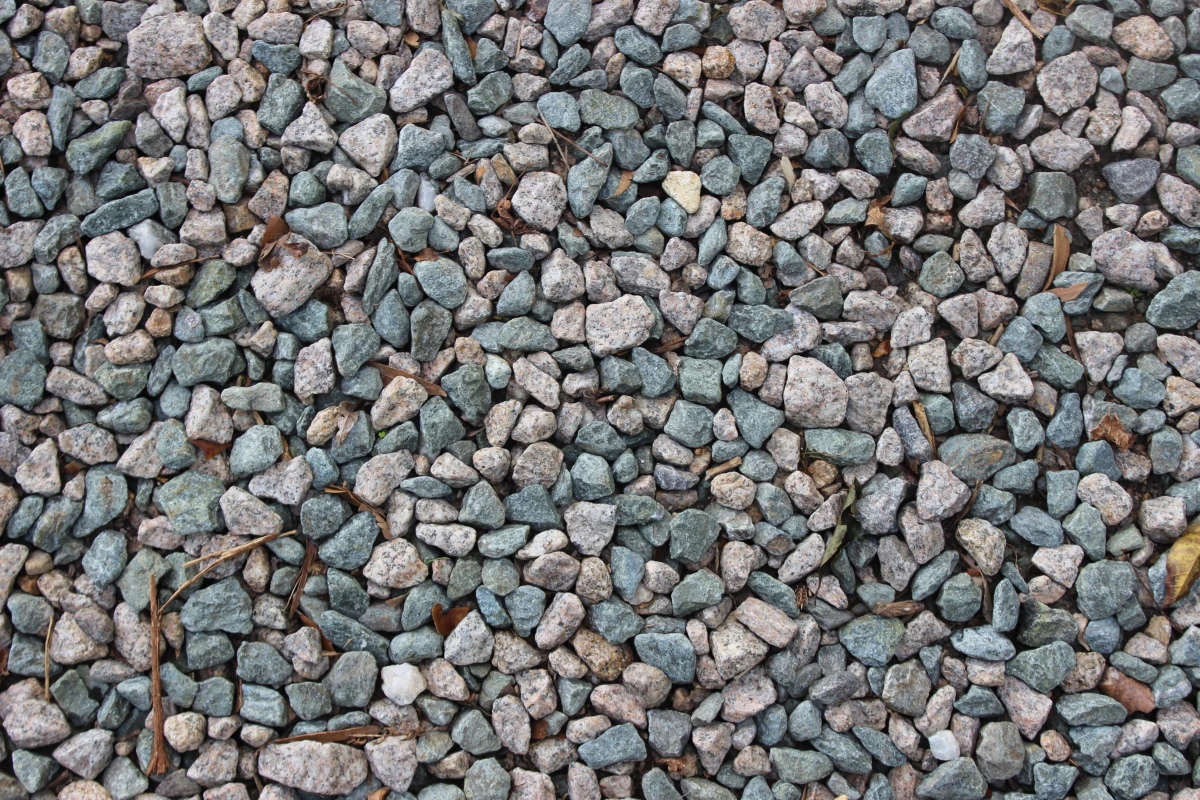
Heads up! Sometimes, a simple cleaning isn’t enough. How do you know if it’s time for a full-on replacement? Dig a small test spot. If you scoop up a handful of gravel and it’s more than 50% dirt, silt, and decomposed gunk, a wash probably won’t cut it. At that point, the gravel is so contaminated that it no longer drains properly, and weeds will just come back with a vengeance. If this is you, the best long-term solution is to scrape off the old gravel, check your base layer, and start fresh.
The Pro’s Toolkit for Gravel Restoration
Having the right tools makes all the difference. You don’t need a truck full of gear, but a few key items will make this job way easier and more effective. Think of this as your essential shopping list, with everything available at a place like Lowe’s or your local garden center.
- Landscape Rake (or Lute): This isn’t your flimsy garden rake. We’re talking a wide, flat aluminum rake. It has sturdy tines on one side for grading and a smooth side for finishing. It’s a game-changer for skimming debris off the top. Expect to pay between $40 and $60 for a good one—it’ll last forever.
- Leaf Blower: Perfect for light debris, but use it with some finesse. Keep it on a low setting to avoid sending your gravel flying into the flowerbeds. Quick tip: If you have lightweight gravel like pea gravel, a blower might be too aggressive. Sticking with the rake is a safer bet.
- Hula Hoe (or Scuffle Hoe): Honestly, this is the MVP for weeding gravel. The blade skims just below the surface to cut weeds at the root without displacing all the stone. It’s a huge time-saver.
- Stiff-Bristled Push Broom: You’ll need this for scrubbing after applying a cleaner. Don’t even try with a soft indoor broom.
- Pump Sprayer: A basic 1 or 2-gallon sprayer is perfect for applying cleaners or herbicides evenly. They usually run about $15 to $30. A good rule of thumb: If you use chemicals, have one sprayer clearly labeled for herbicides ONLY. You don’t want to accidentally kill your prize-winning roses.
The Step-by-Step Plan for an Annual Refresh
I recommend giving your gravel a good, thorough cleaning once or twice a year—spring is perfect for clearing out winter’s mess, and fall is great for getting ahead of the leaf drop. A typical driveway might take you anywhere from 2 to 4 hours, depending on its condition.
Step 1: Get the Big Stuff Off the Surface
First, clear the loose debris. Use your landscape rake (tines down) to gently pull leaves and twigs to the edge. You’re just skimming the top, not digging for gold. For lighter stuff like pine needles, a leaf blower on low can make quick work of it. Be methodical and work from one end to the other.
Step 2: Declare War on Weeds
Weeds are public enemy number one. Your approach will depend on how bad the problem is and how you feel about using chemicals.
For a few stragglers, just pull them by hand. For larger patches, the hula hoe is your best friend. Slide it back and forth just under the surface on a dry, sunny day. The uprooted weeds will shrivel up on the hot stones. It’s incredibly satisfying.
If you prefer a non-chemical route but have a ton of weeds, a flame weeder is an amazing tool. It’s basically a targeted torch that you pass quickly over the weeds. You’re not incinerating them, just heating them enough to boil the water in their cells. They’ll wilt and die within hours. BUT, a serious safety warning: This is an open flame. NEVER use it in dry, windy conditions or near anything flammable. Always have a charged hose or a fire extinguisher right there with you. Check your local fire codes first!
Finally, there’s the chemical option. A post-emergent herbicide with glyphosate is effective for killing existing weeds down to the root. For prevention, a pre-emergent herbicide applied in the spring can stop new seeds from ever sprouting. Just please, read and follow the manufacturer’s directions to the letter. Wear gloves and eye protection, and spray on a calm day to avoid drift.
Step 3: Wash Away Years of Grime
With weeds and debris gone, it’s time for a bath. If your gravel is just a little dusty, a garden hose with a fan-spray nozzle might be all you need. Gently rinse from the high point downwards.
But for that stubborn green or black film? You need a cleaner. My go-to is an oxygen bleach solution. It’s a powder (sodium percarbonate) that is way safer for your nearby plants than chlorine bleach. You can find it in the laundry aisle, often for around $15-$20 a box. Mix about one cup of the powder per gallon of warm water in your pump sprayer. Drench the gravel, especially the stained parts, and let it sit for 15-20 minutes. You’ll see it foam and bubble as it lifts the grime. After it has worked its magic, give the stones a light scrub with your push broom and then rinse everything thoroughly.
Step 4: The Final Cleanup
Okay, so you’ve raked, weeded, and washed all the gunk to the edges of your gravel area. What now? Don’t just leave that pile of sludge! Use a shovel and a wheelbarrow to scoop up the mess. Most of the time, this mixture of small organic matter, dead weeds, and silt can go right into your municipal yard waste bin. I wouldn’t recommend adding it to your personal compost pile, as it might contain a high concentration of weed seeds you don’t want to spread later.
A Little Extra Pro Advice
No Time? Try the 15-Minute Fix.
If you’re short on time, here’s a quick win. Just grab that hula hoe and a rake. Spend 15 minutes skimming the surface for weeds and raking the edges clean. It makes the biggest visual impact for the least amount of effort and can hold you over until you have time for a deep clean.
Top It Up for a Brand-New Look.
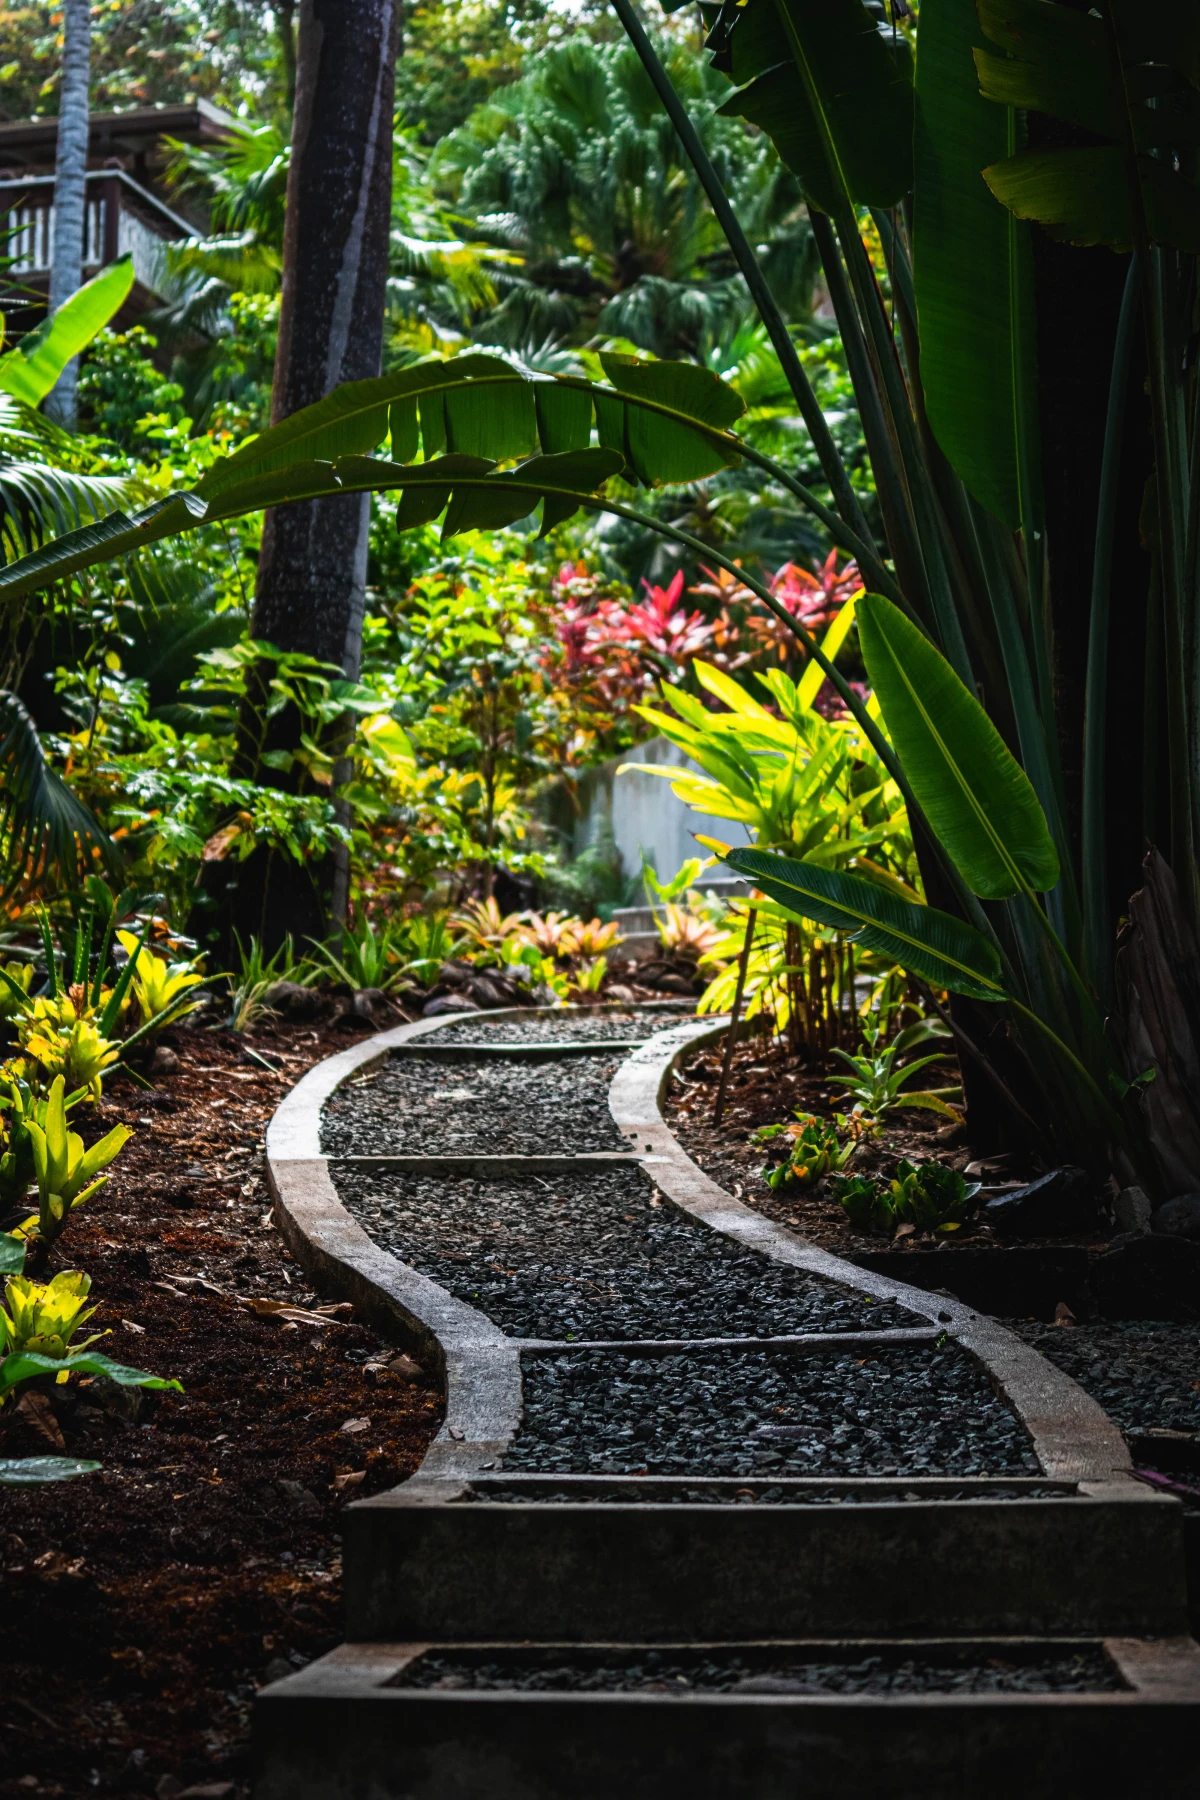
After a really deep cleaning, you might notice some spots look a little thin. For a truly professional finish, consider topping up the area with a fresh layer of matching gravel. You don’t need much—a half-inch raked in smoothly is usually enough to make the entire surface look crisp and brand new.
Adapting to Your Climate.
Oh yeah, where you live matters. In perpetually damp places like the Pacific Northwest, moss and algae are the main villains, so that annual oxygen bleach wash is non-negotiable. In the dusty Southwest, the issue is often fine dirt that bakes into a hard crust. The best bet there is to use a stiff broom to break up that crust before you do a thorough rinse—it makes the water much more effective. A little adjustment for your local conditions goes a long way.


