Your Wildlife Garden Needs a Seat: Here’s How to Build One That Belongs
I’ve been building things in gardens for a long, long time. But one project, early on, completely changed how I see my work. A client asked for a simple bench and a bit of a shelter, but her garden wasn’t your typical neat-and-tidy space. It was a buzzing, thriving ecosystem she proudly called her ‘wild patch,’ full of native plants, bees, and birds. My usual designs, with all their clean lines and perfect finishes, would have looked totally out of place, like an unwelcome guest at a party.
In this article
That job made me realize something important. When you’re building for a wildlife garden, you’re not just adding furniture. You’re creating structures that need to become a part of the ecosystem itself.
A wildlife garden is a carefully planned space designed to support biodiversity. So, every post we set and every beam we raise has to be just as intentional. It can either create a new home for critters or disrupt an existing one. The trick is to give yourself a comfy spot to sit and some shade, without wrecking all the good you’ve done. This guide is built on everything I’ve learned—sometimes the hard way—about making things that feel like they’ve always been there.
First, Let’s Talk Ground Rules
Before you even think about picking up a tool, it’s crucial to get your head around the impact you’re about to have. When you build something, you’re changing the light, the water, and the soil. It’s a bigger deal than just plonking an object on the lawn.
The ground is alive. Seriously. Compacting the soil with heavy gear or pouring a huge concrete slab is like paving over a living community. It squeezes out the air and water that roots and tiny organisms need to survive. A big concrete patio is basically a dead zone. It also sends rainwater rushing off, causing erosion elsewhere. Instead, I always push for minimal-impact footings. For a bench, that might just be a couple of flat stones. For something bigger like a pergola, I’m a huge fan of ground screws—big metal screws that are drilled into the earth, providing amazing support with very little disturbance.
Oh yeah, and think about water. A badly placed bench can act like a tiny dam, creating a soggy mess on one side and a dry patch on the other. Take a walk outside after it rains and see where the water naturally goes. Work with that flow, don’t block it. This is why surfaces like gravel or spaced-out flagstones are your best friends; they let the water soak right through.
Light, Shade, and Tiny Climates
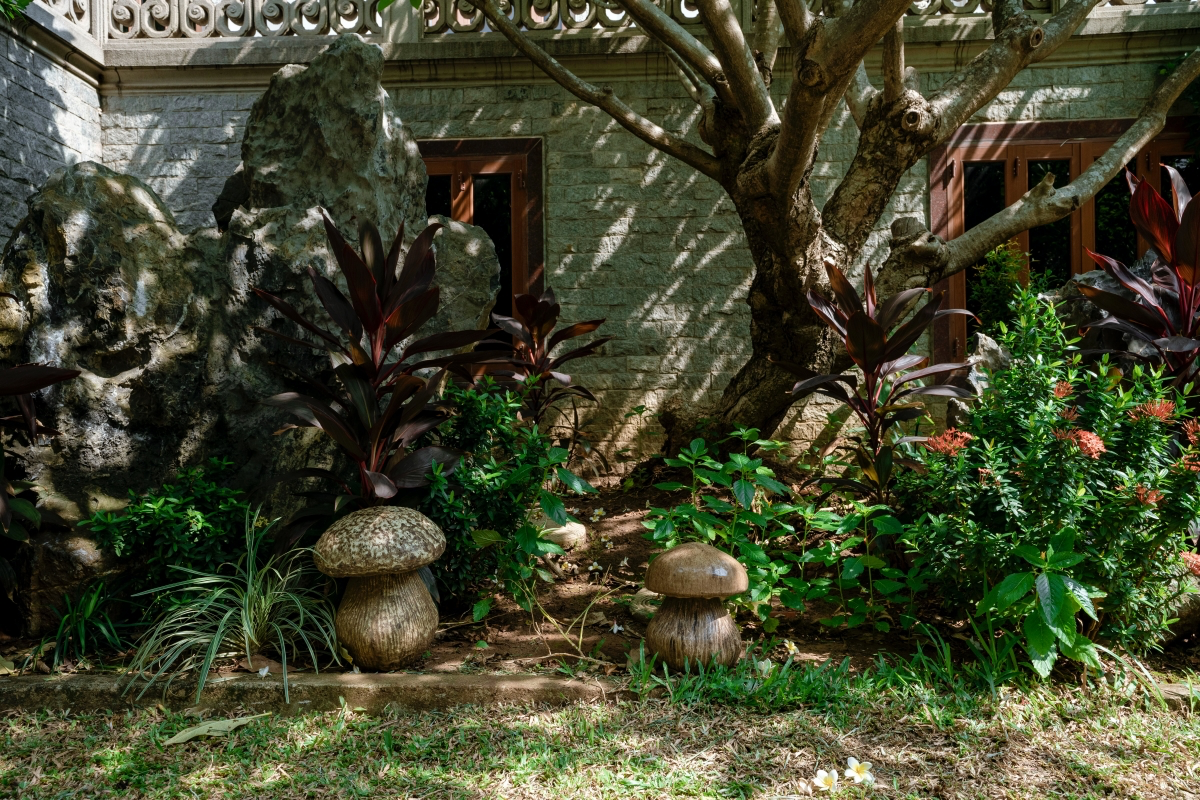
Any new structure is going to cast a shadow. Obvious, right? But that shadow creates a whole new microclimate. This could be awesome if you want to grow some cool, damp-loving ferns and moss. It’s not so great if it suddenly shades the patch of wildflowers your local bees rely on.
Here’s a pro tip: Before you commit, use a few stakes to mark the corners of your planned structure. Then, just watch how their shadows move during the day. This helps you visualize exactly what you’re changing. For a shade pergola, the goal is to block that high, hot summer sun while still letting the low winter sun sneak in to warm things up.

Quick Win: The Instant Rest Stop
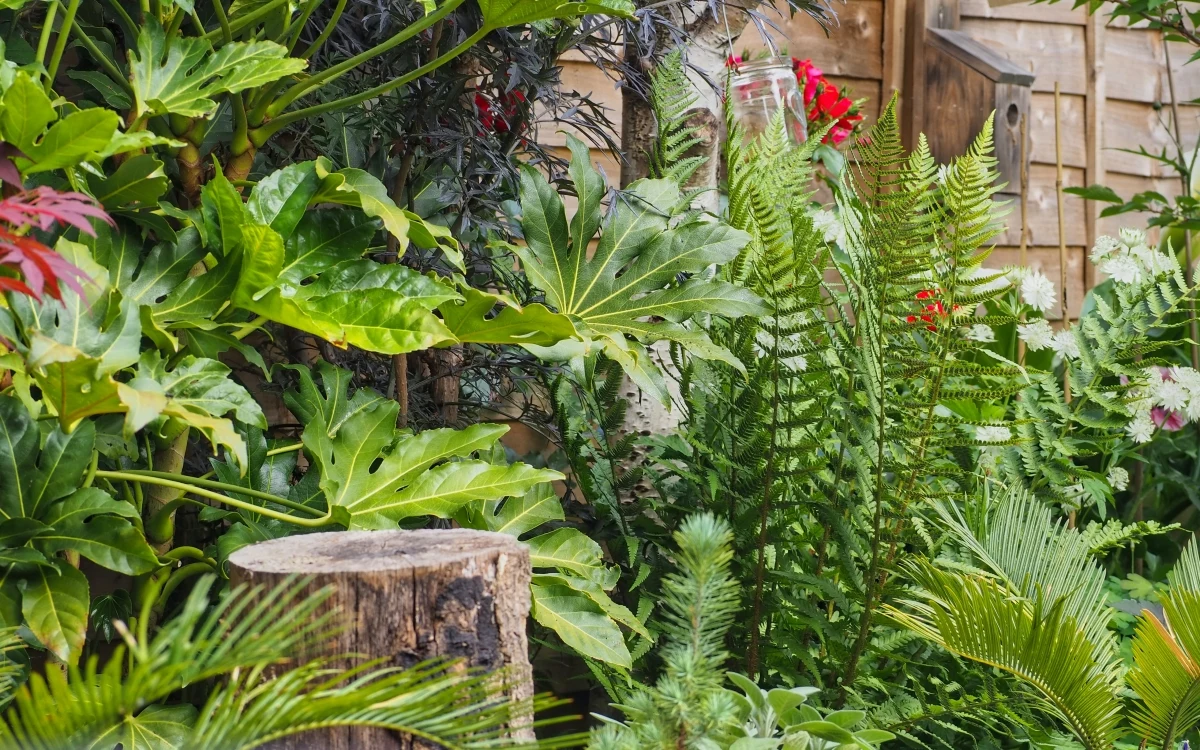
Don’t have time for a full-on project? No problem. Find a few large, flattish rocks or some interesting old tree stumps. Arrange them in a little circle or a casual line. Boom—instant seating and a rustic habitat feature. It’s a 10-minute job that adds immediate value.
Choosing Your Materials Wisely
The materials you pick are everything. They define the look, the feel, and how long your project will last. In a wildlife garden, they also decide how well it blends in. Natural materials are the way to go, but you’ve got to be smart about it.
The Real Deal on Wood
Wood is the classic choice, but your decision has big consequences. Some woods are naturally tough and don’t need chemical treatments to fight off rot and bugs. My go-tos are hardwoods like Oak or Sweet Chestnut, and tough softwoods like Larch or Western Red Cedar. Oak is a beast—incredibly strong and can last forever, but it’s heavy, pricey (often $12+ per linear foot), and a challenge to work with. Larch is a fantastic, more budget-friendly alternative, maybe around $5-$8 per foot. It’s a dense, resinous wood that weathers into a gorgeous silver-grey without any help.
Then you have pressure-treated pine, the stuff you see at every big-box hardware store. It’s cheap, usually just a few dollars a foot, and easy to find. The wood is pumped full of chemicals to stop it from rotting. Modern treatments are safer than the old stuff, but it’s still chemicals. I’ll use it for posts that are going directly in the ground if the budget is tight, but I’m always upfront about it. And a heads up: if you cut treated wood, you HAVE to seal the fresh cut with a wood preservative. An open cut is an invitation for rot. I’d personally avoid using it for benches or tabletops where you’ll have a lot of direct contact.
By the way, where your wood comes from matters. I always look for wood that has a certification from a reputable forest management group. It’s a good sign that the wood was harvested responsibly.
Stone, Brick, and Reclaimed Treasures
Stone is the ultimate for durability. Sourcing local stone is always the best move; it will look right at home and has a smaller carbon footprint. Check with local landscape supply yards. They often have pallets of regional fieldstone or flagstone that are perfect for creating low walls or simple footings.
And don’t sleep on reclaimed materials! Old bricks, broken pavers, or even chunky timbers from old buildings can bring so much character. A bench made from reclaimed dock wood has a story that brand-new lumber just can’t compete with. Just give any salvaged stuff a thorough check for rot or structural weakness before you use it.
Project 1: The Simple Log Bench
This is the perfect weekend project. It’s rustic, functional, and you don’t need a ton of fancy tools. It will look like it grew right there among the plants.
- What You’ll Need: One fairly straight log, about 6-8 feet long and 12-18 inches in diameter (cedar, larch, or oak are great). You’ll also need a shorter, thicker log section for the legs. For tools, you’ll need a chainsaw, a level, and a tape measure.
- Time & Cost: Once you have the log, plan for 3-5 hours of work. The log itself can be anywhere from free to about $150. A great trick is to call local arborists or tree removal services. They often have logs they need to get rid of and might give you one for cheap or even deliver it for a small fee.
A VERY Serious Safety Warning:
Chainsaws are no joke. If you aren’t professionally trained, please don’t use one. Seriously. Hire someone to make the two or three main cuts for you—it’s worth the money. Always wear the right protective gear: chaps, steel-toed boots, gloves, and a helmet with a face shield. Respect the tool.
- The Main Cut: Secure the log on level ground so it can’t roll. Your first job is to cut it lengthwise, right down the middle, to create two halves. This is the trickiest cut, so take your time.
- Flatten the Top (Optional): Place one log half with the cut-side down. You can leave the rounded, bark-on side as is for a very rustic seat. For more comfort, you can use a drawknife or an adze to hew the surface a bit flatter.
- Cut the Legs: Take your shorter, thicker log and cut two equal sections, around 15-16 inches long. Your final seat height should be about 18 inches, so factor in the thickness of your seat.
- The Notches: This is the secret to a stable bench. Flip your seat so the flat side is facing up. Place the two legs on top where you want them. Trace the curve of the legs onto the flat bottom of the seat. Now, carefully use your tools to cut out these shallow, curved ‘saddle’ notches. The legs should nestle right in, preventing any wobbling.
- Finishing Touch: Don’t bother with a finish. Let the wood weather to that beautiful silver-grey. Quick tip I learned the hard way: don’t let the legs sit directly on damp soil, or they’ll rot. Place them on a couple of flat stones to give them drainage. It will easily double the life of your bench.
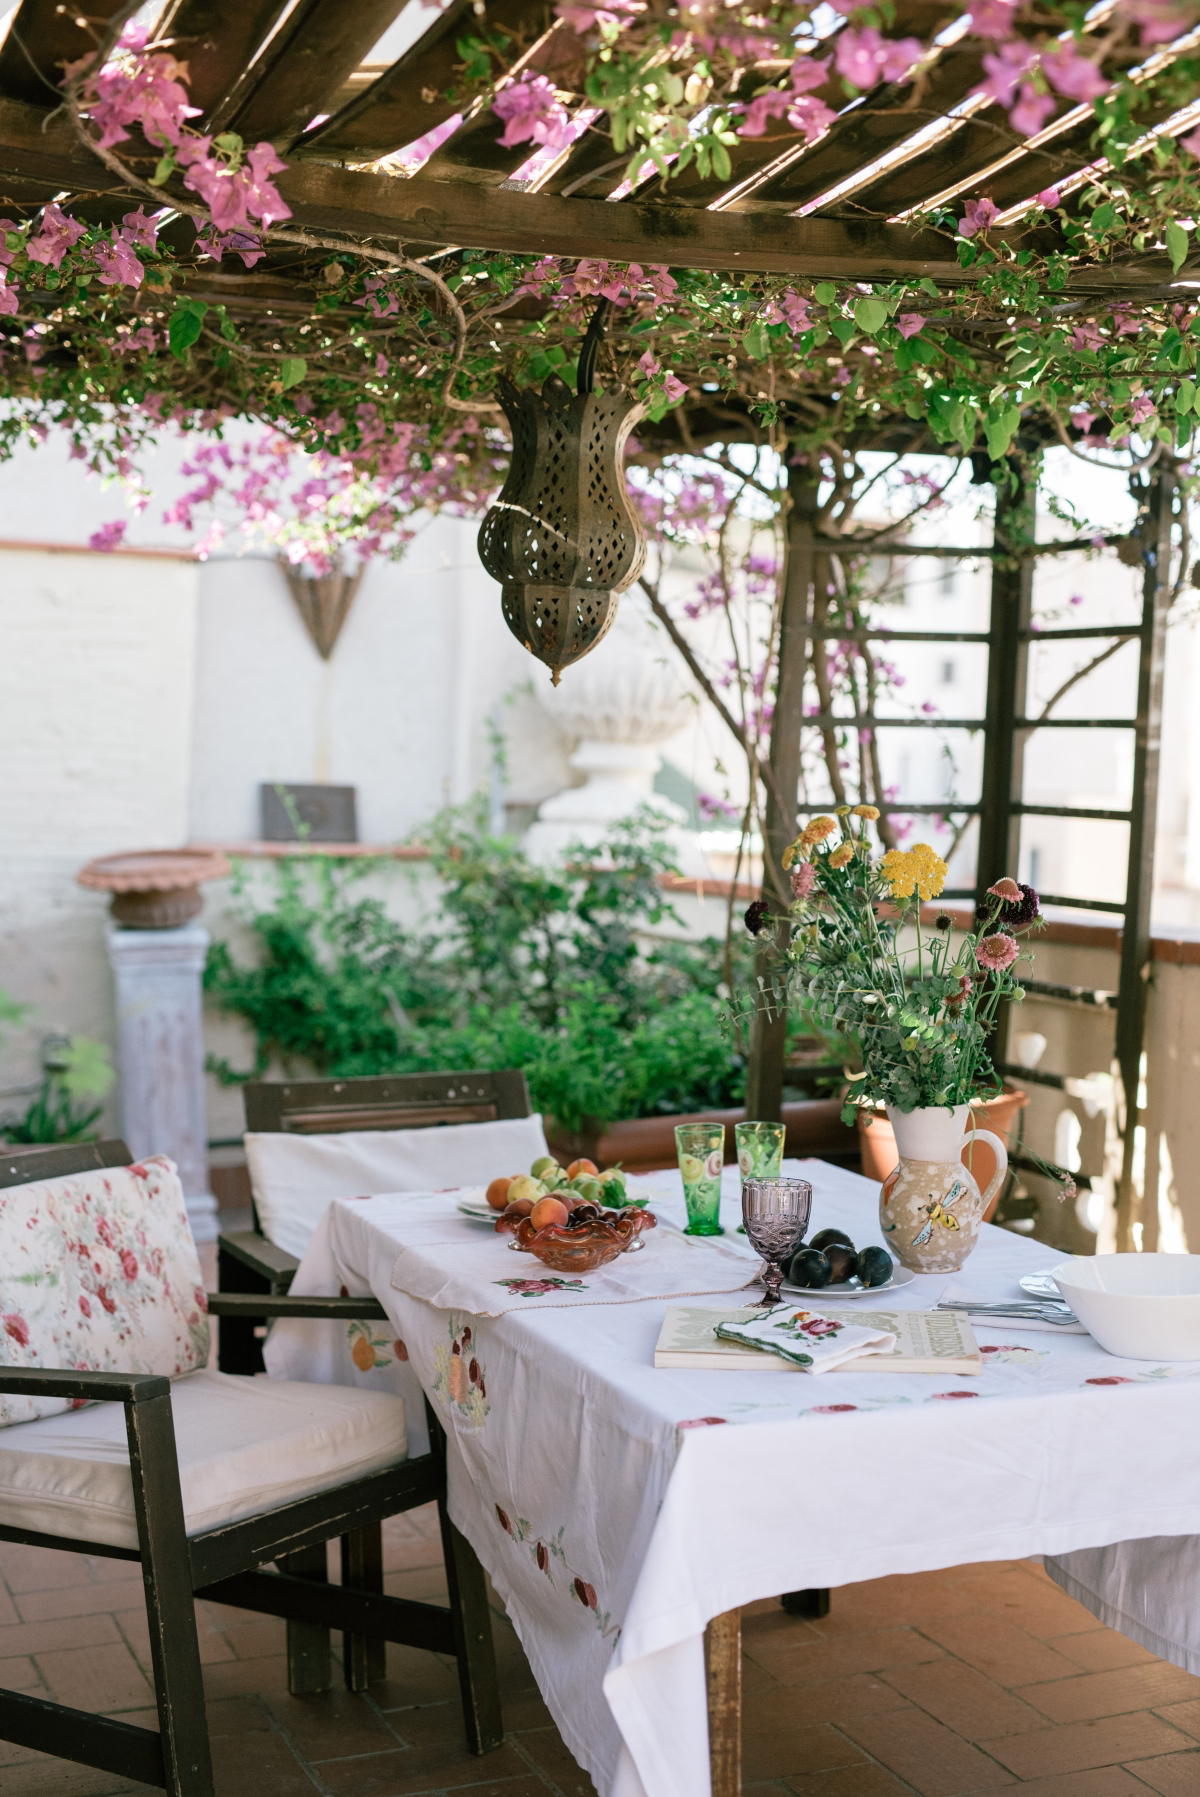
Project 2: A Rustic Pergola for Shade and Climbers
Okay, a pergola is a bigger commitment, but it’s a game-changer. It defines an outdoor room, gives you shade, and—most importantly—provides a structure for climbing plants, creating amazing vertical habitat for birds and insects.
- What You’ll Need: For a standard 8×10 foot pergola, you’ll want beefy posts—I’d use 6×6 lumber for stability. The main beams could be 2x8s, with 2x6s or 2x4s for the top rafters. You’ll also need galvanized or stainless steel hardware (bolts, screws) and whatever you choose for the foundations.
- Time & Cost: This is a solid two-weekend project, and you’ll definitely want a helper. The cost can vary wildly, from around $500 for a simple pressure-treated pine version to several thousand for a cedar build with proper foundations.
Laying the Foundation
This is where so many DIY projects go wrong. A heavy pergola needs solid footings. You have a few good choices:
- Concrete Footings: The old standby. You dig a hole below your area’s frost line (this is critical!) and pour concrete. It’s strong but messy and disrupts the soil.
- Stone Piers: My favorite for a natural look. Dig a hole, fill the bottom with compacted gravel for drainage, then build a small pier of stacked stone that rises above the ground. The post sits on the stone, keeping it high and dry.
- Ground Screws: A fantastic low-impact option. These giant galvanized screws are driven into the ground (often by a rented tool or a professional installer). They’re fast, clean, and you can build on them immediately.
CRITICAL STEP: Before you dig a single hole, you MUST check for buried utilities. In North America, there’s a “Call 811 Before You Dig” service. In other places, there are similar services to get plans of underground lines. Trust me, hitting a gas or electric line is a mistake you only make once. Don’t skip this.
Putting It All Together
The simplest way to build is to just bolt the beams and rafters together. Use good quality, corrosion-resistant hardware. For a truly top-tier structure, though, traditional timber framing joints like mortise and tenons are the gold standard. They’re incredibly strong and beautiful. But to be frank, that’s a whole other skill set. A quick search for joinery tutorials online can show you how it’s done if you’re feeling ambitious.
The final, most important step? Plant it! Choose native climbers that will support your local wildlife. A native honeysuckle or a trumpet vine can turn your structure from a wooden frame into a living sanctuary for hummingbirds and bees.
Let’s Talk Finishes, Care, and Realistic Timelines
I almost never recommend modern stains or sealers that form a film on the wood. I once had a client who insisted on a glossy varnish for a garden bench. It looked great for one season, and then it was a peeling, cracking disaster that had to be sanded completely down to fix.
If you absolutely want a finish, go for a penetrating oil like pure Tung oil. It soaks into the wood instead of sitting on top. It needs re-applying every year or so, but it’s an easy wipe-on job. Honestly, though? The best finish is no finish. Let a quality wood like cedar or larch do its thing and weather naturally. It’s beautiful, maintenance-free, and fits the wildlife garden vibe perfectly.
And let’s be realistic about how long things last. An untreated pine bench might give you five good years. A well-built cedar pergola could last thirty. A properly built oak structure could outlast all of us. You get what you pay for in both cost and effort.
Final Checks and Knowing When to Call a Pro
I can’t say this enough: be safe. Is your bench stable? Is your pergola braced for strong winds? If you have any doubt about your design’s structural integrity, please consult a professional. Large structures, anything attached to your house, or projects on a steep slope are jobs for the experts.
Building for your garden is one of the most rewarding things you can do. You’re not just building a seat; you’re creating a front-row ticket to watch the birds. You’re not just building a shelter; you’re building a trellis for a rose that will feed the bees for years to come.


