The Real Deal on Mulch: Stop Wasting Money and Start Helping Your Garden
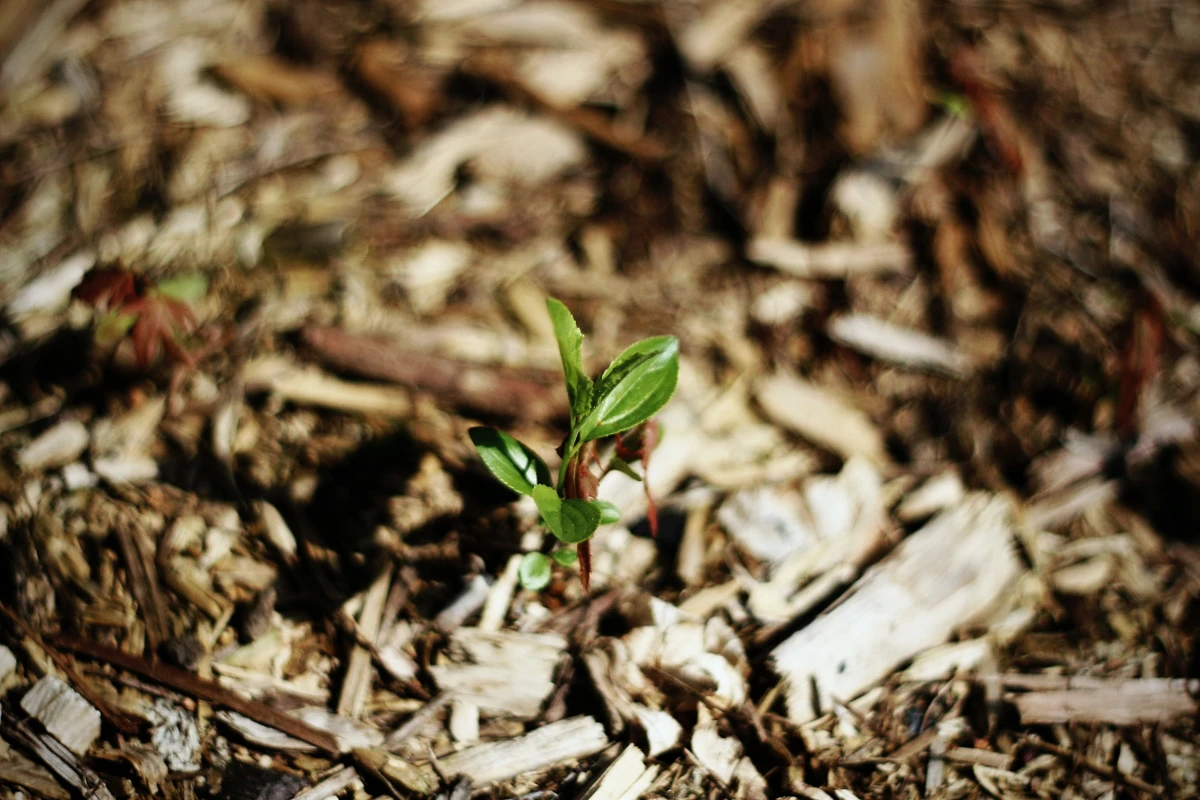
I’ll never forget a call I got from a new client, back when I was still getting my boots dirty every day. She was so frustrated. Her beautiful new garden bed, full of perennials, was just… failing. The plants looked yellow, sad, and completely stunted. When I got there, I knew the problem in about five seconds.
In this article
It was early spring, and a thick, four-inch blanket of dark hardwood mulch was packed over everything. It looked tidy, I’ll give her that. But in her rush to get a jump on spring chores, she had put it down while the ground was still a cold, soggy mess from winter. That mulch was basically acting like a refrigerator door, trapping all the cold and moisture in the soil. It was blocking the sun from waking up the roots of her poor plants.
We spent the afternoon gently pulling all that mulch back, giving the soil a chance to finally breathe and warm up. Thankfully, most of the plants bounced back, but it was a lesson that stuck with me. Mulch isn’t just a pretty topping for your garden; it’s a powerful tool. And like any tool, you have to know how to use it right.
So, What’s Mulch Actually Doing?
Before we get into the nitty-gritty, let’s talk about what mulch is supposed to do. A fresh layer looks great, sure, but its most important jobs are happening right at the soil level. Understanding this is key to getting it right.
Here’s the breakdown:
- Temperature Control: Think of mulch as insulation for your soil. In the summer, it shields the ground from the hot sun, keeping plant roots from getting cooked. On a scorching day, bare soil can get incredibly hot, but just a couple of inches of mulch can keep the soil underneath it dramatically cooler. In winter, it does the opposite, insulating the ground from brutal cold and preventing the constant freezing and thawing that can pop plants right out of the ground.
- Saving Water: This is a big one. Mulch acts as a lid, dramatically reducing how much water evaporates from your soil. A properly mulched garden bed can cut your watering needs by 30-50%. That saves you time, money, and is just plain better for your plants, especially during dry spells.
- Weed Control: For most of us, this is the biggest selling point. A two-to-three-inch layer of mulch blocks the sunlight that most weed seeds need to sprout. It won’t stop every single one, but the few that do push through will be weaker and much easier to pull out of the loose mulch than from compacted dirt.
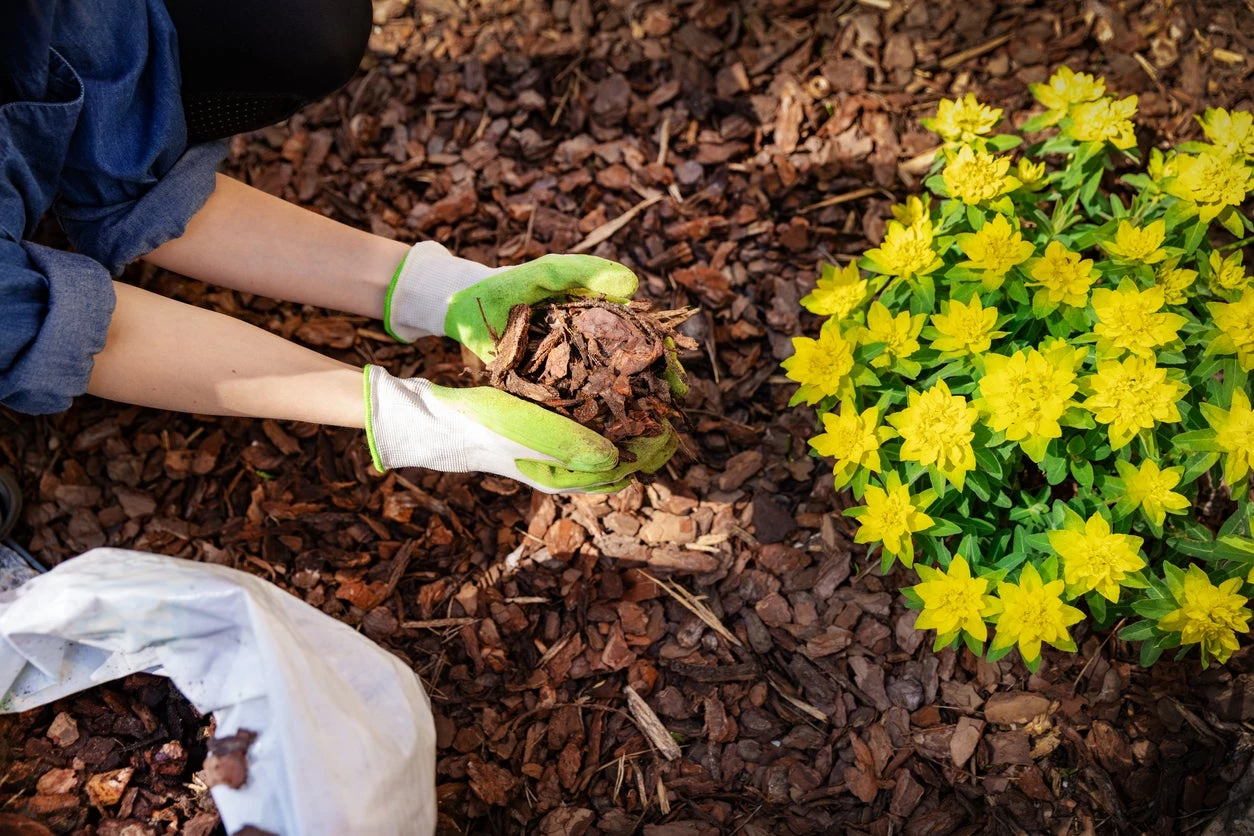
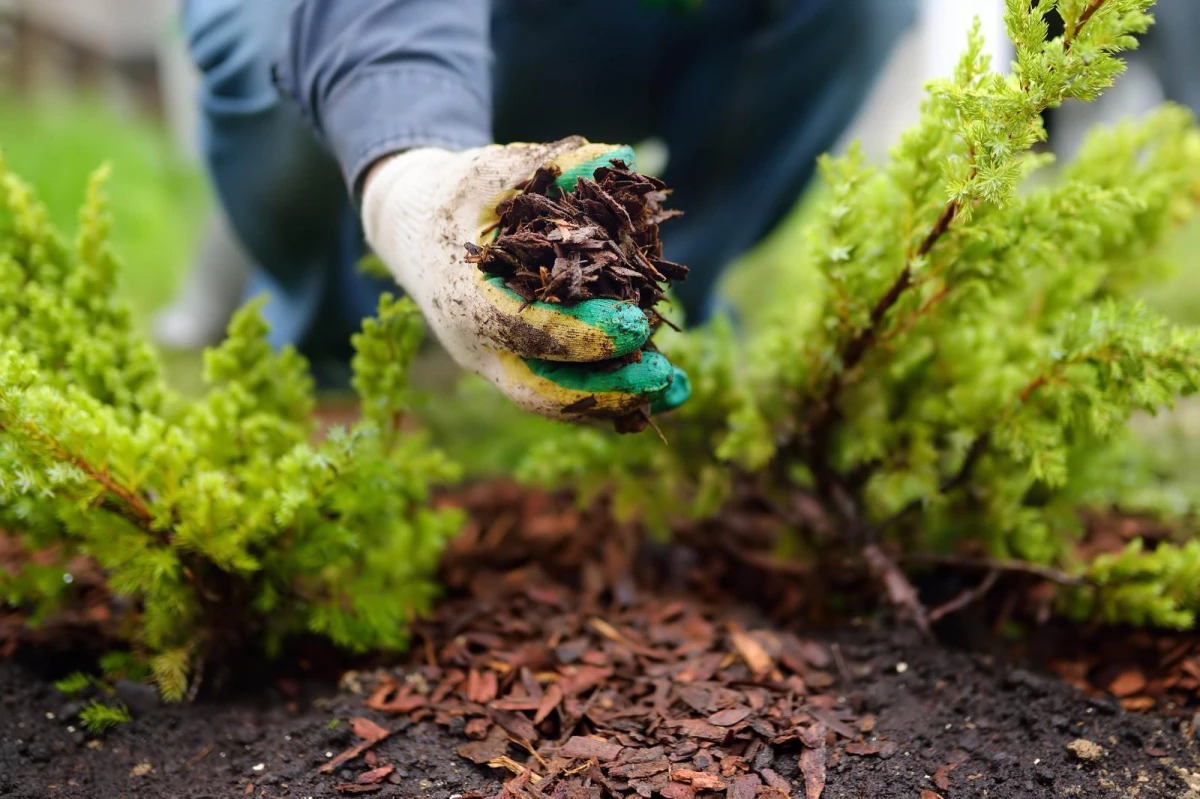
- Building Better Soil: This is where organic mulches (like bark or shredded leaves) really shine. As they slowly decompose, they add rich organic matter back into the earth. This improves your soil’s texture, helps it hold water better, and basically feeds the beneficial microbes and earthworms that make a garden thrive. It’s a slow-release meal for your soil.
Choosing Your Mulch (And What It’ll Cost You)
“Mulch” is a broad term, and picking the right one matters. It’s not just about color! Here’s my take on the common stuff you’ll find at the garden center.
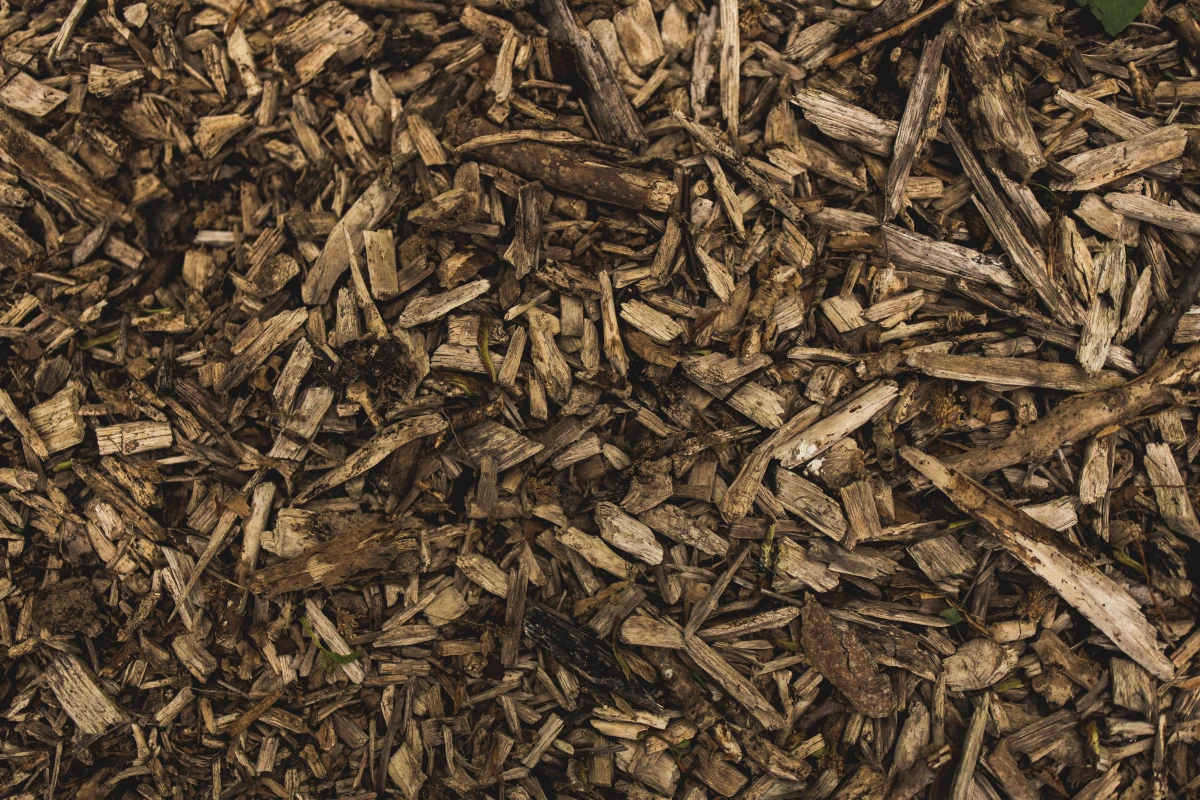
Shredded Hardwood Bark is a classic go-to. It’s usually dark brown, mats together nicely so it stays put on slopes, and breaks down over a couple of years to feed the soil. I prefer a double-shredded variety because the finer texture looks clean and decomposes well. Budget-wise, expect to pay around $35 to $50 per cubic yard for bulk delivery. If you’re buying bags from a big-box store like Lowe’s or Home Depot, you’re looking at $4 to $6 for a 2-cubic-foot bag.
Pine Bark Nuggets are lighter, have a reddish-brown color, and decompose much more slowly than hardwood. This means they don’t improve the soil as quickly, but they last longer. I find them great for pathways or around established trees and shrubs. Good to know: Pine bark is naturally a bit acidic, which is a bonus for plants like azaleas, rhododendrons, and blueberries. The cost is pretty similar to hardwood, maybe slightly less for bulk.
Cedar Mulch looks great, with its reddish-gold hue and pleasant smell. It’s famous for being rot-resistant and is even said to repel some insects. Because it breaks down so slowly, it’s a good choice for beds you don’t want to re-mulch every single year. It’s often a bit more expensive, leaning toward the higher end of that $50/yard price point.
And then there’s Shredded Leaves or Leaf Mold. Honestly, this is the gold standard for your soil’s health, and it’s free! Just run over your fall leaves with a lawnmower to shred them. This prevents them from forming a suffocating, slimy mat. They’ll break down over a season and make your soil incredibly rich. It’s nature’s own recipe.
A quick pro tip: If you’re buying bulk wood mulch, ask if it’s been aged. Freshly chipped wood can temporarily steal nitrogen from your soil as it starts to decompose. Also, give it a sniff. If it smells sour like vinegar, it’s “sour mulch” that has started to rot without oxygen. Don’t put it straight on your garden! Spread it out on a tarp for a day or two to air out, otherwise it can damage your plants.
The #1 Question: How Much Mulch Do I Actually Need?
Okay, this is where everyone gets stuck. You don’t want to run out halfway through, but you also don’t want a mountain of leftover mulch sitting in your driveway. Here’s how you figure it out.
Grab a tape measure. For each garden bed, measure the length and the width in feet, then multiply them to get the square footage. A round bed? Just estimate a square around it. Don’t worry about being perfect.
Once you have your total square footage, use this simple formula:
(Total Square Feet x Your Desired Depth in inches) ÷ 324 = Cubic Yards Needed
So, if you have a 200-square-foot area and you want a 3-inch layer of mulch, the math is (200 x 3) ÷ 324. That gives you 1.85 cubic yards. I’d just round up and order 2 yards.
By the way, if you’re buying in bags, one cubic yard is equivalent to about 13.5 of those 2-cubic-foot bags. For any area bigger than a small flower box, bulk delivery is almost always the cheaper and easier way to go.
The Right Way to Put It Down: A Step-by-Step Guide
Applying mulch isn’t just dumping and spreading. A little technique goes a long way. The best time for this big job is in the spring, but only after the soil has had a chance to warm up and dry out a bit. Rushing this is the mistake my client made. Wait until your perennials are showing several inches of new growth.
Here’s what you’ll need to do it right:
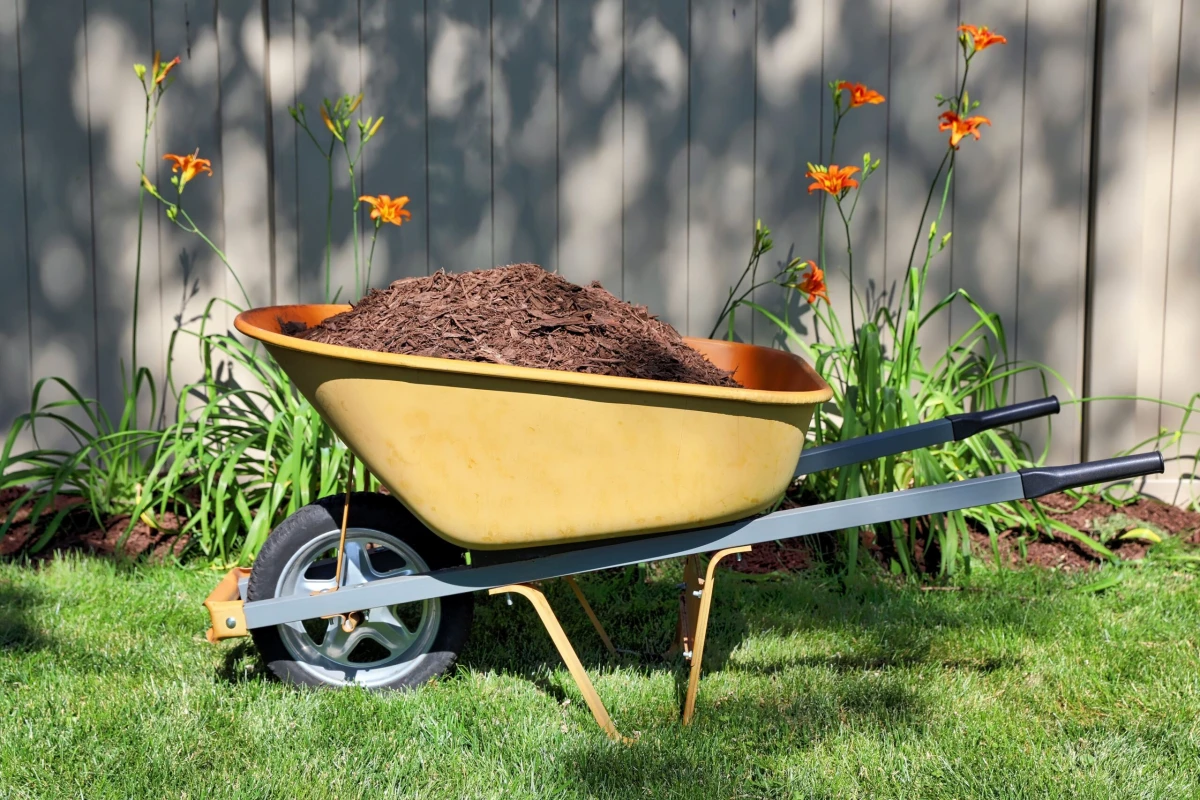
- Tools: A wheelbarrow, a pitchfork or shovel, gloves, a hard rake, and maybe a spade or half-moon edger for a super clean look.
Step 0: Deal with Last Year’s Mulch. This is a super common question. If last year’s mulch is mostly broken down and thin, you can just apply a fresh topcoat right over it. But if it’s thick, matted, or caked, you have to deal with it first. Take a hard rake and rough it up, breaking apart the clumps. This allows air and water to get through to the soil again.
Step 1: Weed Like You Mean It. Pull every weed you can find. Mulch is great at preventing new weeds, but it won’t kill established ones. This is your best chance for a clean slate.
Step 2: Edge Your Beds (Optional but Recommended). Use a spade to cut a clean, sharp edge around your bed. This little trench holds the mulch in place and gives your garden a crisp, professional finish. It’s a detail that makes a huge difference.
Step 3: Apply the Mulch. Aim for a depth of 2 to 3 inches. Any thinner and it won’t do its job; any thicker and you can suffocate the soil. Spread it evenly with a rake or your hands.
Step 4: AVOID THE MULCH VOLCANO! This is the biggest and most destructive mistake I see everywhere. Never, ever pile mulch up against the trunks of trees or the stems of your plants. This traps moisture right against the bark, inviting rot, disease, and pests. It can literally strangle and kill a mature tree over time. Always pull the mulch back a few inches from the base of every plant, creating a small ‘donut’ shape. You should be able to see the spot where the trunk flares out to meet the ground.
More Mulching Questions I Hear All the Time
A few other situations pop up pretty regularly. Here’s the quick-and-dirty advice I give.
What about landscape fabric? To be frank, I almost never recommend it in a garden bed. While it sounds like a good idea for weed control, over time it just smothers the soil. It prevents organic mulch from breaking down and improving the soil, and earthworms can’t do their work. Eventually, weeds just start growing in the dirt that collects on top of the fabric, making them even harder to pull. Save it for under gravel paths, not in your living, breathing garden beds.
Can I use straw or grass clippings? Yes, but with a catch. Straw (not hay, which is full of seeds!) is fantastic for vegetable gardens. It keeps the soil cool and prevents soil-borne diseases from splashing onto plants like tomatoes. Grass clippings can also be used, but only apply them in very thin layers. If you put them down too thick, they turn into a slimy, stinky, impenetrable mess.
When should I mulch in the fall? Fall or winter mulching has a totally different goal. You do it after the ground has frozen to keep it frozen. This prevents that freeze-thaw cycle that can heave new plants out of the ground. Use a light, airy material like shredded leaves or pine boughs for this job, and then be sure to pull it back in the spring.
Finally, a word on safety. Mulch can be dusty, so a simple dust mask is a good idea, especially if you have allergies. And in fire-prone areas, check your local fire safety guidelines. They often recommend a non-combustible zone of gravel or rock in the five feet right around your house, not flammable wood mulch.
Working with mulch is more than just a chore—it’s one of the best things you can do for the long-term health of your garden. A little know-how turns it from a back-breaking task into a smart investment in a beautiful, thriving landscape.
Inspirational Gallery with Photos
A Costly Mistake: The Mulch Volcano. Piling mulch high against the trunk of a tree or the stems of a plant is a common but deadly error. This practice traps moisture against the bark, promoting rot and disease, and can even suffocate the plant by starving the roots of oxygen. Always pull mulch back a few inches from the base of every plant to create a donut shape, not a volcano.
Pine Bark Nuggets: A popular choice that breaks down relatively quickly, adding organic matter and a slight acidity to the soil. It’s an excellent feed-and-mulch option for acid-loving plants like azaleas and rhododendrons.
Shredded Cedar Mulch: Tends to last longer than pine bark and contains natural oils that can help repel certain insects. Its fine texture knits together well, making it great for slopes.
For soil enrichment, choose pine; for longevity and pest deterrence, cedar is a solid bet.
According to the U.S. Environmental Protection Agency, using a 3-inch layer of organic mulch can reduce landscape water needs by up to 50%.
Matching the mulch to the plant’s needs can make a huge difference. For a thriving, specialized garden, consider these pairings:
- For Vegetable Gardens: Clean, seed-free straw or shredded leaves (like those from a mower bag) are excellent. They decompose quickly, enriching the soil for the next season’s crops.
- For Acid-Loving Plants (Blueberries, Hollies): Pine straw or pine bark fines naturally lower the soil pH as they break down.
- For Roses: A top-dressing of rich compost acts as a slow-release fertilizer and helps suppress common fungal diseases like black spot.
Is that bright red mulch safe for my garden?
It depends. Many commercially available colored mulches, like those from Scotts or Preen, use vegetable or iron-oxide-based colorants and are considered safe. However, the source of the wood itself can be an issue—it’s often recycled waste wood. For vegetable gardens or if you’re aiming for a strictly organic approach, it’s always safest to stick with natural, un-dyed mulches where the wood source is clear, like cedar or pine bark.
- Acts as a natural deterrent for slugs and snails.
- Provides a sharp, clean edge for modern garden designs.
- Lasts for years without needing replacement.
The material? Crushed shells or slate chippings. While not organic, these mineral mulches offer unique benefits, especially in damp climates or contemporary landscapes where a sleek, permanent solution is desired.
Did you know that many of the best mulches are free?
Your local tree service companies often produce mountains of arborist wood chips. These mixes of wood, bark, and leaves are a fantastic resource for mulching around trees and shrubs. A quick call or a search for services like ChipDrop can often land you a large pile for free, providing a superior, microbially-active mulch that builds incredible soil health over time.
The most sustainable mulch might not come from a bag at all. Consider planting a


