The Real Secret to Amazing Tomatoes? It’s How You Feed Them.
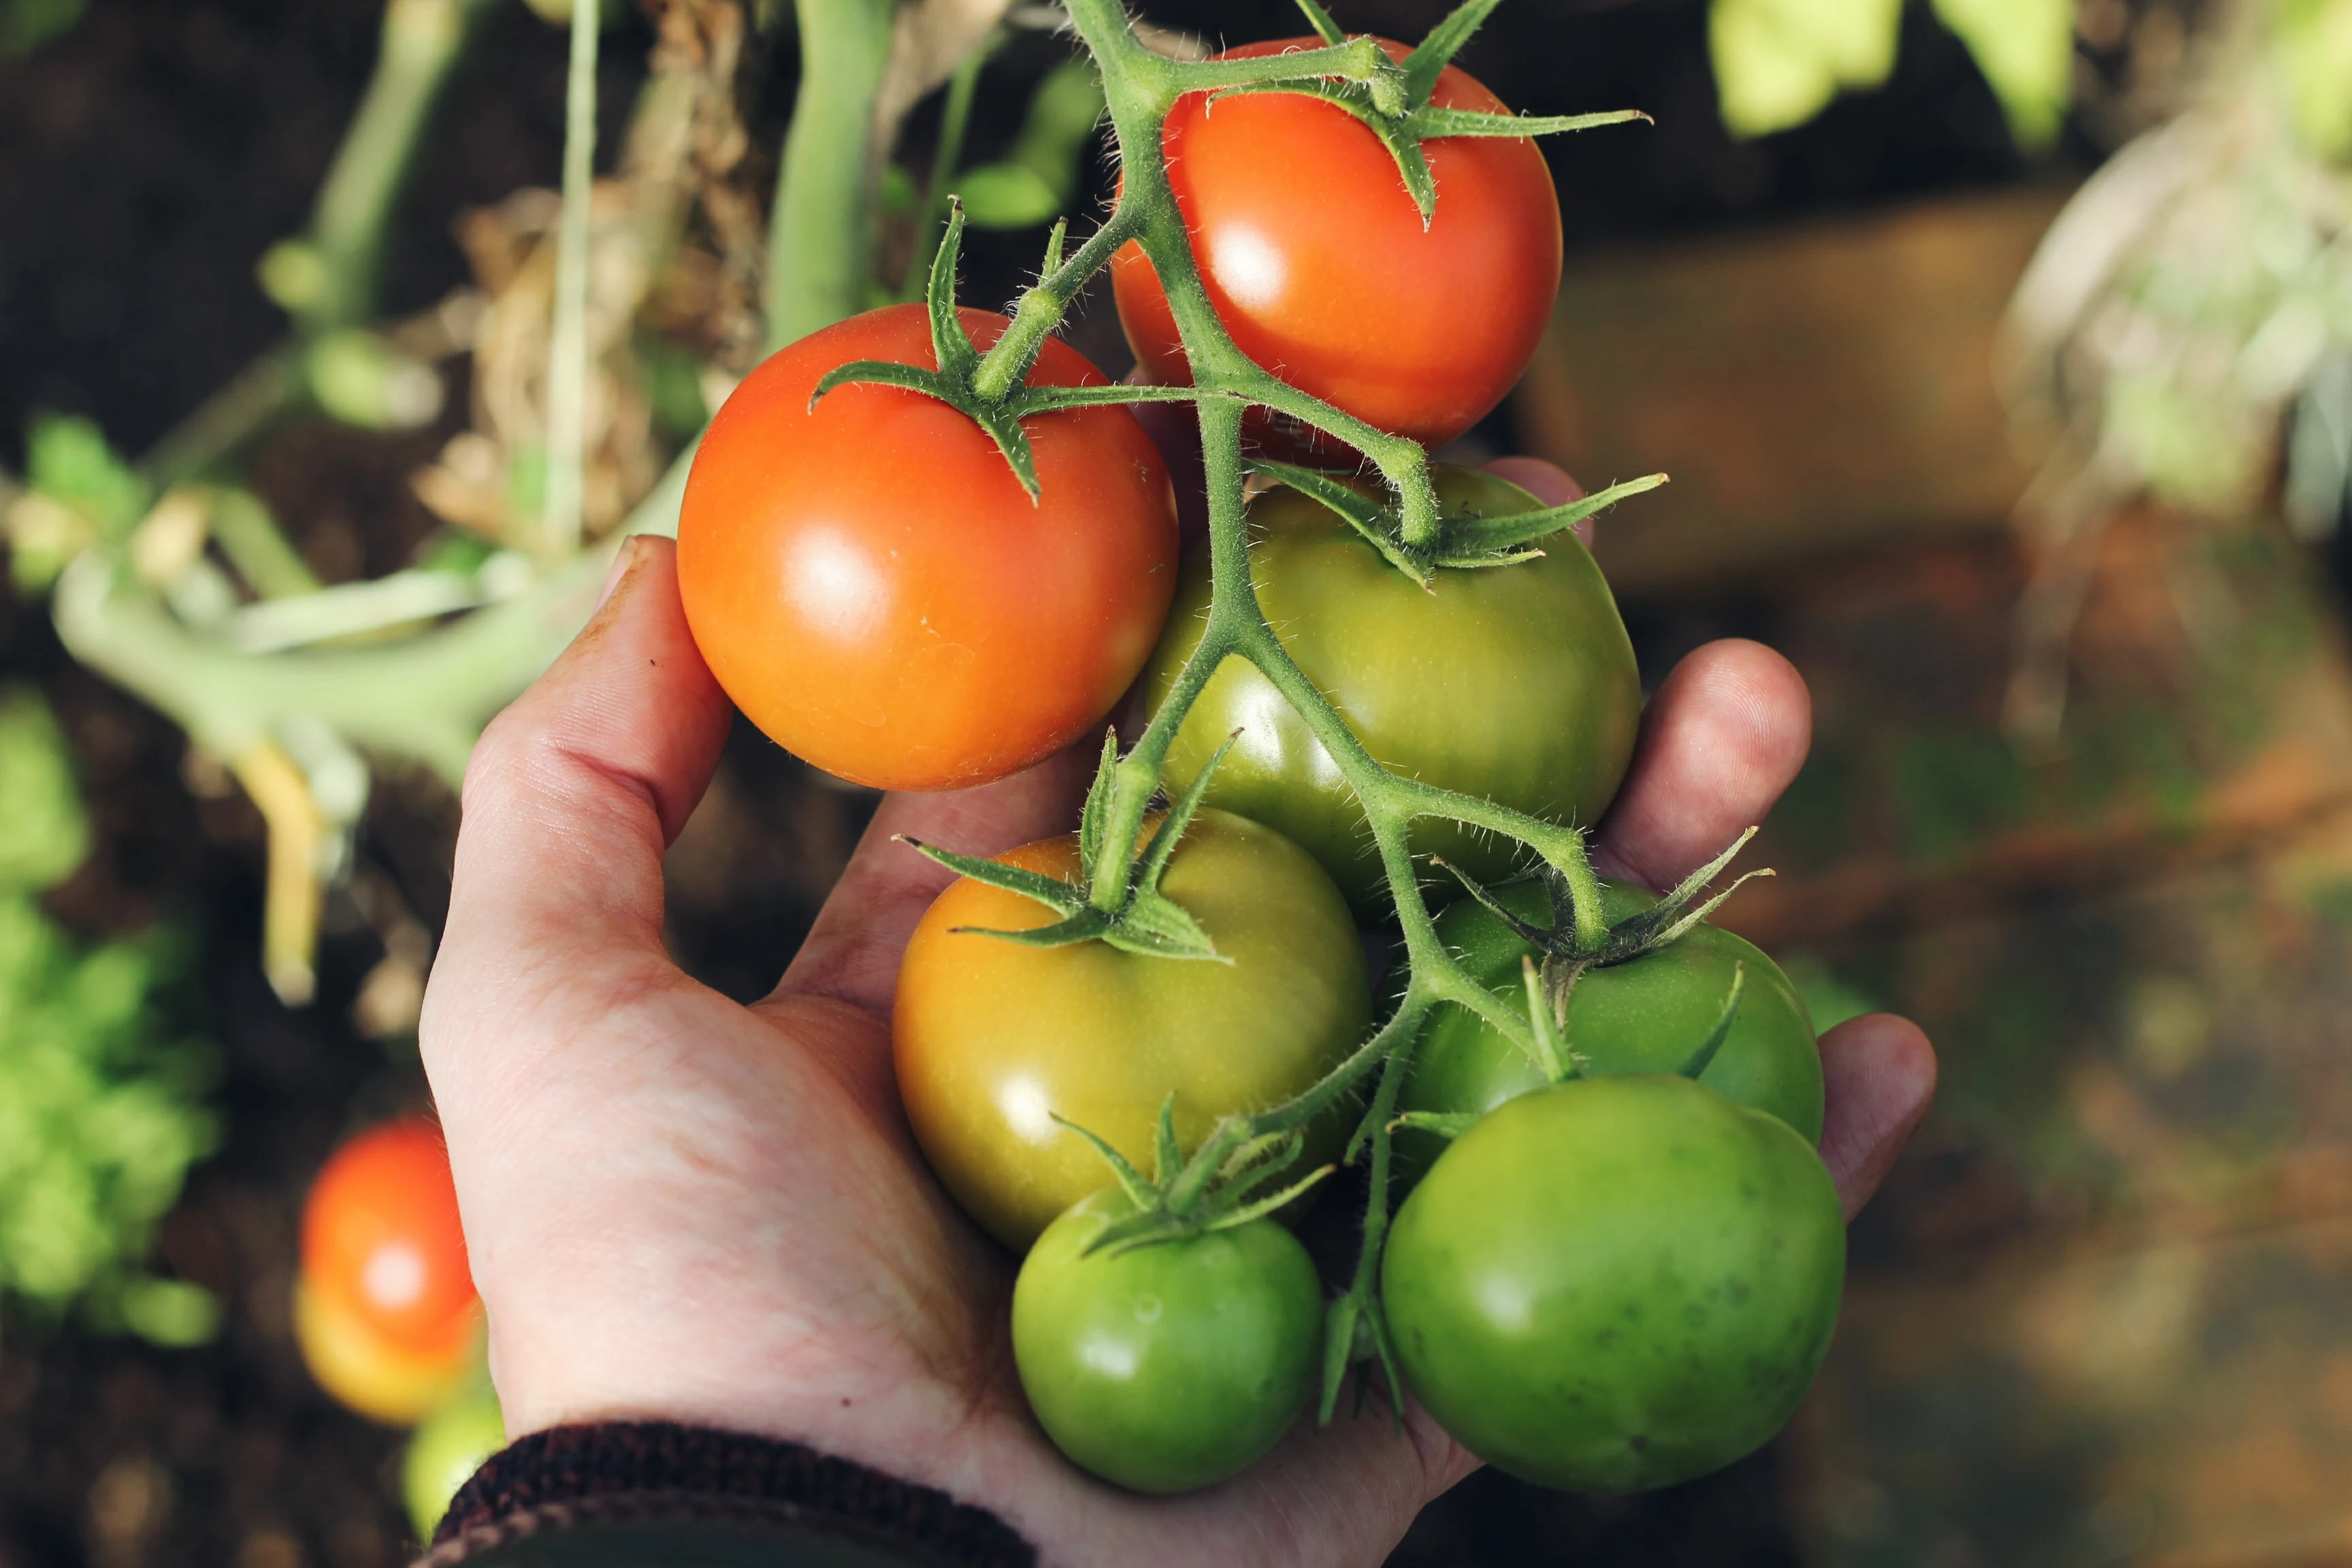
I’ve probably pulled thousands of tomatoes off the vine in my day. I’ve grown them in that heavy, sticky clay soil and in the light, sandy stuff near the coast. I’ve had seasons of incredible bounty and, trust me, years where things like blossom-end rot and blight seriously tested my patience. If there’s one thing I’ve figured out, it’s this: a truly fantastic tomato—one with that deep, rich flavor and perfect texture—doesn’t just happen. It’s fed, not just grown.
In this article
So many new gardeners ask for the single “best” fertilizer for tomatoes. I always smile and tell them that’s like asking a chef for their single best spice. It just doesn’t exist! The right way to feed your tomatoes has everything to do with your soil, what stage of life the plant is in, and even the type of tomato.
Honestly, you can forget all those miracle products with the flashy labels. This is about understanding what your tomato plant is actually hungry for. I’m going to walk you through the exact methods I use in my own garden. We’ll cover the basic science, the hands-on techniques, and—most importantly—how to read your plants so you can give them what they need, right when they need it.
What Your Tomatoes Are Actually Craving
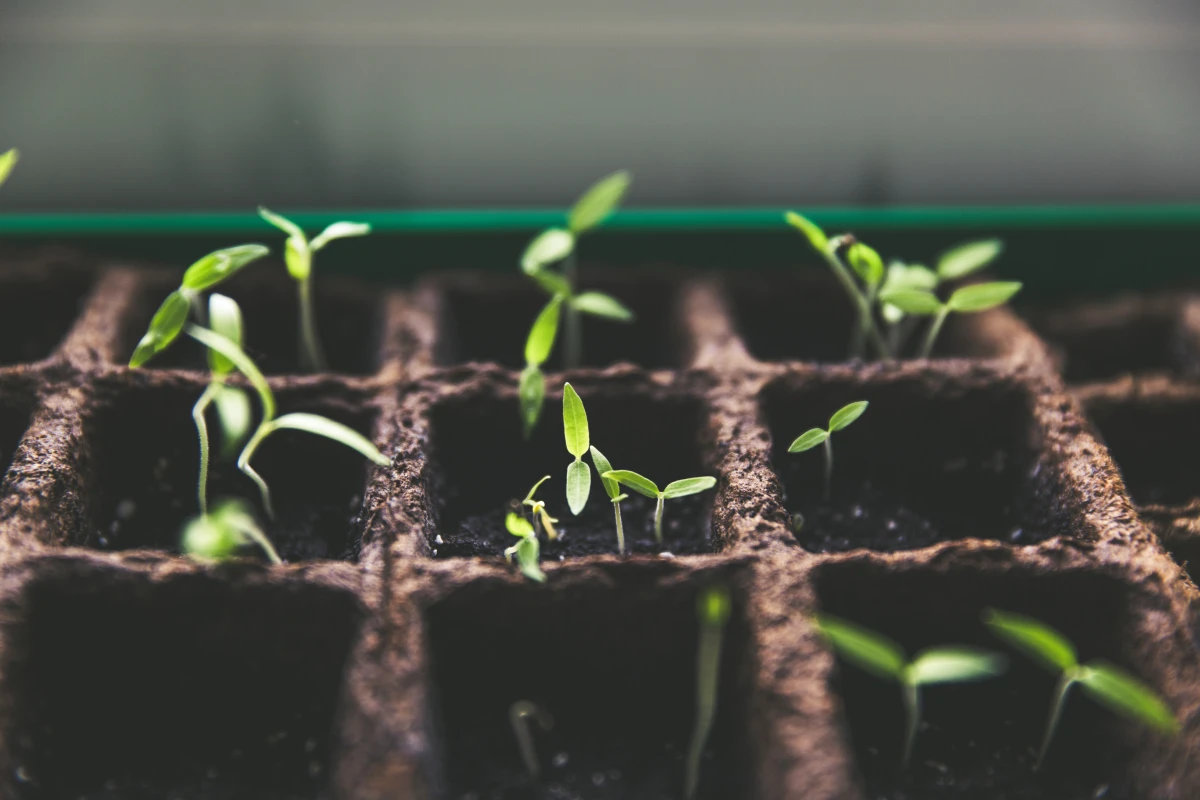
Before you even think about opening a bag of fertilizer, you have to get the “why.” A tomato plant is like a little biological factory. It sucks up simple elements from the soil and air and, with a little help from the sun, turns them into stems, leaves, and eventually, those delicious red fruits. The nutrients we give them are the raw materials for this whole operation.
The Big Three: N-P-K
You’ve seen those three numbers on every fertilizer bag, right? Something like 5-10-10 or 4-6-4. These represent the percentage of Nitrogen (N), Phosphorus (P), and Potassium (K). For a tomato grower, this is your secret code.
- Nitrogen (N) is the Growth Engine. Think green, leafy growth. Nitrogen is essential for building a strong plant with a full canopy of leaves. A big, healthy leaf canopy is like a huge array of solar panels, capturing the energy needed to produce a ton of fruit later. But here’s a heads-up, because I learned this the hard way: too much nitrogen is a classic beginner’s mistake. I once used a high-nitrogen lawn fertilizer on my tomatoes, thinking greener was better. I got these enormous, gorgeous green bushes… with almost no flowers. The plants put all their energy into looking pretty, not making tomatoes.
- Phosphorus (P) is the Root and Fruit Setter. This one is all about energy transfer. It’s vital for developing a strong root system, which is the plant’s whole foundation. More importantly for our goal, phosphorus is what tells the plant to start making flowers and turning those flowers into little baby tomatoes. If you see a purplish tint on the leaves of your young plants, especially when the soil is cool, they might be struggling to get enough phosphorus.
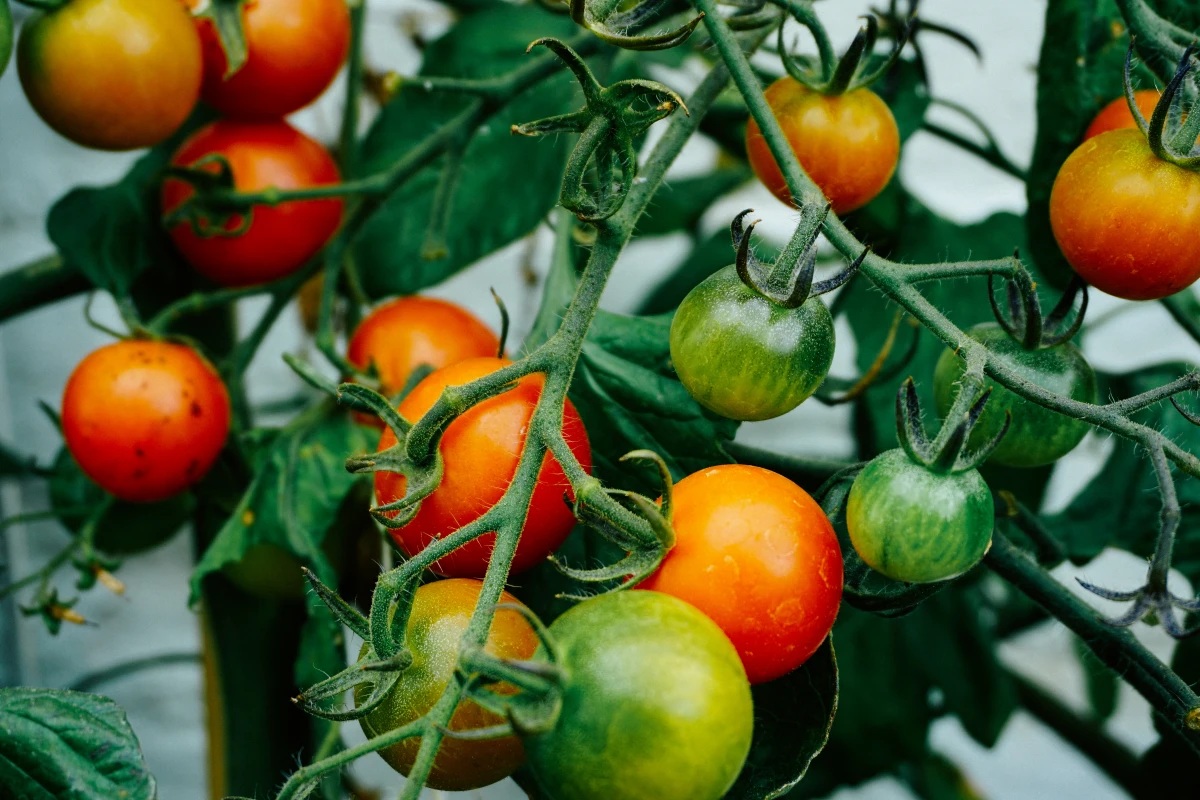
- Potassium (K) is the Quality Controller. If you want tomatoes that are flavorful, dense, and not watery or bland, potassium is your best friend. This nutrient is a total workhorse. It helps the plant move sugars from the leaves into the fruit—and those sugars are what create that rich, complex flavor we’re all after. Plants with enough potassium are also just tougher; they resist disease better and can handle heat and drought without giving up.
The Underrated Supporting Cast
While N-P-K gets all the glory, a few other nutrients are just as important. Forgetting them is like building a house with a great frame but no nails.
- Calcium (Ca): The Rot Fighter. In the tomato world, calcium is famous for one thing: preventing blossom-end rot. You know that ugly, black, leathery spot on the bottom of the fruit? That’s not a disease—it’s a calcium delivery problem. It’s most often caused by inconsistent watering that disrupts the flow of calcium up the plant, not necessarily a lack of calcium in the soil itself.
- Magnesium (Mg): The Green Giver. At the very heart of every chlorophyll molecule (the stuff that makes plants green) is one little atom of magnesium. No magnesium, no green, no energy. An old-timer’s trick for a quick fix is using a bit of Epsom salts. A good recipe is to dissolve 1 tablespoon of Epsom salts in a gallon of water and use it to water the base of the plant. Don’t overdo it, but it can work wonders.
- Micronutrients: Things like Boron, Zinc, and Manganese are needed in tiny amounts, but they’re critical for things like pollination. The good news? Healthy soil that’s full of good compost usually has plenty of these.
Your Tomato Feeding Shopping List
Walking down the garden center aisle can be a little overwhelming. Let’s simplify it. I think of fertilizers in two main groups: the stuff that builds amazing soil for the long haul, and the stuff that feeds the plant directly when it needs a quick boost. The best approach, in my opinion, uses both.
Part 1: Building Awesome Soil (The Organics)
These are my go-to tools. They release nutrients slowly and improve your soil’s structure and water-holding capacity. It’s a long-term strategy that really pays off.
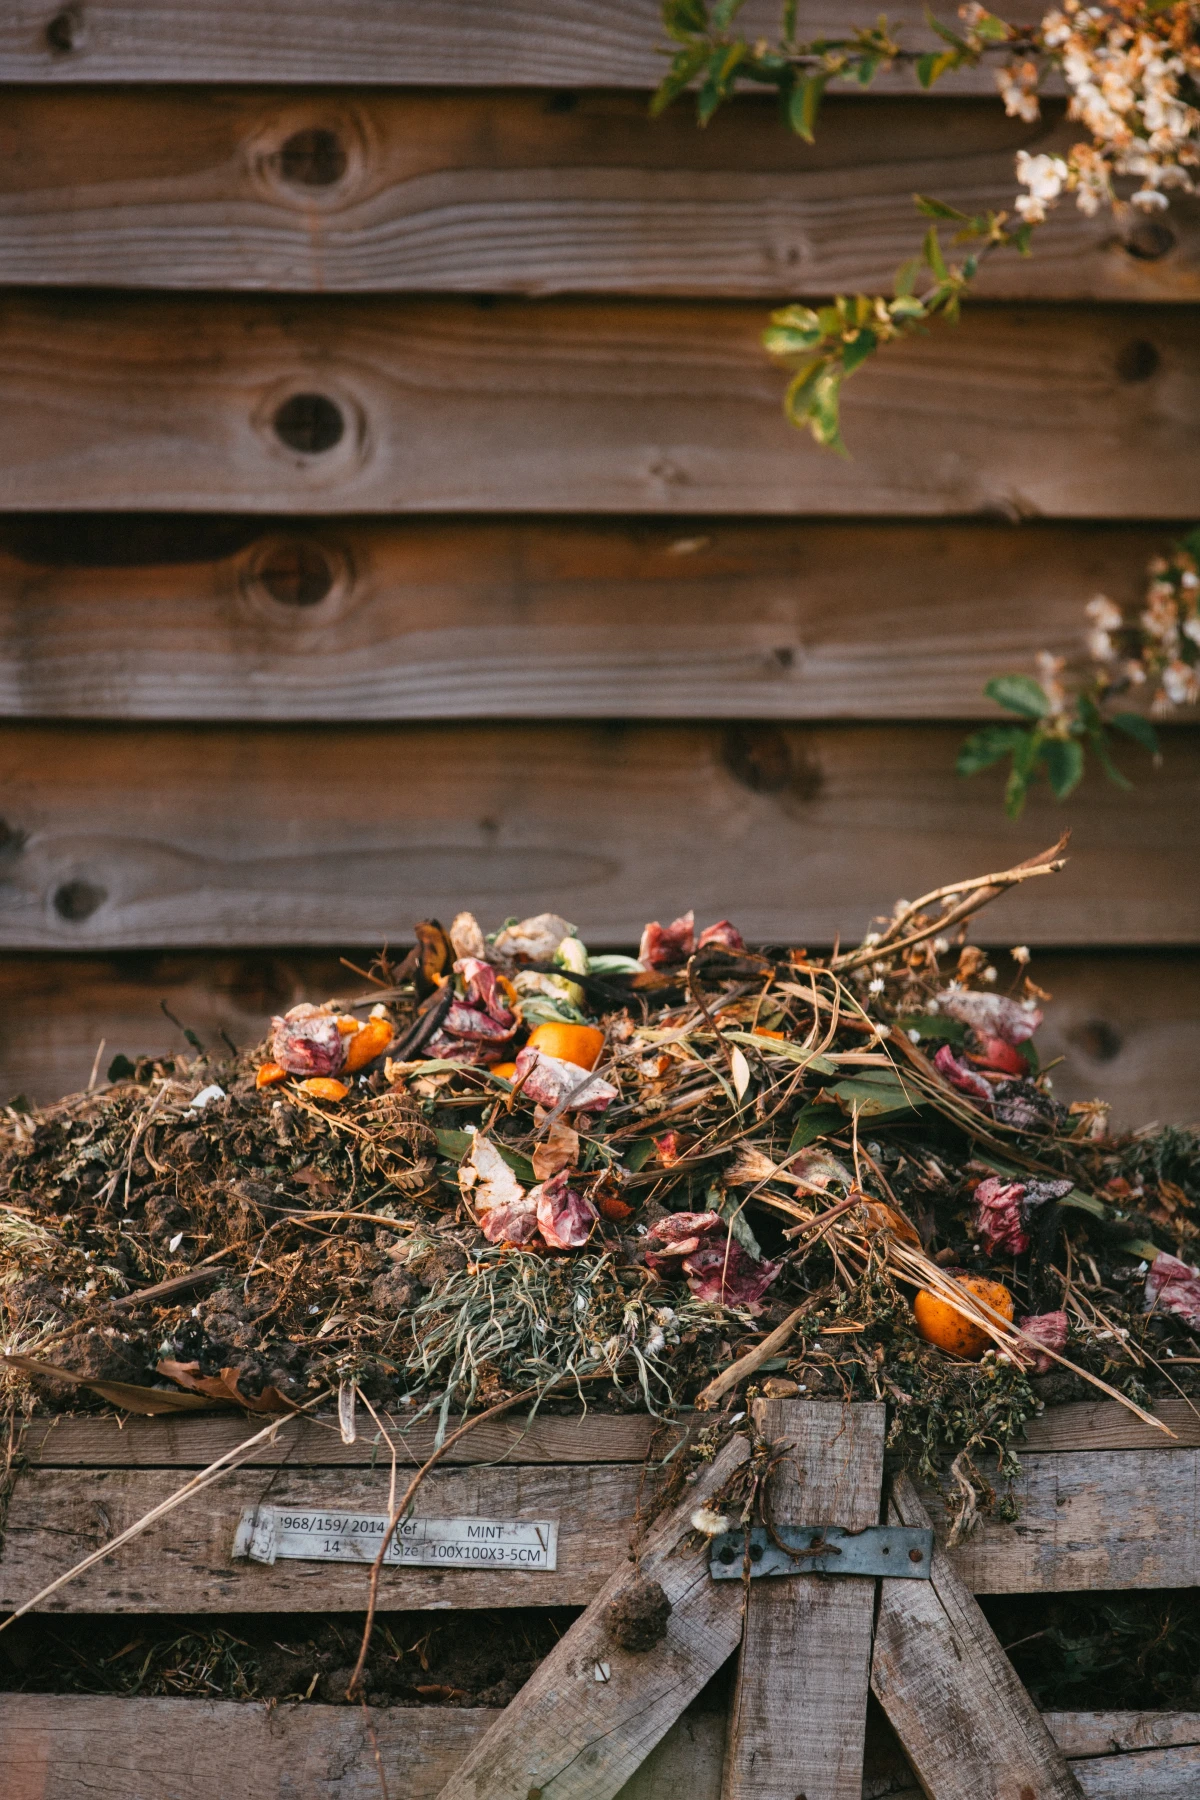
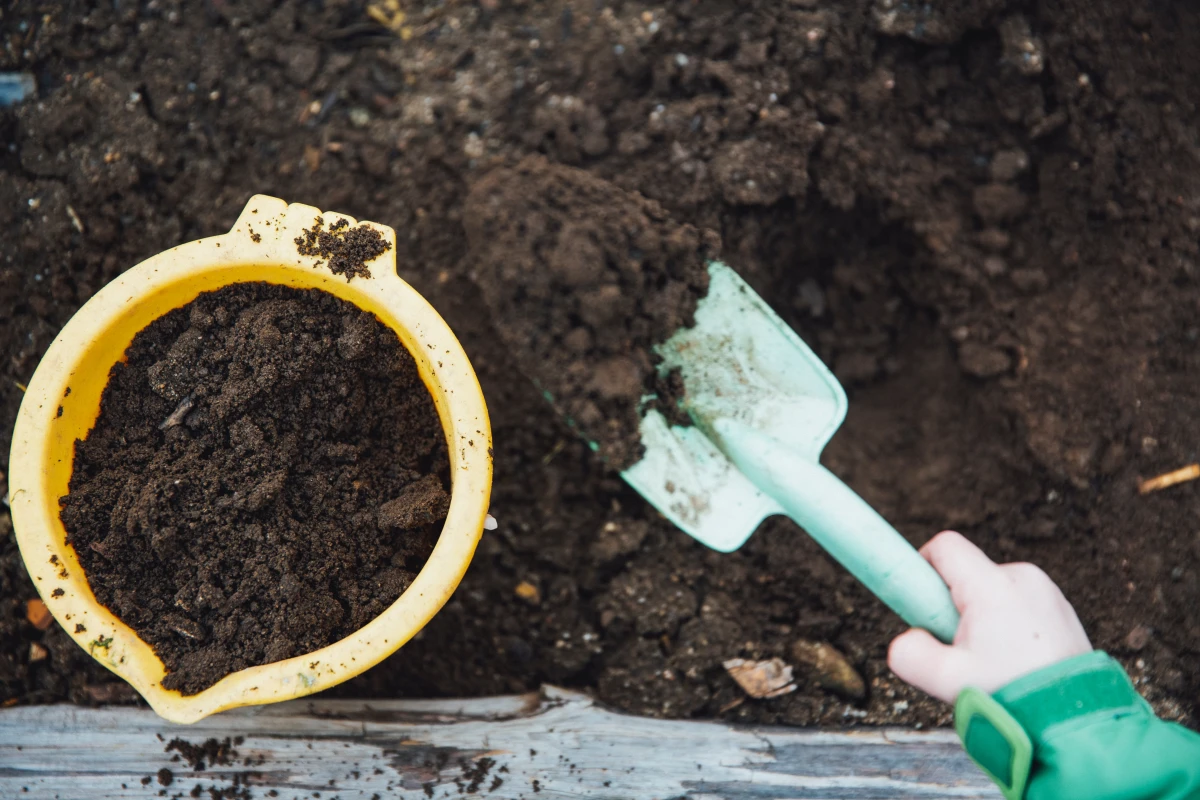
- Compost: This is non-negotiable. I call it gardener’s gold for a reason. It provides a balanced diet of almost everything your plants need. Before planting, I work a 2 to 3-inch layer into my garden beds. If you don’t make your own, a bag of quality compost or composted manure from a place like Home Depot or your local nursery will run you about $5-$8 and is worth every penny.
- Bone Meal (The Root Booster): This is just steamed and ground animal bones, and it’s a fantastic slow-release source of phosphorus. I add about 1/4 cup to the bottom of every planting hole. A small box costs around $10-$15 and will last you at least a full season, probably more. Quick tip: The smell can attract dogs or raccoons, so make sure you mix it into the soil really well.
- Blood Meal (The Nitrogen Rocket Fuel): This is a source of very fast-acting nitrogen. I use it carefully, and only early in the season if my plants look a little pale or aren’t growing fast enough. Once you see flowers, stop using it.
Part 2: Direct Feeding (The Quick Boosts)
Think of these as supplements for when your plants are working extra hard.
- Fish Hydrolysate (The All-Around Tonic): This is my favorite liquid feed. It’s a cold-processed fish product that gives a gentle boost of nitrogen and tons of micronutrients. Yes, it smells… pungent… for a few hours, but the plants absolutely love it. If you can’t find it or just can’t handle the smell, a high-quality liquid compost tea is a great alternative.
- Liquid Kelp (Micronutrient Magic): Made from seaweed, this stuff is low in N-P-K but packed with potassium and over 60 trace minerals. I start using this once flowers appear to really improve flavor and plant health. I often just mix the fish and kelp fertilizers together in the same watering can.
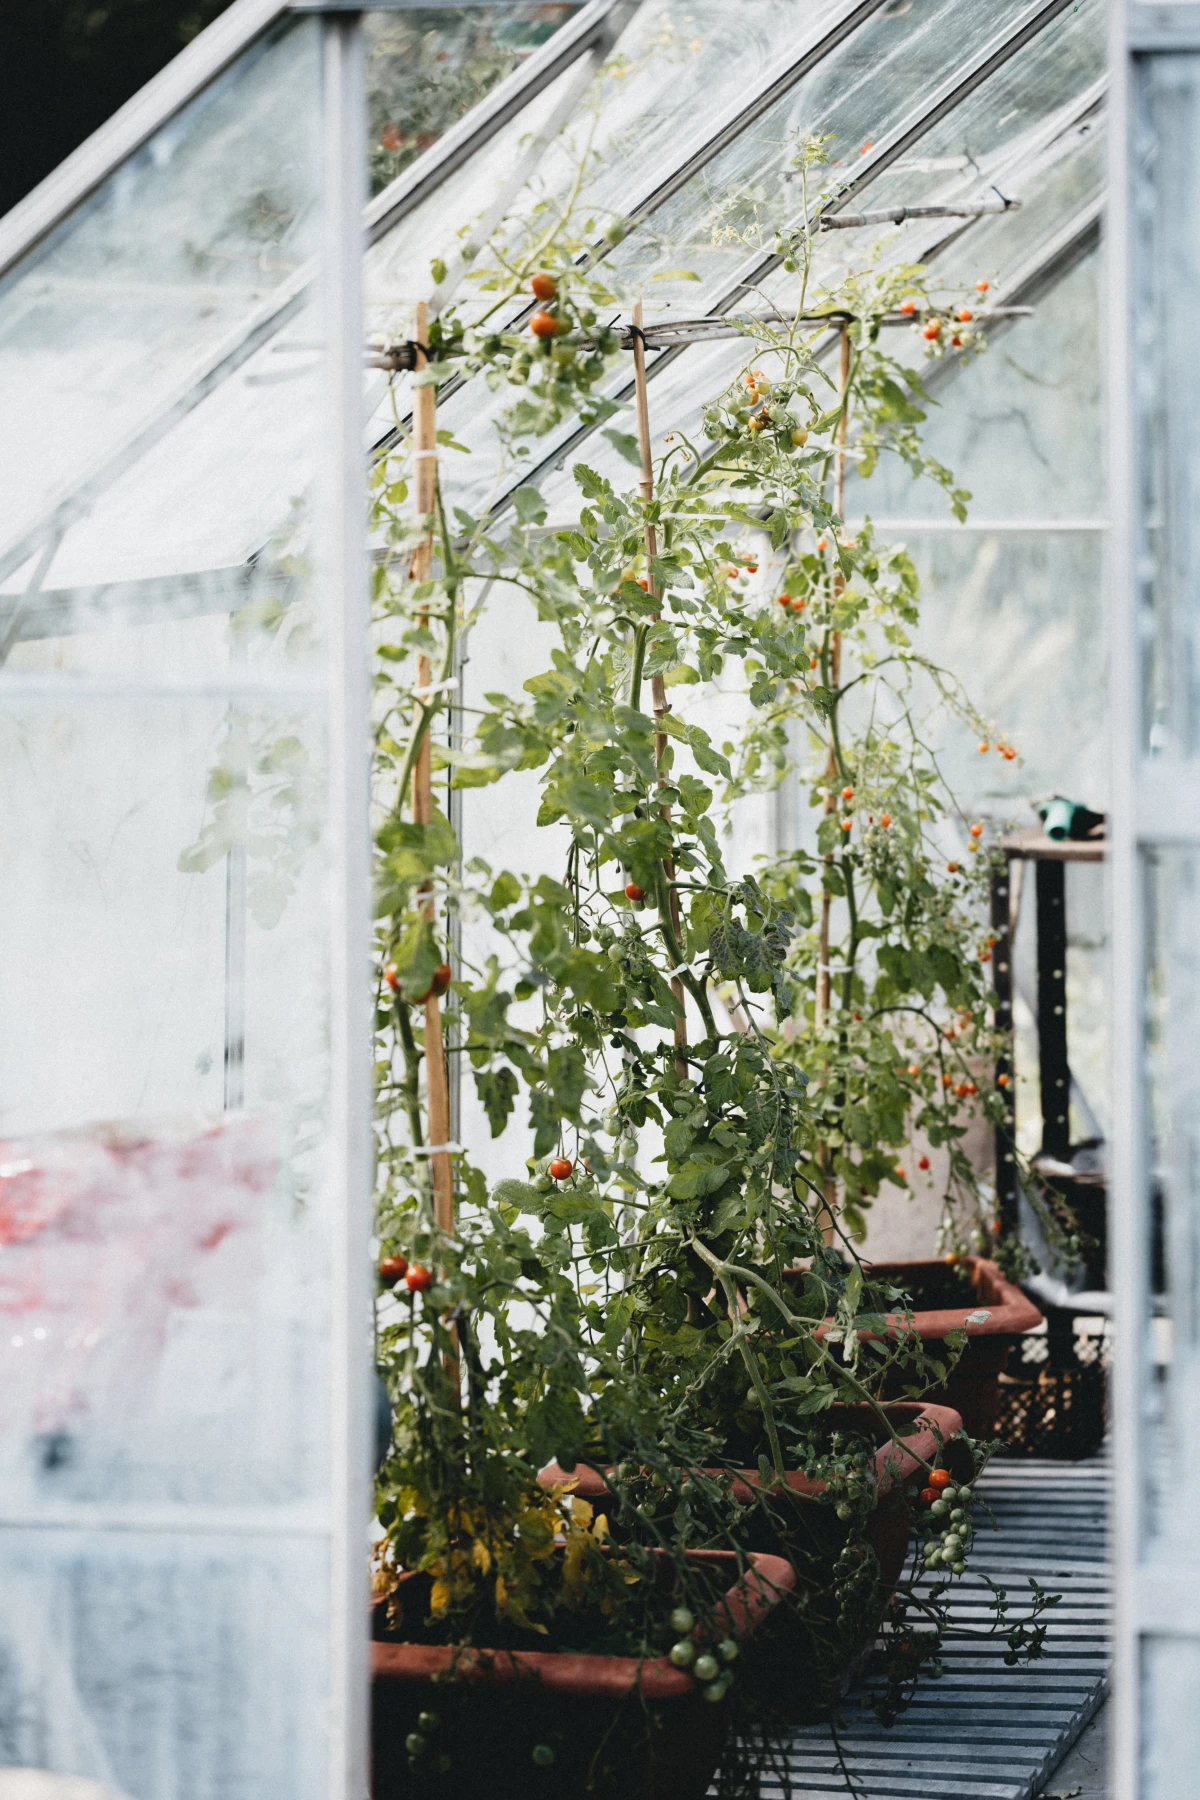
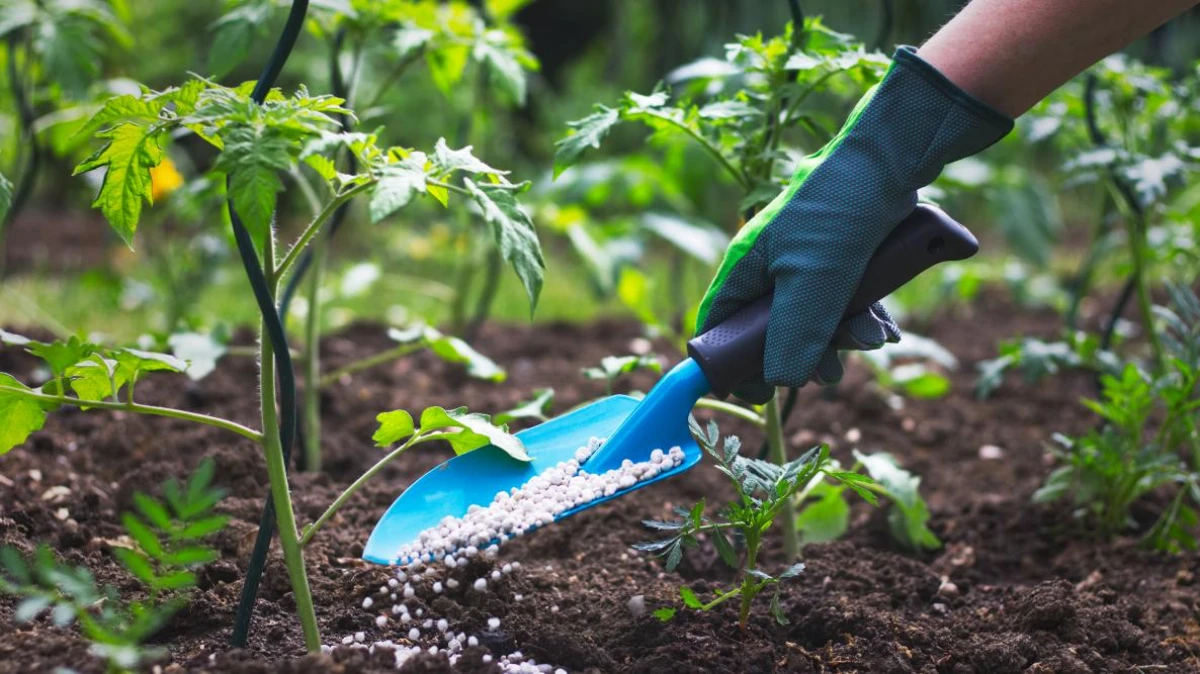
- Balanced Synthetics (The Targeted Solution): I mainly stick to organics, but I’m not a purist. For tomatoes in pots, where nutrients wash out with every watering, a water-soluble synthetic fertilizer can be a lifesaver. When the package says to use it at “half-strength,” it’s simple: if the instructions say to mix 1 tablespoon per gallon of water, you just use 1/2 tablespoon instead.
The Feeding Schedule I Swear By
Knowing what to use is half the battle; knowing when is the other. Here’s the timeline I follow. Remember to watch your plants and adjust, but this is a solid framework.
Phase 1: A Few Weeks Before Planting
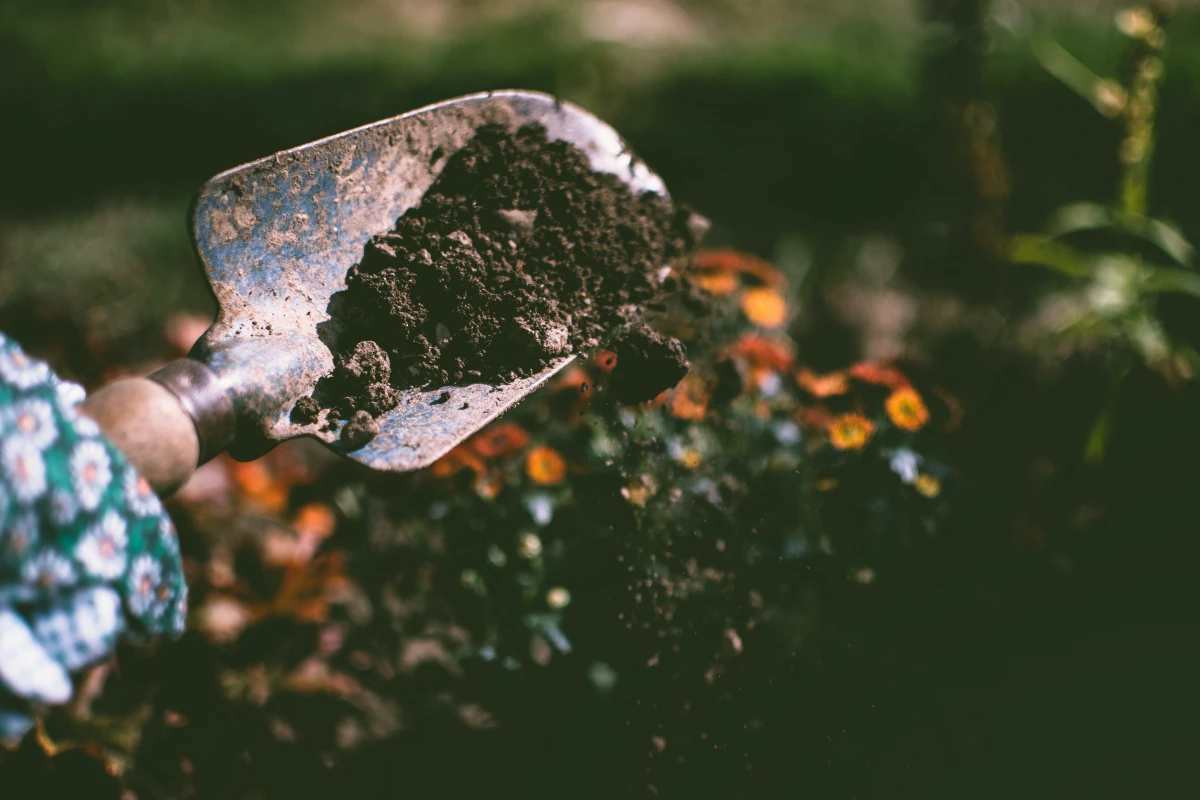
Lay the groundwork. I spread a 2-3 inch layer of compost over the bed and gently work it into the top 6 inches of soil with a digging fork.
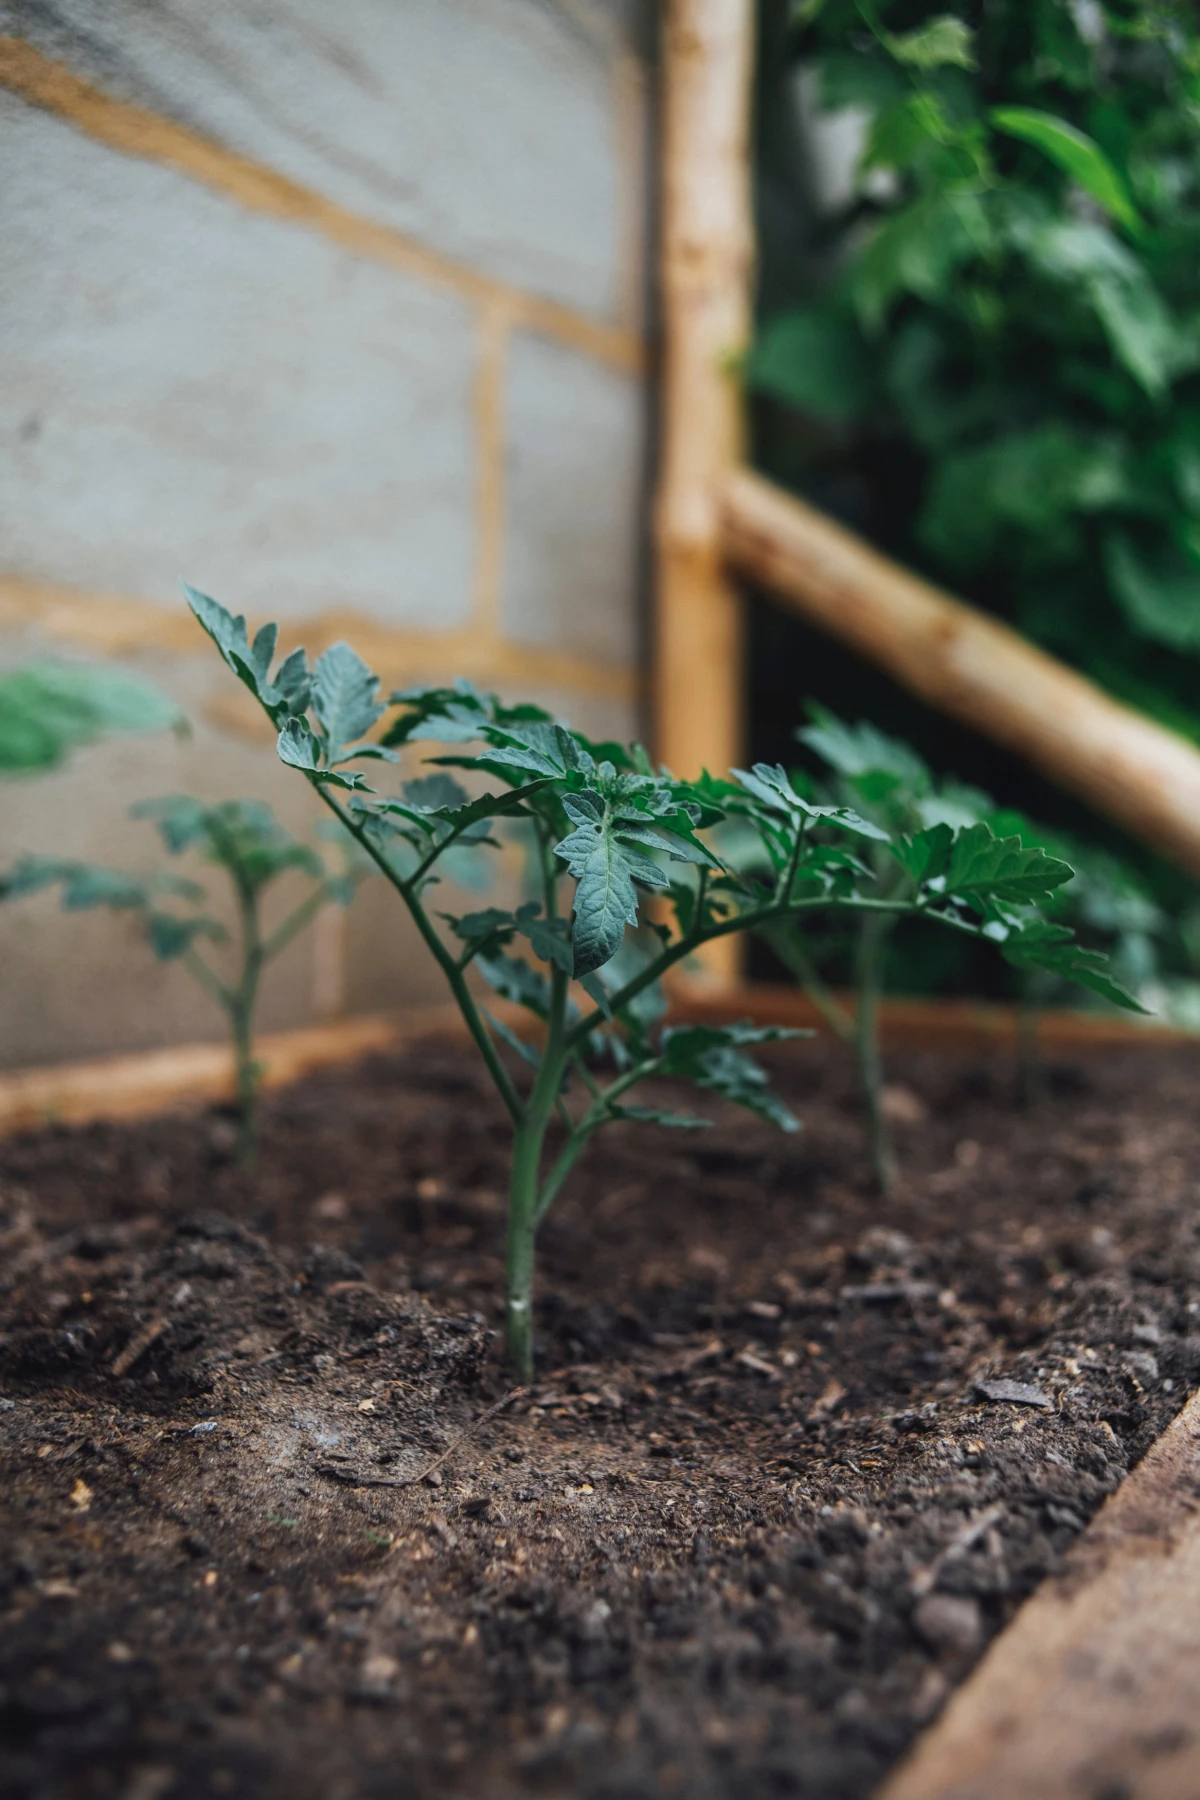
Phase 2: Transplanting Day
Time to give them a great start. In the bottom of each hole, I mix in my “transplant meal”: about 1/4 cup of bone meal for phosphorus, a tablespoon of kelp meal for minerals, and a few crushed eggshells for calcium. I cover this with a thin layer of plain soil so it doesn’t burn the tender new roots.
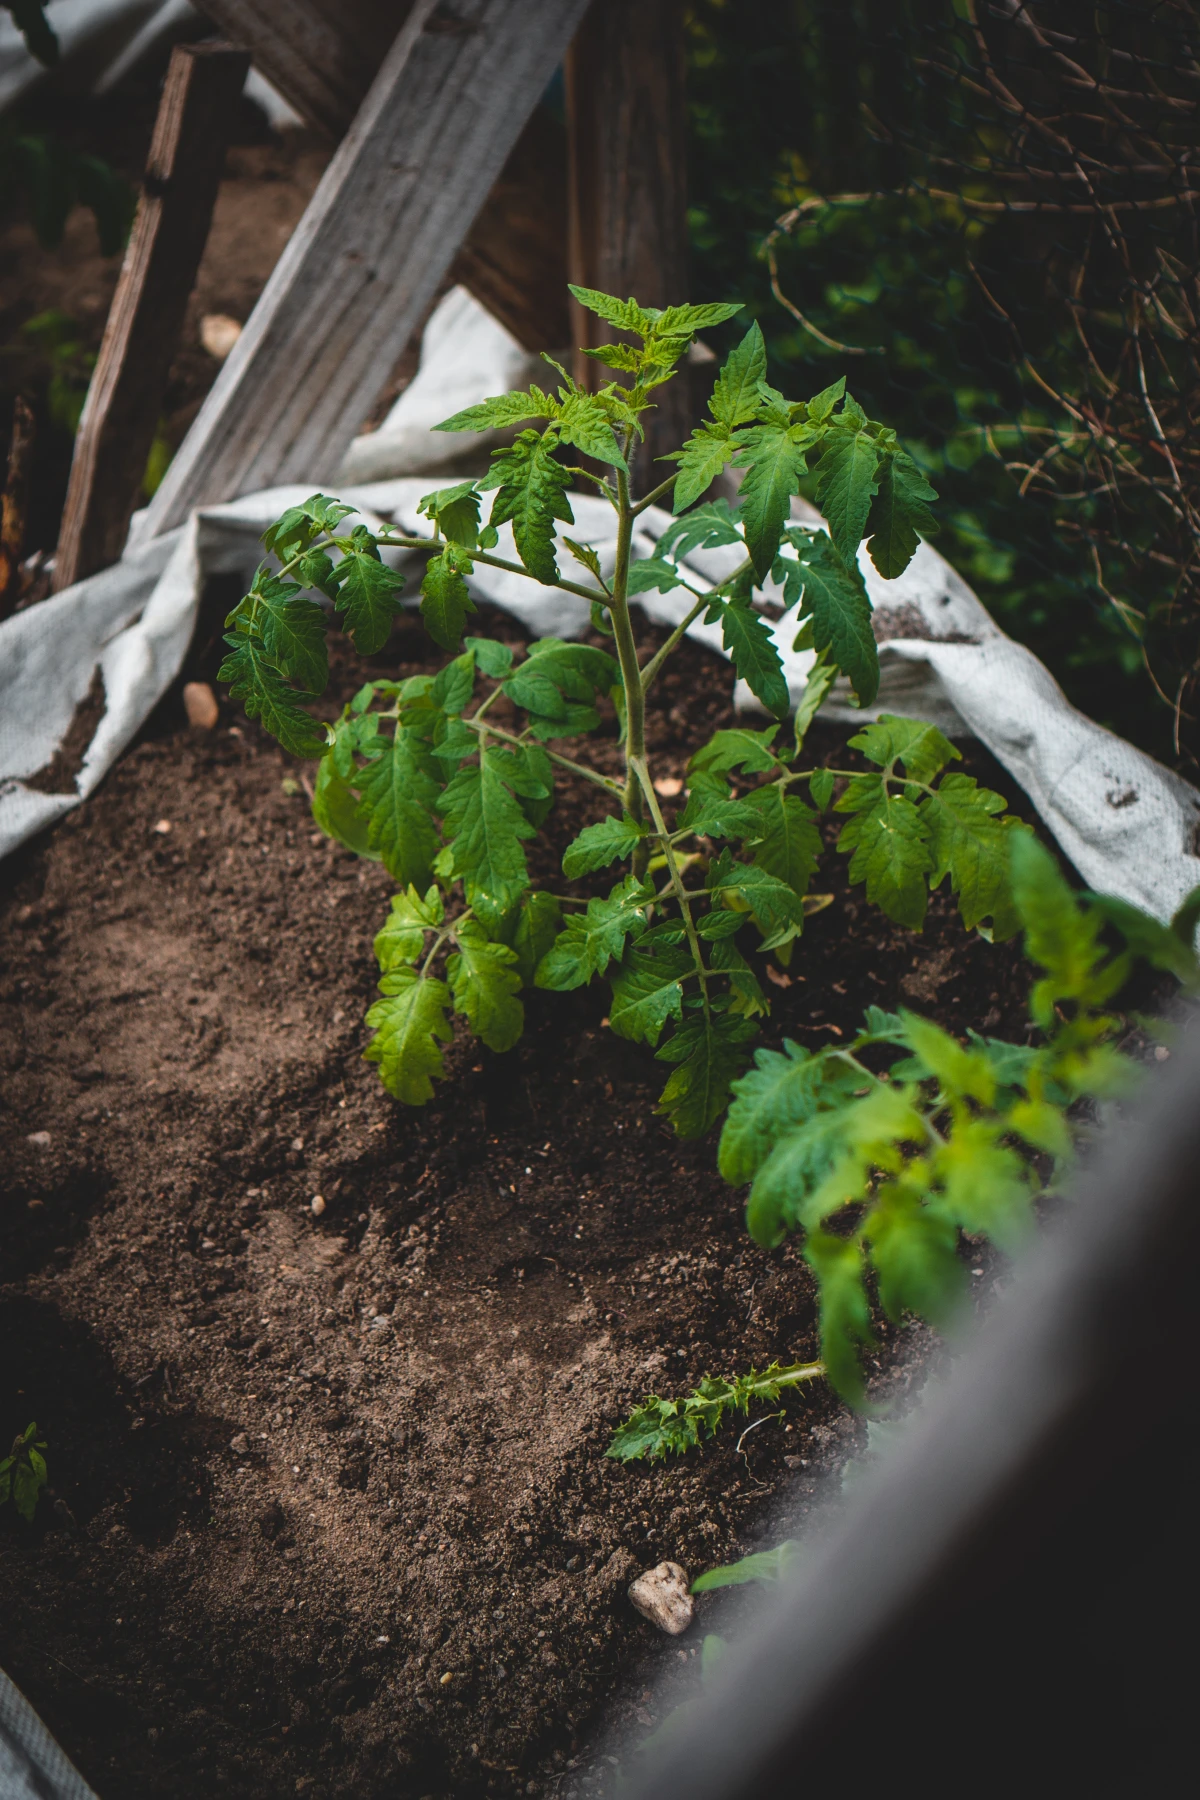
Phase 3: The Growth Spurt (First 3-4 weeks)
The plant’s job is to get big and strong. Every 10-14 days, I feed them with a diluted liquid fish fertilizer (about 1 tablespoon per gallon of water) as a soil drench.
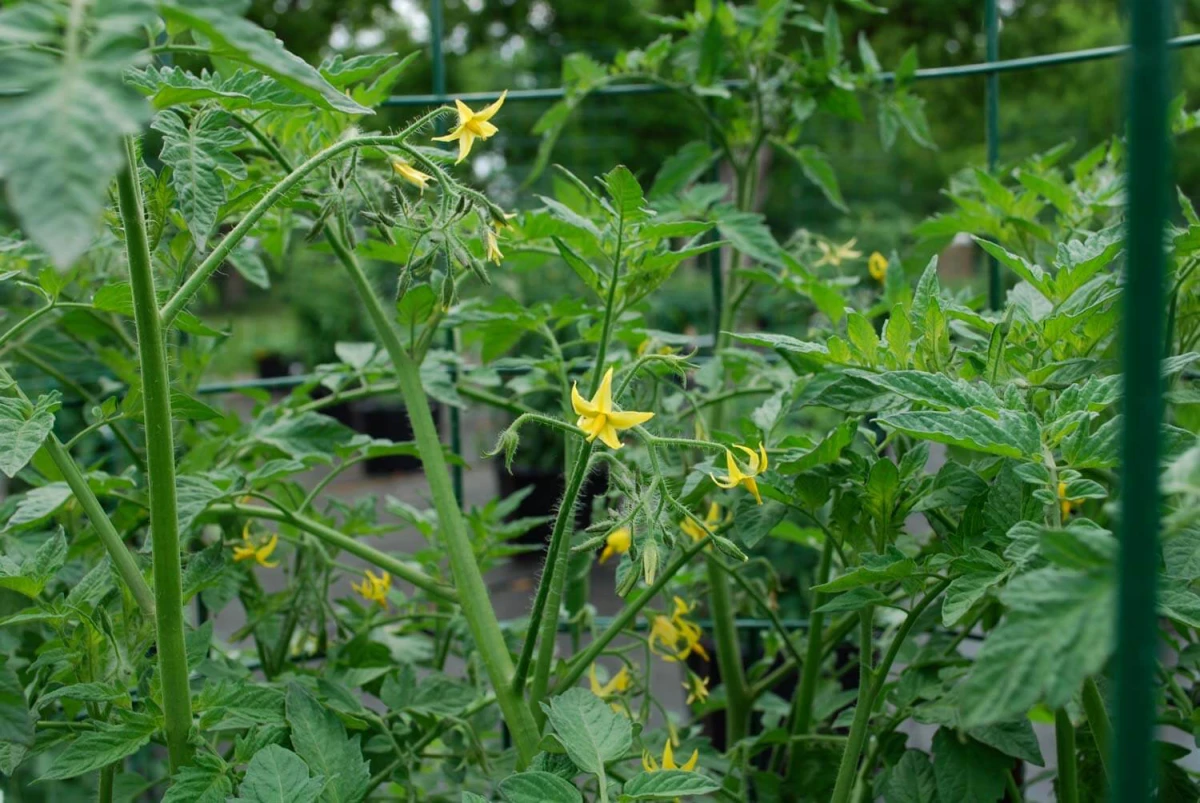
Phase 4: Flowers and First Fruit (The Big Switch!)
This is the most important transition. As soon as I see those first yellow flowers, I STOP the high-nitrogen fish fertilizer and switch to something that boosts phosphorus and potassium, like a liquid kelp mix. Continuing with nitrogen now will just give you that giant green bush with no fruit I warned you about!
Phase 5: Heavy Fruiting to Harvest
Now the plant is working hard to ripen fruit, and it’s hungry for potassium. I continue with a liquid kelp feed every two weeks. This makes a noticeable difference in the final taste of the tomatoes.
A Few Pro-Tips on Technique
You’ll hear a few terms thrown around, but they’re super simple once you know what they mean.
- Soil Drench: This is just a fancy term for watering the base of the plant with your fertilizer-and-water mixture. You’re drenching the soil, not the leaves. That’s it!
- Foliar Feeding: This means spraying the leaves directly. It’s like a fast-acting vitamin shot when the plant needs an immediate boost. Use a clean spray bottle, mix your fertilizer (like liquid kelp or a calcium solution) at a diluted strength, and spray the tops and undersides of the leaves. Good to know: Only do this in the early morning or on an overcast day to avoid sun-scorching the wet leaves.
Troubleshooting: What Your Plants Are Telling You
Your plants will talk to you if you learn their language. Here are a few common cries for help:
- Yellowing Lower Leaves? Classic sign of nitrogen deficiency. The plant is stealing nitrogen from its old leaves to feed the new ones. A quick drink of fish fertilizer should fix it.
- Lush Green Jungle, No Flowers? You have nitrogen toxicity. Oops! You’ve overfed it. Stop all fertilizer and just water deeply for a while to help flush the excess out.
- Dreaded Blossom-End Rot? This is that calcium uptake issue we talked about. Before you do anything else, check your watering. Is it consistent? Mulching is your best defense. For a quick win, a 2-inch layer of straw, shredded leaves, or grass clippings around your plants helps keep soil moisture even. For an emergency fix, you can buy a commercial calcium spray or make your own. Some gardeners have luck crushing a few plain calcium carbonate tablets (like Tums) in a gallon of water and using it as a foliar spray on the plant’s leaves.
The Single Best Tool in Your Shed
To be frank, the most professional thing you can do is get a soil test. For about $20-$30, your local university cooperative extension can analyze your soil and tell you exactly what you have and what you’re missing. It takes all the guesswork out of the equation and is an investment that saves so much time and money down the road.
Ultimately, feeding tomatoes is a craft. It’s part science, part observation. Don’t be afraid to experiment a little. Keep a notebook. Over time, you’ll develop an intuition that no guide can teach you, and the reward will be a summer full of the best tomatoes you’ve ever tasted.
Galerie d’inspiration
Tomatoes can only absorb nutrients effectively when the soil pH is between 6.2 and 6.8.
It doesn’t matter how much perfect fertilizer you add; if your soil is too acidic or too alkaline, the nutrients become ‘locked up’ and unavailable to the plant’s roots. A simple soil test kit from a garden center can give you a reading in minutes. Adjusting the pH with garden lime (to raise it) or elemental sulfur (to lower it) in the fall or early spring can be the single most effective step you take for the entire season.
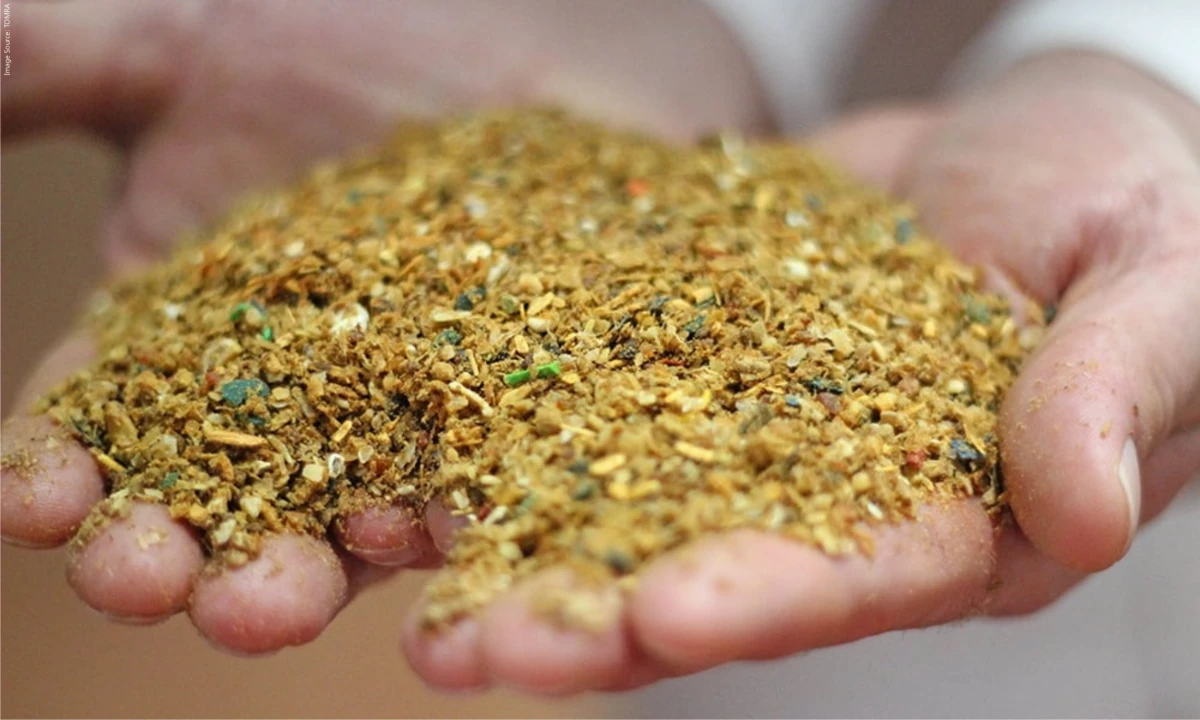
Organic Granular (e.g., Espoma Tomato-tone): This type works by feeding the microorganisms in your soil, which then break down the fertilizer and release nutrients slowly to the plant. It’s gentle, improves soil structure over time, and is very forgiving.
Synthetic Liquid (e.g., Miracle-Gro Water Soluble): This provides a fast-acting, direct shot of nutrients. It’s great for giving a quick boost to container-grown tomatoes or pale-looking plants, but it doesn’t build long-term soil health.
A popular strategy is to use both: organic granules at planting time for a solid foundation, and a targeted liquid feed if plants show signs of needing a mid-season pick-me-up.
Seeing that dreaded dark, leathery spot on the bottom of your beautiful tomatoes?
That’s blossom-end rot, a clear signal of a calcium uptake problem. Here’s the catch: the issue isn’t always a lack of calcium in the soil, but often inconsistent watering. When the plant experiences periods of drought, it can’t physically transport the available calcium to the rapidly growing fruit. The key is to maintain consistent soil moisture with deep, regular watering, especially during heatwaves.
Beyond the N-P-K headliners, your tomatoes crave a supporting cast of micronutrients for robust health and flavor. Think of them as the essential vitamins that complete the meal.
- Calcium: The absolute hero for preventing blossom-end rot. It helps build strong cell walls in the fruit.
- Magnesium: If you see yellowing between the veins of older leaves (interveinal chlorosis), your plant is likely craving magnesium. A foliar spray of Epsom salt solution (1 tablespoon per gallon of water) can be a quick fix.
- Boron: A tiny amount goes a long way to help with flower pollination and ensuring the fruit sets properly.
- Deeper, more complex flavor profile.
- A thriving, living soil ecosystem.
- A gentle, continuous supply of nutrients.
The secret? Brewing your own compost tea. It’s more than a fertilizer; it’s a probiotic drench for your garden. Simply steep a shovelful of high-quality, finished compost in a 5-gallon bucket of non-chlorinated water for 24-48 hours, strain, and dilute to apply.


