Getting Your Hands Dirty: The Real Guide to Prepping Your Garden Soil
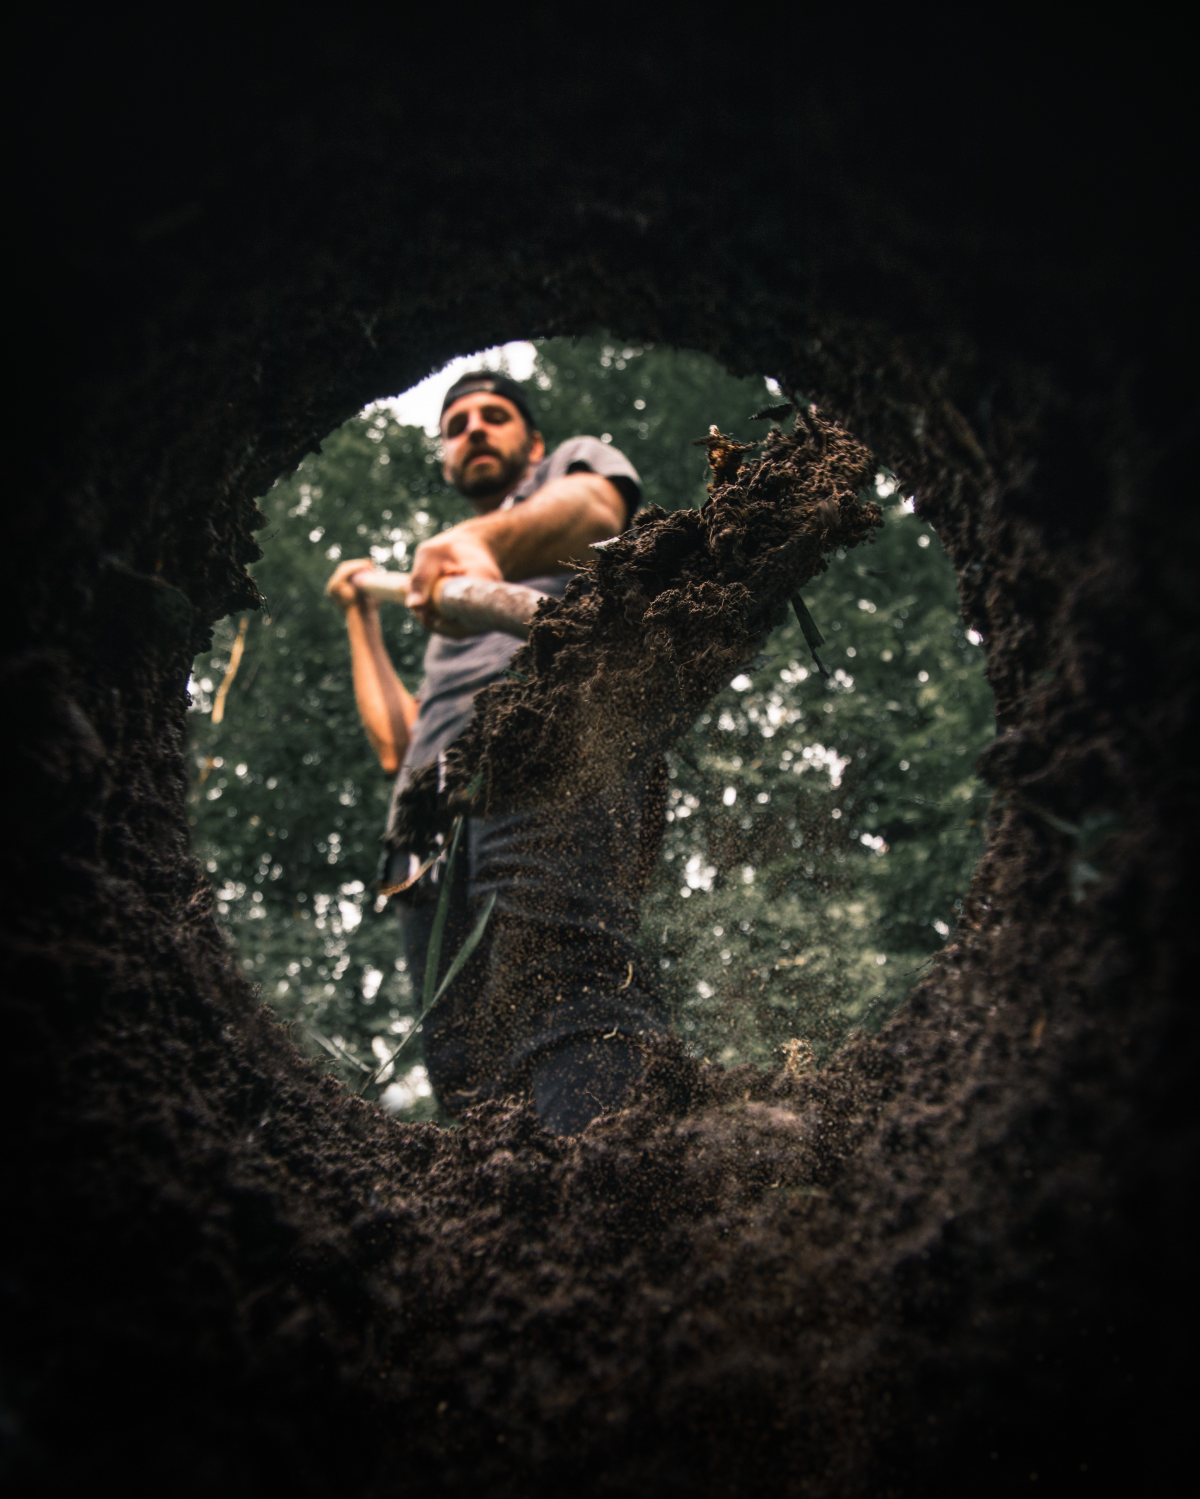
I’ve spent a good chunk of my life on my knees in the dirt. On countless garden projects, both for homes and bigger commercial spaces, I’ve dug, tested, and tweaked soil. And if there’s one thing I’ve learned, it’s that the most important part of gardening happens way before you even think about planting a seed. It’s all in the prep work.
In this article
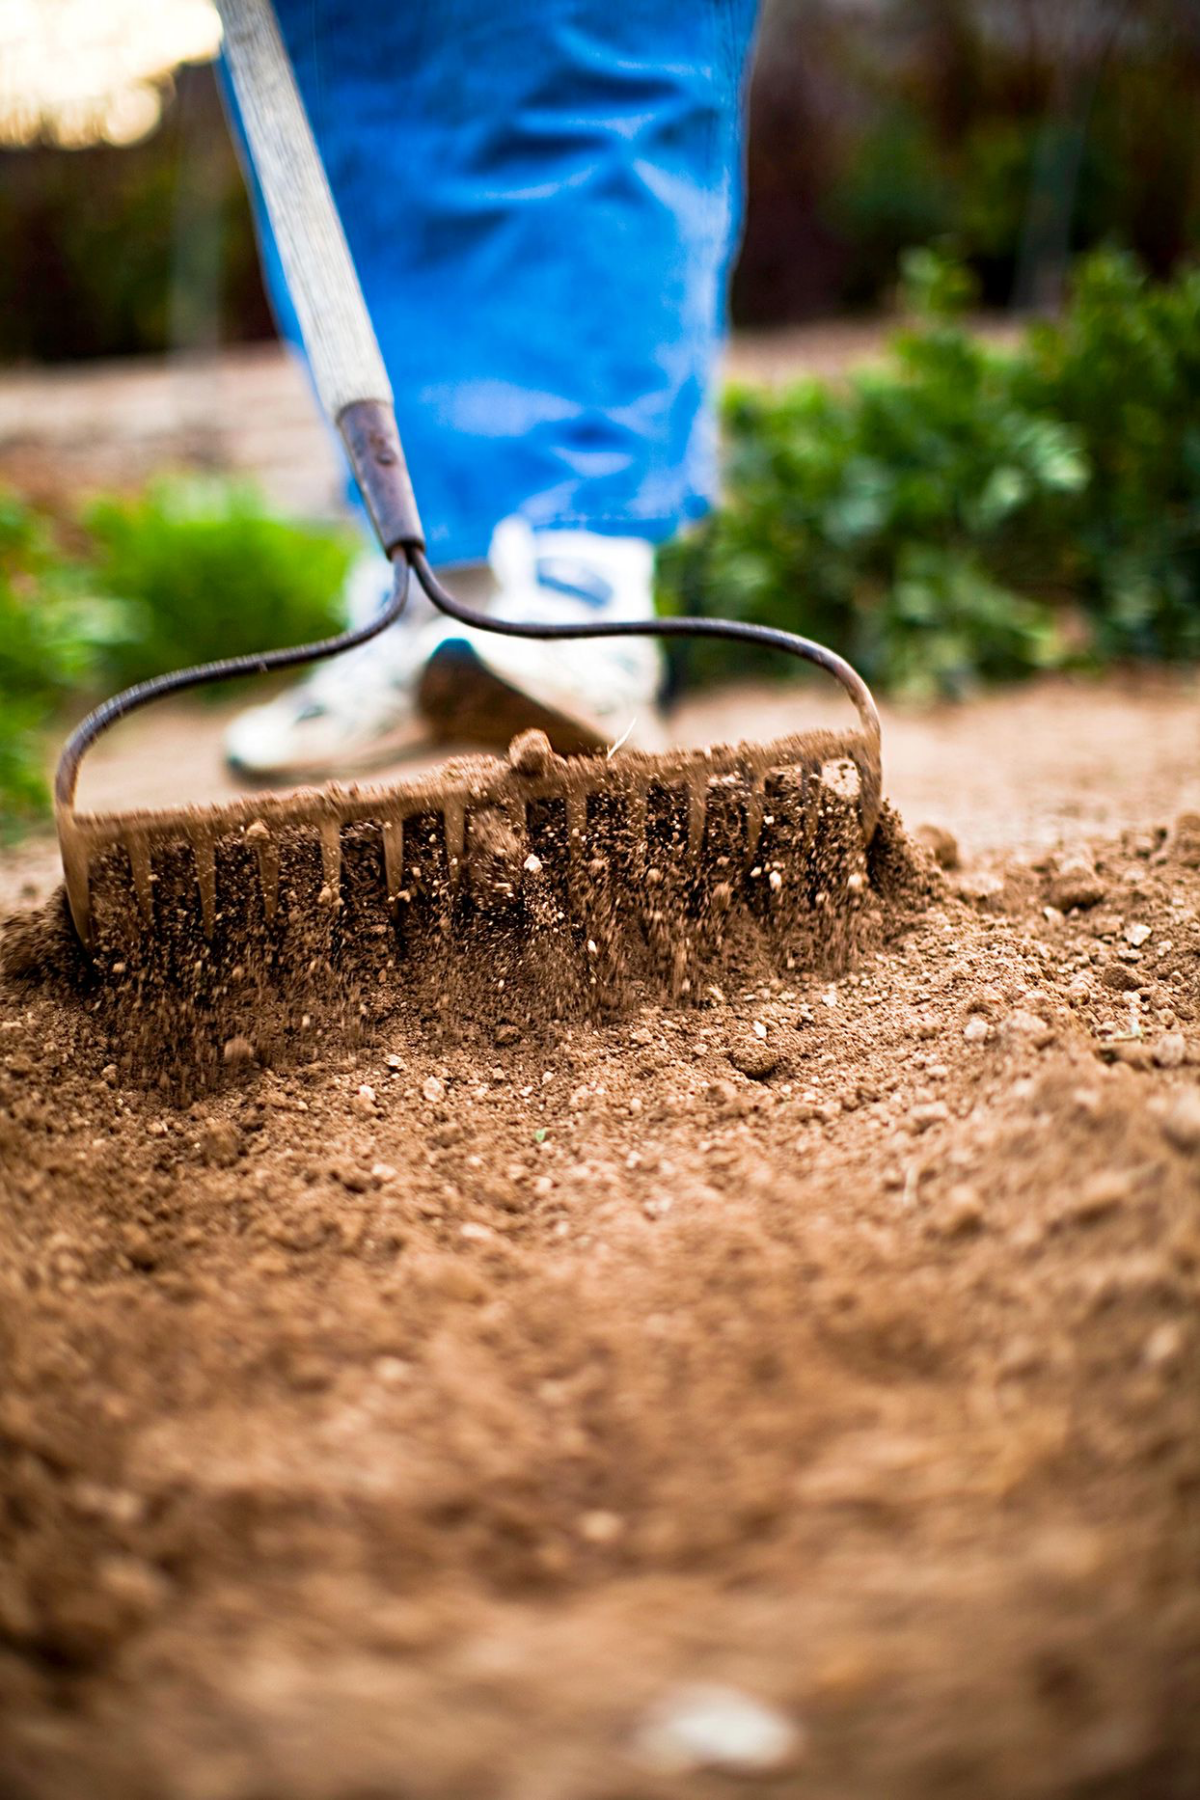
Flipping over the soil is probably the first thing we all learn, right? But the how and the when you do it is what separates a garden that just… exists, from one that truly thrives. It’s so much more than just turning dirt. It’s about figuring out what’s going on in that world beneath your feet.
For a long time, I was in the “till it every spring” club. That’s just what you did. But honestly, a few failed garden beds taught me a much better way. The real goal is to create the perfect conditions for life—adding air, managing water, and making a welcoming home for the worms and microbes that do the heavy lifting for you. Sometimes that means digging. Other times, the smartest thing you can do is just leave it alone. This guide is all about those hard-won lessons, so you can build an amazing foundation for your garden.
What’s Really Under Your Feet?
Before you grab a shovel, let’s talk about what soil actually is. It’s not just brown stuff; it’s a living, breathing system. Healthy soil has a structure, kind of like a sponge. It’s made of tiny bits of sand, silt, and clay all clumped together into what the old-timers call ‘peds’. The little gaps between these clumps are everything—they hold air for roots to breathe and water for them to drink.
When you cultivate your soil the right way, you’re making that sponge structure even better. But if you get too aggressive, especially with a mechanical tiller, you can destroy it. Imagine crushing a sponge into a fine powder. It can no longer hold air or water. That’s what happens when soil is overworked. I’ve seen it a million times: someone tills their garden into a beautiful, fine dust, thinking it’s perfect for planting. Then the first heavy rain comes along and turns that dust into a hard crust that no seedling can push through.
Your goal is to get what we call good ‘tilth’. That just means your soil is soft, crumbly, and drains well while still holding onto moisture. It feels light in your hands and smells earthy and alive. That smell? That’s your workforce—the good bacteria and fungi. Your job is to be a good landlord, not to demolish their home every year.
The Golden Rule: When to Dig (and When to Walk Away)
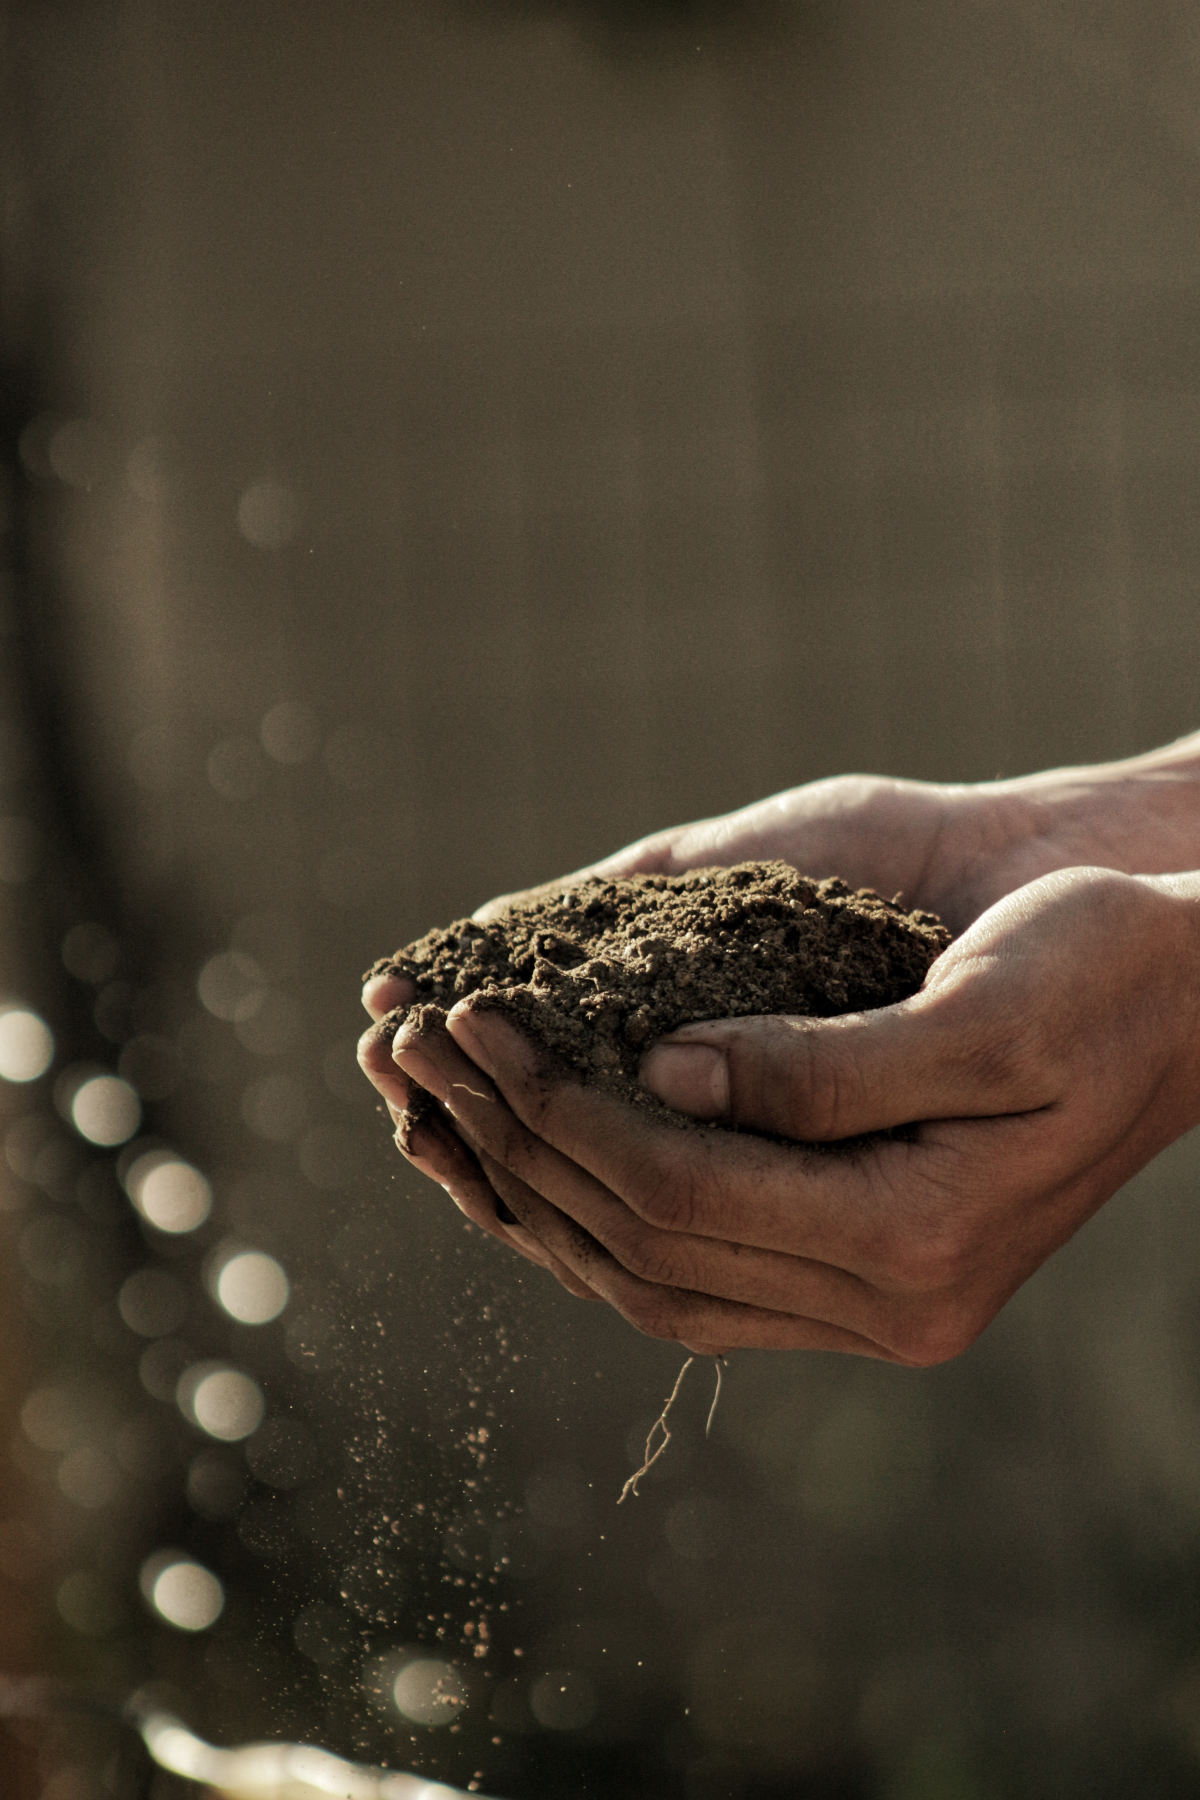
Timing is everything. Seriously. Working your soil when it’s too wet or too dry can cause damage that takes seasons to fix. The number one factor is moisture, and there’s a simple test I teach everyone.
It’s just called the squeeze test. Go out to your garden, grab a handful of soil from about 4-5 inches down, and squeeze it hard in your fist. Then open your hand.
- If water drips out and you’re left with a muddy, dense ball, it’s TOO WET. Stop what you’re doing and go have a coffee. Working wet soil, especially clay, will wreck its structure, creating hard clods that are a nightmare later.
- If the soil is just powder and won’t hold any shape at all, it’s TOO DRY. Tilling dust is pointless. Give the area a light watering and come back in a day or two.
- If the soil forms a loose ball that crumbles easily when you poke it, it’s PERFECT. This is your green light to get to work.
Generally, the best times to do this heavy work are spring and fall. In spring, you’re getting beds ready for planting, but you have to wait until the ground isn’t a swamp from winter. In the fall, turning the soil can be a game-changer, especially for heavy clay. You can mix in amendments, and the freeze-thaw cycles of winter will break up the clumps for you, giving you amazing tilth come springtime.
Choosing Your Method: A Practical Comparison
So, how should you actually do the turning? The right way depends on your goal, your soil, and how much sweat you’re willing to put in. I don’t use the same technique everywhere; it’s about picking the right tool for the job.
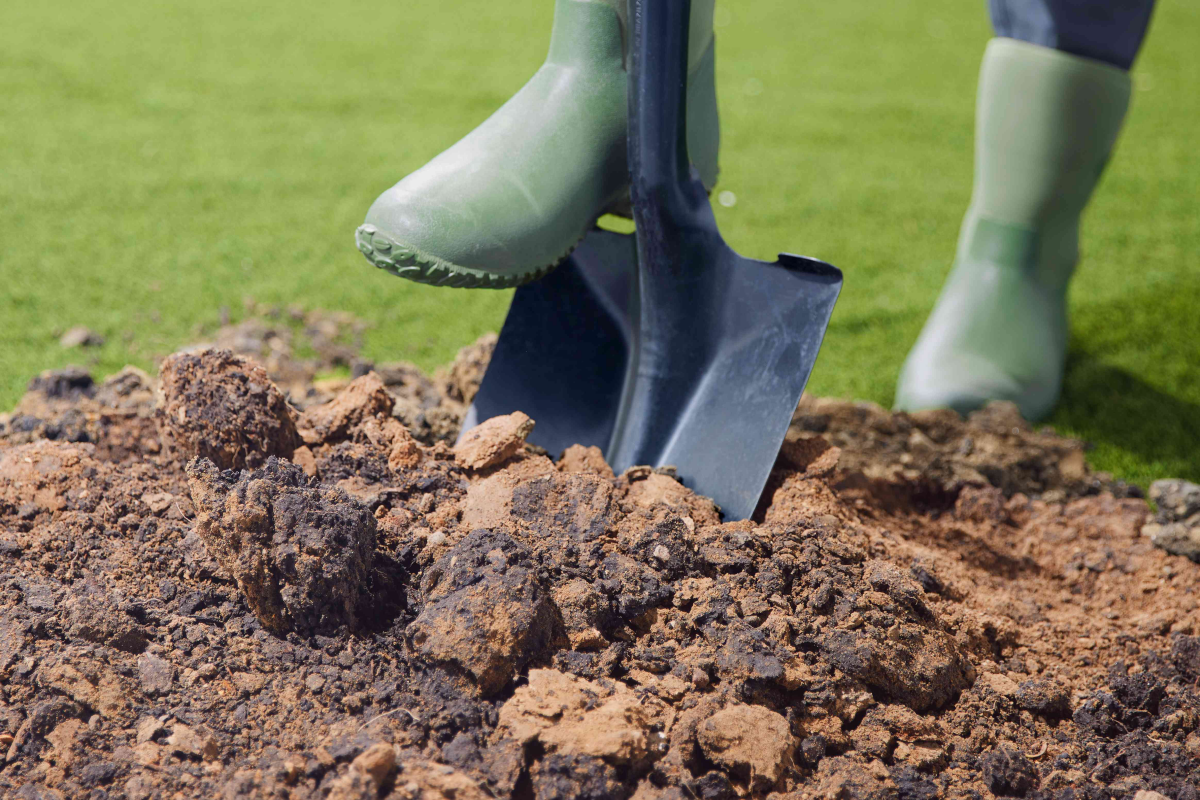
Single Digging: The Old Faithful
This is your standard, classic method for an established garden bed. It’s straightforward and gets the job done.
Best For: Yearly prep of existing garden beds with decent soil.
Effort Level: Moderate. It’s a workout, but manageable.
Soil Impact: Moderately disruptive. It mixes the top layers but doesn’t totally wreck the ecosystem.
The process is simple: you dig a trench at one end, put that soil in a wheelbarrow, add your amendments to the trench, and then dig the next row of soil right into that first trench. You work your way backward across the bed so you’re not stepping on your freshly loosened soil. The dirt from the wheelbarrow fills the very last trench. Easy.
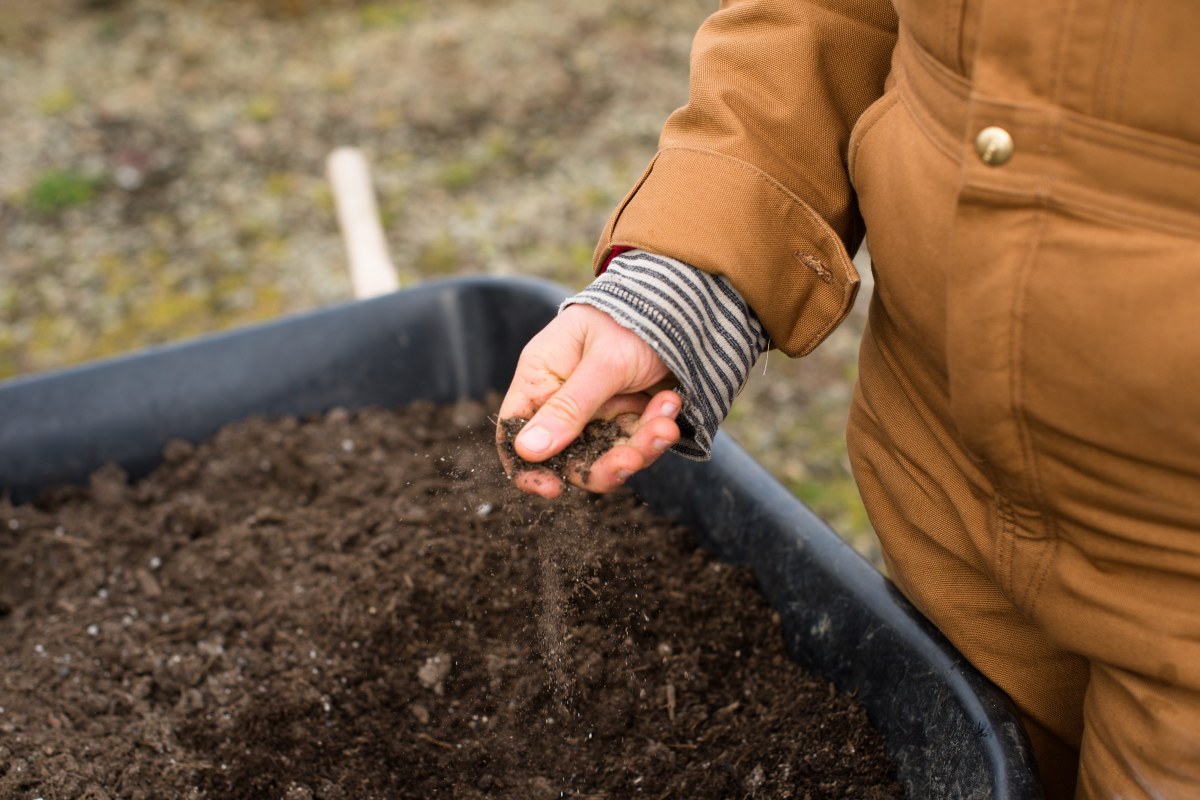
A quick tip: This is the time to add your organic matter. Things like compost (basically, broken-down stuff like leaves and old veggies) or aged manure (which is… well, you know… that’s been composted for at least six months so it won’t burn your plants). Spread a 2 to 4-inch layer in the bottom of each trench before you fill it.
Double Digging: The Heavy Lifter
Okay, this one is serious business. I only recommend this for brand new beds on really compacted ground or for gardeners who are serious about growing long root veggies like parsnips.
Best For: Creating new beds on terrible, compacted soil.
Effort Level: EXTREME. This is back-breaking work.
Soil Impact: Highly disruptive, but for a good cause. It creates an incredibly deep, fertile root zone.
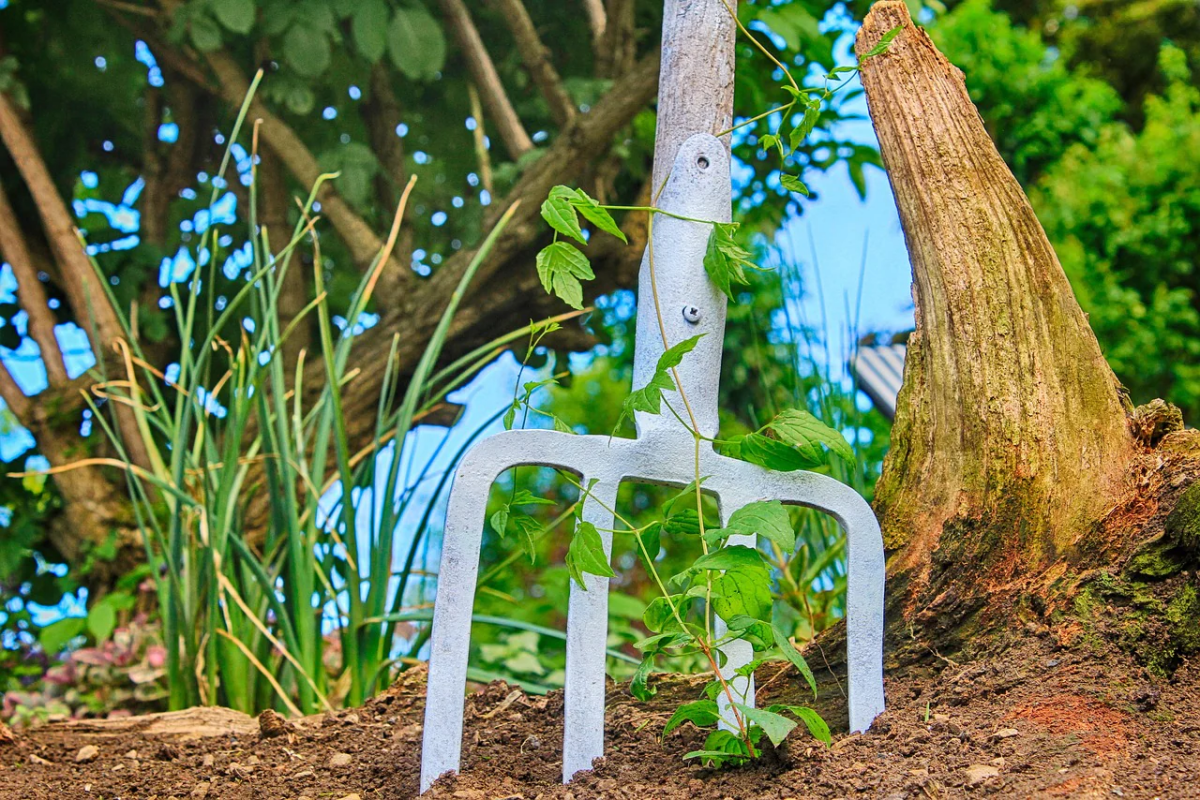
You start like single digging, but after you dig out the first trench, you take a digging fork and loosen the hard subsoil at the bottom without flipping it over. Then you add amendments and proceed as normal. It creates about two feet of loose, wonderful soil. Heads up! I once tried to double dig a 10×20 foot plot in a weekend. My back was screaming for a week. Pace yourself.

Using a Tiller: The Power Option
A rotary tiller can save a ton of time, but it’s a beast. I use them sparingly, maybe to break new ground or turn in a thick cover crop.
Best For: Large plots, breaking new ground, or incorporating lots of material quickly.
Effort Level: Low (for you), high (for the machine).
Soil Impact: VERY disruptive. This is the biggest drawback. Over-tilling pulverizes soil structure and is rough on worms and fungi.
If you use one, make one or two slow passes and call it a day. Don’t turn your soil into powder! Renting a tiller for a weekend usually runs about $50 to $90, which can be well worth it for a big job. Just be safe—they can jump and kick, so wear sturdy boots and check for rocks first.
The Broadfork: The Gentle Giant
This is my preferred method these days for established beds. It’s a move toward “low-till” gardening, which is all about preserving that soil life.
Best For: Aerating established beds without destroying soil structure.
Effort Level: Moderate. It uses your body weight, not your back.
Soil Impact: Minimal. This is its superpower. It aerates deeply while keeping the soil layers and microbe communities intact.
A broadfork is a wide, U-shaped fork with long tines. You step on it, use your weight to sink it into the ground, and then rock it back and forth to loosen the soil. It’s a fantastic compromise between heavy digging and doing nothing. You might have to search for one at specialty garden suppliers online, but it’s a tool that will change how you garden.
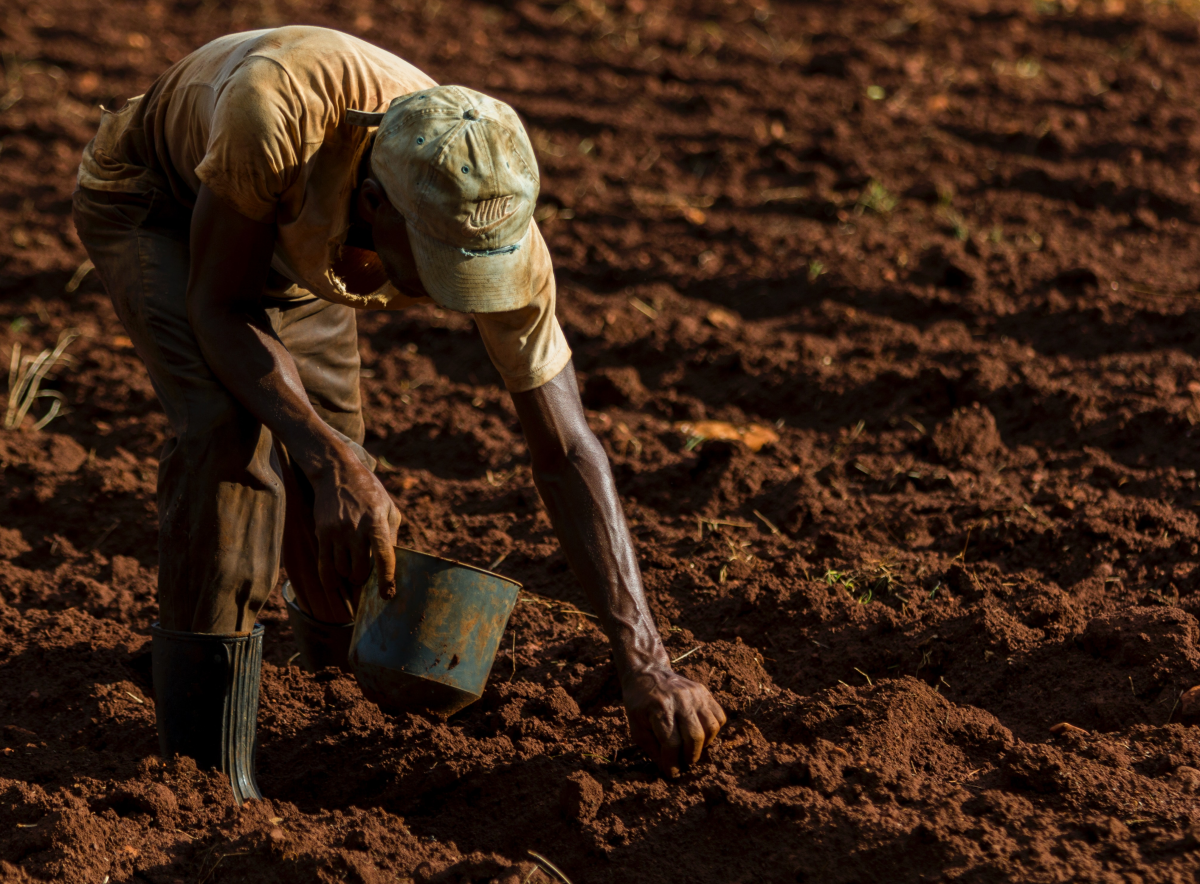
Pro Tips for Your Specific Soil
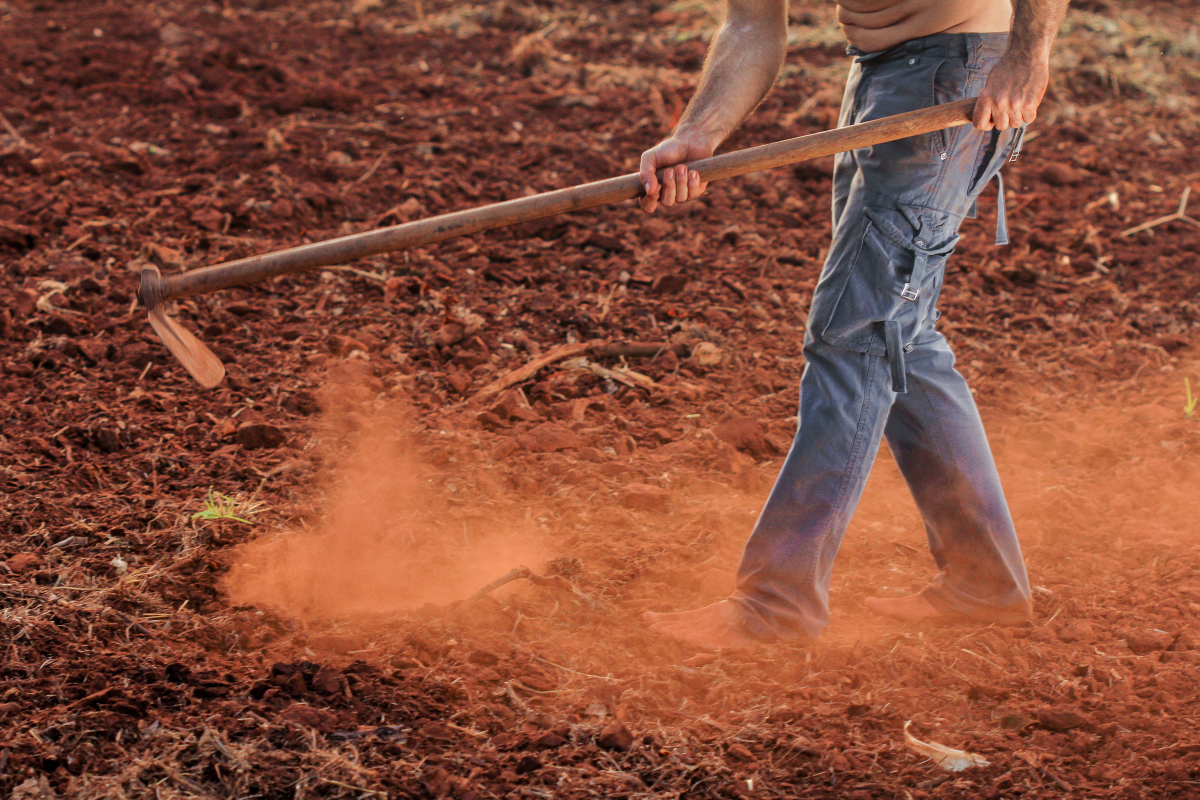
Where you live changes the game. Dense red clay and loose, sandy soil require totally different strategies.
- For Heavy Clay: The key is adding coarse organic matter like compost and shredded leaves to build structure. Fall is your best friend. Turn the soil in autumn and leave it in rough clumps. Winter’s freeze-thaw cycle will work its magic, breaking the clay apart for you.
- For Sandy Soil: Here, the mission is to add tons of organic matter to help it hold water and nutrients. You’re not as worried about compaction, so the focus is just on mixing in compost, compost, and more compost. Good to know: If you want to add a 3-inch layer of compost to a 100-square-foot bed (a 10×10 area), you’ll need about one cubic yard. That’s way more than a few plastic bags from the hardware store. To save a lot of money, look for a local landscape supplier that sells amendments in bulk.
- For Rocky Soil: Honestly, sometimes the best strategy is to stop fighting. If you spend more time pulling out rocks than digging, consider building up instead. Raised beds filled with a good mix of compost and topsoil will save you endless frustration.
The Easiest Method? Do (Almost) Nothing
No time for any of this? I get it. The single best thing you can do for your soil today is to just top-dress it.
Seriously. Just lay a 2-inch layer of compost or shredded leaves right on top of the soil. Don’t dig it in. The worms and microbes will feast on it and pull all that goodness down into the soil for you, aerating as they go. You’ve just fed your soil’s workforce with almost zero effort.
A Final, Crucial Safety Check
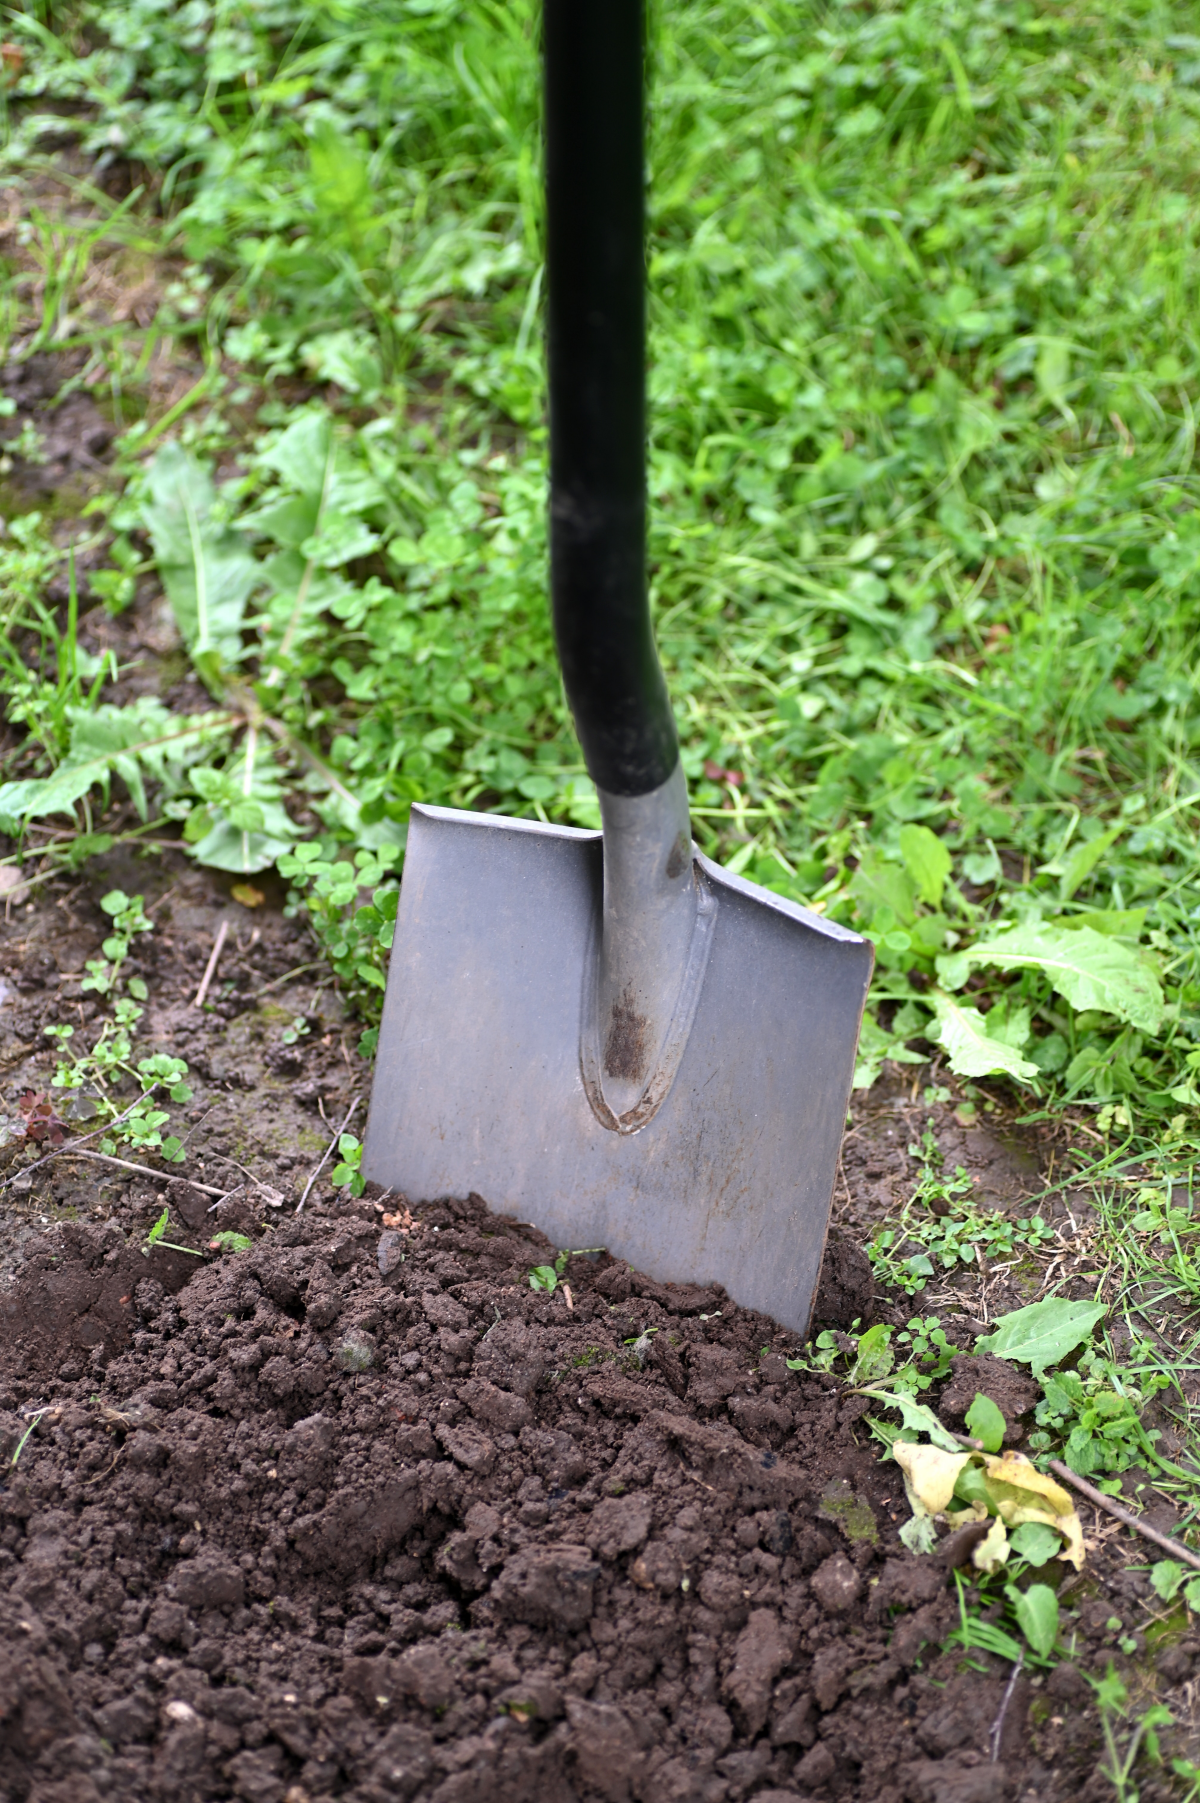
Gardening should be a joy, not a trip to the ER. This is physical work.
Protect Your Back. Lift with your knees, not your waist. I swear by long-handled spades to save my back, and it’s worth investing in a good one. Expect to pay between $30 and $70 for a forged-steel spade that won’t bend the first time you hit a rock.
Know What’s Below. Before you dig any new area, you have to know what’s buried there. In the United States, you can call 811 a few days in advance to have public utility lines marked for free. In other countries, check with your local utility providers. Never, ever assume an area is clear.
Check for Contaminants. If you’re gardening in an urban area or near an old structure, it’s smart to test your soil for heavy metals like lead. Search online for “your state + cooperative extension soil testing” to find your local office. A test is usually cheap—maybe $15 to $30—and the peace of mind is priceless.
Building great soil doesn’t happen overnight. It’s a partnership you build season after season. But if you listen to your soil and give it what it needs, you’ll be rewarded a hundred times over. That’s where the real magic of gardening begins.

Galerie d’inspiration
Is it okay to start digging right after a spring shower?
Patience is a gardener’s best friend here. Working with soggy soil is one of the fastest ways to ruin its delicate structure. When wet, soil particles, especially clay, get squished together, forcing out the essential air pockets that plant roots need to breathe. This creates dense, compacted clods that are nearly impossible for young roots to penetrate. The simple test: grab a handful of soil and squeeze. If it forms a tight, wet ball and doesn’t crumble when you poke it, it’s too wet. Put the shovel down and wait for a drier day.
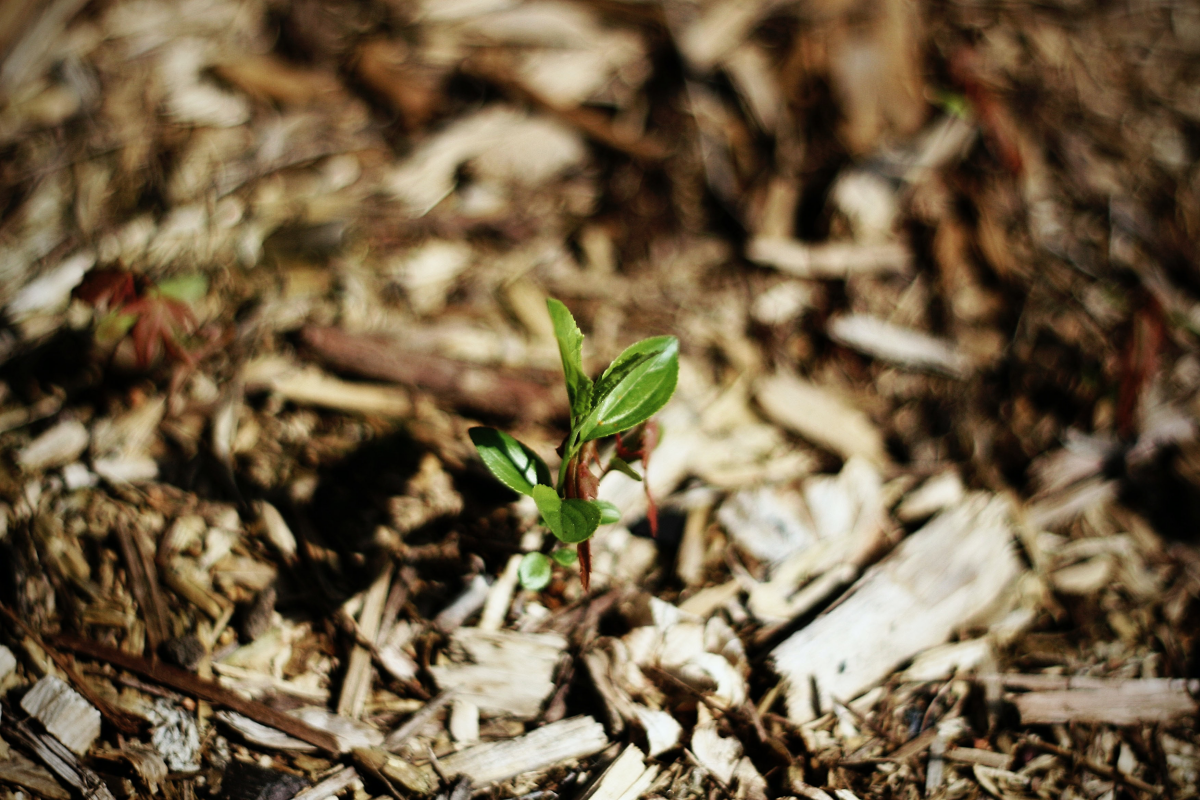
A single teaspoon of healthy garden soil can contain up to one billion bacteria, several yards of fungal filaments, and thousands of protozoa.
This invisible world is your garden’s true engine. These microorganisms are the ones breaking down organic matter, fighting off plant diseases, and making nutrients available for your plants to absorb. When you gently prepare your soil, you aren’t just digging dirt; you’re cultivating a thriving underground ecosystem.
Instead of aggressive tilling, consider building your soil *up* with a
Hand Tiller: A tool like the Corona MAX Tiller is perfect for breaking up moderately compacted soil or mixing in amendments in established beds without the destructive power of a gas machine. It gives you precise control, preserving the soil’s deeper layers.
Broadfork: This large, U-shaped fork is designed for deep aeration with minimal disturbance. You simply press it into the ground with your body weight and rock it back and forth, creating deep channels for air and water without flipping the soil layers upside down.
For preserving soil life, the broadfork is the clear winner for deep prep.
Feel the grit. That sandy texture in your soil is great for drainage but struggles to hold onto nutrients and water. Amending with sphagnum peat moss or coconut coir will dramatically improve its ability to retain moisture, giving your plant roots a more consistent water supply.


