How to Winterize Your Outdoor Furniture So It Doesn’t Look Awful Next Spring
I’ve been working with wood and metal for a long time, and every single spring, I hear the same sad story. Someone buys a gorgeous teak dining set or a classic wrought iron bench, enjoys it for one perfect summer, and then after a single winter, it looks a decade older. The wood is all gray and splintery, or there’s rust bleeding from the joints. It’s a super frustrating and expensive lesson to learn.
In this article
Here’s the thing: protecting your outdoor furniture isn’t just about tossing a cheap blue tarp over it and hoping for the best. It’s about understanding what winter is actually doing to the materials and taking a few key steps to stop the damage before it starts. You chose that furniture for a reason, right? You invested in it. A few hours of work in the fall can honestly add a decade or more to its life. In this guide, I’m going to walk you through the exact methods the pros use, breaking it all down so you can keep your outdoor space ready to go the second the warm weather returns.

First, Know Your Enemy: What Winter Actually Does
Before you grab a single tool, it helps to know what you’re up against. There are three main culprits that wreck your furniture over the winter: moisture, the sun, and the freeze-thaw cycle. Let’s break it down.
Moisture & The Freeze-Thaw Nightmare
Water is the root of almost all evil when it comes to winter damage. It sneaks into the tiniest spots—the pores in wood, microscopic cracks in a paint finish, you name it. When that trapped water freezes, it expands by about 9%. This expansion acts like a tiny, powerful wedge, prying things apart from the inside.
Think of it as a slow, relentless hammer. During the day, snow melts, and water seeps into your furniture. At night, the temperature drops, and that water freezes, expanding and making the crack a little bigger. The next day, it thaws, and water settles even deeper into that new space. That night, it freezes again. After a hundred of these cycles in a single winter, the damage is real. It’s how a brand-new wooden chair can feel loose and wobbly after just one season.

Don’t Forget the Sun and Wind
Even the weak winter sun puts out UV rays that break stuff down. On wood, they destroy the natural glue holding the fibers together, which is what turns it that silvery-gray color. That gray layer is basically dead, damaged wood. UV rays also make plastics brittle and cause them to crack and fade.
And then there’s the wind. It can knock furniture over, causing dings and scratches. Or, it can whip a loose cover against a finish for months, basically sand-papering it. Oh yeah, and those wet leaves that get trapped on a tabletop? They can sit there for months, leaving deep stains and creating a permanent damp spot that’s a perfect home for mold and rot.
The Game Plan: Prepping Your Furniture by Material
Okay, let’s get to work. Every material needs a slightly different approach. What saves a wooden table could ruin a metal one. Here’s the breakdown based on what I’ve seen work (and fail) over the years. Plan for a full afternoon to do this right for an average 4-person dining set.

1. Wooden Furniture (The Most Needy, But Worth It)
Wood requires the most attention, but the results are worth the effort. First, you need to know if you have a hardwood (like teak or acacia) or a softwood (like pine or cedar). Hardwoods are dense and oily, so they’re naturally more weather-resistant. Softwoods need more help from you.
Step 1: The Deep Clean
Your goal is to get rid of surface dirt and, more importantly, any mildew or algae spores. For this, you’ll want to mix up a gentle but effective cleaning solution. Heads up! Don’t use chlorine bleach; it can damage the wood fibers. Instead, grab some oxygen bleach (it’s a powder, usually in the laundry aisle at any supermarket for about $15). Mix one cup of it into a gallon of warm water with a small squirt of dish soap.
Apply the solution and let it sit for about 15 minutes, but don’t let it dry. Then, gently scrub with a soft-bristle nylon brush, always going in the direction of the wood grain. A wire brush will just tear up the wood. Rinse it all off thoroughly and let the furniture dry completely for a good 24-48 hours.

Step 2: Sanding and Sealing
Once it’s bone dry, the wood might feel a little fuzzy. Just give it a light sanding with 150-grit sandpaper (a small pack is maybe $5 at Home Depot). You’re just smoothing the surface so it will accept the new finish. Wipe away all the dust with a damp rag.
Now for the sealer. For hardwoods like teak, you can either let them turn gray or keep the warm color. To keep the color, apply a quality teak sealer, which you can find for $25-$40 a quart. I prefer sealers over oils because they form a better protective barrier. Apply a thin coat with a rag, let it soak in for 20 minutes, then wipe off ALL the excess. A thick, sticky coat is a dirt magnet. For softwoods, a protective finish is mandatory. Use a good exterior wood sealant to block moisture and prevent rot.
A SERIOUS Safety Note: Rags soaked in oil-based finishes can spontaneously combust as they dry. I’ve seen it happen, and it’s a real fire hazard. Never bunch them up and toss them in the trash. Lay them out flat on a concrete driveway to dry completely, or soak them in a bucket of water before you dispose of them.
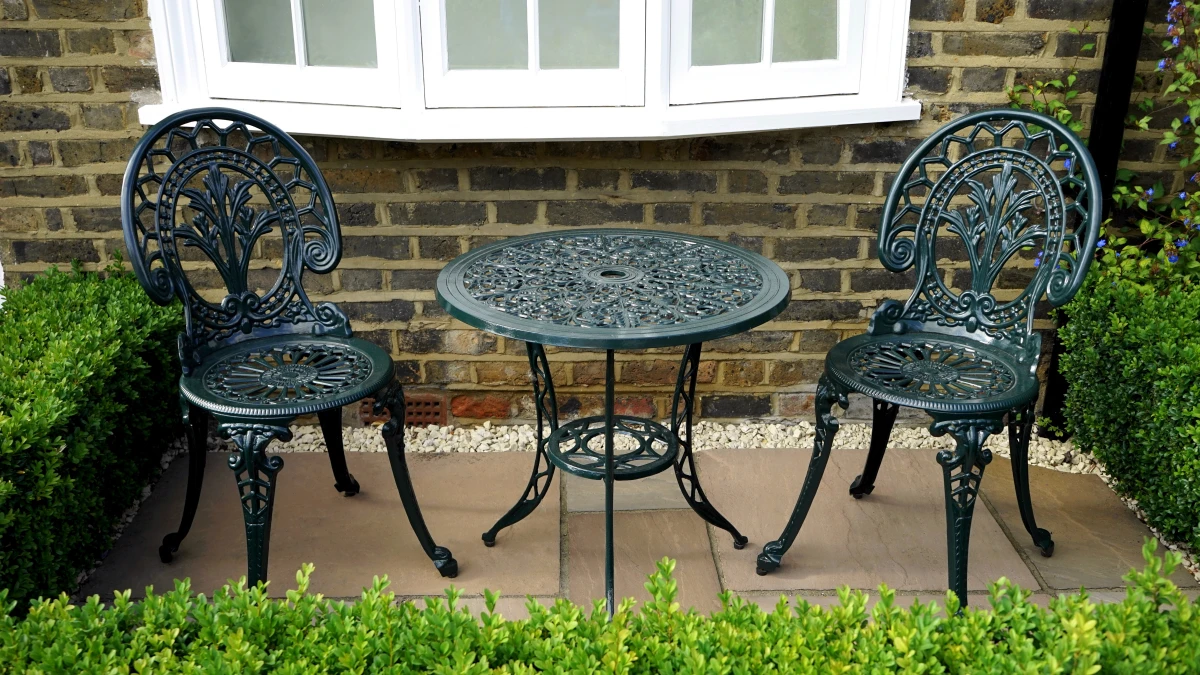
2. Metal Furniture (Fighting Off Rust)
Metal furniture is all about stopping rust before it ever gets a chance to start. The care really depends on the type of metal.
Aluminum: This is the easy one. It doesn’t rust, but it can oxidize, which looks like a chalky white powder. Just clean it with mild soap and water. For the chalky spots, a 1:1 mix of white vinegar and water works wonders. To add protection and shine, apply a thin coat of automotive wax. And yes, I’m telling you to go grab the Turtle Wax from your garage. It works great for this and creates a barrier that repels water.
Steel and Wrought Iron: These are strong but will rust if you look at them wrong. The tiniest chip in the paint is an open door for moisture. Inspect every inch, especially welds and feet. If you find rust, you have to remove it completely. For light rust, sandpaper works. For heavier rust, you’ll need a wire brush. You must get down to shiny, bare metal. Painting over rust is useless; it will just bubble back through in a few months. Once the rust is gone, wipe the area with mineral spirits and immediately apply a rust-inhibiting metal primer (like Rust-Oleum). This is the critical step! After the primer is dry, apply two thin coats of a quality exterior metal paint.
3. Wicker and Rattan (Natural vs. Fake)
First, you need to figure out if your wicker is natural plant fiber or the all-weather synthetic stuff. Their care is totally different.
Quick Test: Find a hidden spot on the underside. Gently poke it with a pin. If the pin sinks in a little, it’s likely natural. If it just feels hard like plastic and the pin scratches the surface, it’s synthetic.
Natural Wicker: This stuff is very porous and should NEVER be left out in a harsh winter. Vacuum it with a brush attachment to get dirt out of the weave. Then, wipe it down with a barely damp cloth with a little soap. Don’t soak it! Let it dry completely indoors. If the finish is flaking, you can give it a light sand and a fresh coat of spray lacquer for protection.
Synthetic (All-Weather) Wicker: This is much tougher. You can wash it with soap, water, and a soft brush. While it’s water-resistant, it can still get brittle from UV rays and the freeze-thaw cycle can weaken the woven strands over time. It’s called “all-weather,” not “invincible.” It’s always best to store it if you can.
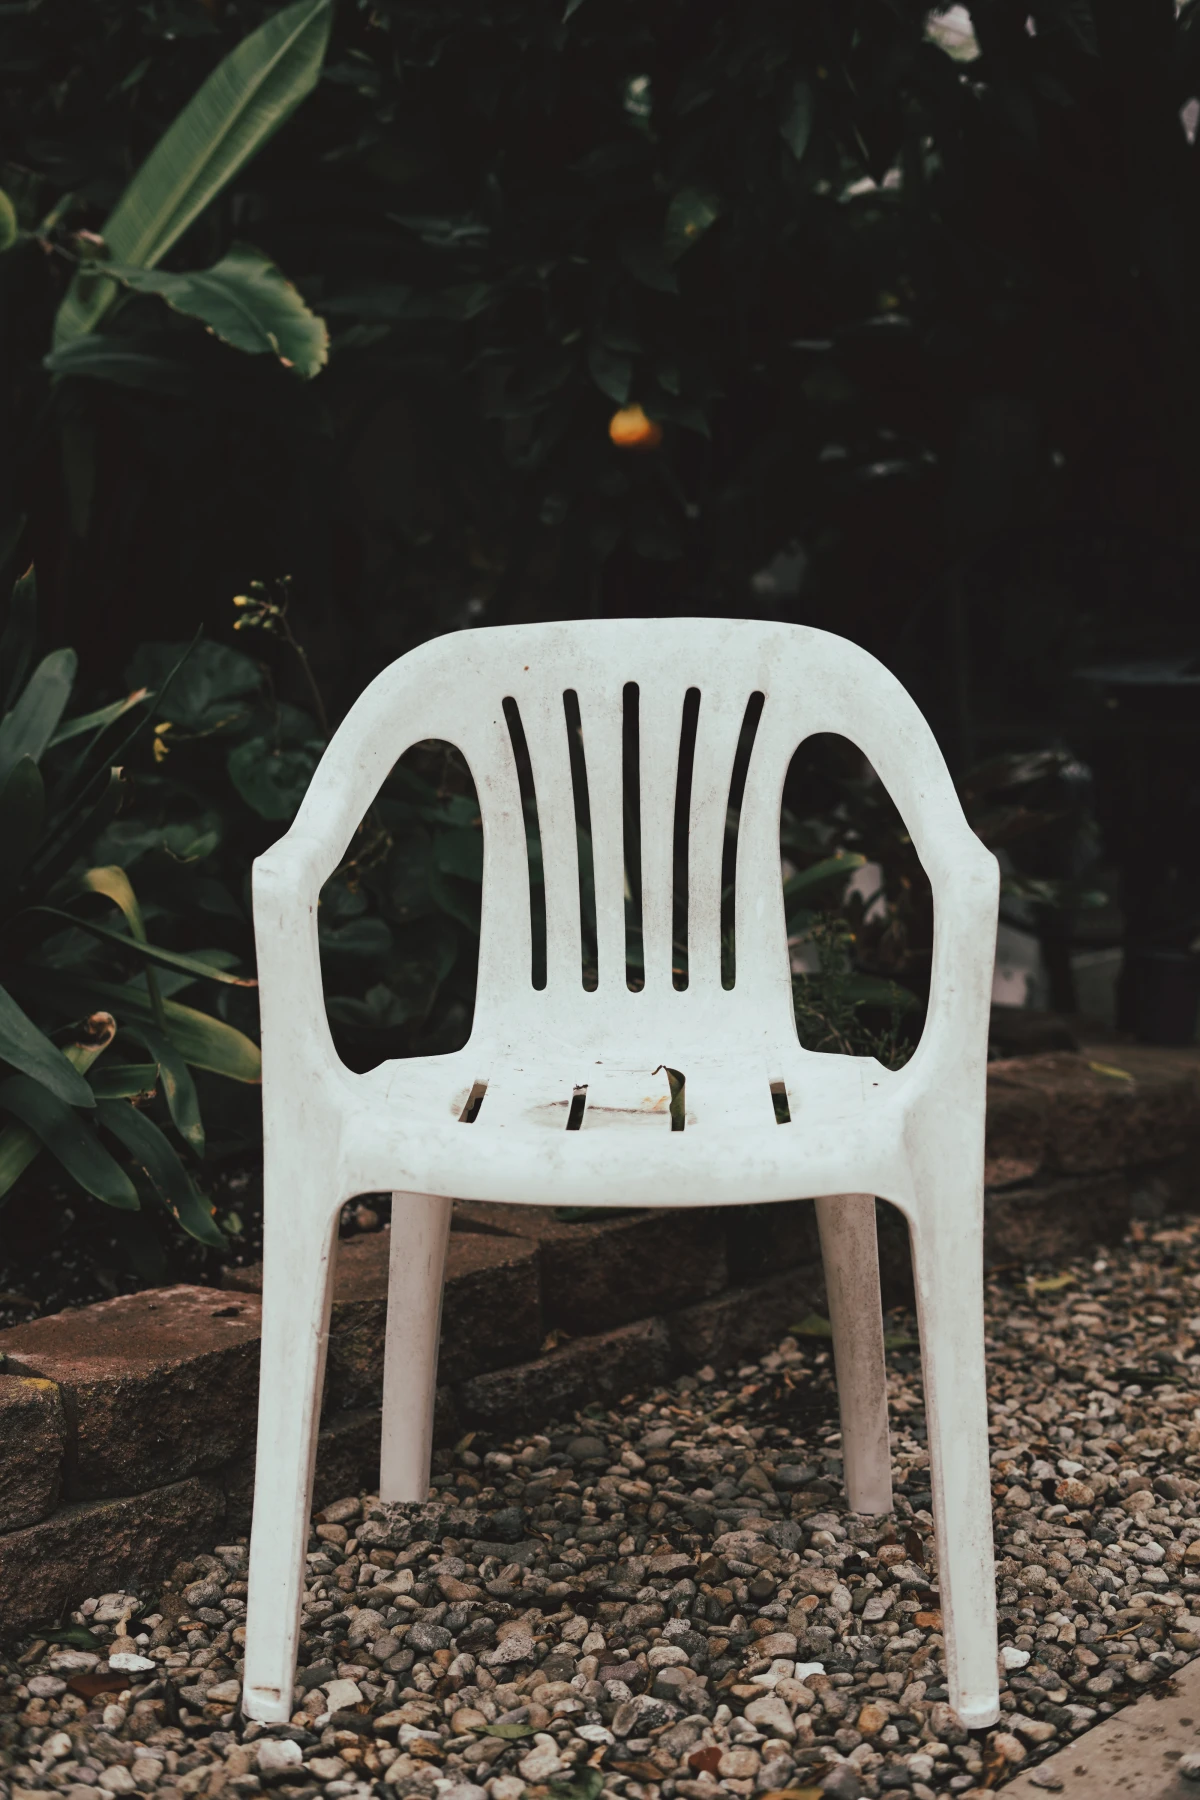
4. Plastic and Resin Furniture
Plastic is low-maintenance but not indestructible. Its biggest enemies are UV rays (which make it brittle) and ground-in dirt. Clean it with a good scrub, but avoid abrasive powders that create scratches. For stubborn stains on white plastic, a diluted bleach solution can work, but rinse it off completely. To give it some life back and make it easier to clean in the spring, apply a coat of automotive wax or a specialized plastic protectant. A word of caution: I’ve seen those cheap white plastic chairs get so brittle they just collapse without warning. If it feels fragile, it’s a safety hazard.
Storage Strategies: The Good, the Bad, and the Realistic
How you store your prepped furniture is just as important as the prep itself. Here are your options, from best to worst.
-
The Gold Standard: Inside (Cost: Free, Protection: 10/10)
A garage, a dry basement, or a shed is the absolute best place for your furniture. It’s completely protected from everything. If you stack pieces, put old blankets or cardboard in between to prevent scratches. Pro tip: place small blocks of wood under the legs to keep them off a potentially damp concrete floor. -
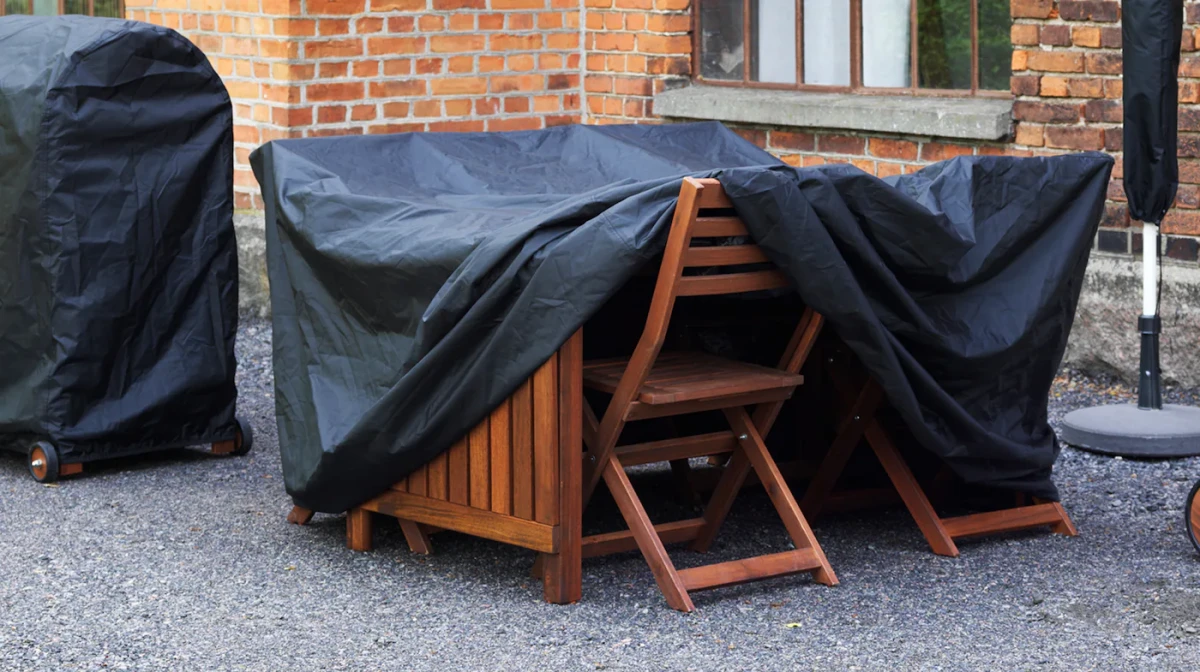
The Good Alternative: Breathable Covers (Cost: $50-$150, Protection: 8/10)
If you don’t have indoor space, a high-quality cover is your next best option. And I don’t mean a cheap, solid plastic tarp! Those are waterproof, which is the problem—they trap condensation underneath, creating a personal terrarium that promotes mold and rust. Instead, look for covers made from heavy-duty, breathable polyester fabric (like boat covers), which you can find online or at a home improvement store. They should have vents for air circulation and straps to keep them from flapping in the wind. -
The Last Resort: In-Place Protection (Cost: Free, Protection: 3/10)
If you absolutely cannot move or cover your stuff, you can still minimize the damage. Move everything to the most sheltered spot you have, like under a deep roof eave. If you only have 30 minutes for your entire winter prep, do this: turn tables and chairs upside down or tilt them so water and snow can’t pool on them. Then, use bricks or wood blocks to get all the legs off the ground. This simple step can single-handedly prevent the legs of wooden furniture from rotting.
Don’t Forget the Cushions and Umbrellas!
Seriously, don’t leave the soft stuff outside. All cushions, pillows, and umbrella canopies need to come indoors for the winter.
Clean everything according to the tag. Most can be machine washed. The most important step is to make sure they are 100% BONE DRY before you store them. Any dampness will turn into a mildewy mess in a storage bag. Let them air dry for an extra day inside after you think they’re dry, just to be safe. Store them in breathable bags, not tightly sealed plastic ones.
A weekend of focused work in the fall will be rewarded every spring when your furniture emerges looking just as good as you remembered. It’s ready for another season, all because you took a little time to protect it properly.
Inspirational Gallery
Polyester Covers: Often lighter and more breathable, allowing moisture to escape, which is crucial for preventing mildew on wooden or wicker furniture. Look for high-denier counts (a measure of fabric thickness) for durability.
Vinyl Covers: Heavier and completely waterproof, but they don’t breathe. This can trap condensation, potentially causing more harm than good for natural materials. They are best suited for protecting solid metal or plastic items.
For most pieces, a vented, solution-dyed polyester cover from a brand like Duck Covers offers the best balance of protection and breathability.
Did you know? The silvery-grey sheen that untreated teak develops is a natural protective patina, not damage. However, black spots are mildew and green streaks are algae—signs that a deep clean and new sealant are needed before storage.
Don’t just think about the frames; textiles need love too. Before storing cushions, pillows, and umbrella canopies:
- Ensure they are 100% dry to the core. A single damp spot can lead to a whole cushion full of mildew.
- Use breathable storage bags rather than sealed plastic totes.
- For a space-saving hack, use vacuum-sealed bags, but ONLY if you are certain the fabric is bone-dry.
- If storing in a shed, keep them on a shelf, never directly on a concrete floor where moisture can wick up.
What about furniture that’s too large or bolted down?
For those immovable pieces, your pre-winter prep is everything. If it’s wood, don’t skip the final coat of a quality marine-grade varnish or sealer like Star Brite Premium Teak Oil. For fixed metal benches, meticulously inspect and touch up any chips in the finish with a rust-inhibiting paint, such as Rust-Oleum, to seal out moisture from the vulnerable points before fitting a heavy-duty, vented cover.
A common mistake to avoid: Creating an airtight seal with a cover. Furniture, especially wood, needs to breathe. A non-breathable tarp pulled tight against a surface will trap condensation, creating a perfect microclimate for mold and rot. Always ensure there is an air gap. You can achieve this by placing a buoyant object, like a beach ball or an upside-down bucket, on a tabletop to create a tent-like peak for the cover, allowing air to circulate and water to run off.
- Prevents ugly orange rust stains from dripping onto your patio or deck.
- Ensures smooth, silent operation of folding chairs and reclining loungers next season.
- Keeps your umbrella mechanism from seizing up.
The secret? A five-minute hardware check. Before you cover everything, take a moment to wipe down and spray all hinges, bolts, and moving metal parts with a silicone or lubricant spray like WD-40. This tiny step prevents a winter’s worth of corrosion.
The ritual of packing away the summer patio is more than a chore; it’s a seasonal bookend. The scent of wood oil, the satisfying snap of a cover’s clips, the final sweep of the empty space—it’s an act of care that brings closure to one season and holds a promise for the next. It’s the quiet satisfaction of knowing everything is protected and ready for the first warm day of spring.
According to the International Casual Furnishings Association, exposure to the freeze-thaw cycle is the single greatest factor in the structural failure of outdoor furniture.
This means that even more than rain or sun, it’s that repeated expansion and contraction of trapped, frozen water that pries joints apart, cracks finishes, and degrades materials from the inside out. This is why ensuring your furniture is completely dry before covering is the most critical step of all.
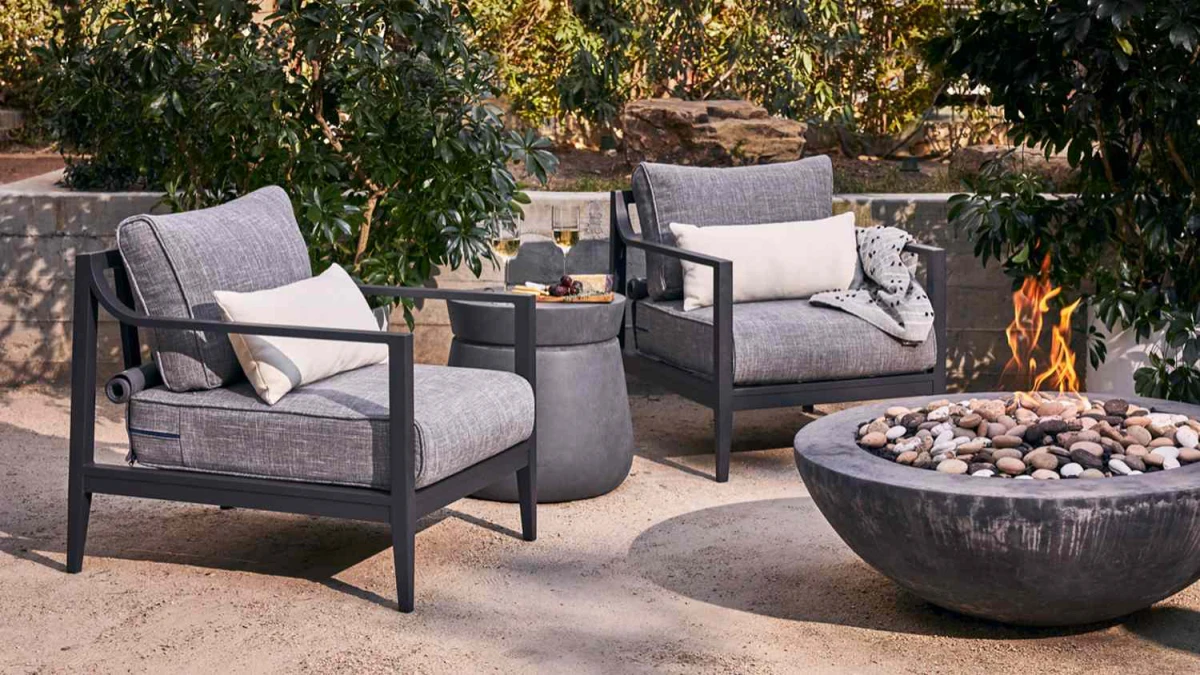
The latest trend in hassle-free outdoor living centers on advanced materials that shrug off winter. Furniture made from marine-grade polymers or High-Density Polyethylene (HDPE), like the colorful chairs from Loll Designs or classic styles from Polywood, is non-porous. Water can’t get in, so it can’t freeze and expand. For these pieces, winterizing is often as simple as a good cleaning with soap and water—no sealing or covering required.


