Forget the Garden Patch: How to Grow Pounds of Potatoes in a Pot
I’ve been growing potatoes for what feels like a lifetime—over two decades now. I started out the old-fashioned way, in big fields with long rows and a tractor. But for the last ten years or so, my real passion has been growing in small spaces. And you know what? My most consistent, impressive potato crops come from containers right on my patio.
In this article
- First, What Even Is a Potato? (Hint: It’s Not a Root)
- Your Gear: Picking the Right Pot and Soil
- Overwhelmed? A First-Timer’s Quick Win
- Choosing and Prepping Your Seed Potatoes
- Planting Day: Step-by-Step
- Growing Season: Hilling, Watering, and Feeding
- Troubleshooting Common Issues
- Harvest Time! The Best Part
- What About the Soil for Next Year?
People always look at me sideways when I say that. It feels wrong, doesn’t it? A potato seems like it needs all that space in the earth to do its thing. But honestly, growing in containers gives you an insane amount of control, and if you get a few key things right, the results can be fantastic. And I’m not just talking about a couple of spuds for a novelty project. We’re talking about a serious food source. You can pull 5 to 8 pounds of fresh, delicious potatoes from a single 15-gallon pot. That’s a game-changer for anyone with a balcony, patio, or just a sunny corner.

The trick is to go beyond the cutesy, oversimplified advice you see online. It takes a specific approach to your soil, your watering, and how you feed the plants. Get it right, and you’ll have a harvest that’s clean, incredibly easy to dig up, and tastes amazing. Get it wrong, and… well, you’ll have a heavy pot of dirt with a few marble-sized potatoes to show for it. I’ve been there. Let me walk you through the methods that actually work, the mistakes to sidestep, and why it all comes together.
First, What Even Is a Potato? (Hint: It’s Not a Root)
Before you even think about buying a pot, let’s get this straight. The potatoes we eat aren’t roots. They’re technically called ‘tubers,’ which are just swollen underground stems the plant uses to store up energy. This is the whole secret to our success.
The plant grows its main stalk, and from that stalk, below the soil, it sends out special stems called stolons. At the very end of these stolons, the potatoes form. This is why we ‘hill’ potatoes. Hilling is just the process of piling more soil up around the plant’s main stem as it grows. Every time you bury a new section of stem, you’re telling the plant, “Hey, make another layer of stolons here!” More stolons means more potatoes. It’s that simple.
In a container, we just do this vertically. We start with a little soil and keep adding more as the plant gets taller. It’s hyper-efficient and the reason containers can be so productive.
Your Gear: Picking the Right Pot and Soil
Your success truly starts here. If you skimp on the container or use bad soil, you’re setting yourself up for disappointment, no matter how much you baby the plants later on.
Let’s Talk Containers
You need a big pot. But the material and shape are just as important. You’re looking for something deep, with great drainage, that won’t cook the roots in the summer sun.
First off, a standard 5-gallon bucket from the hardware store just isn’t big enough for a serious harvest. You’ll get a few tiny spuds, but it’s not worth the effort. You really want to be in the 10-gallon range at a minimum, and ideally, a 15 to 20-gallon pot. A 15-gallon container is the sweet spot for two or three seed potato plants.
So, what should it be made of?
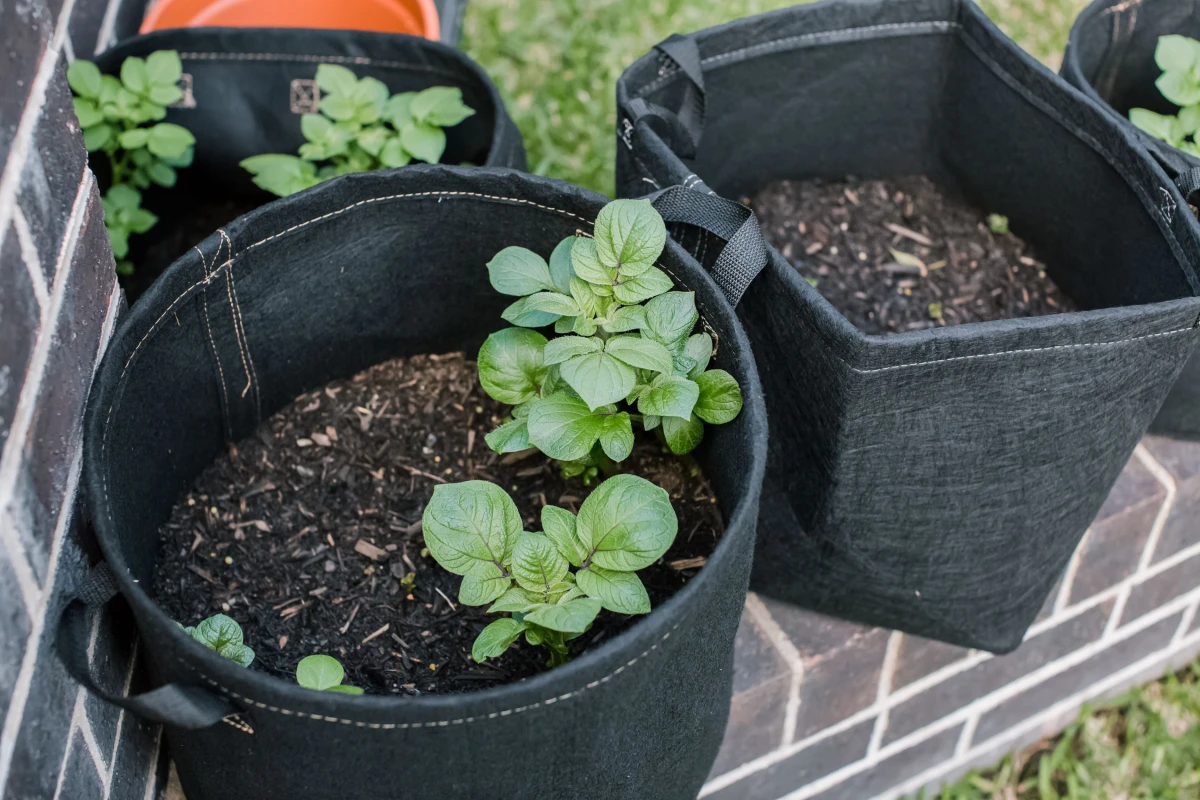
- Fabric Grow Bags: Honestly, these are my top choice. A good 15-gallon fabric bag will run you about $5 to $10 online or at a garden center. They’re made of a thick, felt-like material that has amazing drainage (it’s almost impossible to overwater) and allows for ‘air-pruning.’ When a root hits the fabric side, the air stops it from growing, which tells the plant to create a more fibrous, dense root ball instead of circling around like it does in a plastic pot. This means a healthier, happier plant.
- Plastic Pots: These are cheap and everywhere. They work fine, but you HAVE to make sure they have enough drainage. If I’m using a plastic pot, I’ll drill at least six half-inch holes in the bottom. The big downside? Dark plastic gets scorching hot in the sun, and you can literally bake the roots. If you go with plastic, pick the lightest color you can find.
- Terracotta/Clay: They look beautiful and they breathe, which keeps the soil nice and cool. The problem is they are heavy, break easily, and they dry out extremely fast. We’re talking daily watering in the heat of summer. It can be a real chore.
- Wooden Boxes: A custom-built wooden planter is a fantastic option. Just be sure you’re using untreated wood like cedar or pine. You absolutely do not want to use pressure-treated wood, because those chemicals can leach into your soil and, eventually, into your potatoes. Not good.
Oh, and a quick safety note: I’ve seen people use old, stacked tires. Please don’t do this. As those tires break down in the sun and rain, they can release zinc, heavy metals, and other nasty stuff into the soil. It’s just not worth the risk for food you’re going to eat.
The Perfect Soil Mix (Don’t Use Dirt from Your Yard!)
I’m going to say this in all caps because it’s that important: DO NOT USE SOIL FROM YOUR GARDEN. It’s way too heavy, it will compact into a brick in the pot, and it can bring along diseases and pests. You need a light, fluffy, well-draining mix.
You can buy pre-made potting mixes, and some are great. But to get the best results and save some money, I always mix my own. For a big 15-gallon pot, mixing your own soil will probably cost around $15, whereas a premium pre-made bag might be closer to $25.
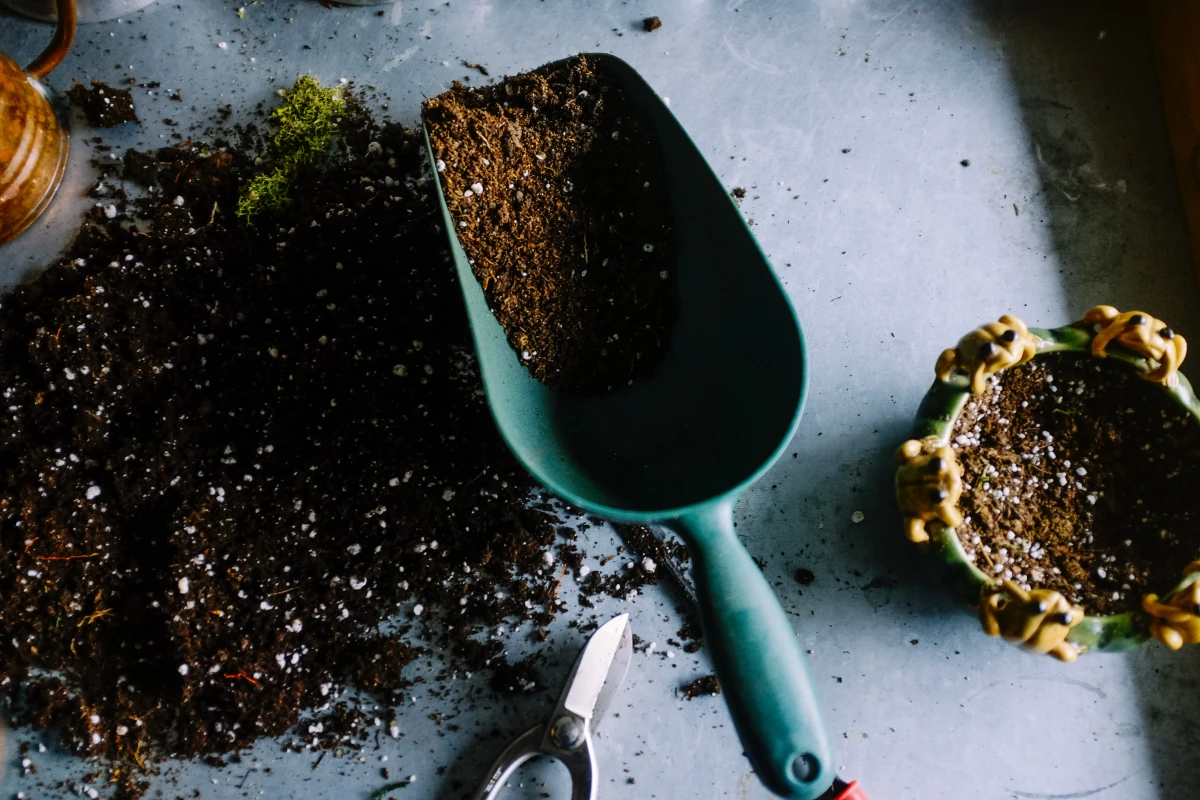
My Go-To Potato Mix Recipe (by volume):
- 1 part high-quality compost. This is your slow-release fertilizer and source of microbial life.
- 1 part peat moss or coco coir. This is for moisture retention and keeping things light and airy. Coco coir is a great sustainable alternative to peat.
- 1 part perlite. Those little white crunchy things. This is purely for drainage and aeration, preventing the soil from getting waterlogged.
Just dump it all on a tarp and mix it thoroughly. When you squeeze a handful, it should hold its shape for a second and then crumble apart easily.
Overwhelmed? A First-Timer’s Quick Win
Look, I get it. Mixing soil and picking pots can feel like a lot. If you just want to dip your toes in the water, here’s the dead-simple way to start.
Just do this: Buy ONE 15-gallon fabric grow bag, ONE bag of high-quality potting mix (something labeled for containers or raised beds), and 2-3 certified seed potatoes from a nursery. That’s it. You’ll spend under $40 total and can focus on the planting and growing process without getting bogged down in the prep. It’s a fantastic way to get a feel for it.
Choosing and Prepping Your Seed Potatoes
The potato you plant is the potato you’ll get. This is a pro step that makes a world of difference.
Determinate vs. Indeterminate: The Most Important Thing to Know
Potato varieties fall into two main types, and for deep container growing, this is critical.
- Determinate potatoes create one single layer of tubers right above where you planted the seed piece. They’re usually ‘early’ varieties that grow fast and are harvested all at once. They work in containers, but they don’t take full advantage of the deep hilling method.
- Indeterminate potatoes are the superstars for this method. These are ‘maincrop’ or ‘late-season’ varieties that will keep setting new potatoes all the way up the stem as you bury it. The more you hill, the more you get. This is how you achieve those massive 8-pound harvests.
For beginners, I always recommend an indeterminate variety to really see what’s possible in a deep pot.
My Top 3 Indeterminate Potatoes for Containers
Wondering which ones to try? These are some of my personal favorites that are known for performing well in bags and boxes:
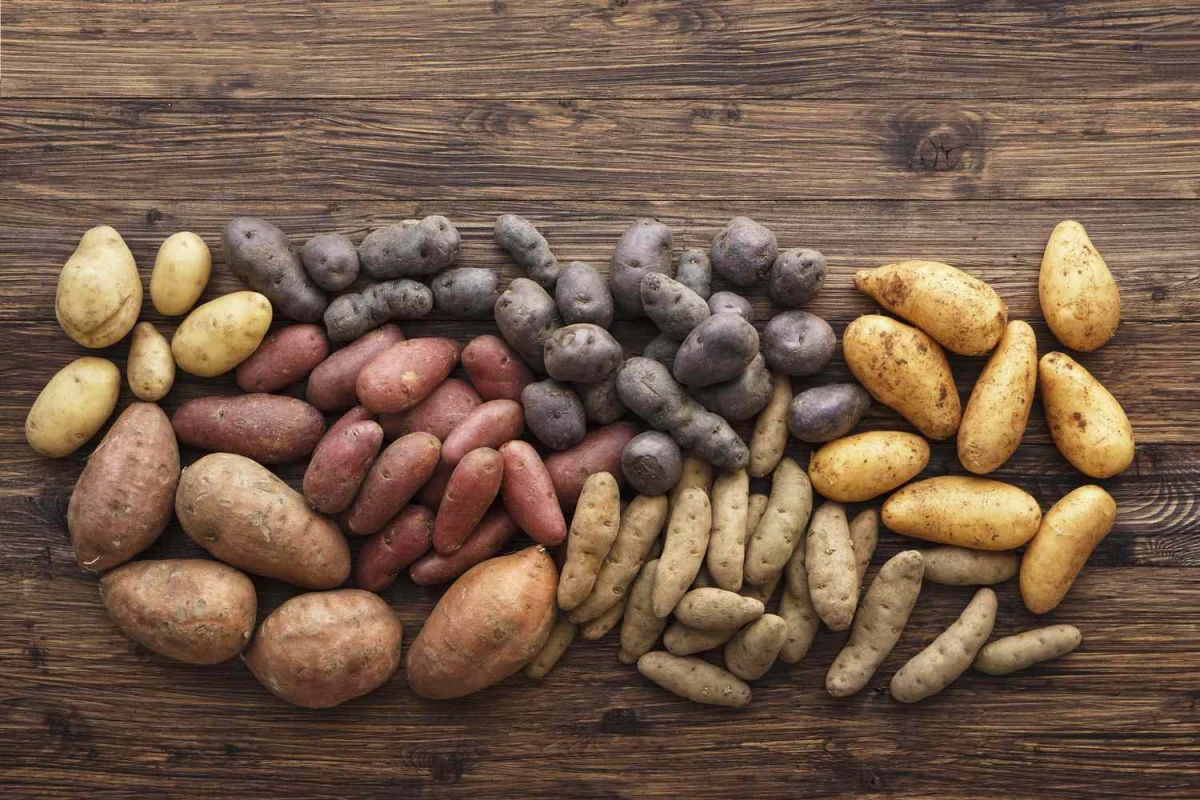
- Russet Burbank: The classic baking potato. They take a bit longer to grow but reward you with great yields and excellent storage potential.
- Nicola: A fantastic all-rounder. It has a wonderful buttery flavor and a waxy texture that’s perfect for boiling or making potato salads.
- French Fingerling: A gourmet choice with a reddish-pink skin and nutty flavor. They produce a large number of smaller potatoes, which is really fun for harvesting.
Get Your Seeds Ready
You can’t just use potatoes from the grocery store. Most of them are treated with a chemical to stop them from sprouting. Instead, buy ‘certified’ seed potatoes from a nursery or a reputable online supplier in early spring. They’re guaranteed to be disease-free.
About two to four weeks before you plan to plant, you should ‘chit’ your potatoes. Just lay them out in an egg carton or a shallow box in a cool, bright spot out of direct sun (like a garage near a window). This encourages them to grow short, thick, purplish-green sprouts. It gives them a huge head start.
If your seed potatoes are on the larger side, you can cut them into pieces. Just make sure each piece has at least two or three ‘eyes’ (the little dimples where sprouts form). Let the cut pieces sit out for a day or two to form a dry skin, which prevents them from rotting in the soil.
Planting Day: Step-by-Step
Once your last hard frost has passed, it’s go-time.
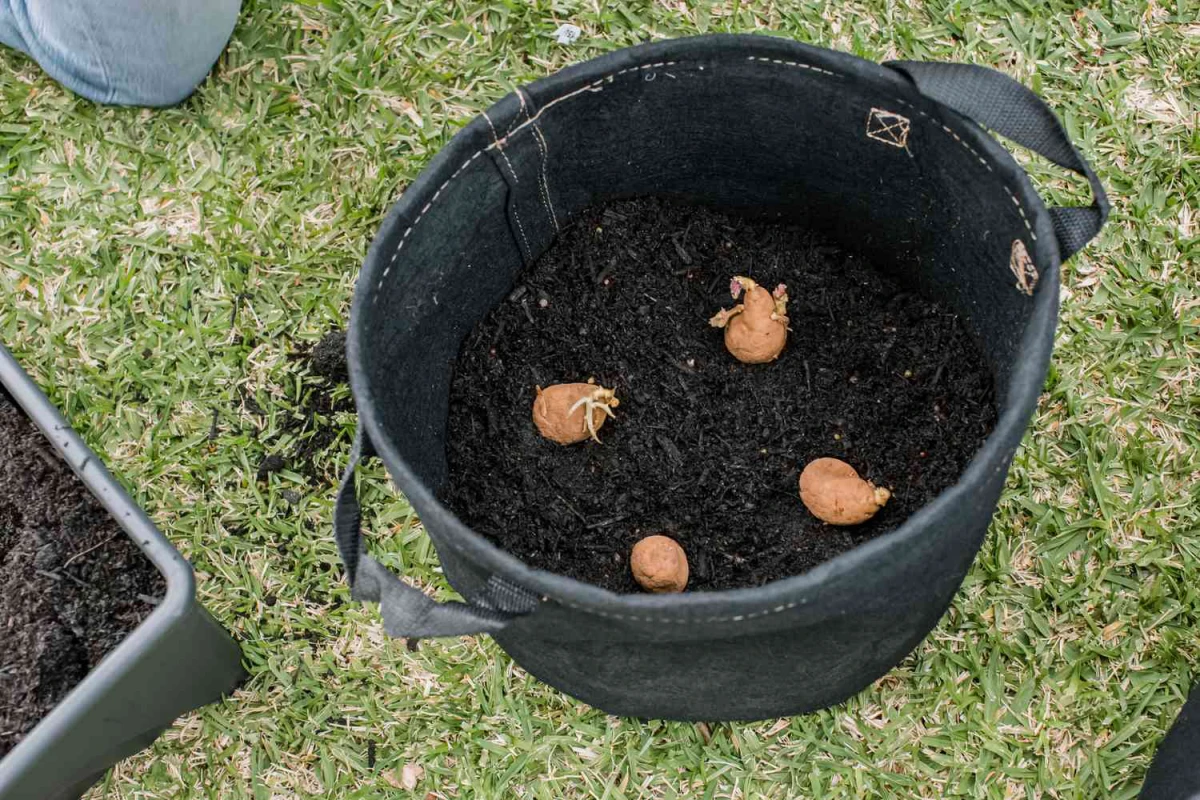
- Bottom Layer: Put about 4 to 6 inches of your fluffy soil mix in the bottom of your large container.
- Place the Seeds: Place 2 or 3 seed potato pieces on top of the soil, sprouts pointing up. Don’t overcrowd them!
- Cover Up: Gently cover the seed potatoes with another 3 to 4 inches of soil. The pot should still be mostly empty.
- First Watering: Water the pot thoroughly until it drains out the bottom. This is important: after this first good soak, DO NOT water again until you see green shoots poking through the soil. A common rookie mistake is to keep the soil wet, which just rots the seed piece before it can grow.
Growing Season: Hilling, Watering, and Feeding
Once the green shoots appear, your main job is to provide water, food, and more soil.
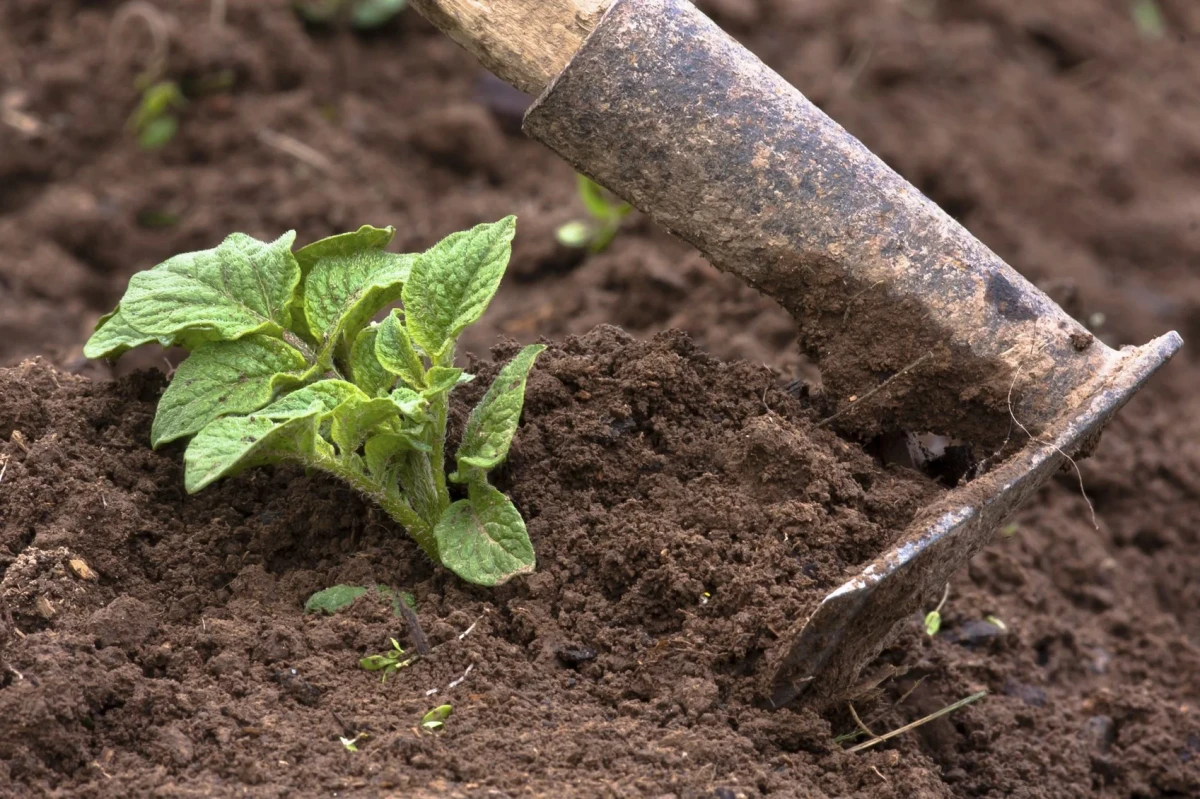
The Hilling Schedule
This is your most important job for indeterminate varieties. When the plant is about 8 inches tall, it’s time for the first hilling. Gently add about 4 more inches of your soil mix around the plant, leaving the top 4 inches of green growth exposed to the sun. Repeat this every couple of weeks as the plant grows, until the soil is about an inch from the rim of the pot.
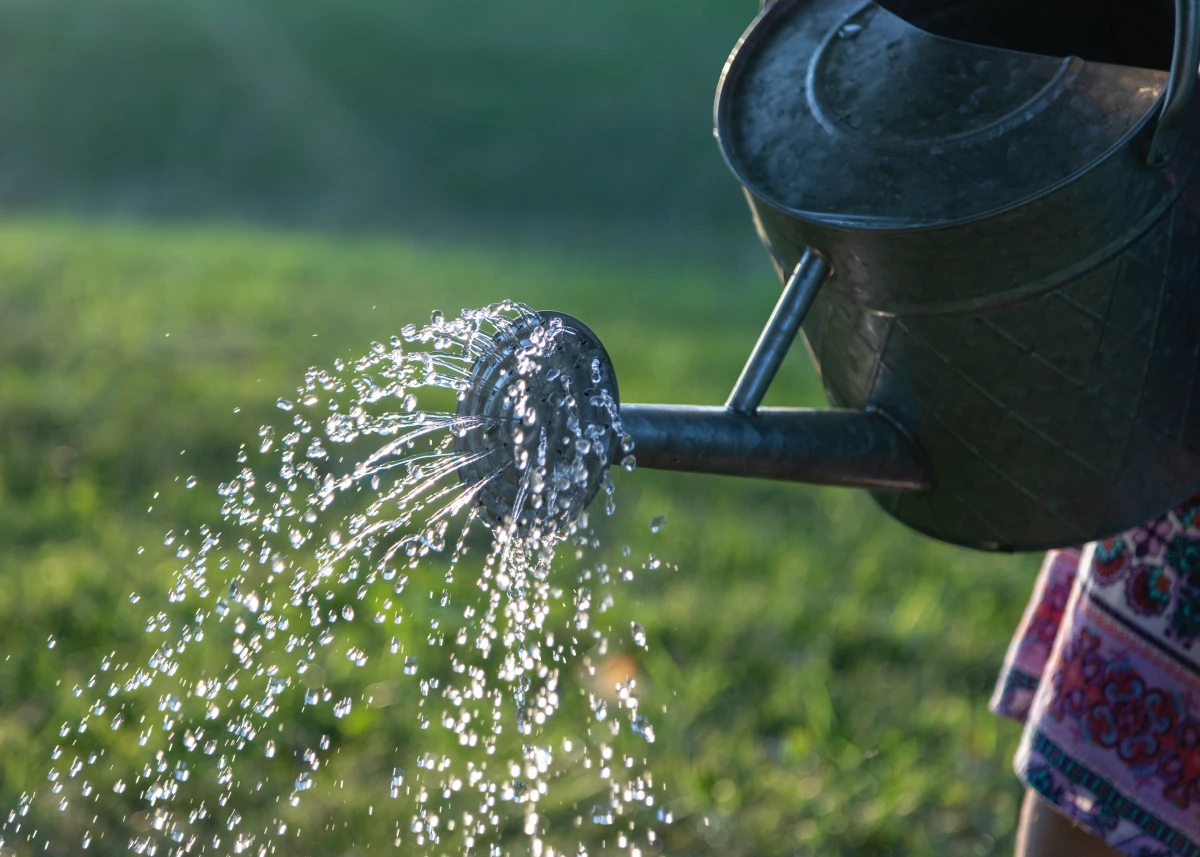
Watering the Right Way
Containers dry out fast. Check the soil every single day in hot weather. The best way is the finger test: stick your finger two inches deep. If it’s dry, it’s time to water. Water slowly and deeply until you see it run out the bottom. For my 15-gallon fabric bags, a deep watering usually means giving it about 1 to 1.5 gallons of water. This ensures the entire pot is moist, not just the top layer.
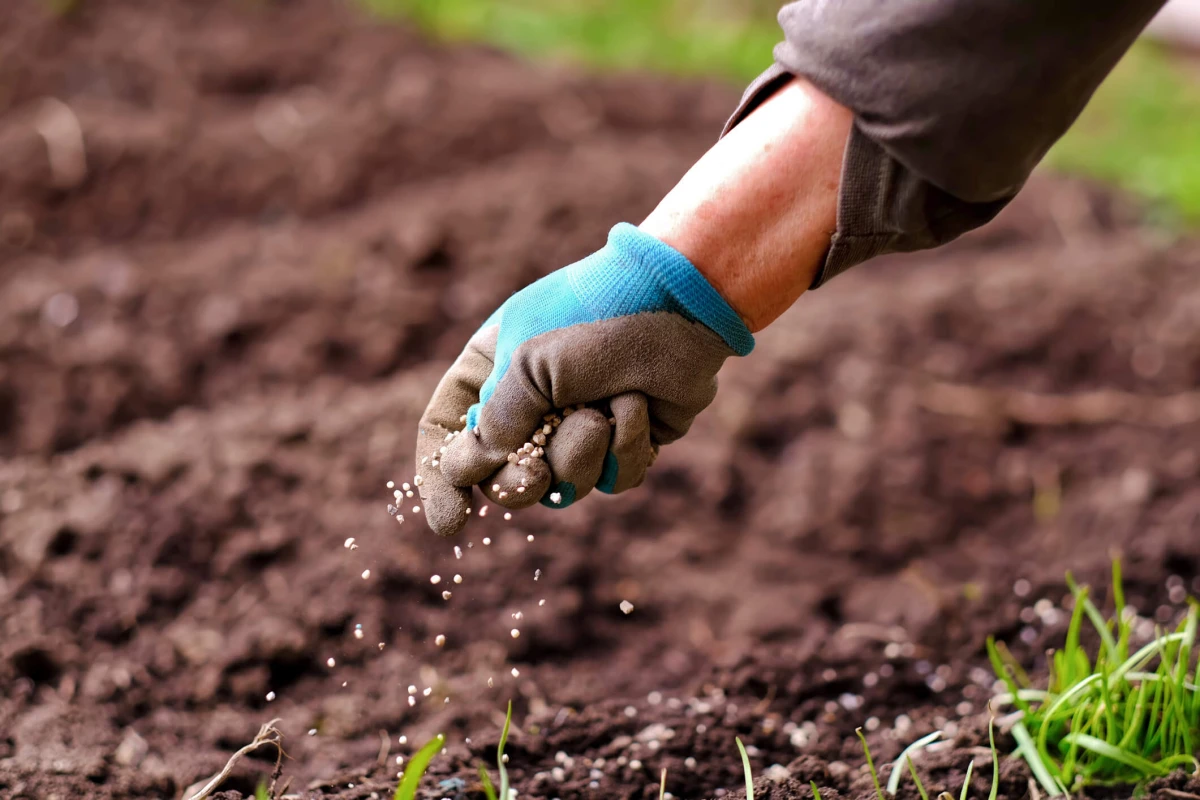
Feeding for a Big Harvest
Potatoes are hungry plants. Too much nitrogen (the ‘N’ in N-P-K fertilizer) will give you a giant, beautiful, leafy green plant with almost no potatoes. I learned this the hard way one year. I got cocky and used a fancy lawn fertilizer that was high in nitrogen. I grew the most stunning potato plant on the block… and when I dumped out the pot, I found six potatoes the size of gumballs. Lesson learned!
Once you’ve hilled for the first time, start feeding every 2-3 weeks with a liquid fertilizer that’s higher in phosphorus (P) and potassium (K). A fertilizer for tomatoes or root vegetables works perfectly. Just follow the dilution instructions on the bottle.
Troubleshooting Common Issues
Even with great care, stuff happens. Here’s a quick rundown:
- Yellowing Leaves: If it’s the lower leaves, that’s usually normal. The plant is just moving nutrients to new growth. If the whole plant is yellow, you might be overwatering or it needs a feeding.
- Pests: Aphids can be blasted off with a strong spray of water. For anything more stubborn, a bit of organic insecticidal soap will do the trick.
- Green Potatoes: If tubers get exposed to sunlight, their skin turns green. This green part contains solanine, which is toxic. This is why thorough hilling is so crucial. If you find any green potatoes at harvest, just toss them.
Harvest Time! The Best Part
You can harvest your potatoes in two ways.
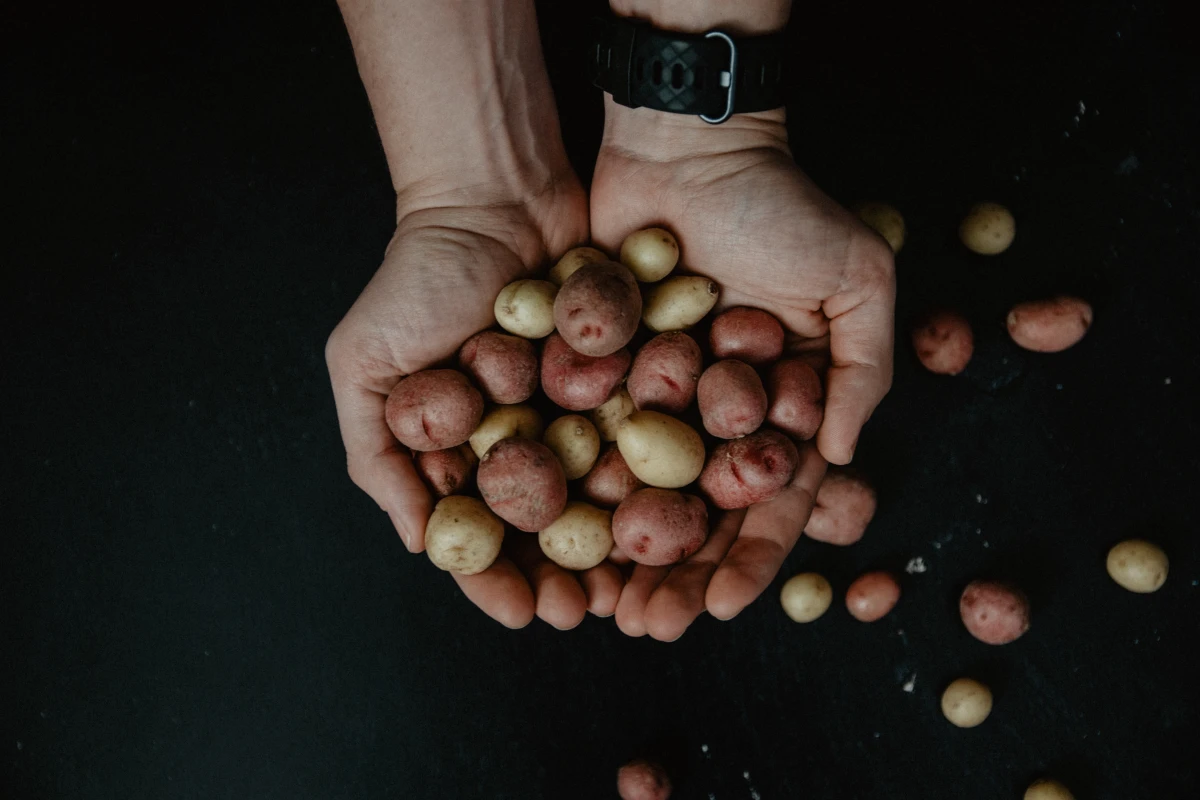
Stealing ‘New Potatoes’
A few weeks after the plant flowers, you can start harvesting small, tender ‘new potatoes.’ I call this ‘bandicooting.’ Carefully reach your hand down the side of the pot and feel around for some good-sized tubers. You can often sneak 5 or 6 new potatoes this way without harming the plant’s main harvest. Just pat the soil back in place when you’re done.
The Main Event
You’ll know it’s time for the big harvest when the plant’s foliage starts to turn yellow and die back. At this point, stop watering completely for one to two weeks. This toughens up the skins for better storage.
To harvest, don’t use a shovel—you’ll stab your beautiful potatoes. The best way is to lay down a tarp, tip the whole pot over, and just dump it all out. The loose soil will fall away, and you can sift through it with your hands to find every last spud. It feels like a treasure hunt every single time.
Curing for Long-Term Storage
Don’t skip this step! Brush the loose dirt off (don’t wash them yet) and let them sit in a shady, dry spot for a few hours. Then, move them to a dark, cool (50-60°F), and somewhat humid place like a basement for about two weeks. This ‘curing’ process thickens the skins and heals any little nicks. After that, they can be stored in a cool, dark place for months.
What About the Soil for Next Year?
This is a question I get all the time. After you’ve harvested, you’re left with a big pot of soil. Can you reuse it?
The answer is yes, but NOT for potatoes again. Potatoes are heavy feeders and they deplete the soil of specific nutrients. Planting them in the same soil again will lead to a poor crop and can encourage diseases. The best thing to do is to amend the old soil. I dump it into my compost bin to recharge it, or I’ll mix in a generous amount of fresh compost and use it to grow something completely different, like leafy greens or beans, the next season.
Growing potatoes in containers is definitely more involved than chucking a spud in a bucket, but the reward is so, so worth it. Pay attention to your plants. The feel of the soil and the color of the leaves will tell you everything you need to know. Enjoy the process, and get ready for one of the most satisfying moments in all of gardening: digging up a pot full of perfect potatoes that you grew yourself.


