Stop Building Flimsy Porches: A Pro’s Guide to Getting It Right
I’ve spent more weekends than I can count tearing down and rebuilding porches. You see them everywhere—treated like an afterthought, just a simple platform stuck onto a house. But here’s the thing: a good porch is so much more. It’s a genuine part of your home’s structure. It’s that perfect transition from the big, wide world to your personal space. It’s the first handshake your house gives a guest.
In this article
A well-built porch feels like it grew right out of the house, like it has always been there. A poorly built one? That’s a fast track to rot, foundation problems, and some serious safety issues. A lot of folks mix up porches, decks, and patios. Quick breakdown: a patio is flat on the ground, usually stone or concrete. A deck is a raised platform, often without a roof. But a true porch, by any builder’s standard, has a roof that’s tied into the main house. That roof is what makes it a real project, requiring a solid foundation and a totally waterproof connection. So, let’s walk through how a pro thinks about this, from the ground up.
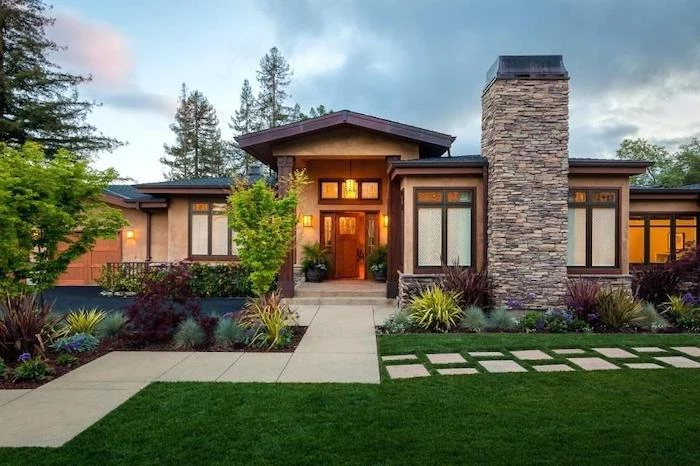
It All Begins with the Footings
You can’t build something to last on a shaky base. Honestly, the most common failure I see is weak footings. People really underestimate what’s needed. They’ll just toss a few precast concrete blocks on the grass, and a few years later, the porch is sagging and pulling away from the house. It’s a disaster waiting to happen because the ground is constantly moving, freezing, and thawing.
This is all about fighting something called frost heave. When water in the soil freezes, it expands and pushes the ground up. If your support posts aren’t buried deeper than the frost line (that’s the depth the ground freezes to in your area), the whole porch gets lifted every winter and settles weirdly every spring. This pops joints, warps boards, and can even crack your home’s foundation.
Where I am in the Northeast, the frost line is a full four feet deep. That means a 48-inch hole for every single post. In warmer climates, it might only be 12 or 18 inches. You absolutely have to check your local building codes. Quick tip: Just Google “[Your Town Name] Building Department” and give them a call. Ask them, “What’s the required frost line depth for a residential porch, and what are the rules for ledger board fasteners?” They exist to answer these questions, and it’s free. I once had to fix a porch where the repair cost the homeowner almost twice what it would have cost to just do it right the first time.
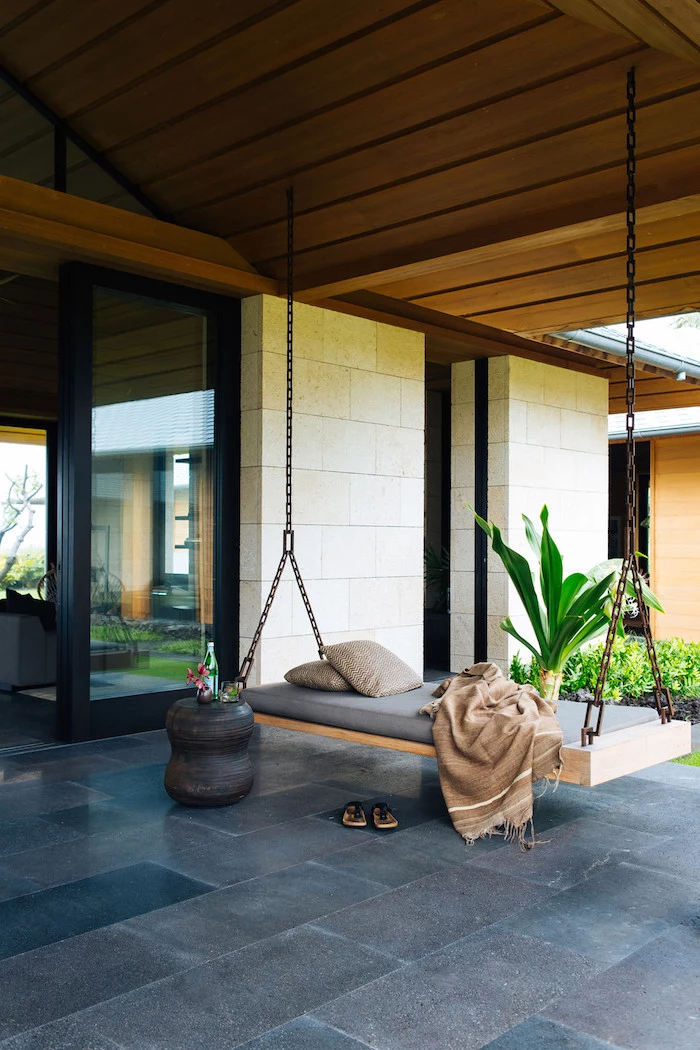
Doing a Footing the Right Way
A real footing is a poured concrete pier. We use those cardboard form tubes—you’ll see them called Sonotubes at the hardware store—to make a solid column of concrete. Here’s a quick rundown of what you’ll need for this part:
- The hole itself: For a typical porch, an 8- to 10-inch diameter hole is plenty.
- Concrete form tube: A 4-foot tube will run you about $15-$20.
- Concrete Mix: Don’t just grab any bag. You need a mix that hits at least 4,000 PSI strength. Expect to use 3-4 bags per hole, at around $6-$8 a bag. Yes, it adds up, so budget for it!
- Post Anchor: While the concrete is still wet, you have to set a galvanized post anchor into the top. This is critical. It holds the wooden post up off the concrete, so moisture can’t wick up and rot it from the bottom. A post sitting directly on concrete is doomed to fail.
Time-saving hack: Look, you can dig these holes with a manual post-hole digger, but if you have more than two, do yourself a favor. Rent a power auger for a half-day. It’ll cost you maybe $70-$90 from a place like Home Depot and will save your back and an entire weekend of grueling work.
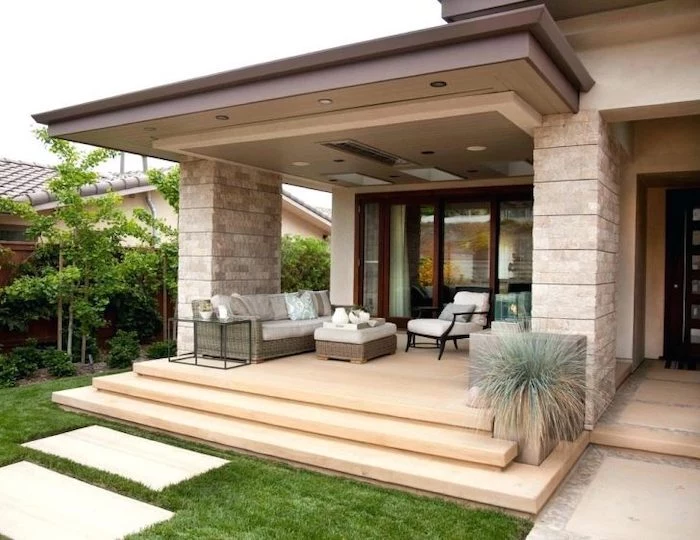
Framing: The Bones of Your Porch
With solid footings poured, it’s time to build the skeleton. This frame carries every bit of weight—the floor, the roof, and every person who ever stands on it. Precision is key.
The Ledger Board: Don’t Mess This Up
The ledger board is the piece of lumber that bolts the porch directly to your house. If this connection fails, the whole porch can collapse. I’m not being dramatic; it’s the single most critical safety part of the entire build. I’ve seen ledgers just nailed into the siding, which is terrifyingly wrong.
Here’s how it has to be done to meet modern building standards:
- Cut the Siding: You must remove the siding where the ledger will go. It needs a direct, solid connection to your house’s rim joist (that’s the thick board that forms the outer edge of your house’s floor frame).
- Install Flashing: This is completely non-negotiable. A piece of metal or vinyl flashing gets tucked up under the house wrap and goes over the top of the ledger board. This creates a waterproof shield. Without it, water will get behind the board and rot out the structure of your house.
- Use the Right Fasteners: Codes demand structural screws or through-bolts, not just nails. These are installed in a staggered pattern to spread out the load.
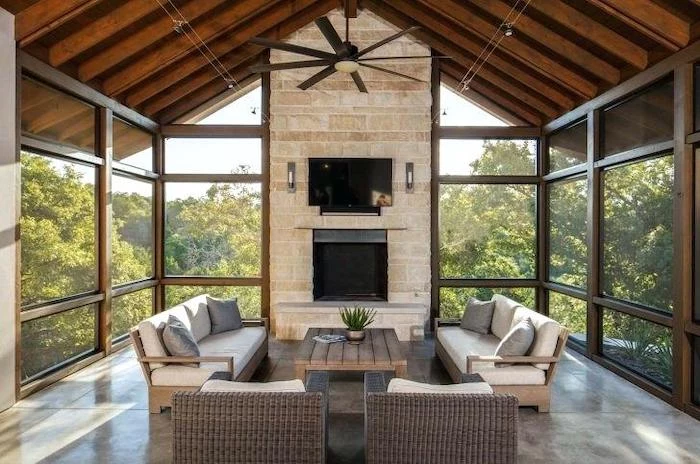
Choosing Your Lumber
The entire hidden frame—joists, beams, the whole nine yards—should be pressure-treated lumber rated for ground contact. This chemical treatment is what fights off rot and insects.
- Pressure-Treated Pine: This is the workhorse material. It’s strong, affordable, and gets the job done. Pro tip: When you’re picking out your boards, look down the edge to find the “crown,” or the slight upward bow. Always install your joists with the crown side facing up. When the weight of the floor is added, they’ll flatten out perfectly.
- Cedar or Redwood: These look gorgeous and resist rot naturally, but they’re softer and way more expensive. People usually save these for the parts you see, like the decking and railings, not the hidden frame.
- Joist Spacing: Standard joist spacing is 16 inches on center. This gives you a nice, stiff floor that doesn’t feel bouncy. Heads up, though: some composite decking brands require 12-inch spacing to prevent sagging, so always read the instructions on the decking you choose.
The Floor and Railings: Where Safety Meets Style
The floor and railings are what you’ll see and touch every day. They need to be safe, tough, and look good.
What to Use for the Floor
You’ve got a few solid choices, each with its own trade-offs. There’s no single “best” option, just what’s best for your budget and tolerance for maintenance.
- Tongue-and-Groove Flooring: This is that beautiful, classic porch look with no gaps. It creates a solid, seamless surface, but it’s a bit of a diva. It has to be primed on all six sides before you install it, and it needs regular painting to survive. Upfront cost is mid-range.
- Standard Deck Boards: A super practical choice. Using standard 5/4-inch wood or composite boards leaves small gaps that are perfect for drainage. It’s a very common and durable method.
- Composite Decking: This is the low-maintenance champion. It won’t rot or splinter, but the upfront cost is significantly higher—think $5 to $12+ per square foot just for the boards. And be warned, dark-colored composite boards can get painfully hot in the direct sun.

Railings Are a Safety System, First and Foremost
If your porch is more than 30 inches off the ground, a guardrail is required by code. It’s not just for looks; it’s a life-safety system. No shortcuts here.
- Height: The top rail needs to be at least 36 inches high, sometimes 42 inches depending on local rules.
- Spacing: The spindles (or balusters) can’t have a gap bigger than 4 inches. This is specifically to prevent a small child’s head from getting stuck. Go measure your own porch railing right now with a tape measure. If you find a gap wider than 4 inches, you have a serious safety hazard you need to fix.
- Strength: The railing has to withstand 200 pounds of force. This means the posts must be securely bolted to the porch frame itself, not just weakly screwed to the floorboards.
The Roof: The Trickiest Part of the Job
Tying a new roof into an existing house is one of the toughest parts of residential construction. This is not the place for a beginner to learn. A mistake here doesn’t just cause a little drip; it can funnel gallons of water right into your walls. If you’re not 100% confident, hire a pro for the roof. It’s money you will not regret spending.
The flashing, which is the system of metal pieces that waterproofs the connection, has to be done perfectly. There is no caulk or sealant in the world that can fix a bad flashing job for the long term. It has to be mechanically right from the start.
So, What’s the Real Cost and Timeline?
This is what everyone wants to know. Let’s be frank: a professionally built porch is a major investment. Depending on your location and the materials you choose, you can expect to pay anywhere from $150 to over $300 per square foot. A simple 10×12 foot porch could easily run you $18,000 to $36,000 or more when done by a reputable crew.
Doing it yourself? You’ll save a ton on labor, but don’t underestimate the time. This isn’t a weekend project. Just digging and pouring the footings can take a full weekend. Building the frame might take another two or three weekends. All in, for a DIYer working on weekends, a porch is easily a multi-month commitment. Plan accordingly!

A porch is a fantastic addition to a home, but it’s a serious project. It has to fight the weather, carry heavy loads, and protect your house from water. Take your time, plan it out, and know your limits. A porch built right will bring you joy for decades. A cheap one will only bring you headaches.
Inspiration Gallery


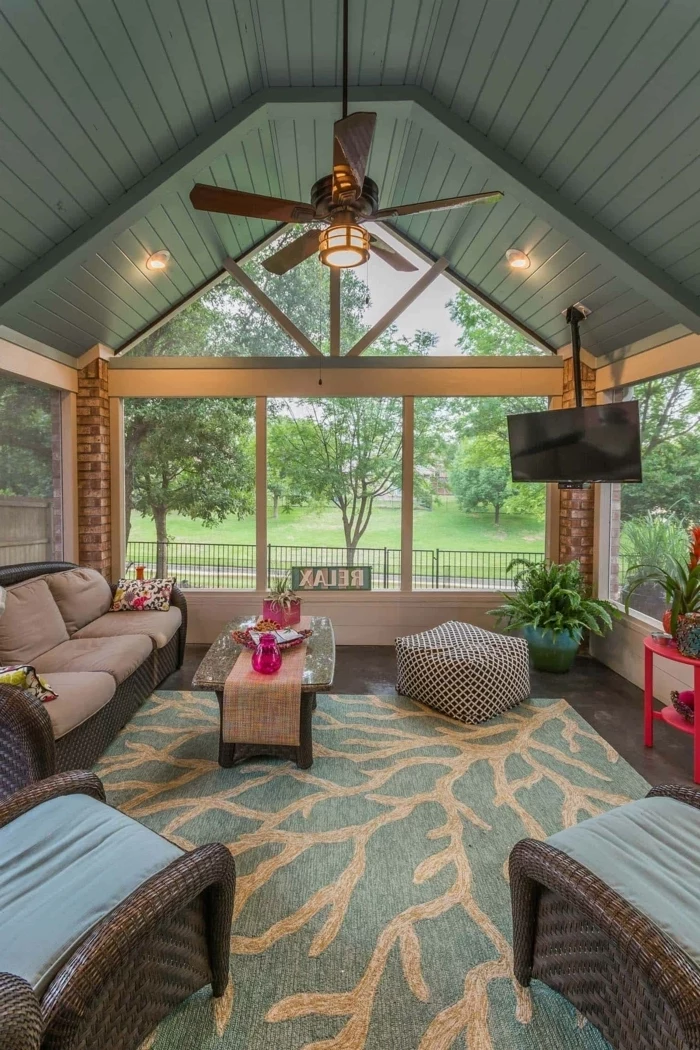

The porch is a room without walls, the house’s most generous gesture.
This quote from architect Witold Rybczynski captures why getting the structure right is so crucial. A well-built porch doesn’t just add space; it extends the home’s hospitality outward, creating a welcoming and secure intermediate zone between your private life and the public world.

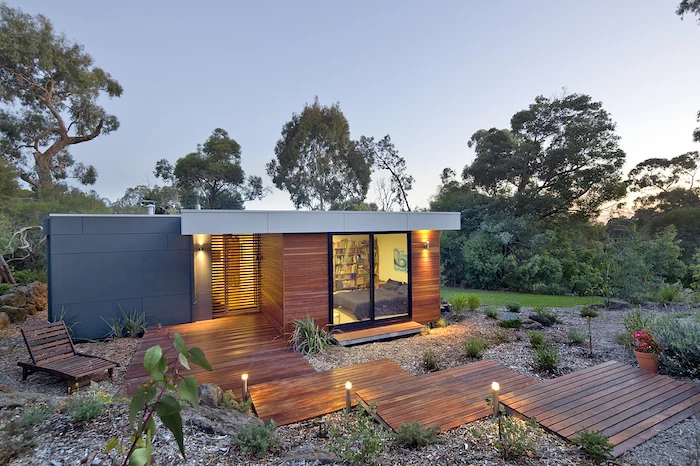
When it comes to wood, not all types are created equal for porch flooring. While pressure-treated pine is a budget-friendly starting point, consider upgrading to Cedar or Redwood for their natural resistance to rot and insects. For the ultimate in durability and a rich, beautiful finish, tropical hardwoods like Ipe or Tigerwood are incredibly dense and can last for over 50 years with minimal care.
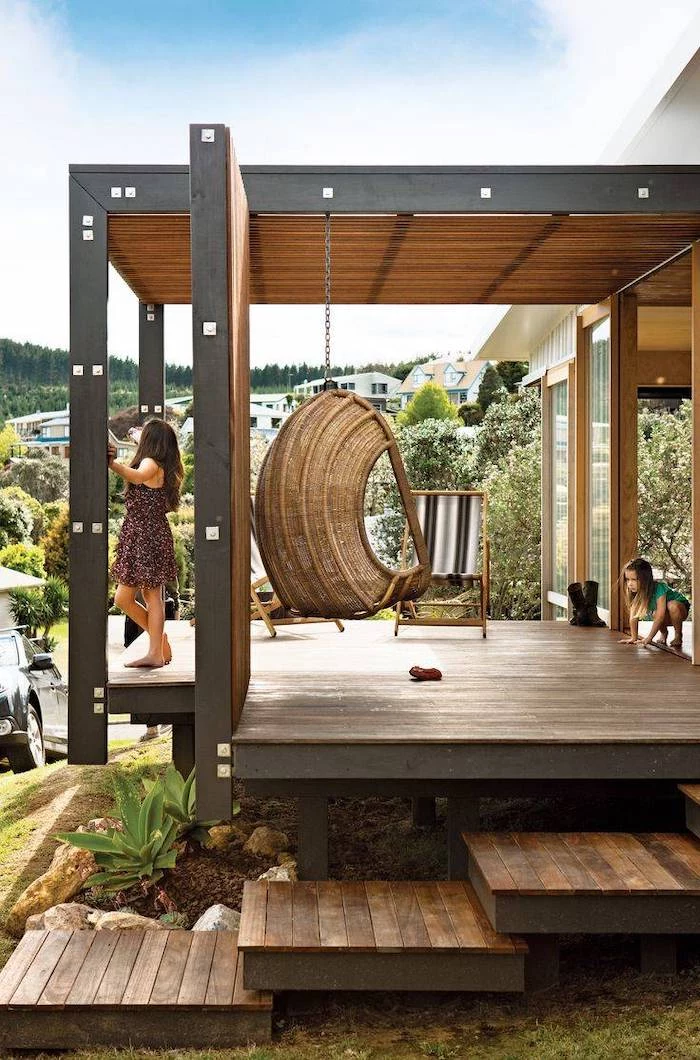
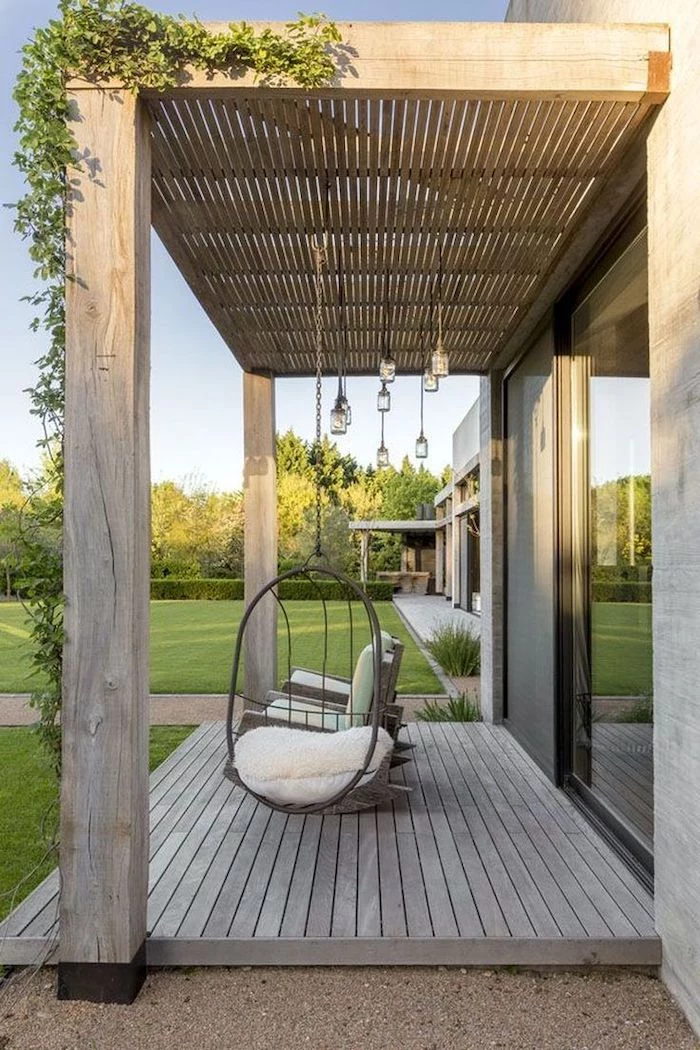
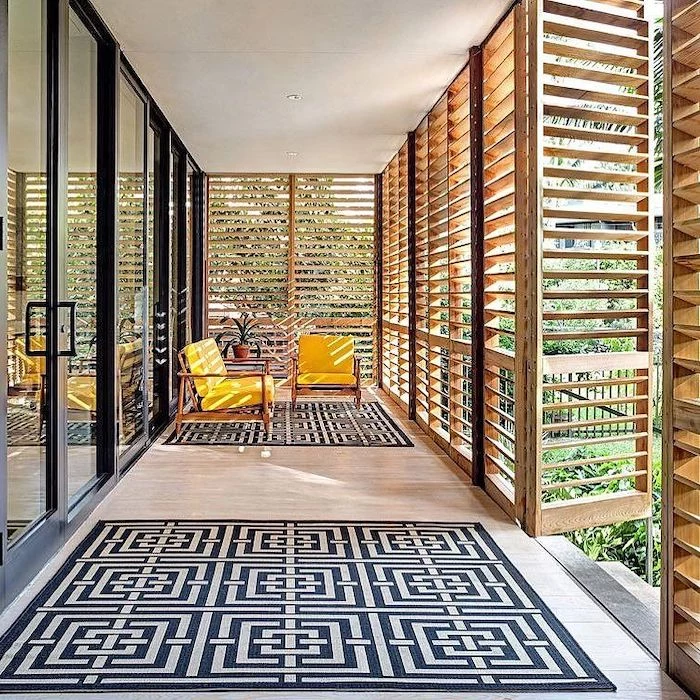
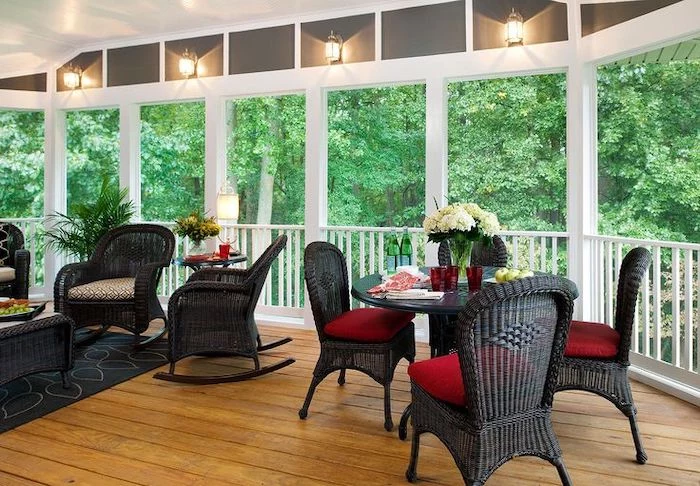
The Ledger Board is Non-Negotiable: This is the board that fastens the porch frame directly to your house, and it bears immense weight. It must be attached with heavy-duty lag screws or specialized structural connectors, like the Simpson Strong-Tie DTT2Z, directly into the house’s band joist or foundation—never just into the siding and sheathing. Proper flashing above this board is the single most important detail to prevent water from rotting out your house’s structure.

What’s the story behind ‘haint blue’ porch ceilings?
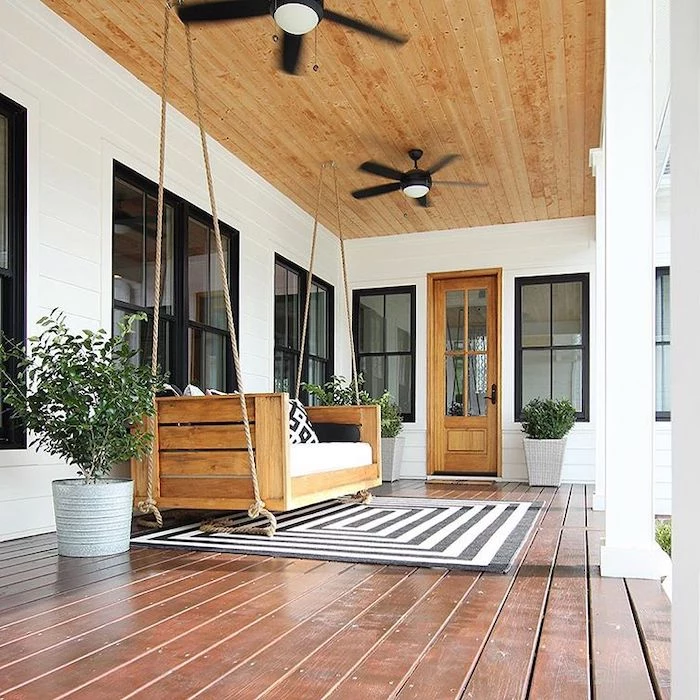
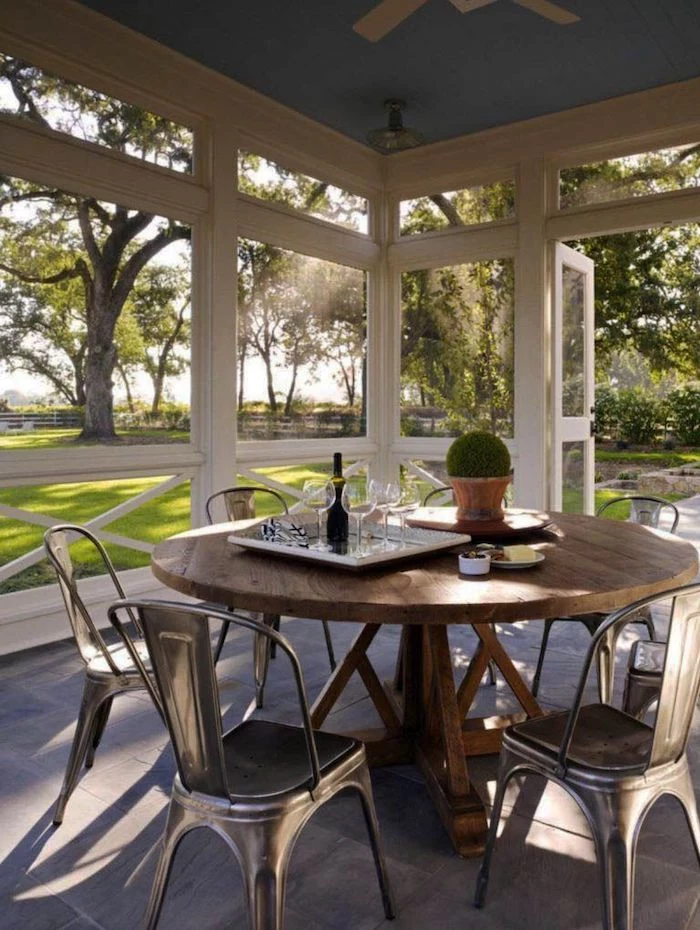
Popular in the American South, this tradition comes from Gullah Geechee folklore. The soft blue-green color was believed to ward off ‘haints’ or spirits, who would mistake it for water and be unable to cross it. Beyond folklore, the color is also thought to repel insects, who supposedly mistake it for the sky. Today, it remains a beloved design choice for the serene, airy feeling it gives a porch space. A classic paint choice is Sherwin-Williams’ ‘Waterscape’ (SW 6470).

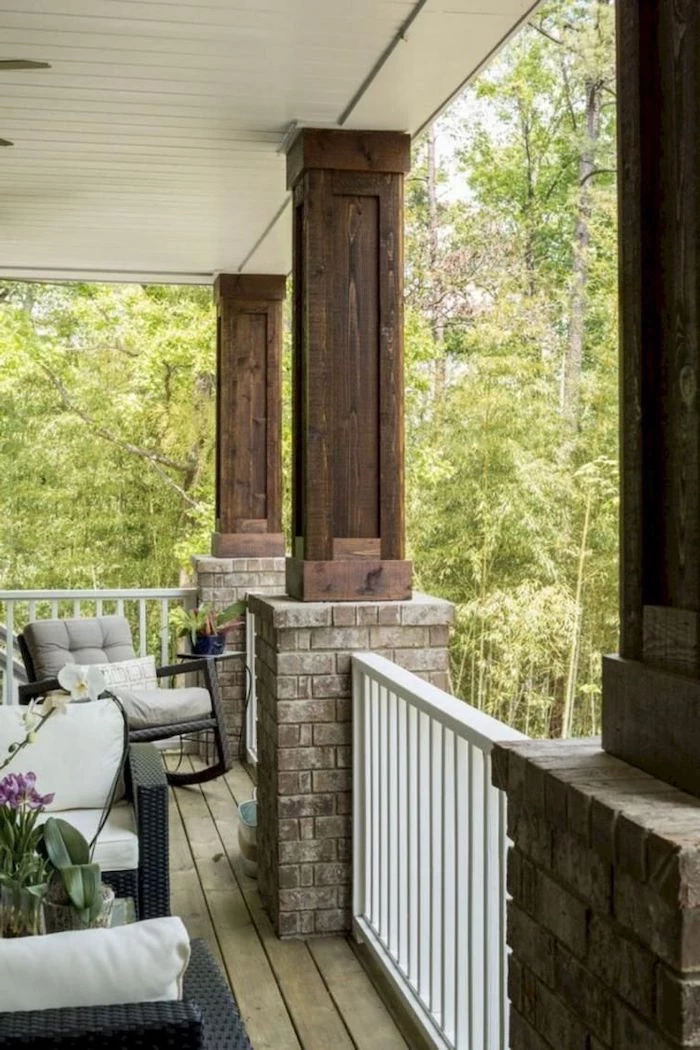
- Check that balusters are spaced no more than 4 inches apart to prevent a child’s head from fitting through.
- Ensure the top railing is at least 36 inches high from the porch floor (check local codes, as some require 42 inches).
- Confirm the entire railing system can withstand at least 200 pounds of force in any direction.
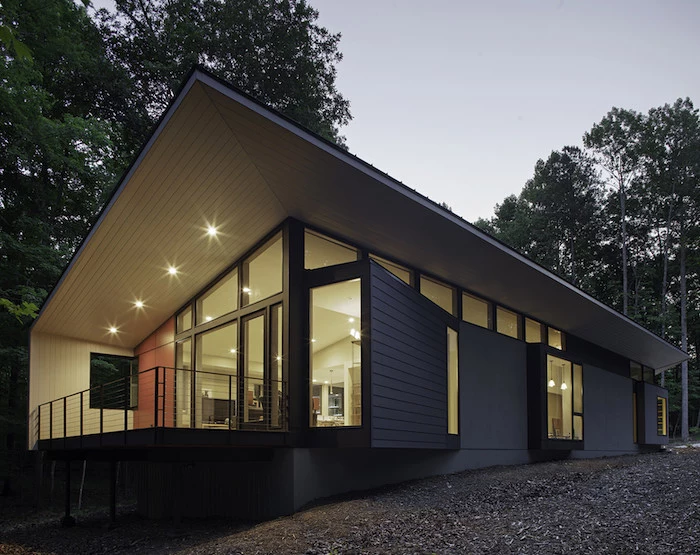
Composite Decking: Brands like Trex, Azek, and TimberTech offer an alternative to wood that eliminates the need for yearly staining and sealing. They are made from a mix of wood fibers and recycled plastics, making them resistant to rot, mold, and termites. While the initial material cost is higher than most woods, the long-term savings in maintenance time and money can be significant.
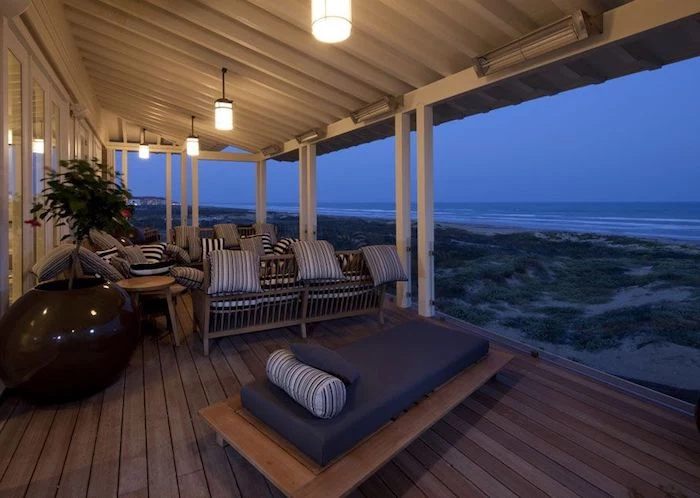
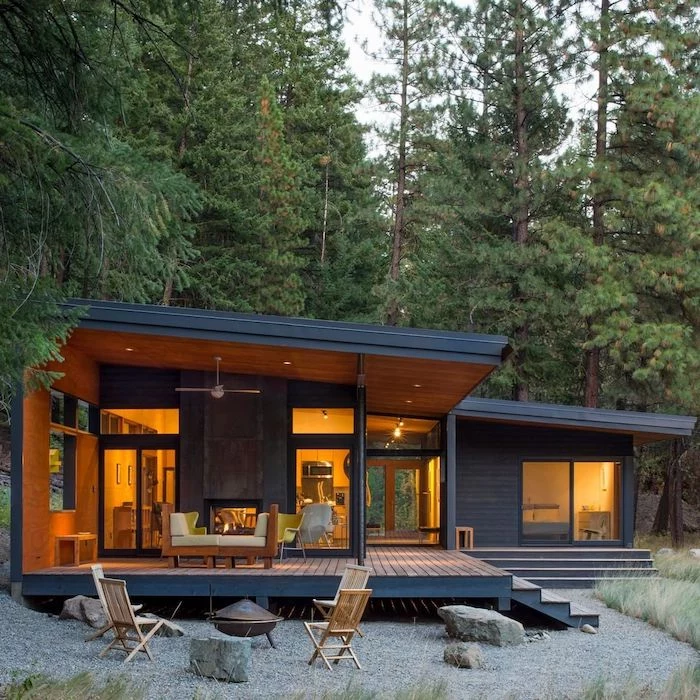
A Word on Weight: Your porch needs to support much more than just a few people. You must account for the ‘dead load’ (the weight of the structure itself) and the ‘live load’ (people, furniture, heavy snow). A common standard is to build for 40 pounds per square foot (PSF) for the live load. Under-sizing the joists or spacing them too far apart is a recipe for a bouncy, unsafe structure.
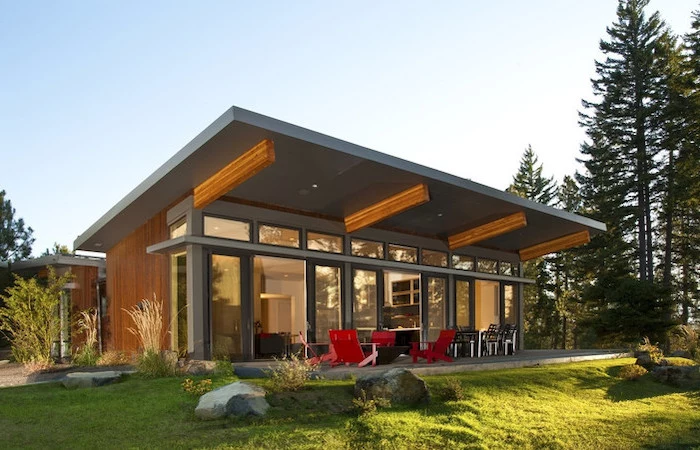
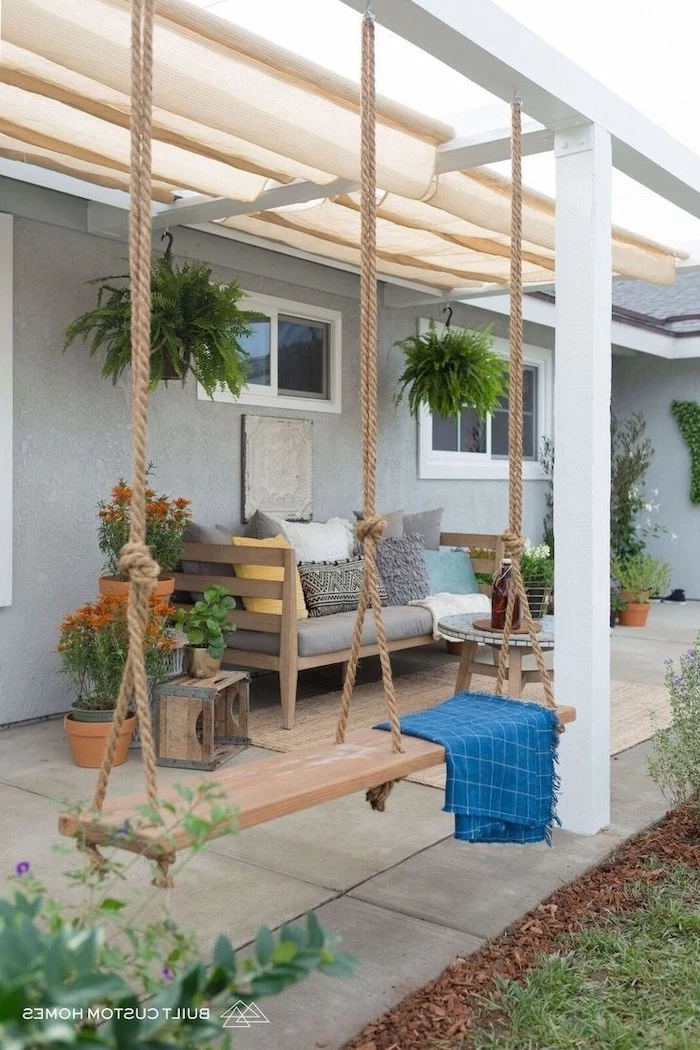
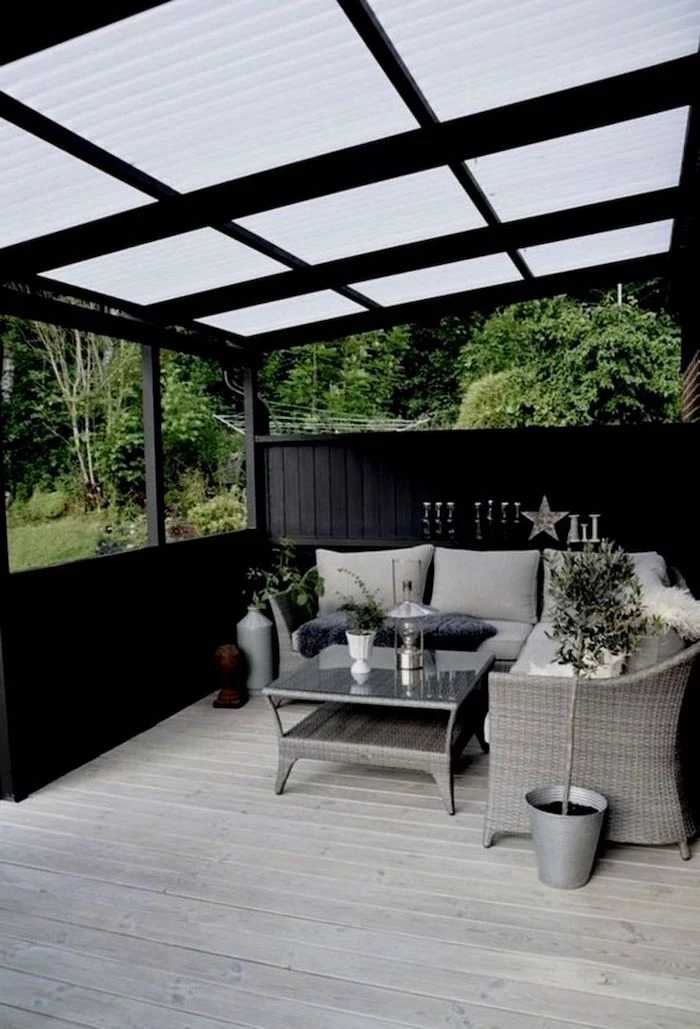
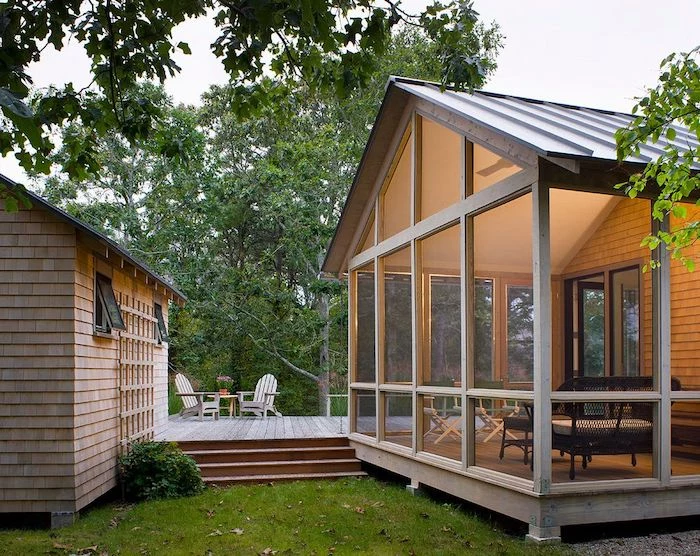
Natural Wood: Offers authentic beauty and is cooler to the touch in direct sun. It requires annual cleaning and sealing to prevent fading and rot.
Composite Material: Resists fading, staining, and pests with minimal upkeep. Can get hotter than wood in the sun and has a higher upfront cost.
Your choice should balance your budget against your tolerance for long-term maintenance.

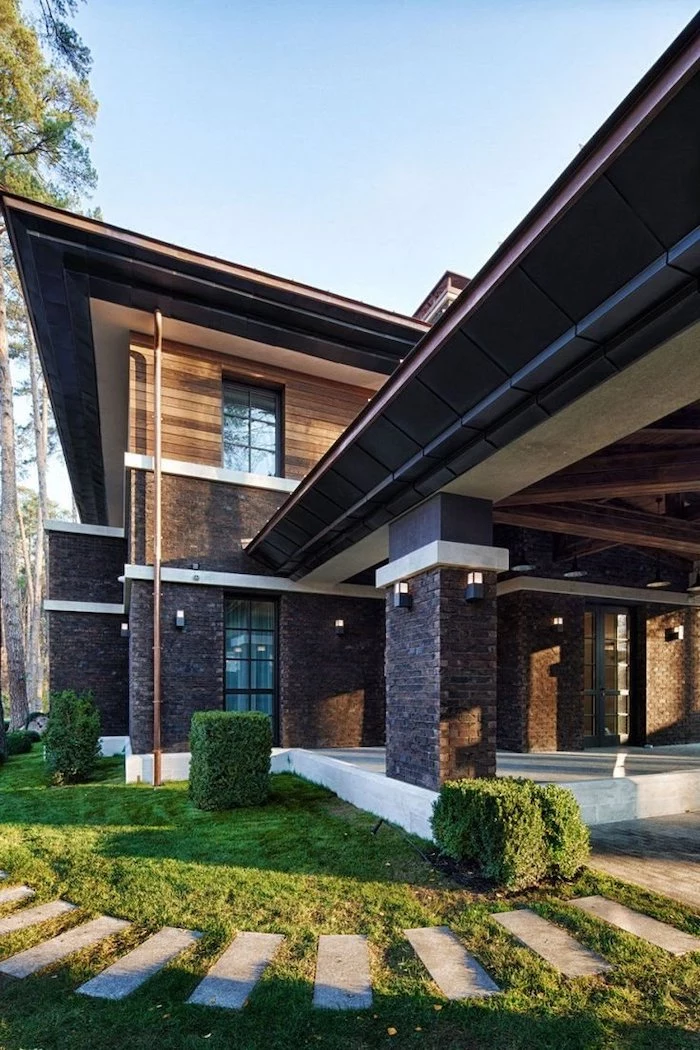

According to the North American Deck and Railing Association (NADRA), it’s estimated that of the 60 million decks and porches in the U.S., a staggering 30 million are not built to code and may be unsafe.
This statistic underscores the article’s main point: professional-level knowledge isn’t just for aesthetics, it’s a critical safety issue. A code-compliant porch, especially regarding railings and ledger board attachment, is essential for peace of mind.
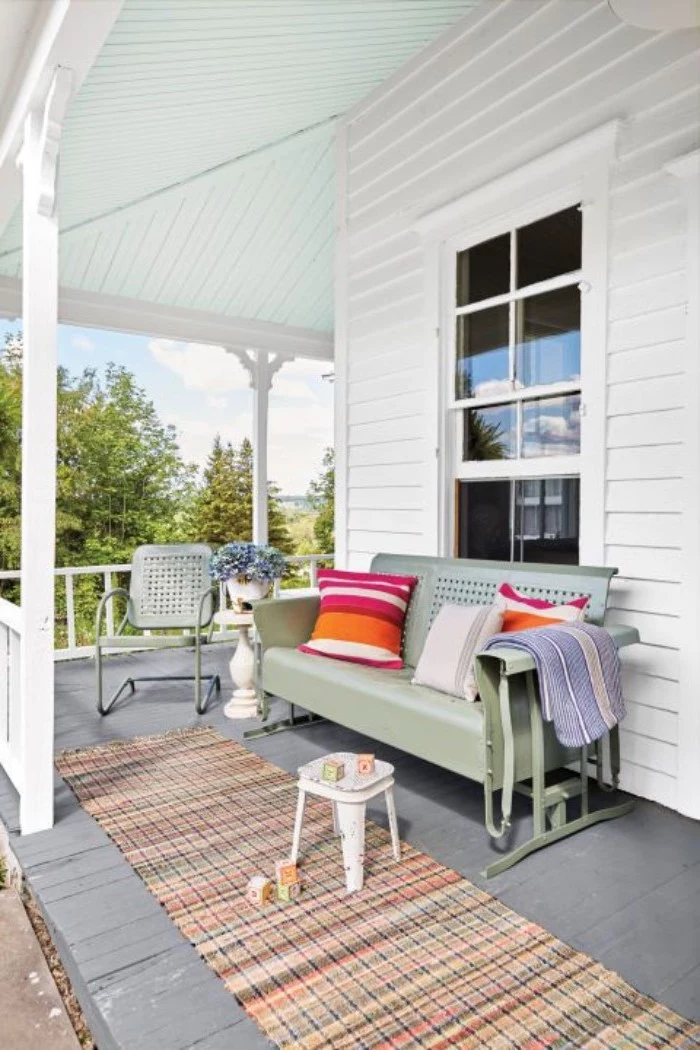
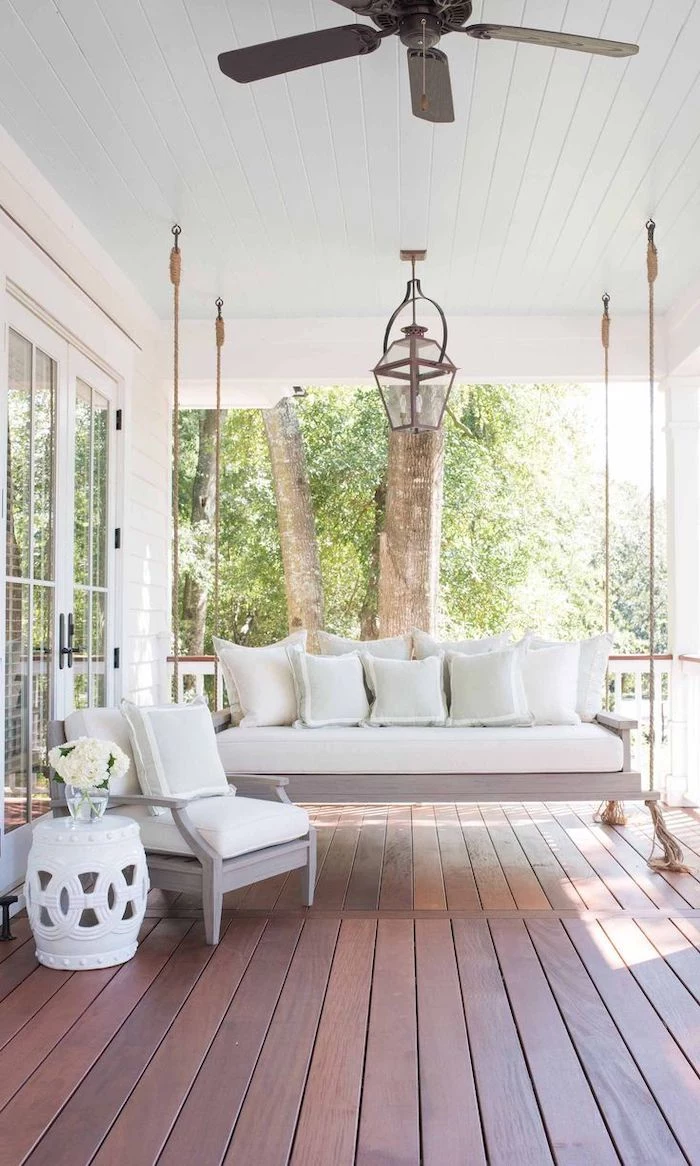
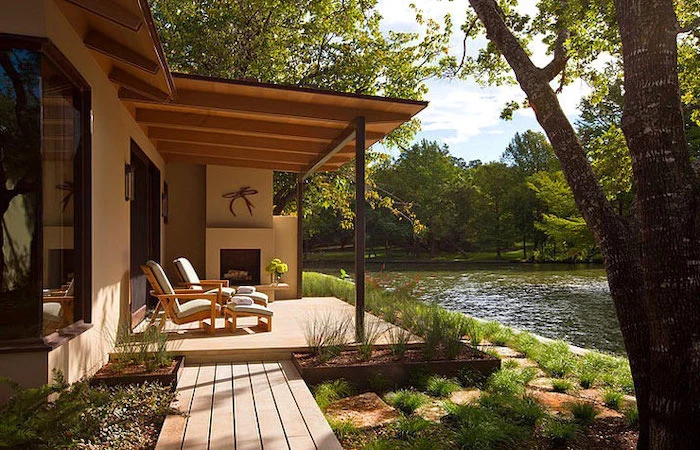
Don’t let your porch floor become a puddle. It should have a subtle but definite slope away from the house—about 1/4 inch per foot is standard. This ensures that rainwater and melting snow drain away from your home’s foundation, preventing moisture problems before they can start. This is a small detail that makes a huge difference in the longevity of both the porch and your house.
- A waterproof, leak-free connection to the house.
- No chance for hidden rot to attack your home’s framing.
- A clean, professional look that lasts for decades.
The secret is proper metal flashing. A continuous piece of L-shaped or Z-shaped flashing must be installed, tucked under the house siding and extending over the top of the porch ledger board. It’s a non-negotiable step for a weatherproof seal.

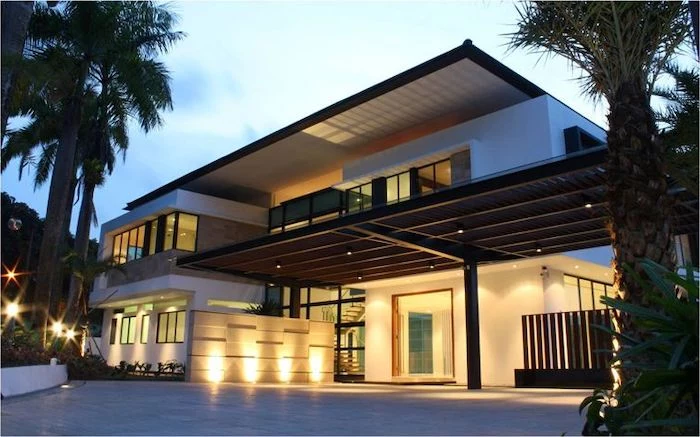
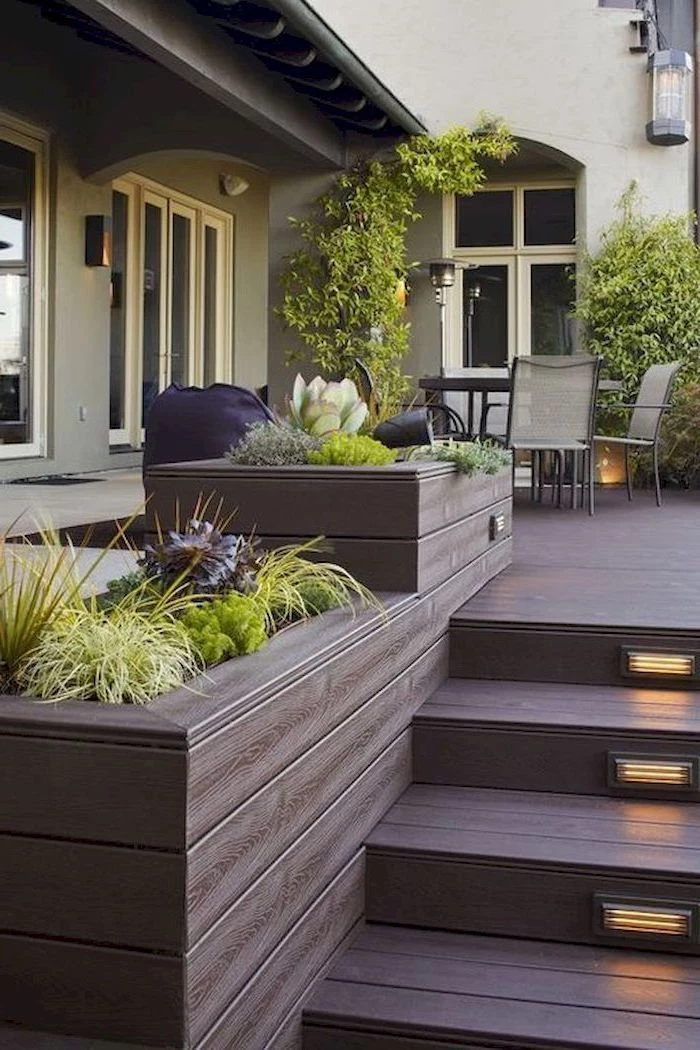
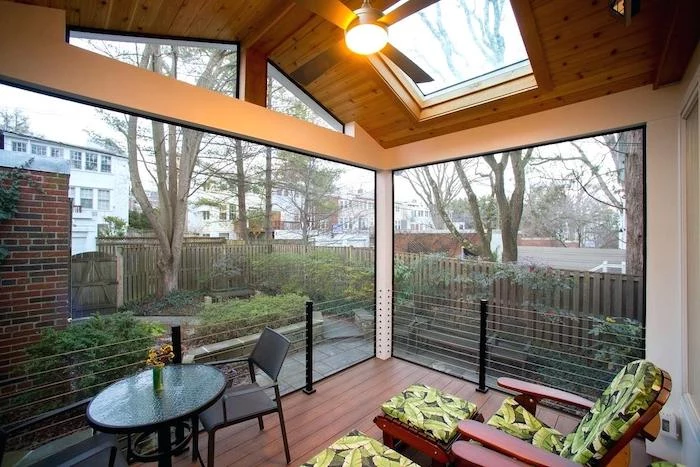
Thinking about a screened-in porch? The options have evolved. You can go with traditional fixed wood-framed screens for a classic look. For more flexibility, consider a system like Screen Tight, which uses a vinyl base and cap system for easy installation and repair. For a high-end, modern feel, retractable motorized screens from brands like Phantom Screens can transform your open porch into a screened room at the touch of a button.
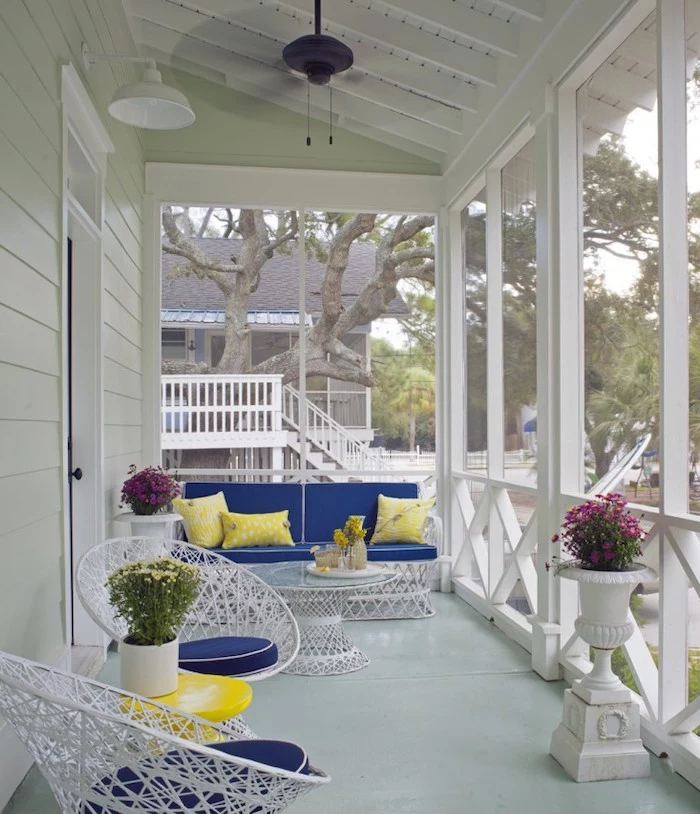
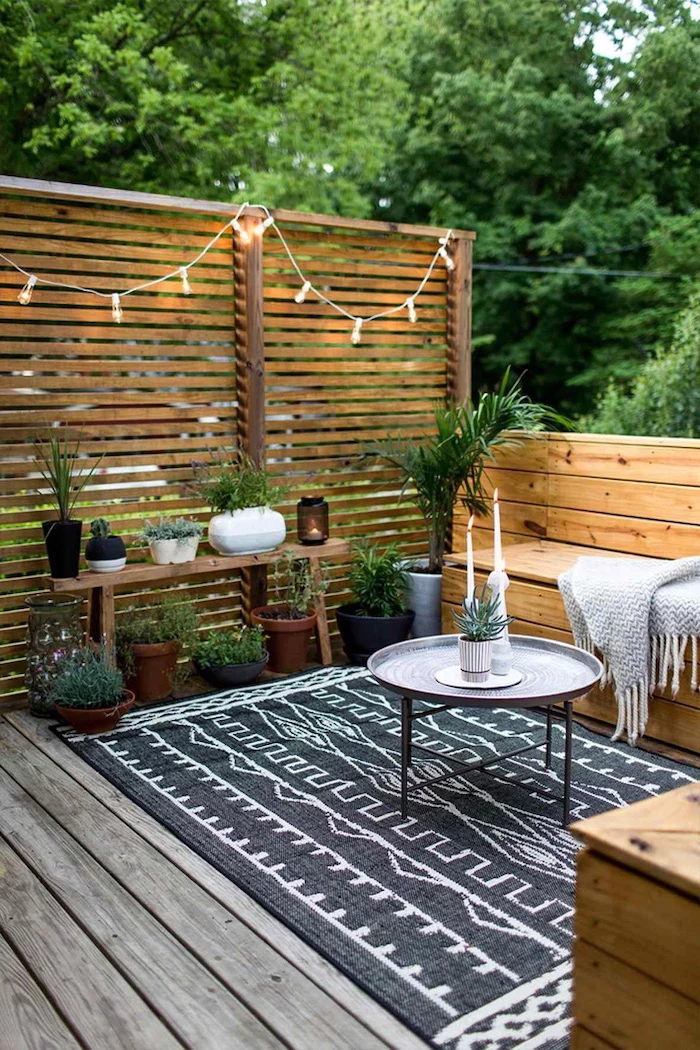

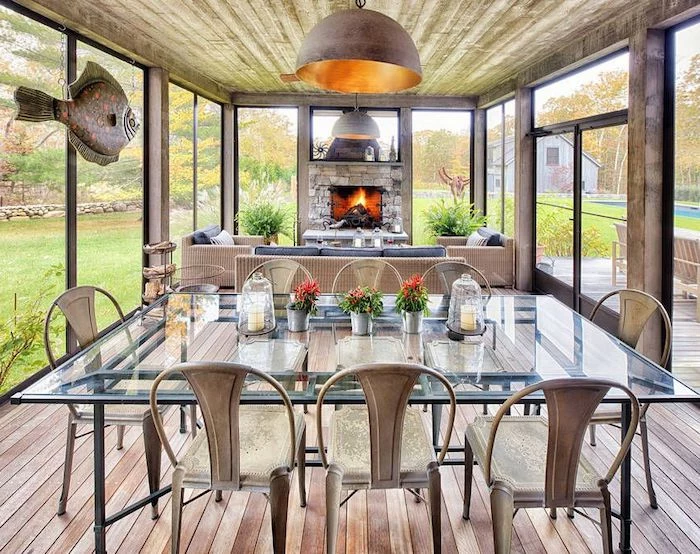
Are building permits really necessary for a porch project?
Almost always, yes. Since a roofed porch is a structural addition involving a foundation, framing, and a roof, municipalities require a permit. This process ensures your plans are reviewed for safety and compliance with local codes—from the frost line depth mentioned in the article to railing height and stair dimensions. Skipping a permit can result in fines, tear-down orders, and significant problems when you sell your home.
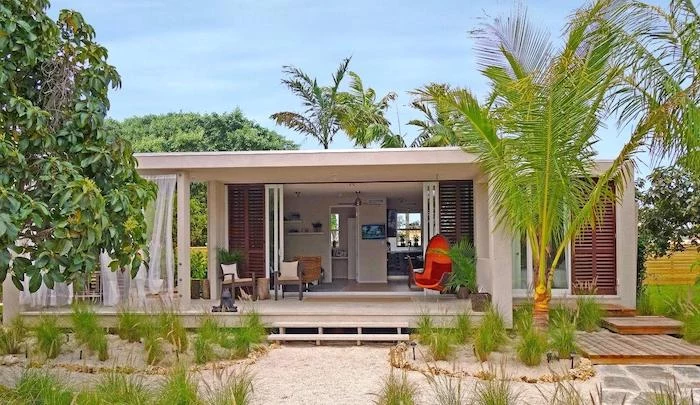
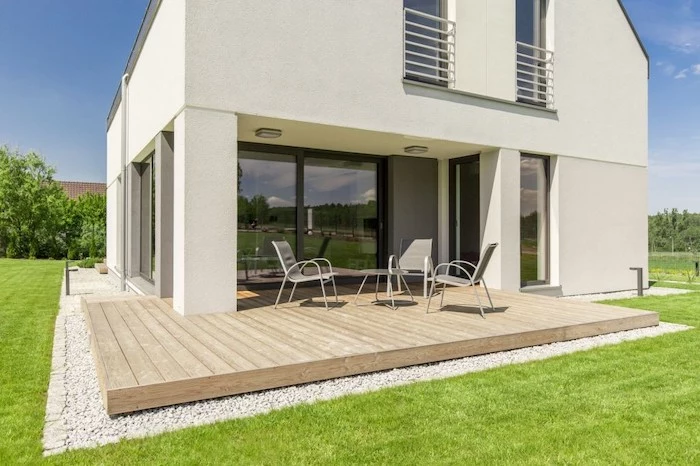
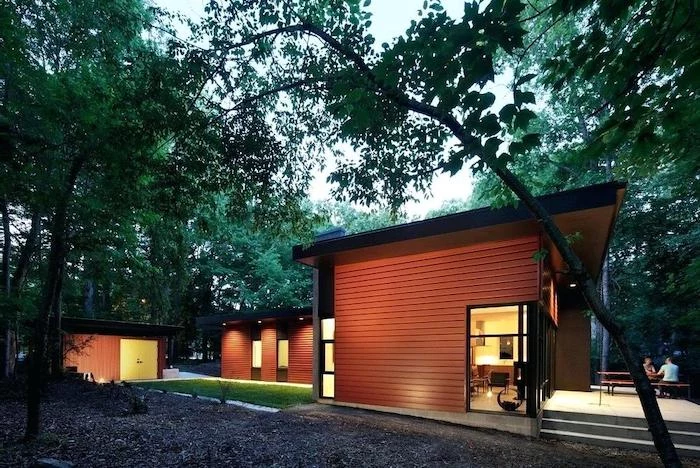
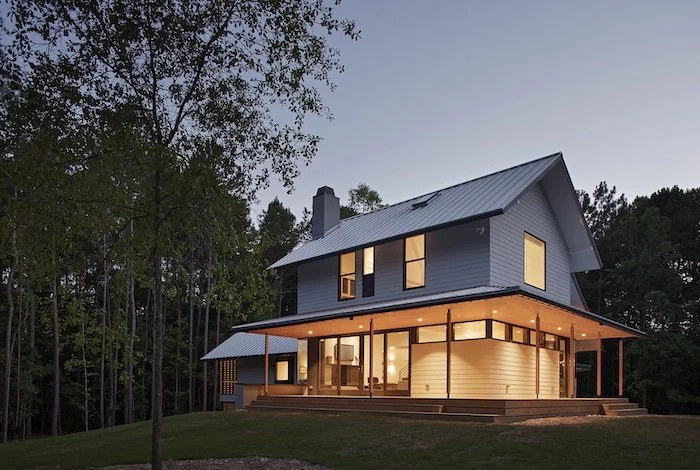
The columns do more than just hold up the roof; they define the porch’s architectural style. Square, unadorned 6×6 cedar posts feel right at home on a Craftsman or modern farmhouse. For a Colonial or Neoclassical home, elegant turned columns made from a low-maintenance composite material like those from HB&G Architectural Products provide the correct historical proportions without the worry of wood rot.
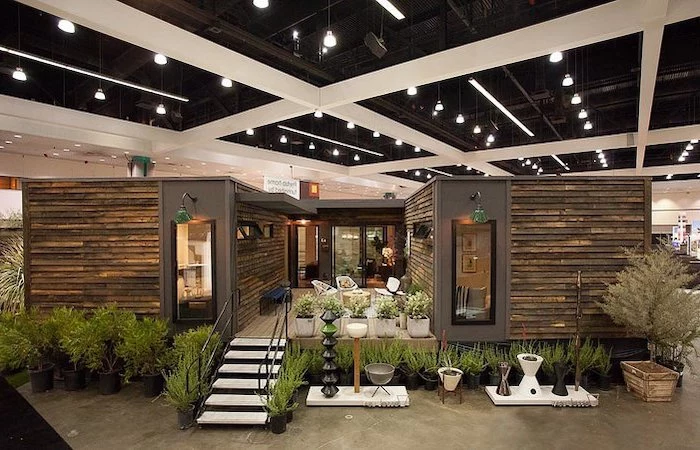
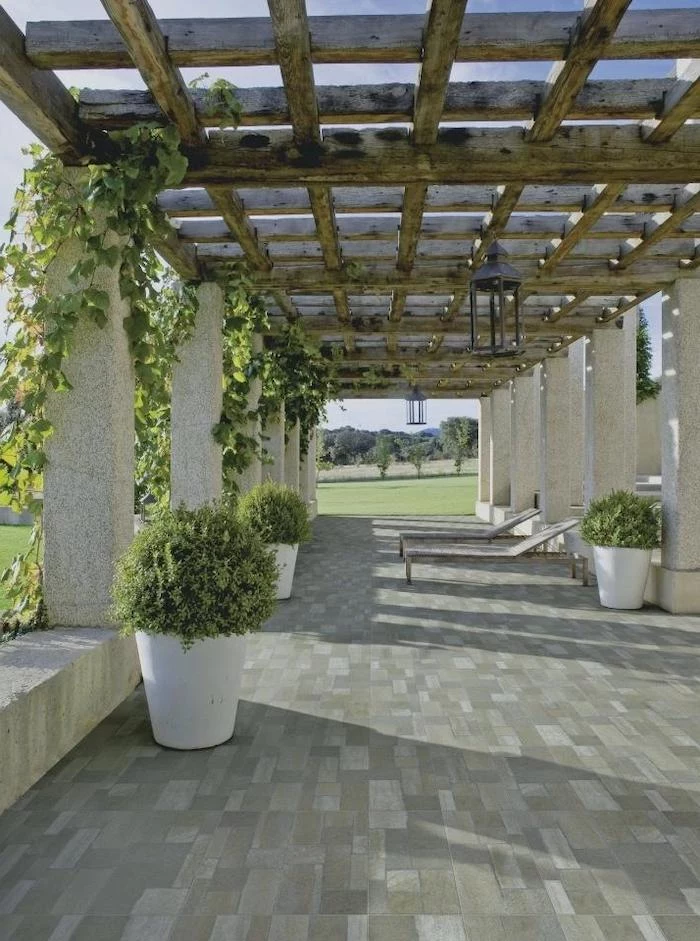
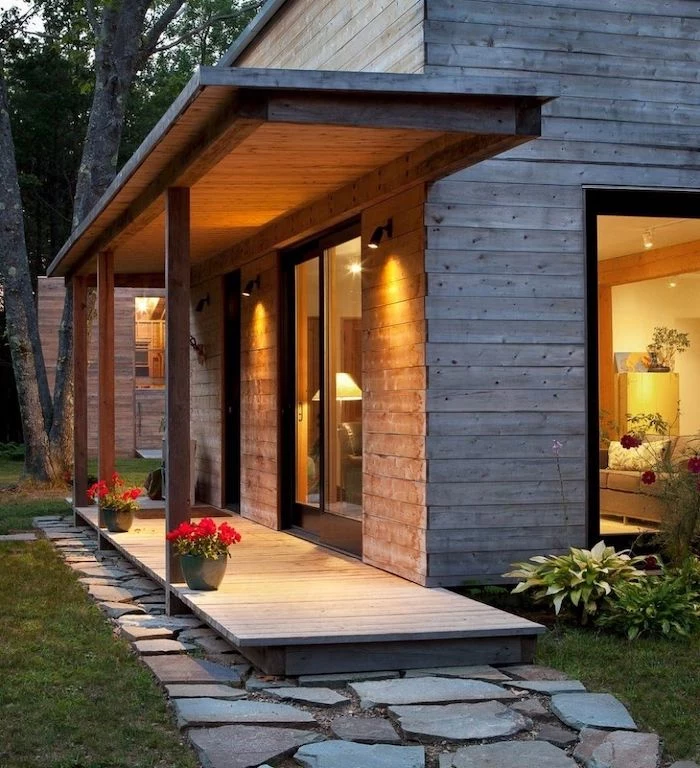
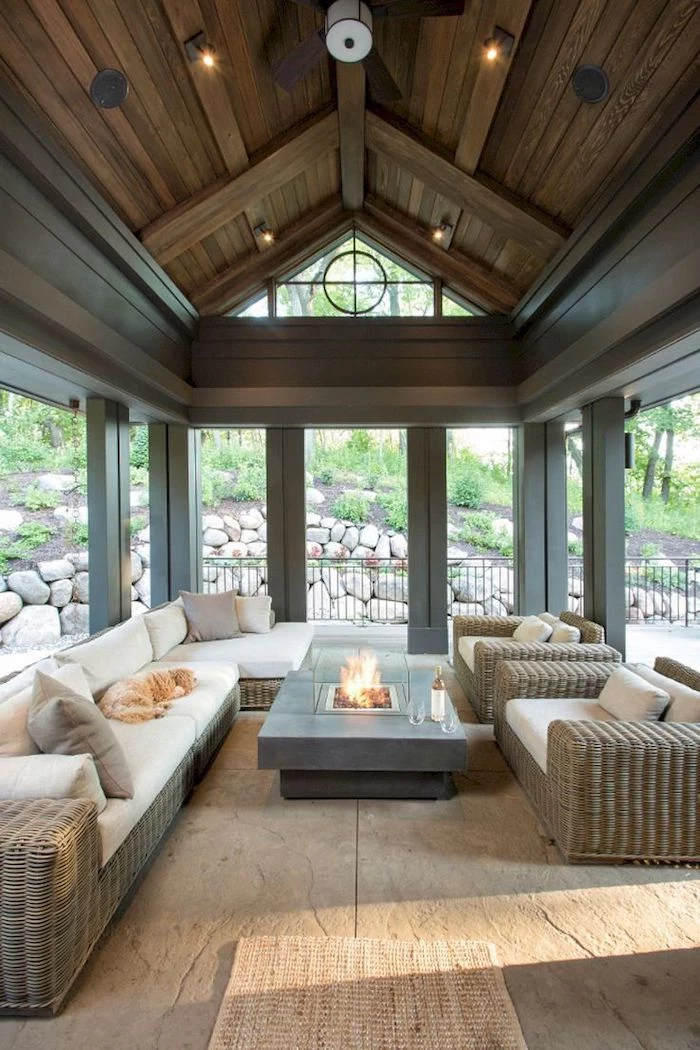
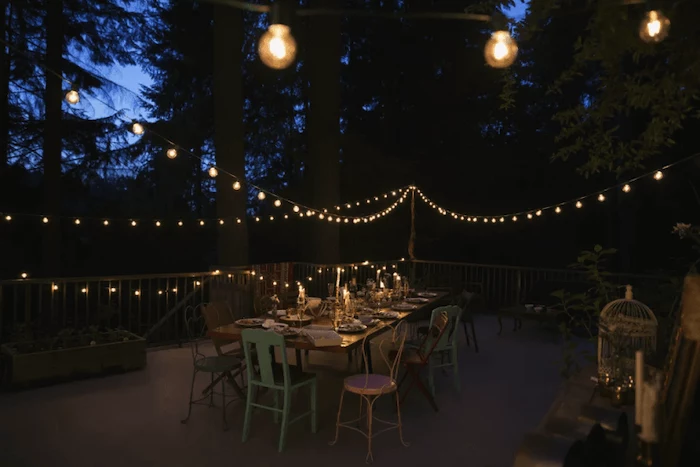
Lighting transforms a porch from a simple entryway into a true outdoor room. Plan for a layered approach during construction:
- Ambient: A central overhead fixture, perhaps a ceiling fan with an integrated light like those from Hunter’s outdoor collection.
- Task: Wall sconces flanking the door for security and ease of entry.
- Accent: Small, low-voltage lights built into the stair risers for safety and drama.

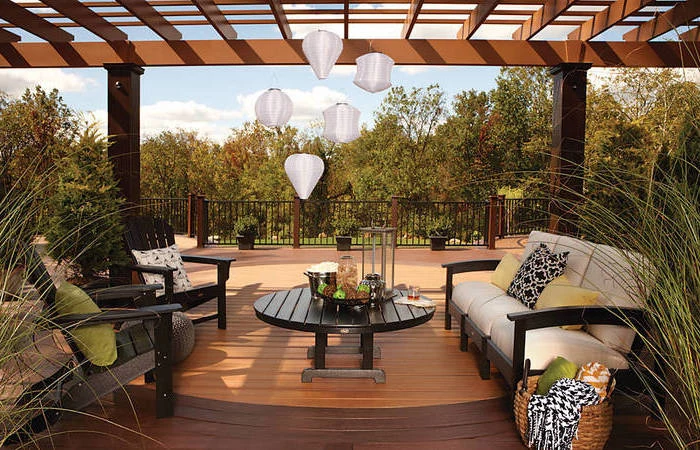
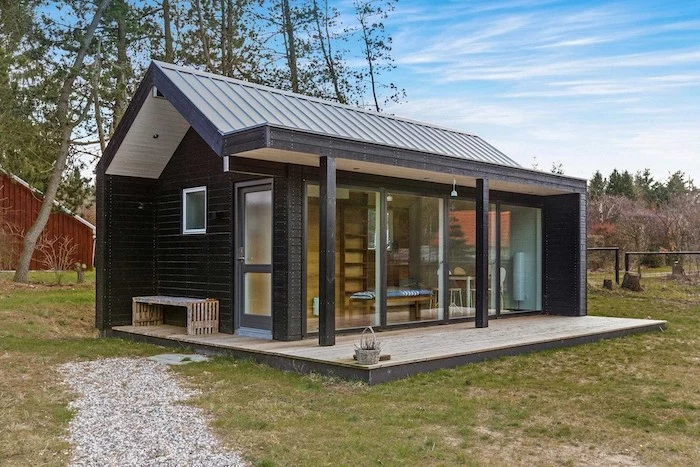
A 2020 survey by the National Association of Realtors found that a new wood deck or porch offered one of the highest returns on investment of any home improvement project, recovering approximately 72% of its cost at resale.
This value, however, is contingent on quality construction. A home inspector will quickly flag a poorly built porch with improper footings or a leaky roof connection, turning a potential asset into a negotiating liability.
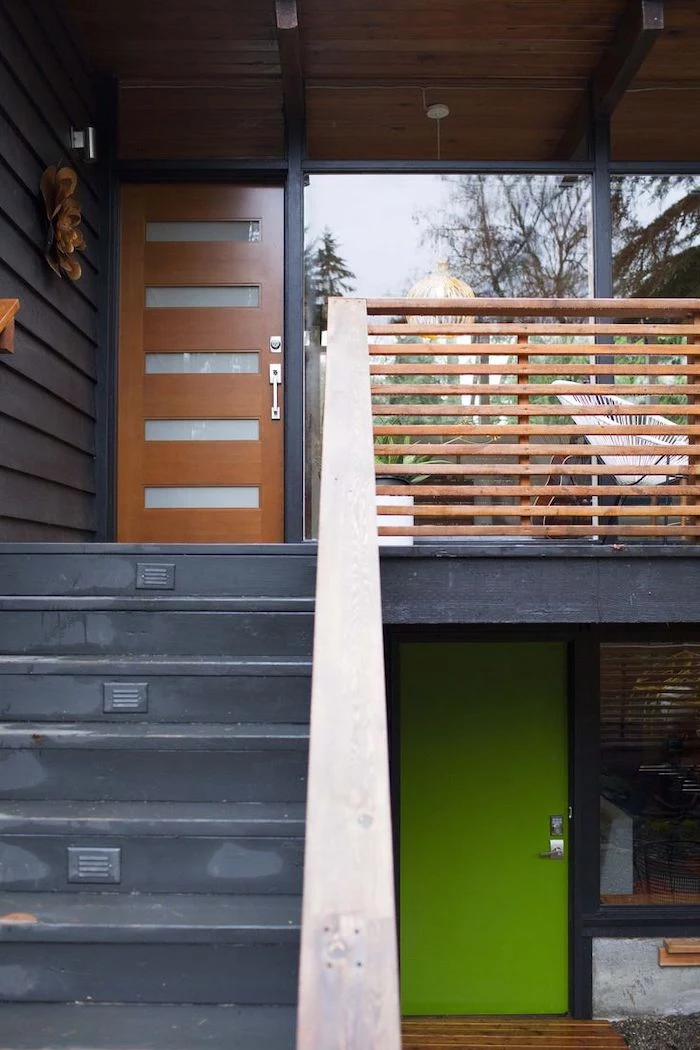
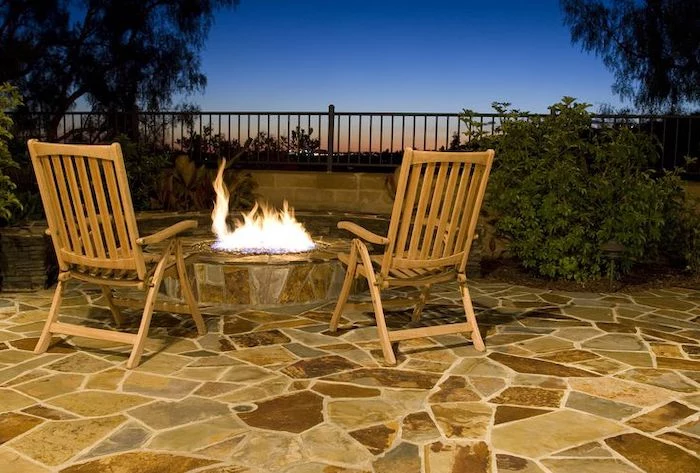
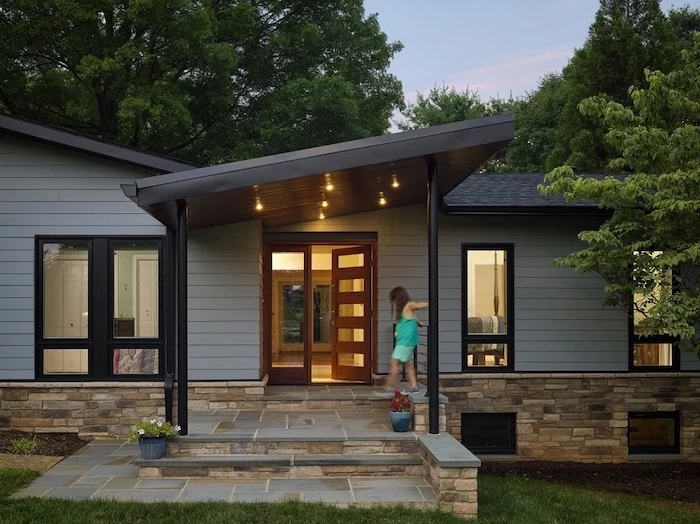
Stair Safety is Paramount: All stair risers (the vertical height) and treads (the horizontal depth) must be consistent. Even a half-inch variation between steps is a major trip hazard. Building codes are very specific here, typically requiring risers to be between 4 and 7.75 inches. A ‘grippable’ handrail is also mandatory for any stairway with four or more risers.
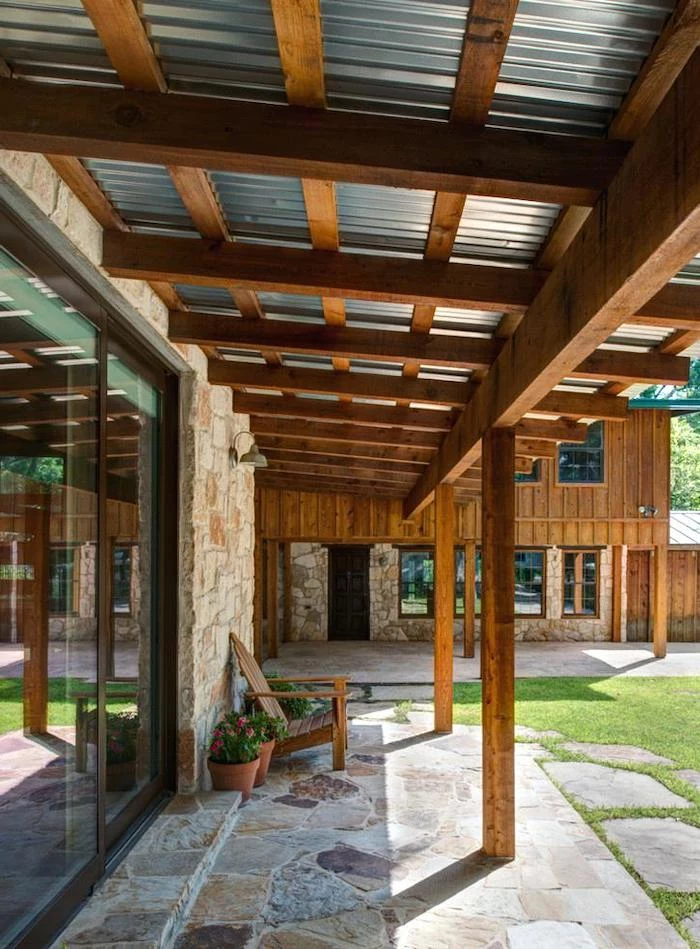
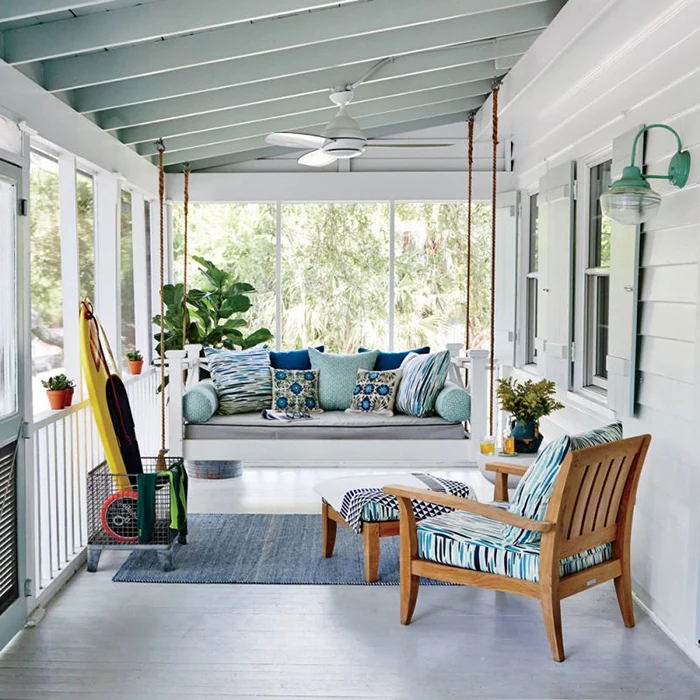

To prevent moisture from getting trapped and causing rot, ensure adequate ventilation under the porch. If you’re adding skirting around the perimeter, use a lattice or vented panel design rather than solid boards. This allows air to circulate freely, drying out the ground and the underside of the framing after a rainstorm.
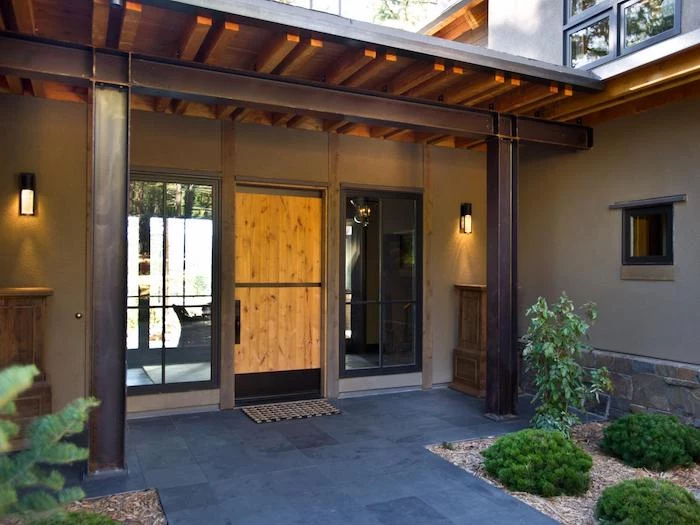
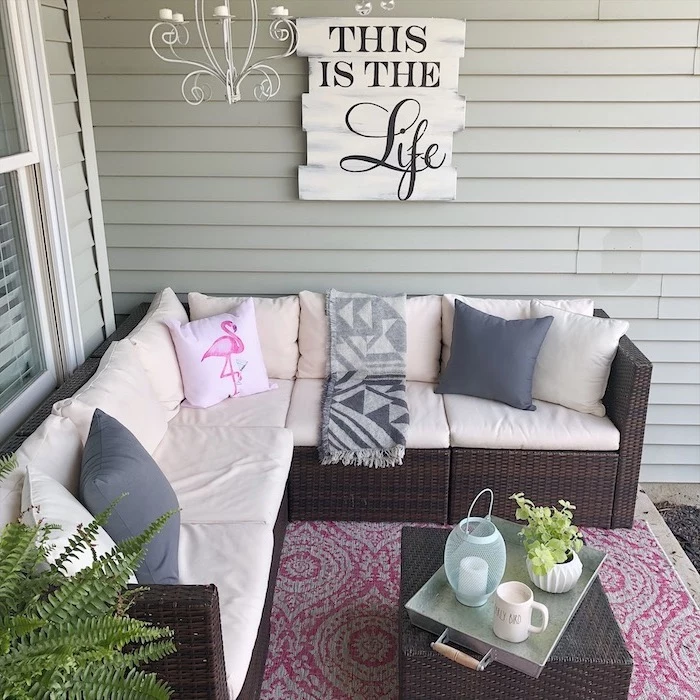
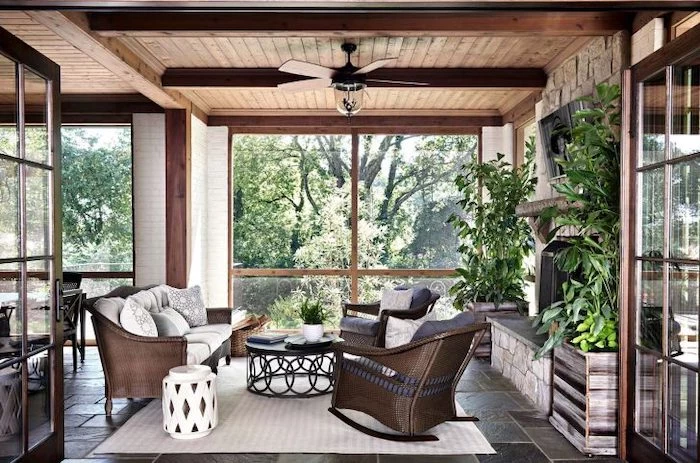
Beadboard Ceiling: Delivers a classic, cottage-style charm. Best when painted and requires a well-ventilated space to avoid moisture issues.
Tongue-and-Groove Wood: Offers a rich, warm look that can be stained or painted. Materials like cedar provide natural durability. More forgiving in humid climates.
The choice sets the entire mood for the overhead space.
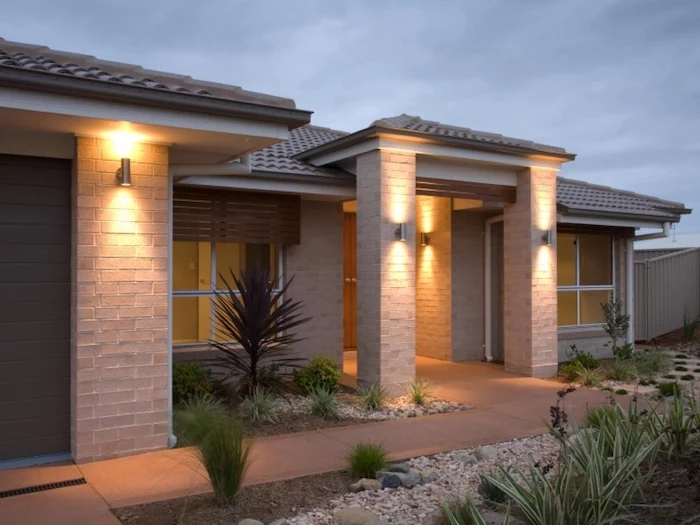
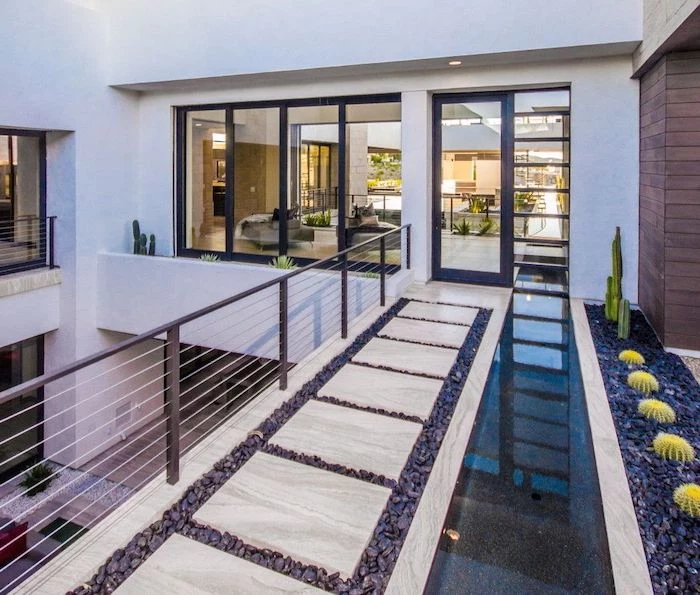
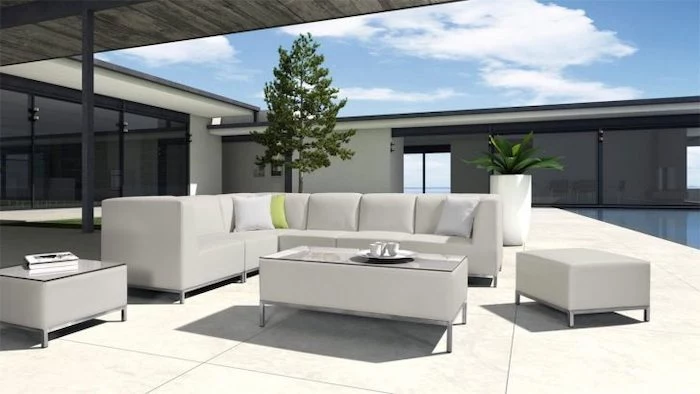
When selecting a stain for a wood porch floor, choose a penetrating oil-based formula. Products like those from Penofin or Armstrong-Clark soak deep into the wood fibers, nourishing them from within. This prevents the peeling and flaking common with film-forming surface coatings like varnish or polyurethane, and makes future maintenance as simple as cleaning and applying a fresh coat.

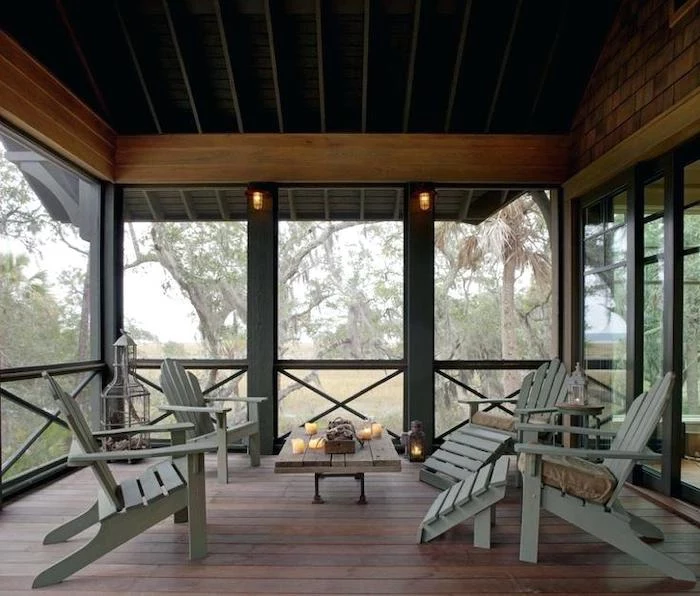
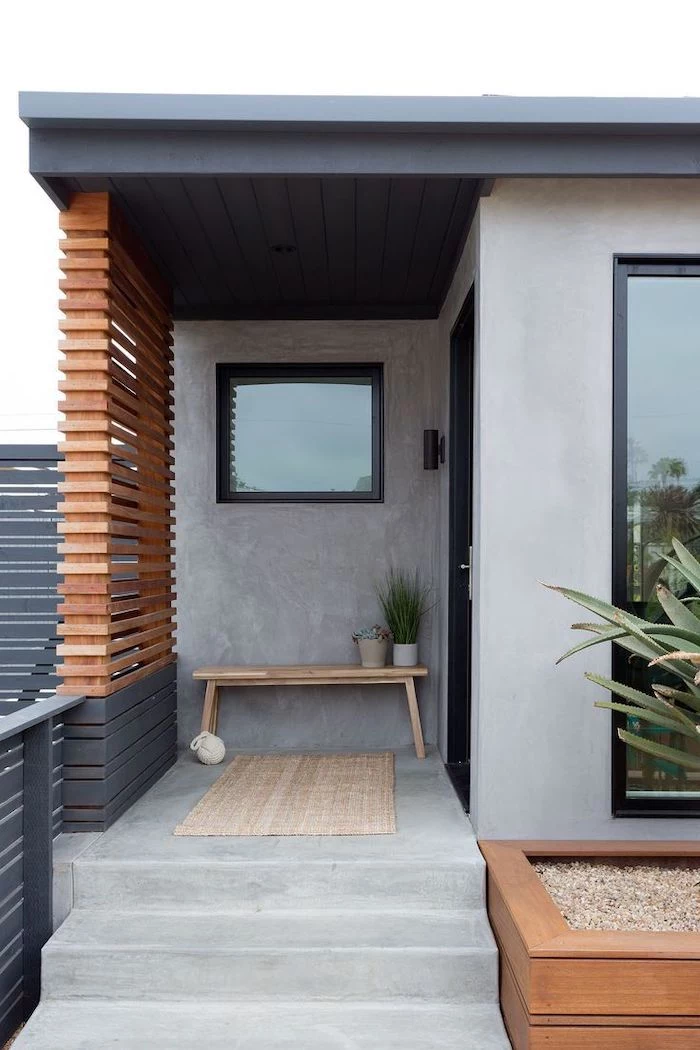

Don’t treat electrical wiring as an afterthought. Plan for it during the framing stage.
- Install at least one weatherproof, GFCI-protected outlet for convenience.
- Consider adding a dedicated switch for a ceiling fan.
- Put all lighting on dimmer switches to easily adjust the ambiance from bright and functional to soft and relaxing.
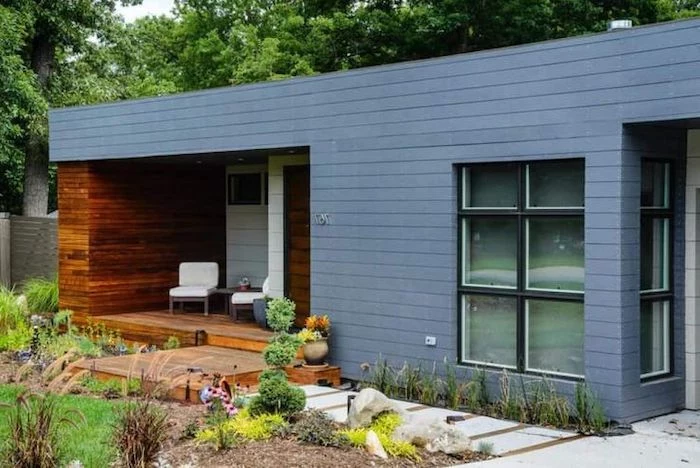
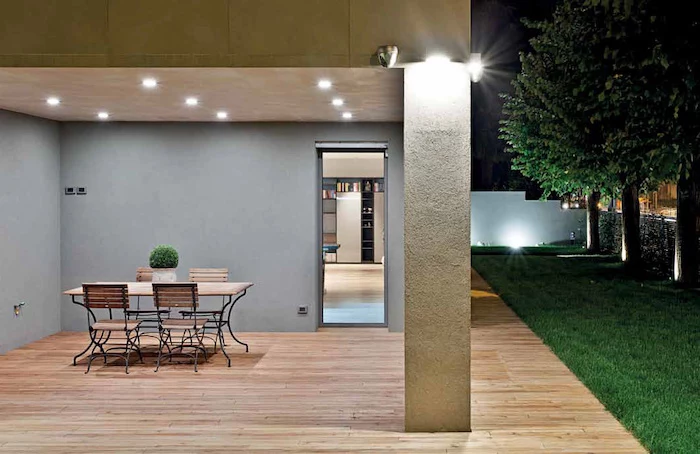
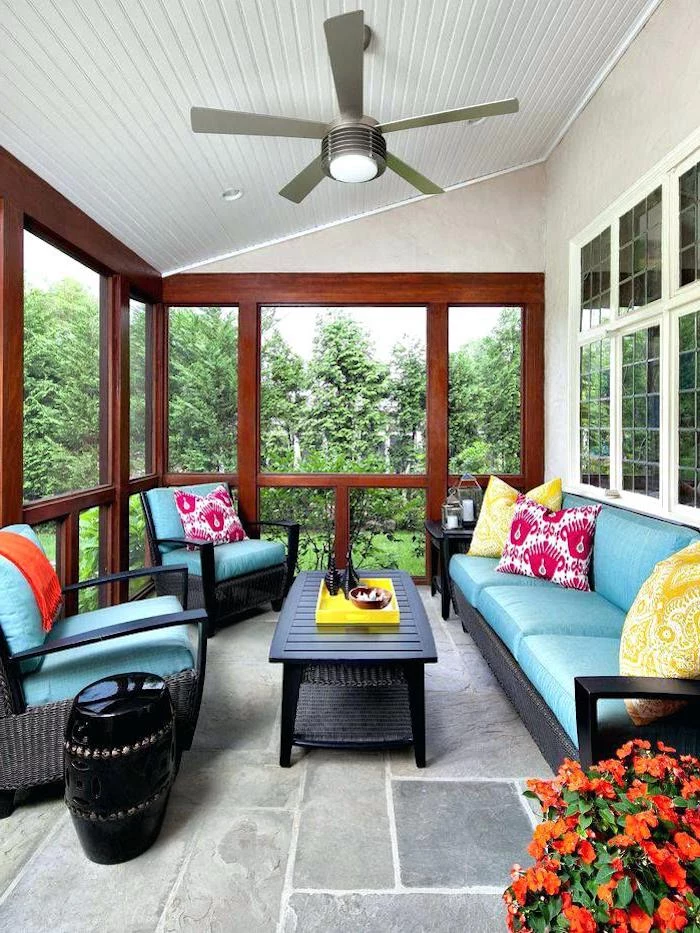
Important detail: To hide the unsightly pressure-treated framing, wrap the perimeter of the porch with a ‘fascia board’ made of the same material as your decking or a complementary trim material like Azek Trim. This gives the edge a clean, finished look and signals a high-quality build.




A single stainless steel #10 deck screw can withstand over 1,000 pounds of pull-out force when driven into dense wood.
This highlights why fastener choice matters. Using cheap, undersized, or non-exterior-grade screws is a critical failure point. For ultimate longevity and to prevent rust streaks, use stainless steel or specially coated deck screws that are rated for the type of treated lumber or composite decking you are installing.



The roof pitch (its steepness) is more than an aesthetic choice. A shallow pitch might look sleek and modern, but it’s less effective at shedding snow and rain, requiring a more robust and expensive waterproofing membrane underneath the shingles or metal. A steeper pitch sheds weather more effectively but creates a taller structure that can potentially block light from second-story windows. It’s a trade-off between style, climate, and your home’s existing architecture.
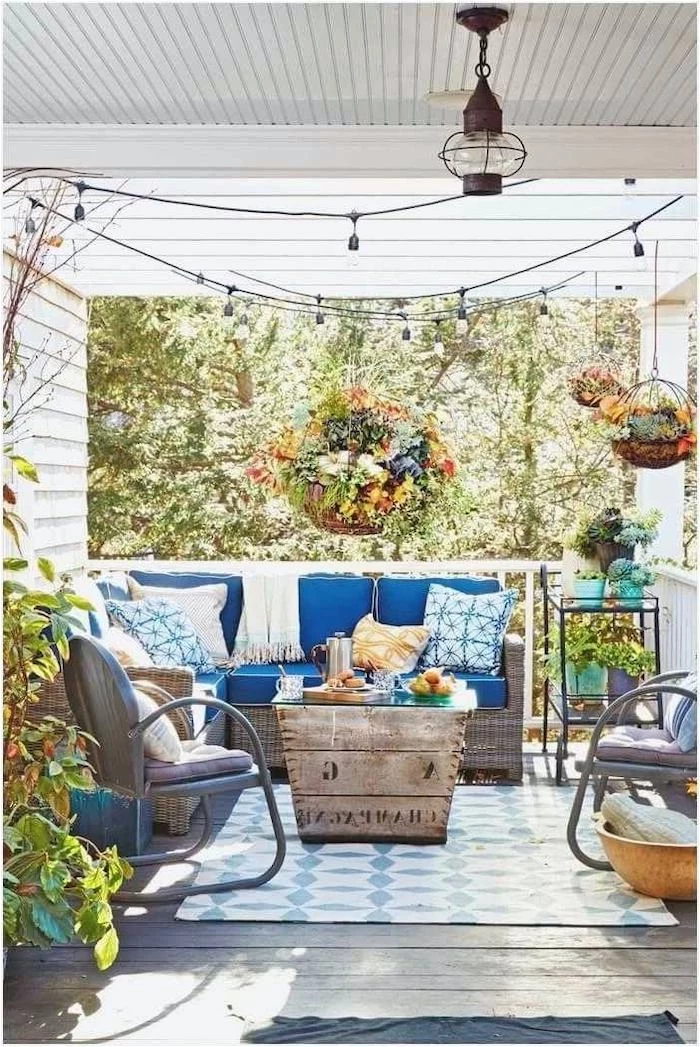

To keep your porch floorboards looking their best and lasting longer, use a hidden fastener system. These clips, like the Trex Hideaway or Camo Edge-Deck Fastening system, install into the side of the board rather than the top face. This creates a clean, unblemished surface with no visible screw heads, which also means no entry points for water to seep into the wood and start the process of decay.


