Staghorn Ferns 101: Your Complete Guide to Mounting & Care
I’ll never forget the first time I saw a truly massive staghorn fern. It wasn’t tucked away in a pot on a shelf; it was a living piece of art, a giant sculpture dominating an entire wall. The base was a shield of brown, papery plates bigger than a car tire, with dozens of green, antler-like fronds reaching out for what felt like miles. It was a serious ‘aha!’ moment that taught me a crucial lesson: to really succeed with these plants, you have to stop thinking of them as normal houseplants.
In this article
First things first, let’s clear up a common misunderstanding. Staghorn ferns aren’t trees. They’re what the pros call epiphytes, and that one word is the key to everything. Epiphytes grow on other plants, like in the crook of a tree branch, but don’t worry—they’re not parasites. They just use the tree as a sturdy platform to get closer to the sunlight and rain in a crowded forest. They get their water and food from the air, rainfall, and any leaf litter that collects around their base. Once you get that, their care starts to make perfect sense.
A staghorn fern has two very different kinds of leaves, or fronds, and each one has a special job. Understanding their purpose is the difference between a fern that’s just surviving and one that’s truly thriving. This guide will walk you through the real-world methods that work, from a small fern in an apartment to a beast in a greenhouse.
Getting to Know Your Fern
Before you even think about mounting, you need to understand the plant itself. A staghorn is a beautiful example of specialized design. Its whole structure is built for a life clinging to the side of a tree, and when you know its parts, you’ll automatically avoid the most common beginner mistakes.
Why They Hate Pots
The number one thing to remember is that a staghorn’s roots are for anchoring, not absorbing nutrients from soil. In a pot, the soil stays wet, suffocates the roots, and leads to rot. It’s the fastest way to kill one of these guys, honestly. In nature, rain washes over their roots, and then they dry out in the open air. Our goal is to copy that wet-then-dry cycle at home.
The Two Types of Fronds
Your fern will grow two kinds of fronds. They look different, they act different, and confusing them can cause real damage to the plant.
1. Shield Fronds (The Base Plates)
These are the round or kidney-shaped fronds at the bottom of the plant. They start out green and fleshy, pressing right up against whatever the fern is mounted on. Their main job is to grip that surface. As they grow, they overlap and form a protective shield over the roots. Over time, these shield fronds will turn brown and get dry and papery. This is where a lot of new owners panic, thinking the plant is dying.
Heads up: DO NOT cut off the brown shield fronds! This is a totally normal and healthy part of their life. Those brown layers protect the roots, provide insulation, and act like a built-in compost bin, catching debris that slowly breaks down and feeds the plant. Removing them is like taking away its pantry and its armor.

2. Antler Fronds (The Showy Leaves)
These are the fronds that give the plant its name. They’re green, forked, and grow out from the center of the plant. These are the workhorses, responsible for photosynthesis (turning sunlight into energy). On the undersides of mature antler fronds, you might see some fuzzy brown patches near the tips. That’s not a pest or a disease! Those are the spores for reproduction, and it’s actually a sign of a happy, mature plant.
Choosing the Right Fern for You
While there are tons of species out there, you’re most likely to run into a few common ones at the garden center. They have slightly different personalities.
- For beginners, the absolute best choice is the Common Staghorn Fern (Platycerium bifurcatum). It’s tough, forgiving, and handles lower humidity better than its cousins. Its antlers are slender and branch out a lot. You really can’t go wrong with this one.
- If you’re looking for a showstopper, the Giant Staghorn (Platycerium superbum) is your guy. It forms one massive, upright shield frond and stunning, drapey antler fronds. But be warned: it’s a bit of a diva. It needs more consistent water and humidity and doesn’t produce little offshoots, or “pups.”
- For a unique look, check out the Silver Staghorn (Platycerium veitchii). It has a beautiful silvery-white coating on its fronds that helps it reflect harsh sun. It can take a bit more light than the common variety, but still needs a break from that intense afternoon glare.

The Fun Part: How to Mount Your Staghorn Fern
I almost never recommend potting a staghorn. Mounting it on a board or in a basket is the way to go. It mimics their life in the wild and sets them up for long-term success. It’s a pretty simple project, and doing it right from the start is a game-changer.
Gathering Your Supplies
You don’t need a lot of fancy gear. Simple and natural materials are usually best.
- The Mount: You’ll want a piece of rot-resistant wood like cedar or cypress. Cork bark or a purpose-made tree fern plaque also work great. A quick tip: try to pick a board that’s at least 3-4 times wider than the fern’s current base. It might look a little oversized at first, but trust me, the fern will grow into it. Avoid standard pine or fir, as they rot too quickly. A critical safety note: NEVER use pressure-treated wood. The chemicals in it are toxic to plants and will slowly poison your fern.
- Growing Medium: Long-fiber sphagnum moss is the industry standard for a reason. It holds a ton of water but also allows for great airflow. Before you use it, soak it in a bucket of water for about 30 minutes, then squeeze out the excess so it’s damp, not sopping wet.
- The Fastener: You need something strong that won’t rust or rot. I swear by clear monofilament fishing line (a 20-30 lb test is perfect). It’s incredibly strong and basically disappears once you’re done. Some people also have great luck with strips of old nylon stockings. Just don’t use natural twine like jute or cotton; it will rot away long before your fern has a chance to anchor itself.
Good to know: For a small to medium setup, you can expect to pay around $15-$30 for a healthy starter fern, $10-$25 for a nice cedar board at a place like Home Depot, and about $10 for a bag of sphagnum moss that will last you for several projects.

Step-by-Step Mounting Guide
Alright, let’s get our hands dirty. This is a hands-on process, so don’t be afraid of a little mess.
- Prep Your Board. First thing’s first: attach a sturdy hook or picture wire to the back of your board for hanging. It’s way harder to do this with a plant in the way.
- Make a Moss Bed. Grab a big handful of your damp sphagnum moss and form it into a mound in the center of the board. This mound should be a bit bigger than the root ball of your fern.
- Position the Fern. Gently slide the fern out of its nursery pot. It’s okay to carefully tease away some of the old soil, but don’t try to get the roots perfectly clean. Place the root ball firmly onto the center of your moss mound. Make sure the flat shield fronds are at the top and the dangly antler fronds are at the bottom. The central growing point should be facing out, away from the board.
- Secure the Plant. This is the most important step. Take your fishing line and start wrapping it over the root ball and around the board. You want to wrap it over the base of the tough shield frond, NOT the delicate antler fronds. Pull the line tight! The plant shouldn’t wobble at all. If it’s loose, the new roots won’t grab onto the moss. I usually crisscross the line 10-15 times over the root ball before tying it off securely in the back.
It’ll look a bit messy at first, with all that fishing line showing. But be patient! In a few months, new shield fronds will grow right over the moss and the line, creating that clean, professional look you see in photos.
Day-to-Day Care for a Thriving Fern
Once your fern is mounted, caring for it is mostly about getting the light and water right. And honestly, most problems come from messing up the watering.
Light and Location
Staghorn ferns need bright, indirect light. Think of the dappled light under a tree canopy. Direct, hot sun will scorch the fronds, leaving ugly brown spots. Indoors, a spot a few feet from an east-facing window is perfect. Outdoors, a covered patio or under a leafy tree is ideal.
How to Water (The Soaking Method)
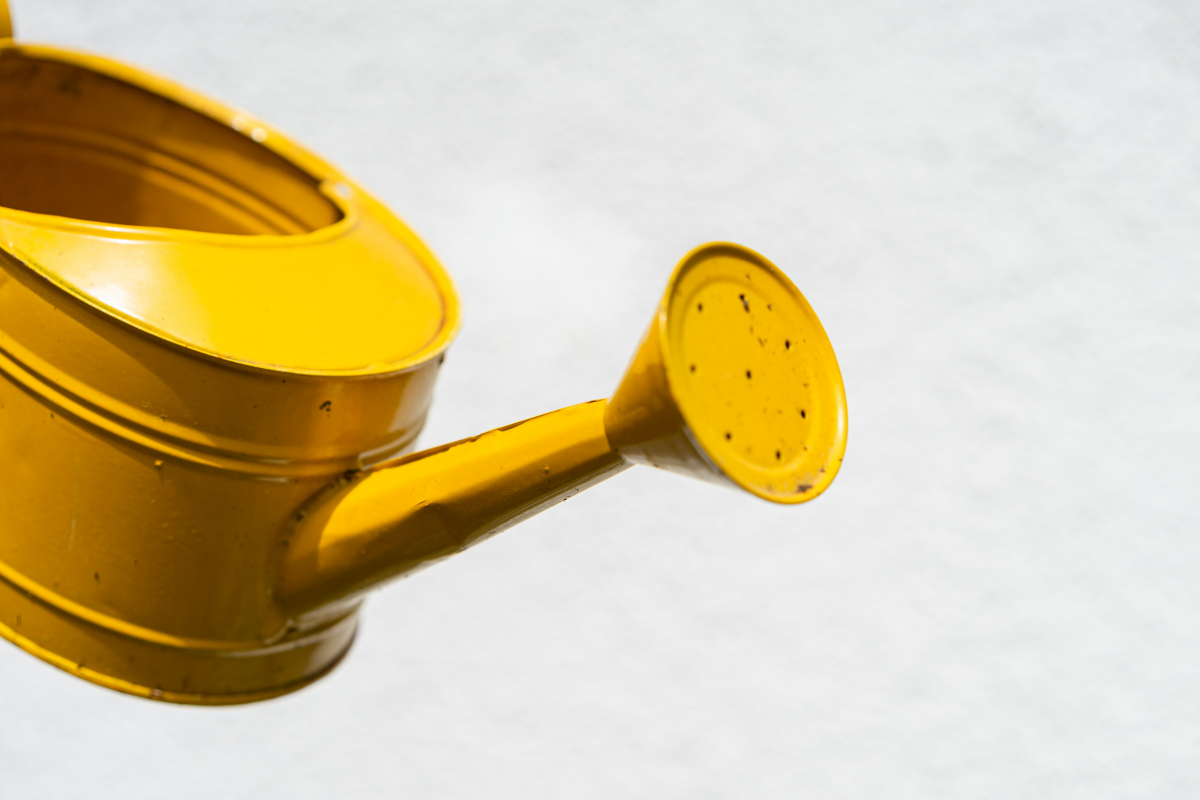
Put down the watering can. The best way to water a mounted fern is to give it a good soak. Misting is nice for humidity, but it doesn’t get water to the roots where it’s needed.
So, how often do you water? Forget a schedule. Learn to judge by weight. A freshly watered mount is heavy. As it dries out, it will feel noticeably lighter. That’s your cue. I just take the whole board to the sink or bathtub, lay it down, and run lukewarm water over the mossy base until it’s totally saturated. I let it sit for 15-20 minutes to really drink it all in. Then, I hang it in the shower to drip for about 30 minutes before putting it back. The key is to never let the base sit in standing water.

Fertilizing Your Fern
Staghorns aren’t greedy, but they do enjoy a little food during the spring and summer growing season. Use a balanced, water-soluble fertilizer (like a 20-20-20 formula), but—and this is important—dilute it to half or even quarter strength. For example, if the bottle says to use 1 teaspoon per gallon of water, you should only use 1/4 to 1/2 a teaspoon. Too much fertilizer will burn the roots. Once a month during the growing season is plenty. Just add the diluted fertilizer to the water when you’re doing your soak.
Troubleshooting and Next Steps
As your plant grows, you might run into a few issues or want to try more advanced projects. Here are some common situations and how to handle them.
Common Problems & Fixes
- Yellowing Antler Fronds: This is often a sign of overwatering. The base of the plant isn’t getting a chance to dry out between soakings. Try extending the time between waterings and make sure the mount feels significantly lighter before you soak it again.
- Black Spots at the Base: This is usually rot, caused by the base staying wet for too long. This is serious. Cut back on watering immediately and make sure there’s good air circulation around the plant. If it’s really bad, you may need to remount it with fresh, dry moss.
- Pests: The most common pest is scale. These look like small, brown, waxy bumps on the fronds. To get rid of them, dip a Q-tip in rubbing alcohol and gently dab each one. The alcohol dissolves their waxy coating. For a bigger infestation, you may need to repeat this every few days for a week or two.
Propagating and Dividing
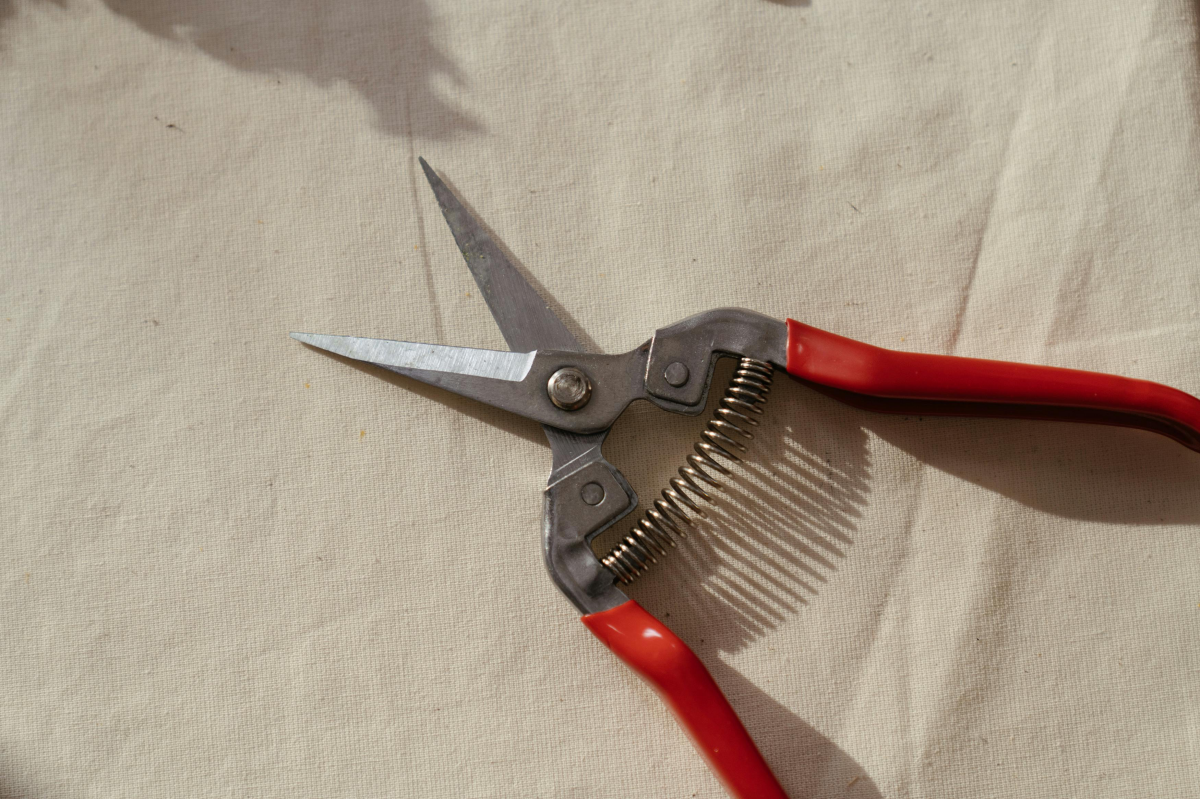
One of the most rewarding things is creating new plants. The easiest way is by dividing the little offshoots, or “pups,” that some species produce. Once a pup has developed its own small shield frond and a few antler fronds, you can separate it. Use a sharp, clean knife to carefully cut it away from the mother plant, making sure to get a piece of the root ball with it. Then, simply mount your new baby fern on its own little board, just like you did with the original!
When Your Fern Gets Too Big
What a great problem to have! Eventually, your fern’s shield fronds will start to grow over the edges of its board. That’s when it’s time to size up. The process is pretty straightforward. You just mount the entire old board onto a new, larger board. Create a big moss bed on the new board, place the old mount on top of it, and then use wire or heavy-duty zip ties to firmly secure the old board to the new one. The fern’s roots will eventually grow through the old mount and into the new moss, and the new shield fronds will cover everything up over time.

Galerie d’inspiration
The secret to perfect watering: The single biggest challenge for a mounted staghorn is getting the watering right. Forget misting the leaves; you need to hydrate the core. The most effective method is the weekly soak.
- Take your entire mount to a sink or bathtub.
- Submerge the root ball and shield fronds for 10-20 minutes, until the moss is fully saturated.
- Let it drip dry completely before re-hanging. In between soaks, the mount should feel light and dry to the touch.
Did you know? The brown, papery shield fronds at the base aren’t dead. They are a vital part of the plant, protecting the root system and absorbing water and nutrients. Never remove them!
Think of these shield fronds as the plant’s built-in compost bin and protective armor. As new green shields grow over the old ones, the lower layers decompose, providing a slow-release source of nutrition exactly where the fern needs it. Peeling them off is like tearing the foundation out from under a house.
Tired of the classic wooden plaque?
Consider mounting your staghorn on a wire basket frame, like a hanging planter for coconut coir liners. By filling the basket with sphagnum moss and securing the fern in the center, you create a stunning, spherical display. This method allows for 360-degree air circulation, which the roots love, and lets the antler fronds grow in every direction for a truly wild, sculptural effect.
A common mistake: Using potent, all-purpose plant food. Staghorn ferns are light feeders, and harsh chemical fertilizers can easily burn their sensitive fronds and roots. For a happy plant, choose a balanced liquid fertilizer (like one formulated for orchids or a fish emulsion such as Neptune’s Harvest) and dilute it to half or even a quarter of the recommended strength. Feed only during the active growing season in spring and summer.
- Creates a natural, rugged aesthetic that mimics its native habitat.
- Provides excellent aeration and is naturally resistant to rot.
- Its uneven surface gives roots plenty of places to grip.
The ideal mounting surface? Virgin cork bark. Its texture and properties make it the perfect partner for an epiphytic fern, offering a far more authentic and beneficial environment than a simple, flat piece of wood.
Choosing the right spot is about mimicking the light of a forest canopy. Staghorns thrive in bright, indirect light. An east-facing window that gets gentle morning sun is perfect. A spot a few feet back from a south or west-facing window also works well. If you see brown, scorched patches on the fronds, the light is too direct.
Live Cedar Plank: Offers a clean, modern look and its natural oils provide excellent resistance to water damage and decay. The smooth surface can make initial mounting slightly trickier.
Tree Fern Fiber Board: A sustainable option made from fern roots, it provides a porous, airy surface that retains moisture well and is easy for roots to penetrate.
For a beginner, the tree fern board is more forgiving, while the cedar plank offers superior longevity and a more polished design statement.


