Don’t Plant a Problem: A Real-Talk Guide to Low-Maintenance Trees
After years of having my hands in the soil on all sorts of projects, I’ve seen it all. I’ve planted tiny saplings that are now gorgeous, towering trees, and I’ve also been the guy called in to remove trees that turned into expensive nightmares. And the biggest lesson I’ve learned is this: there’s no such thing as a “no-maintenance” tree. It just doesn’t exist.
In this article
But a “low-maintenance” tree? Oh yeah, that’s completely doable.
The secret isn’t about finding some magical species that takes care of itself. It’s about making a smart choice from the very beginning. It’s about matching the right tree to the right spot in your yard. A well-chosen tree, honestly, is far less work than a fussy flower bed or a needy vegetable garden. Your main job is just to give it the right starting conditions, and the tree handles the rest. This guide is all about the practical, real-world advice I give my own clients to make sure their tree becomes a cherished part of their home for decades.
First Things First: Do a Little Homework Before You Dig
A tree is a long-term commitment, and a little bit of prep work now will save you from massive headaches later. I’ve seen beautiful, pricey trees wither away simply because the ground wasn’t right for them. And I’ve seen homeowners forced to pay thousands to remove a tree that was planted way too close to the house. Trust me, understanding these basics is the most important part of the whole process.
Your Soil is Everything
You can’t see it, but what’s happening underground determines more than half of your tree’s success. Most soil is a mix of sand, silt, and clay. Clay soil is dense and holds water, but it can get waterlogged and starve roots of oxygen. Sandy soil drains in a flash but struggles to hold onto nutrients. The sweet spot is loam, a balanced mix of all three.
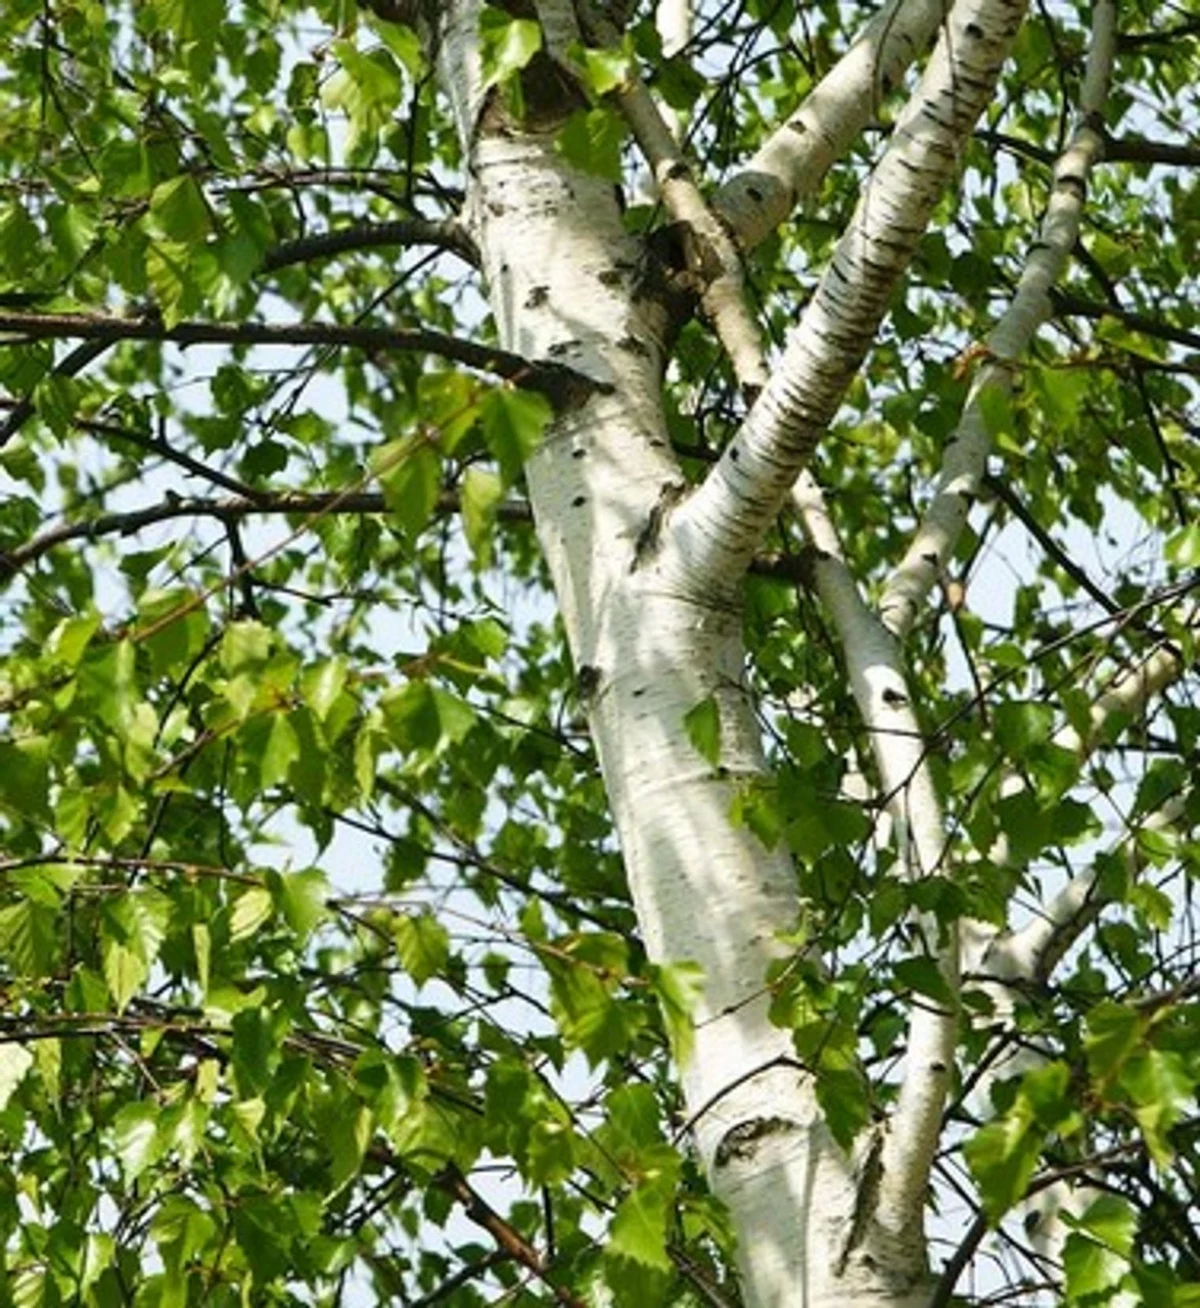
Good to know: You need to figure out what you’re working with. A simple percolation test (we call it a “perc test”) will tell you. It sounds technical, but it’s easy. Dig a hole about a foot deep and a foot wide. Fill it with water and let it drain completely—if you have heavy clay, this might take overnight. Then, fill it again and see how fast the water level drops. About one to two inches per hour is great. If it drains in minutes, you’ve got sandy soil. If water is still sitting there hours later, you have a drainage problem. Some trees, like a River Birch, adore wet feet. Others will get root rot in that very same spot.
By the way, if that perc test shows super-fast drainage, you’re likely dealing with sandy soil. No worries! Certain trees, like a hardy Black Oak or even a Scots Pine, are perfectly happy in those conditions.
Let There Be Light (The Right Amount)
Plant tags can be a little confusing. “Full sun” means at least six hours of direct, unfiltered sunlight a day. “Part shade” is usually four to six hours, and “full shade” is less than four. But here’s a pro tip: watch the spot you’ve chosen throughout the day. The sun’s angle changes dramatically with the seasons. A spot on the north side of your house might get decent sun in the summer, but be in a deep, stressful shadow all winter long. The south side is almost always your hottest, brightest spot.
Know Your Zone
The USDA Plant Hardiness Zone Map is a landscaper’s bible. It divides the country into zones based on the coldest average winter temperatures. If you live in Zone 5, you need a tree rated for Zone 5 or a lower number (like 4 or 3). Trying to plant a Zone 7 tree in a Zone 5 climate is basically a bet that winter will always win. You can find your zone in seconds by plugging your zip code into the official USDA map. Every tree at a decent nursery will have its hardiness zone right on the tag.
The #1 Mistake: Ignoring Mature Size
I can’t say this enough: plant for the tree’s final size, not the size it is in the pot. That cute little five-foot sapling could easily grow to be 50 feet tall with a 40-foot-wide canopy. Go outside with a tape measure and visualize it. Will it eventually grow into the overhead power lines? Is it too close to your foundation, driveway, or fence? A tree’s roots can be incredibly destructive over time. I once had to manage the removal of a stunning Silver Maple planted just ten feet from a house. Its roots had cracked the home’s foundation. It was an expensive, heartbreaking mess that could have been completely avoided.
How to Plant a Tree for Long-Term Success
Putting the tree in the ground correctly is just as important as picking the right spot. Shortcuts here will absolutely show up as problems down the road.
Dig a Saucer, Not a Post Hole
Forget everything you’ve seen about digging a deep, narrow hole. A tree’s roots grow out, not straight down. The hole should be shaped like a wide, shallow saucer—two to three times wider than the root ball, but only as deep as the root ball itself. The spot where the trunk widens into roots (called the root flare) MUST be visible and sit just a hair above the surrounding soil level. If you bury the flare, you’re basically inviting rot and disease to the party.
When you fill the hole back in, just use the native soil you dug out. Your tree needs to adapt to the soil it’s going to live in for the rest of its life.
Free the Roots
Nursery trees usually come in a plastic pot or balled in burlap (B&B). If it’s in a pot, the roots have likely started circling the inside. If you plant it like that, they’ll keep circling and eventually strangle the tree. You have to loosen them up! Gently tease them apart and don’t be afraid to make a few vertical cuts with a soil knife (a handy tool that costs about $20). For a B&B tree, place the whole thing in the hole, then cut away all the twine and as much of the wire basket and burlap from the top half as you can. If the burlap is synthetic, it all has to go, because it will never decompose.
To Stake or Not to Stake?
Honestly, I rarely recommend staking. A tree trunk needs to sway in the wind; this movement tells it to grow a stronger, thicker trunk and a more powerful root system. A rigidly staked tree is like a person who’s been in a body cast for a year—it’s weak and vulnerable when the support is finally removed. The only time I stake is on a super windy, exposed site or if the tree is really top-heavy. If you must do it, use two stakes with wide, flexible straps that won’t cut into the bark, and ALWAYS remove them after one year. A forgotten strap will kill a healthy tree.
Water and Mulch: Your First-Year Friends
The first year is all about establishing roots, and that means water. The key is deep, infrequent watering. Give it a long, slow soak once or twice a week (more if it’s scorching hot) instead of a light sprinkle every day. This encourages the roots to grow deeper, making the tree more drought-tolerant later on.
Mulch is your secret weapon. A three-inch layer of organic mulch, like shredded bark, helps hold in moisture and keeps weeds down. A few bags of quality hardwood mulch will only run you about $15-$20. Just follow the 3-3-3 rule: apply it 3 inches deep in a 3-foot wide circle, but keep it 3 inches away from the trunk itself. Piling mulch against the trunk is called a “mulch volcano,” and it’s a surefire way to cause rot.
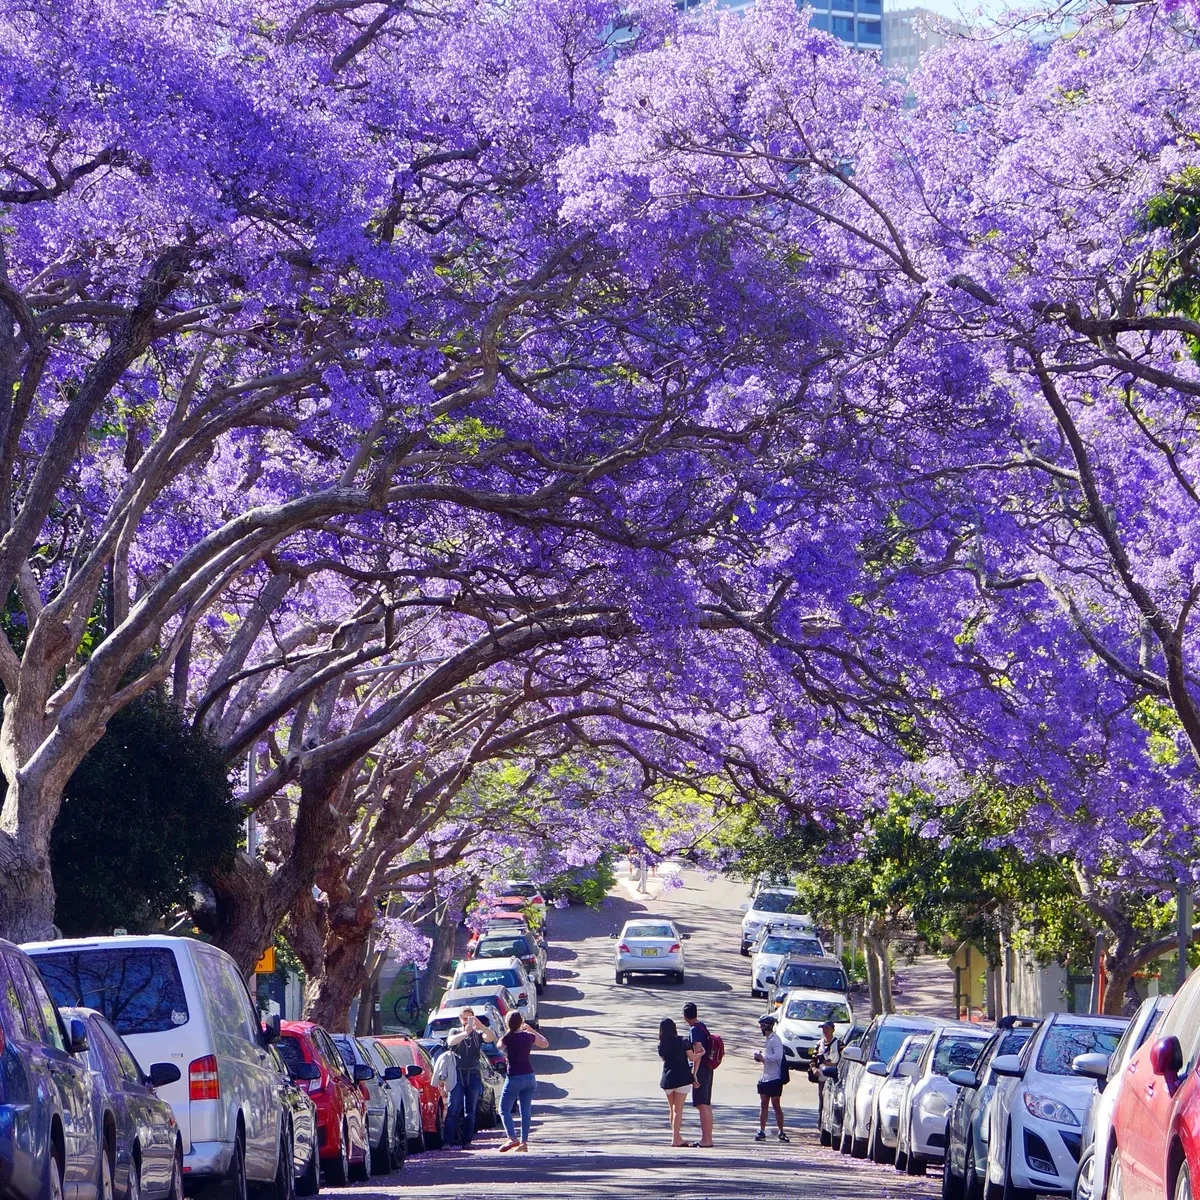
My Go-To Picks for Genuinely Low-Maintenance Trees
Alright, here are a few of my favorite, reliable trees that tend to behave themselves. A young sapling in a 5-gallon pot might cost you anywhere from $40 to $100, while a larger, more mature B&B tree could be $200-$500 or more.
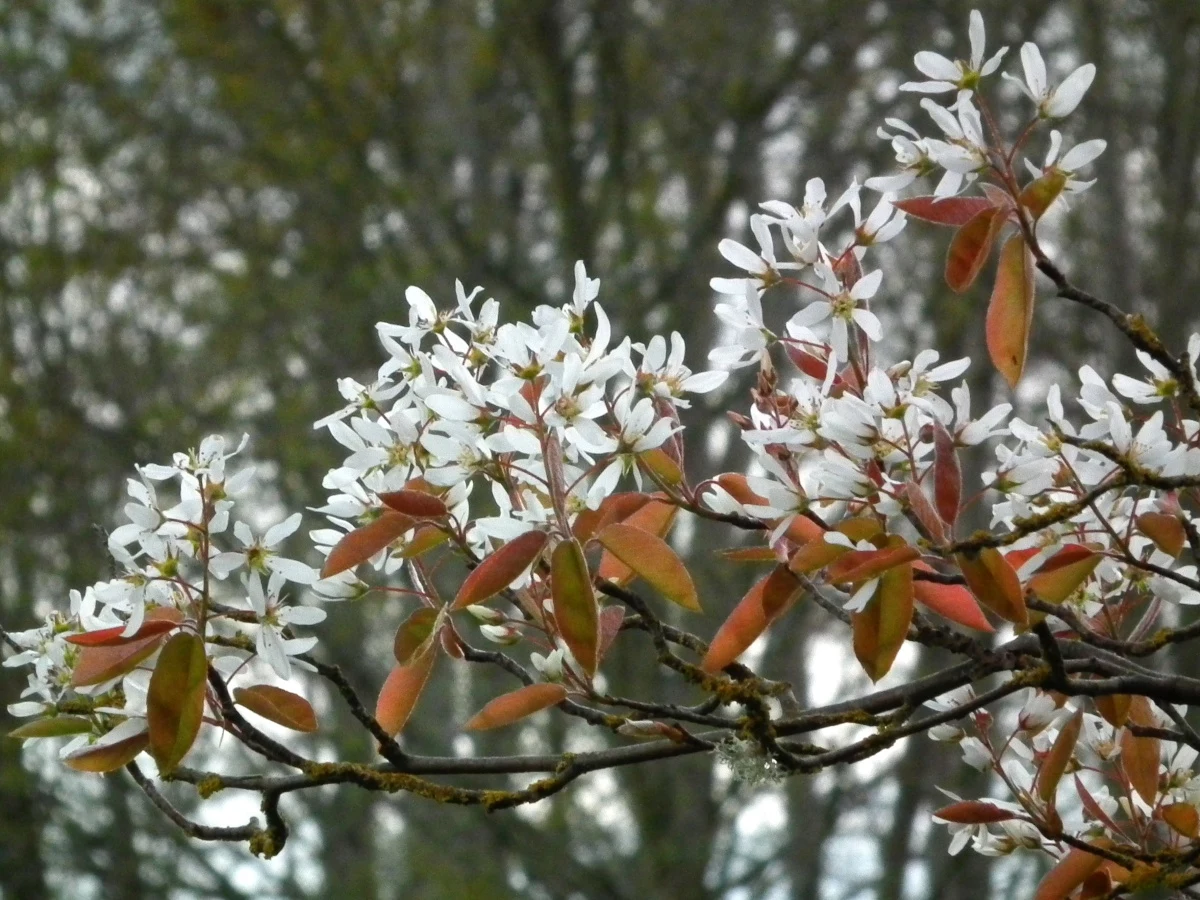
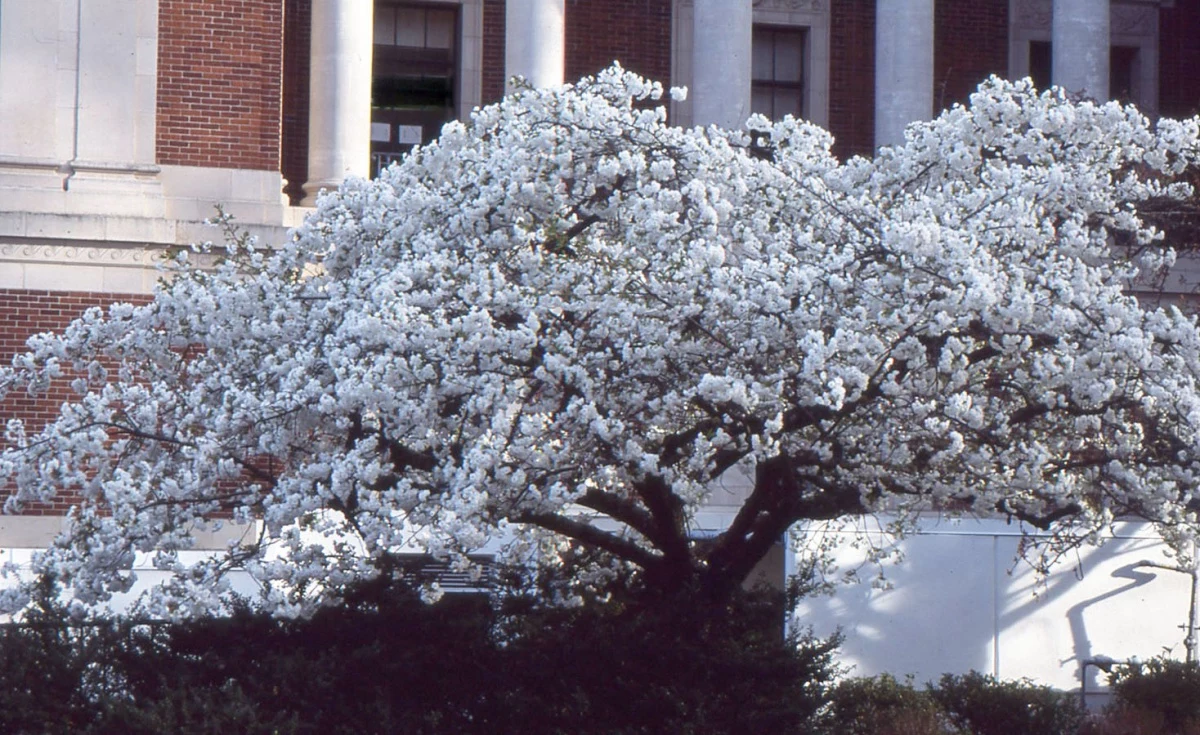
- For Smaller Yards: Serviceberry. This is a fantastic multi-season tree. It gets pretty white flowers in spring, edible berries in the summer (if you can beat the birds to them), and gorgeous orange-red fall color. It’s a slow grower and typically tops out around 15-25 feet tall. It’s not too picky about soil and can handle full sun to part shade.
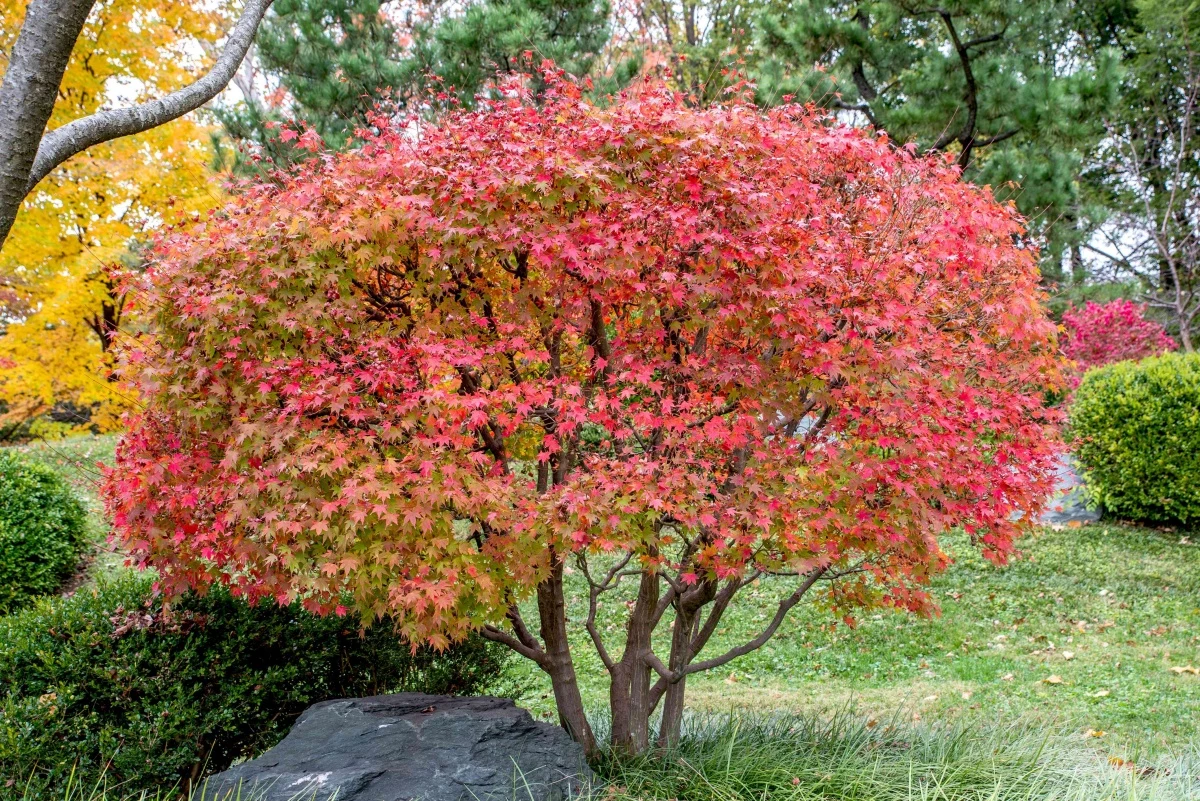
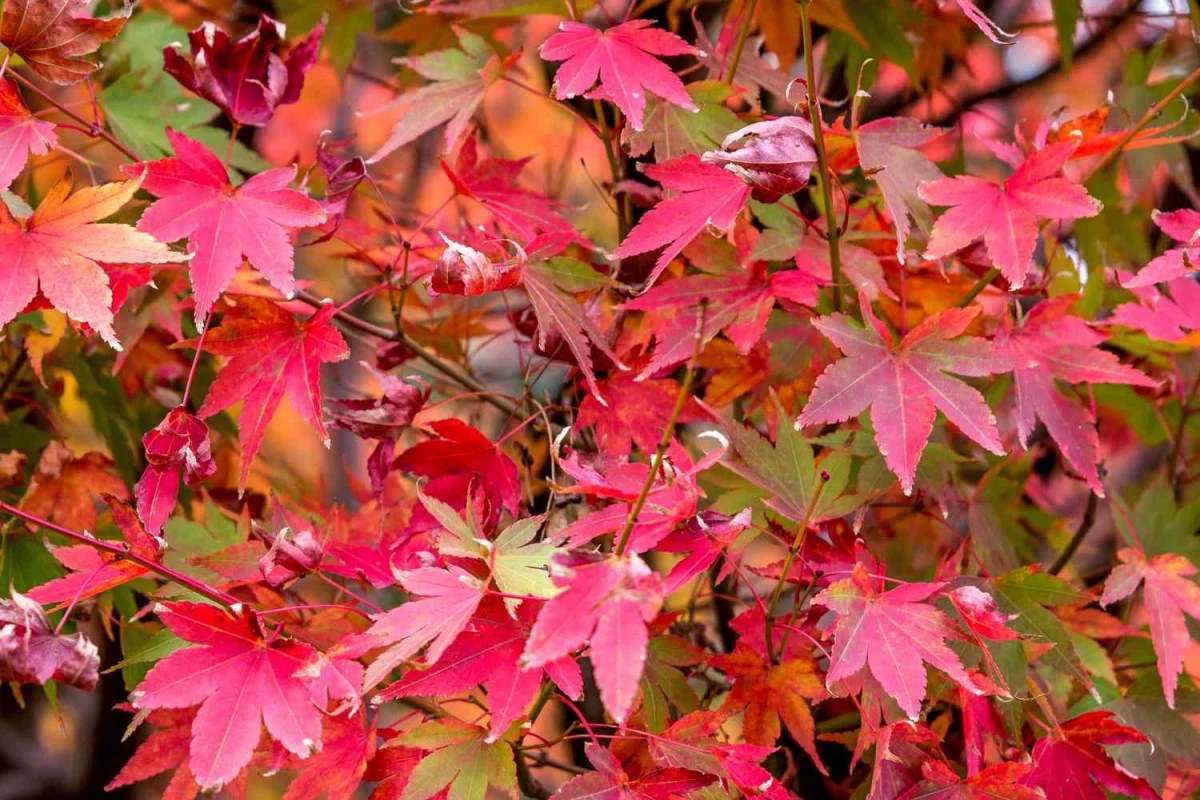
- For Classic Fall Color: A Modern Red Maple. The classic Red Maple is great, but some of the newer varieties offer even more intense, reliable fall color without getting quite as massive. They grow fast and provide wonderful shade, usually reaching about 40-50 feet. They prefer full sun and loamy, slightly acidic soil but are pretty adaptable. A heads-up, though: their roots can become shallow and disrupt lawns or sidewalks over time, so plant it a good distance from any pavement.
- For Wet or Clay Soil: River Birch. If your perc test showed slow drainage, this is your tree. As the name suggests, it loves moisture. It’s known for its beautiful, peeling bark that provides great winter interest. It grows fairly quickly to about 40-70 feet and thrives in full sun. Just be aware it can drop a lot of small twigs, so it’s not ideal right next to a pristine patio.
- For Dry, Sandy, or Tough Spots: Black Oak. If you have dry or sandy soil, don’t despair. Oaks are powerhouses. The Black Oak is incredibly tough, drought-tolerant once established, and provides amazing shade and habitat for wildlife. It’s a slow-grower but will eventually become a majestic tree at 50-60 feet tall. It needs full sun to really thrive. It’s a commitment, but one that pays off in strength and longevity.
Quick Tip: When to Skip the DIY and Call a Pro
Look, I’m all for DIY, but sometimes it’s smarter to call in a professional. If you’re looking at a tree with a root ball that weighs over 100 pounds, or if you need to plant within 15-20 feet of critical underground utilities or your home’s foundation, it’s worth the money to have it done right. A professional crew can handle the heavy lifting safely and knows exactly how to avoid costly mistakes.


