Your Monstera Isn’t Thriving? Here’s the Real-Deal Guide to Fixing It
I’ve seen it a thousand times. Someone brings home a gorgeous Monstera deliciosa, that iconic “Swiss Cheese Plant,” full of hopes and dreams for a lush, leafy vibe. But pretty soon, the internet’s conflicting advice kicks in, and that vibrant plant starts to look… well, a little sad. Let’s cut through the noise. This isn’t about just making your living room look good for a photo; this is about understanding what this incredible plant actually needs to thrive for years to come.
In this article
Forget the quick, generic tips. We’re going to get our hands dirty and learn how to care for this plant the right way, based on how it actually grows in the wild.
Quick Win: Go look at the bottom of your Monstera’s pot right now. Seriously, go check. Does it have at least one drainage hole? If not, that’s the single most urgent problem to solve. Your plant’s life genuinely depends on it, and we’ll cover exactly why in a bit.
It Wants to Climb, Not Just Sit There
To really get your Monstera, you have to picture its home in the tropical rainforests. This one fact changes everything. It starts life on the shady forest floor and then, as a hemiepiphyte, it makes a break for it, climbing up massive trees to chase the light. This climbing instinct is the secret key to its happiness.
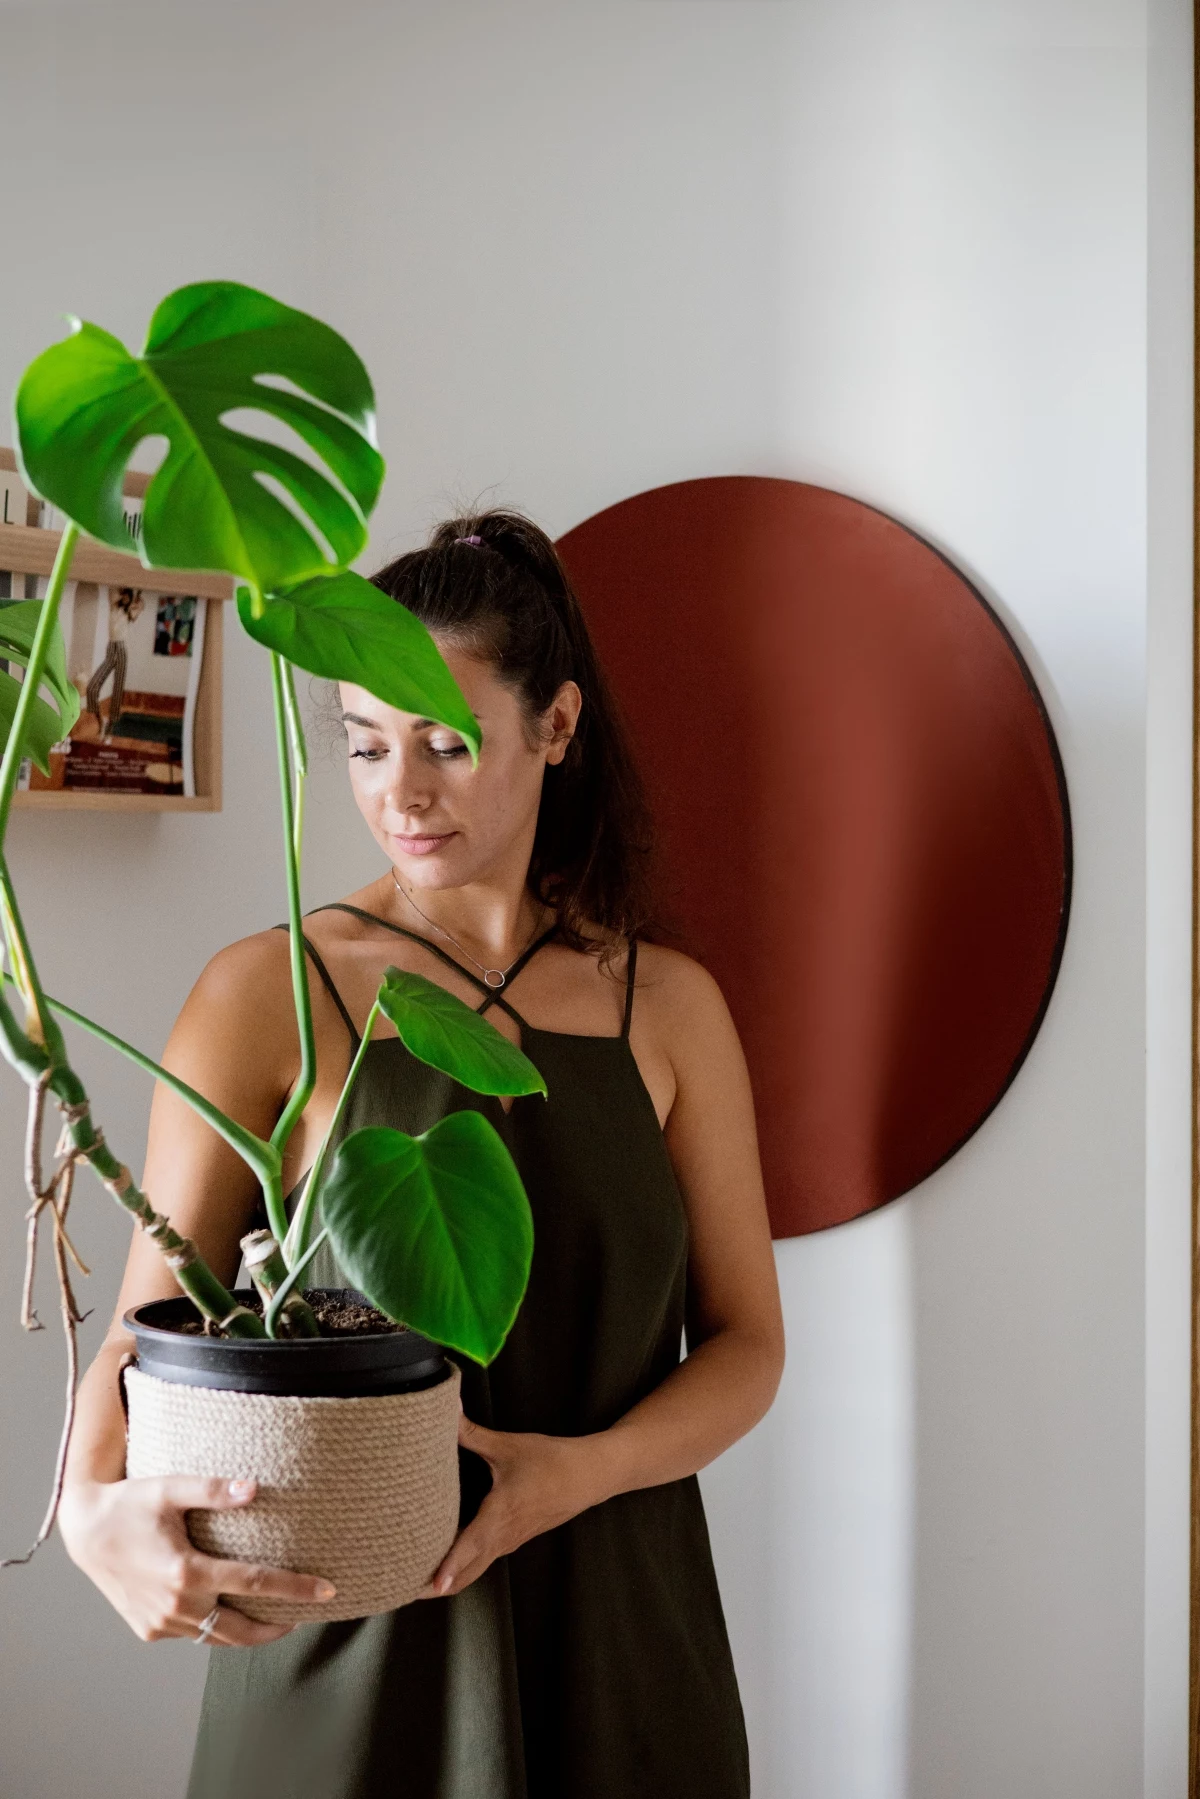
Because of this, it has two kinds of roots. Down in the soil, it has the regular subterranean roots that you’d expect, which anchor it and suck up nutrients. But you’ll also see thick, brown, sometimes wild-looking aerial roots growing right out of the stem. Heads up! These are NOT a problem. They are a sign of a healthy, maturing plant. Their job is to grab onto tree bark for support, and they can even absorb moisture and nutrients from the air. So please, don’t cut them off or feel like you have to cram them into the pot. If they get a bit unruly, you can just gently guide them down into the soil or wrap them around its support pole.
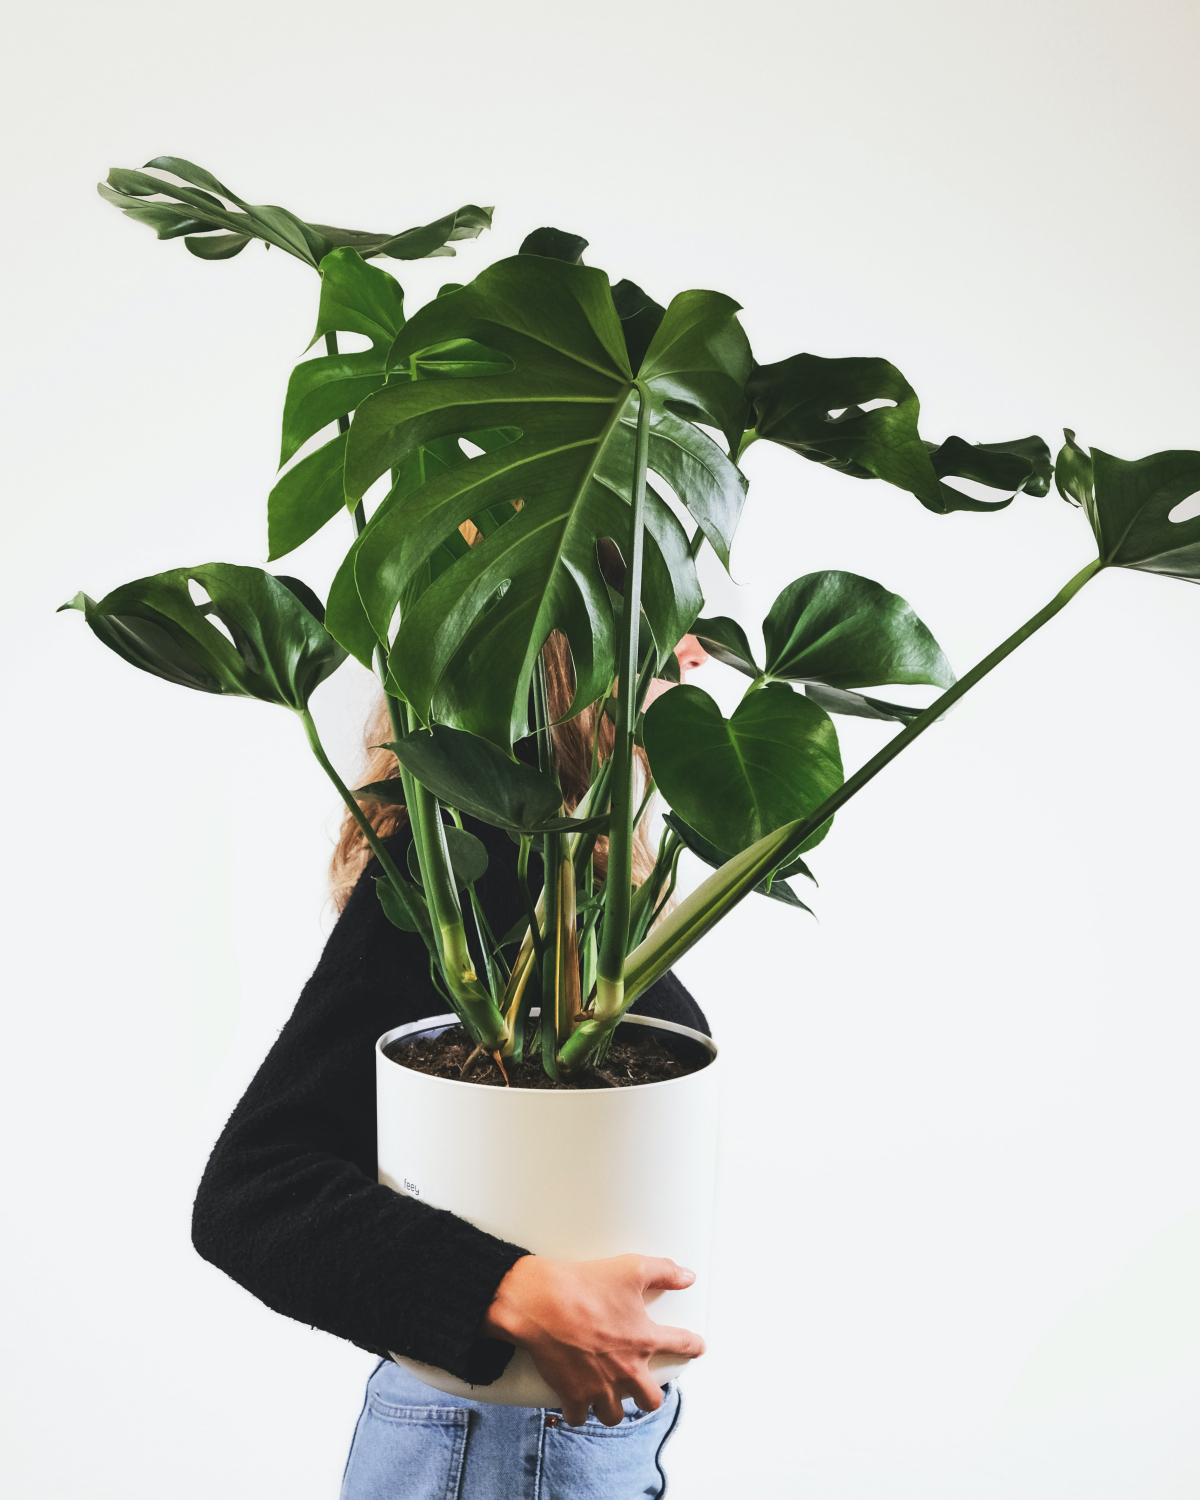
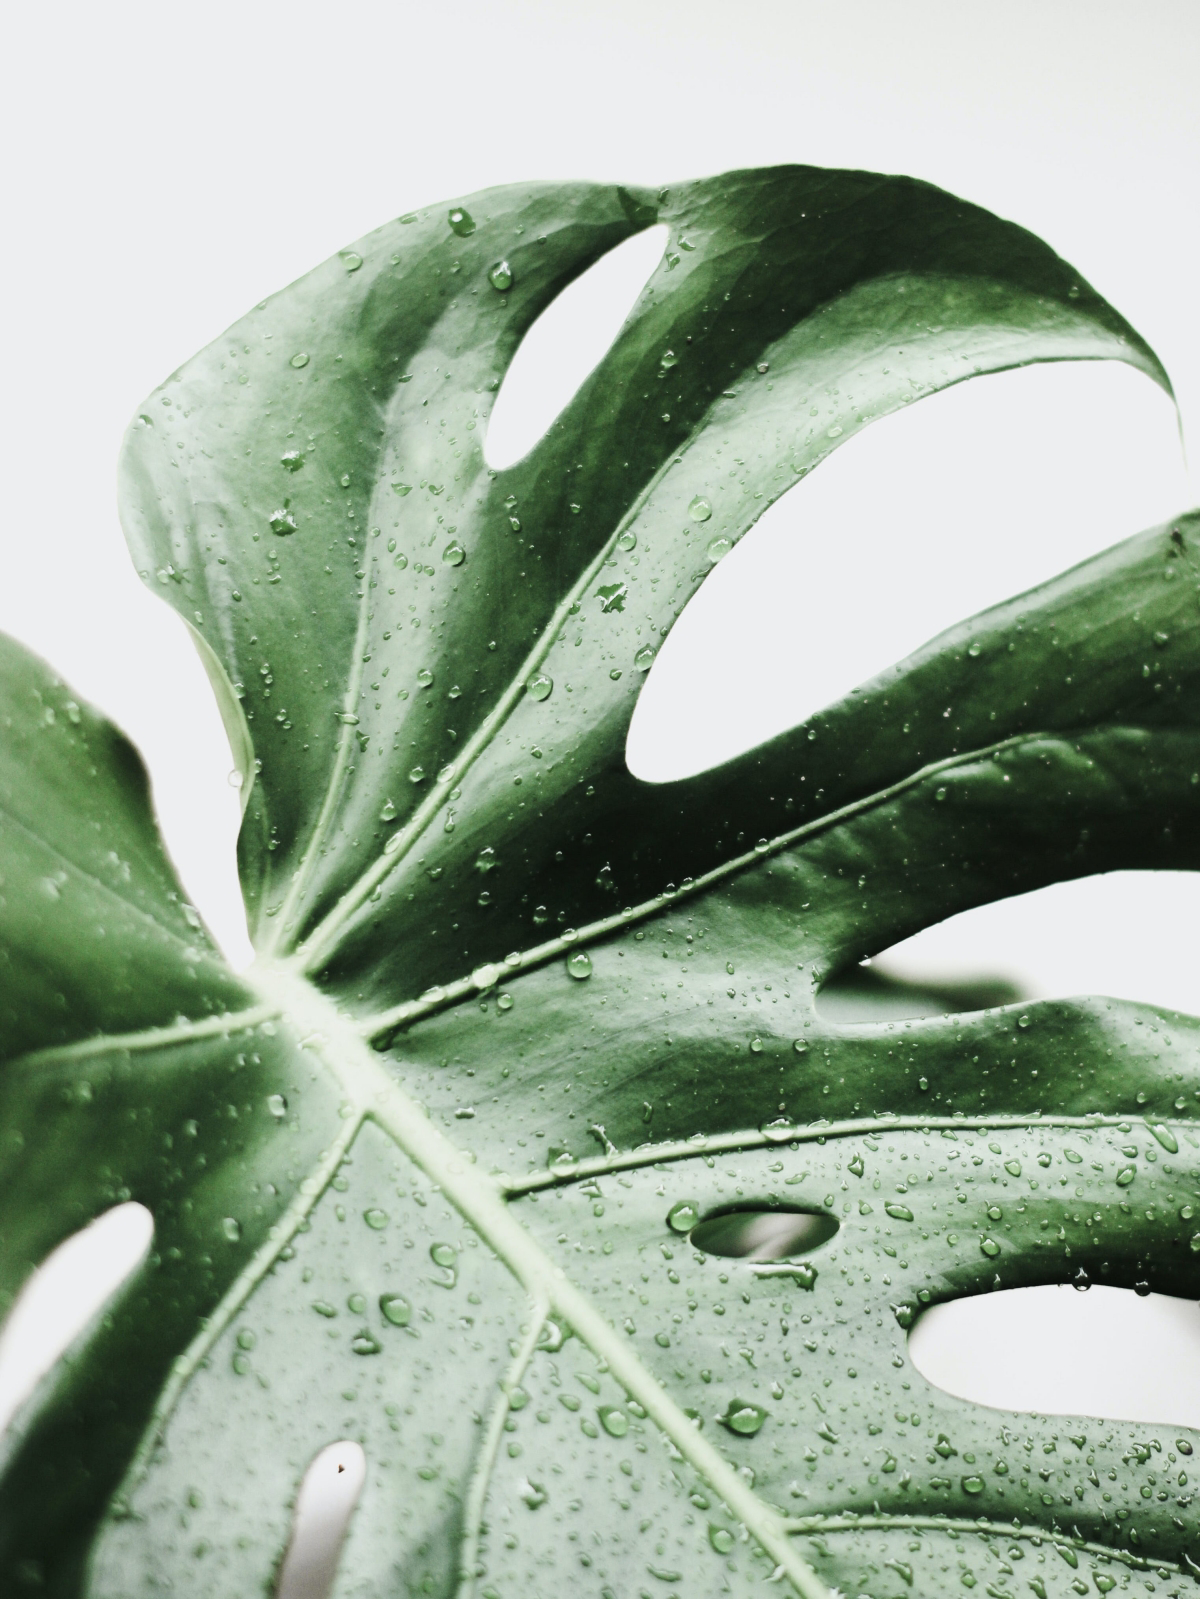
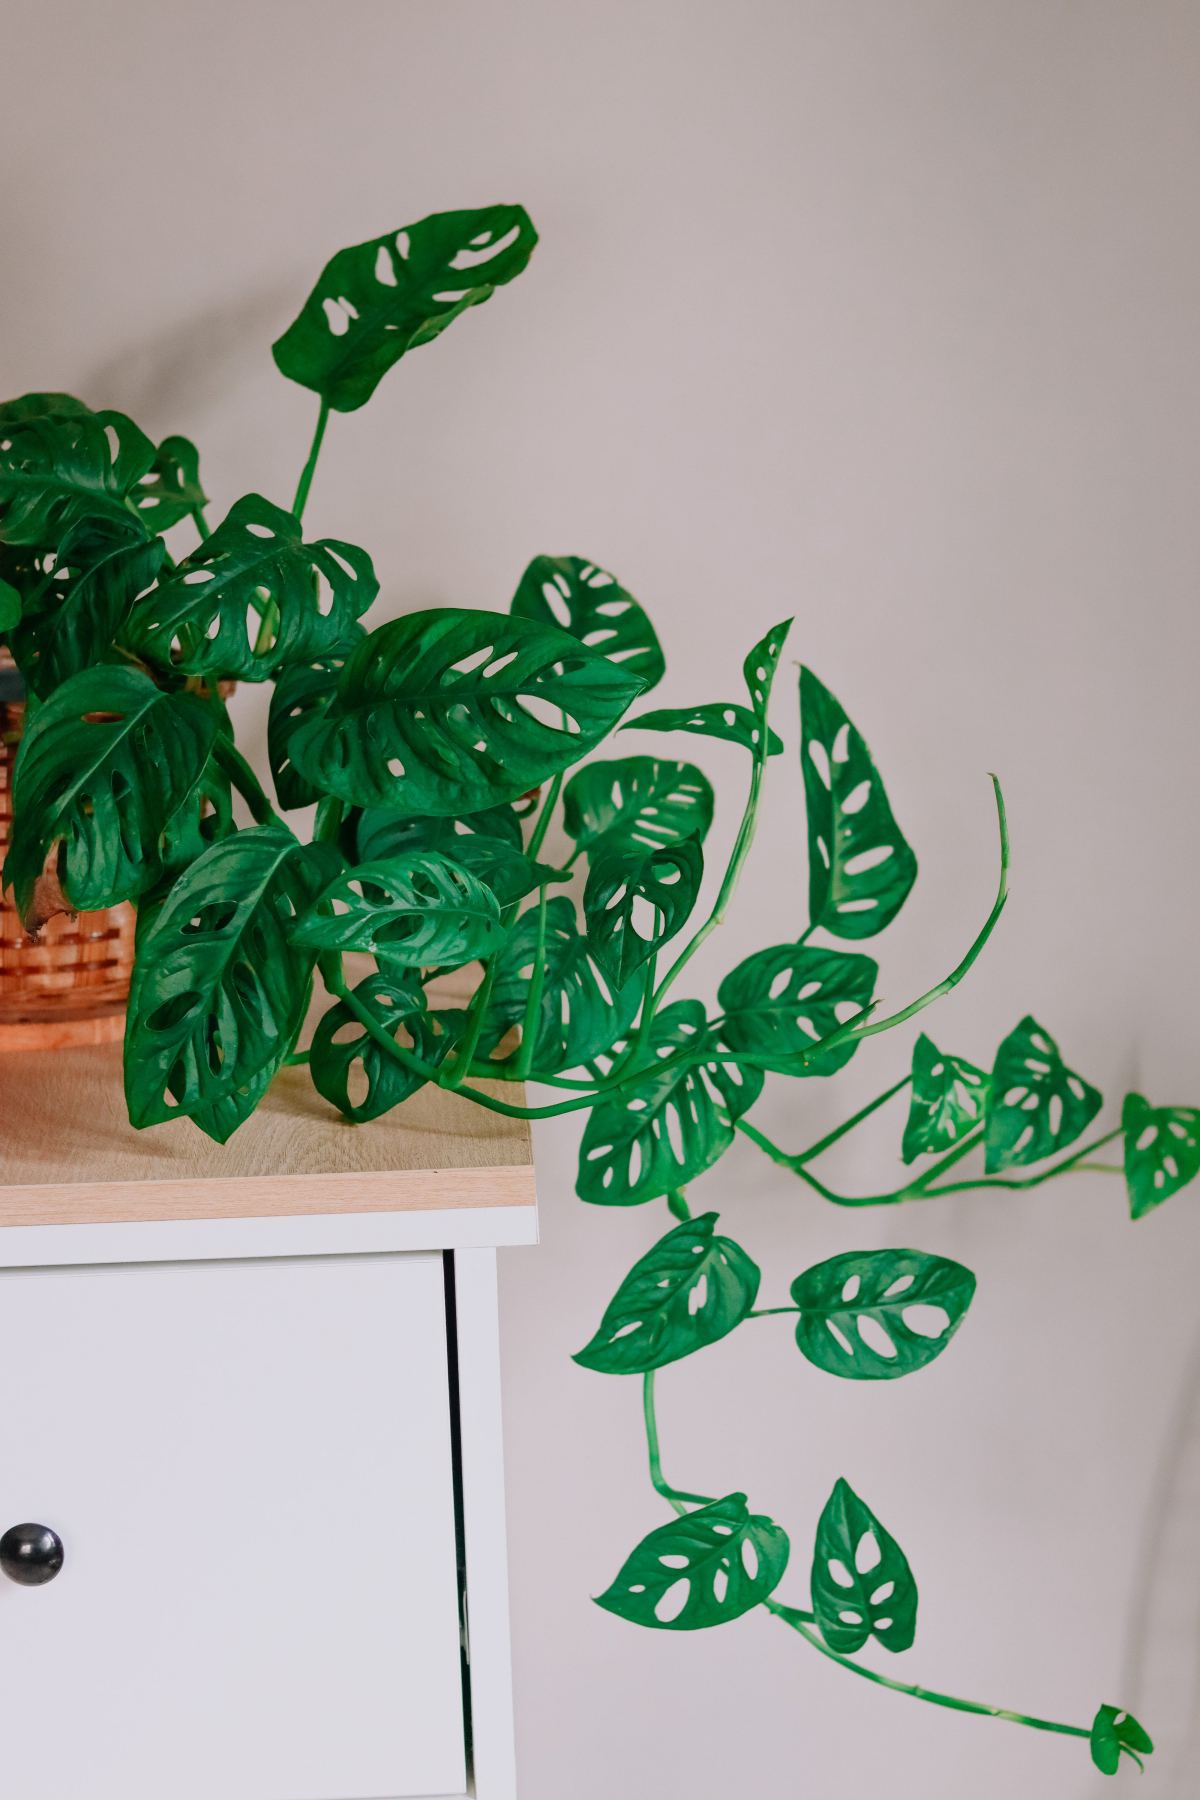
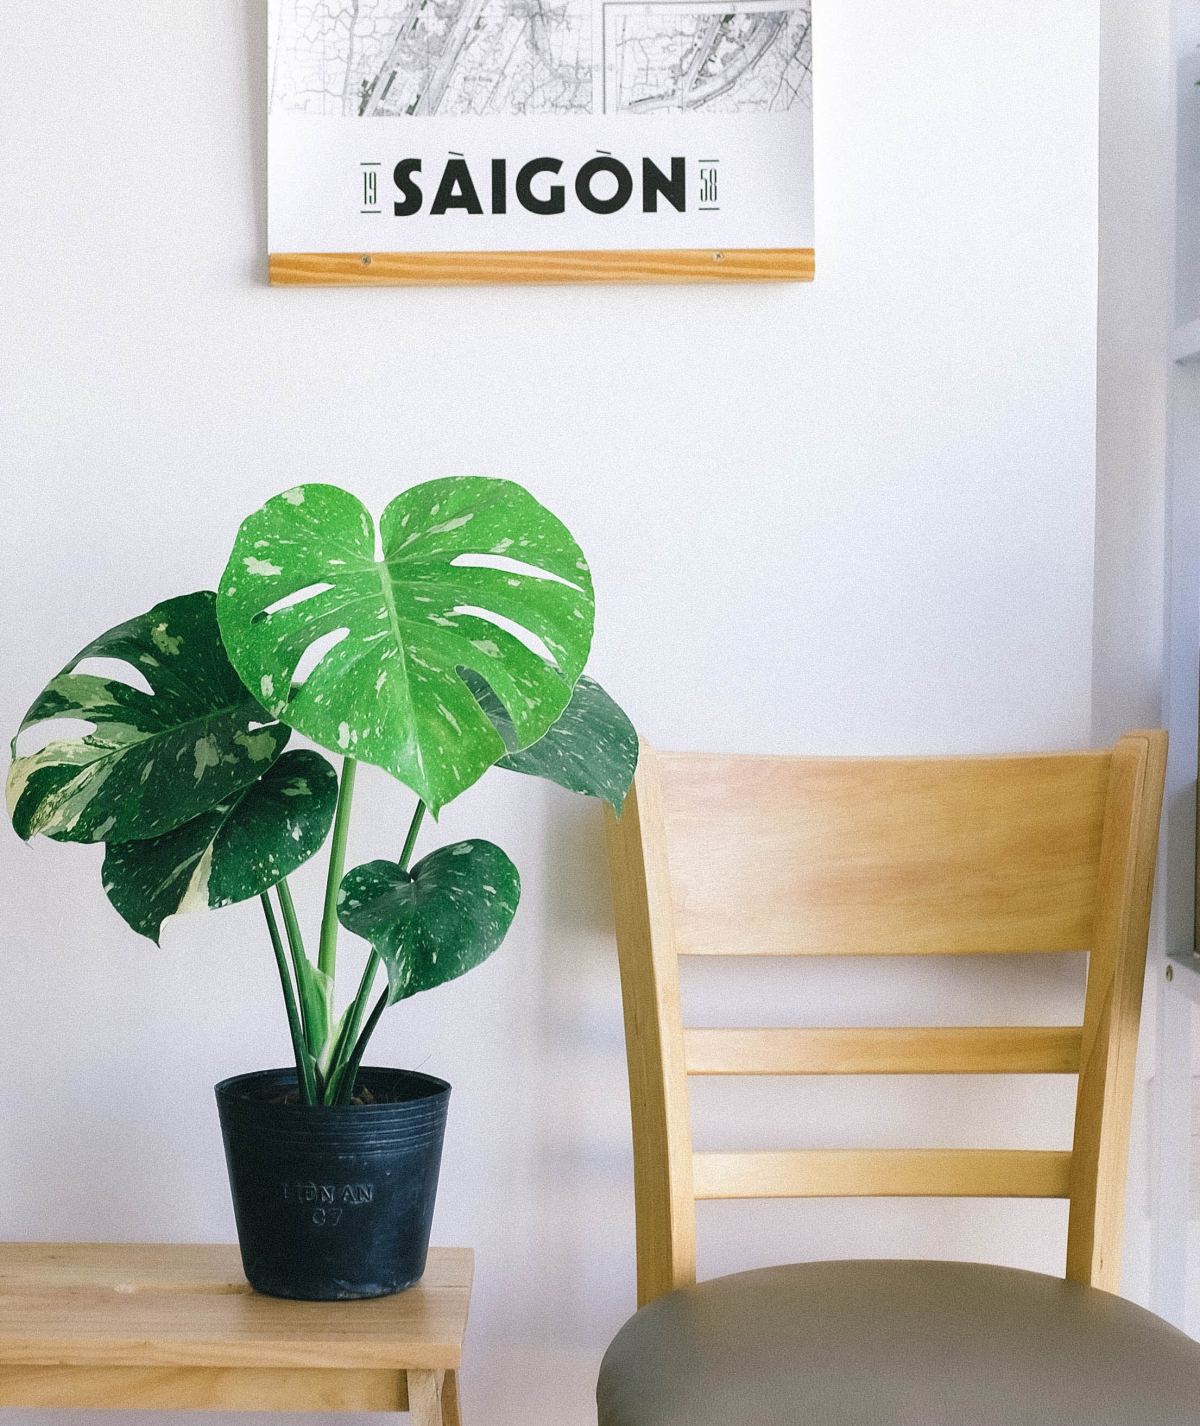
And what about those famous splits and holes in the leaves, known as fenestrations? A young plant starts with solid, heart-shaped leaves. Those iconic splits only show up when the plant is mature, happy, and getting enough light and support. The leading theory is that the splits help sunlight filter down to the lower leaves—a clever way to maximize energy in a dense jungle canopy. For you, these fenestrations are a report card. More splits mean you’re doing a great job.
The Right Home: Getting the Soil and Pot Just Right
Honestly, the #1 killer of Monsteras is bad soil. Most generic, all-purpose potting mixes you grab off the shelf are just too dense. They hold onto water like a sponge, compact around the roots, and eventually lead to root rot. From my experience, mixing your own soil is not only cheaper in the long run but also the single best thing you can do for your plant.
My Go-To Soil Recipe
You want a mix that’s chunky, airy, and drains in a flash. For years, the pros have relied on a simple 1:1:1 ratio that mimics a forest floor. It’s easy:
- One Part Orchid Bark: This creates big air pockets, prevents the soil from turning to mud, and gives the roots something substantial to grip onto. Medium-grade bark works great.
- One Part Perlite: Those little white, styrofoam-like bits are actually volcanic rock. They don’t hold water, but they create channels for it to escape, which is crucial for preventing soggy roots.
- One Part Coco Coir: This stuff holds just the right amount of moisture. It’s a sustainable alternative to peat moss, has a neutral pH, and feels light and fluffy.
Making your own is a fantastic investment. You can get big bags of these three ingredients at a garden center like Lowe’s or online for around $30-$40 total, and it will be enough to repot your entire plant collection for years. A single small bag of pre-made “aroid mix” can easily cost $15-$20, so the savings add up fast.
So, When Do You Repot?
Your plant will tell you! If you see a bunch of roots snaking out of the drainage hole, or if growth has totally stalled for a full season, it’s probably time for a bigger home. For a beginner, set aside a good 30-45 minutes for the job. You’ll get faster with practice, I promise.
Choosing a Pot That Works for You
The pot is just as important as the soil. The material directly impacts your watering schedule.
- Terracotta (Clay) Pots: These are amazing because they’re porous, meaning they breathe. This helps the soil dry out evenly and dramatically reduces your risk of overwatering. The only catch? If you live in a very dry climate or are a bit forgetful, you might have to water more often. I usually recommend these for people who have a heavy watering hand.
- Plastic or Glazed Ceramic Pots: These are non-porous, so they hold moisture for much longer. This is great if you want to water less frequently. But (and this is a big but) you absolutely must use that chunky, airy soil mix we just talked about. The risk of root rot is much higher in these pots if the soil isn’t perfect.
No matter what you choose, a drainage hole is non-negotiable. I once did an emergency plant rescue at an office where a stunning Monstera was dying in a fancy pot with no hole. The bottom few inches were a swamp, and the roots had turned to black mush. We had to perform major surgery. Don’t make the same mistake!
The Holy Trinity: Light, Water, and Humidity
Getting these three things in balance is the whole game. Mess one up, and the others will follow.
Light: It Wants More Than You Think
Monsteras are often marketed as “low-light” plants. This is a myth. They can survive in low light, but they will never thrive. Remember, they climb trees to get more light. To get those big, beautiful leaves with lots of splits, you need to give it bright, indirect light.
In a typical home, this means right in front of an east-facing window (for gentle morning sun) or a few feet back from a more intense south or west-facing window. You want to avoid direct, scorching sun for hours on end, as that can burn the leaves. If your plant is putting out long, leggy stems with lots of space between small, solid leaves… it’s begging you for more light.
Watering: The Right Way
The golden rule is to let the soil dry out partially between waterings. The easiest way to check is the good old-fashioned finger test. Stick your index finger about two inches into the soil. If it feels dry, it’s time to water. If you feel any moisture at all, wait a few more days and check again.
When you do water, do it thoroughly. Pour water over the soil until it streams out of the drainage hole. This ensures every root gets a drink and helps flush out any mineral buildup. Then, and this is key, dump out any excess water from the saucer. Never, ever let your plant sit in a puddle.
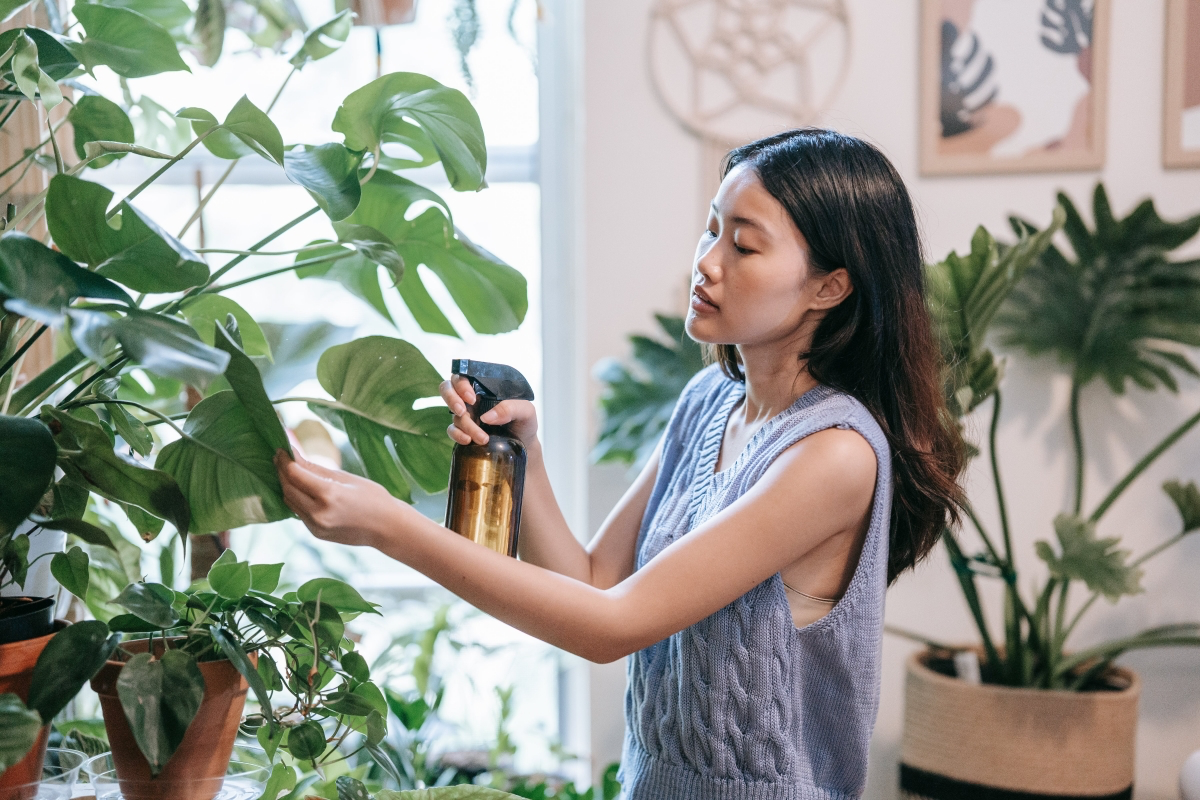
Humidity: Misting Isn’t the Answer
These plants love humid air (think 60%+), while most of our homes are much drier (around 40-50%). Misting the leaves feels nice, but the effect lasts for a few minutes at best and can sometimes encourage fungal spots if water sits on the leaves. For a real, lasting impact, try one of these methods:
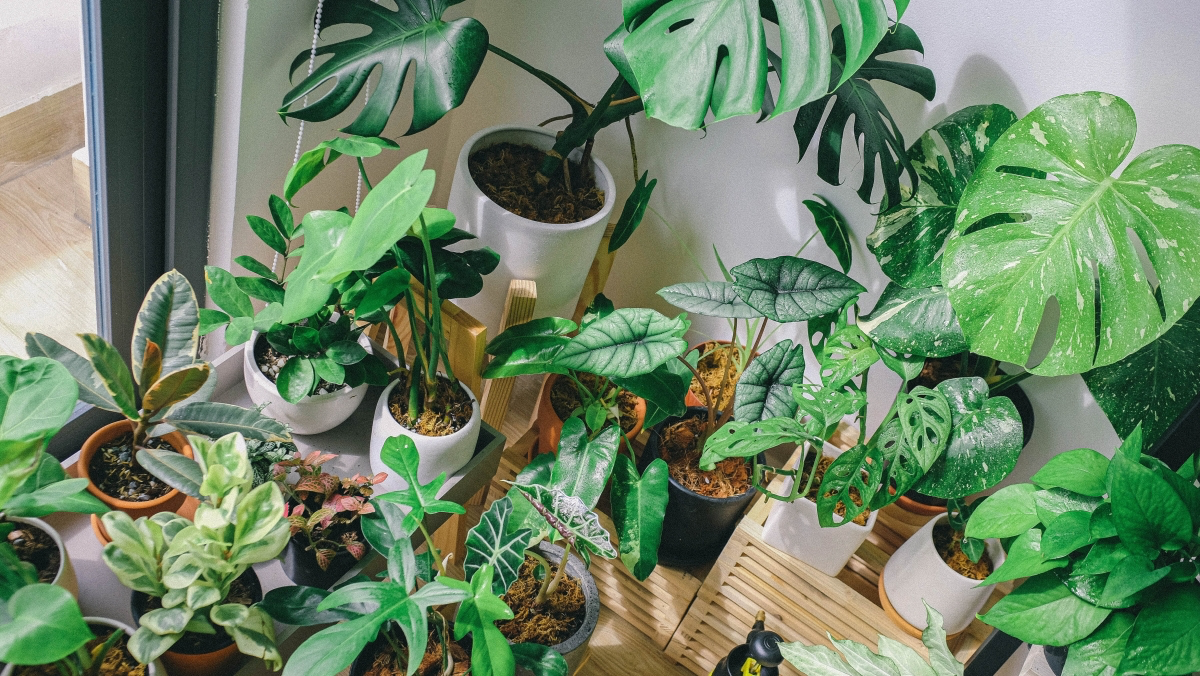
- Group your plants: Plants naturally release moisture, creating a little humid micro-climate when they’re clustered together.
- Get a humidifier: This is the most effective solution, hands down. A small, affordable humidifier running nearby will make a world of difference. You can find decent ones online for $20-$40.
- Use a pebble tray: Place the pot on a tray filled with pebbles and water. The pot sits on the pebbles, above the water line. As the water evaporates, it raises the humidity right around the plant. Simple, but it works!
Level Up: Support and Feeding
Ready for a specimen-worthy plant? Giving it something to climb and the right food is how you get there.
A moss pole is the ultimate tool. It mimics the mossy tree bark the plant naturally climbs, and when the aerial roots latch on, it signals to the plant that it’s secure. The result? It feels safe to invest its energy into producing bigger, more mature leaves. I’ve seen leaves double in size in a single season after getting a pole.
The best time to add a pole is during a repot. Just place it at the back of the pot, position the plant in front, and make sure the side of the stem with the little aerial root nubs is pressed against it. Use some soft plant ties to gently secure it. The most important step people miss? You have to keep the pole moist! I use a spray bottle or a small watering can to soak it from the top down every few days. A dry pole is just a stick; a moist pole is a second source of water and stability.
As for feeding, a simple balanced liquid fertilizer is perfect. Look for one with numbers like 10-10-10 or 20-20-20. Feed it every 4-6 weeks during the spring and summer growing season, and then stop completely in fall and winter. Quick tip: Always dilute it to half the strength recommended on the package. So, if the instructions say 1 teaspoon per gallon, you only use 1/2 teaspoon. It’s always safer to under-feed than to burn the roots by over-feeding.
Chopping and Cloning: Pruning and Propagation
Pruning keeps your plant healthy and shapely. Always use clean, sharp shears (wiping them with rubbing alcohol is a good habit). You can snip off old yellow leaves or trim the main stem to encourage a bushier shape. Just make your cut right after a node (the joint where a leaf grows from).
Making new plants is incredibly rewarding! The secret is the node. You MUST have a cutting that includes a piece of the main stem with a node; a leaf and its stalk alone will never grow roots. Cut the stem about an inch below a node, leaving your new cutting with a leaf or two. You can root it in a simple jar of water (change it every few days) or in a cup of moist sphagnum moss, which often creates stronger roots. Once you have a healthy root system that’s a few inches long, you can pot it up in your chunky soil mix!
Troubleshooting the Annoying Stuff
Even the best of us run into problems. Here’s a quick rundown.
- Pests: Spider mites (look for fine webbing), thrips (silvery leaf damage), and mealybugs (little white cottony fluff) are the most common. For all of them, a good first step is to blast the plant in the shower to knock them off, followed by a thorough spray-down with insecticidal soap. For mealybugs, a cotton swab dipped in rubbing alcohol kills them on contact.
- Yellowing Leaves: Nine times out of ten, this is from overwatering. Check your soil!
- Brown, Crispy Edges: This usually points to a lack of humidity or the soil getting too bone-dry between waterings.
- Root Rot: If the base of the plant is mushy and it’s wilting even when the soil is wet, you have to act fast. Unpot it, cut away any black, foul-smelling roots with sterile scissors, and repot in fresh, mostly dry soil. Wait at least a week before giving it a small drink.

A Quick Word on Safety
It’s important to know that Monstera plants are toxic to cats, dogs, and humans if chewed on. They contain crystals that cause immediate and painful irritation in the mouth. While it’s rarely a serious danger, it’s very unpleasant, so be sure to place your plant where curious pets and kids can’t take a nibble.
At the end of the day, the most important tool you have is patience. A young Monstera might take a year or two of consistent, happy growth to start producing those massive, fenestrated leaves. Observe your plant, learn its signals, and give it what it needs to climb. Do that, and you’ll have a stunning green companion for a very long time. Oh, and by the way, that “deliciosa” part of its name? It refers to the edible fruit the plant can produce in the wild. Don’t expect one indoors, and definitely don’t eat any other part of the plant!
Galerie d’inspiration

Yellowing lower leaves and damp soil? This is the classic sign of overwatering. The roots are suffocating and can’t absorb nutrients properly, leading to root rot.
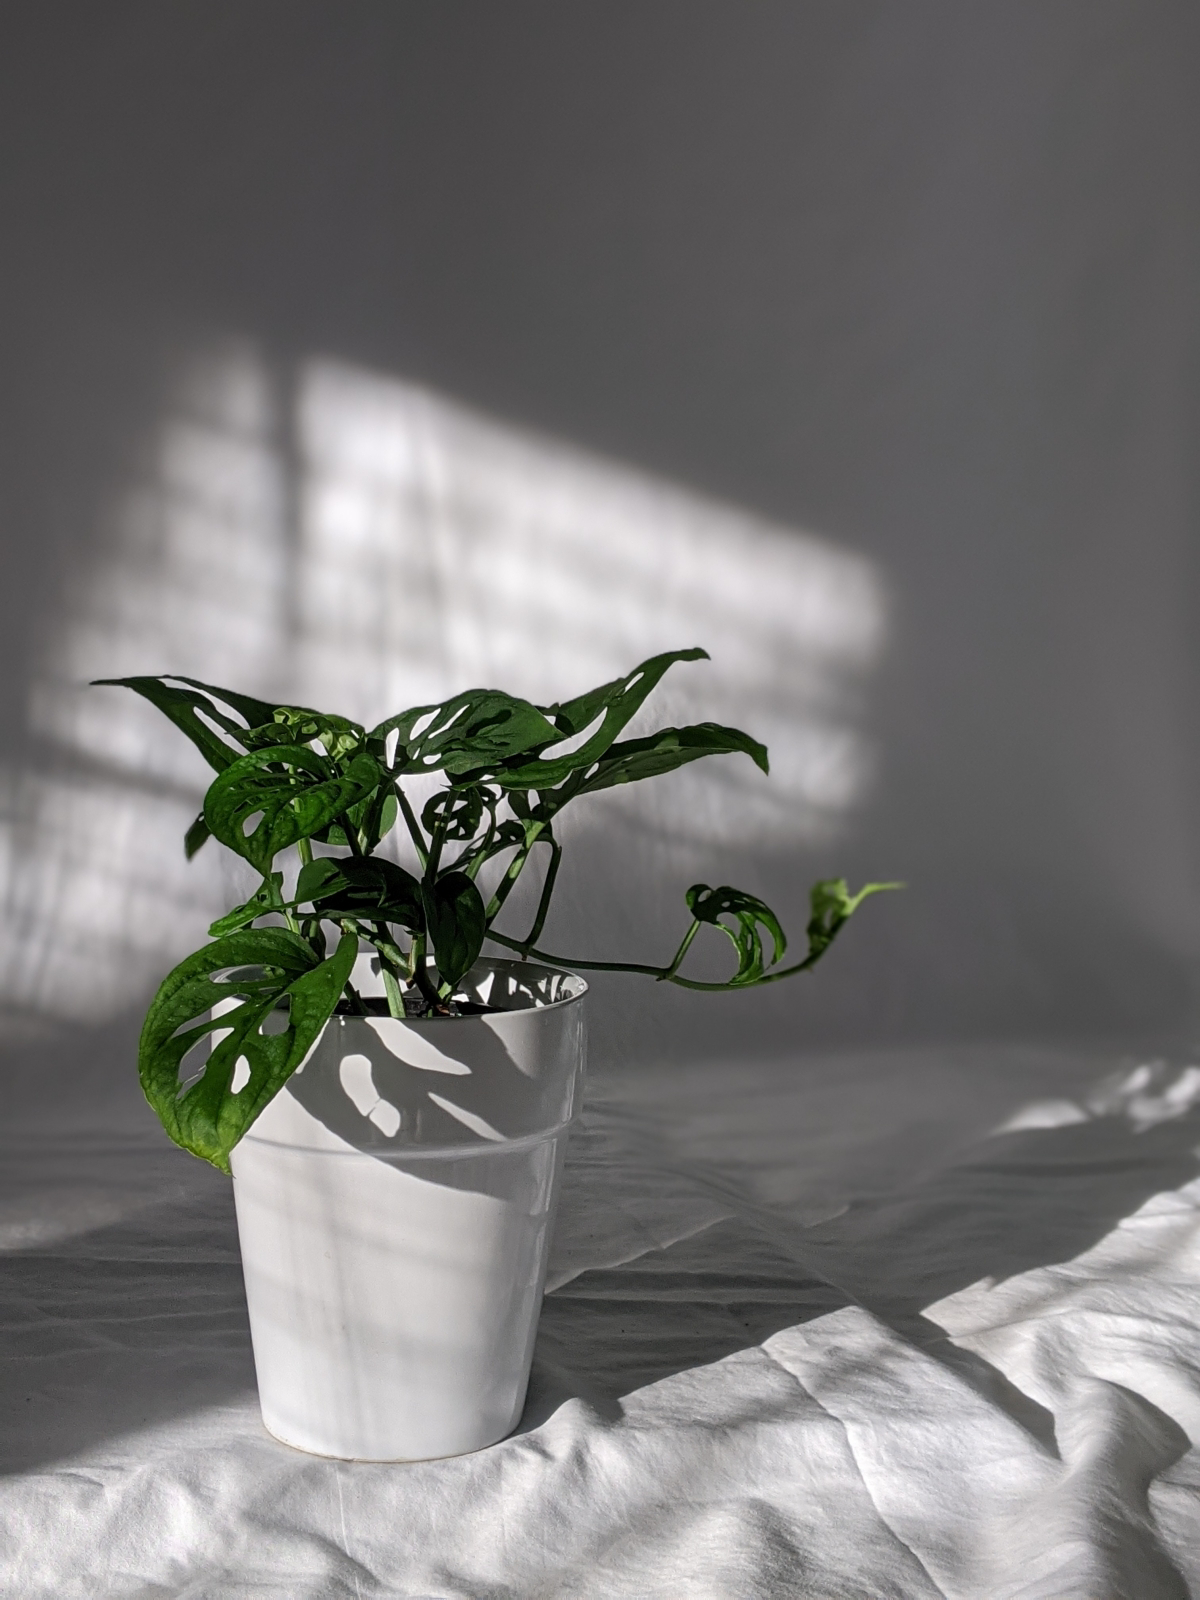
Droopy leaves with crispy, brown edges? Your plant is thirsty. The soil has likely gone too dry for too long, causing the cells in the leaves to lose turgor.
The golden rule is to check: stick your finger two inches into the soil. If it’s dry, it’s time to water. If it’s still moist, wait a few more days.
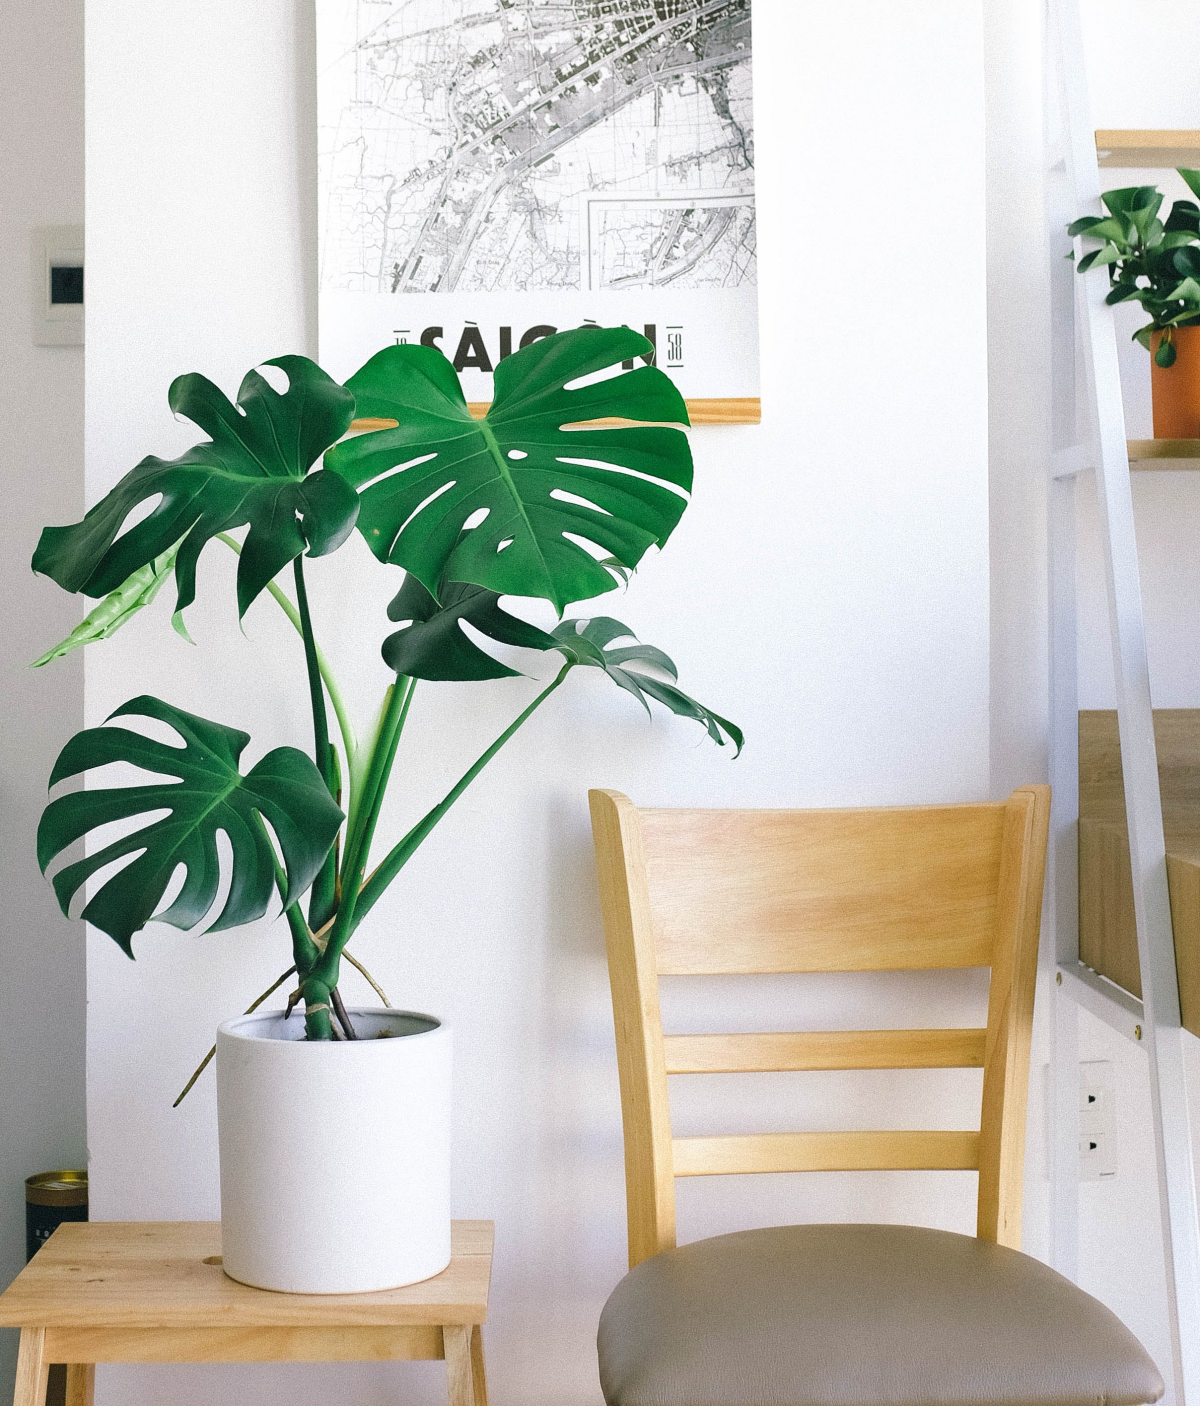
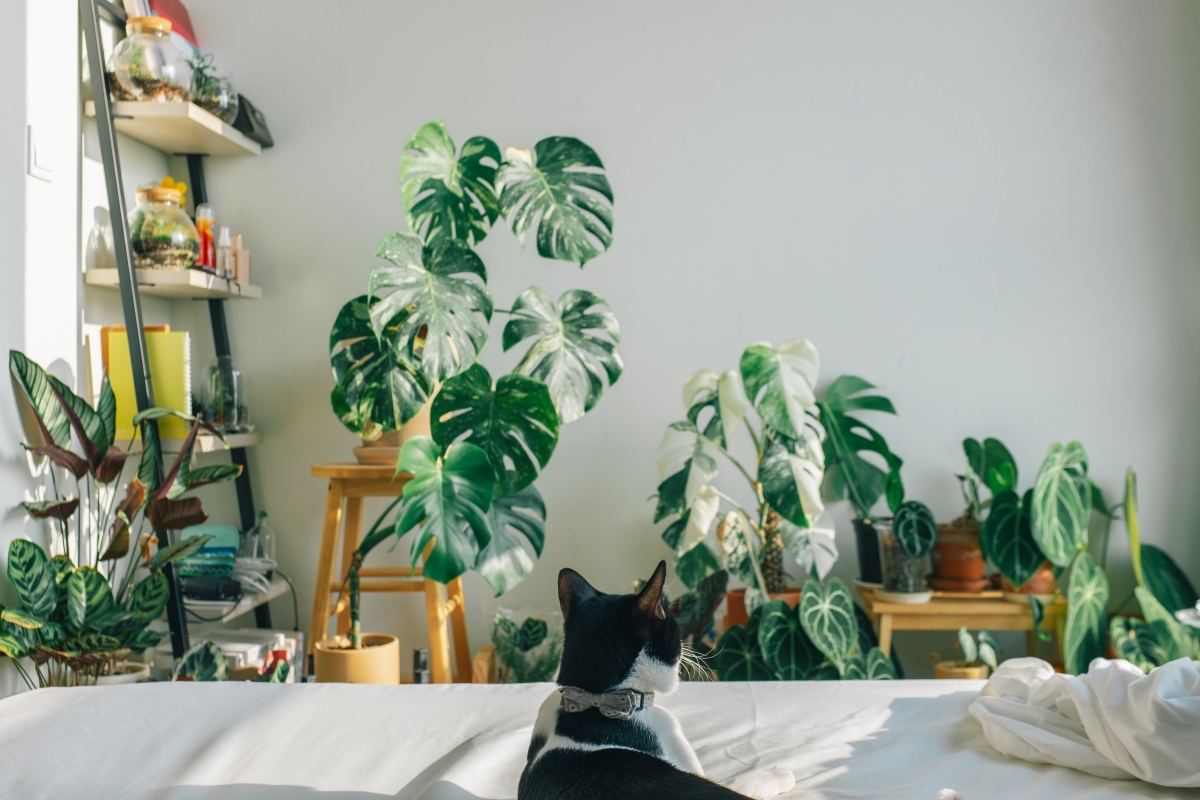
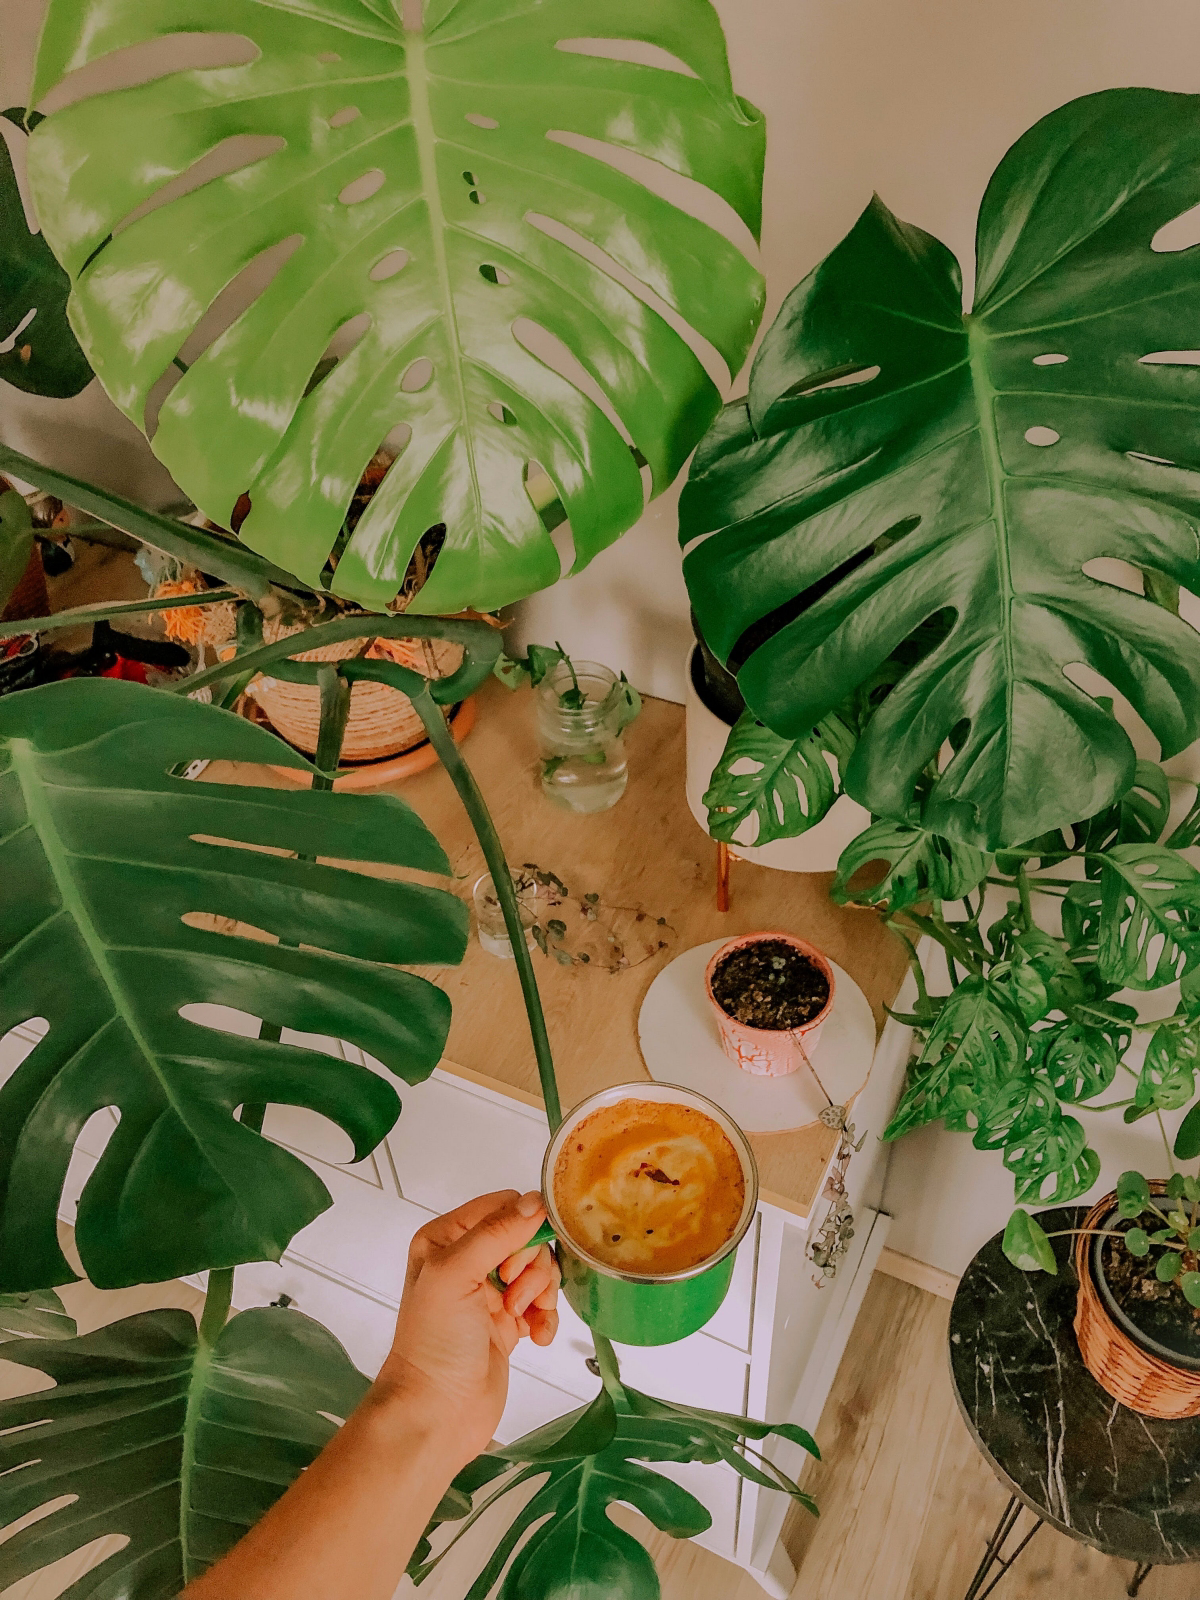
More than just a plant, the Monstera deliciosa is a piece of living architecture. Its value in biophilic design is immense, connecting our indoor spaces to the patterns of the natural world.
The visual appeal of those iconic fenestrations (the holes and splits) isn’t just beautiful; it’s functional. In a home, this pattern breaks up solid walls and casts dynamic, dappled shadows, softening the geometry of a room. It’s an instant dose of organic texture that can make a sterile space feel alive and welcoming.
Ready to propagate and share your Monstera?
It’s simpler than you think. Look for a stem cutting that has at least one leaf and one “node”—that’s the small, knobby bump on the stem where aerial roots emerge. Using a clean, sharp knife or shears, cut about an inch below the node. You can place this cutting directly into a vase of water. Change the water weekly, and within a few weeks, you’ll see new white roots begin to sprout from the node. Once they are a few inches long, it’s ready to be potted in soil!
Giving your Monstera the support it craves is the fastest way to encourage bigger, split leaves. While the article mentions a simple pole, your options can match your style:
- Sphagnum Moss Poles: The premium choice. Brands like Totemical create poles that hold moisture, encouraging aerial roots to latch on and absorb water, mimicking a rainforest tree trunk.
- Coir (Coconut Fiber) Poles: A widely available and sustainable option. They provide a great, rough texture for aerial roots to grip onto for stability.
- Simple Bamboo or Wooden Stakes: A minimalist and budget-friendly solution that offers pure support without the moisture-retaining benefits.


