Don’t Grind That Stump! Here’s How to Turn It into Something Awesome
I’ve been working with trees for what feels like a lifetime, and for years, my go-to solution for the leftover stump was a grinder. It turns that big chunk of wood into a pile of dust. Job done. But honestly, it always felt like a waste. That stump is a solid, stubborn piece of history that took decades to grow. Erasing it just felt… wrong.
In this article
These days, I see things differently. A tree stump isn’t a problem; it’s a block of raw material sitting right in your yard, and it’s free. It’s a foundation for something cool, useful, or just plain beautiful. So before you spend the money to have it ground away (which, by the way, can easily cost $150 to $500 depending on the size), let’s talk about what you can build with it instead.
This isn’t just about sticking a pot on top. I’m going to walk you through the real-deal methods I use on job sites, from assessing the wood to finishing it like a pro. We’ll cover the essential safety stuff, too, because these tools are no joke.
First, Get to Know Your Stump
Before you even think about picking up a tool, you have to play detective. Every stump has its own story, and its type, condition, and location will tell you what’s possible. Rushing this step is the #1 way projects go south before they even start.
Hardwood vs. Softwood
So, what kind of tree was it? Wood basically falls into two camps. Hardwoods like oak, maple, or hickory are your tough guys. They’re dense, heavy, and fight off rot for a long, long time. This makes them perfect for things that need to last, like a little outdoor table or a bench. The catch? They are a beast to work with and will chew through your chainsaw chains and drill bits. Be prepared for a workout.
On the other hand, you have softwoods like pine, fir, or cedar. They’re much lighter and cut like butter, which is fantastic if you want to get artistic and carve something detailed. The trade-off is that they decay much faster, especially in damp weather. If you want a pine stump project to survive more than a few years, you’ll need to be religious about sealing and maintaining it.
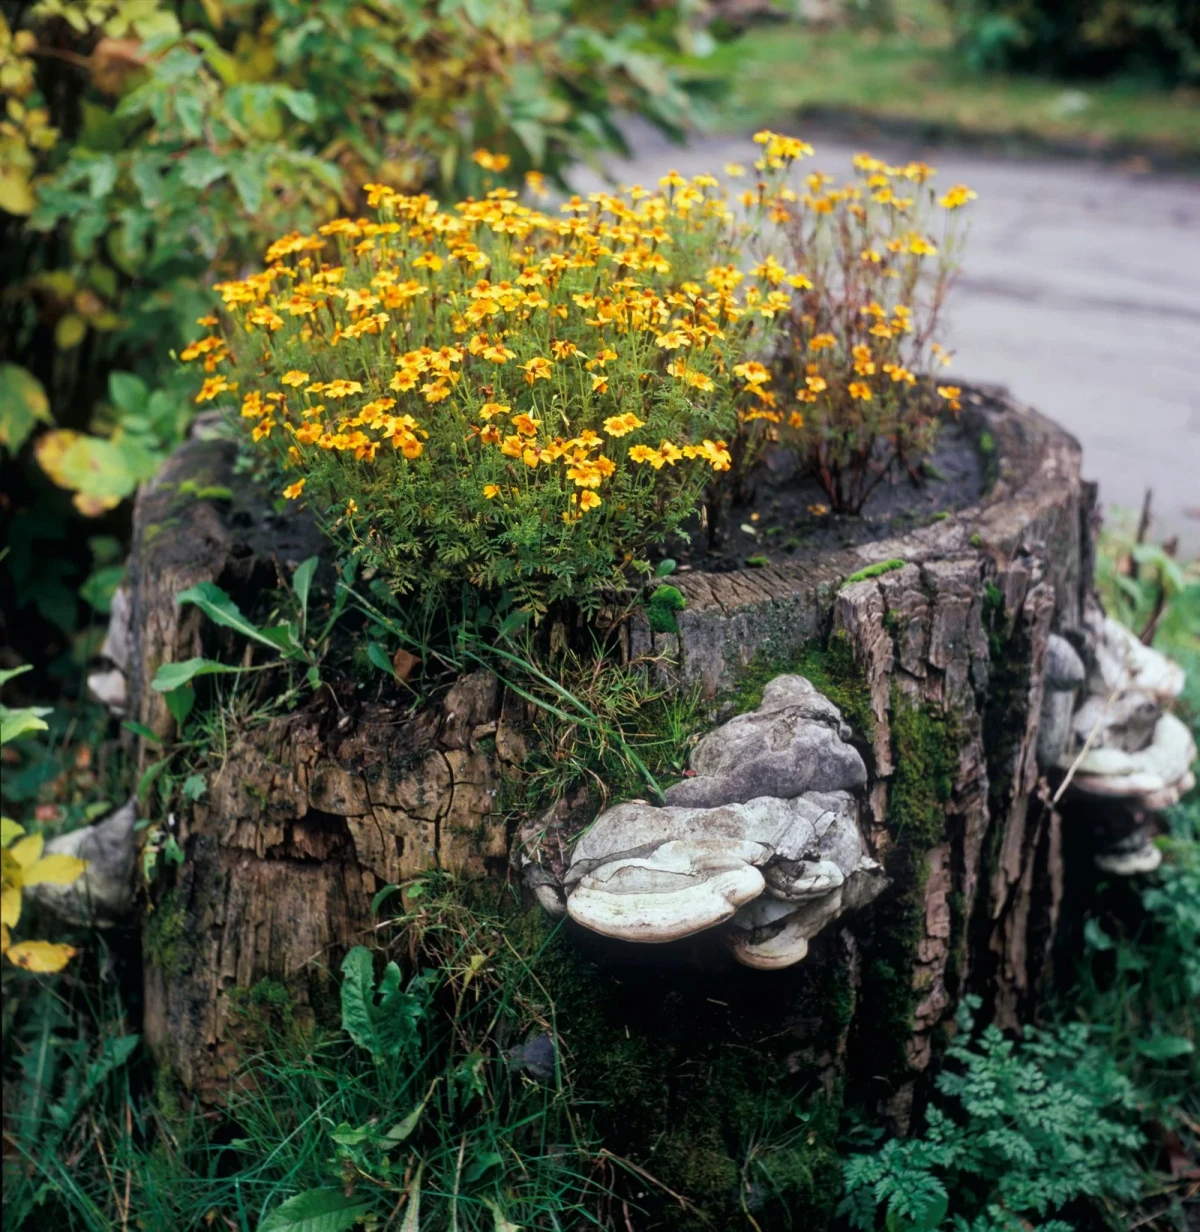
Check its Health
Is this a fresh-cut stump or one that’s been hanging around for a while? A fresh stump is solid but packed with moisture. As it dries, it can crack and split—something called “checking.” An older stump might be heading in the other direction. Grab a screwdriver and poke around the base and top. If it feels soft and spongy, you’ve got rot. Mushrooms are another dead giveaway. A little surface rot isn’t a deal-breaker (you can scrape it away), but if the core is soft, it’s not safe for a table or stool. It might, however, be perfect for our first project: a hollowed-out planter.
Size and Location Matter
A massive three-foot oak stump in the middle of a sunny lawn is just begging to be a table. A little six-inch stump in a shady corner? Maybe that’s a base for a birdbath or a small stand for a lantern. Also, look around. Do you have enough space to work safely? Is the stump on a steep hill? Heads up! I would strongly advise against any project involving fire, like charring the wood, if the stump is within 20 feet of your house or anything else flammable.
CRUCIAL: Know What’s Underneath
Okay, listen up, because this is the one step you absolutely cannot skip. Before you dig, drive a stake, or do anything that breaks ground, you have to know what’s buried there. In the US, you can call 811 (the “Call Before You Dig” service). They’ll send someone from your local utilities to mark any buried gas, water, or electric lines for free. I once saw a homeowner nearly have a catastrophic accident when his shovel hit a shallow electrical line. It’s a quick, free call that can literally save your life.
Your Toolkit: The Essentials & The Safety Gear
Using the right tool makes the job easier and safer. Using the wrong one is a recipe for disaster. Here’s a rundown of what I usually bring to a stump project.
Power Tools for the Heavy Lifting:
- Chainsaw: This is your main muscle. For most backyard jobs, a good 16 or 18-inch electric or battery-powered saw has plenty of juice. They’re lighter and quieter than gas models. Be honest about your skill level here.
- Angle Grinder: This is my secret weapon for shaping. With a flap disc attachment (about $10), it’s a powerful sander. With a specialized carving disc, it can hog out wood like you wouldn’t believe.
- Power Drill: You’ll want a beefy drill. For hollowing out planters, an extra-long, 1-inch (or wider) auger bit is a must-have. A good one will run you about $20-$40 at a place like Home Depot or Lowe’s.
Hand Tools for the Details:
- Adze or Mattock: These are old-school wood-chipping tools. An adze gives you way more control than a chainsaw for hollowing out bowls and shapes.
- Chisels and a Mallet: For fine-tuning and clean details, nothing beats a sharp set of wood chisels.
- Level: Don’t even think about making a table without a 2-foot or 4-foot level. It’s your truth-teller.
Your Must-Have Safety Kit (Don’t Argue, Just Wear It)
I’m not kidding around here. Power tools can cause life-changing injuries in a split second. This isn’t optional.
- For the Chainsaw: You need chainsaw chaps. They’re special pants that will stop a moving chain on contact. Also, a helmet with a face shield, steel-toed boots, and anti-vibration gloves.
- Eyes and Ears: Always, always wear safety glasses. When the chainsaw or grinder is running, put on hearing protection like over-ear muffs. Tinnitus is no fun.
- Lungs: Wood dust is nasty stuff. Wear a good N95 dust mask, especially when sanding or cutting rotten wood.
One last bit of advice from experience: never use a chainsaw when you’re tired or alone. And always be mindful of the upper tip of the bar—that’s the kickback zone. If it snags on something, the saw can fly back at you. Respect the tool.
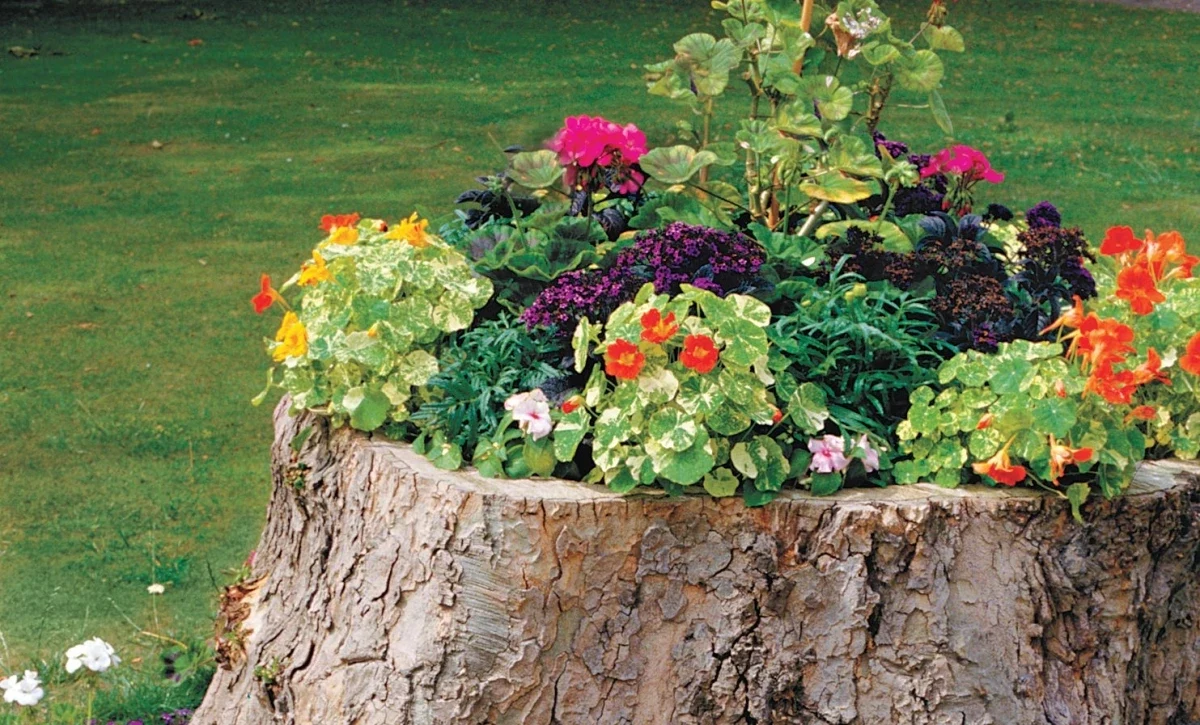
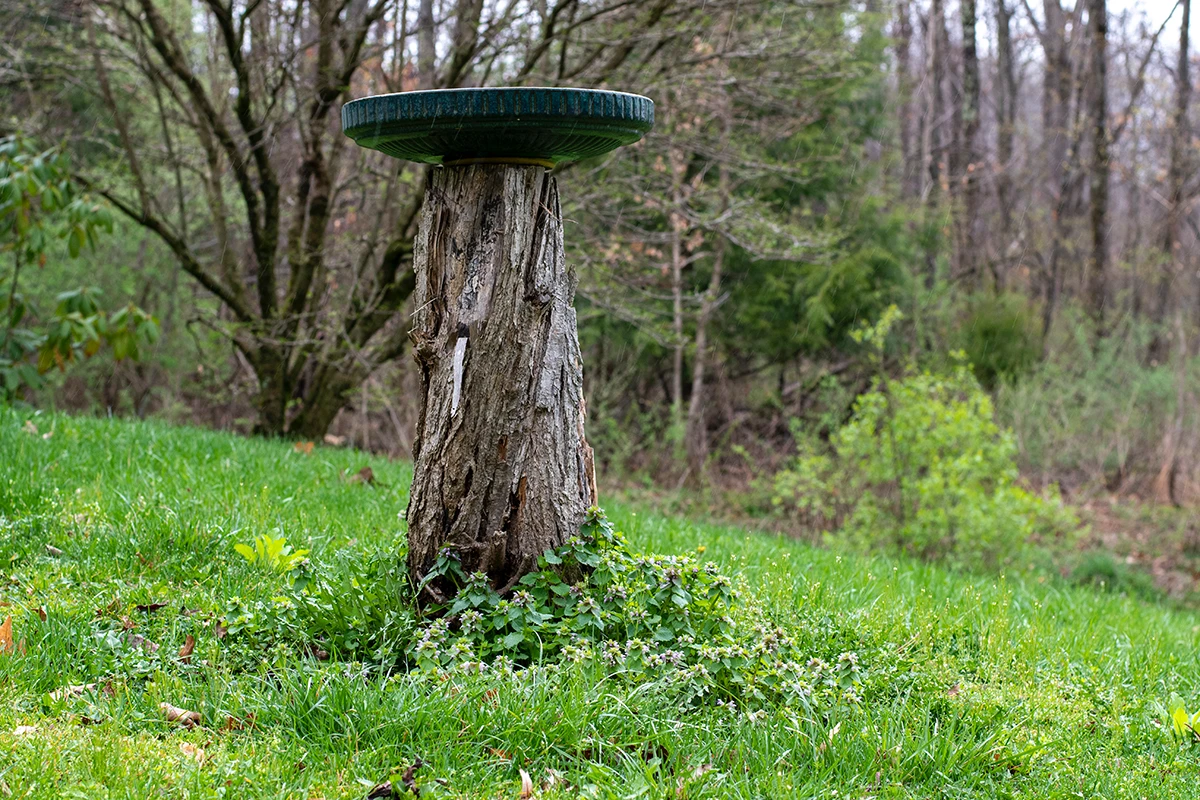
Project 1: The Classic Stump Planter
This is a fantastic first project. Done right, it will look great for years. The secret is focusing on drainage and wood preservation.
Step 1: Hollow It Out
First, decide on your planter walls—I suggest at least 3-4 inches thick for strength. Draw a circle on top. Now, you have two options. The slow-and-safe way is with your drill and that big auger bit. Drill a series of deep, overlapping holes inside your circle. It’ll look like a honeycomb. This removes most of the wood and makes it easy to pop out the remaining bits with a hammer and chisel. This method is controlled and great for beginners; plan for 2-3 hours of work.
The fast-and-dangerous way is with a chainsaw. This is for experienced users only. You make a series of shallow plunge cuts into the stump top, which is an advanced technique that risks kickback. Then you use a pry bar to bust out the sections. It’s faster (under an hour), but the risk is much higher.
Step 2: Add Drainage!
This is where most DIY stump planters fail. Without drainage, you’ve just made a wooden bucket. The soil gets waterlogged, and the plant roots rot. It’s a sad, muddy end. To fix this, use a long drill bit to drill three or four holes from the inside hollow, angling down and out through the sides of the stump. Make them at least a half-inch wide so they don’t clog up.
Step 3: Protect the Wood
Now you have to protect the raw wood from rot. My favorite method is to char the inside. It’s an ancient technique where you use a propane torch to burn the inside surface until it’s black and scaly, like alligator skin. This carbonized layer is surprisingly resistant to water and bugs. Just be smart about it—have a hose or fire extinguisher handy and don’t do it on a windy day.
If fire isn’t your thing, you can use a wood preservative. Quick tip: If you’re planting herbs or veggies, you MUST use a non-toxic, food-safe sealer. Look for products made for cedar garden beds. The easiest method of all? Just find a plastic nursery pot that fits snugly inside the hollow. It creates a perfect barrier between the wet soil and the wood.

Step 4: Plant It Up
Toss a layer of gravel in the bottom, then fill with good quality potting mix. Choose your plants wisely. Drought-tolerant plants with shallow roots do best. Succulents like hens-and-chicks are a perfect choice. Marigolds, creeping thyme, or trailing lobelia also look fantastic.
Project 2: The Natural Outdoor Table (and Stools!)
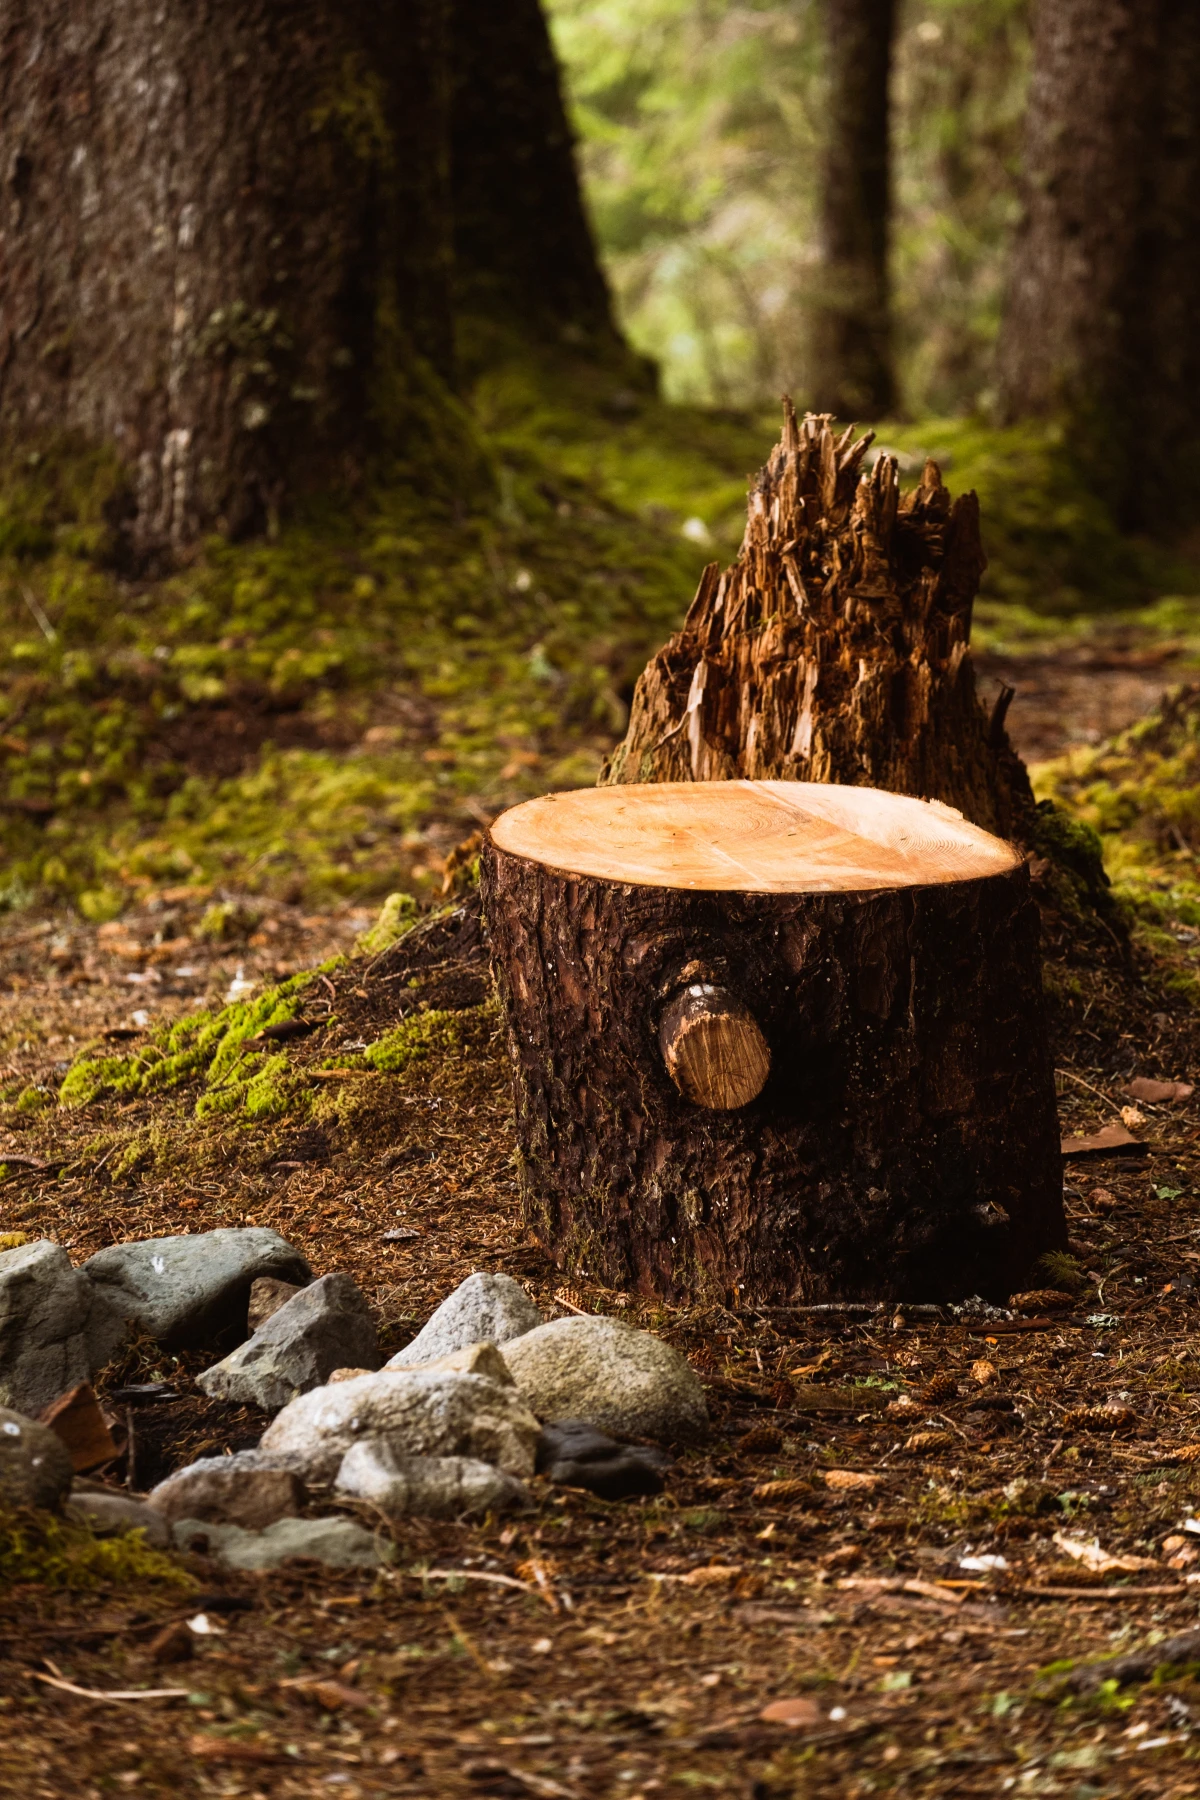
A big, sturdy hardwood stump can be an amazing outdoor table. The make-or-break detail is getting the top perfectly flat. A wobbly table is just firewood.
Step 1: The All-Important Level Cut
If the stump wasn’t cut perfectly level, you’ll have to fix it. The pro way is to build a router-leveling jig, sometimes called a router sled. It sounds complicated, but it’s just a simple frame that lets you slide a router back and forth across the stump, milling the surface perfectly flat. You can find tons of tutorials by searching for “DIY router sled for flattening slabs.” It takes some setup, but the result is flawless.
Your other option is more elbow grease. Get the surface as flat as you can with a chainsaw, then switch to your angle grinder with a coarse flap disc (start with 60-grit). This is a dusty, tedious job. Keep your long level handy and check your progress constantly.
A common problem you might see, especially on fresh stumps, is cracking. As the wood dries, it can split open. Don’t panic! You can either embrace the rustic look or fill the cracks with a clear or colored epoxy for a really cool, modern effect.
Step 2: Sand It Smooth
This is what separates a DIY job from a pro job. Start with a coarse 80-grit paper to remove tool marks, then move to 120-grit, and finish with a fine 220-grit. A random orbit sander will be your best friend here. The goal is a surface that feels amazing to the touch. Don’t forget to round over the sharp edges!
Step 3: Seal and Protect
This table is going to live outside, so you need a tough finish. Here’s a quick comparison:
- Spar Urethane: This is my go-to. It was made for wooden boats, so it has UV blockers and stays flexible as the wood expands and contracts. It gives a beautiful, natural finish. It’s affordable, too, at about $25 a quart. Apply at least three thin coats.
- Epoxy Resin Pour: This gives you a super-thick, glassy, and totally waterproof surface. It looks incredible but is more expensive (a small kit can be $50-$100) and can be tricky to apply without getting bubbles. Best for a really polished look.
Oh yeah, and the stools! Don’t throw away those big chunks you cut off when leveling the top. Just flip them over, sand the top and sides, and seal them the same way as the table. Instant matching seating.
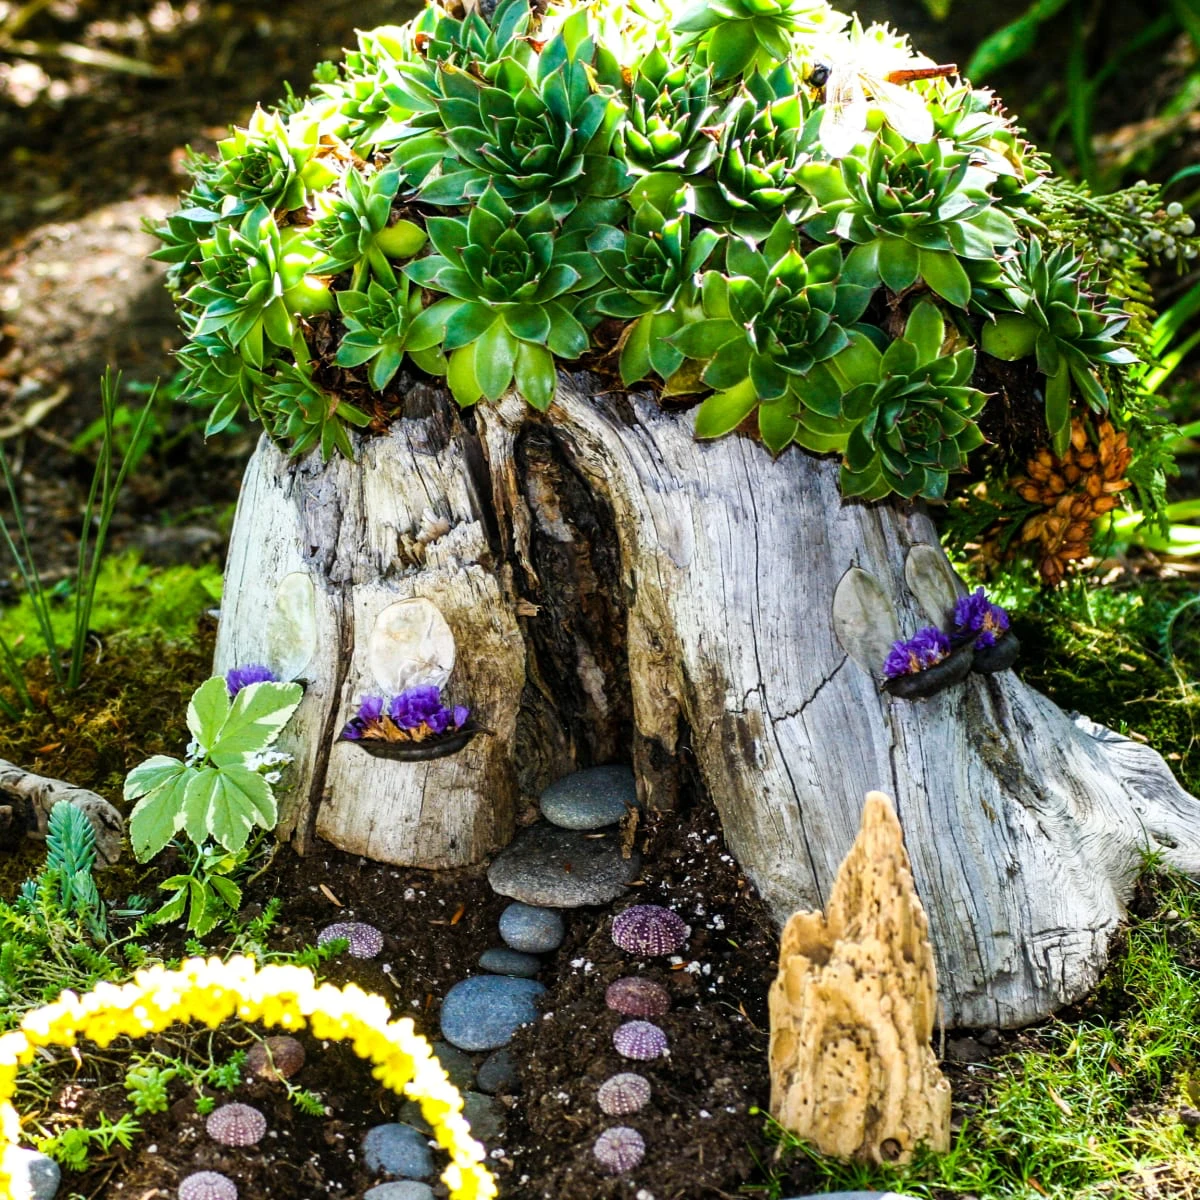
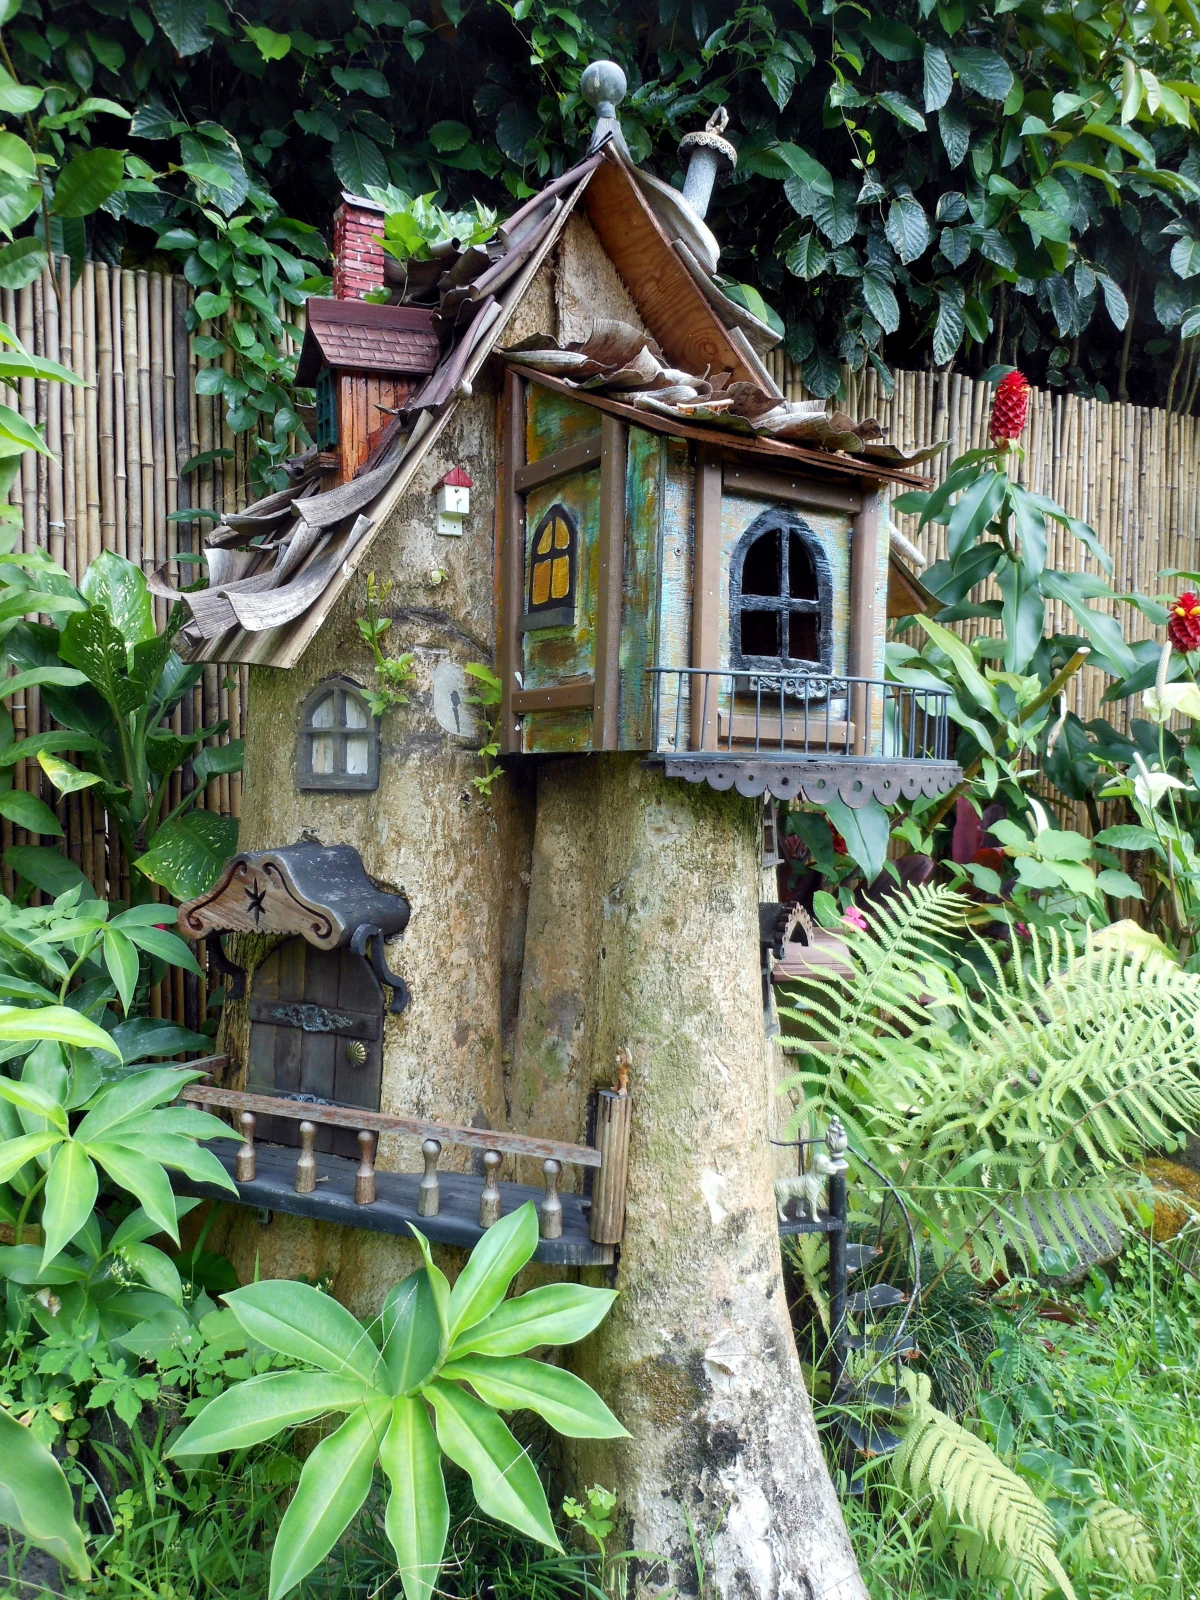
Advanced Project: Carving a Garden Sculpture
If you’re feeling artistic, a stump can become a one-of-a-kind sculpture. I’ll be blunt: this is not a beginner project and requires a healthy fear of the tools involved.
The Carving Process
Have a clear idea or a sketch first. Simple, bold shapes work best—think of a stylized owl, a whimsical mushroom house, or just an interesting abstract form. Start with your chainsaw to rough out the basic shape, removing big chunks of wood. This is like blocking out a statue from a marble block.
Next, switch to your angle grinder with a specialized carving disc. There are brands that make discs with little chainsaw teeth that absolutely devour wood, allowing you to create curves and contours. Be extremely careful here—these things are aggressive. After shaping, you can switch to smaller tools like a die grinder with various burrs or just your classic chisels and mallet for the fine details that bring it to life. Sand the parts you want smooth, leave other parts rough for texture, and seal it just like the tabletop to protect it from the weather.
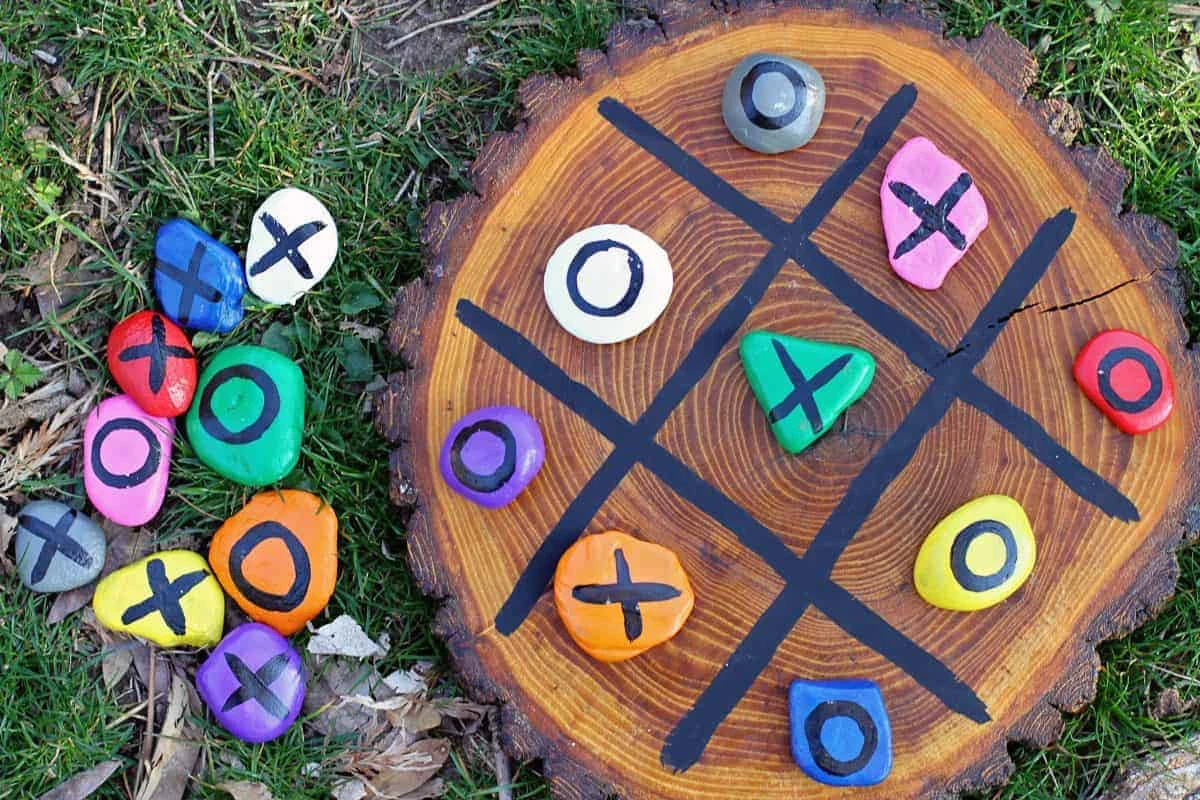
Quick Win: The 1-Hour Stump Stand
Not ready for a huge project? No problem. Here’s an easy win. If your stump is already reasonably flat, just take an hour and sand the top smooth with an orbital sander. You don’t even have to make it perfectly level. Wipe it down, slap on a coat of sealant, and place a beautiful potted plant or a solar lantern on top. It’s an instant upgrade that turns an eyesore into a garden feature.


