My No-Nonsense Guide to Happy Angel Wing Begonias
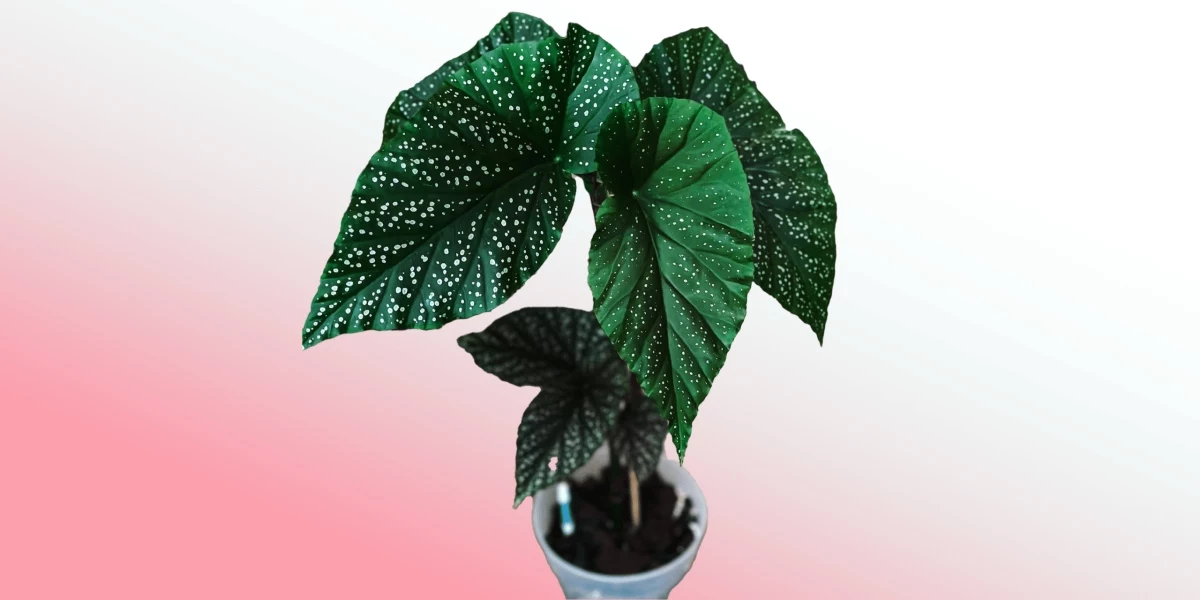
I got my first Angel Wing Begonia ages ago. It was just a little cutting in a jar of water, a gift from a neighbor. Honestly, I thought the leaves looked like something out of a fairytale—deep green, speckled with silver, and shaped exactly like their name. The advice I got was simple: ‘Keep the soil damp and out of the sun.’ So, I took it home, potted it up, and immediately drowned it into a sad, yellow mess. Oops.
In this article
That first failure taught me way more than any book ever could. It kicked off a long journey of figuring out what these incredible plants actually need, not just what people repeat online. Today, I see folks make the same mistakes. They’re either scared of its delicate looks or they treat it like a tough-as-nails succulent. The truth is somewhere in between.
Angel Wing Begonias are incredibly generous. They grow fast and bloom their hearts out once you get their rhythm. But here’s the secret: it’s not about having a ‘green thumb.’ It’s about giving them what they’re built for. I want to walk you through the practical, no-fluff methods I’ve dialed in over the years—the same stuff I teach my team and share with customers who want their plants to thrive for good.
First, A Little Plant-Nerd Stuff (The ‘Why’ Behind the ‘How’)
To really get good at growing anything, it helps to understand a little bit of the science. It turns random guessing into smart decisions. For Angel Wing Begonias, which are a type of cane begonia from forest environments, it all boils down to three things: water, light, and air around the roots.
Why Overwatering is Public Enemy #1
Let’s be blunt: the number one killer of these begonias is root rot. This is what happens when the soil stays soggy. Plant roots actually need to breathe; they take in oxygen from tiny air pockets in the soil. When you saturate the soil, those air pockets are gone. The roots literally suffocate and start to die. This is an open invitation for nasty soil fungi to come in and party, causing those classic black, mushy roots. By the time you see yellowing leaves and a wilting plant, the damage underground is often catastrophic. This is why good drainage isn’t just a friendly tip—it’s the absolute foundation.

Getting the Light Just Right
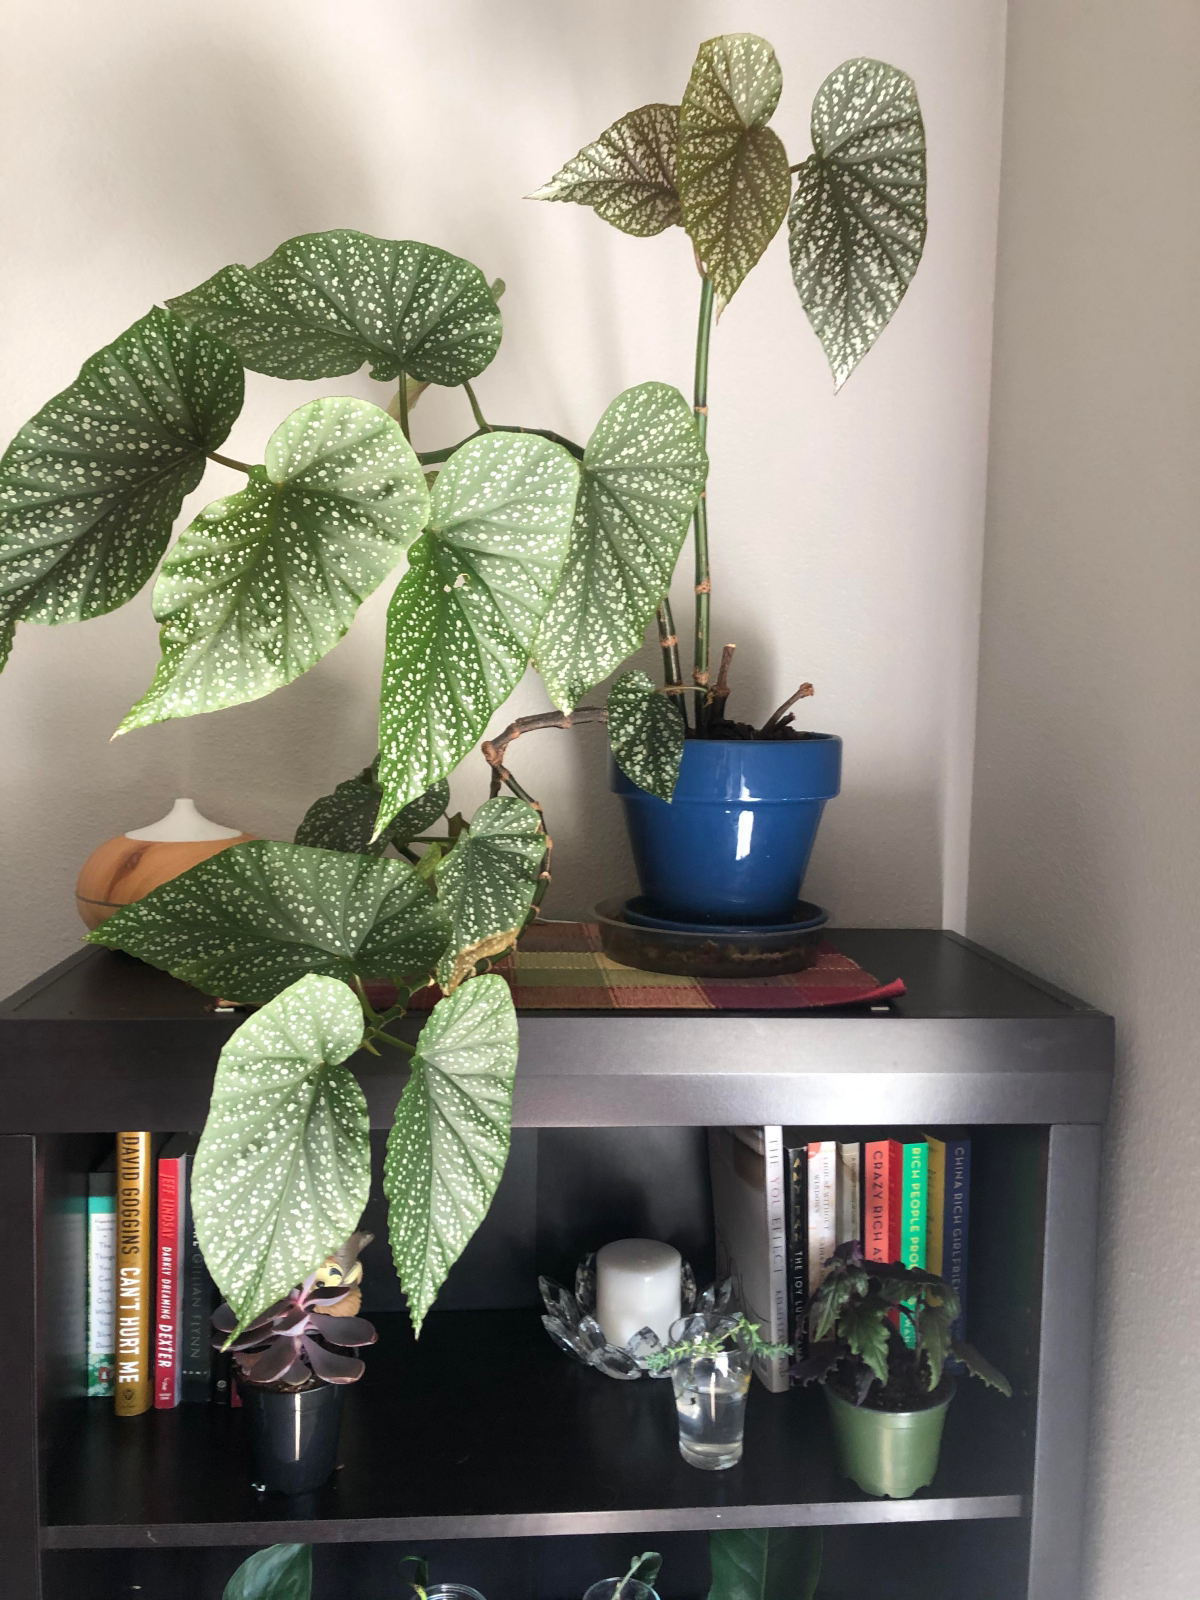
In their natural home, these guys grow under the canopy of larger trees, getting dappled, filtered light. They are not built for a harsh, direct sunbath. I learned this the hard way, by the way. I once fried a prized plant in a single afternoon because I thought ‘brighter’ meant a little direct sun was okay. The leaves went brown and crispy. A painful lesson in what ‘indirect’ truly means!
On the flip side, too little light makes the plant stretch out, getting all ‘leggy’ with long, weak stems and few leaves. It’s spending all its energy reaching for light instead of growing full and bushy. Your goal is to find that perfect sweet spot: a bright room, but out of the direct sunbeams. An east-facing window is often perfect.
Soil Is More Than Just Dirt
Good begonia soil has to do two opposite things at once: hold enough moisture to keep the plant happy, but also drain so well that air can always get to the roots. You achieve this by creating a mix with different particle sizes. Think of it like this: small bits like peat moss hold water, while bigger bits like perlite or orchid bark create air gaps. A good mix has both. Oh yeah, and they prefer slightly acidic soil, which helps them absorb nutrients more easily. You don’t need to test it, but using the right ingredients usually gets you there automatically.
Okay, Here’s Exactly What to Do
Over the years, I’ve moved past simple tips to a set of techniques that deliver consistent results. These are the methods we use to produce strong, gorgeous plants that people love.
Watering: The ‘Lift and Wait’ Method
Forget sticking your finger in the soil. The top can feel dry while the bottom is a swamp. A much, much better way is to learn the weight of your plant. Right after you’ve watered it well, pick up the pot. Get a feel for how heavy it is. Now, leave it alone. In a few days, pick it up again. It will feel noticeably lighter. That’s your cue.
I tell everyone to water ONLY when the pot feels almost ridiculously light. For a standard 6-inch pot, this might be every 5-7 days in summer or every 10-14 days in winter. But don’t follow a calendar; lift the pot. It’s the most reliable way to know what’s really going on.
When you do water, do it thoroughly until water runs out of the drainage holes. This flushes out any mineral buildup. And a quick tip: try to water the soil, not the leaves. Wet leaves can lead to powdery mildew, especially if the air is still. Bottom watering—just setting the pot in a tray of water for 20-30 minutes—is a great way to avoid this entirely.
Your challenge this week: Don’t water your begonia until the pot feels super light. Get a feel for it. I bet you’ll find it can go longer than you think!
The Perfect Soil Mix Recipe
Most bagged, all-purpose potting soils are too dense and hold too much water for begonias. I always make my own or, at the very least, amend a bagged mix heavily. Here’s a foolproof recipe:
- 2 parts high-quality potting mix: This is your base. Just grab a standard one, but avoid any with added moisture-retaining crystals.
- 2 parts coarse perlite: These are the little white, lightweight volcanic rocks. They are essential for creating air pockets.
- 1 part fine orchid bark: This adds even more chunky structure for fantastic drainage.
Where to buy this stuff? You can get perlite and orchid bark at any garden center or big-box store like Lowe’s or Home Depot. A bag of each will probably cost you between $8 and $12 and will last you for ages. It’s a great investment.
Mix it all together. When you squeeze a moist handful, it should barely hold its shape before crumbling apart. That’s the good stuff.
Pruning for a Fuller, Bushier Plant
If you just let them go, Angel Wings can get tall and a bit sparse. Pruning isn’t about hurting the plant; it’s about telling it where to grow. The best time to do this is in spring or early summer when growth is active. Grab a clean, sharp pair of scissors or pruners.
Look for a long cane and find a ‘node’ on the stem. The node is that slightly thicker, knobby ring on the stem where a leaf is or was attached—that’s where the new growth will burst from. Cut about a quarter-inch above an outward-facing node. The plant will often sprout two new stems from that spot, which is how you get a nice, full shape. Don’t be timid! You can safely cut back up to a third of the plant.
Heads up! After a hard prune, your plant might look like a sad, bald stick for a couple of weeks. Don’t panic. You have to trust the process. Soon enough, you’ll see tiny new leaves emerging right near your cuts, and you’ll know you did the right thing.
Making New Plants for Free (Propagation!)
One of the best things about these plants is how easy they are to clone. This is how we grow most of our stock, and you can easily do it at home.
- Take a Cutting: After you prune, grab a healthy stem piece that’s 4-6 inches long with at least two or three nodes.
- Prep the Cutting: Snip off the lower leaves, leaving just two or three at the very top. This helps it conserve energy.
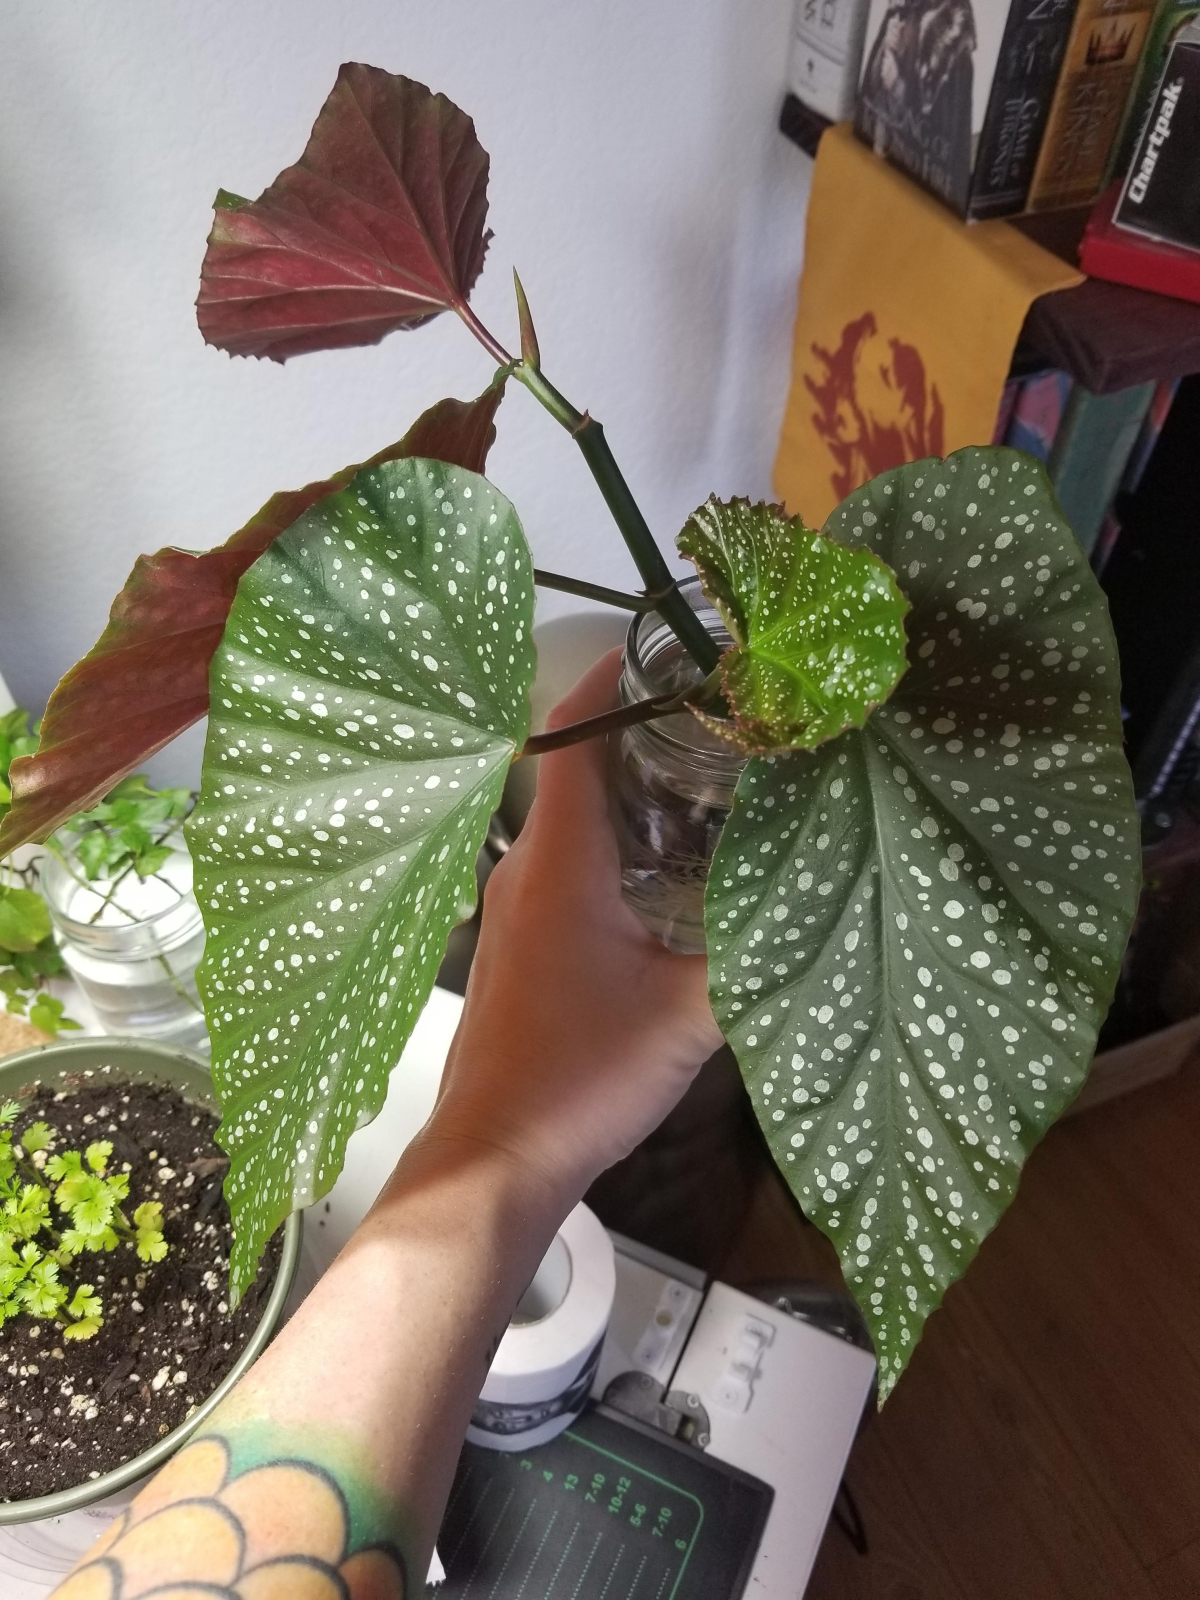
- Root it in Water: This is the easiest way. Put the cutting in a glass of water, making sure a couple of the bare nodes are submerged. Put it in bright, indirect light and change the water every few days. You’ll see roots in about 3-6 weeks. Once they’re an inch long, pot it up in your good soil mix.
- Root it in Soil: This can create a stronger plant. Dip the cut end in rooting hormone powder (this is optional but helps), then plant it directly in a small pot of moist soil. You can put a plastic bag over the top to create a mini-greenhouse. New leaf growth is the sign you’ve got roots!
Patience is key here. I’ve had some cuttings take their sweet time—up to two months. Just keep the conditions consistent.
Troubleshooting Common Issues
Even with great care, things can go sideways. Here’s how to read the signs and fix the most common problems.
- The Problem: Yellow, droopy leaves, and the plant looks wilted even though the soil is wet.
This is the classic scream of overwatering and root rot. Act fast. Tip the plant out of its pot, gently knock off the soil, and look at the roots. If they’re black and mushy, trim them off with sterile scissors. If there are healthy white roots left, repot it into a new pot with fresh, mostly dry soil. And for the love of all that is green, do not water it for at least a week! Let it recover. If it’s mostly mush, your best bet is to take a healthy cutting and start over. - The Problem: Brown, crispy edges on the leaves.
This usually points to low humidity or letting the soil get bone-dry between waterings. Try grouping your plants together, using a pebble tray, or running a small humidifier nearby. And be more consistent with the ‘lift the pot’ method. - The Problem: A healthy-looking plant that just won’t bloom.
Nine times out of ten, this is a lack of light. Move it to a brighter spot (still indirect!). If the light is good, you can try a ‘bloom booster’ fertilizer that’s higher in phosphorus during the spring and summer. - The Problem: White, dusty spots on the leaves.
That’s powdery mildew. It loves damp leaves and still air. Improve air circulation with a small fan if you can. You can treat it by wiping leaves with a mix of a tablespoon of baking soda in a gallon of water with a drop of soap. But prevention is your best bet: water the soil, not the plant. - The Problem: Tiny webs and fine, silvery speckles on the leaves.
You’ve got spider mites. These tiny pests love dry conditions. First, give the plant a good shower in the sink to knock them off. Then, spray it down thoroughly with insecticidal soap or neem oil, making sure to get the undersides of the leaves. Repeat every 5-7 days for a few weeks to kill them all.
Leveling Up: Feeding and Supporting Your Plant
Once you’ve got the basics down, a few extra touches can take your plant from good to great.
How to Fertilize Without Freaking Out
Think of fertilizer as a vitamin supplement, not a full meal. During the growing season (spring and summer), I feed my begonias about every 2-4 weeks. I use a basic, balanced liquid fertilizer—something like a standard Miracle-Gro All-Purpose is perfectly fine. The absolute key is to dilute it to half the strength recommended on the package. Too much can burn the roots. A bottle will run you less than $10 and last forever. When growth slows in fall and winter, I stop feeding altogether.
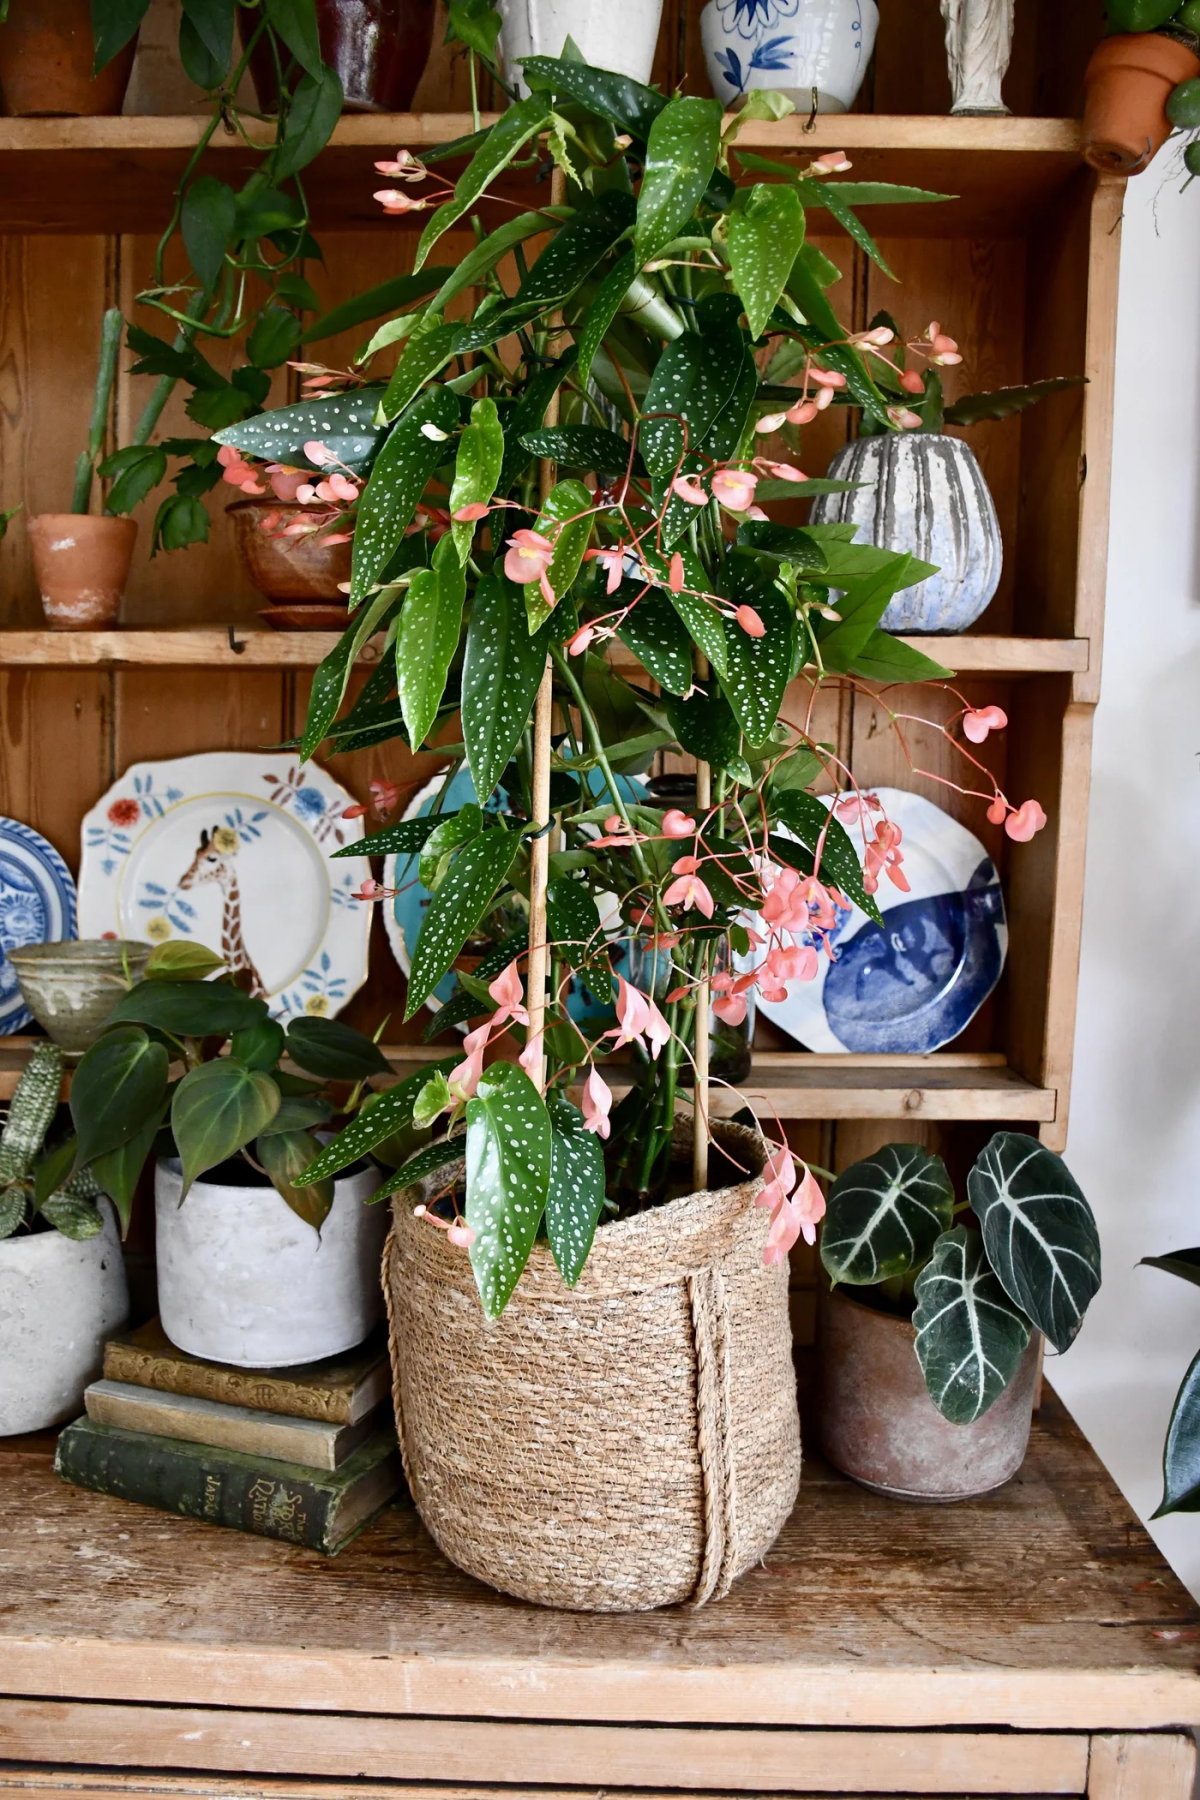
Staking Tall Plants
Some varieties can get seriously tall, and their canes can get top-heavy and snap. A simple bamboo stake or a coated metal rod works great. Gently push it into the soil near the main stem, being careful not to stab the root ball. Use soft plant ties or even strips of old fabric to loosely secure the cane to the stake. Don’t tie it tight!
A Few Final, Important Notes
Heads Up for Pet Owners: It’s really important to know that Begonias are toxic to cats and dogs if they eat them. The roots are the most toxic part. It can cause some pretty nasty mouth irritation and upset stomachs. If you have pets who are notorious plant-chewers, it’s safest to keep your begonia in a spot they can’t reach, like in a hanging basket or on a high shelf.
Know When to Call It: To be frank, sometimes a plant is just too far gone. If it’s covered in pests or the roots are completely rotted away, there’s no shame in starting over. The best move is often to take a few healthy cuttings from the dying mother plant and give it a fresh start. It’s not failure; it’s just being practical.
Angel Wing Begonias really are a joy to grow. They aren’t needy, but they do appreciate your attention. Get the drainage and light right, learn the weight of the pot, and you’ll be rewarded with stunning foliage and beautiful flowers for years to come.
Galerie d’inspiration
My Angel Wing Begonia is getting tall and leggy, with bare canes at the bottom. How do I make it fuller?
That’s a classic sign of a happy, growing begonia! But to get that bushy look, you need to embrace pruning. Don’t be shy—these plants are vigorous and respond well to a haircut. Identify a long cane and find a node (the small bump where a leaf emerges). Using clean, sharp scissors or pruners, snip about a half-inch above a node. The plant will often activate dormant buds below the cut, sending out two or more new branches. This not only encourages a fuller shape but also stimulates more flowering. Plus, the cutting can be easily rooted in water to make a new plant!


