The Real Deal on Dipladenia: Your Guide to Amazing Blooms
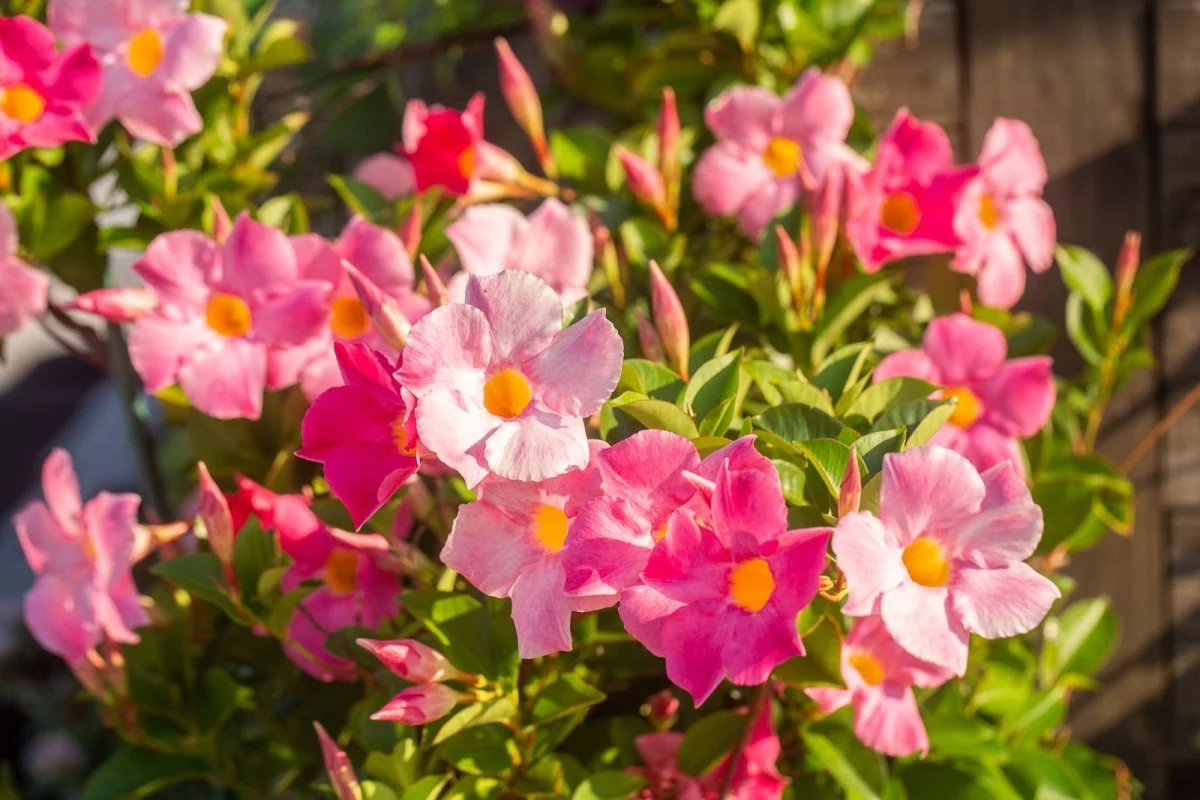
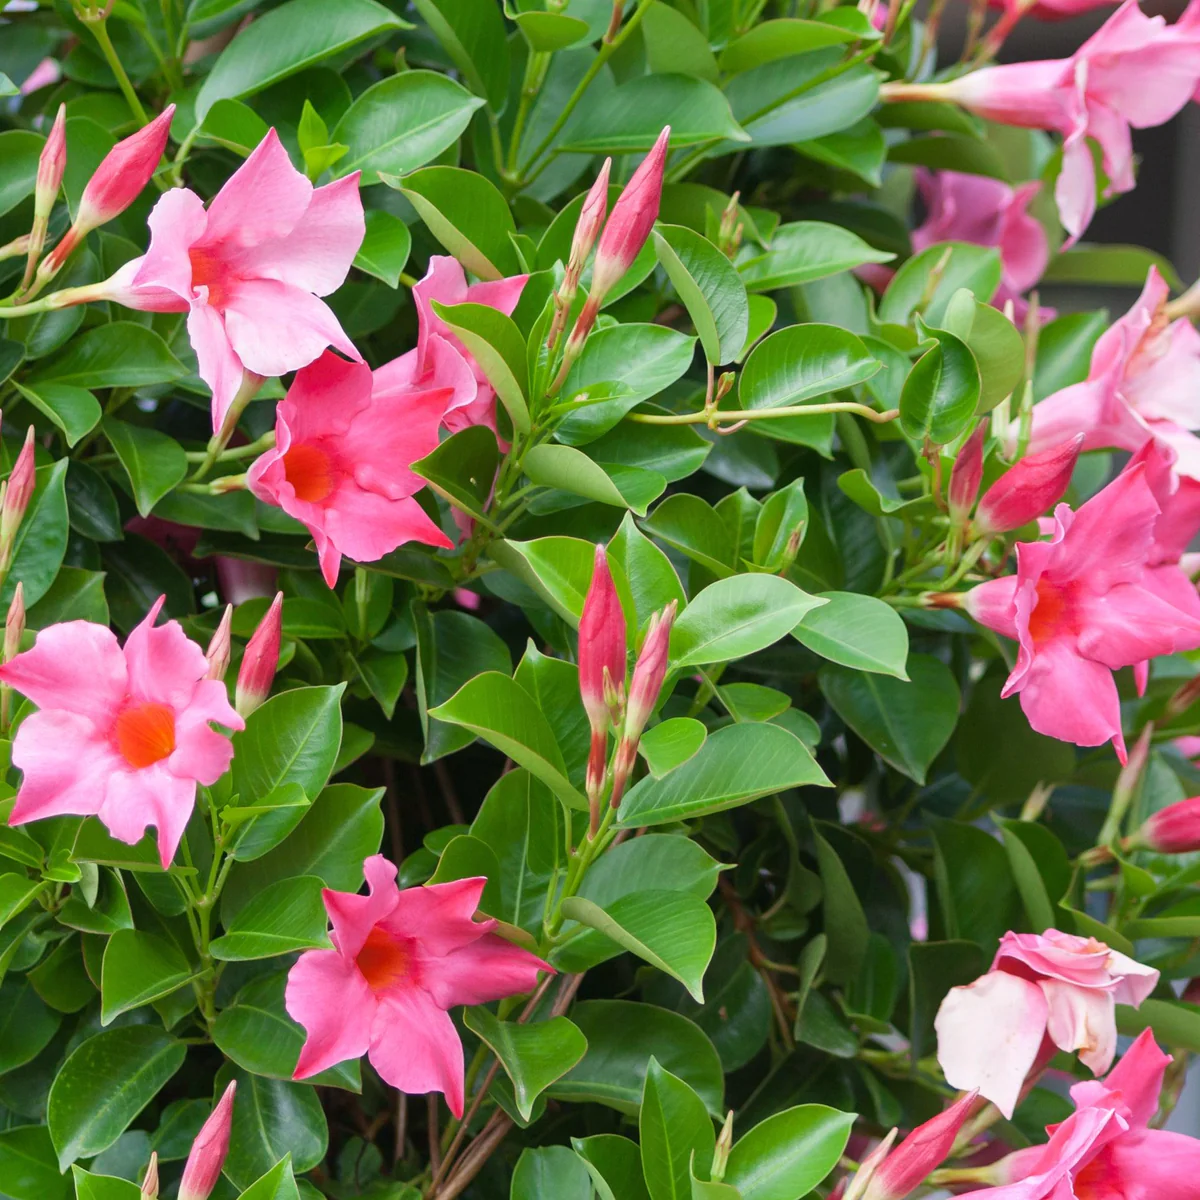
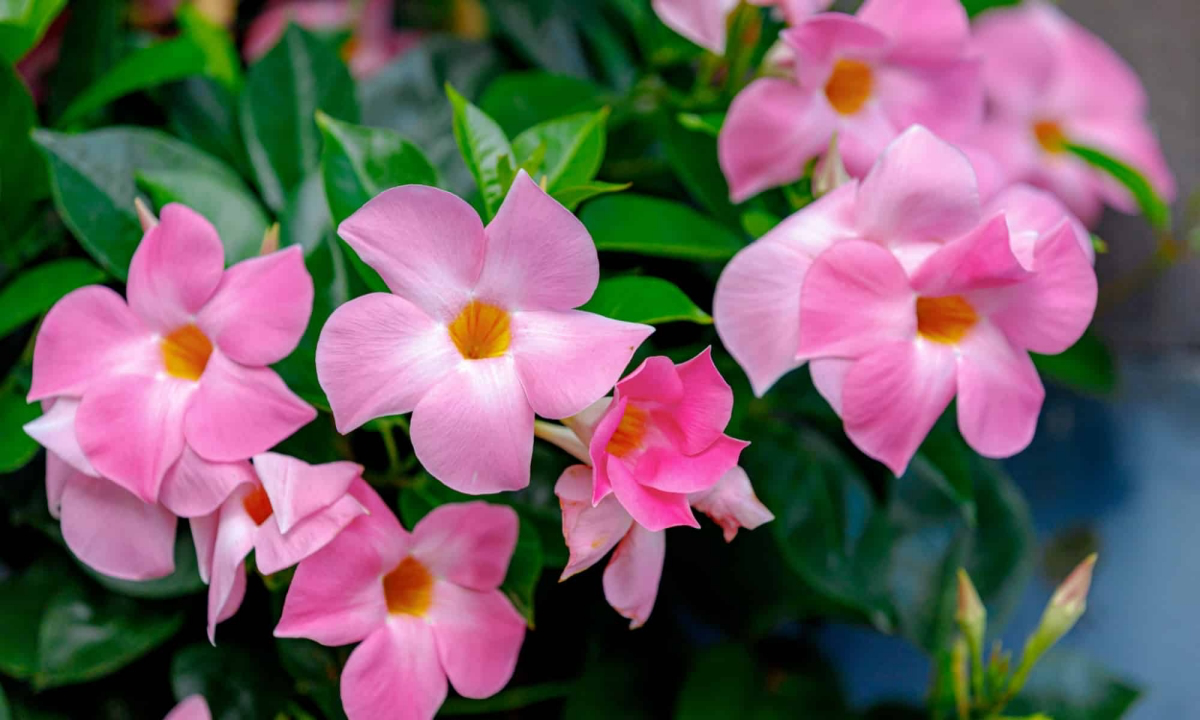
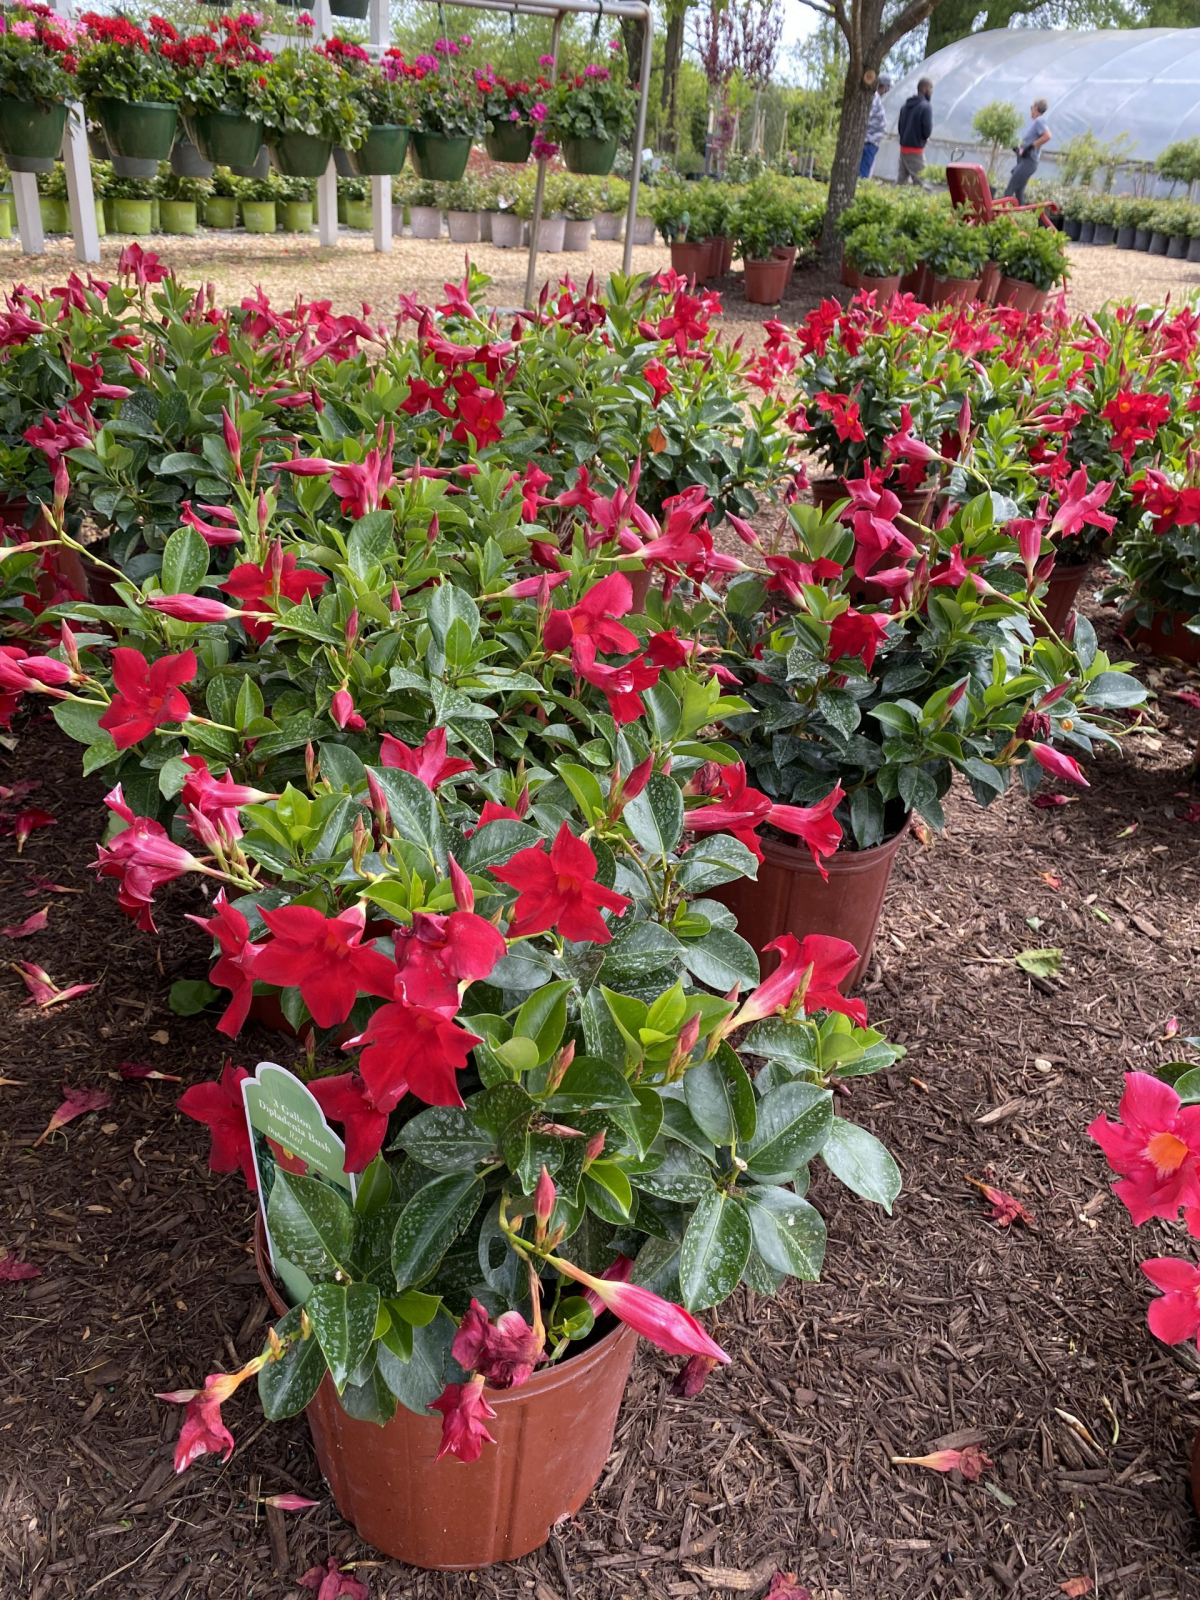
Walk into any garden center in the spring, and you can’t miss them. Those gorgeous, vining plants with glossy green leaves and stunning trumpet-shaped flowers are everywhere. They’re called Dipladenia, and people absolutely love them. The problem? So many gardeners tell me they can’t keep them looking good for more than a month.
In this article
I get it. After years of working with thousands of these plants, I’ve heard every question imaginable. “Why are the leaves turning yellow?” “Why did it just stop blooming?” “How on earth do I keep this thing alive over the winter?” The advice you find online is often frustratingly vague—phrases like “bright, indirect light” and “well-draining soil” don’t help much when you’re staring at a wall of potting mixes.
So, let’s clear things up. This isn’t just a list of tips. This is the approach the pros use, based on a lot of trial and error. We’re going to cover the exact soil mix that works, how to get the light just right, and how to prune for a plant that’s covered in blooms all season long.
First, Let’s Clear Up the Name Game
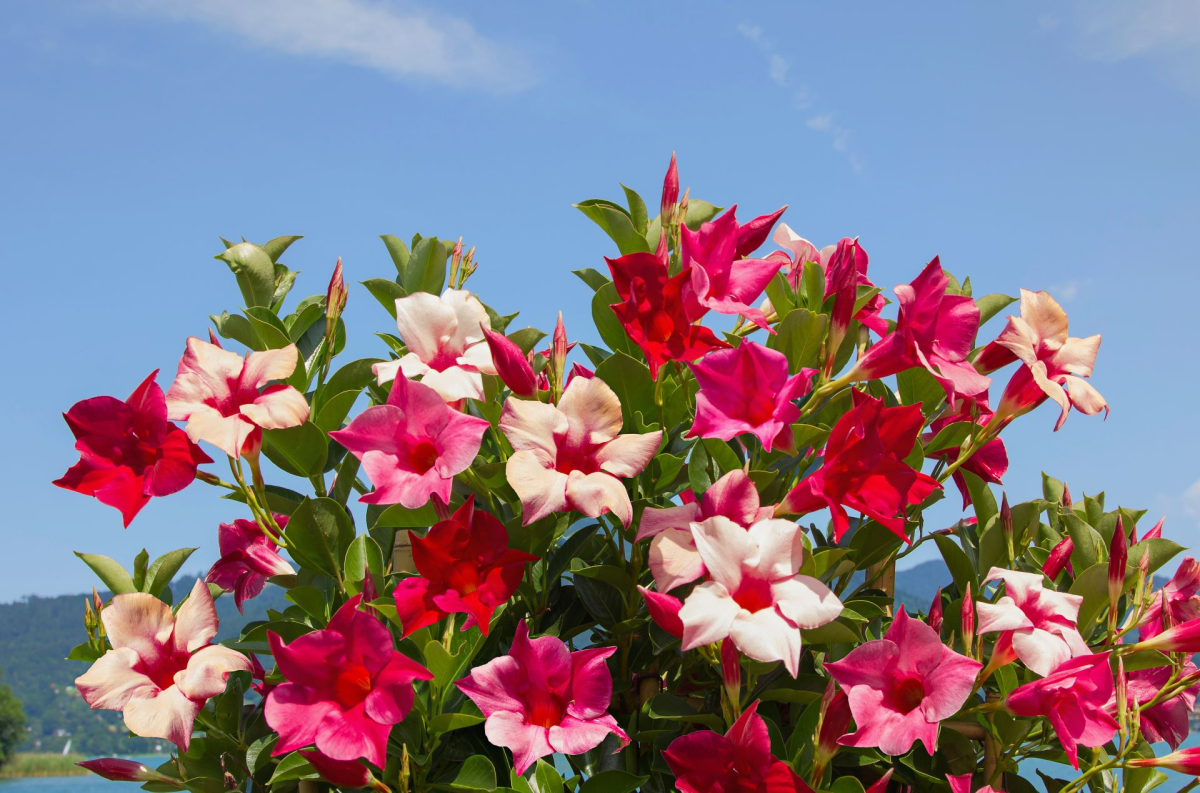
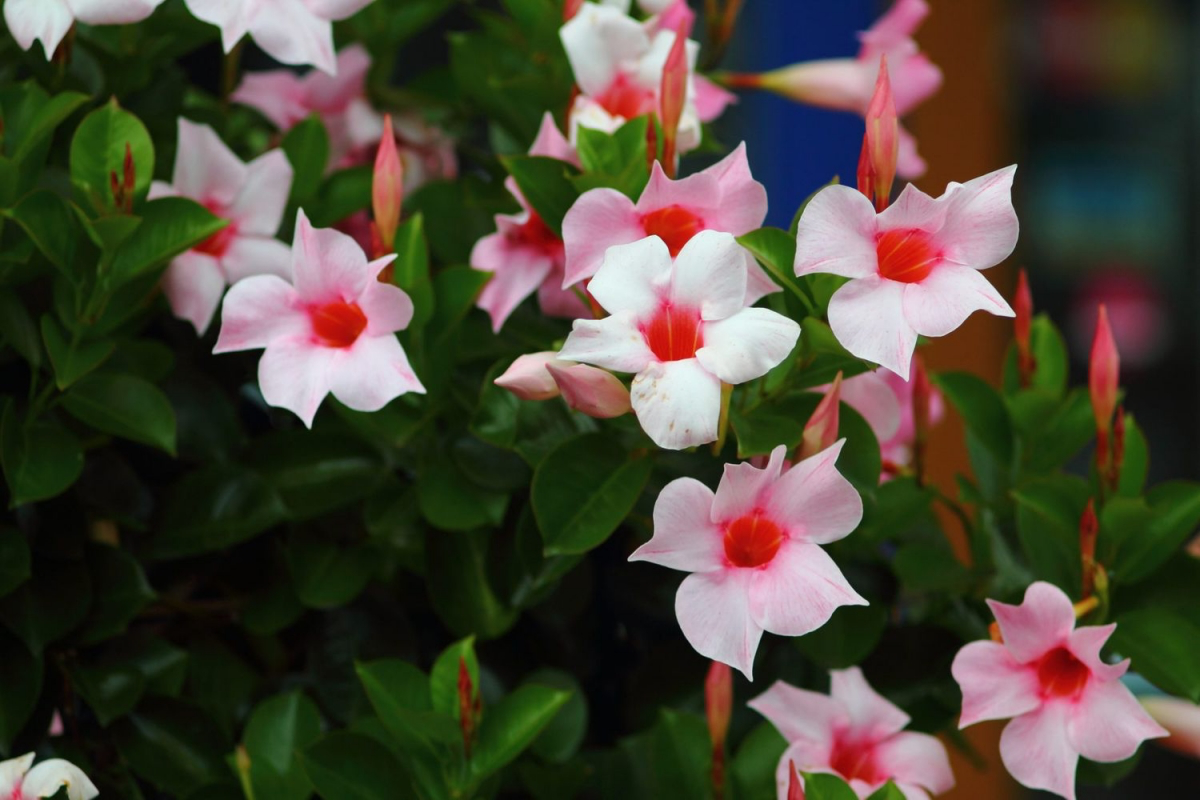
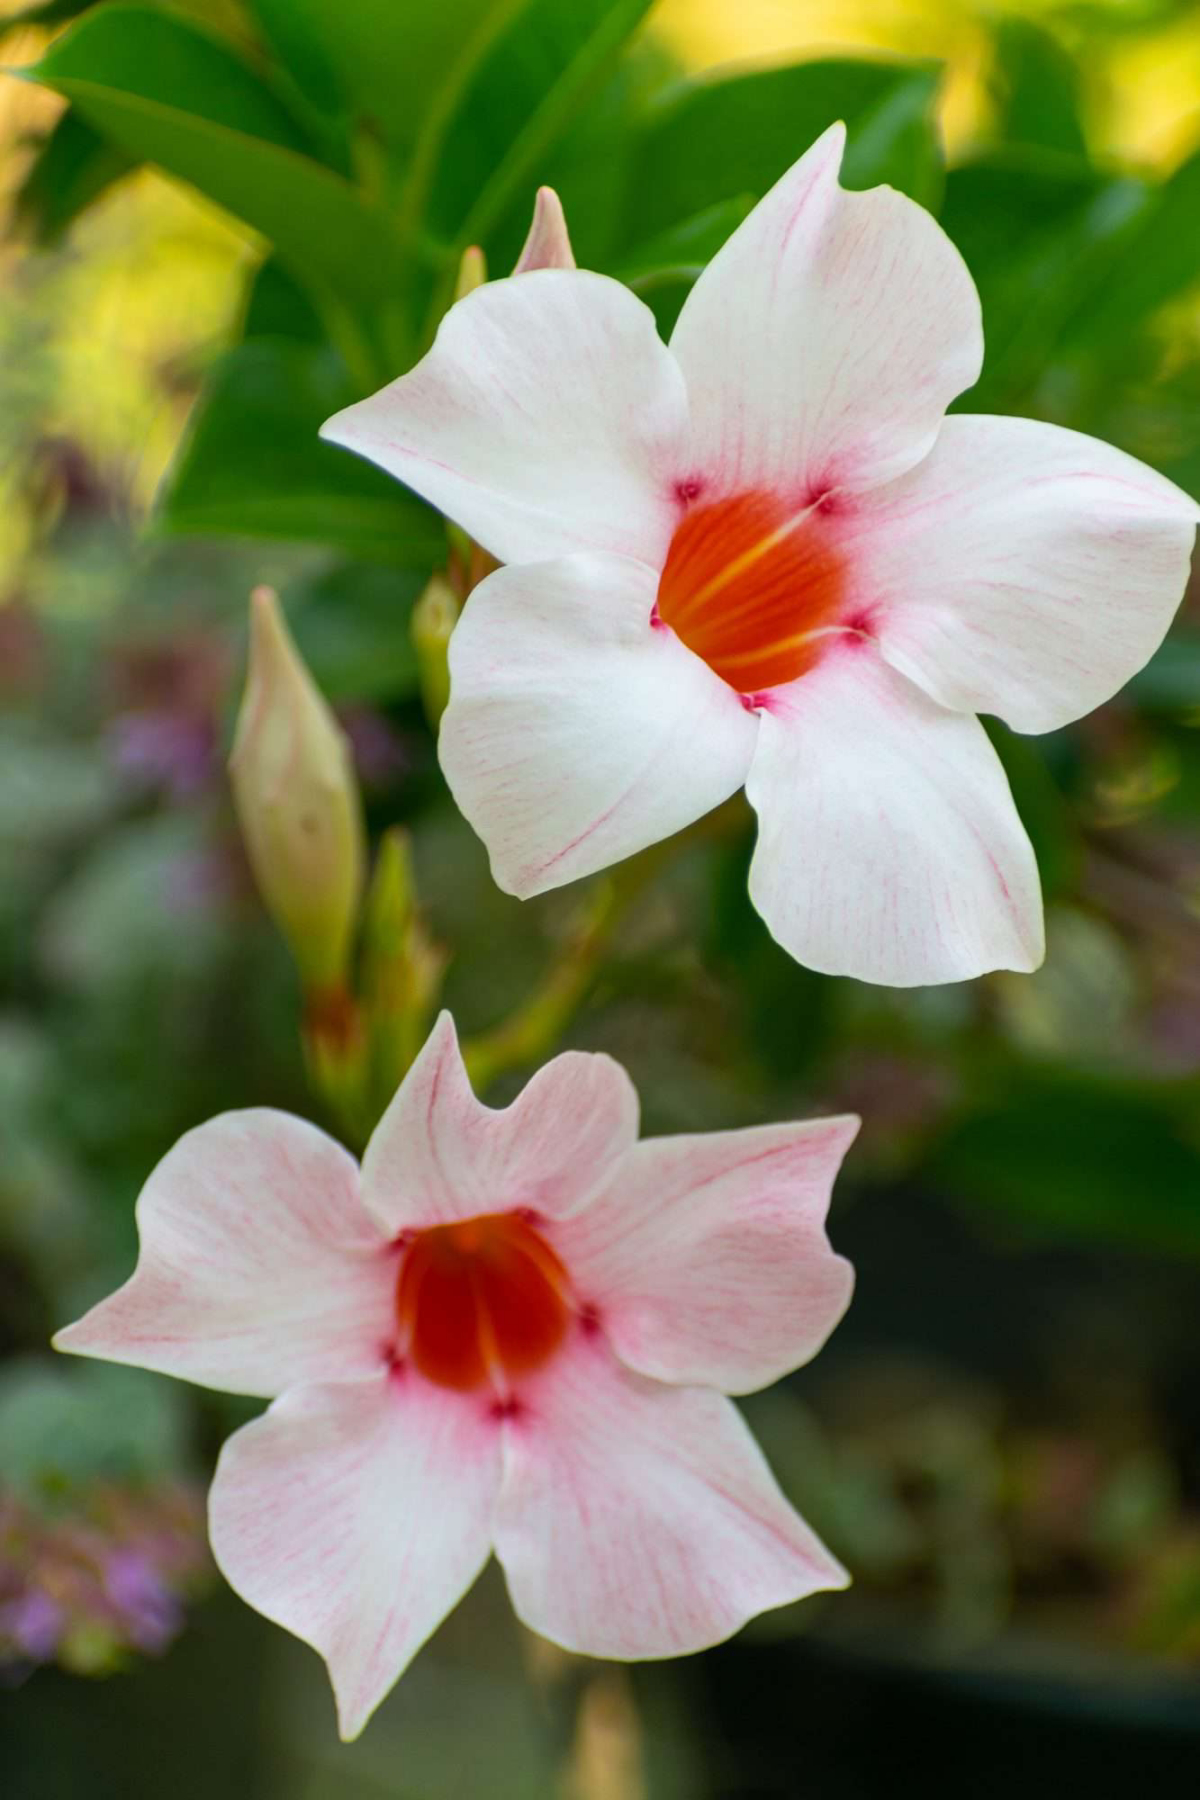
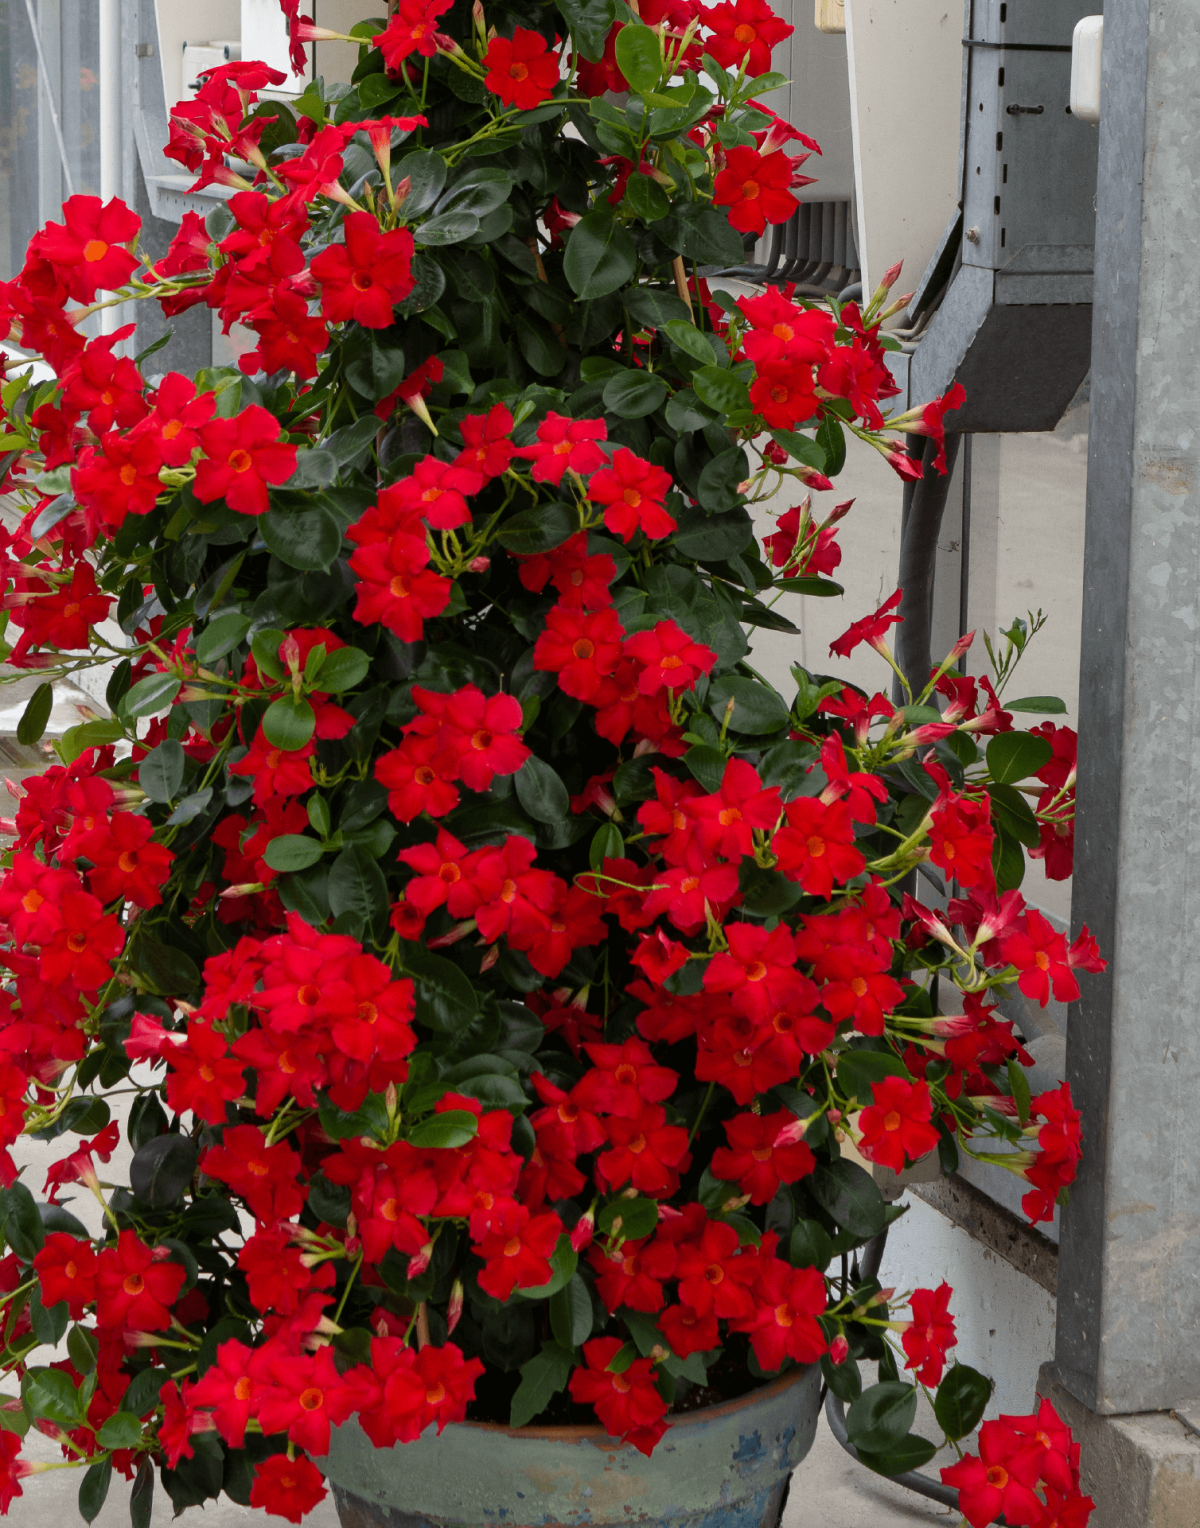
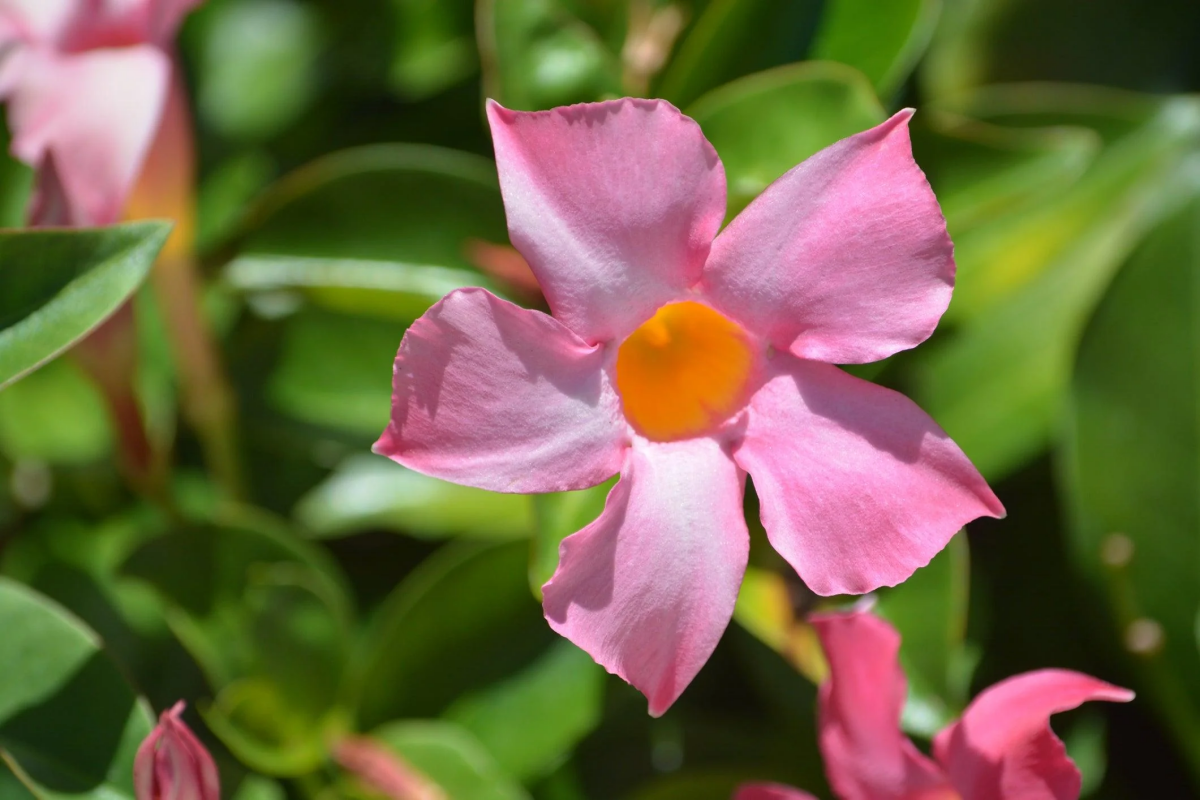
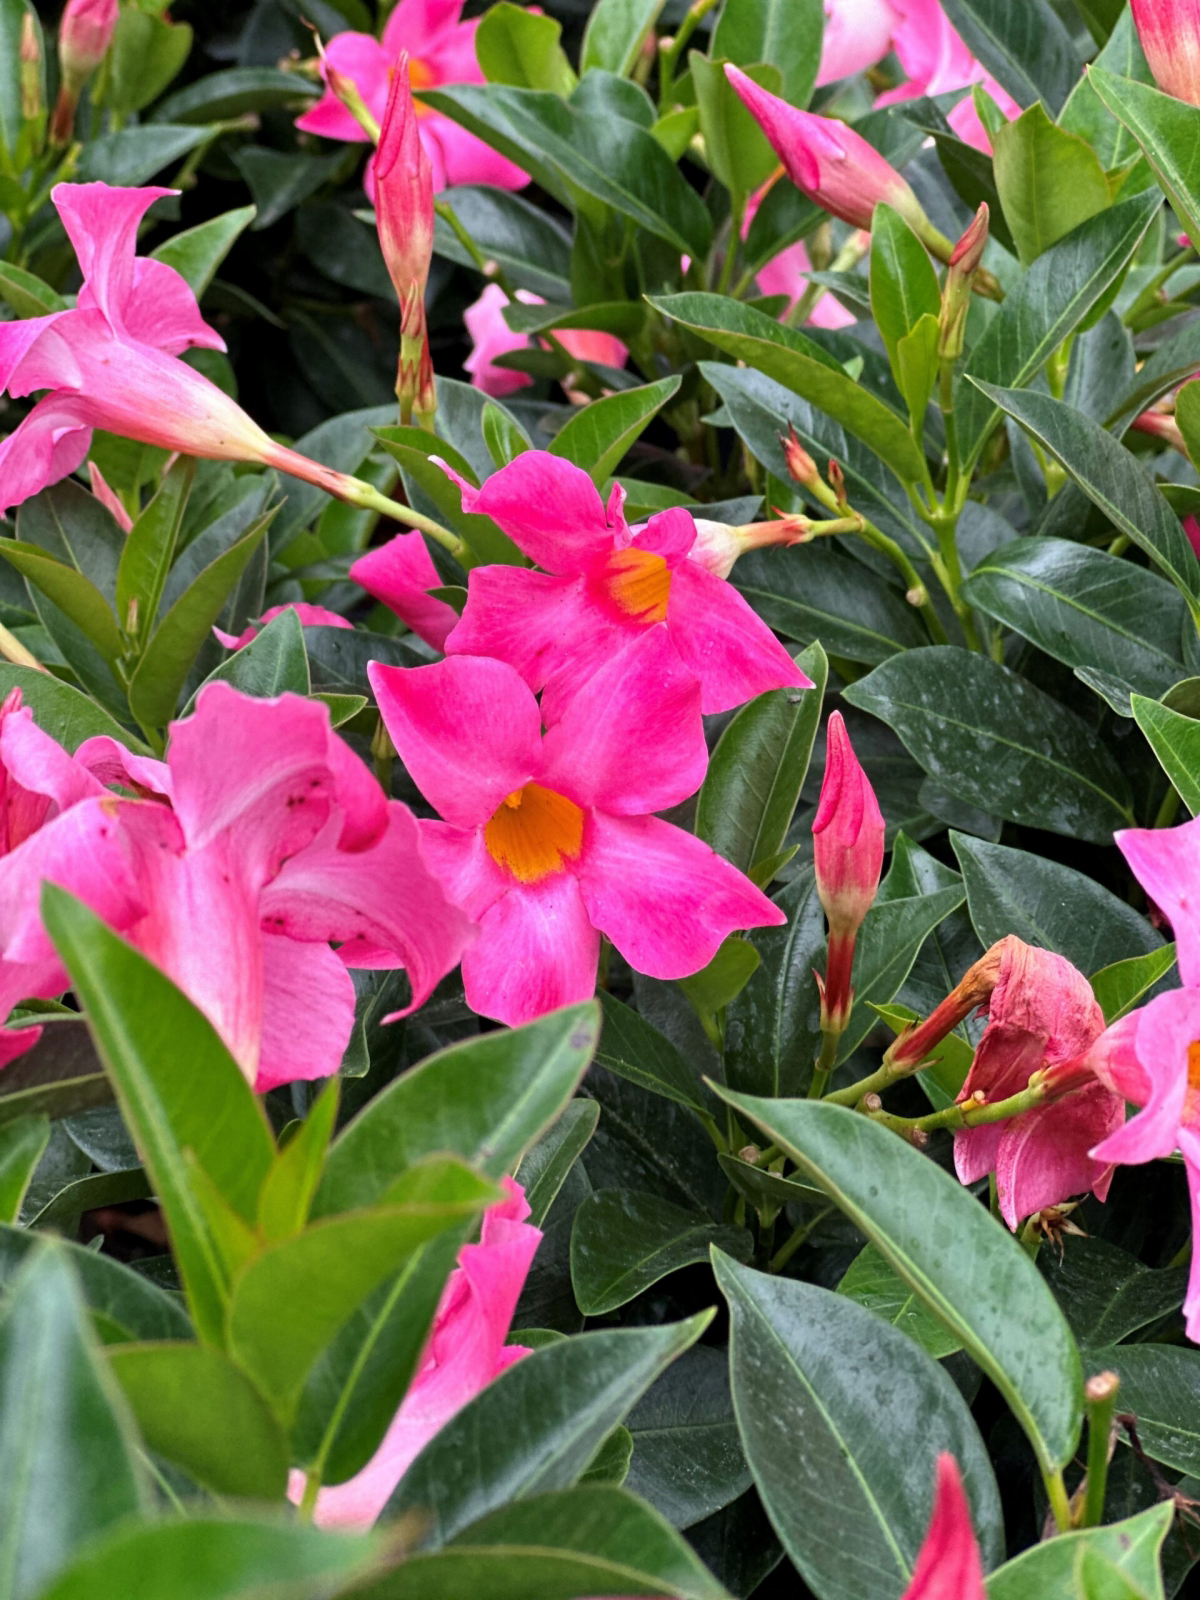
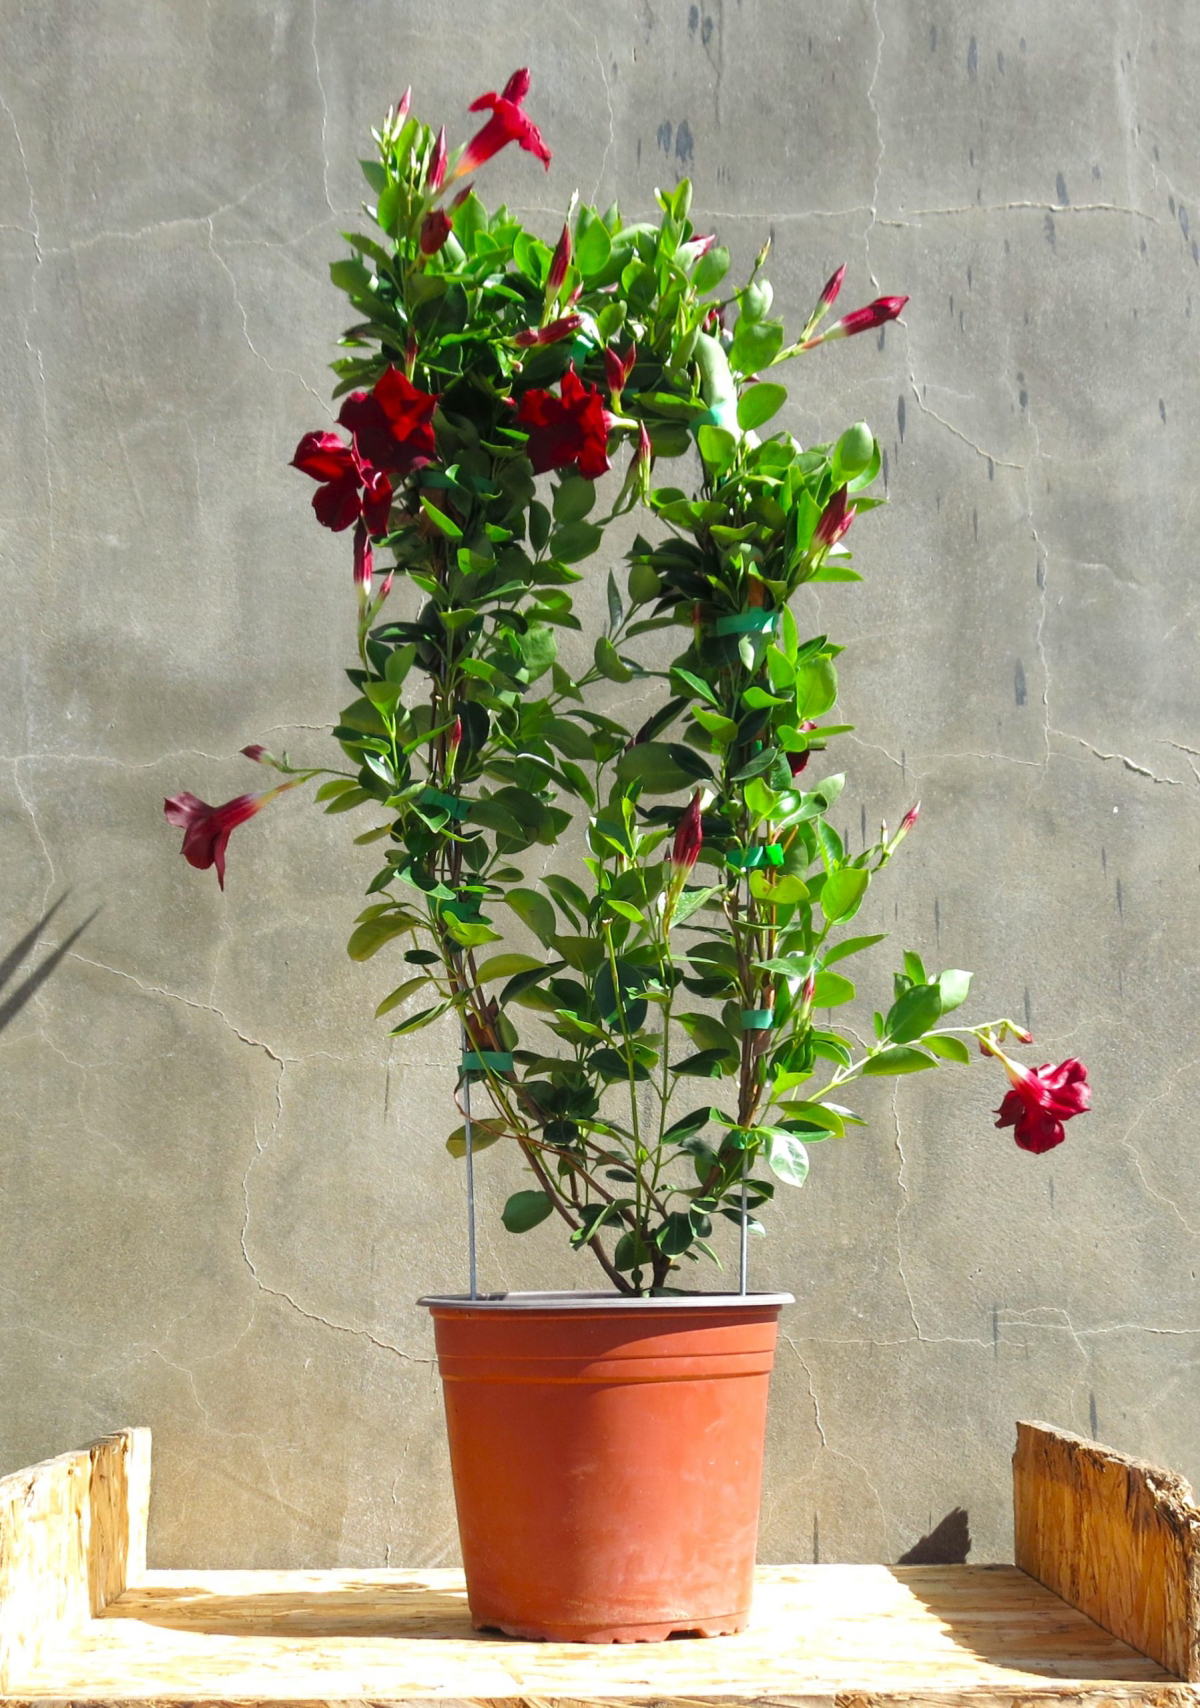
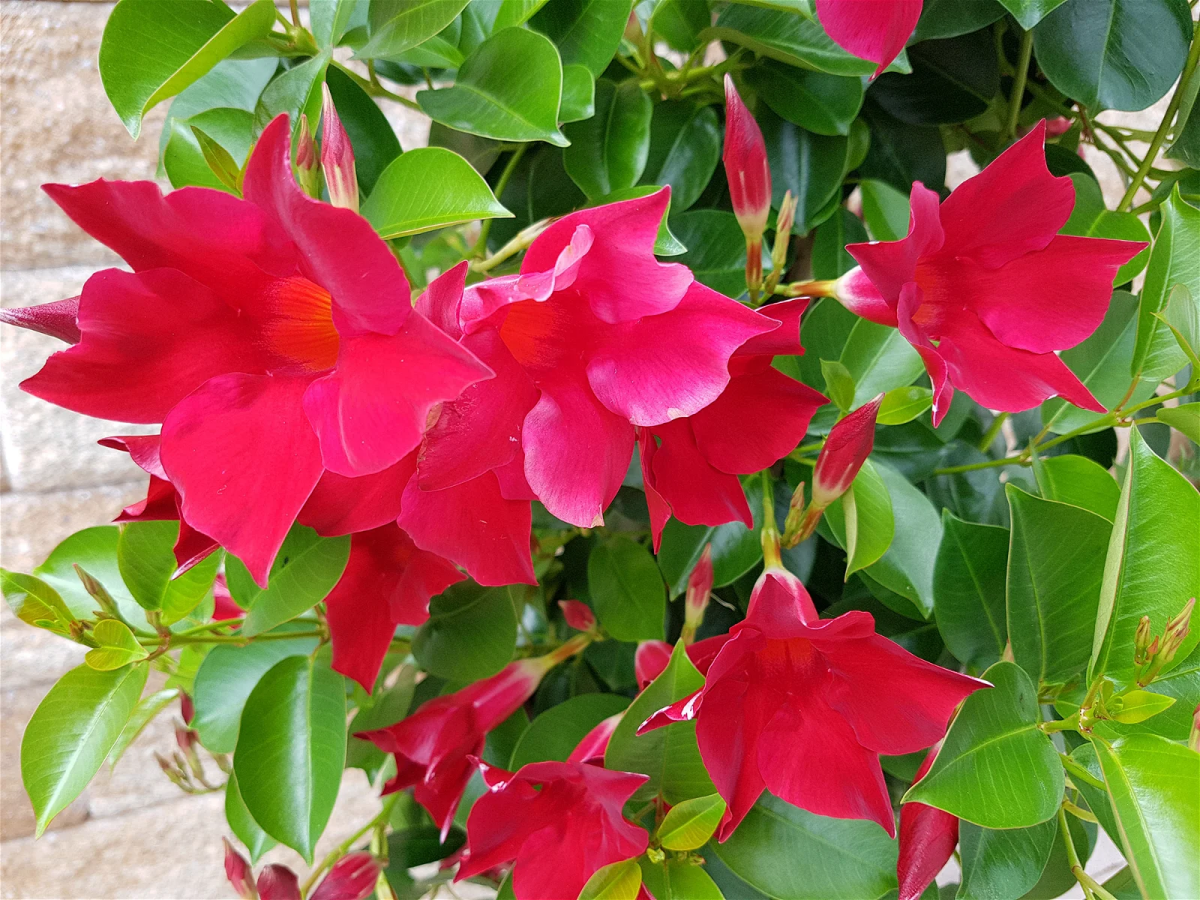
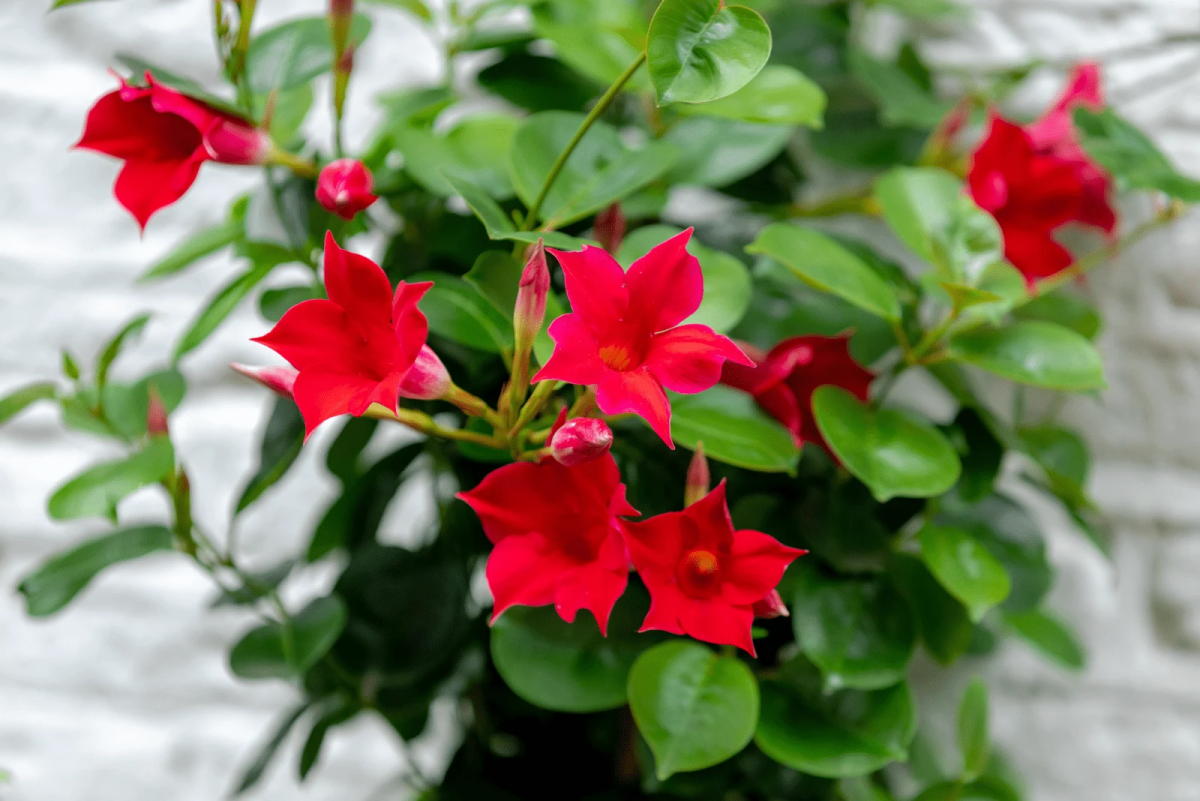
You might hear the names Dipladenia and Mandevilla used interchangeably, and honestly, it’s a bit confusing. Here’s the simple breakdown for us gardeners: the plants sold as “Dipladenia” are typically the ones with a bushier, more compact growth habit. They’re absolutely perfect for containers and hanging baskets.
On the other hand, when a plant is labeled “Mandevilla,” you’re usually getting a much more aggressive climber that will want a big trellis to grab onto. For our purposes, we’re focusing on the classic, pot-friendly Dipladenia.
Heads up! These plants belong to the same family as oleander, which means a couple of things. First, they have a milky white sap that can irritate the skin. I always suggest wearing gloves when you prune them. Second, they are toxic if ingested by pets or people, potentially causing an upset stomach, vomiting, or diarrhea. It’s best to place them where curious pets and small children can’t take a nibble.
The Secret is in the Soil (and a Good Pot)
If there’s one mistake that dooms these plants, it’s overwatering. Their roots are fine and need air to breathe. When they sit in dense, soggy soil, the roots literally suffocate and begin to rot. Once root rot sets in, it’s incredibly hard to reverse. That’s why getting the soil right is non-negotiable.
Forget using standard potting mix straight out of the bag. It’s almost always too heavy. We need to lighten it up. Here’s my go-to recipe that we mix up in a big tub or wheelbarrow:
- 2 parts high-quality potting mix: This is your base. Something like an Espoma Organic or Miracle-Gro Potting Mix works great.
- 1 part perlite: Those little white rocks are your best friend. They create air pockets, which is crucial for drainage and happy roots. A big bag will run you about $10-$15 but you’ll use it for dozens of plants.
- 1 part pine bark fines: This looks like finely shredded pine bark and is often sold as “soil conditioner.” It prevents the soil from compacting over time. Just make sure you don’t accidentally buy the big bark nuggets used for mulch!
Don’t want to play chemist? I get it. In a pinch, a bag of high-quality cactus and succulent mix is a fantastic one-bag solution. It’s not my custom blend, but it’s 90% of the way there and way better than a standard mix.
Oh yeah, and the pot matters! When you repot, choose a container that’s only 1-2 inches wider in diameter than the one it came in. A pot that’s too big holds excess soil, which stays wet for too long and can lead right back to that dreaded root rot.
How to Water Like a Pro
Please, I’m begging you, do not water on a schedule. Watering is a skill, not a calendar event. The only reliable way to know if your Dipladenia is thirsty is to use your finger. Push it about two inches deep into the soil. If it feels dry, it’s time to water. If you feel any moisture at all, wait another day or two.
When you do water, do it thoroughly. Drench the soil until water streams out of the drainage holes. This ensures the entire root ball is hydrated and helps flush out any mineral buildup.
And this is the most important part: ALWAYS dump out the water that collects in the saucer. Letting your plant sit in a puddle completely defeats the purpose of well-draining soil. It’s the #1 killer of these plants, period.
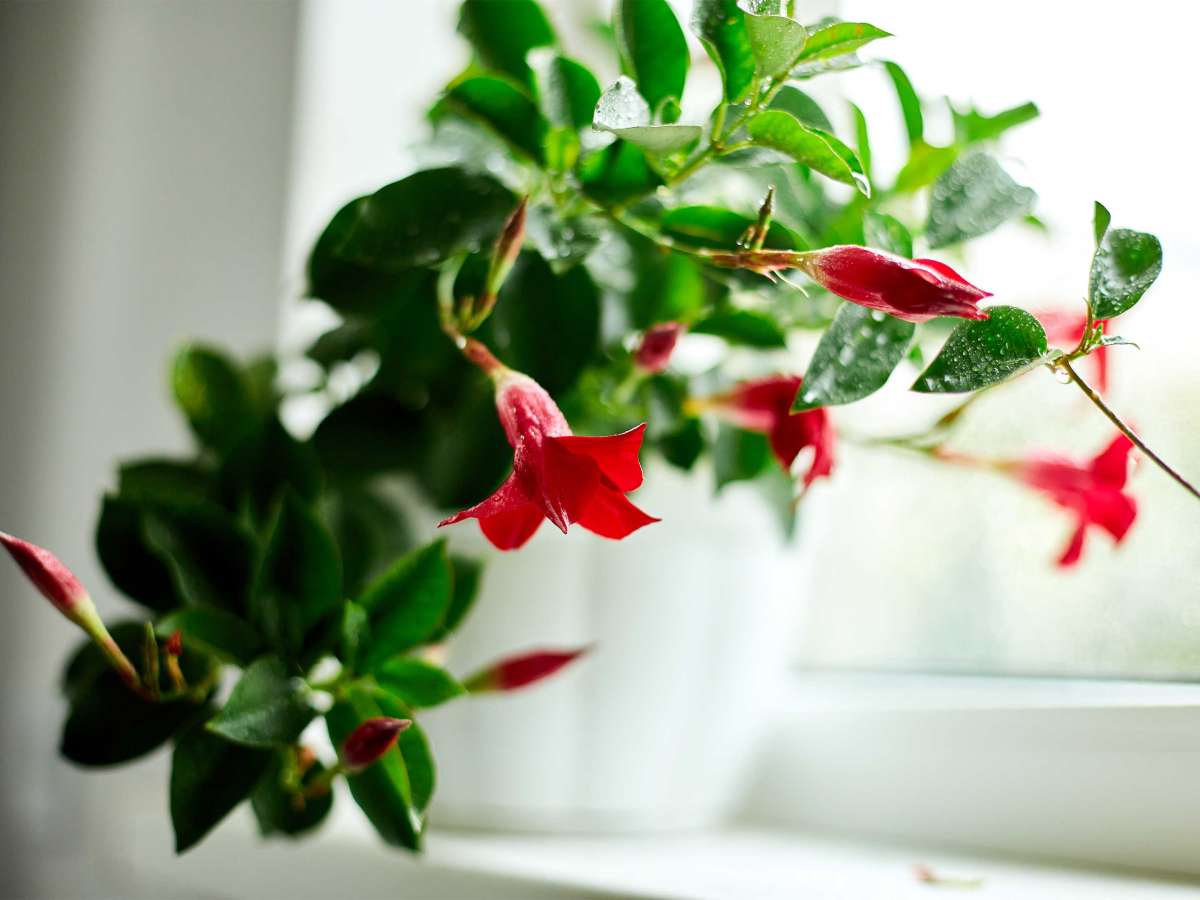
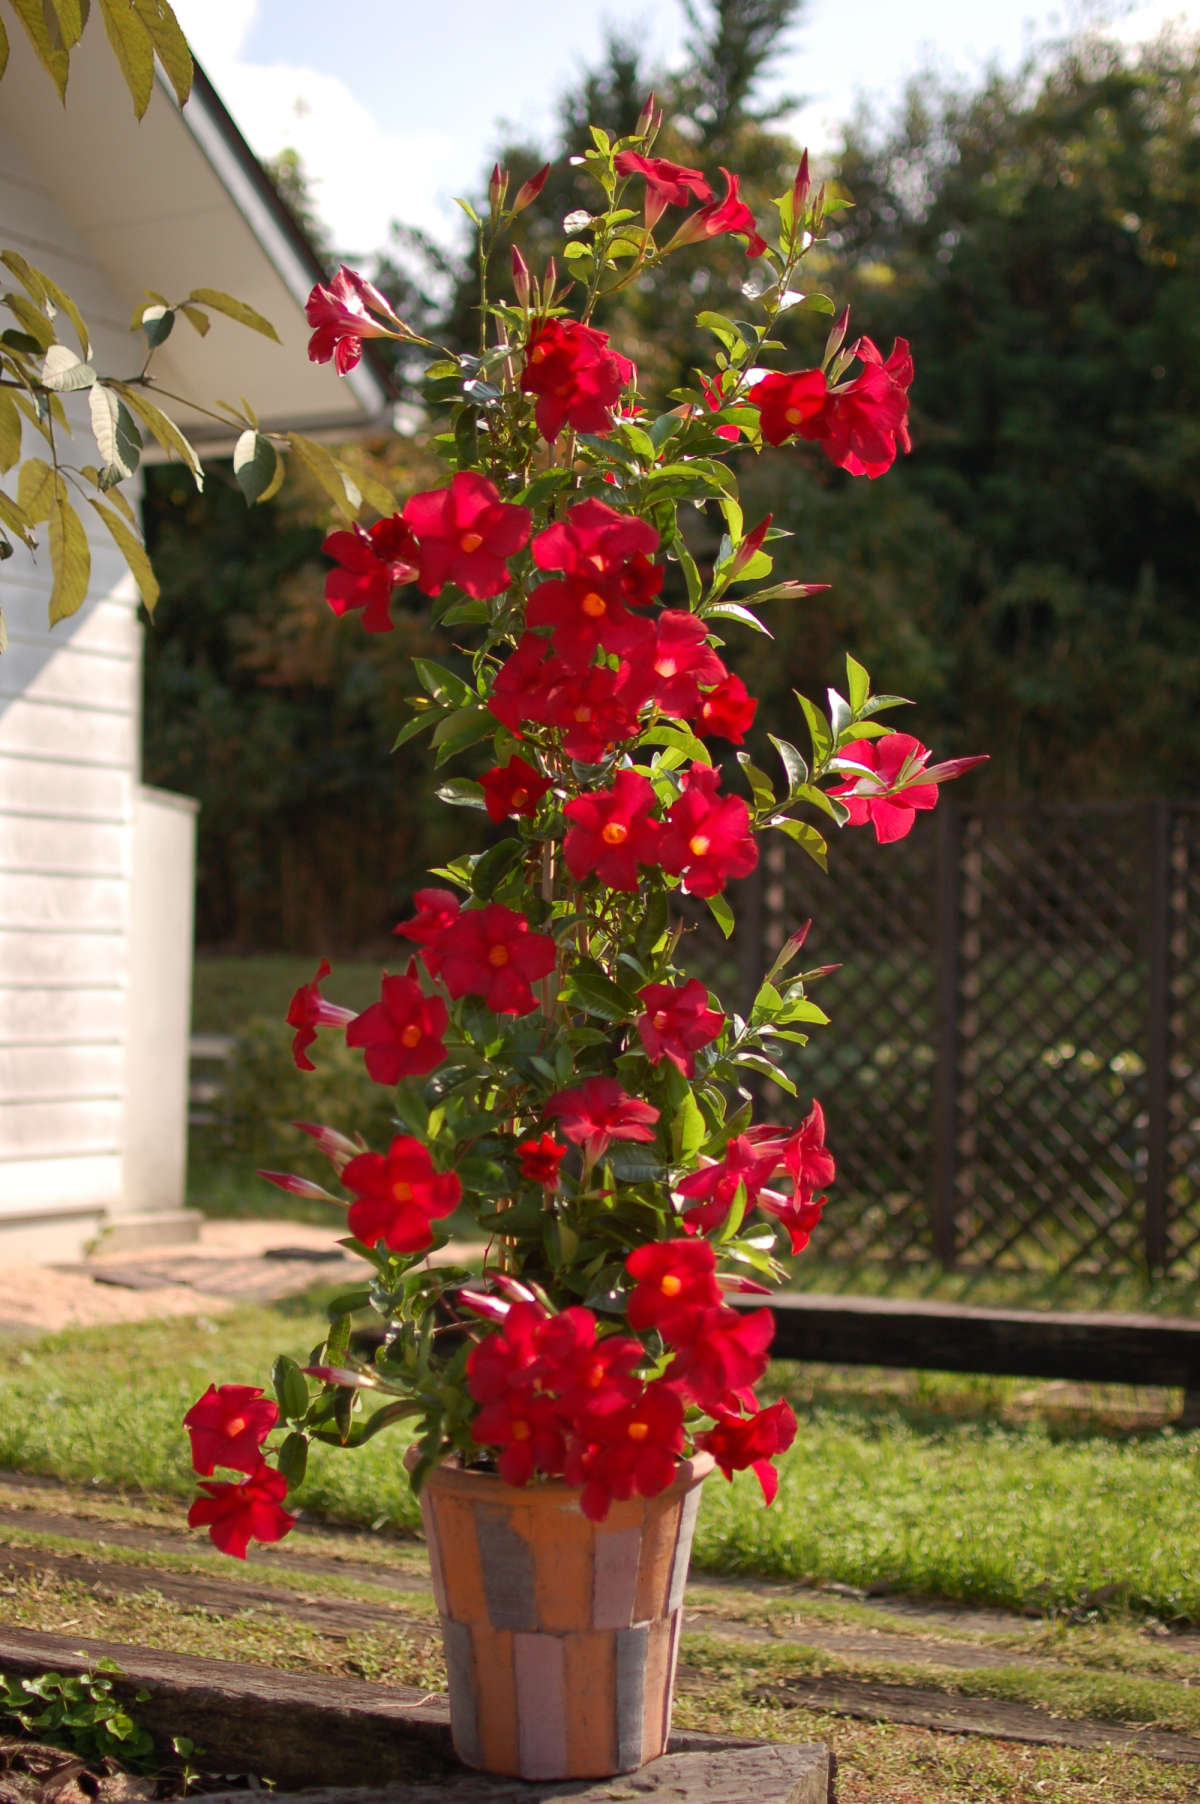
Sun, Heat, and Getting More Flowers
Dipladenia are sun-worshippers and need a lot of light to produce those amazing flowers. Aim for at least six hours of direct sun per day. But here’s a little pro-tip: in really hot climates, the scorching afternoon sun can be a bit much and might even burn the leaves. The absolute perfect spot is one that gets tons of morning sun and then some filtered or dappled light in the hottest part of the afternoon. Think of an east-facing patio.
To keep the flower show going, you need to feed them. During the growing season (spring through fall), they’re heavy feeders. I recommend using a balanced, water-soluble fertilizer like a 20-20-20 every two to three weeks. Some people swear by a “bloom booster” with a higher middle number (phosphorus), but I’ve found a balanced feed works just fine. Just follow the package directions—more is NOT better and can burn the roots. Stop fertilizing completely in early fall to let the plant know it’s time to wind down for winter.
Surviving the Winter: Your Step-by-Step Plan
For most of us in colder climates, keeping a Dipladenia alive through winter is the final boss. The key is to help it go dormant, not to treat it like a regular houseplant. It needs a rest.
Here’s exactly what to do:
- Know When to Act: Bring the plant inside before the first frost, when nighttime temps are consistently dipping below 50°F (10°C). Waiting too long stresses the plant out.
- Clean and De-Pest: Before it comes inside, give it a good spray-down with horticultural oil or insecticidal soap. Pests like aphids and spider mites love to hitch a ride indoors for the winter. Be sure to get the undersides of the leaves.
- Prune It Back: This feels harsh, but it’s critical. Cut the whole plant back by about half its size. This reduces its need for light and water and makes it easier to store. A quick tip: Make your cuts about 1/4 inch above a leaf node (the little bump on the stem where a leaf was). This is where new growth will sprout in the spring.
- Find a Cool, Bright Spot: The ideal overwintering location is cool, with some light. Think of an unheated garage with a window or a chilly basement near a small grow light. You’re aiming for a temperature that stays between 40°F and 50°F (4°C to 10°C). Whatever you do, don’t bring it into your warm, dry living room. I learned this the hard way years ago and ended up with a plant completely encased in spider mite webs. A total disaster.
- Drastically Reduce Water: While it’s dormant, it barely needs any water. Check the soil once a month and give it just a tiny sip to keep the soil from turning to dust. The plant will probably lose all its leaves. THIS IS NORMAL. Don’t panic and start watering it more; you’ll kill it for sure.
Once the danger of frost has passed in the spring, you can start waking it up. Move it outside to a shady spot for a few days to acclimate, then gradually introduce it to more sun over the next week. This is a great time to repot and start your regular watering and feeding schedule.
Troubleshooting Common Headaches
Even with the best care, things can go wrong. Here’s a quick rundown of the most common issues.
- Yellow Leaves: This is the plant’s cry for help. Nine times out of ten, the cause is overwatering. Check the soil moisture first! If the soil isn’t soggy, it could be underwatering, a lack of nutrients (when was the last time you fed it?), or pests.
- Spider Mites: The bane of indoor plants. You’ll see tiny yellow dots on the leaves or fine, silky webbing. They hate humidity. Blast them off with a strong spray of water and then treat with insecticidal soap every 5-7 days for a few weeks.
- Mealybugs: These look like little bits of white cotton stuck to the plant. For a small problem, you can dip a cotton swab in rubbing alcohol and touch each bug to kill it. (Good to know: test the alcohol on one leaf first to make sure it doesn’t cause any damage!) For a bigger infestation, use insecticidal soap.
- No Flowers: This is almost always one of two things. First, not enough light. It’s the most common reason. Move it to a sunnier spot. Second, you might be using a fertilizer that’s too high in nitrogen, which gives you lots of green leaves but no blooms. Switch to a balanced formula.
At the end of the day, growing a stunning Dipladenia just requires a bit of attention. Watch your plant; it will tell you what it needs. Don’t be afraid to make mistakes—every gardener has a compost pile full of lessons learned. With the right soil, a careful watering hand, and a solid winter plan, you’ll be enjoying those spectacular flowers for years to come.
Galerie d’inspiration
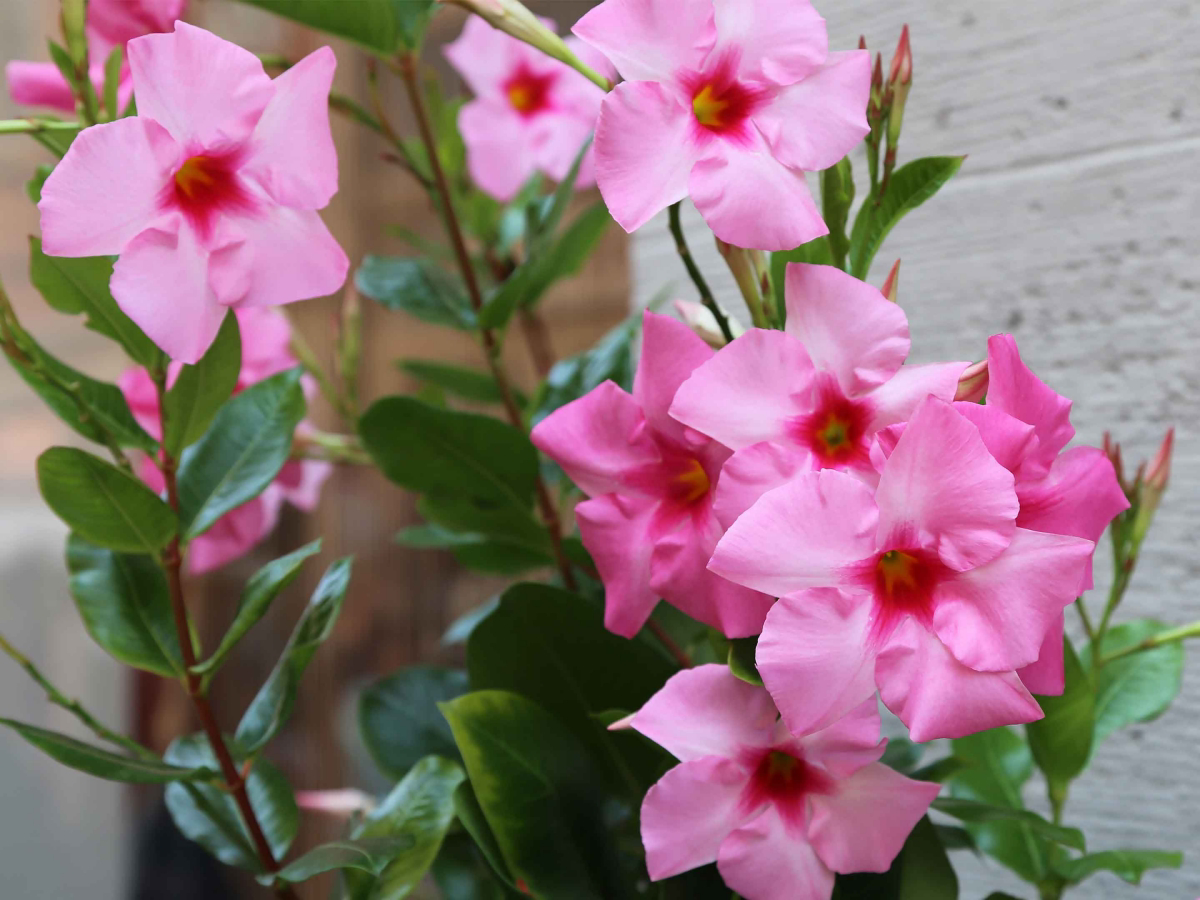
Did you know? The vibrant, trumpet-shaped flowers of the Dipladenia are perfectly designed to attract hummingbirds, turning your patio or balcony into a lively feeding station.
Wondering why your once-lush plant has stopped blooming?
First, check the light. Dipladenia are sun-worshippers and need at least 6-8 hours of direct sunlight to produce flowers. Second, assess your feeding schedule. During peak growing season, they are heavy feeders. A weekly dose of a bloom-booster fertilizer, high in phosphorus (the ‘P’ in N-P-K), can work wonders. Finally, it might be root-bound. If it’s been in the same pot for over a year, its roots may have no room to grow, signaling the plant to stop producing flowers.
- More flowers on a fuller, more compact plant.
- Prevents the weak, leggy stems that can appear mid-summer.
- Encourages branching for a dense, shrub-like appearance.
The secret to achieving this? Simply pinch off the soft growing tips with your fingers every few weeks during the early summer. This small act forces the plant to send out new side shoots, doubling the potential for blooms.
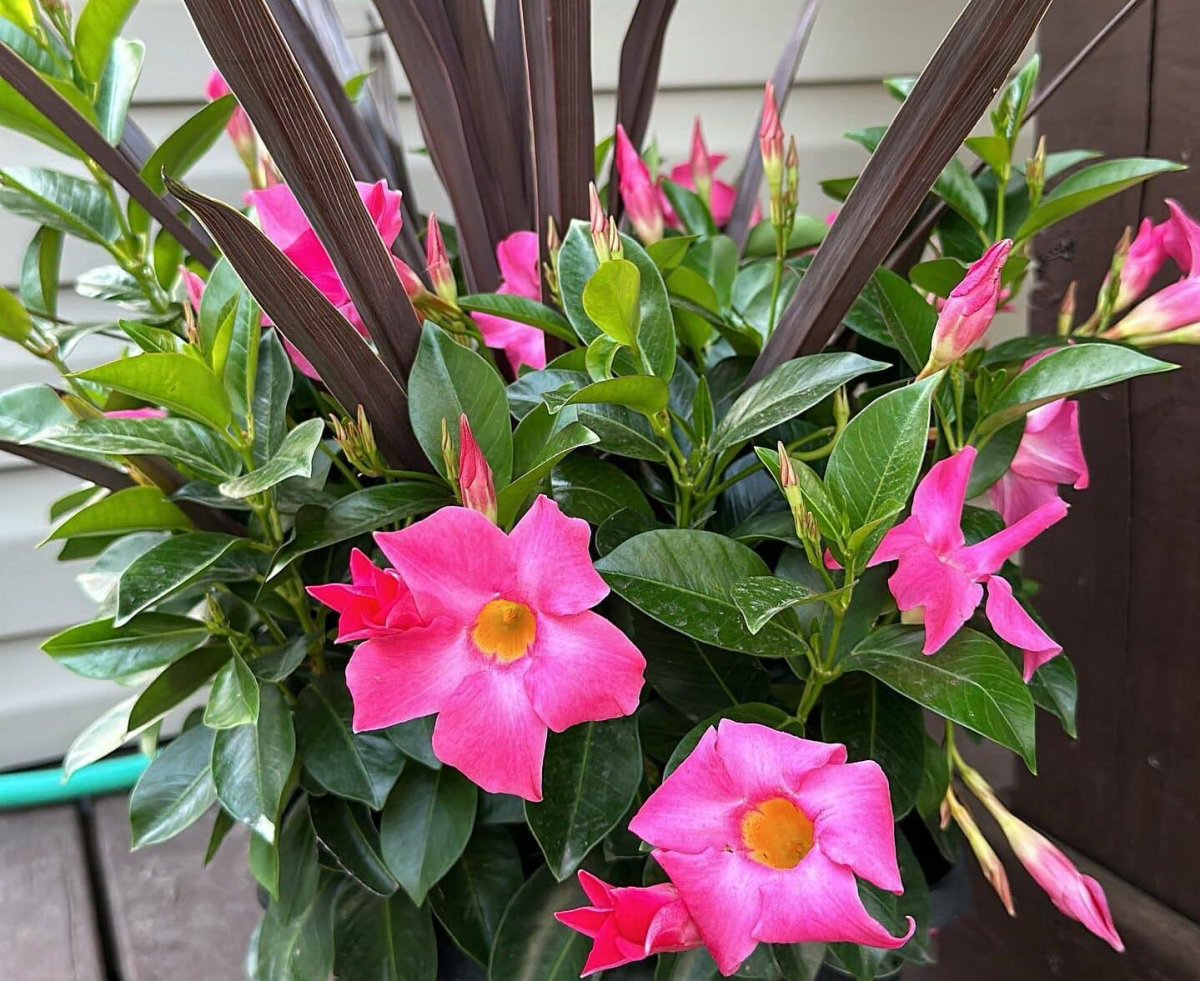
Create a show-stopping container by pairing your Dipladenia with the right companions. For a classic look with a red or pink variety, try trailing white Bacopa or deep purple Petunias. For a modern, high-contrast design, combine a white Dipladenia with the electric lime green of a Sweet Potato Vine (Ipomoea batatas ‘Marguerite’) and the fine, airy texture of Diamond Frost Euphorbia.
Slow-Release Granules: Products like Osmocote Plus Outdoor & Indoor are a fantastic ‘set it and forget it’ option. Mix them into the soil when planting, and they’ll feed your Dipladenia for up to 6 months.
Liquid Fertilizer: A water-soluble feed like Miracle-Gro Bloom Booster gives you more control. Use it every 7-14 days for a quick, direct nutrient boost, especially if your plant looks like it needs a pick-me-up.
For most gardeners, a combination is ideal: start with granules at planting time, and supplement with liquid feed during the peak bloom period in mid-summer.
Don’t be afraid to bring your prized plant indoors for the winter. It’s easier than you think and lets you enjoy it for years. Before the first frost (when night temperatures dip below 10°C or 50°F), follow these steps:
- Prune the plant back by about a third to make it more manageable.
- Thoroughly inspect for pests like aphids or spider mites and treat with an insecticidal soap if needed.
- Place it in the sunniest window you have, ideally south-facing.
- Drastically reduce watering—allow the top few inches of soil to dry out completely between sessions.

Over 90% of Dipladenia failures in home gardens are attributed to root rot from overwatering.
This means the common advice to
The yellow leaf panic: While overwatering is a common cause, don’t forget nutrition! A lack of magnesium, a key component of chlorophyll, can also cause yellowing leaves (chlorosis), especially on older growth. A quick fix is to water with a solution of one tablespoon of Epsom salts per gallon of water, once a month during the growing season.
Keep an eye out for tiny, sticky pests, as Dipladenia can sometimes attract aphids, especially on new, tender growth. A strong jet of water can often dislodge them. If they persist, a simple spray of horticultural oil or insecticidal soap is a safe and effective solution that won’t harm the plant.
Want more plants for free? In late spring, take a 4-6 inch cutting from a healthy, non-flowering stem. Remove the lower leaves, dip the cut end in rooting hormone powder, and plant it in a small pot of moist potting mix. Cover with a plastic bag to create a mini-greenhouse and place it in a bright, warm spot. In a few weeks, you should have a brand new, rooted plant.
While traditional varieties are stunning, look for modern series like ‘Sun Parasol’ from Suntory Flowers. These cultivars are bred for superior performance, offering everything from more compact habits perfect for hanging baskets (‘Sun Parasol’ Pretty series) to larger flowers and exceptional disease resistance (‘Sun Parasol’ Giant series). You can even find unique colors not available in older types, like the stunning ‘Sun Parasol’ Apricot.


