Forget the Windowsill: A Real-World Guide to Indoor Food Gardens
For a long time, a corner of my life has been dedicated to growing food without a garden. It all started in a tiny apartment closet with a single, buzzing fluorescent light. Fast forward to today, and my workshop is a different story, home to everything from simple soil pots to fully automated hydroponic systems. I’ve taught apprentices, helped small cafes grow their own herbs, and honestly, I’ve learned way more from my failures than my successes.
In this article
There’s this common idea that indoor gardening is just for a few basil plants on a windowsill. And hey, that’s a fantastic place to start! But the real potential is so much bigger. I’m talking about a steady, year-round supply of crisp lettuce, spicy peppers, and tomatoes so flavorful you’ll wonder why you ever bought them from a store.
This isn’t about having a “green thumb” or some kind of magic touch. It’s about understanding and controlling a few key things: light, water, nutrients, and air. When you give a plant exactly what it wants, it really has no choice but to thrive. This guide will walk you through the simple science, the pro techniques, and the practical realities of setting up an indoor garden that actually works. We’ll cover what to do, what to avoid, and how to fix the problems that will inevitably pop up.

The ‘Science’ Bit (It’s Easier Than You Think)
An outdoor farmer plays the hand the weather deals them. An indoor gardener gets to be the weather. Grasping the basic science behind plant growth is the most powerful skill you can have, because it turns guesswork into confident decisions. Once this clicks, you can solve almost any issue that comes your way.
Light: It’s Way More Than Just Brightness
Plants eat light. It’s their main food source, used in that process we all learned about called photosynthesis. But here’s the catch: not all light is the same. Your average desk lamp just won’t cut it for growing a healthy vegetable. We need to think about light like a plant does.
First is the light spectrum, which is just the different colors of light. Sunlight has them all. For our purposes, plants mostly crave blue light for strong, leafy growth and red light for producing flowers and fruit. In the old days, growers used separate lamps for each stage. But today, a good “full-spectrum” LED grow light does it all and uses way less electricity. They usually look white or a little pinkish to our eyes.
Second is light intensity. This is, without a doubt, the number one reason beginners fail. A plant that isn’t getting intense enough light will get “leggy”—stretching itself into a tall, weak, pathetic-looking thing trying to find more. We measure usable light intensity in something called PPFD. You don’t need to be a physicist, but you do need to know what your plants need. Leafy greens like lettuce and herbs do great with a PPFD of 200-400. Fruiting plants like tomatoes or peppers? They’re much hungrier, needing 600-900 or even more. Good to know: Reputable grow light brands always provide a PPFD chart showing the intensity at different distances. This chart is your best friend when choosing a light.
So, what does that mean in practical terms? For a beginner setup in a small closet or a 2’x2′ tent, a quality 100-watt full-spectrum LED is a perfect starting point. You can find excellent ones online for between $60 and $100.
Third is light duration, or how long the lights are on. Most of the veggies you’ll want to grow need 14-18 hours of light per day. You can’t cheat by giving them super-intense light for only 6 hours. One of the best investments you can make is a simple outlet timer, which you can get for about $10 at any hardware store. It provides the consistency plants absolutely crave.
Water and Nutrients: The Plant’s Custom Meal Plan
Indoors, you’re the chef. You provide 100% of the food and water. You can do this with soil or go soilless with hydroponics.
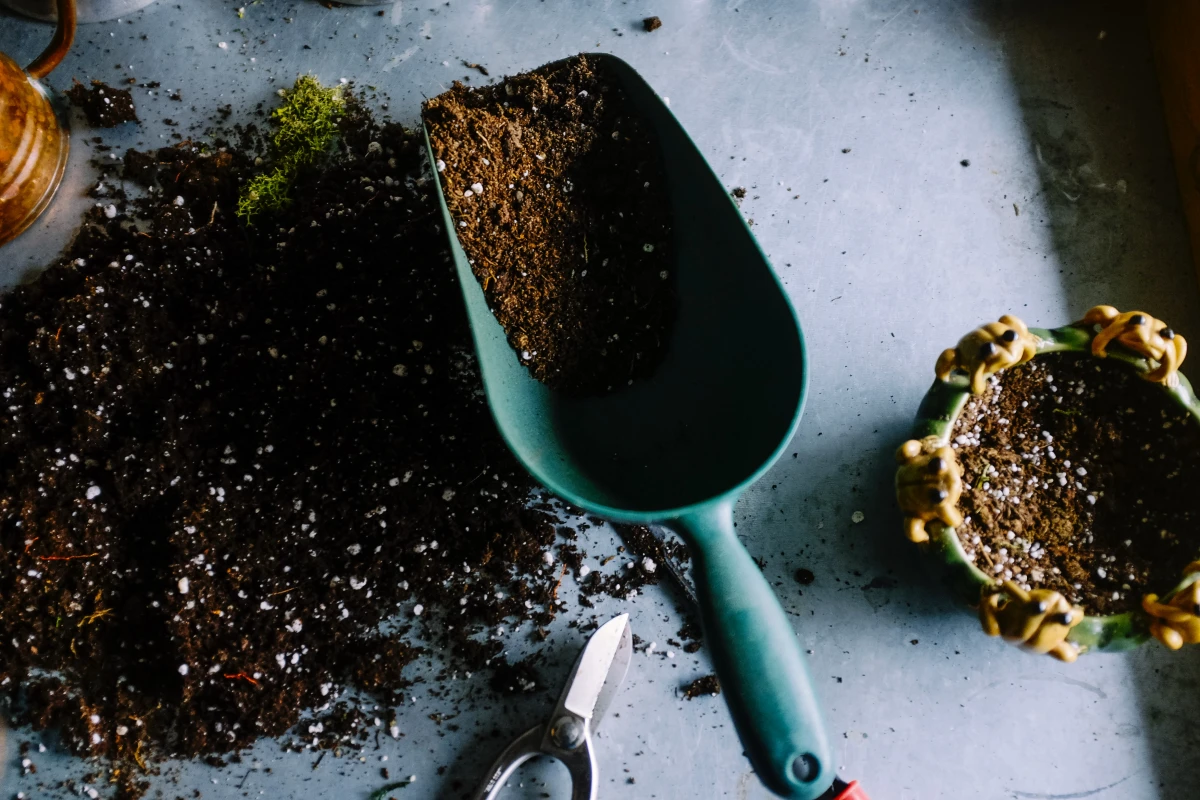
In soil-based systems, the soil acts like a pantry, holding onto water and nutrients. The key is to use a fluffy, high-quality potting mix—never heavy garden soil, which will suffocate your plant’s roots in a pot. A good mix has stuff like peat moss or coco coir for holding water, perlite for airiness, and compost for a slow release of food. Pro tip: I highly recommend fabric pots over plastic ones for beginners. They breathe, making it almost impossible to overwater your plants. For about $15, you can get a 5-pack of 5-gallon fabric pots that are perfect for growing a huge pepper plant.
In hydroponic systems, you deliver nutrients directly to the roots in a water solution. This often leads to explosive growth because the plant doesn’t have to work to find its food. Here, two things are critical: pH and PPM (Parts Per Million).
- pH is about how acidic or alkaline your water is. Nutrients are only available to plants in a specific pH window, usually 5.5 to 6.5. If your pH is off, the plant can be starving in a sea of food—a common problem called nutrient lockout. A simple liquid test kit or a digital pen ($15-$25) is an absolute must-have.
- PPM** measures how much “food” is in your water. Seedlings need a weak solution (100-300 PPM), leafy greens want more (500-800 PPM), and big fruiting plants can demand over 1000 PPM. A cheap PPM meter (around $15 online) lets you feed your plants perfectly without burning their roots with a solution that’s too strong.
Oh yeah, a quick but important note on your water source. Before you start, test the PPM of your plain tap water. Mine used to be 350 PPM right out of the faucet! If your tap water’s PPM is over 200, a simple trick is to start by adding only half the recommended amount of nutrients. Then, test your PPM and slowly add more until you hit your target for that plant. This little step prevents a ton of headaches.
Air, Temp, and Humidity
Plants need to breathe. In a sealed-up tent or room, the air gets stale and humid, which is an open invitation for problems like powdery mildew. A small, oscillating clip-on fan isn’t a luxury; it’s essential. You can get one for about $15. You want a gentle breeze that makes the leaves tremble just a little. This strengthens stems and keeps the air fresh. For temperature, if you’re comfortable, your plants probably are too (think 65-78°F or 18-26°C).
Let’s Get Growing: Your First Setup
I’ve built dozens of systems, and my best advice is this: start simple. Don’t go buying a complex, automated setup until you’ve successfully grown one plant in a cheap pot. Master the basics first!
My Top 3 Easiest Plants for Your First Grow
Feeling paralyzed by choice? Don’t be. Start with one of these:
- Leaf Lettuce (like ‘Black Seed Simpson’): Super fast and forgiving. You can be harvesting leaves for your salad in about 30-40 days.
- Basil: This herb is practically indestructible and grows like a weed indoors. You’ll have more than you know what to do with.
- Microgreens: The ultimate for instant gratification! You can grow and harvest a tray of spicy, nutrient-packed microgreens in just 10-14 days.
Choosing Your System: Simple, Cheaper, Fastest
Your choice depends on your space, budget, and how much you want to tinker. Here’s the breakdown without all the complex charts:
- Soil Containers: This is the classic starting point. It’s the most intuitive and has the lowest upfront cost. Your main challenge is just getting the watering schedule right. Super forgiving.
- The Kratky Method (Hydroponics): This is the simplest, most hands-off way to try hydroponics. No pumps, no electricity. It’s almost as cheap to start as soil, but you can basically set it and forget it for weeks at a time. Perfect for a first-timer.
- Deep Water Culture (DWC) (Hydroponics): This is the next level up. It uses an aquarium air pump to bubble oxygen into the water, leading to incredibly fast growth. It has a slightly higher upfront cost and a gentle hum, but the results are amazing.
Your First Project: The 30-Day Lettuce Jar
Ready for a challenge? I call this the gateway to hydroponics. Grab a 32oz mason jar, a 3-inch net pot (you can get a pack of 10 for under $10), and a lettuce seedling. Mix up a gallon of nutrient solution, fill the jar leaving a one-inch air gap at the top, and pop the net pot with the seedling into the opening. That’s it. Place it under your light, and you’ll be eating a salad from it in about a month.
The Beginner’s Bare-Bones Shopping List
You can absolutely get a powerful setup going for around $100-$125. Here’s a realistic DWC shopping list to get a monster plant growing in a 5-gallon bucket:
- 100W Full-Spectrum LED Grow Light: Your biggest investment, but the most important. ($60-$100)
- Simple Outlet Timer: Non-negotiable for consistency. ($10)
- 5-Gallon Bucket & Lid: The kind you get at Home Depot or Lowe’s. ($5-$7)
- Aquarium Air Pump, Tubing & Air Stone: A small kit is all you need. ($15)
- Hydroponic Nutrients & pH Test Kit: A small starter set will last you a long time. ($25)
- Net Pot & Clay Pebbles: To hold your plant in the bucket lid. ($10)
Dealing with Problems Like a Pro
Every single gardener has problems. The trick is to check on your plants for five minutes every day. This little routine has saved my crops more times than I can count.
Pest Management: An Ounce of Prevention…
Pests are less common indoors, but they can be a nightmare because there are no natural predators to keep them in check.
- Fungus Gnats: Annoying little black flies that love soggy soil. The fix is easy: let the top inch of your soil dry out between waterings and hang a few yellow sticky traps ($5 for a pack) to catch the adults.
- Spider Mites: My personal nemesis. These are your biggest threat. You’ll first notice tiny white or yellow specks on the underside of leaves. If it gets bad, you’ll see fine, silky webbing, especially around the new growth. To fight them, spray your plant down with insecticidal soap or neem oil (always with the lights off to avoid burning the leaves). You have to be persistent and spray every few days for a couple of weeks to kill them all.
Heads up! Never, ever use a systemic chemical pesticide from the hardware store on food you plan to eat. Stick to things that are rated for organic gardening, like horticultural oils and soaps.
Nutrient Issues: Let the Leaves Do the Talking
Your plants will tell you what’s wrong. Yellowing on the lower, older leaves? Probably needs more nitrogen. The whole plant looks pale and sad? You might be underfeeding it. Crispy, burnt leaf tips? Your nutrient solution is too strong. But before you do anything else, check your pH. From my experience, 90% of weird nutrient problems are actually just the pH being out of whack.
Final Thoughts: Safety and Keeping It Real
This is a fun and safe hobby, but you are mixing water and electricity, so use common sense.
Always plug your gear into a GFI (Ground Fault Interrupter) outlet. They cut the power instantly if there’s a short. And please, keep your power strips and timers up off the floor. I screw mine to a board on the wall. A small leak should be an annoyance, not a fire hazard.
And be honest with yourself. An indoor setup is incredible for salads, herbs, peppers, and dwarf tomato varieties. You’re not going to be growing fields of corn or giant pumpkins. Focus on the high-value plants that make a real difference in your kitchen.
Ultimately, indoor gardening is a skill you learn by doing. So start with that single lettuce plant in a jar. Watch it, learn what it wants, and enjoy the process. That first harvest, no matter how small, is a feeling that’s hard to beat. It’s your own personal, year-round farmer’s market, waiting to happen.
Inspirational Gallery
Kratky vs. DWC (Deep Water Culture): For your first hydroponic setup, these are two fantastic, simple options. The Kratky method is a passive system with no pumps—you just fill a container with nutrient solution and let the roots grow down to it. It’s set-and-forget for leafy greens. DWC, often sold in kits by brands like Vivosun, uses an air pump and air stone to oxygenate the water. This boosts growth speed and is better for larger, fruiting plants like tomatoes. For absolute beginners, Kratky is foolproof; for those who love to tinker, DWC is the next fun step.
Beyond just soil, the world of growing media is fascinating. One of the most effective and forgiving options is coco coir, made from coconut husks. It holds water brilliantly without becoming waterlogged, provides excellent aeration for roots, and is naturally resistant to pests. Look for buffered coco coir from brands like Canna or FoxFarm to ensure it has the right pH and calcium levels from the start. It’s a clean, sustainable, and powerful base for your indoor garden.
By 2050, 80% of the world’s population is expected to live in urban centers.
This demographic shift is a huge reason why indoor and vertical farming isn’t just a hobby—it’s a key to future food security. Your small indoor garden, producing lettuce or herbs, is a micro-version of the large-scale vertical farms being built in cities worldwide. You’re not just growing food; you’re participating in a global food revolution, one fresh leaf at a time.
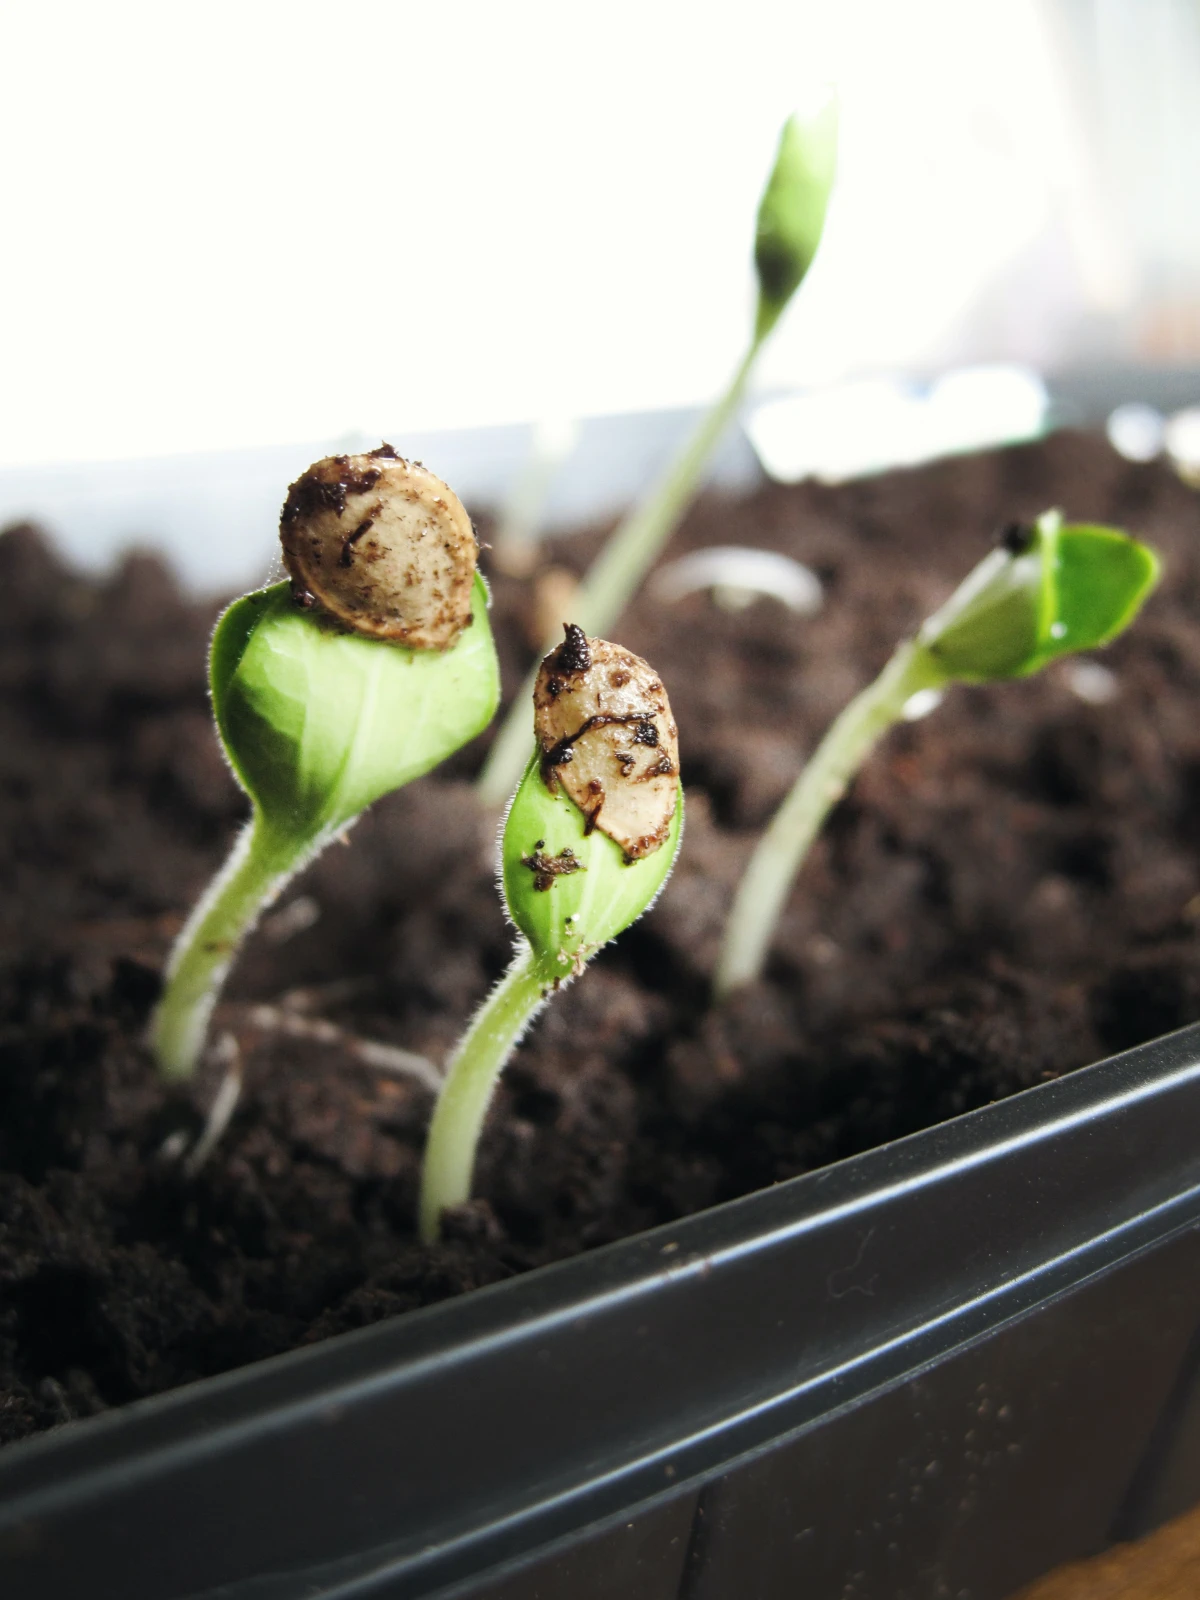
My seedlings look so tall and spindly. What’s going wrong?
This is a classic sign of ‘etiolation,’ or stretching. Your seedlings are desperately searching for more light. Even if a spot seems bright to you, it’s likely not intense enough for a young plant. The fix is simple: lower your grow light to be just a few inches above the plant tops. A quality full-spectrum LED, even a budget-friendly one like a Mars Hydro TS 600, provides the intensity needed to keep seedlings short, stout, and strong.
- Enjoy fresh, intense flavor on any dish.
- Harvest a complete crop in 7-14 days.
- Get a concentrated dose of vitamins and antioxidants.
The secret? Growing microgreens. Forget waiting months for a harvest. With a simple tray, some coco coir, and seeds from a supplier like True Leaf Market, you can grow radish, broccoli, or sunflower microgreens under a basic grow light. They are the ultimate fast-food of the indoor gardening world.
An indoor garden is more than a food source; it’s an atmosphere. It’s the gentle hum of a small water pump, a sound as calming as a desktop fountain. It’s the fresh, peppery scent of basil that fills the air when you brush past the leaves. It’s the satisfying snip of harvesting your own salad greens, knowing exactly where they came from. This sensory feedback loop is one of the most rewarding parts of the process.
Making Your Garden Part of Your Home
You don’t have to hide your setup in a closet. Modern indoor gardening can be a beautiful design element.
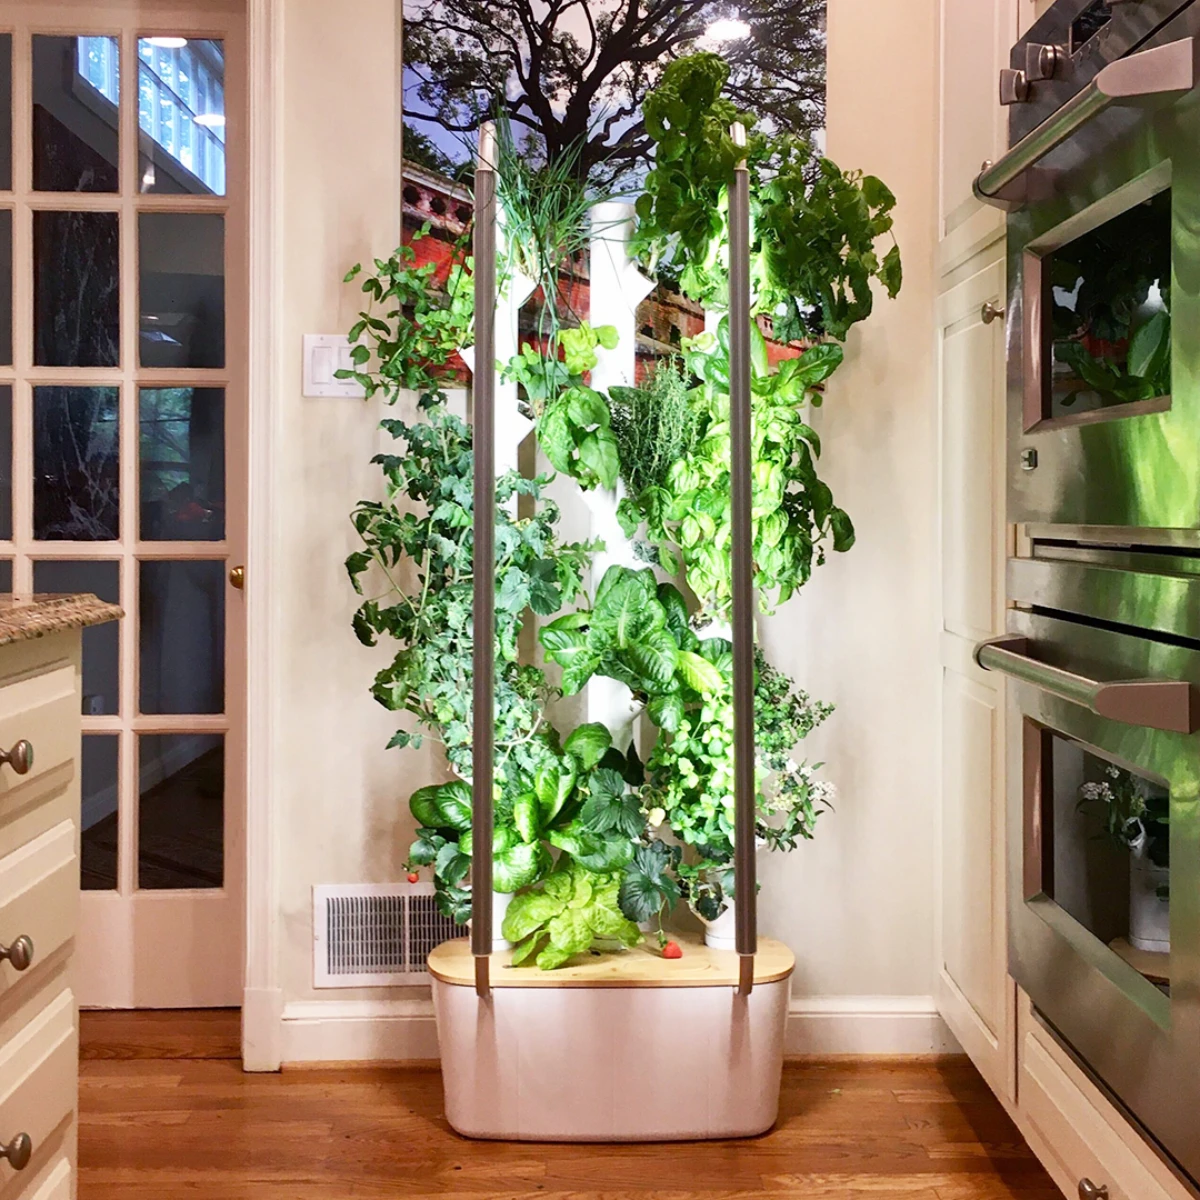
- Consider all-in-one, furniture-style systems like those from Rise Gardens or Gardyn, which are designed to be showpieces.
- If using a grow tent, choose a sleek black one from a brand like AC Infinity that can blend into a corner, looking more like a modern cabinet than a science experiment.
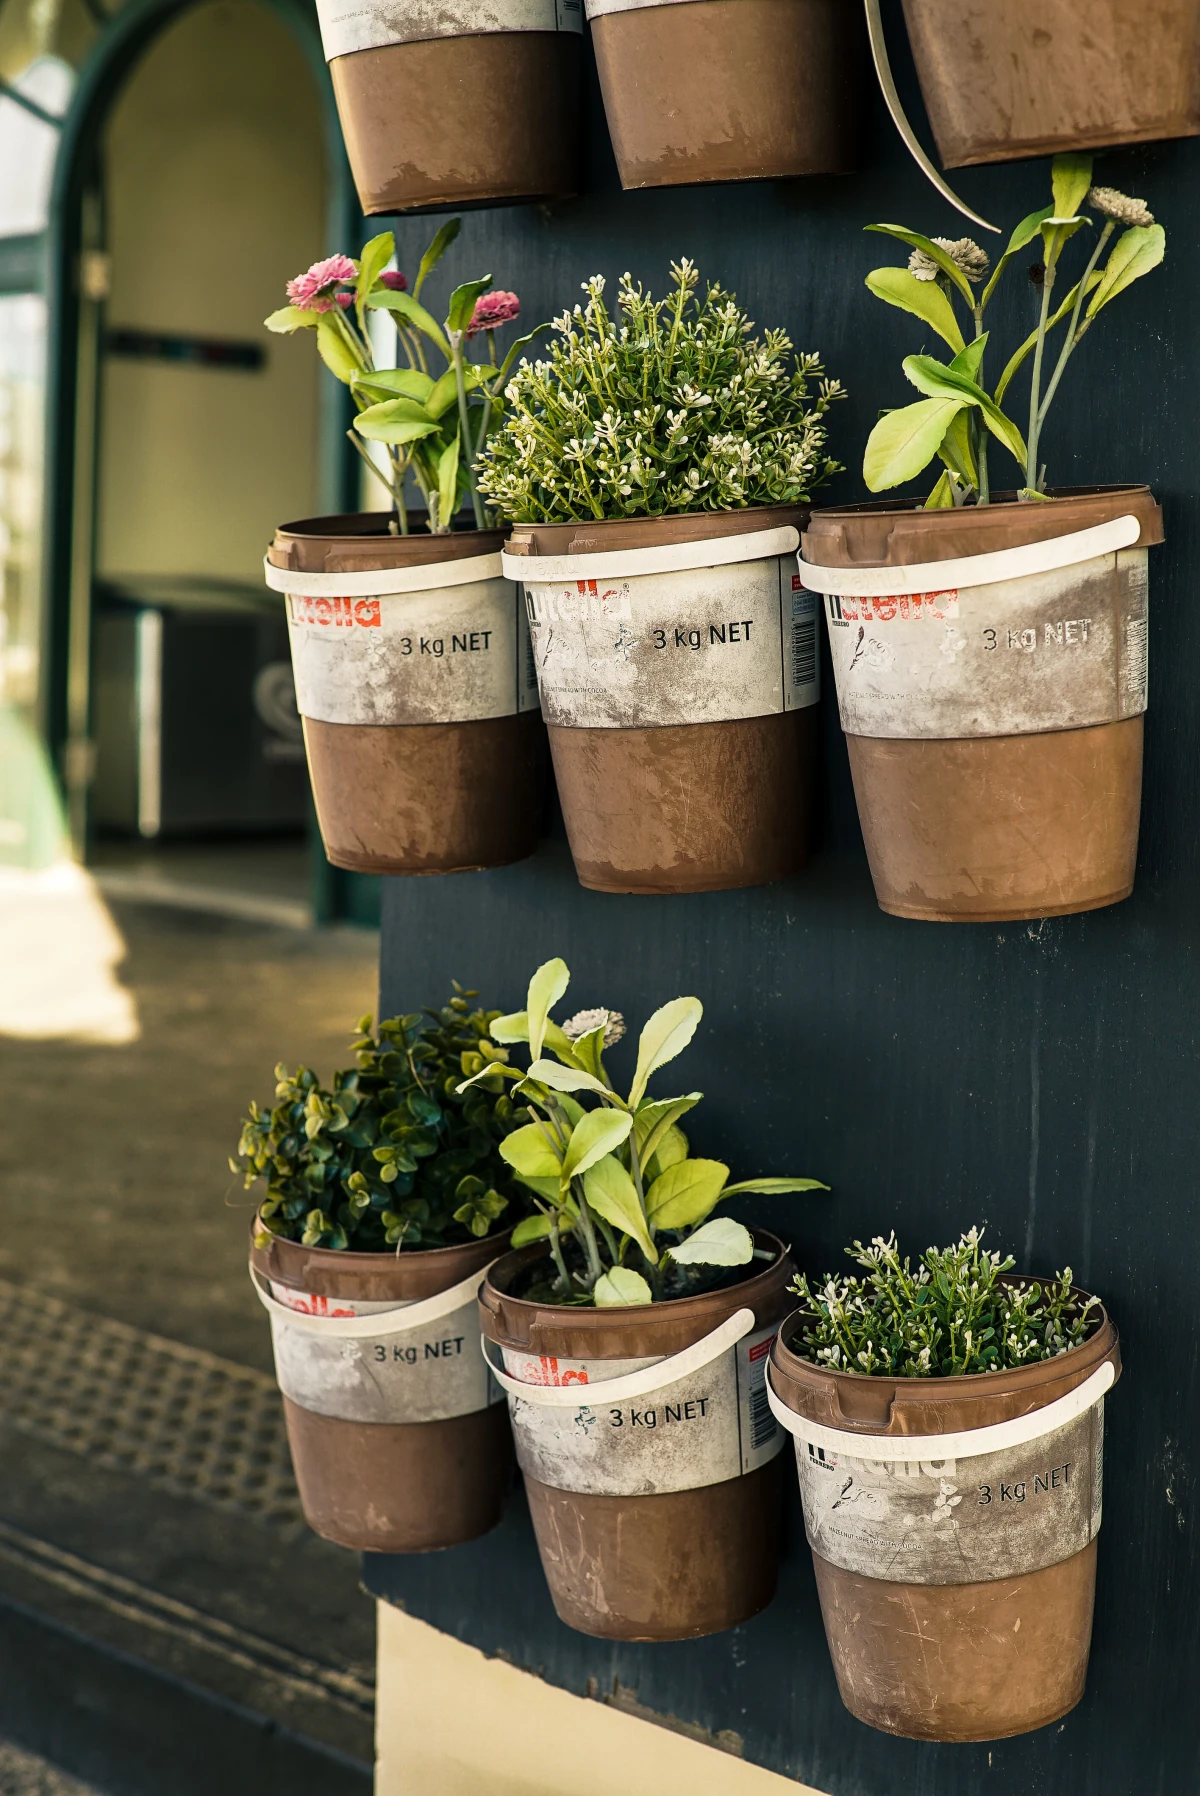
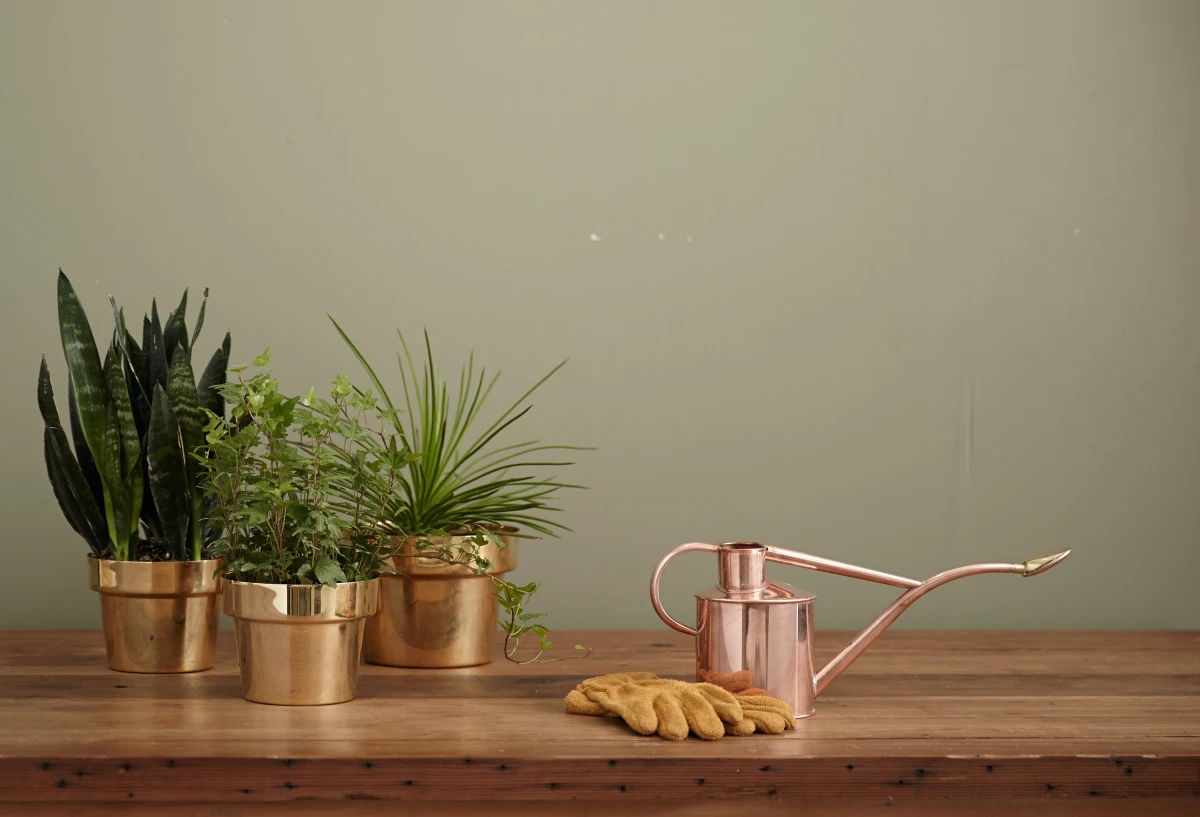
- Opt for attractive fabric pots in various colors instead of standard plastic ones.
Hydroponic systems can use up to 90% less water than traditional soil-based agriculture.
A key to success: Don’t get emotionally attached to your nutrient water. The nutrients in a hydroponic reservoir get used up, and the pH balance can drift over time. For most small systems (under 5 gallons), it’s best to completely dump the old solution and mix a fresh batch every 7 to 14 days. Using a trusted nutrient line like General Hydroponics’ Flora Series and a simple pH testing kit removes all the guesswork.
Create a simple self-watering planter perfect for herbs or lettuce with just a few items:
- Take a 2-liter plastic bottle and carefully cut it in half.
- Invert the top half (the one with the spout) and place it inside the bottom half.
- Drill a few small holes in the bottle cap for drainage.
- Thread a thick piece of cotton string or a strip of felt through the cap, with half of it inside the inverted top and half dangling below. This will act as a wick.
- Fill the top with your growing medium, and the bottom reservoir with water. The wick will draw moisture up to the plant’s roots as needed!


