The Unfussy Guide to a Thriving Dwarf Umbrella Tree
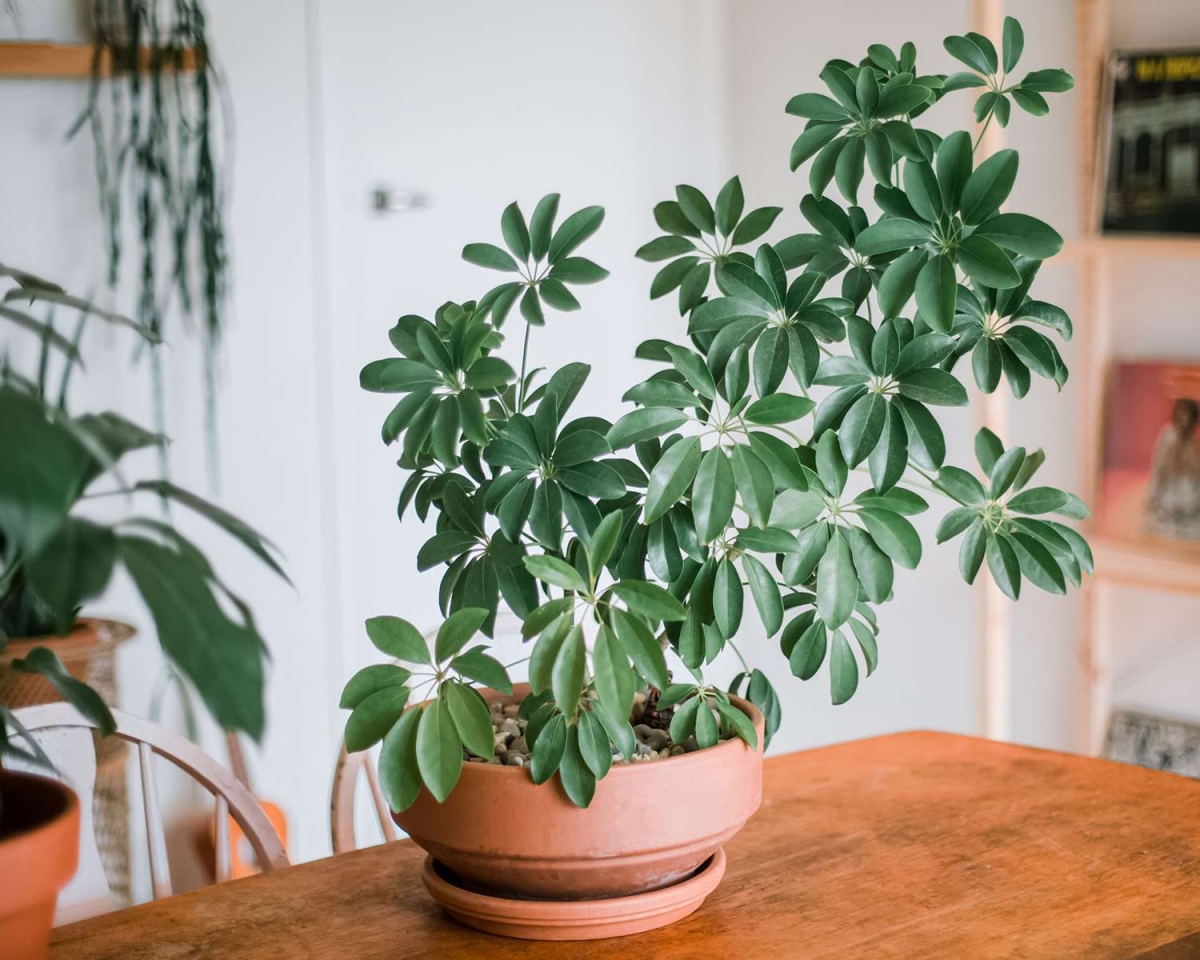
I’ve been working with indoor plants for a long, long time, and I’ve seen countless trends come and go. But some plants just stick around, and for good reason. The Dwarf Umbrella Tree is one of those champions. You see it everywhere—from corporate lobbies to cozy living rooms—because it’s a tough, good-looking plant that doesn’t demand a ton of fuss. But honestly, there’s a world of difference between a plant that’s just hanging on and one that’s truly happy.
In this article
Over the years, I’ve handled literally thousands of these guys. I’ve learned what makes them flourish and what sends them into a spiral. It’s never about some secret magical formula. It’s about understanding what the plant is trying to tell you and giving it what it needs, consistently. So, this guide is everything I teach my new apprentices—the real-world stuff that keeps these plants looking great for years.
First, Let’s Understand What This Plant Actually Wants
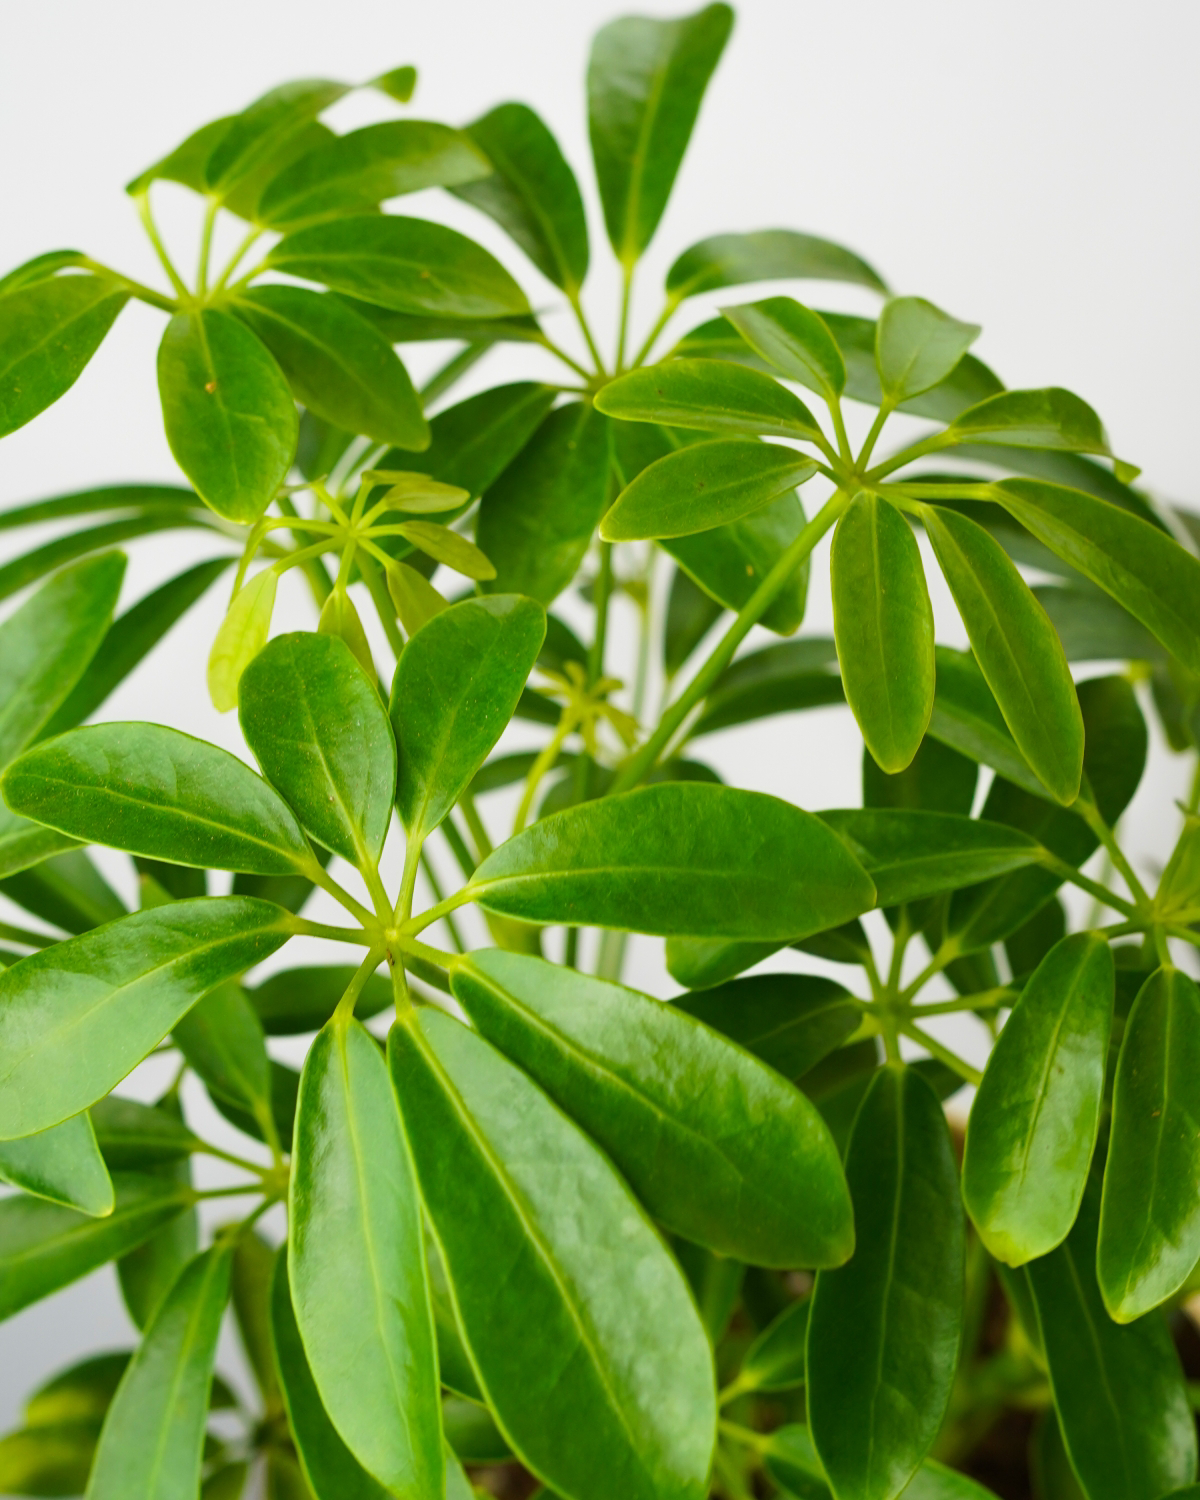
To really get it right, you have to think like the plant. It originally comes from a place where it grows under the shade of bigger trees. That one little fact tells you almost everything you need to know about its preferences for light, water, and soil. It’s not looking for extremes; it’s looking for balance.
Light: Bright, But Not Blazing Hot
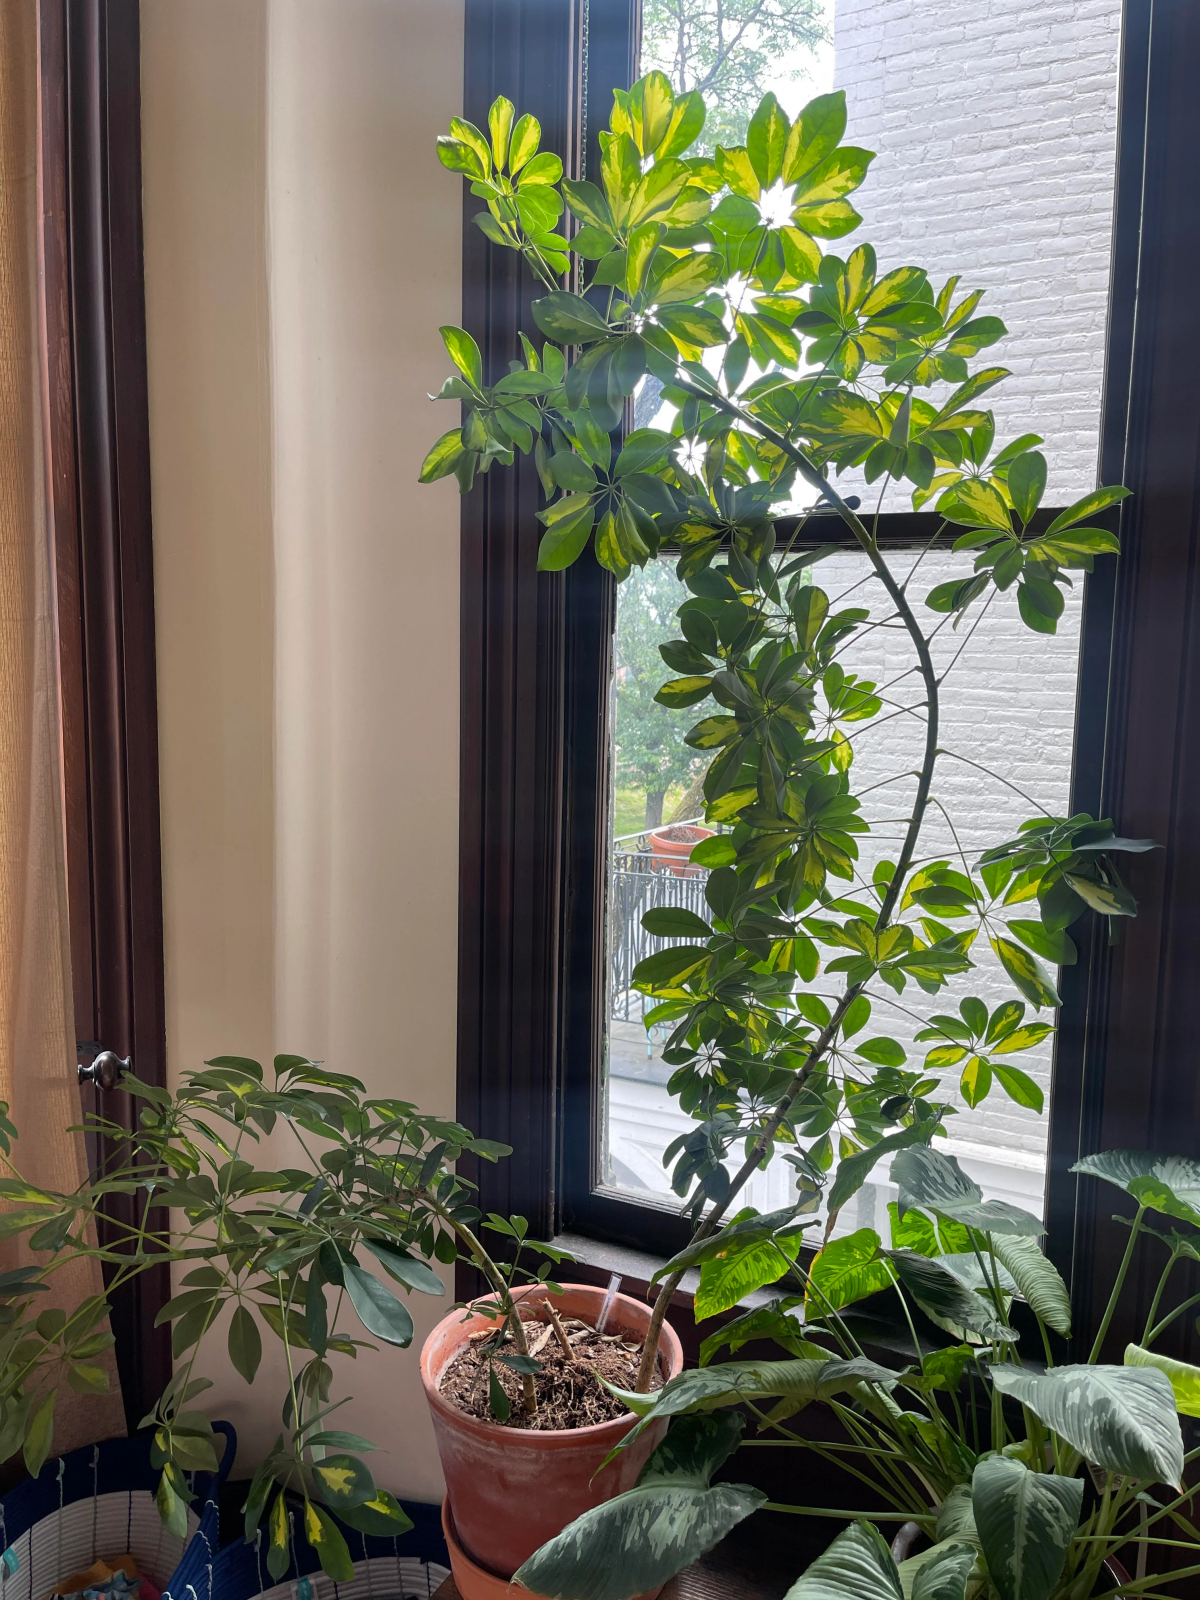
Plants eat light, but they can get sunburned, too. This one loves bright, indirect light. Think about the dappled sunlight filtering through a forest canopy. In your home, that perfect spot is usually near an east-facing window or maybe several feet back from a very sunny south or west-facing window.
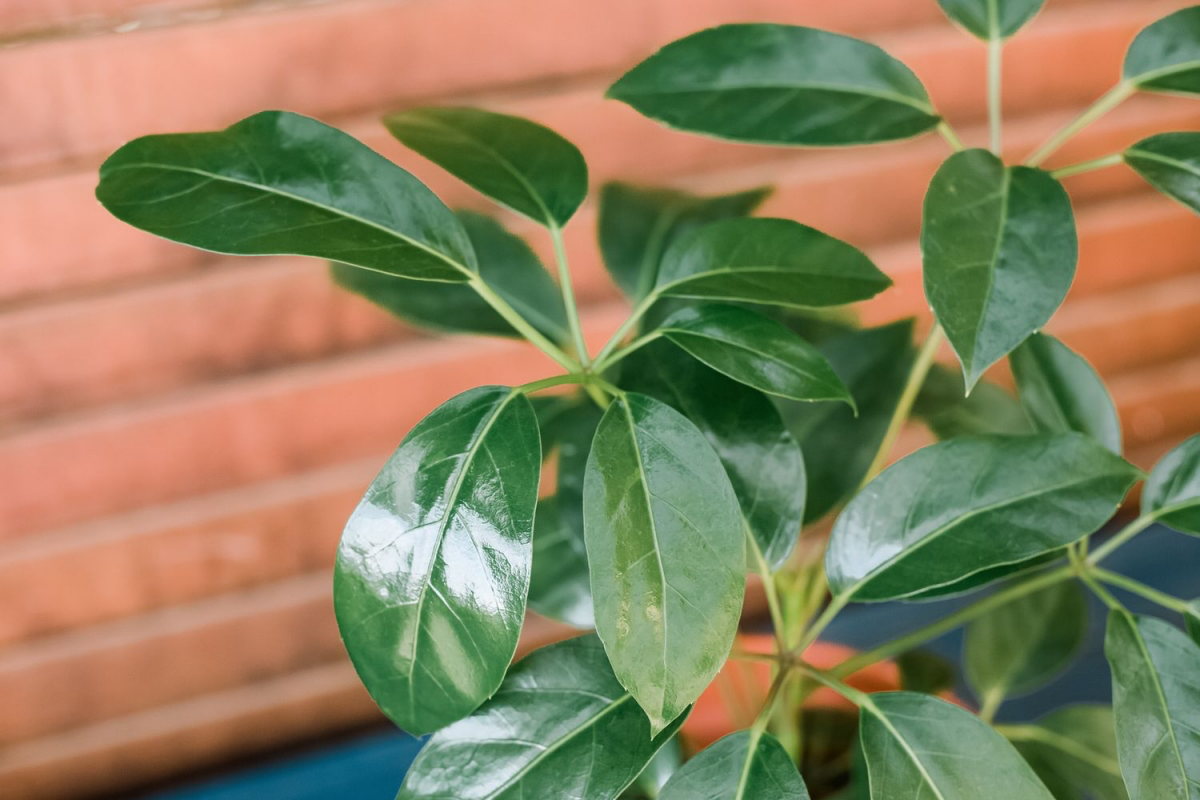
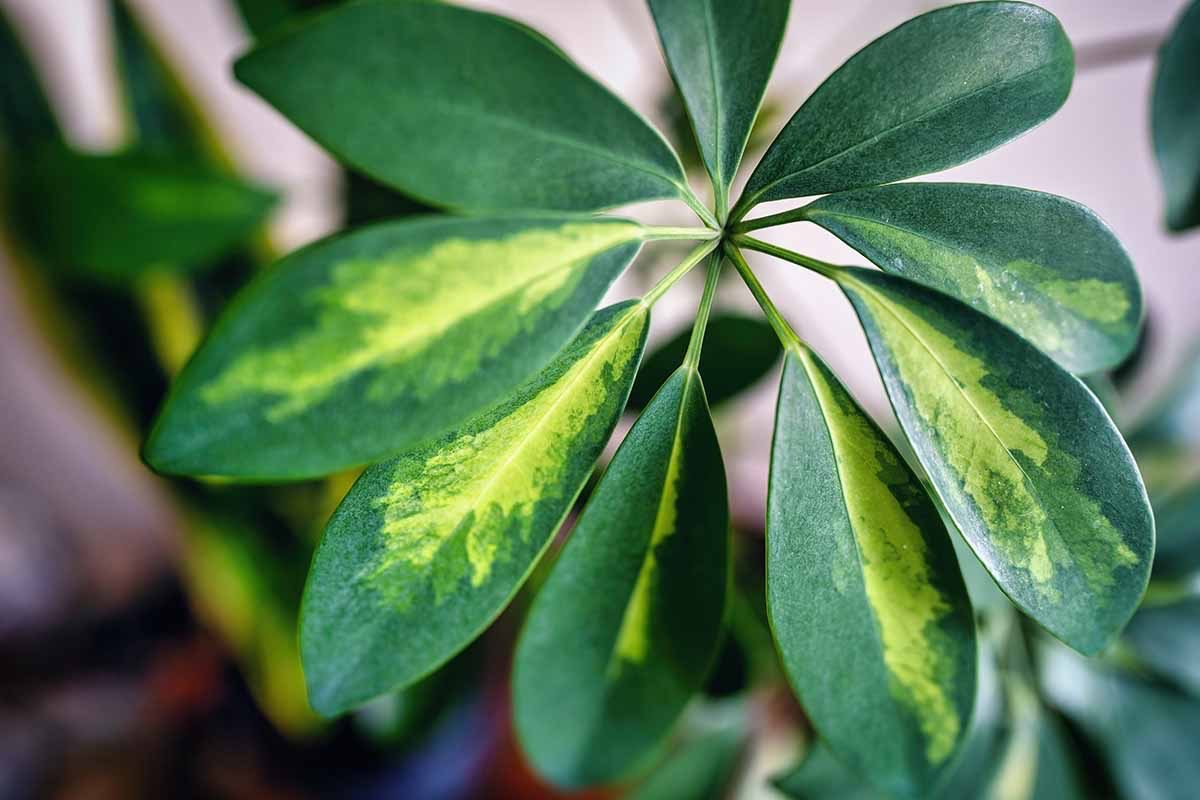
Put it in direct, scorching sun, and you’ll see ugly brown, crispy patches on the leaves. That’s a sunburn, and the plant can’t heal it. On the flip side, in a dark corner, it will get all long and stretchy, with huge gaps between the leaves. It’s desperately reaching for more light and might even start dropping its lower leaves to save energy. Oh yeah, and if you have one with cream or yellow variegation? It needs even more bright light to keep those pretty colors, since the light-colored parts can’t produce food.
Water: The Golden Rule is ‘When in Doubt, Don’t’
This is where most people go wrong. Too much water is the number one killer of these plants. The roots need to breathe, and when the soil is constantly soaked, they drown. That leads to root rot, which is just as bad as it sounds.
The plant has a waxy coating on its leaves that helps it hold onto water, so it’s surprisingly drought-tolerant. It’s built for a cycle of a good soak followed by a dry spell. So how do you know when to water? Don’t use a schedule. Instead, get to know your plant. The pros use the “lift test.” After you water it, feel how heavy the pot is. A few days later, lift it again. You’ll be shocked at how much lighter it feels. When it feels surprisingly light, almost like the pot is empty, it’s ready for a good soak. If you’re not confident, a cheap moisture meter (the kind with a metal probe, usually under $15) is a great tool. Push it to the bottom and don’t water until it reads ‘dry’.
When you do water, do it right. Take the plant to a sink or tub and water it until water streams out of the drainage holes. Let it sit for 20 minutes to drain completely. This ensures all the roots get a drink and, just as importantly, it flushes out any salt and mineral buildup from fertilizer.
Getting the Foundation Right: Soil and Pots
You always hear the term “well-draining soil,” but what does it actually mean? It just means the soil holds enough moisture for the roots to drink, but has enough air pockets for them to breathe. You can buy a standard houseplant mix, but for just a little effort, mixing your own is way better.
My Go-To Soil Recipe
This is the mix I use for all my Umbrella Trees. It’s chunky, airy, and pretty much foolproof.
- 2 parts high-quality potting mix (the peat-based stuff is fine)
- 1 part perlite (those little white crunchy things)
- 1 part orchid bark
Just mix it all up in a bucket. A small bag of perlite will run you about $8, and orchid bark is usually around $10-$12. One bag of each will last you for ages and countless repotting jobs. It’s a great investment.
As for pots, you need drainage holes. It’s not negotiable! If you tend to overwater, a terra cotta pot is your best friend because the porous clay helps the soil dry out faster. If you’re a bit forgetful, a plastic or glazed pot will hold moisture longer.
Pro-Level Moves to Keep It Looking Sharp
In a commercial setting, plants have to look perfect. These are the simple, repeatable techniques we use to keep them that way.
Pruning for Health and Shape
Don’t be timid with pruning! These plants are tough and bounce back stronger. Always use clean, sharp scissors or pruners (I give my tools a quick wipe with rubbing alcohol). If you see a yellow or brown leaf, snip it off where its little stem meets a main branch. This tells the plant to stop wasting energy on a dying leaf.
To make the plant fuller and bushier, you have to do some structural pruning. Find a long, lanky stem and cut it back, making your cut right above a leaf. In a few weeks, you’ll see new shoots popping out from just below the cut. You have to be brave! I once chopped a sad, 6-foot-tall plant with just a few leaves at the top down to two feet. The client was horrified, but a month later, it was a full, lush powerhouse. The best time to do this is spring or summer when the plant is in growth mode.
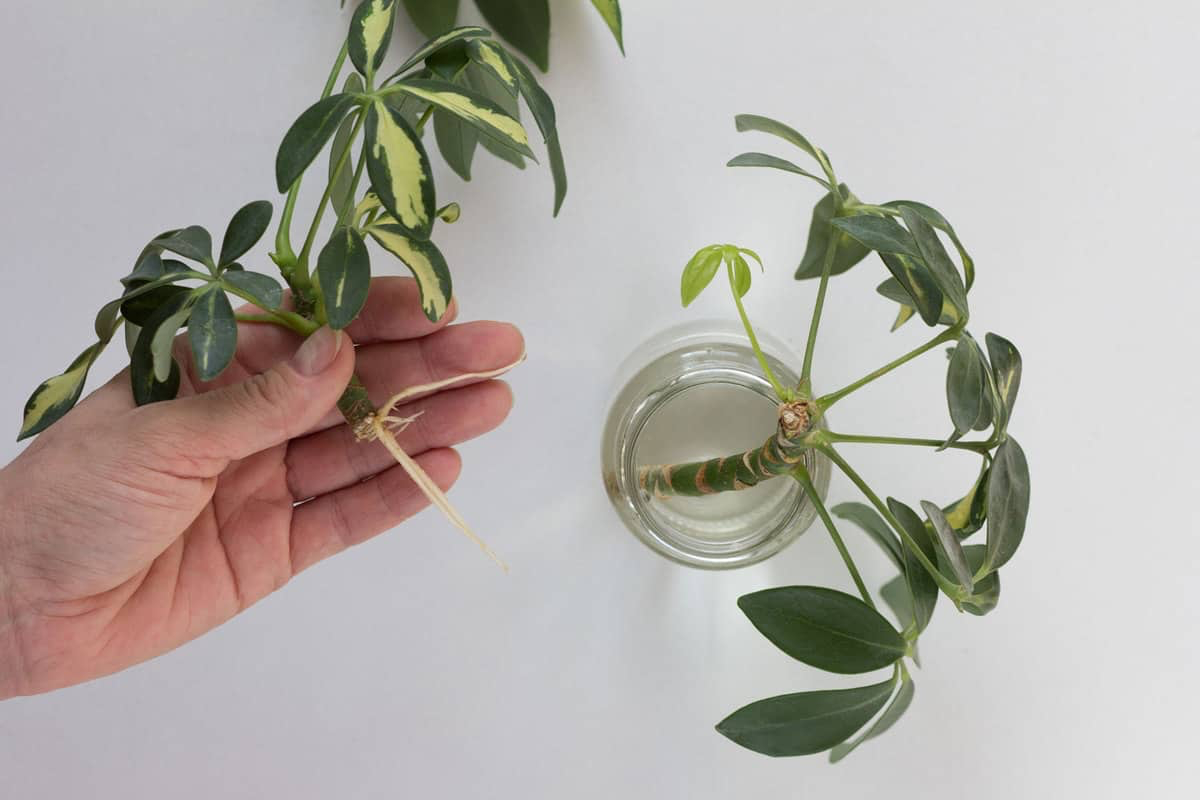
And the best part? Don’t throw those cuttings away! You can easily propagate them. Just snip off the lowest set of leaves, stick the stem in a glass of water, and place it in a bright spot. In a few weeks, you’ll see little white roots starting to form. Once they’re a couple of inches long, you can plant it in soil. Free plants!
A Simple Fertilizing Plan
Less is more. A standard balanced liquid houseplant fertilizer (look for numbers like 10-10-10) works great. The most important rule: dilute it to half the strength recommended on the bottle. Feed it once every 4-6 weeks, but only during the spring and summer. Stop completely in the fall and winter when the plant is resting.
Let’s Go Shopping: What to Expect
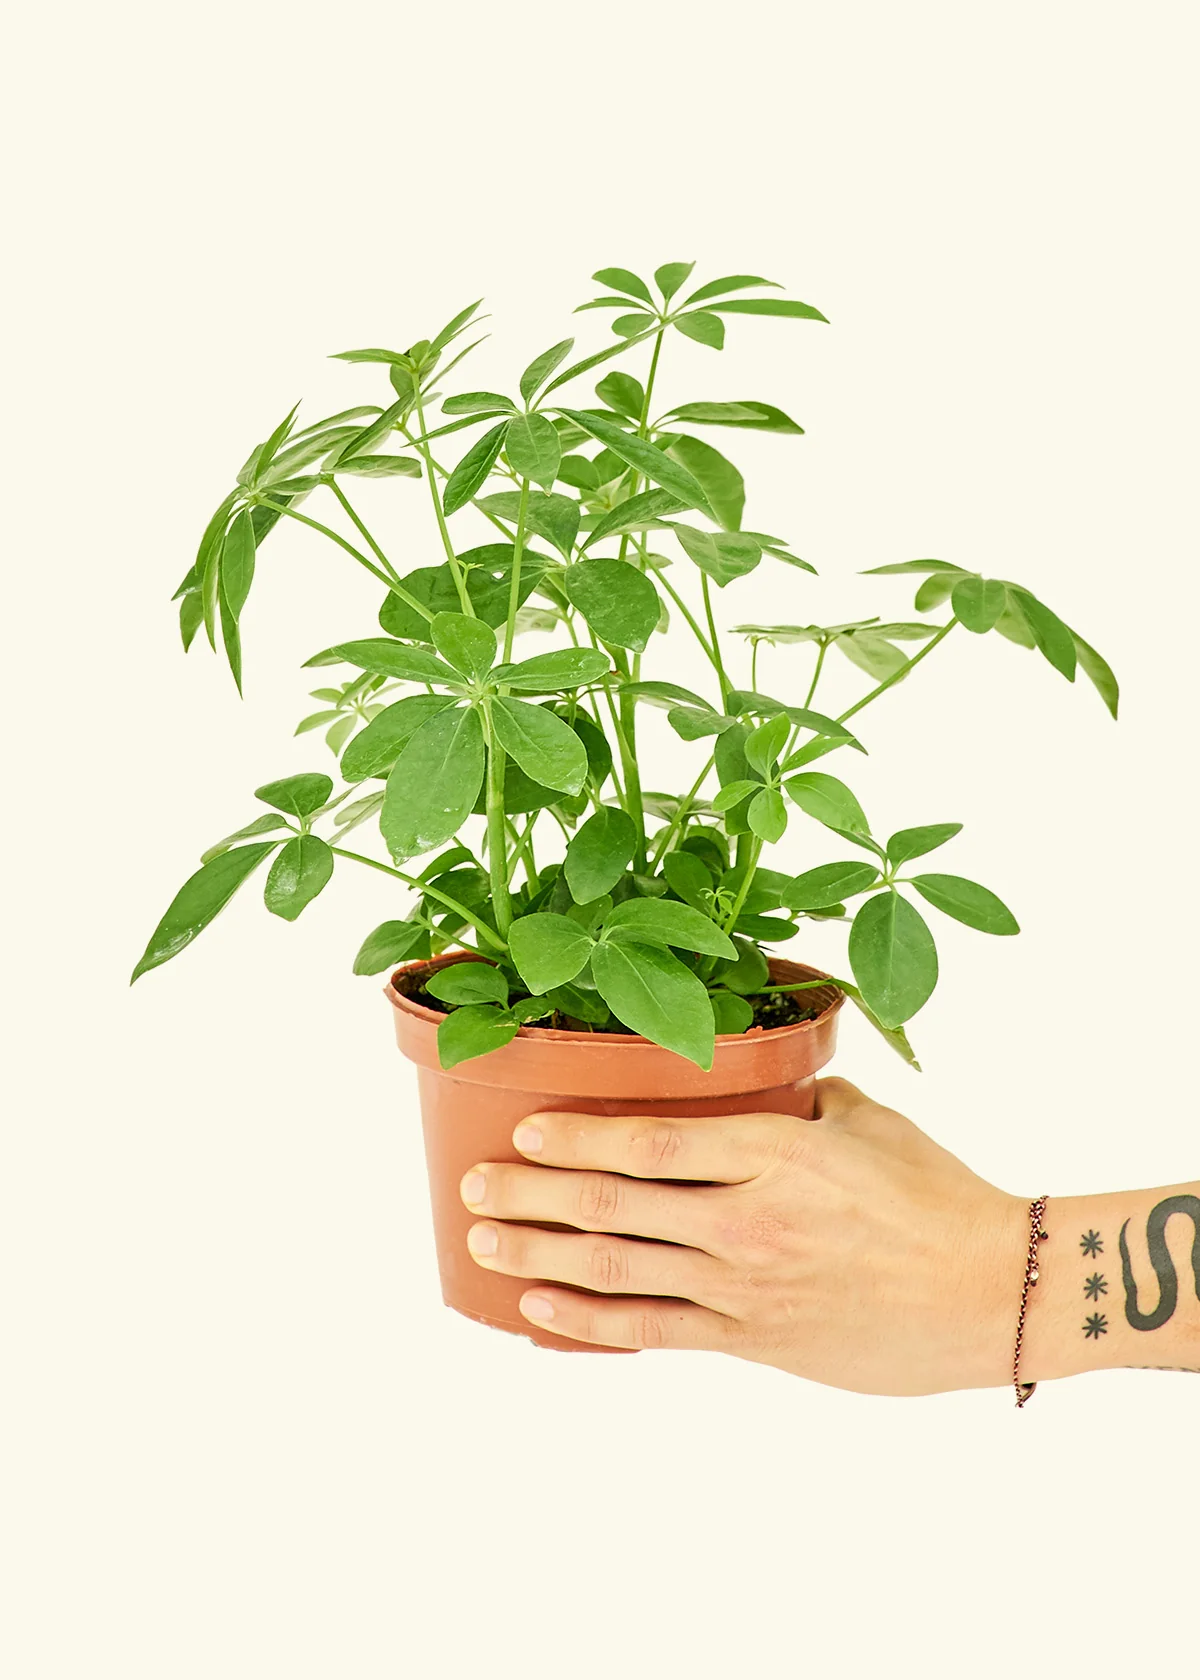
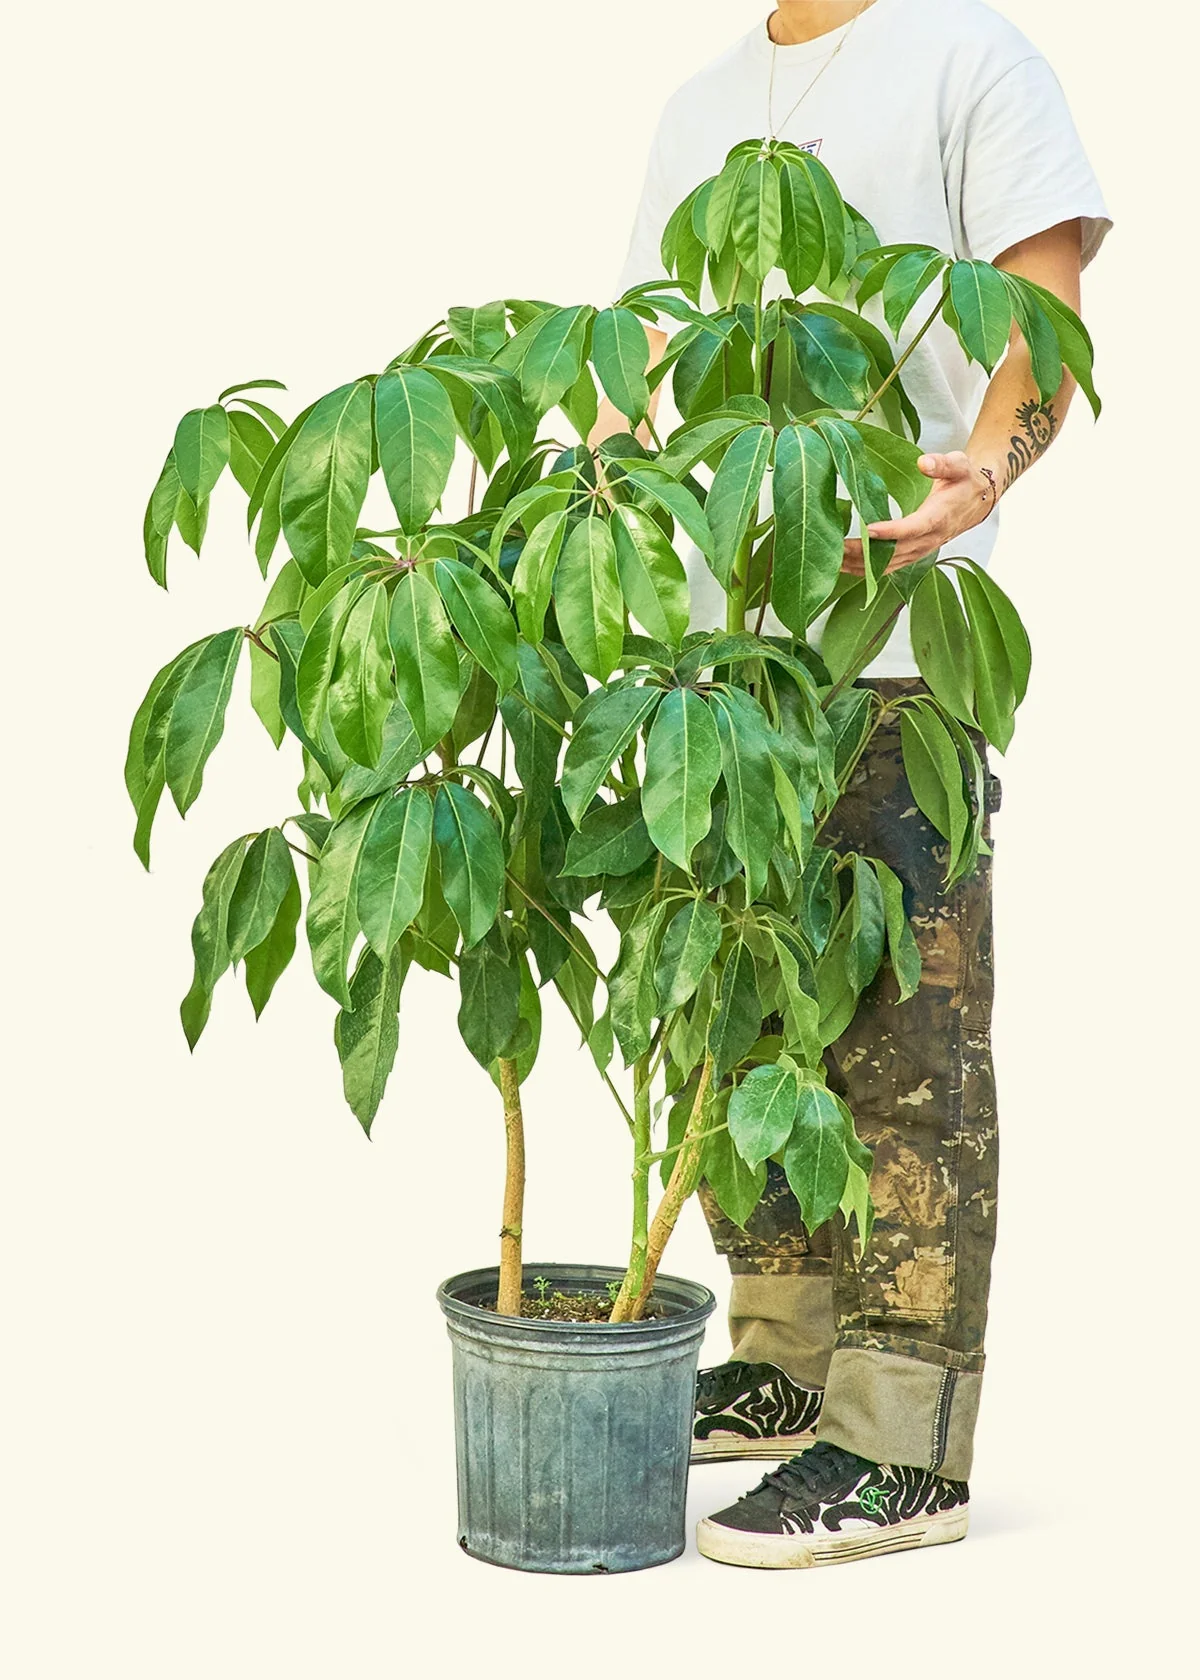
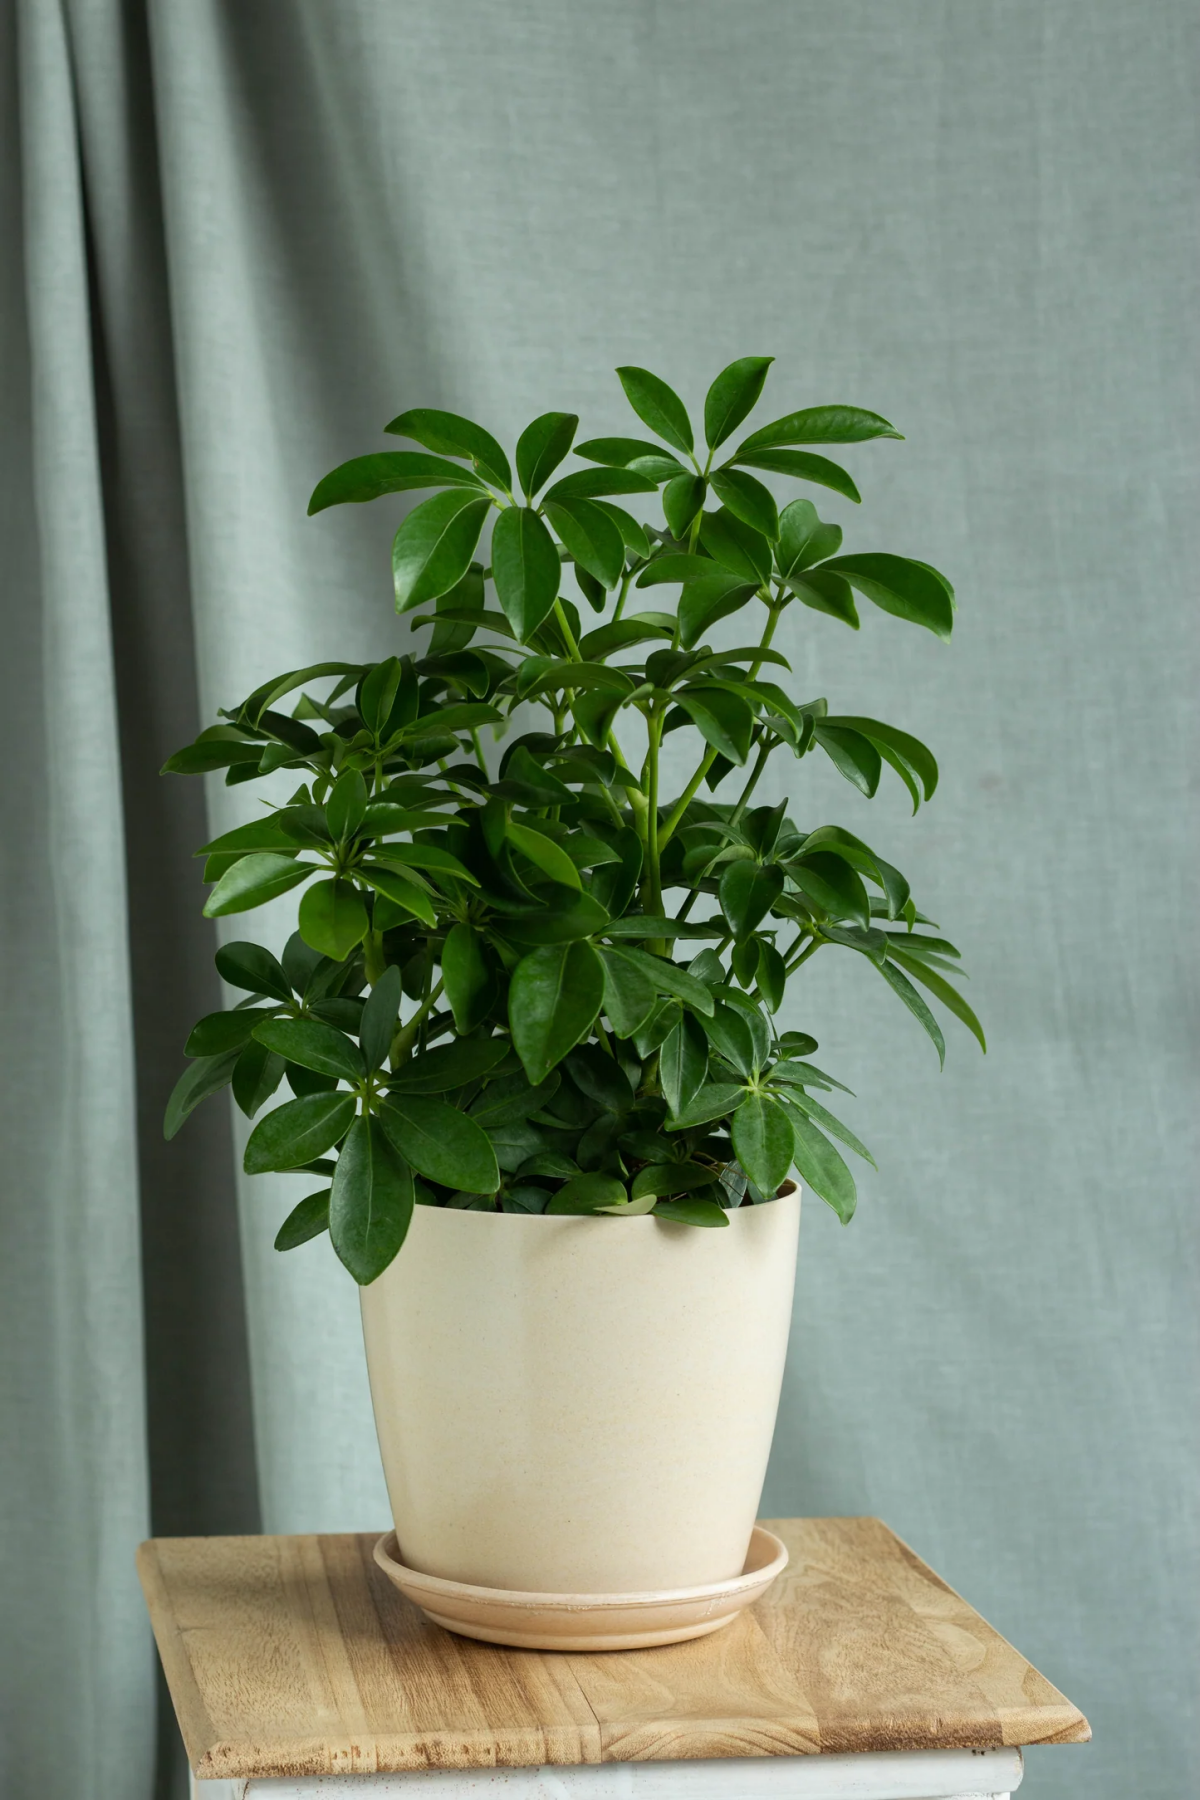
Okay, so what will one of these cost you? It really depends on the size. You can usually find a cute little one in a 4- or 6-inch pot for about $15 to $25 at a local nursery or even a big box store like Home Depot. If you’re looking for a more substantial, floor-sized plant that’s around 3 feet tall, you can expect to pay anywhere from $60 to $100 or more, especially for a nice full one.
You’ll also see a few different styles. The classic deep green one is most common, but some variegated types are real showstoppers:
- There’s a popular variety with big splashes of bright yellow on the leaves. It’s gorgeous, but to keep that yellow so vibrant, it needs to be in a very bright (but still indirect) spot.
- Another common one has creamy white or light-yellow edges on its leaves. Like the other variegated type, it craves bright light to look its best and tends to grow a bit slower.
- You might also spot a more compact, delicate version with leaves that have a lacy look. It’s perfect for smaller spaces and has the same care needs as the standard green one.
Troubleshooting: When Things Go Wrong
Even with the best care, things can go sideways. Here’s how to fix the most common problems.
- Problem: Yellow leaves dropping, especially from the bottom. The soil feels wet.
Diagnosis: 99% of the time, this is overwatering.
The Fix: Let the soil dry out completely. If it’s really bad, you may need to gently pull it out of the pot, trim any black, mushy roots, and repot in fresh, dry soil. - Problem: Brown, crispy leaf tips.
Diagnosis: Usually low humidity or mineral buildup from tap water.
The Fix: Try watering with distilled or rainwater for a while. You can also group plants together to create a little humid micro-climate. Misting doesn’t do much, to be frank. - Problem: Sticky spots on leaves, maybe with a fine black dust.
Diagnosis: Pests! The sticky stuff is their waste.
The Fix: Isolate the plant! For pests, look closely. Are there little brown bumps you can scrape off with a fingernail? That’s scale. Tiny bits of white cottony fluff in the leaf joints? Mealybugs. Faint, almost invisible webbing on the undersides of leaves? Spider mites. Wipe them off with a cotton swab dipped in rubbing alcohol, or spray the whole plant (tops and bottoms of leaves!) with insecticidal soap or a neem oil solution. Repeat every week for a few weeks to get them all. - Problem: The plant is suddenly dropping perfectly green leaves.
Diagnosis: It’s probably freaking out from a sudden change, like a cold draft from a door or an AC vent.
The Fix: These plants hate drafts. Find a stable spot away from vents and doors, and just leave it be. It should recover.
Need a Quick 5-Minute Win? Take a damp cloth and gently wipe down every single leaf on your plant. This does three things: it removes dust so the leaf can breathe and absorb more light, it gives it a temporary humidity boost, and it forces you to look closely, so you’ll spot any pests before they become a real invasion. It’s the best five minutes you can spend on your plant.
Heads Up: A Serious Note for Pet Owners and Parents
This is critical. The Dwarf Umbrella Tree is toxic to cats, dogs, and humans if they chew on or eat it. The leaves contain sharp little crystals that cause immediate irritation, pain, and swelling in the mouth. It’s rarely fatal, but it’s extremely unpleasant. If you have curious pets or small children, make sure this plant is placed somewhere they absolutely cannot reach.
At the end of the day, the best tool you have is your own observation. Pay attention to your plant, learn its rhythms, and don’t be afraid to experiment a little. The Dwarf Umbrella Tree is a forgiving teacher and a truly rewarding plant to have in your home.
Galerie d’inspiration
According to the ASPCA, the Dwarf Umbrella Tree contains insoluble calcium oxalates, making it mildly toxic to cats and dogs. Ingestion typically causes oral irritation, intense burning, and swelling of the mouth, tongue, and lips.
Keep an eye out for uninvited guests. Before they become a problem, learn to spot the early signs:
- Tiny, delicate webbing on the undersides of leaves is a classic sign of spider mites.
- Small, brown, shield-like bumps clinging to stems are scale insects.
- A sticky, clear residue on leaves or the floor below? That’s ‘honeydew’, a tell-tale sign of aphids or mealybugs.
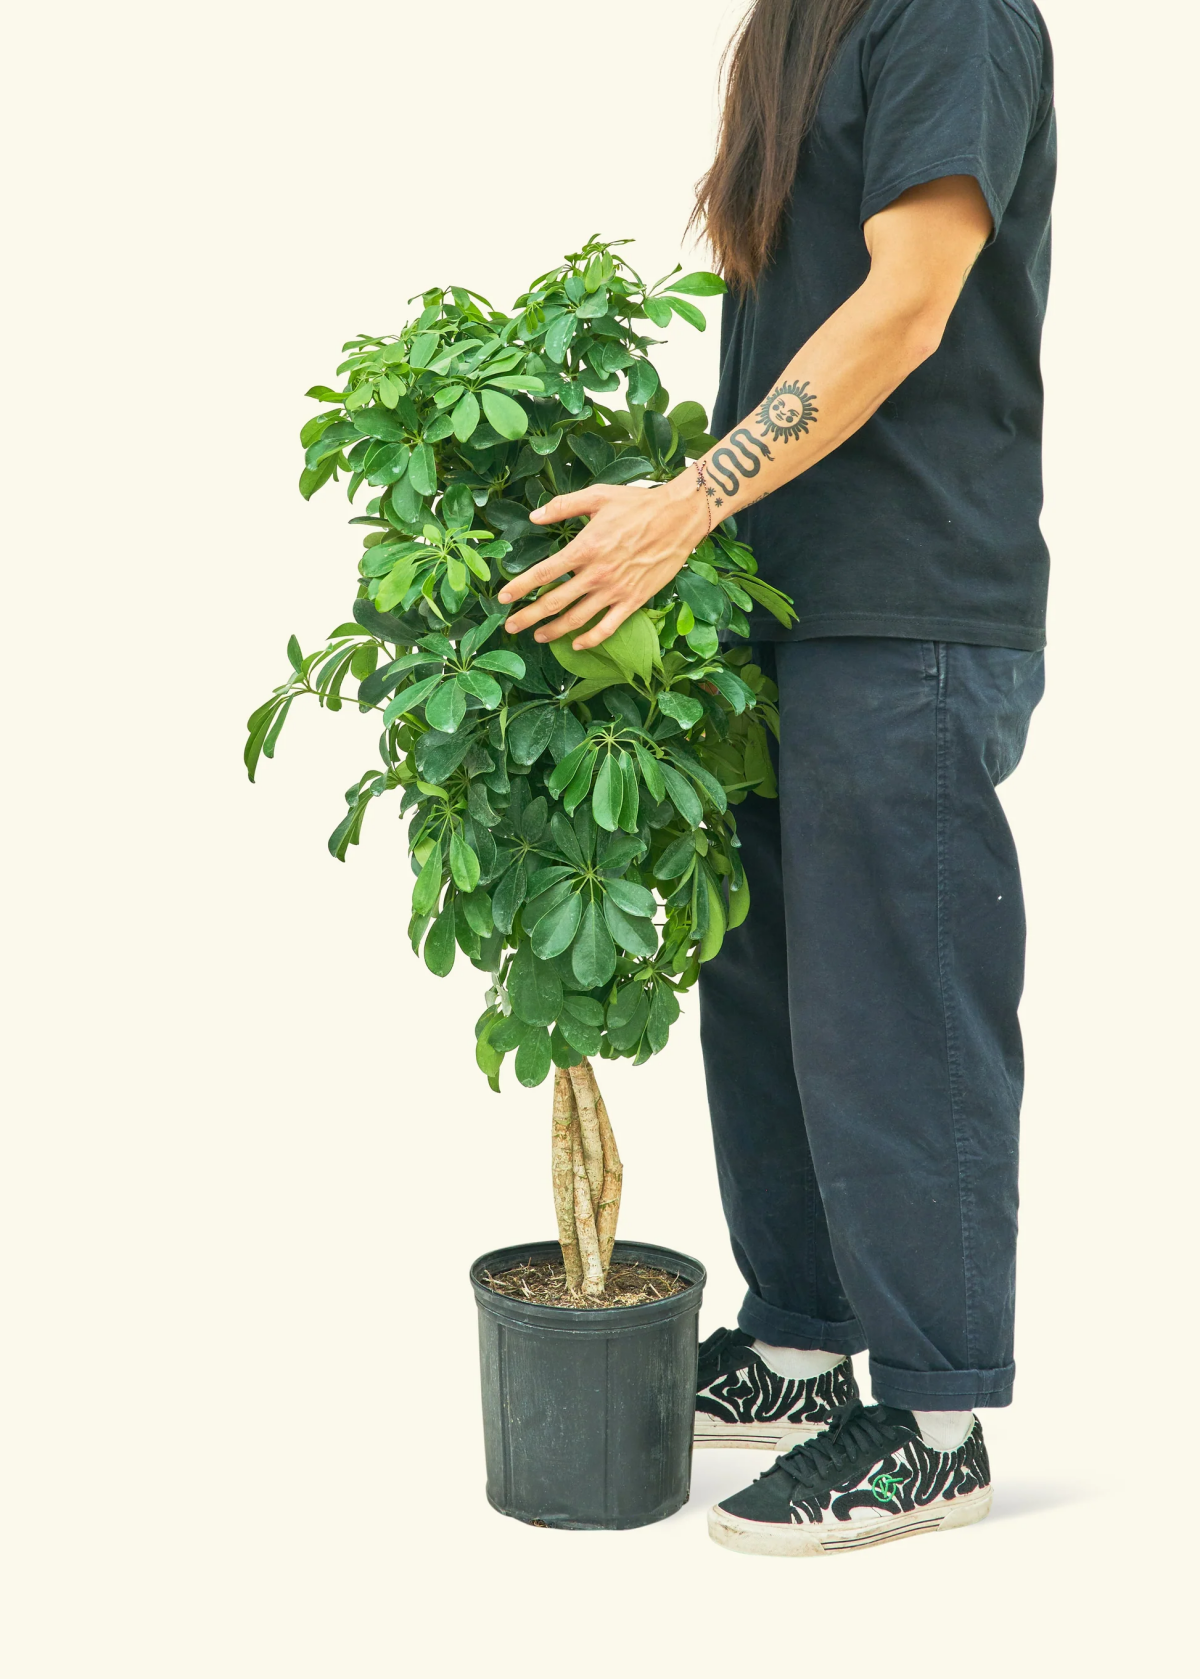
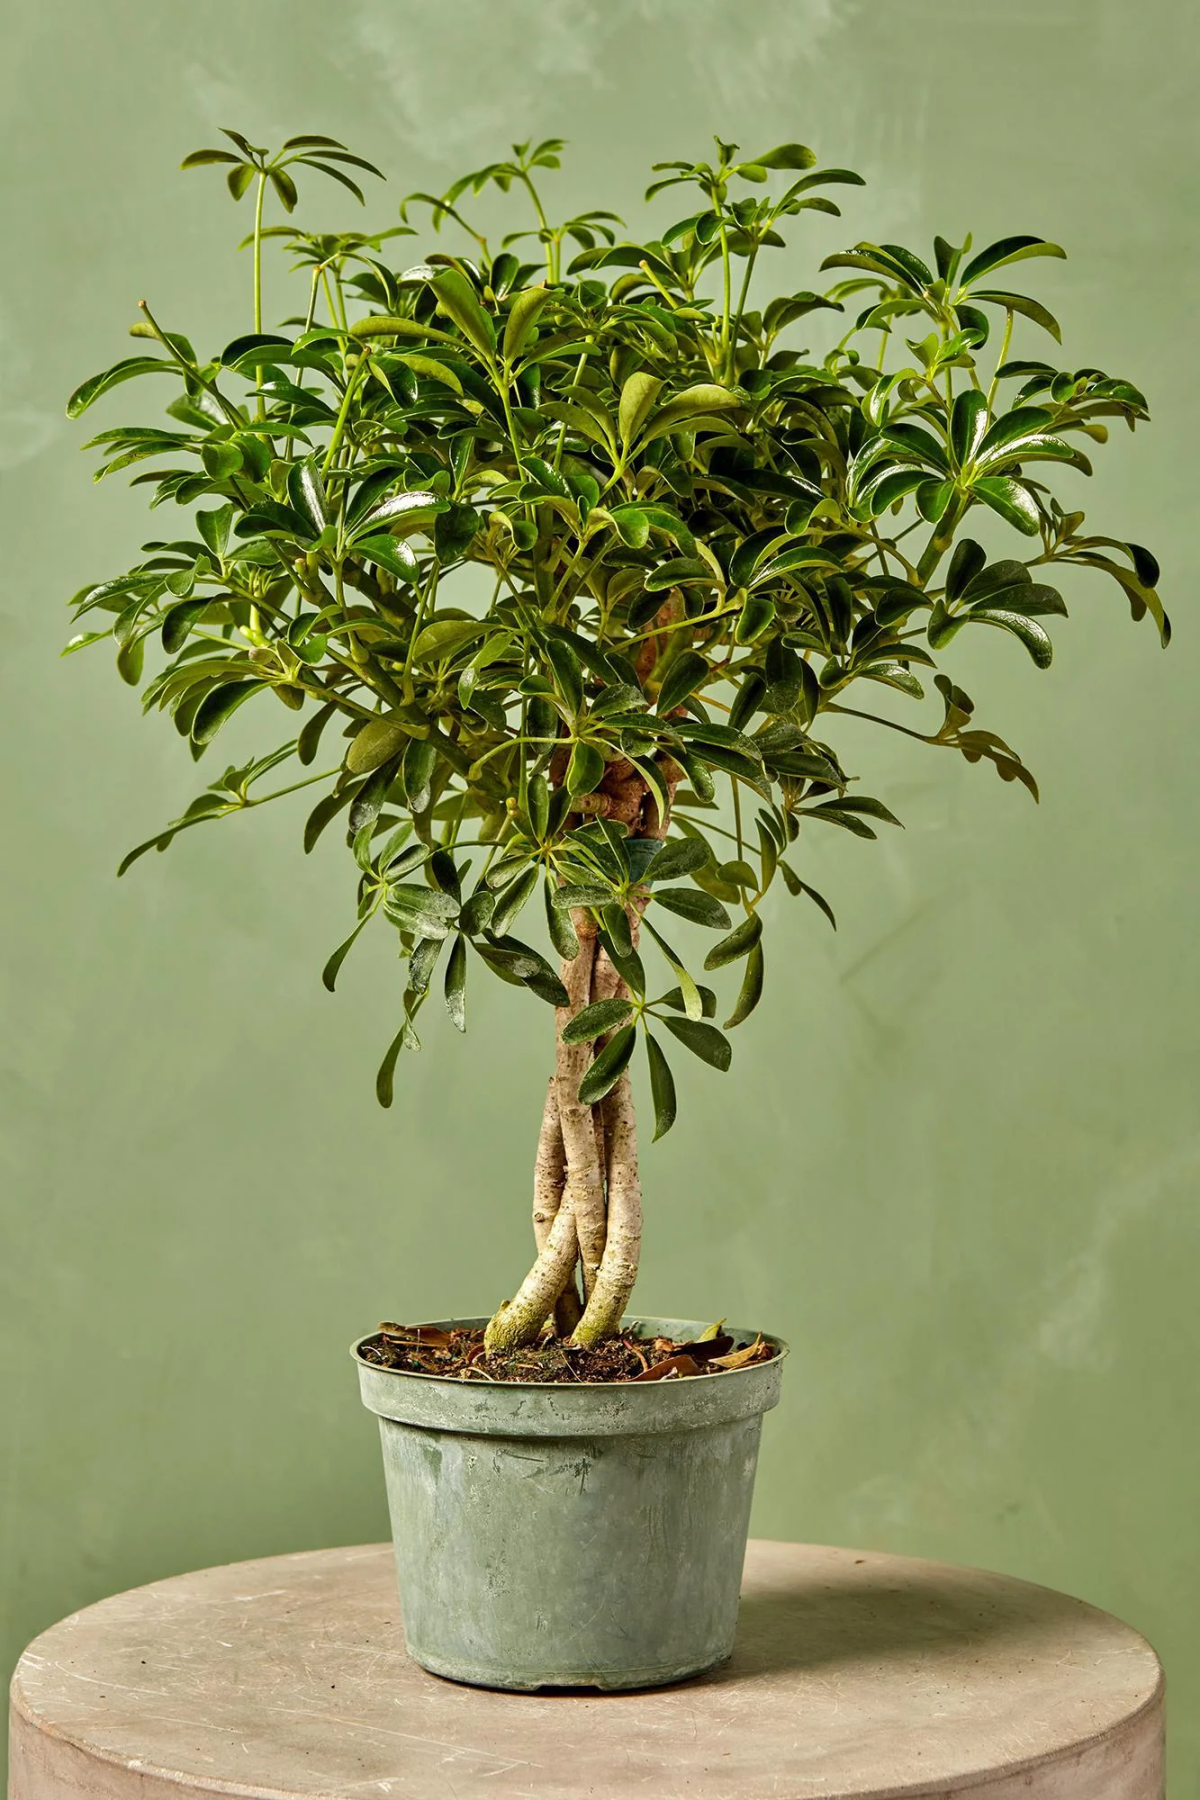
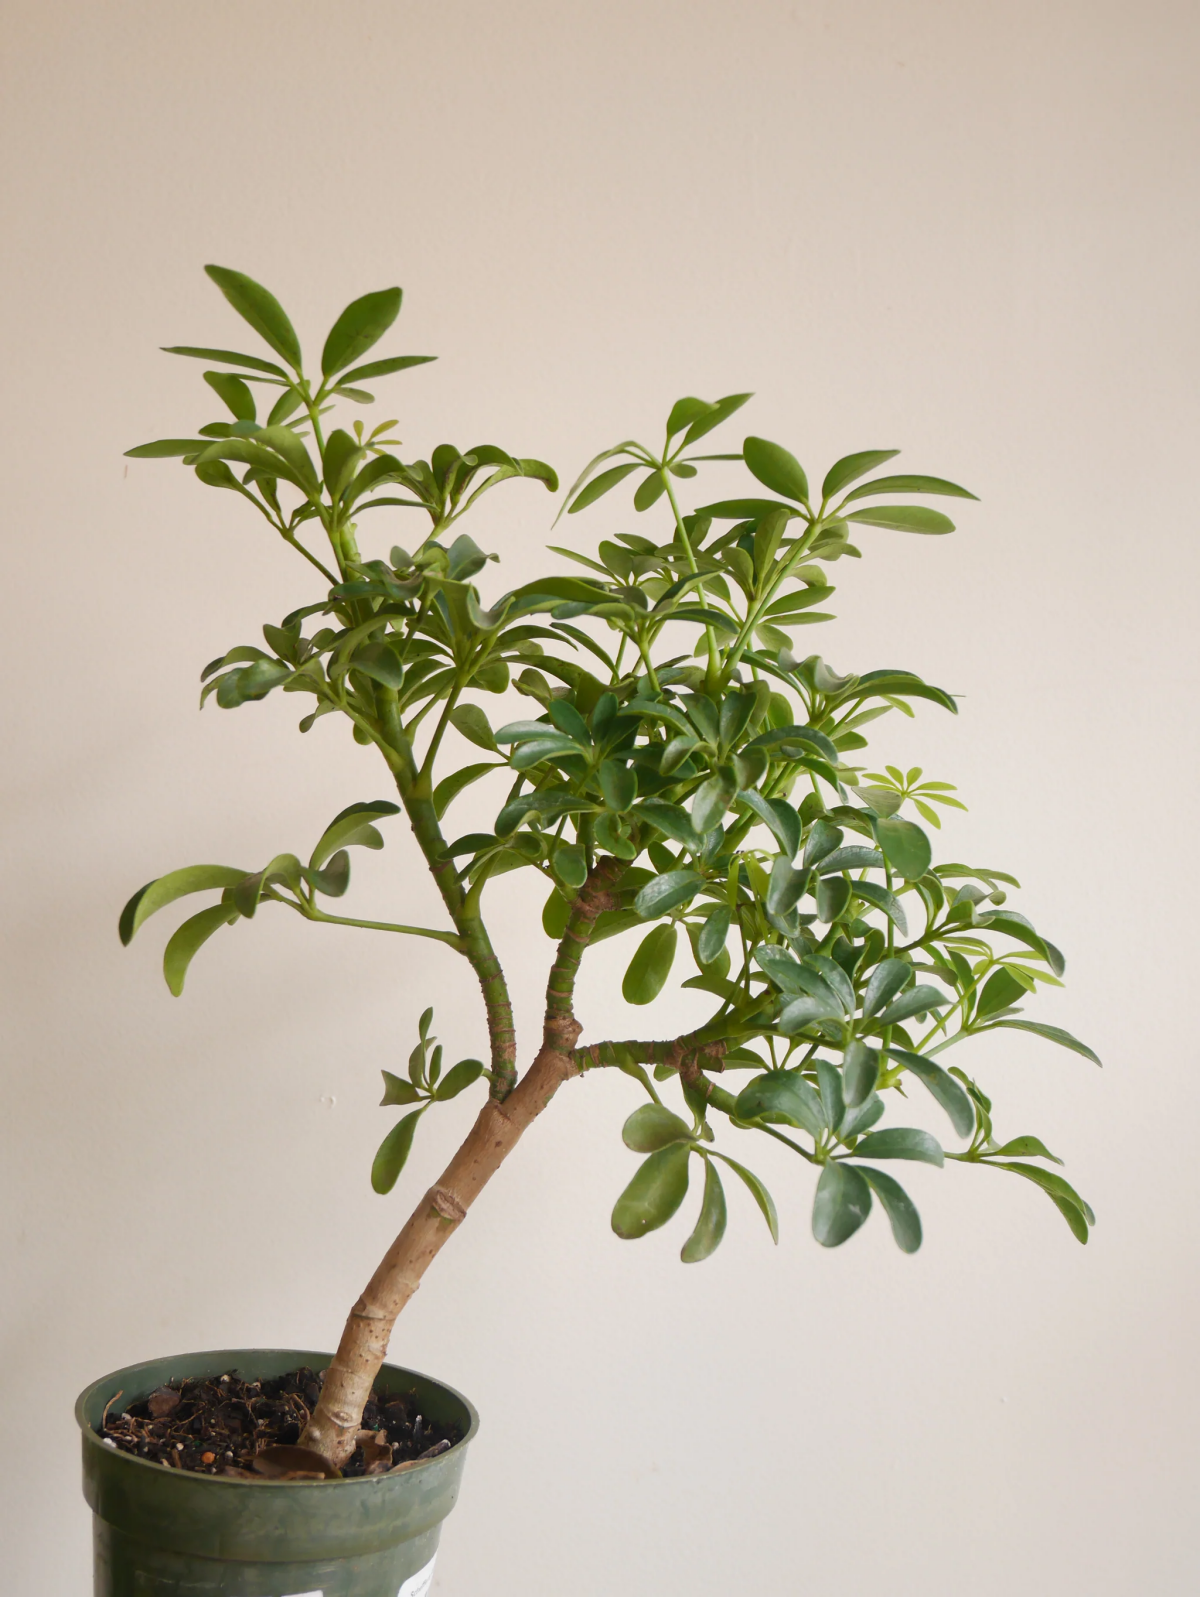
The secret to a full, bushy plant: Don’t be afraid to prune. If your tree is getting tall and ‘leggy’, trimming the dominant stems will force it to branch out from below. Just snip right above a leaf node (where a leaf meets the stem), and you’ll often see two new shoots emerge where there was once only one.
Can I really make new plants from my Schefflera for free?
Absolutely! Propagation is one of the most rewarding parts of owning one. Take a 4-6 inch stem cutting with at least two sets of leaves. Remove the bottom set and place the stem in a glass of water. Change the water weekly, and within a month or two, you should see white roots emerge. It’s a surprisingly simple way to share your plant with friends or just make more for your own urban jungle.
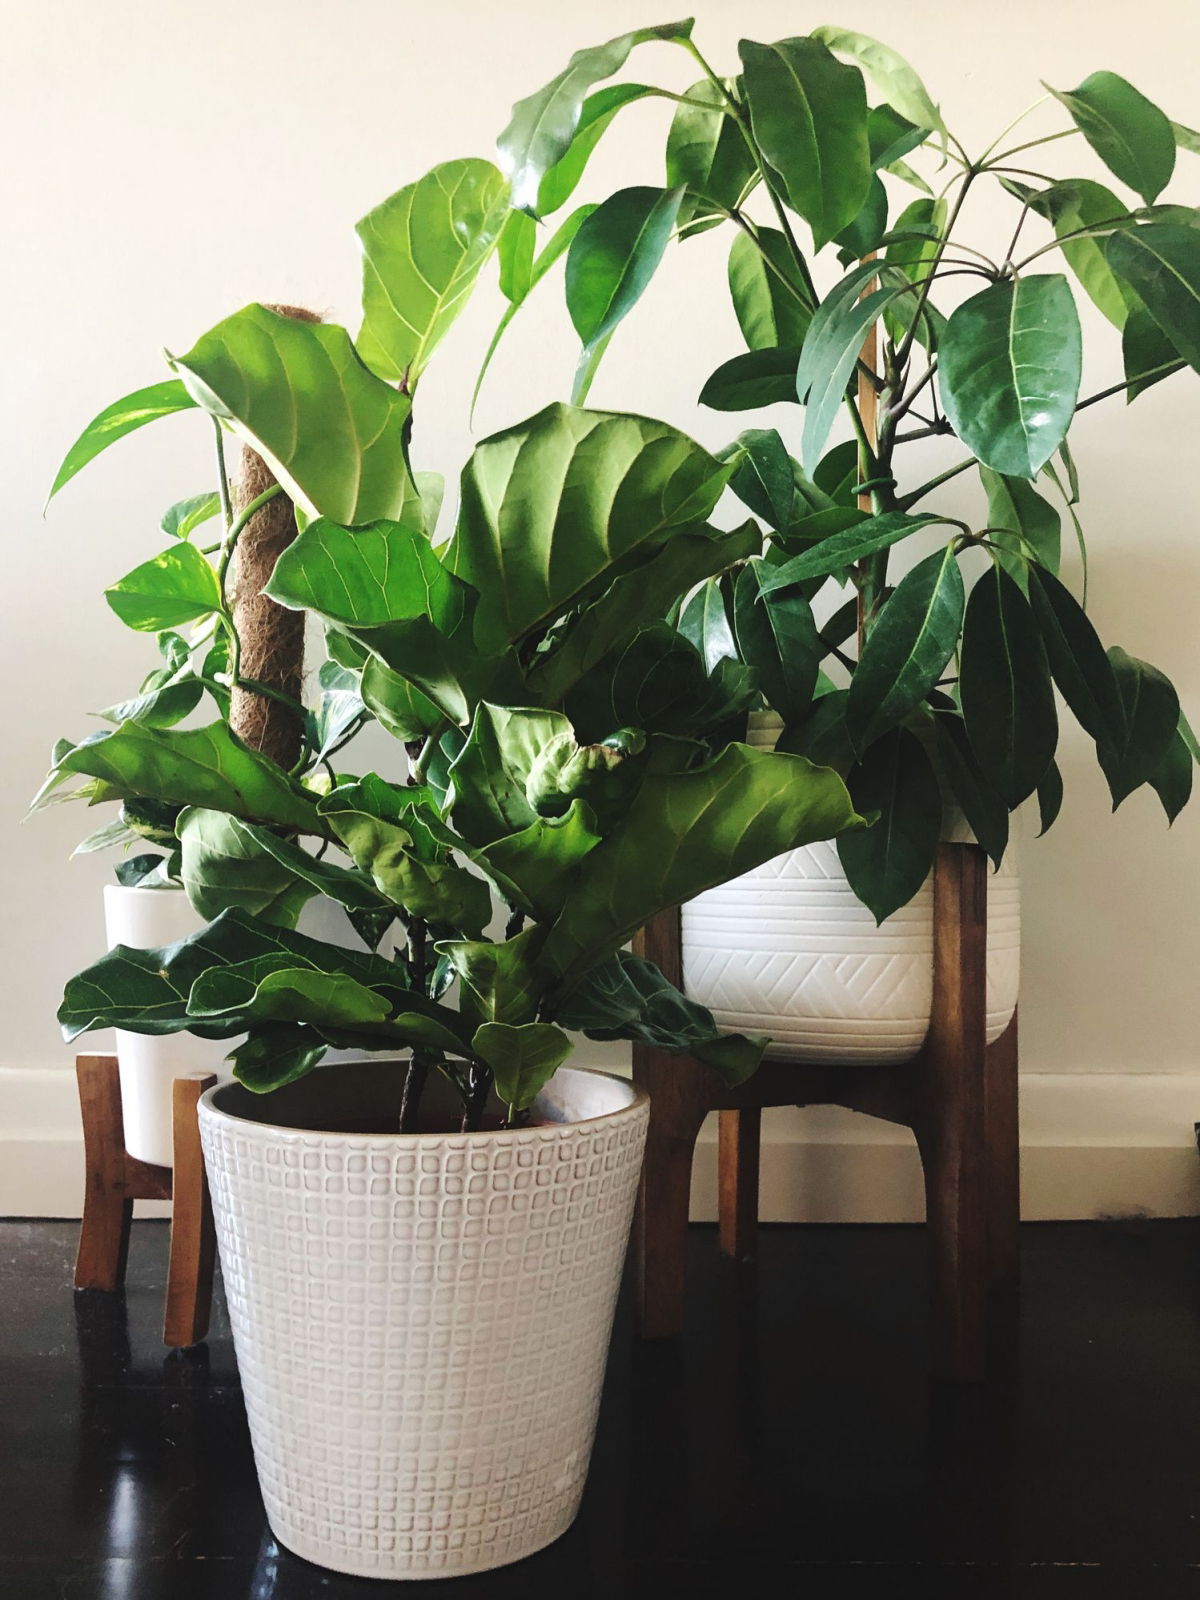
Terracotta Pots: These are porous and allow the soil to breathe and dry out faster. This is a huge advantage for a Schefflera, as it dramatically reduces the risk of root rot. You’ll just need to check on the soil moisture more frequently.
Glazed or Plastic Pots: These non-porous containers retain moisture much longer. A good choice if you’re a forgetful waterer, but be extra vigilant to ensure the top two inches of soil are dry before watering again. A drainage hole is non-negotiable!
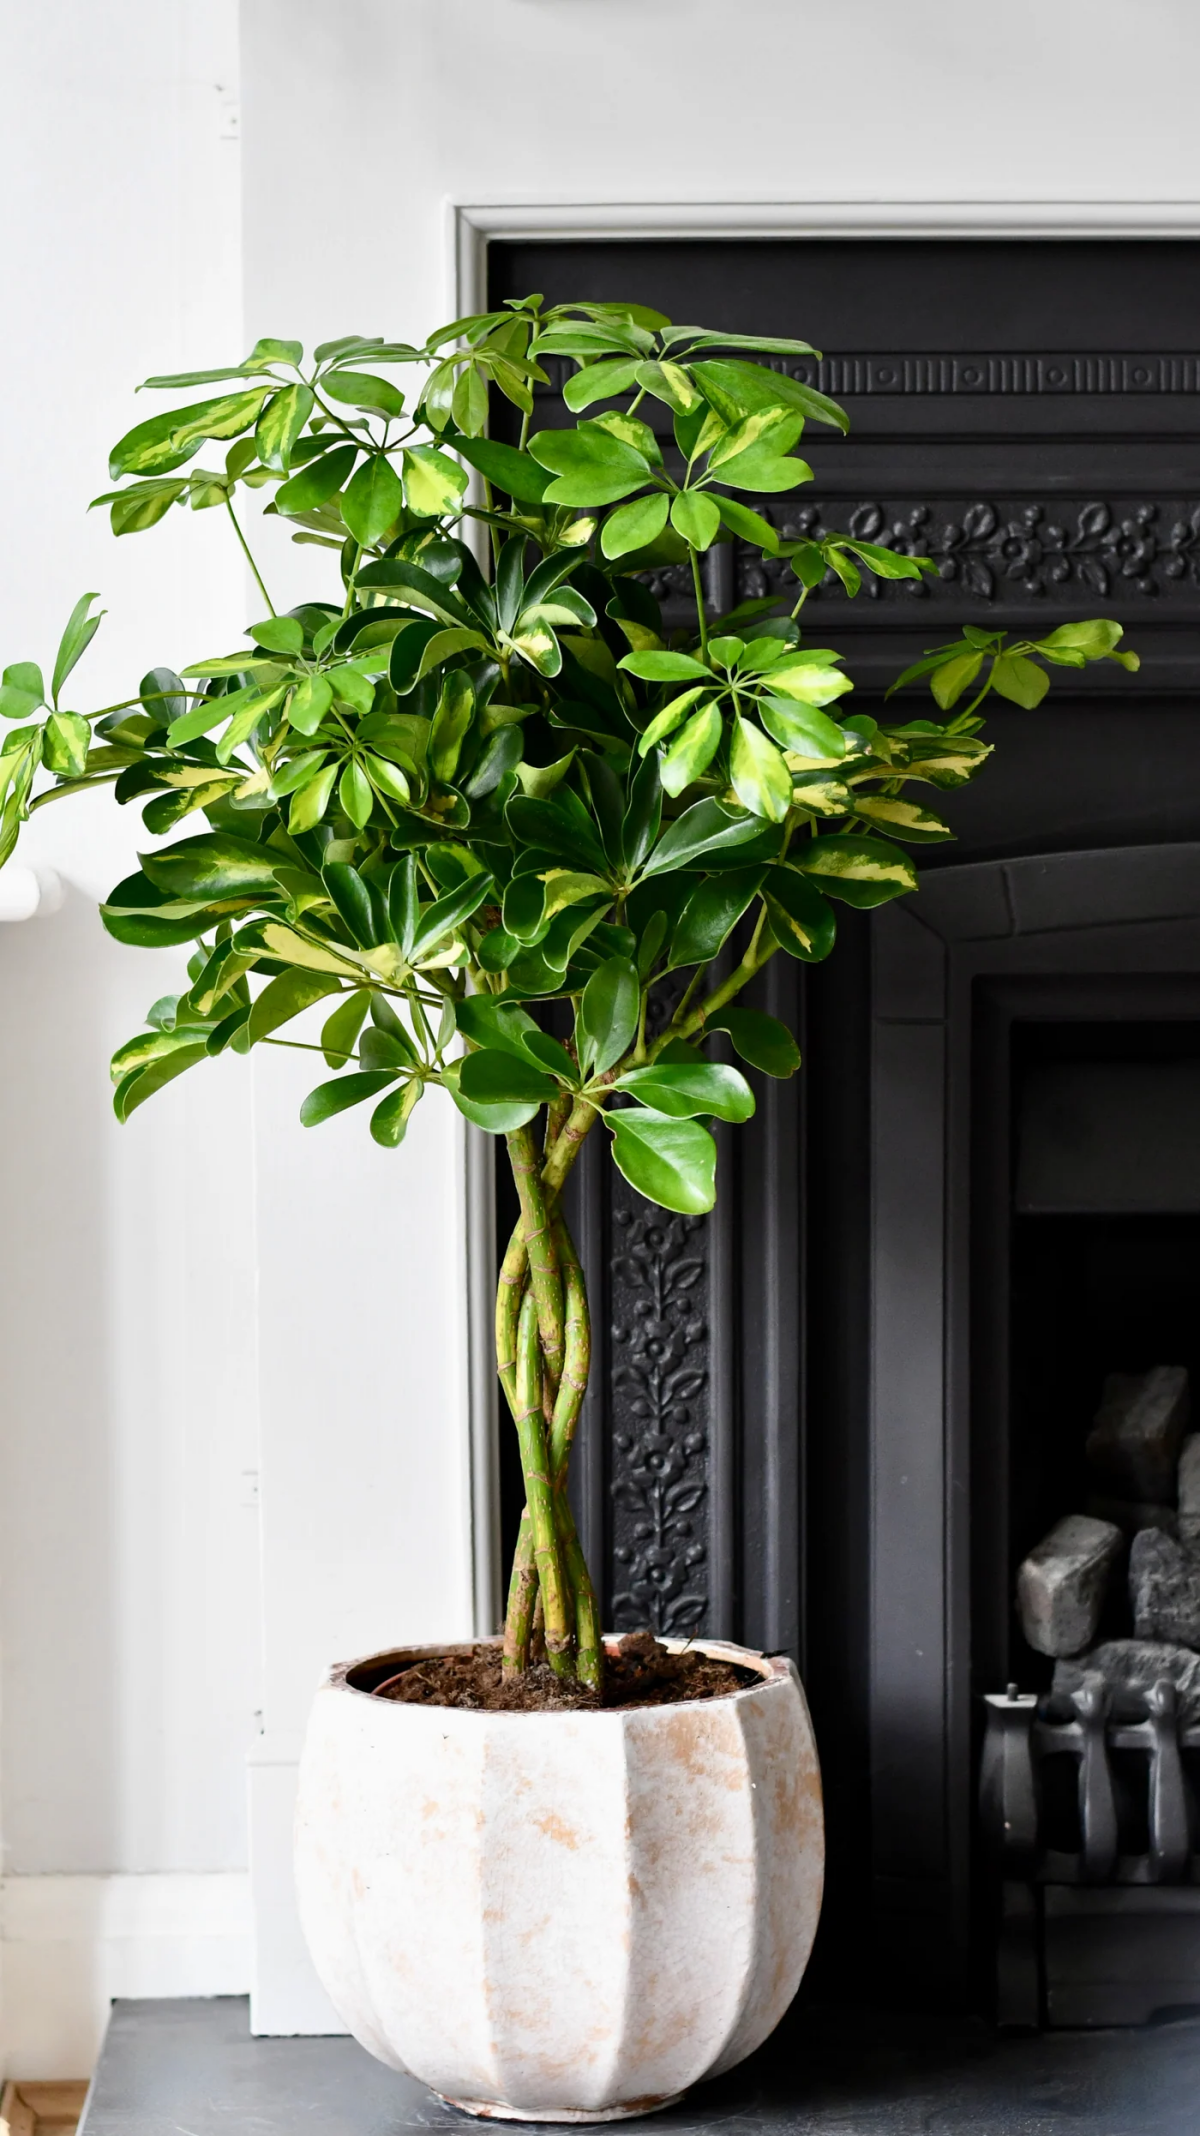
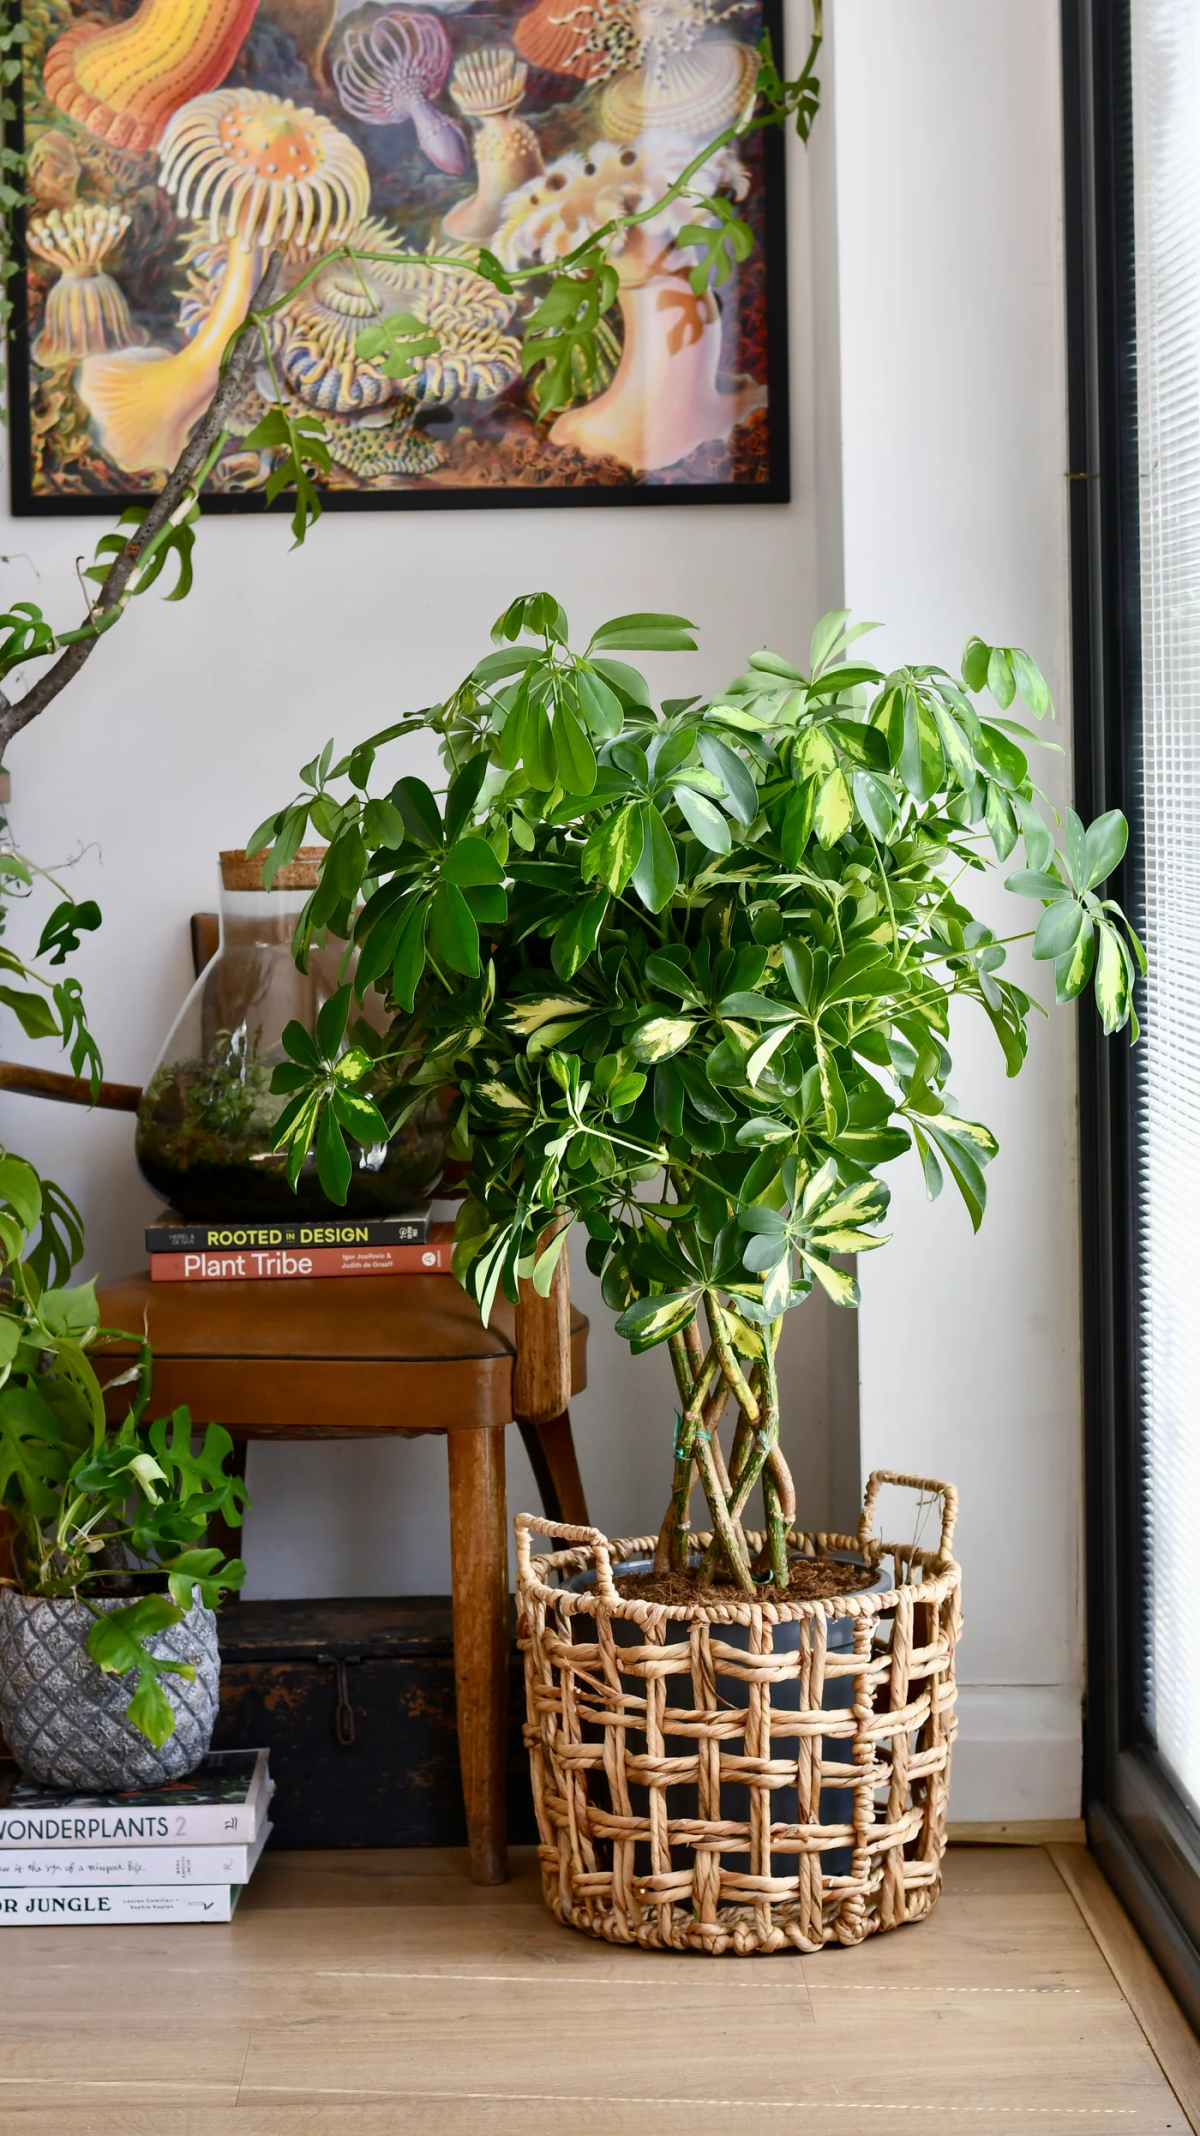
The variegated varieties, like the ‘Gold Capella’ with its splashes of creamy yellow, are true showstoppers. But remember, that beautiful variegation has a cost. The light-colored sections of the leaves lack chlorophyll, meaning they can’t photosynthesize. This means a variegated Schefflera needs more consistent, bright, indirect light than its all-green cousins to produce enough energy to thrive and maintain its stunning colors.
- Superior drainage to prevent waterlogged roots.
- Excellent aeration to let the roots breathe.
- Rich in organic matter for gentle, slow-release nutrients.
The key to providing this is the right soil mix. A quality potting blend like FoxFarm Ocean Forest is fantastic. For an even better result, amend it by mixing in a handful of perlite or orchid bark to improve aeration and prevent compaction over time.

Think of fertilizer as a vitamin supplement, not a three-course meal. Your Dwarf Umbrella Tree only needs feeding during its active growing season in spring and summer.
- Use a balanced, water-soluble houseplant fertilizer (like a 10-10-10 formula) diluted to half-strength.
- Apply it just once a month with watering. Over-fertilizing can burn the roots.
- Always skip fertilizer during the fall and winter dormancy period.
Did you know the Schefflera is a proven air purifier?
While not the most powerful plant on NASA’s famous list, it’s quite effective at filtering common indoor air toxins like benzene and formaldehyde. It’s not just a pretty face; it’s actively working to make your home’s air healthier. The more leaves it has, the more filtering power it provides!
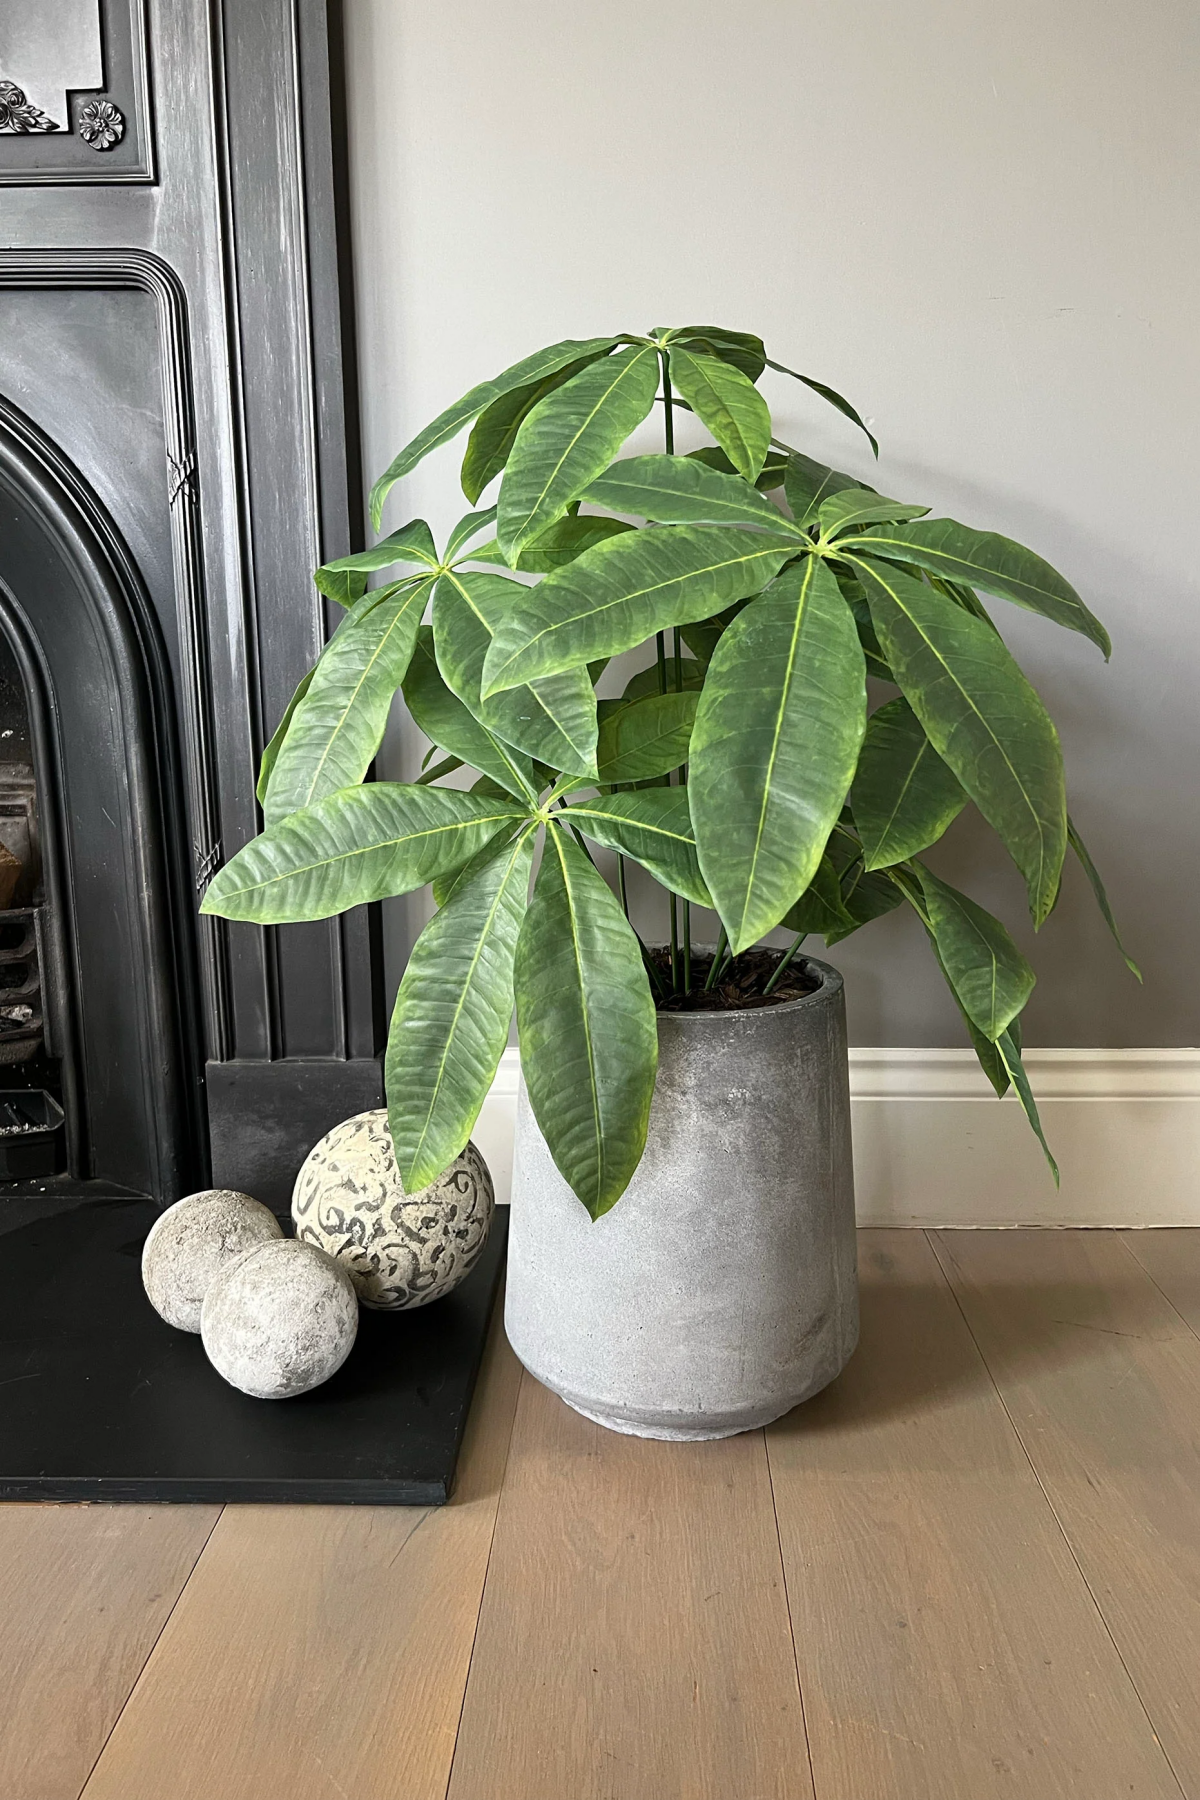
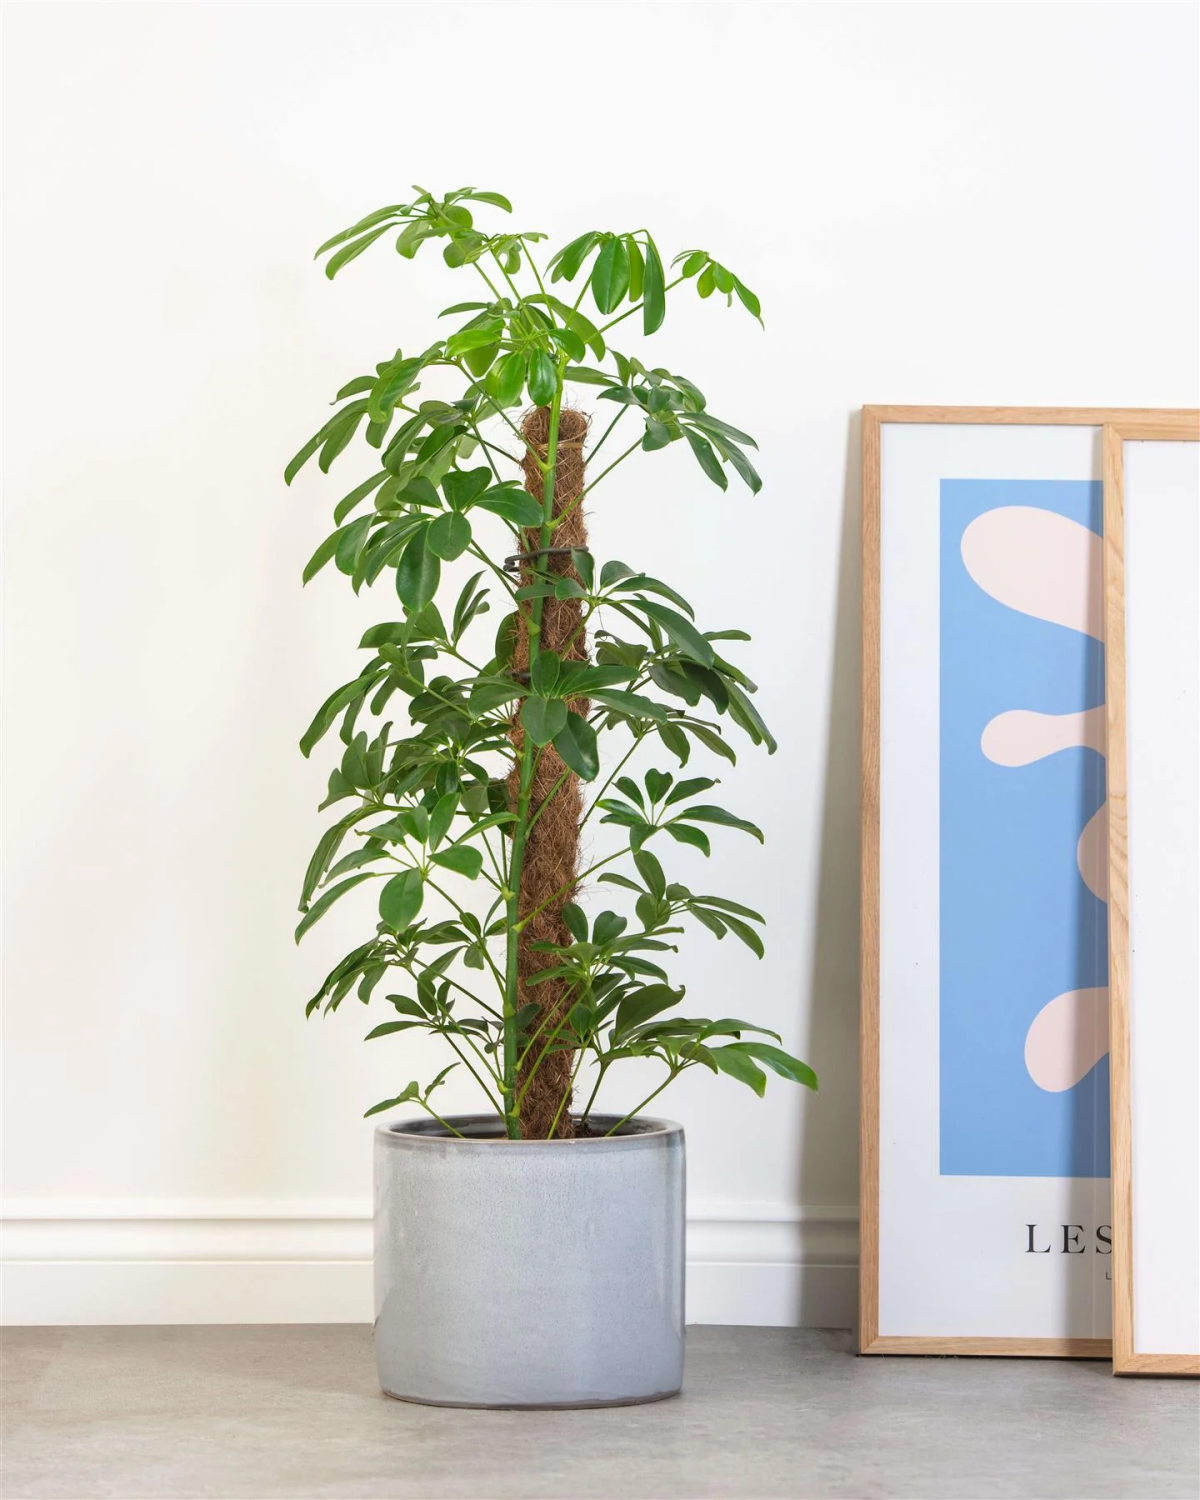
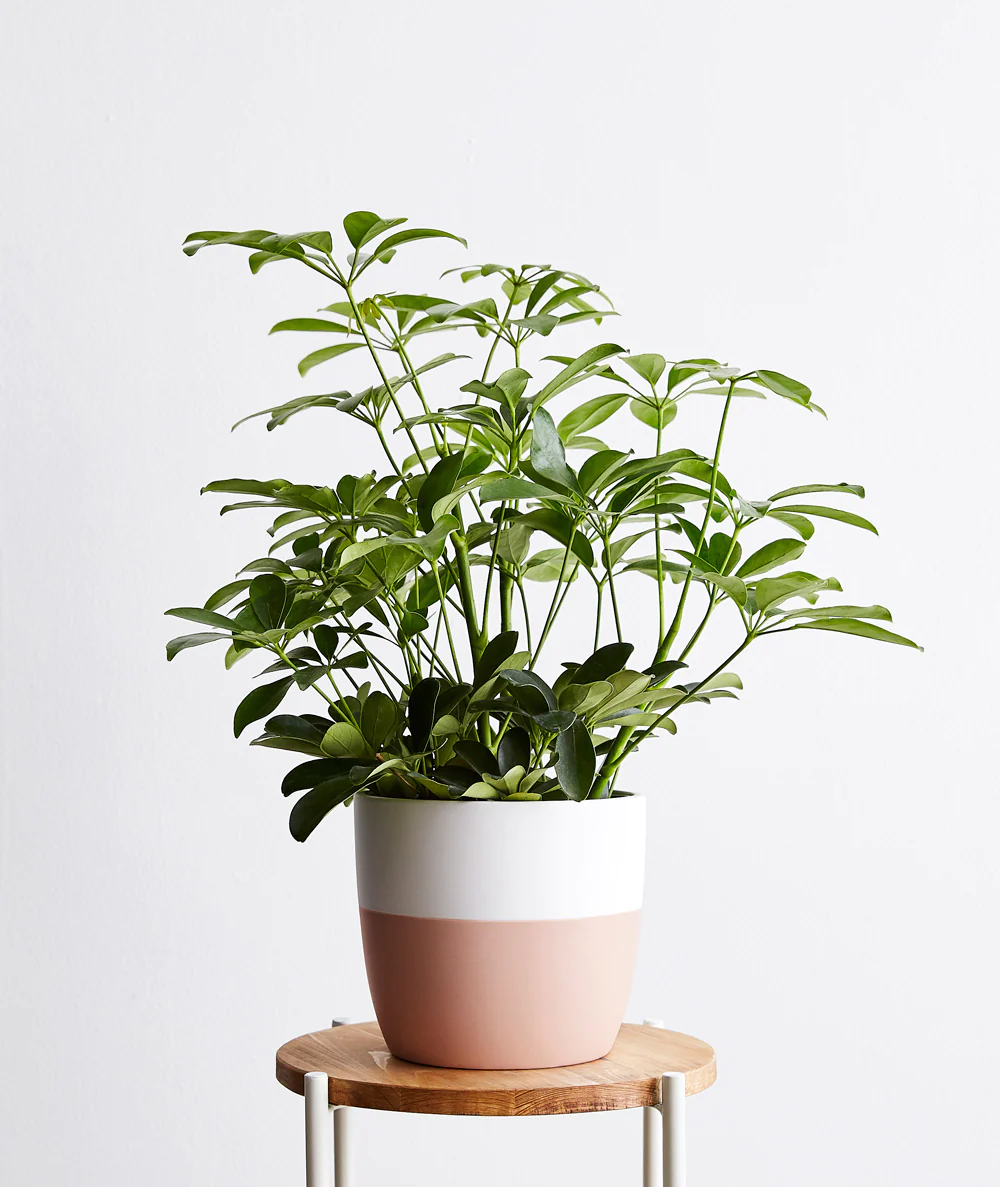
With its glossy, radiating leaves, the Dwarf Umbrella Tree is a natural fit for Mid-Century Modern interiors, complementing the clean lines and organic shapes of the era. Place it in a simple ceramic planter on a wooden plant stand to elevate its form and create a striking, yet understated, focal point near an armchair or console table.
Don’t be discouraged if you can only find a small, young plant. One of the joys of the Dwarf Umbrella Tree is its relatively fast growth rate in good conditions. A small, affordable 6-inch pot specimen can easily double in size within a year or two. There’s a special satisfaction in nurturing a small plant into a magnificent centerpiece, and it’s much kinder to your wallet.
Spotted a few pests? You can often tackle them without harsh chemicals. Mix up a simple spray by combining one teaspoon of pure neem oil (a reliable brand is Bonide) and a half-teaspoon of mild dish soap in a one-liter spray bottle filled with warm water. Shake well to emulsify and spray all surfaces of the plant, especially the undersides of leaves, every 5-7 days until the pests are gone.


