Your Unofficial Guide to Growing Unforgettable Peony Tulips
I’ve been in the trenches with flower bulbs for a long, long time, and I’ve seen countless garden trends come and go. But the one thing that never loses its magic? The peony tulip. They are just in a class of their own.
In this article
I’ll never forget a huge planting of the ‘Angelique’ variety I was involved with once. We put in over a thousand bulbs, creating these massive, flowing rivers of pink. When spring arrived, it was honestly breathtaking—like a soft pink cloud decided to just settle right on top of the garden. But that same project taught me a crucial lesson. A small section we planted in a spot that was just a bit too shady and damp came up with smaller, weaker flowers. It was a stark reminder that these incredible plants, for all their beauty, follow some very simple rules. Give them what they need, and they’ll give you magic. Skimp on the basics, and they’ll let you know.
So, this isn’t just another ‘plant it and hope for the best’ guide. We’re going to get into the ‘why’ behind every step. This is all stuff I’ve picked up from hands-on work, designing gardens, and showing new gardeners the ropes. Let’s ditch the idea of a ‘green thumb’ and agree that amazing flowers come from good information and a little bit of prep work.
First Things First: Know Your Plant
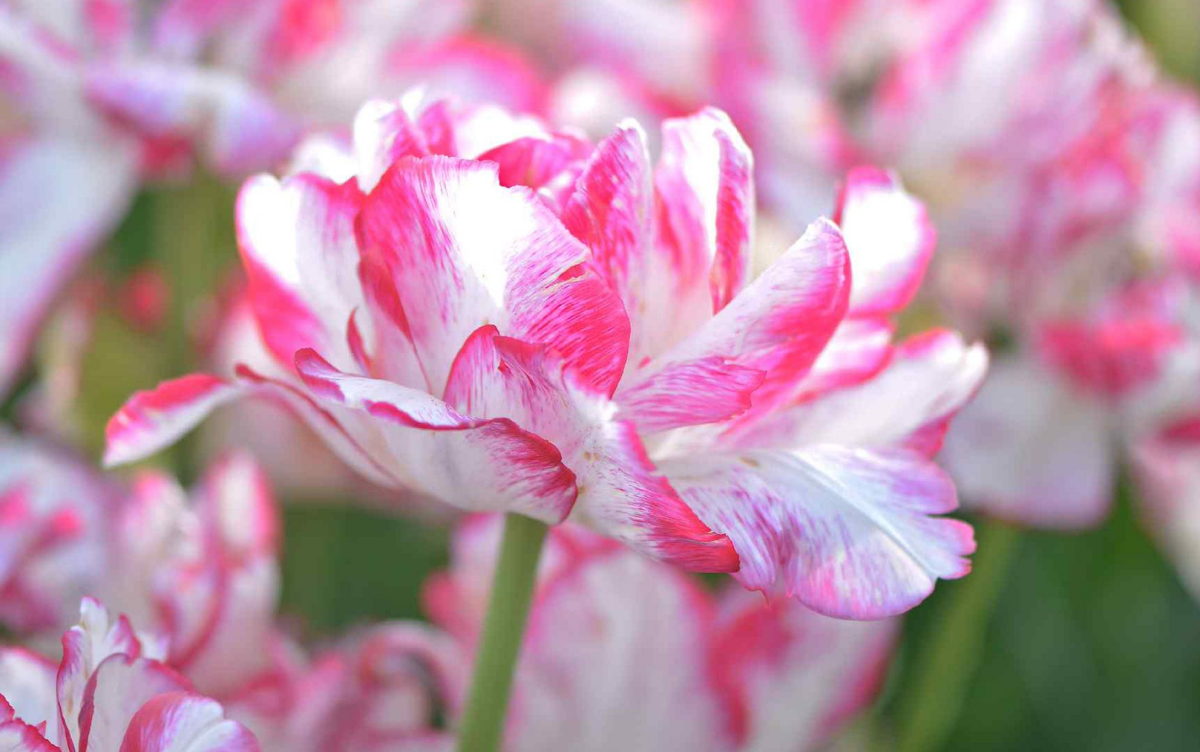
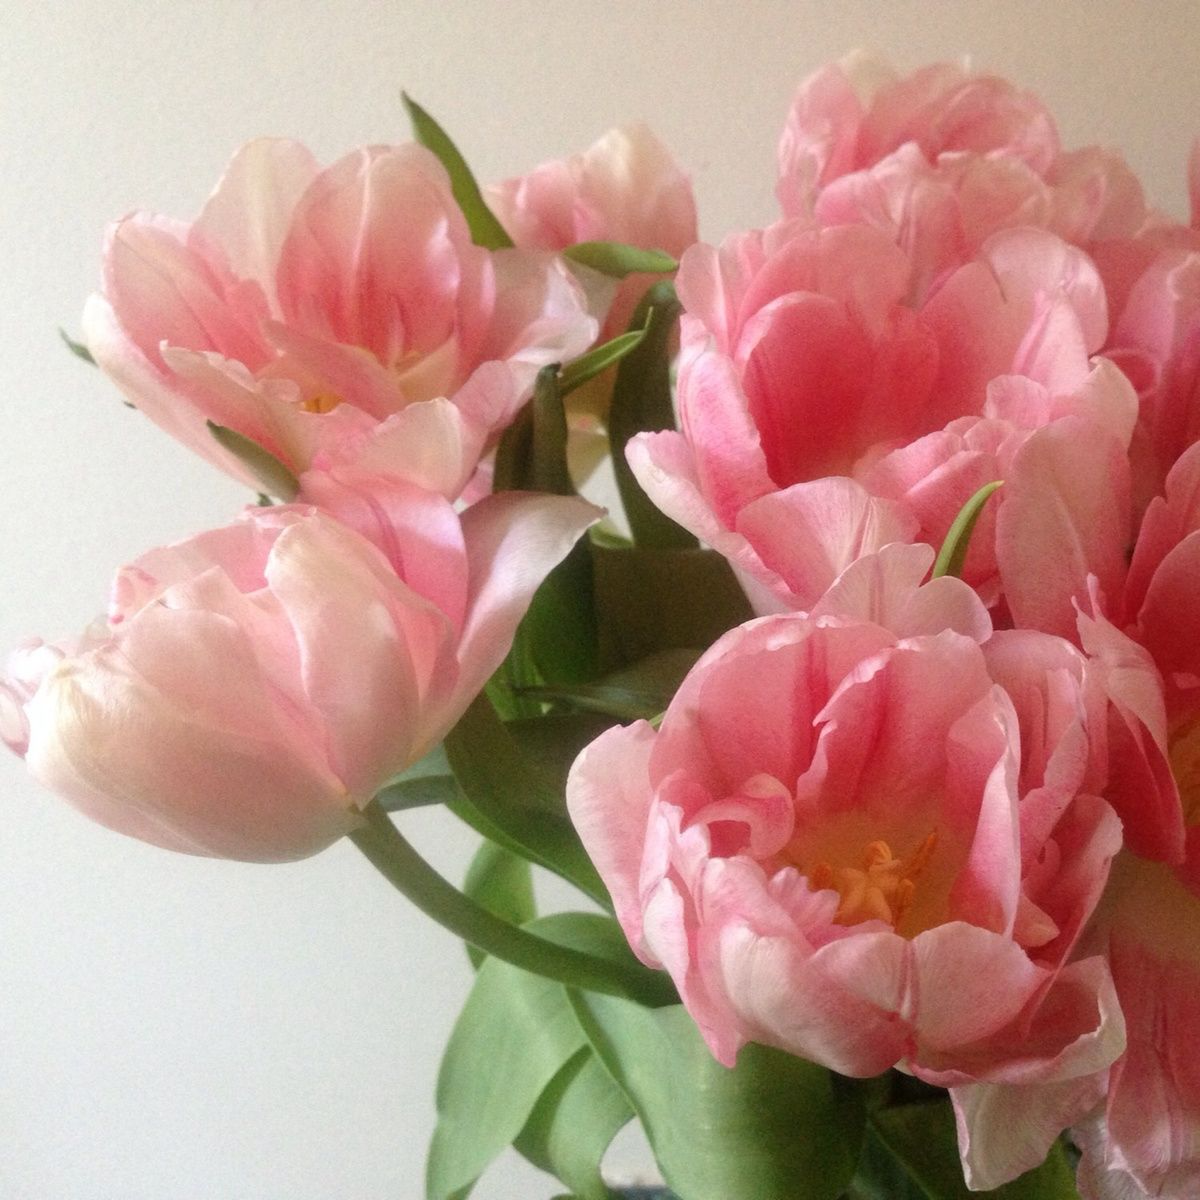
Before you even think about buying a single bulb, it helps to understand what you’re dealing with. Peony tulips aren’t some mystical separate species; they’re actually a group of Double Late and a few Double Early tulips. Their claim to fame comes from a natural quirk where the flower’s stamens develop into extra petals. This is what gives them that incredibly full, layered, peony-like appearance. It also makes them a bit heavier and more demanding than their simpler, single-petaled cousins.
The Bulb is a Little Engine
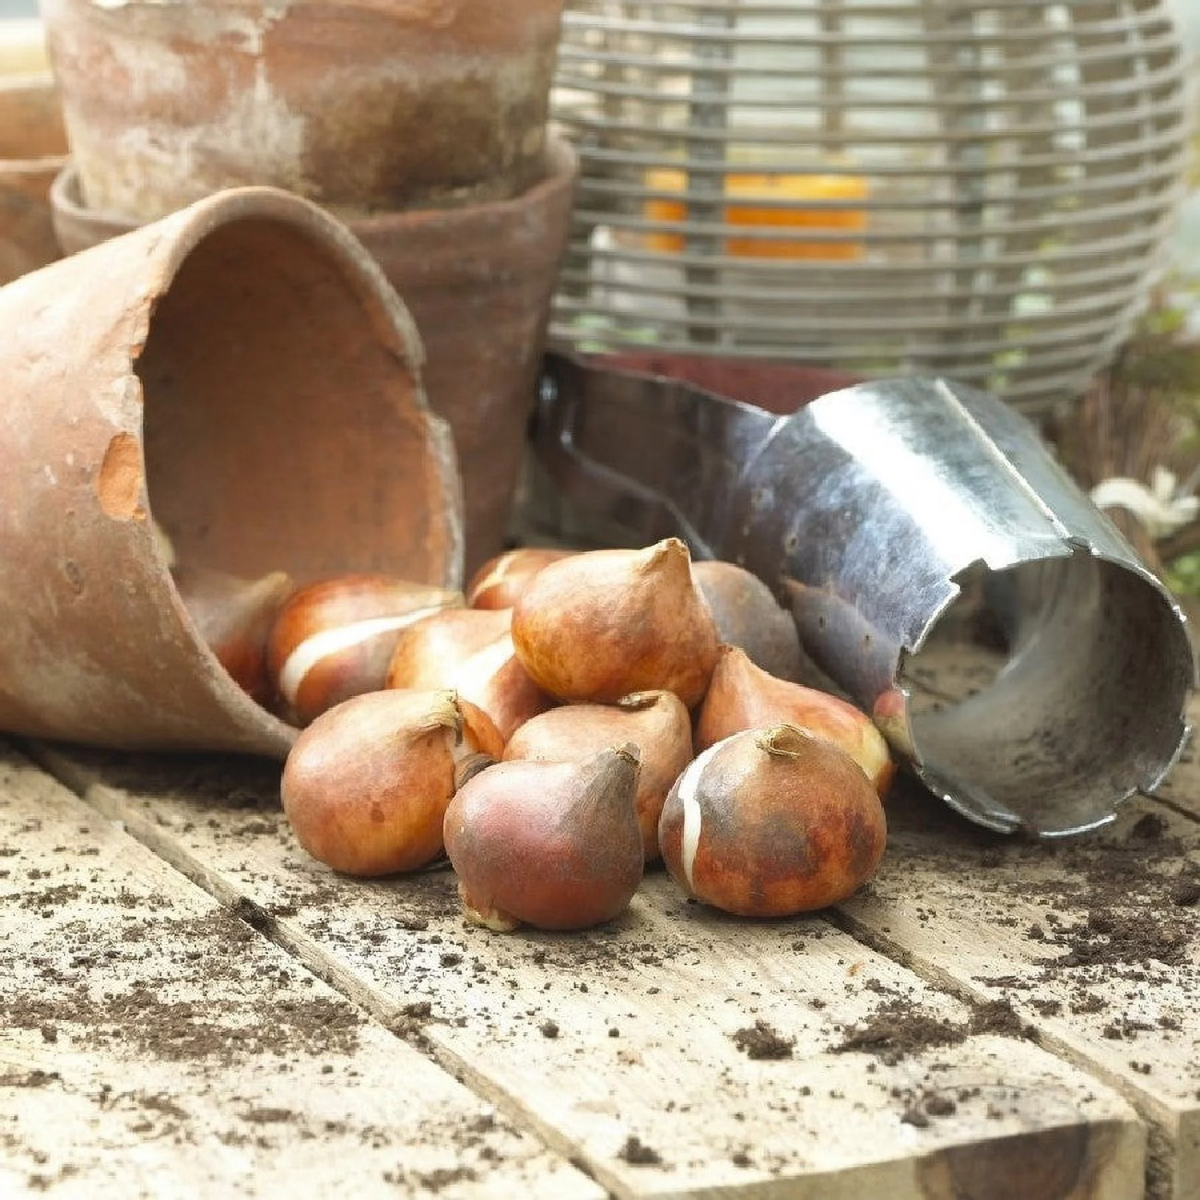
Let’s get one thing straight: a tulip bulb isn’t a seed. It’s more like a perfectly packed lunchbox for a plant. Inside every healthy bulb, there’s a tiny, fully-formed flower, complete with little leaves, all just waiting for its moment. The fleshy layers around it are pure starch—that’s the fuel for its big debut in the spring. That flat part on the bottom? That’s the basal plate, where the roots will pop out. If you get a bulb that feels soft, has mold, or looks bruised, it means the engine is damaged. It’s running on empty and likely won’t perform well, if at all.
The All-Important Winter Nap
This is probably the single most important thing to understand about tulips. They originally grew in places with cold, hard winters. To survive, they developed a need for a long, cold period to signal that it’s time to flower. It’s called vernalization. Without this deep chill, the bulb just won’t get the memo to send up a proper flower stem. You might get a few sad-looking leaves—we call that a ‘blind’ bulb—but you won’t get the showstopping bloom you were hoping for.
For this to work, the bulbs need about 12 to 16 weeks in soil that’s between 35°F and 45°F (that’s 2°C to 7°C). This is why we plant them in the fall; it gives them the whole winter to get their required chilling time in.
Don’t Rush the After-Party
After that gorgeous flower fades, the plant’s job is far from over. In fact, its most important work is just beginning. Those green leaves become little solar-powered factories, soaking up sunlight and converting it into starches to refuel the bulb for next year. If you cut the foliage back as soon as the flower is gone, you’re shutting down the factory. This is THE number one mistake I see people make. Have patience with those yellowing leaves! Letting them die back naturally is the key to getting a repeat performance next year.
Sourcing Your Bulbs and Prepping the Site
A spectacular garden starts with spectacular materials. Trust me, not all bulbs are created equal. Quality and site prep are everything.
Before you dig, let’s get a quick shopping list together:
- Top-size Peony Tulip Bulbs: Look for a ’12/+’ size label. Expect to pay between $1.75 and $3.00 per bulb for high-quality ones.
- Bone Meal: A classic slow-release fertilizer for root growth. A 3-pound bag is usually around $10-$15.
- Compost or Soil Amendments: Depending on your soil, you might need compost, pine bark fines, or peat moss. This can cost anywhere from $10 to $40.
- Tools: A good trowel or a dedicated bulb planter.
- Chicken Wire: (Optional, but highly recommended!) A roll costs about $15 at any hardware store and will save you a lot of heartache.
Choosing Pro-Grade Bulbs
When you’re shopping for bulbs, you’ll see them graded by size in centimeters. For peony tulips, you absolutely want to get what the pros call ‘top-size’ bulbs, which are labeled as 12/+. A bigger bulb has more stored food, which directly translates to a bigger, stronger flower. You might see a 12/+ bulb for $2.25 and a smaller 11/12 size for $1.75. To be frank, that extra 50 cents is the best money you’ll spend. It’s the difference between a nice flower and a ‘WOW, where did you get that?’ flower.
When you have them in hand, give them a gentle squeeze. They should feel firm and heavy for their size, kind of like a good onion. A bit of flaky paper skin is fine, but avoid any with gray mold, soft spots, or a mushy bottom. That’s a sign of basal rot, and it’s a non-starter.
By the way, if you’re buying online, you’re swimming in options. To cut through the noise, I’ve had consistently great results with suppliers like Van Engelen or Brent and Becky’s Bulbs. They’re known for shipping top-quality, healthy bulbs.
Getting the Ground Ready
Peony tulips are pretty easygoing, but they have one non-negotiable demand: good drainage. They will rot in soggy, waterlogged soil. Period. The ideal home is a sandy loam, but let’s be realistic—most of us don’t have that.
If you have heavy clay soil, you’ve got to amend it. There’s no way around it. The best method is to dig out the area about 12 inches deep and mix that native clay with equal parts of good compost and something like pine bark fines. The compost adds nutrients, and the pine bark creates air pockets that let water drain away. Heads up: this is a workout. For a 5×5 foot patch of heavy clay, plan on a solid 2-3 hours of digging and mixing. The amendments themselves will probably run you about $25-$40 at a garden center.

In sandy soil, the problem is the opposite—water just rushes right through. In that case, I mix in compost and a little peat moss to give the soil more body and help it hold onto some moisture. For any soil type, I always mix a tablespoon of bone meal into the soil at the bottom of each planting hole. It’s a slow-release source of phosphorus, which is critical for developing a strong root system before winter sets in.
Planting: The How, When, and Where
How you plant really depends on where you live. A technique that’s perfect for a chilly northern state could be a total failure down south.
The Right Time and Depth
Don’t just go by the calendar. The real signal to plant is when your soil temperature consistently drops below 60°F (15°C), which is usually after your first light frost. Plant too early in warm soil, and you can trick the bulbs into sprouting in the fall, which is a waste of energy.

A good rule of thumb for depth is to plant the bulb three times its own height. So, for a 2-inch tall bulb, you’ll dig a hole 6 inches deep (measured from the base of the bulb). This insulates it from temperature swings and anchors those top-heavy stems. I like to space them about 6 inches apart—close enough for a full look, but far enough for good air circulation.
Oh, and let’s talk about the enemy: squirrels. They see you planting bulbs and think you’re burying a delicious buffet just for them. Quick tip: after you’ve planted and covered your bulbs, lay a piece of chicken wire flat on top of the soil. You can cover it with a thin layer of mulch. The shoots will grow right through it in the spring, but those pesky critters won’t be able to dig down. It’s a game-changer.
Climate-Specific Strategies
- Cold Climates (Zones 3-5): You’ve got the winter chill guaranteed. Your main goal is protection. After planting, water them in well. Once the ground is frozen solid, add a 4-6 inch layer of mulch (shredded leaves or straw works great). This acts like a blanket, keeping the ground frozen during any weird winter warm-ups. Just remember to pull the mulch back in early spring.
- Warm Climates (Zones 7-9): This is trickier. Your ground doesn’t get cold enough for long enough. You MUST buy ‘pre-chilled’ bulbs that have been kept in a commercial cooler. Plant them immediately when they arrive, usually in late December or January. And when I say treat them as annuals, I mean it. After they bloom, pull the whole plant up, bulb and all, and compost it. It feels a bit ruthless, but trying to get them to re-bloom in a warm climate is usually a recipe for disappointment. This way, you free up the bed for beautiful summer flowers.
- Growing in Containers: This is a fantastic option for any climate. Use a big pot—at least 15 inches wide and deep—with plenty of drainage holes. For a really lush, packed look, a 15-inch pot can comfortably hold about 7 to 9 peony tulip bulbs. Use a quality potting mix, not heavy garden soil. In cold zones, you’ll need to protect the pot by moving it into an unheated garage or even burying the pot in a vacant garden bed for the winter.

Caring for the Show and the Aftermath
Once spring arrives, a little bit of care will make all the difference.
Water, Food, and Support
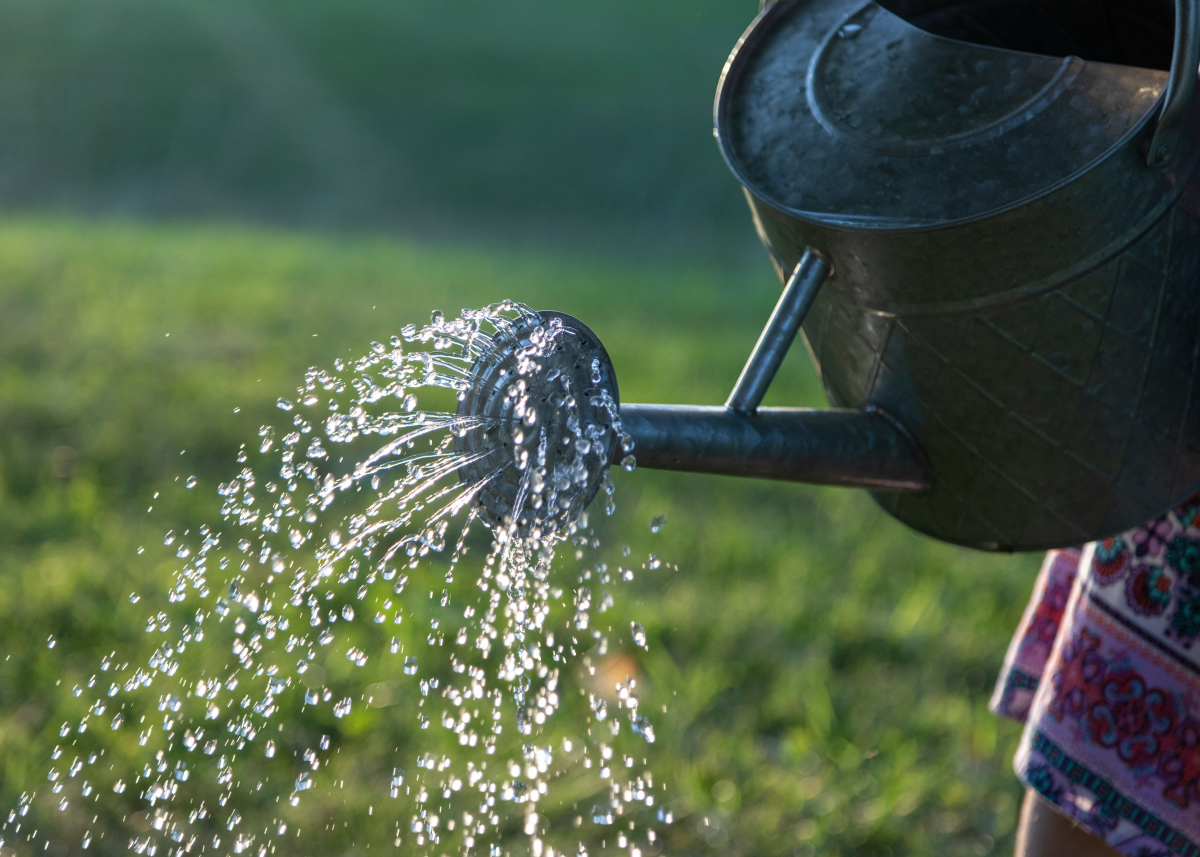
When shoots appear in the spring, make sure the soil stays lightly moist. If it feels dry an inch down, give it a good, deep watering. When the shoots are a few inches tall, you can give them a single dose of a balanced liquid fertilizer (like a 10-10-10) diluted to half-strength. Don’t fertilize once the flower buds start showing color.
Now for the design flaw of peony tulips: those huge, gorgeous blooms act like little bowls, catching rain and weighing down the stems. To prevent a spring storm from flattening your display, you need to plan for support. For a big block of tulips, I love using a grow-through grid. You can buy these online or at garden centers—they look like a metal grid on legs. Or, you can easily DIY one with some bamboo stakes and twine stretched in a crisscross pattern. Just be sure to put it in place when the shoots are still short so they can grow up through it!
Deadheading and Cutting
If you’re leaving the flowers in the garden, be sure to deadhead them as soon as they fade. Just snap off the spent flower head. This stops the plant from wasting energy on making seeds and sends all that fuel back down to the bulb for next year.
If you’re cutting them for a vase (and you should!), try to leave at least two large leaves on the stem in the garden. Those leaves are what the bulb needs to recharge.
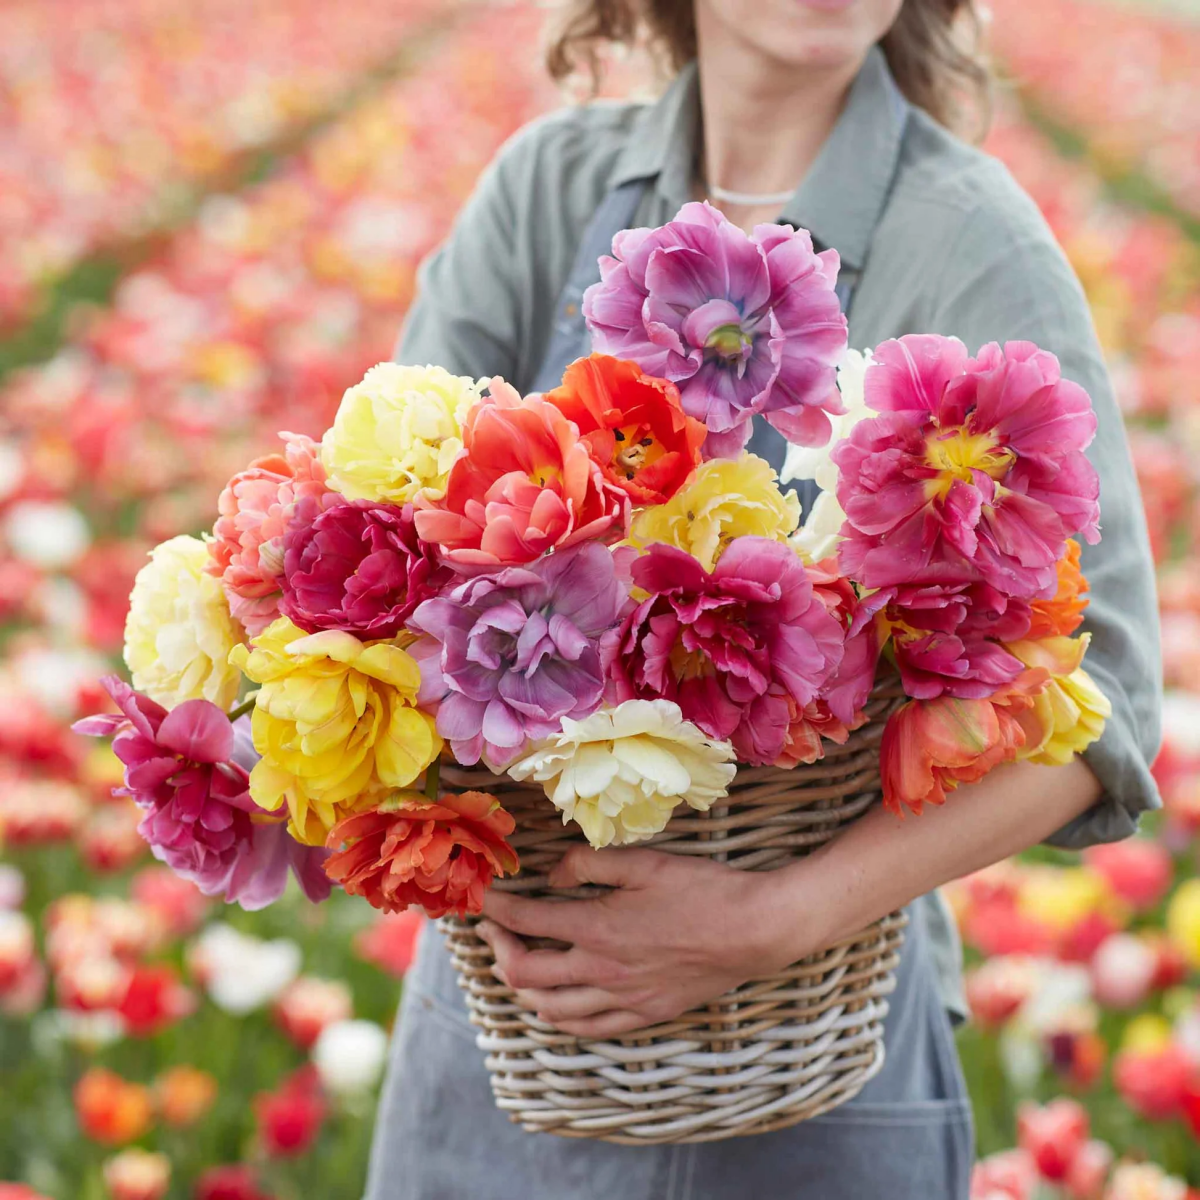
A Few of My Fail-Proof Favorites
Feeling overwhelmed by the choices? You can’t go wrong with these. They’re reliable, beautiful, and proven performers.
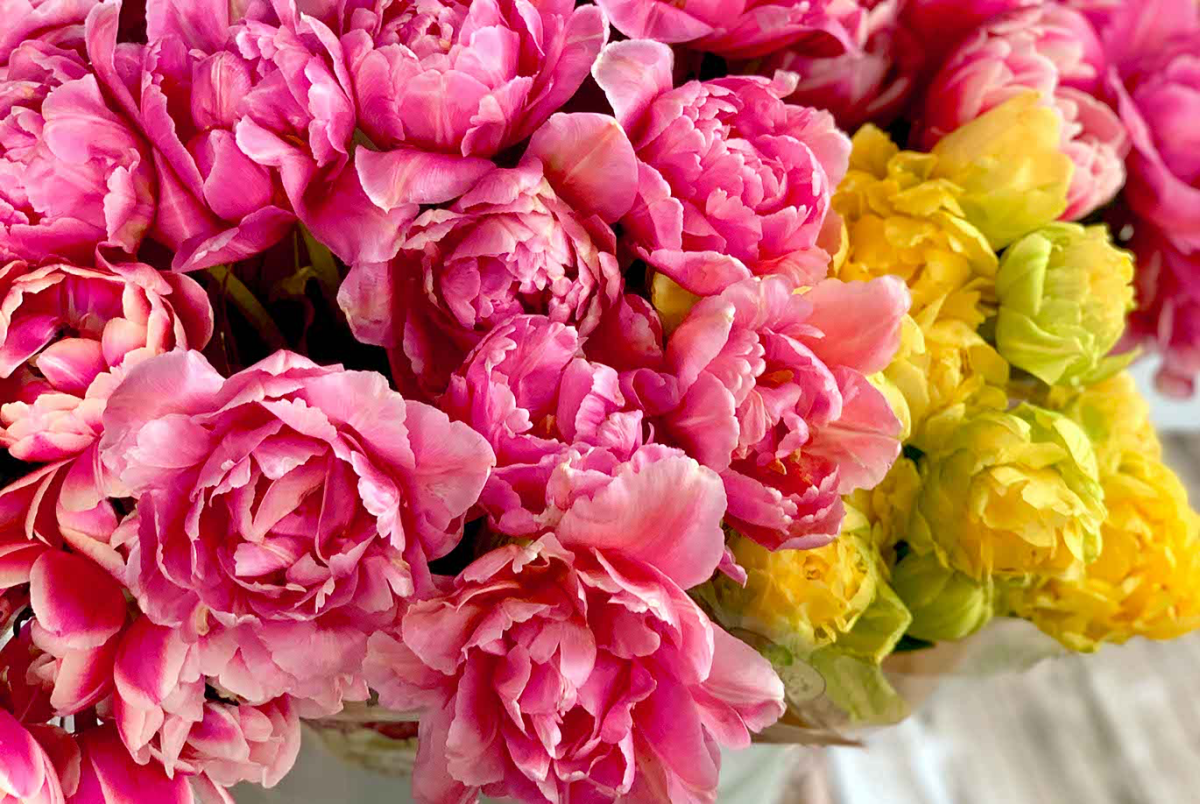
- ‘Angelique’: The quintessential peony tulip. She’s the ballerina of the garden—soft, creamy pink with hints of green, and incredibly full.
- ‘Black Hero’: A dramatic and moody one. It’s a sport of a famous single tulip, but this one is packed with deep, silky maroon petals. Absolutely stunning.
- ‘Copper Image’: This one is a chameleon. It opens a salmon-apricot color and morphs through shades of copper, pink, and orange. Truly unique.
- ‘Double Surprise’: Just a really happy-looking flower. It’s a beautiful combination of pure white with a bold raspberry-red flame.
Quick Troubleshooting: What If…?
Even with the best plans, things can go sideways. Here are a few common panic moments and what to do.
- …My stems are floppy and weak? This could be a few things: not enough direct sunlight, too much nitrogen fertilizer (especially late in the season), or you just picked a variety that’s naturally a bit top-heavy. Make sure they get at least 6 hours of sun and go easy on the food.
- …I see weird gray or yellow spots on the leaves? Uh oh. This might be a fungal disease called Tulip Fire. If you see it, the best and safest thing to do is carefully dig up the entire plant—bulb and all—and throw it in the trash, not your compost. This helps prevent it from spreading to your other bulbs.
- …I just got leaves but no flowers? This is the classic ‘blind’ bulb. It almost always means one of three things: the bulb didn’t get a long enough chilling period, it was a small or poor-quality bulb to begin with, or the foliage was cut back way too soon last year, so it didn’t have enough energy to make a flower.
Honestly, growing peony tulips is one of the most rewarding things you can do in a garden. It’s a little bit of fall effort for an absolutely unforgettable spring reward. Give them a try—you won’t regret it.


