Your Fence is Boring. Here’s How to Turn It Into a Living Wall.
I’ve seen it a thousand times. A brand new fence goes up for privacy or to keep the dog in, and then… that’s it. It just stands there, a stark, boring line cutting across the yard. But here’s a secret I learned a long time ago: a fence isn’t the end of a project. It’s the beginning.
In this article
Think of your fence as the ultimate garden accessory. It’s the backbone for a living green wall, a canvas for breathtaking flowering vines, and the perfect structure to add some much-needed depth and character to a flat, uninspired space. When you plant a fence line correctly, you’re not just hiding some wood or vinyl; you’re weaving the fence right into the fabric of your garden.
Sure, a lot of people just want to cover an ugly fence, and that’s a decent starting point. But we can do so much better. The right plants can soften those hard lines, create little microclimates for more delicate flowers, and even become a buffet and hotel for local birds and pollinators. It all comes down to seeing the fence as a partner, not a problem.
By the way, if you want a quick win, here’s the easiest thing you can do today: go out and clear all the grass and weeds in a two-foot-wide strip along the entire fence line. Just doing that removes competition for water and nutrients and officially creates your new planting bed. See? You’ve already started.
First, Let’s Play Detective in Your Yard
Before you even think about heading to the nursery, you have to get to know the space you’re working with. A plant that loves one side of your house might completely fail on the other. I once saw a homeowner spend a small fortune on a row of gorgeous evergreens, only to watch them turn yellow and struggle. The plants were fine; the problem was the unamended clay soil and the scorching afternoon sun reflecting off a white vinyl fence. A quick site check would have saved a lot of money and heartache.
Here’s what to look for.
Follow the Sun
Sunlight is plant food, plain and simple. You need to know exactly how much your fence line gets, so don’t just guess. Actually watch it for a full day. Note when direct sun hits the area and for how many hours. The direction your fence faces is a game-changer:
- North-facing fences: These are the shady spots, getting the least direct sun. They’re great for lush, green foliage plants but can be a real challenge for anything that needs sun to flower or fruit.
- South-facing fences: Welcome to the hot zone. These get the most intense sun all day. The fence itself can absorb and radiate heat, creating a microclimate that can be too much for some plants.
- East-facing fences: This is often the sweet spot. They get gentle morning sun but are protected from that harsh afternoon heat. Lots of plants are very happy here.
- West-facing fences: These get blasted by the hottest sun of the day in the afternoon. It can be super stressful for plants, often causing wilting and even sunburn on tender leaves.
Get Your Hands Dirty: Soil and Drainage
Let’s be honest, the soil right next to a fence is usually the worst on the property. It’s often compacted from construction and sometimes full of leftover debris. Good drainage is non-negotiable.
Here’s a quick way to test it: dig a hole about a foot deep and a foot wide. Fill it with water and let it drain. Then, fill it up again. If the water is still sitting there 12 hours later, you’ve got a drainage issue.
A simple soil test kit from a garden center or your local cooperative extension office is a fantastic investment, usually costing between $15 and $25. It will tell you about the soil’s pH (whether it’s acidic or alkaline) and its basic texture. So what do you do with that info?
- If you have heavy clay soil: Don’t panic! This is super common. The fix is to add organic matter. Spread a 3-inch layer of compost over the entire planting area and use a digging fork or tiller to work it into the top 8-12 inches of soil. This breaks up the clay and improves drainage.
- If your soil pH is off: Most plants are happy in a neutral range. If your test shows very acidic soil, you can add garden lime to raise the pH. If it’s too alkaline, adding elemental sulfur or sphagnum peat moss will lower it. The test kit instructions will guide you.
The “Before You Dig” Checklist
This is the boring part everyone tries to skip, but it’s the single most important step to avoid huge headaches. Seriously.
First, double-check your property lines. Don’t just assume the fence is in the right spot. Second, look up the rules for your town and any Homeowner’s Association (HOA). Some have weirdly specific rules about plant heights or even forbid certain species. Finally, and I can’t say this loudly enough: Call 811 before you dig. It’s a free national service that gets utility companies to come out and mark underground gas, water, and electric lines. Hitting one of those is not only crazy dangerous but can also land you with a massive repair bill.
What Job Do You Need These Plants to Do?
Okay, with the prep work done, it’s time for the fun part. I think of fence line plants in two simple categories based on the job they’re doing.
- The Privacy Screen: This is your living wall. We’re talking evergreen shrubs or trees planted in a row to form a dense hedge that blocks views and gives you a solid green backdrop all year long.
- The Decorative Climbers: These are the artists. They use the fence as a canvas to splash on color, texture, and seasonal beauty. They take up almost no ground space, which makes them perfect for smaller yards.
Building the Living Wall: Hedges for Privacy
A hedge is a long-term relationship; it takes a few years to really fill in. The biggest mistake people make is planting them too close together, hoping for instant results. This just leads to overcrowded, stressed-out plants that are prone to disease. Patience and proper spacing are your best friends here.
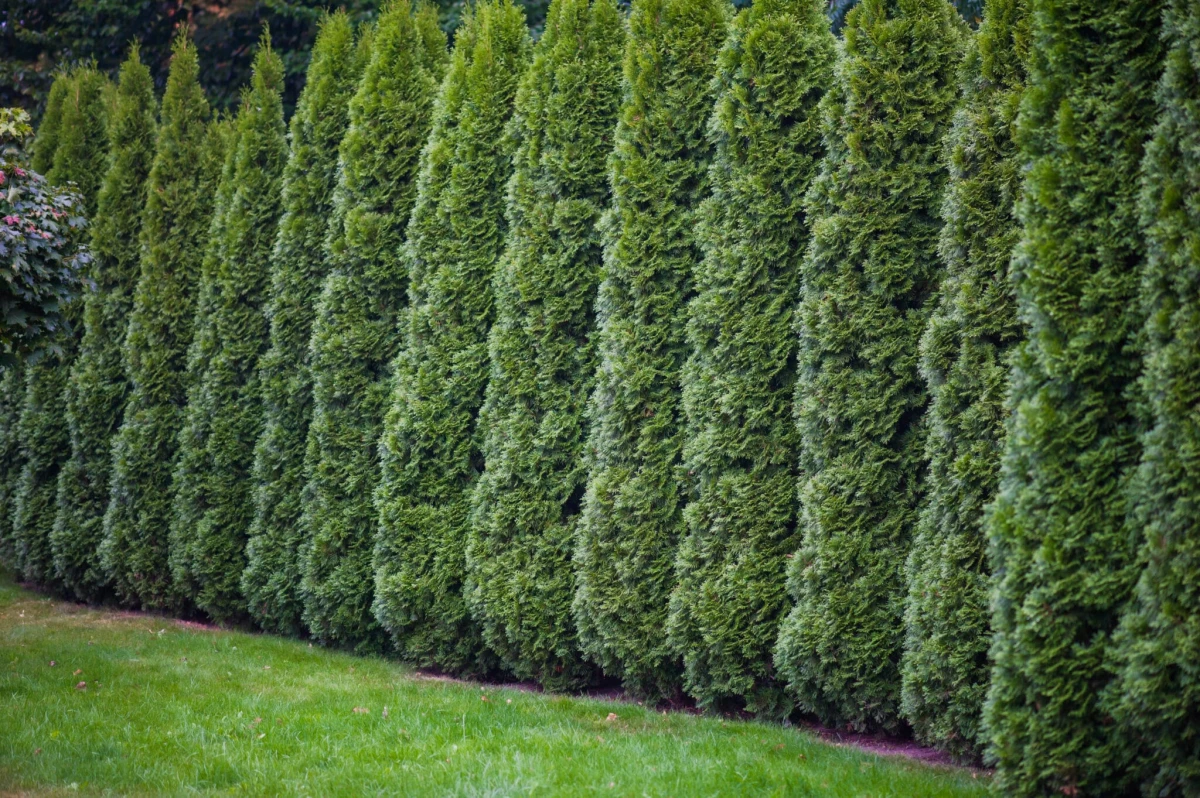
1. Arborvitae
This is the classic privacy screen for a reason. It’s dense, evergreen, and grows relatively quickly. But choosing the right type is everything.
- The Lowdown: These plants need at least 6 hours of full sun to stay thick and full. In too much shade, they get thin and leggy. For the popular ‘Emerald Green’ variety, which gets about 3-4 feet wide, you’ll want to plant them 3 feet apart (measuring from the center of each plant). For a bigger, faster variety like ‘Green Giant,’ which can get 15 feet wide, you need to space them at least 6 to 8 feet apart. Expect to pay between $30 and $70 for a decent 5-gallon plant at a nursery.
- Heads up! Deer think Arborvitae are the most delicious snack on the planet. If you have a lot of deer, you might want to consider another option or be prepared to protect them, especially when they’re young.
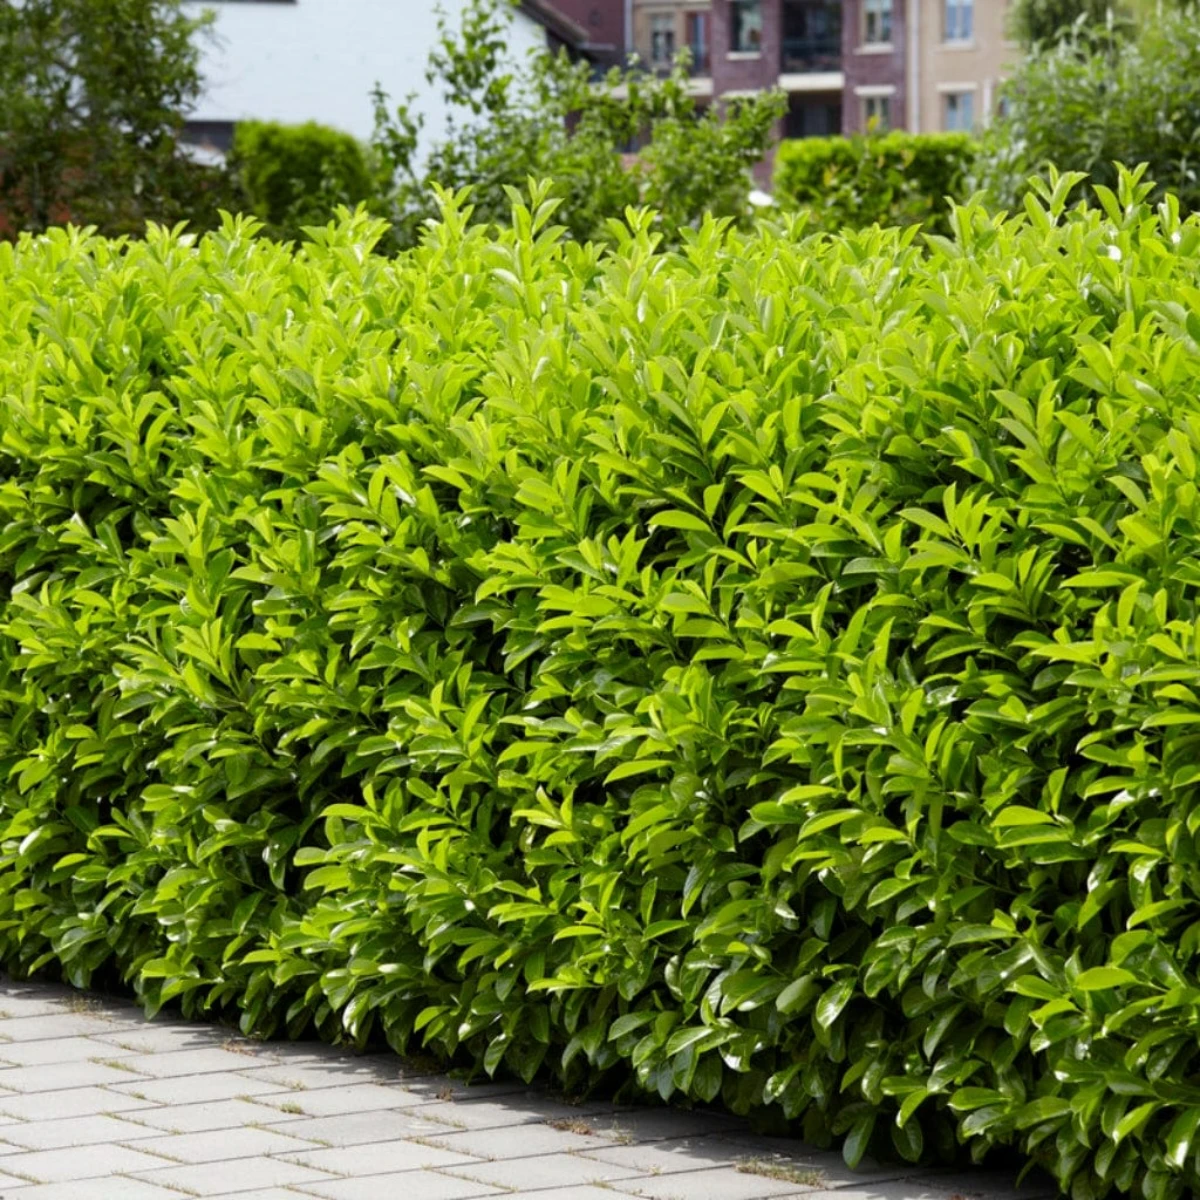
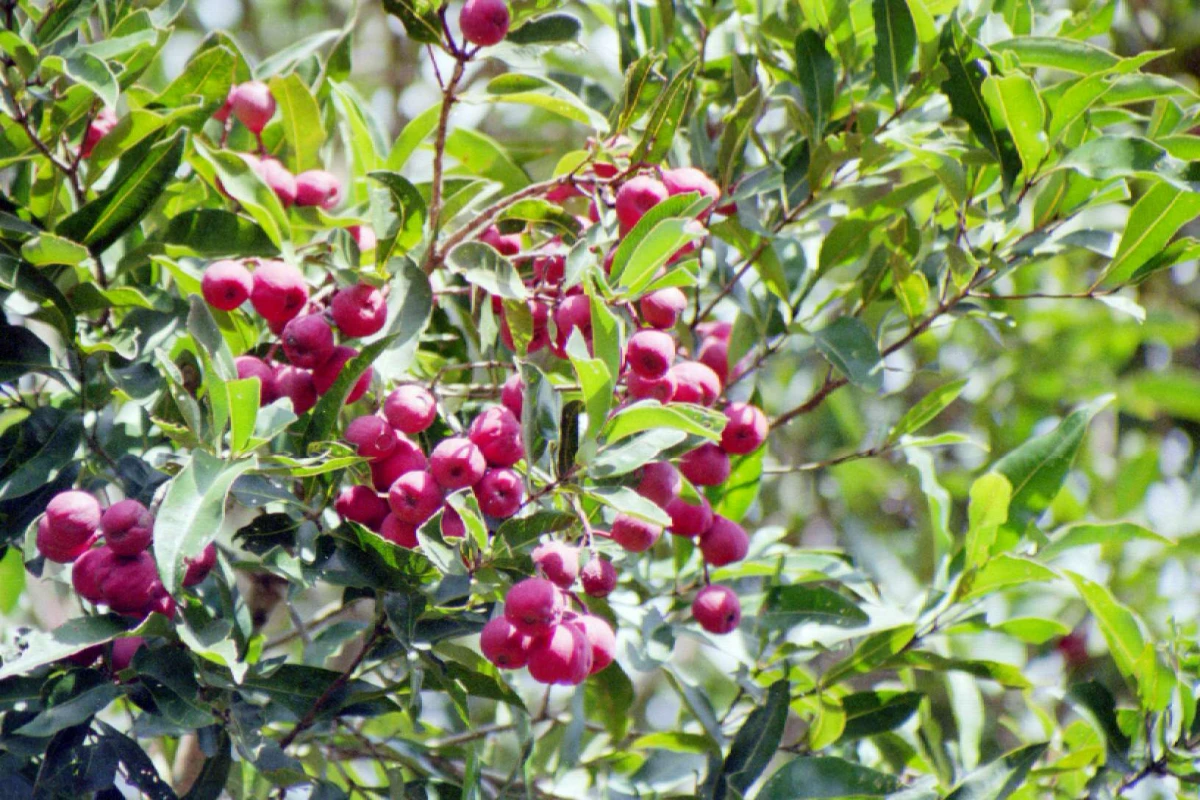
2. Cherry Laurel
For a broadleaf evergreen look, Cherry Laurel is an absolute workhorse. Its big, glossy leaves create a dense, dark green screen that makes everything you plant in front of it really pop. It handles both sun and part shade well. The catch? It grows fast, so you have to be willing to prune it once a year to keep it in check. A well-maintained laurel hedge is so dense you can’t see through it. (A quick safety note: the leaves and berries are toxic if eaten by people or pets, so keep that in mind.)
3. Yew (Taxus)
If you’ve got a shadier spot, Yew is one of your best bets. These are deep-green, slow-growing conifers that are incredibly tolerant of shade and heavy pruning. You can shear them into a super formal, sharp-edged hedge or let them grow into a softer, more natural form. They’re also much more deer-resistant than Arborvitae. They are slow growers, so you’ll need patience, but the result is a truly elegant, long-lived hedge.
So, Which Hedge is for You?
Let’s break it down without a complicated chart.
- For the fastest privacy in a sunny spot: Go with Arborvitae ‘Green Giant’. It’s a beast and will fill in quickly, but remember the deer warning.
- For a classic, formal look in sun or part shade: Cherry Laurel is great if you’re okay with annual pruning. For a more refined, slow-and-steady option, Yew is top-tier.
- For a genuinely shady fence line: Yew is the undisputed champion. It’s one of the few evergreens that truly thrives without a lot of direct sun. Climbing Hydrangea (more on that later) is another fantastic shade solution.
- On a budget: Arborvitae is often the most budget-friendly option per plant, especially when buying smaller sizes. Yews tend to be a bit more of an investment.
The Climbers: Painting on Your Fence Canvas
Vines are the ultimate space-savers, giving you a huge visual payoff for a tiny footprint. The trick is understanding how they climb and giving them the right support. A good quality 2-gallon climbing plant will usually set you back about $25.
1. Clematis
Clematis offers an incredible variety of flower shapes and colors. The key to success is knowing one simple thing: they climb by wrapping their skinny leaf stalks around things. This means they need a support that’s thin—think wire, string, or plastic mesh, no thicker than a pencil. They can’t grab onto a fence post. You need to install a trellis or a wire grid for them to climb on. Also, remember the old saying: “feet in the shade, head in the sun.” Plant the base where it will be shaded by other plants, but let the vine grow up into the sunshine.

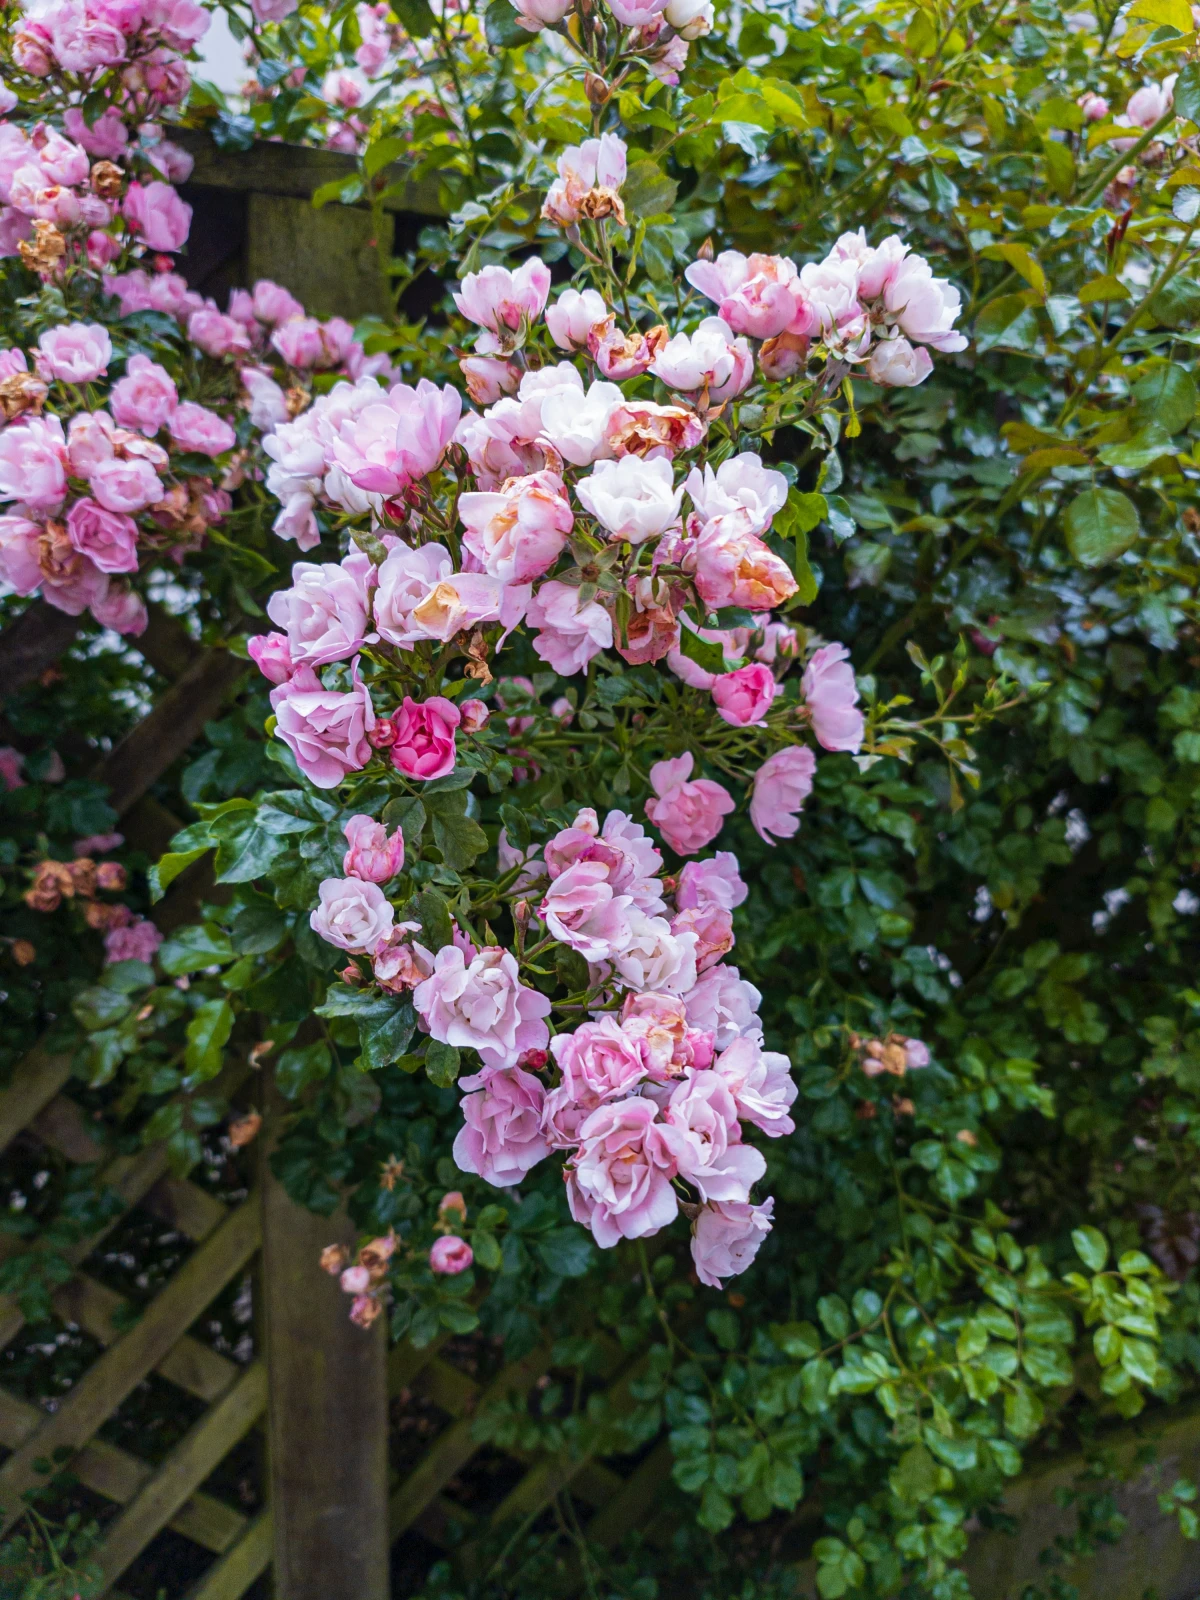
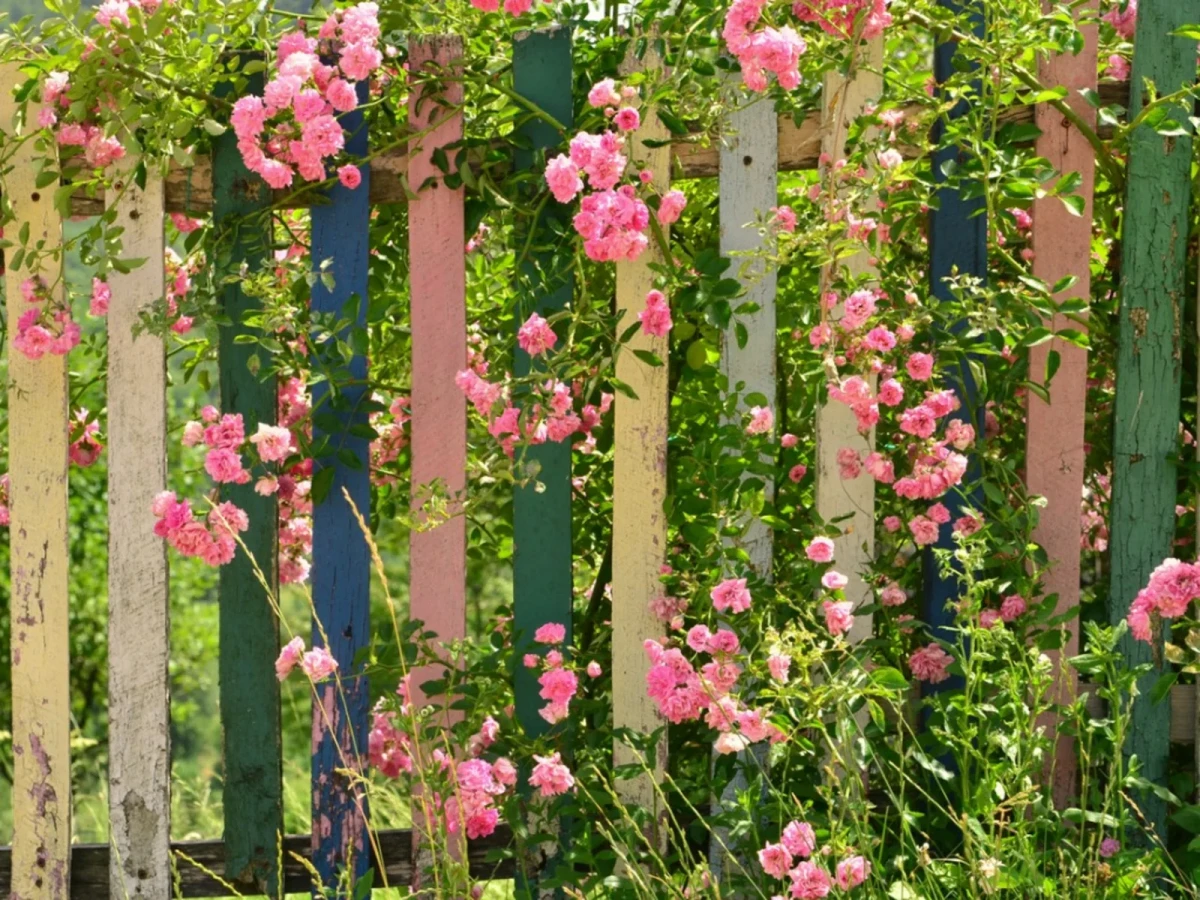
2. Climbing Roses
Nothing says ‘dream garden’ like a climbing rose. But here’s the thing: they don’t actually climb on their own. They’re basically just shrubs with really long, flexible canes that you have to physically tie to a support. The secret to getting tons of flowers is to train the main canes as horizontally as you can. This tricks the plant into sending up a whole bunch of short, flower-producing shoots all along the cane. If you just let it grow straight up, you’ll only get flowers at the very top. Use soft garden twine or stretchy tape to tie them in place.
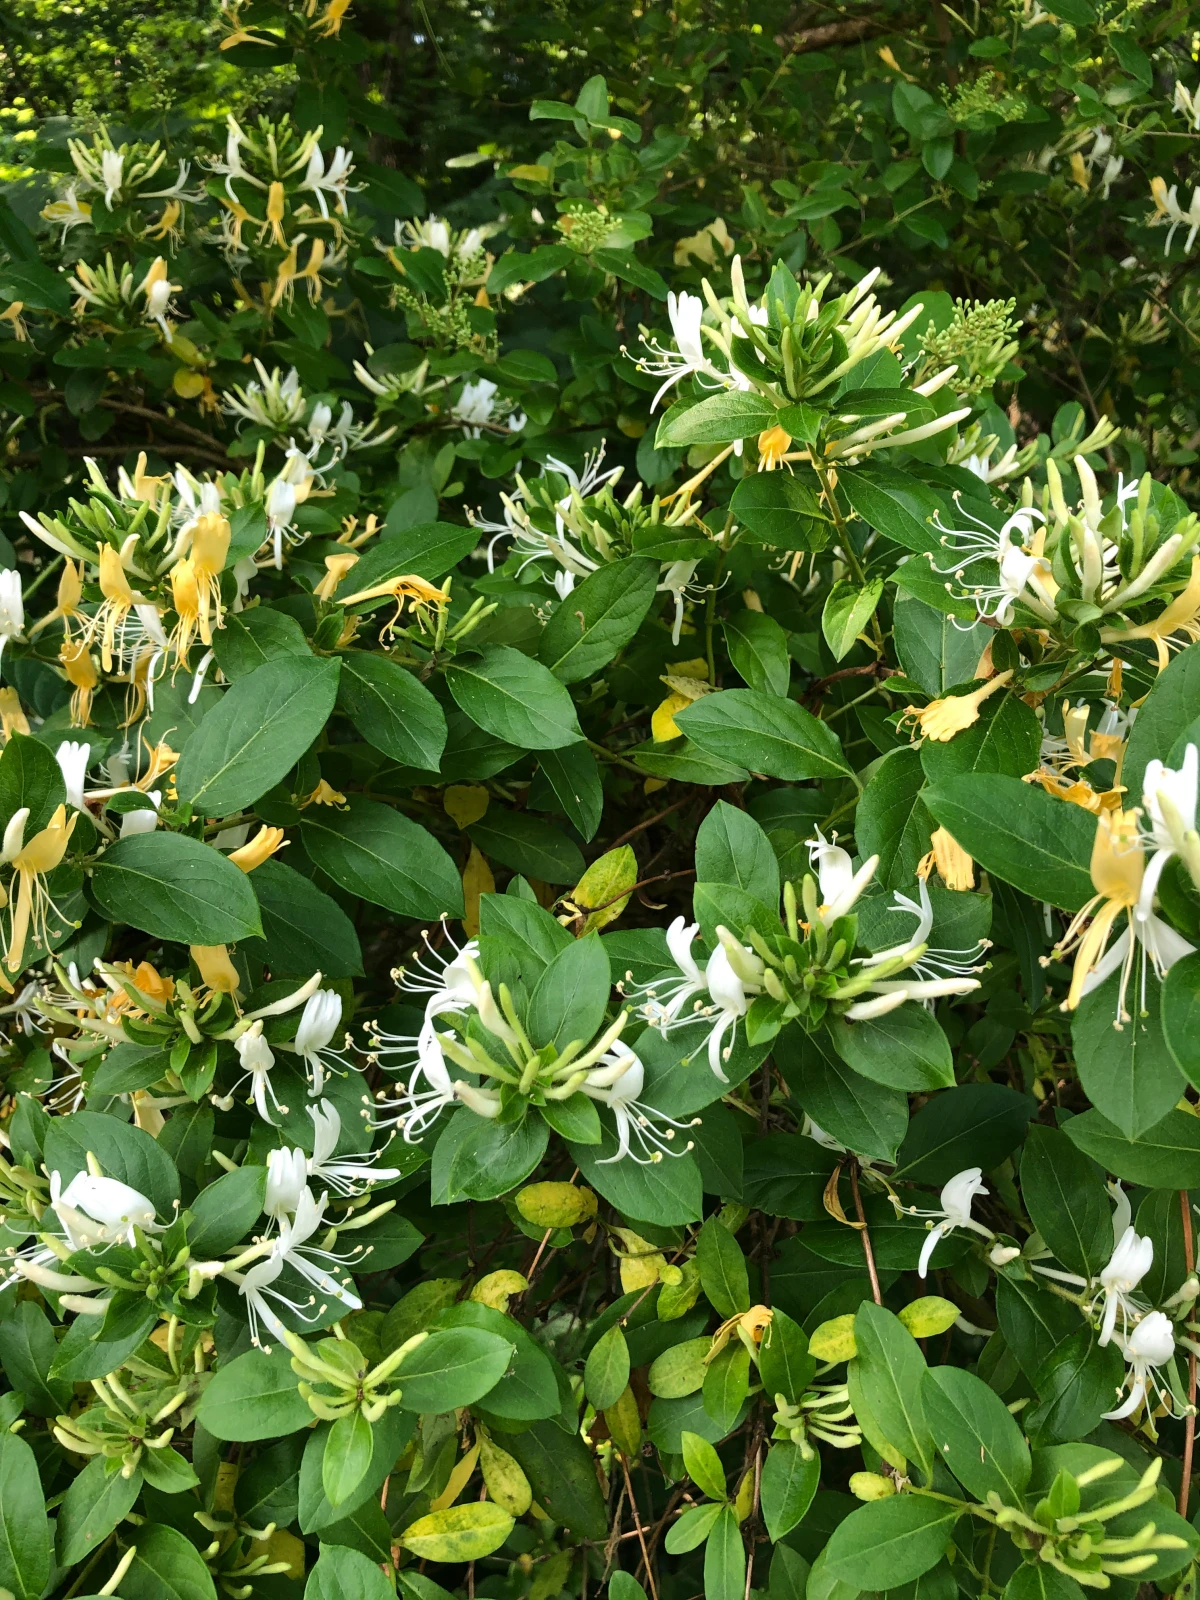
3. Honeysuckle (The Good Kind!)
Honeysuckle vines are vigorous, have wonderfully fragrant flowers, and are hummingbird magnets. But you have to be careful here. The common Japanese Honeysuckle is terribly invasive in North America and should never be planted. It escapes gardens and chokes out native plants. Instead, look for a beautiful and well-behaved native variety like Coral Honeysuckle. It has gorgeous red or yellow trumpet-shaped flowers, plays well with others, and is a true hummingbird favorite. Choosing native plants is always a smart move.
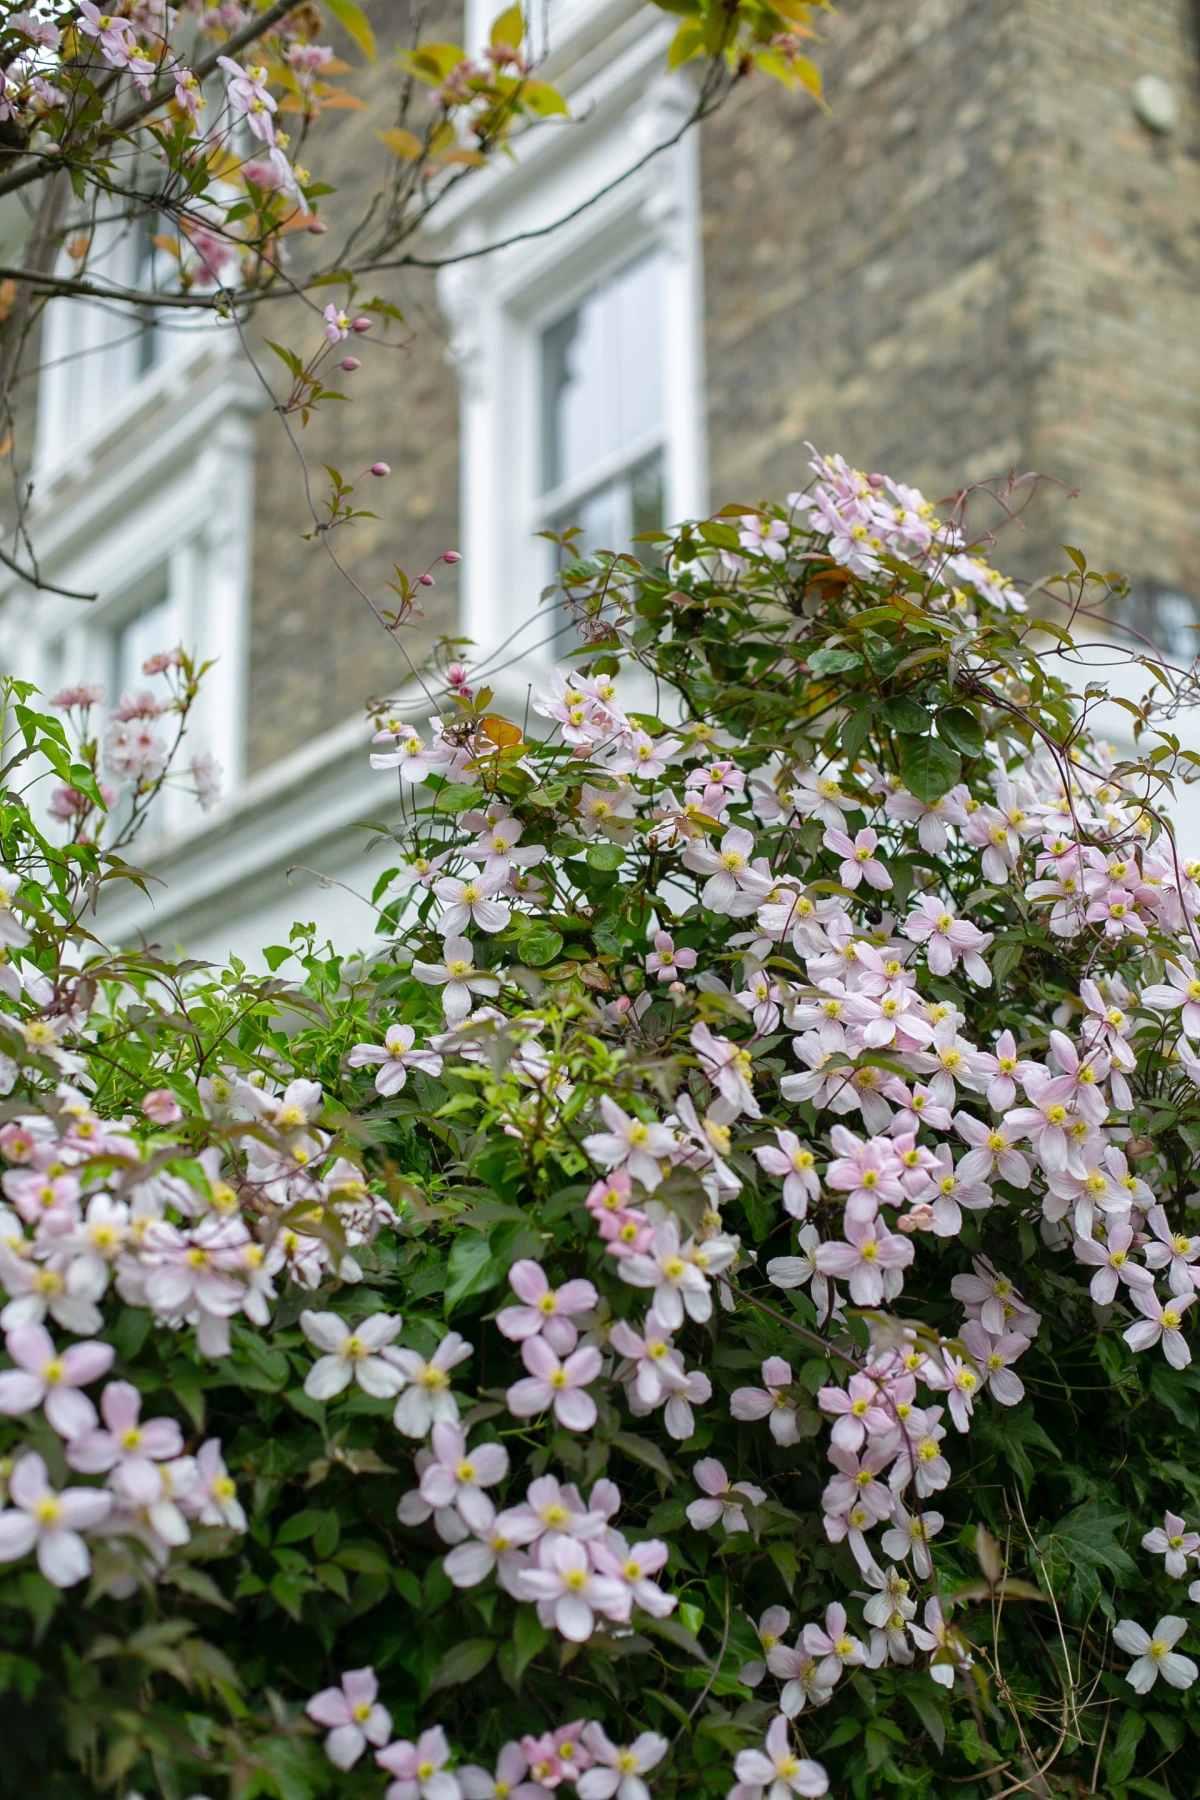
Let’s Talk About Climbing Hydrangea
Most hydrangeas are shrubs you plant in front of a fence. But there is one true climber: the Climbing Hydrangea. This is a magnificent vine, but it has its quirks. It climbs by sending out little aerial rootlets that cling directly to surfaces like wood, brick, or stone. It’s also famous for being incredibly slow to start. The saying goes, “First year it sleeps, second year it creeps, third year it leaps.” You need patience and a very strong support, as it can get huge and heavy over time. It’s an amazing choice for a shady north or east-facing fence where not much else will thrive.
Your Toolkit for Success (and a Quick Safety Story)
Having the right tools makes the job so much better. For pruning, you’ll want a good pair of bypass pruners. You can get a perfectly good pair from a brand like Fiskars for about $25. If you’re going to be doing a lot of pruning for years to come, investing in a pair of Felco pruners for $70+ is worth it—they can last a lifetime.
And please, be safe. Always wear gloves and sturdy shoes. When you’re pruning, wear eye protection. This isn’t optional. I learned this the hard way years ago when I was trimming a shrub and a branch whipped back and caught me just below the eye. It was a stupid, preventable accident that taught me to never prune without safety glasses again. That stuff sticks with you.
The “Don’t Kill Your New Plants” Watering Plan
This is where most beginners go wrong. New plants are thirsty as they get established.
- For the first month: Give your new plants a deep, slow soaking right at the base 2-3 times a week (unless you get a good, soaking rain).
- For the rest of the first growing season: A deep watering about once a week is usually plenty, unless you’re in a heatwave.
A simple fence line is an incredible opportunity. With a bit of planning and the right plants, you can transform a boring boundary into one of the most beautiful parts of your garden. It’s an investment that pays you back for years with beauty, privacy, and a real connection to your outdoor space.
Inspirational Gallery with Photos
Wire Trellis: Sleek and minimalist, a wire system (using eye hooks and galvanized wire) is nearly invisible once covered. It’s perfect for delicate climbers like Clematis that use tendrils to cling, and it won’t trap moisture against a wooden fence.
Wooden Lattice: Offers immediate decorative impact and a classic cottage feel. It’s ideal for robust, twining vines like Wisteria or Honeysuckle that need substantial support. Just be sure to mount it a few inches off the fence to allow for air circulation.
A study by the EPA found that vegetated surfaces can be up to 50°F (28°C) cooler than unshaded, hard surfaces like a bare fence or wall.
That’s not just a number. By clothing your fence in green, you’re creating a natural air conditioner for your patio or seating area, making your outdoor space significantly more comfortable on hot summer days.
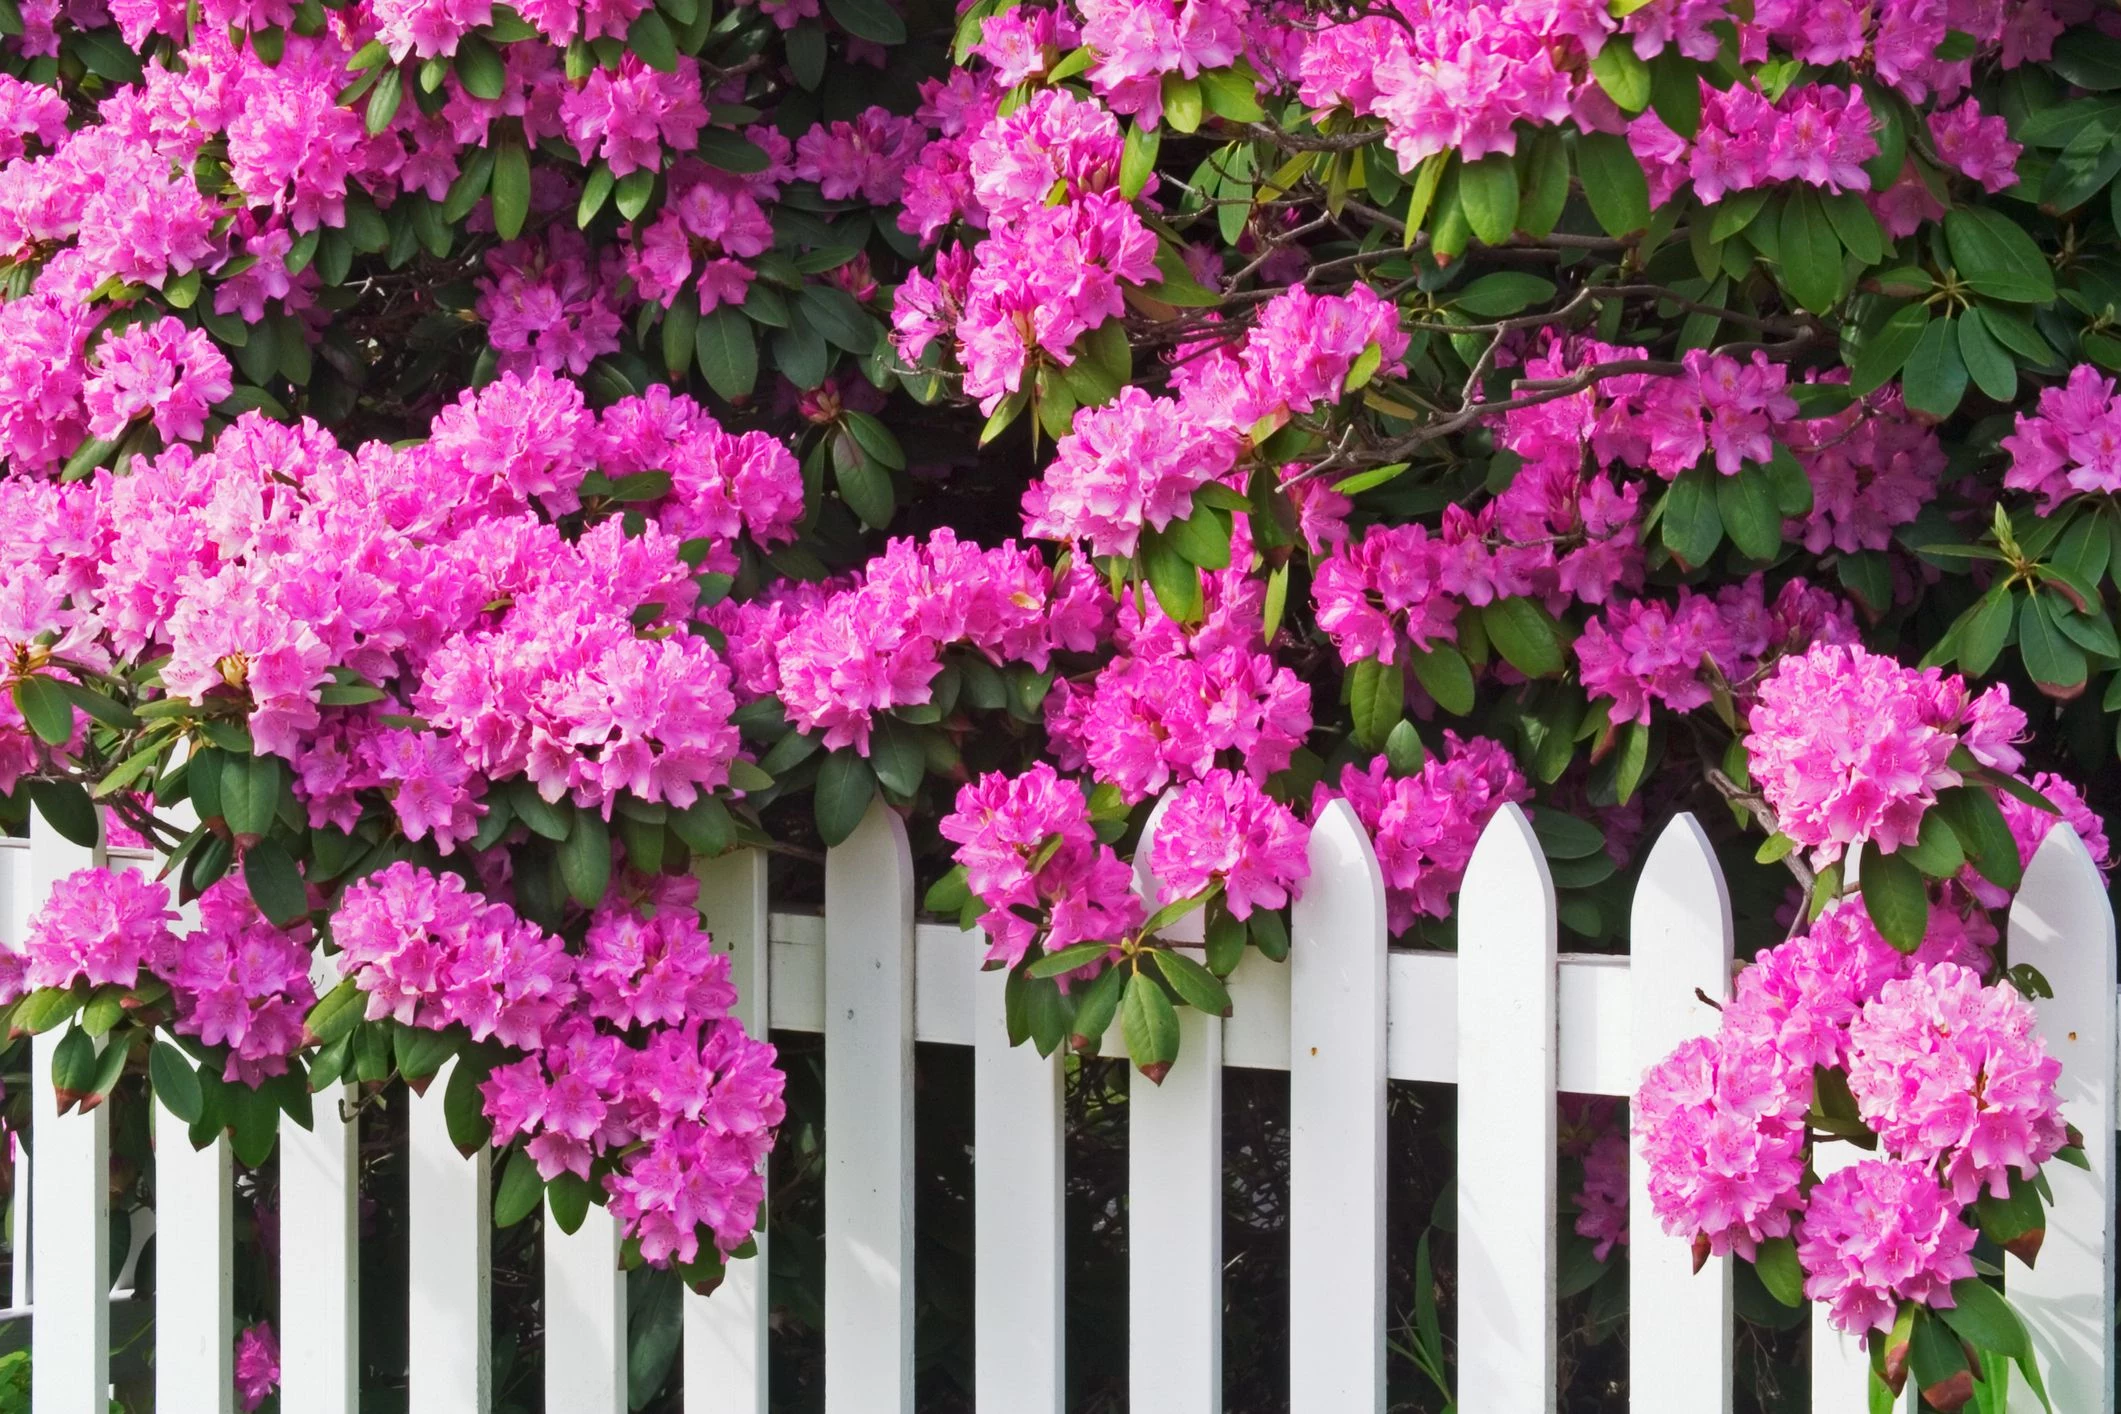
Don’t just think green. Think like a painter. A dark-stained fence makes bright colors pop—imagine the fiery reds of a trumpet vine or the shocking pink of a ‘Princess Diana’ clematis. Conversely, a white or light-colored fence provides a serene backdrop for cool tones like the blues and purples of morning glories or the soft lavender of certain wisteria varieties.
Will my climbing plants damage my fence?
It depends entirely on the plant’s climbing method. Twining vines (like Wisteria) or those with adhesive pads (like Boston Ivy) can indeed work their way into cracks and damage wood or mortar over time. However, plants that climb with tendrils or hooks, such as Sweet Peas or most Clematis, simply wrap around their support. For these, a trellis or wire system installed an inch or two away from the fence is the perfect, damage-free solution.
A crucial detail: Always leave a gap of at least 2-3 inches between your trellis support and the fence itself. This space is vital for air circulation, which helps prevent moisture buildup, mildew, and rot on a wooden fence. It also gives twining vines the room they need to wrap around the support structure properly.
For a quick, low-commitment burst of color, look no further than annual vines. They grow incredibly fast, covering a fence in a single season, and won’t require the long-term pruning of their perennial cousins.
- Morning Glory ‘Heavenly Blue’: For an unbeatable, classic sky-blue display from summer to first frost.
- Black-Eyed Susan Vine (Thunbergia alata): Cheerful yellow or orange flowers with a distinctive dark center.
- Sweet Pea: Offers beautiful pastel colors and, best of all, an unforgettable sweet fragrance.
- Creates a multi-sensory experience with delightful scents wafting across the yard.
- Adds a romantic, timeless feel, especially in the evening.
- Attracts nighttime pollinators like moths.
The secret? Planting for fragrance. A single Star Jasmine (Trachelospermum jasminoides) or a climbing rose like ‘Gertrude Jekyll’ can transform your fence line from a purely visual feature into an immersive aromatic journey.
The ancient art of espalier, training fruit trees to grow flat against a wall, dates back to the Romans and was perfected in medieval European castles.
You don’t need a castle wall to do it. A simple fence is the perfect modern-day structure for training apple, pear, or even fig trees. Using a wire guide system, you can create a living, productive work of art that saves space and makes harvesting a breeze.
Why stop at just ornamental? Your fence line can easily become one of the most productive parts of your garden. Install a sturdy trellis and grow ‘vining’ vegetables vertically. Runner beans and pole beans will scramble up with enthusiasm, while certain varieties of squash and indeterminate tomatoes (like ‘San Marzano’) can be trained upwards, saving ground space and making your fence a source of fresh food.
- Drill
- Wire cutters
- Pliers
- Tape measure
- Level
- Vine eyes (screw-in metal eyelets)
- Galvanized wire (12 or 14 gauge)
- Turnbuckles (to keep the wire taut)


