Don’t Kill Your Rosemary This Winter: A Foolproof Guide
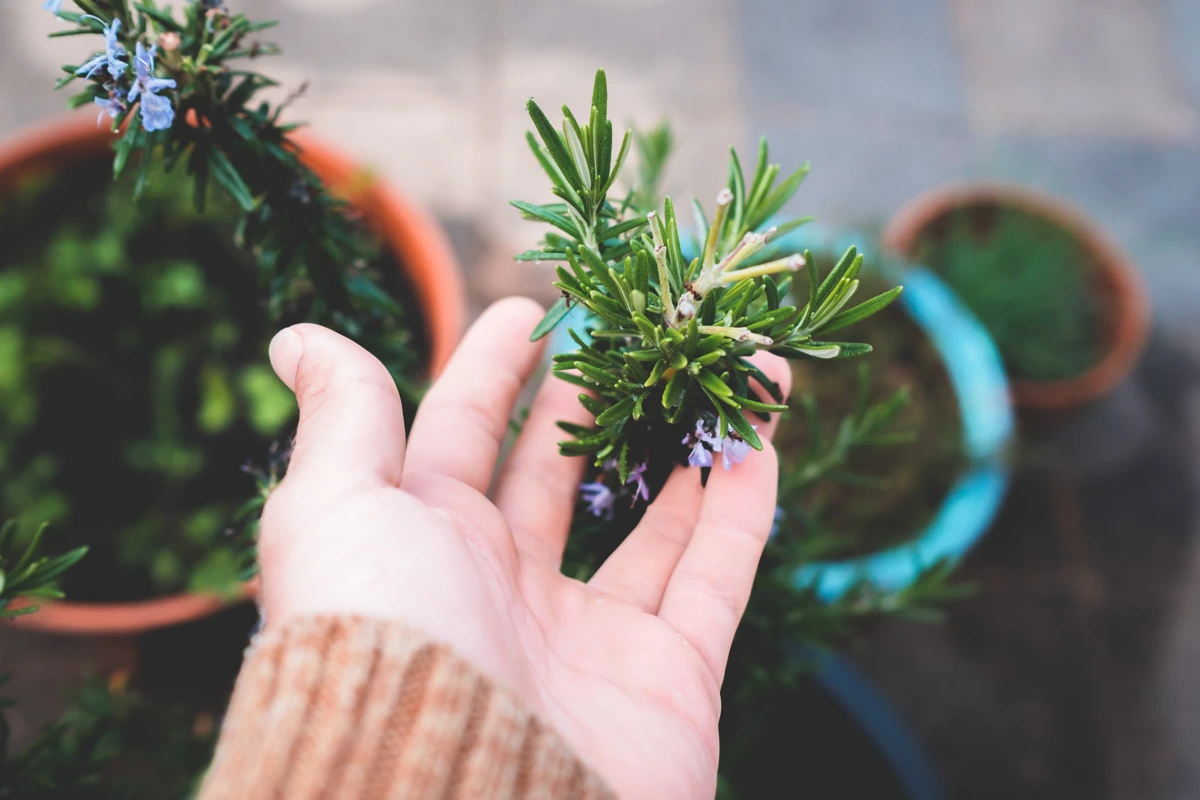
I’ve been working with plants for a long, long time. And one of the toughest lessons I ever learned came from a magnificent, five-year-old rosemary bush that had scented my whole patio all summer. I made a simple mistake bringing it inside for the winter, and… poof. It was gone. That’s when I realized rosemary isn’t just another herb. It’s a semi-woody shrub that thinks it still lives in the sunny, breezy Mediterranean. To keep it happy through a cold, dark winter, you have to learn how to think like it does.
In this article
So many people get frustrated with rosemary because they treat it like their other houseplants. They give it too much water, not enough light, and then wonder why it gives up the ghost by January. This isn’t just a checklist; it’s about learning to read the plant and give it what it’s truly asking for. Let’s get into the pro techniques that will give your rosemary its best shot at a comeback tour next spring.
Why Your Rosemary Is So Dang Picky
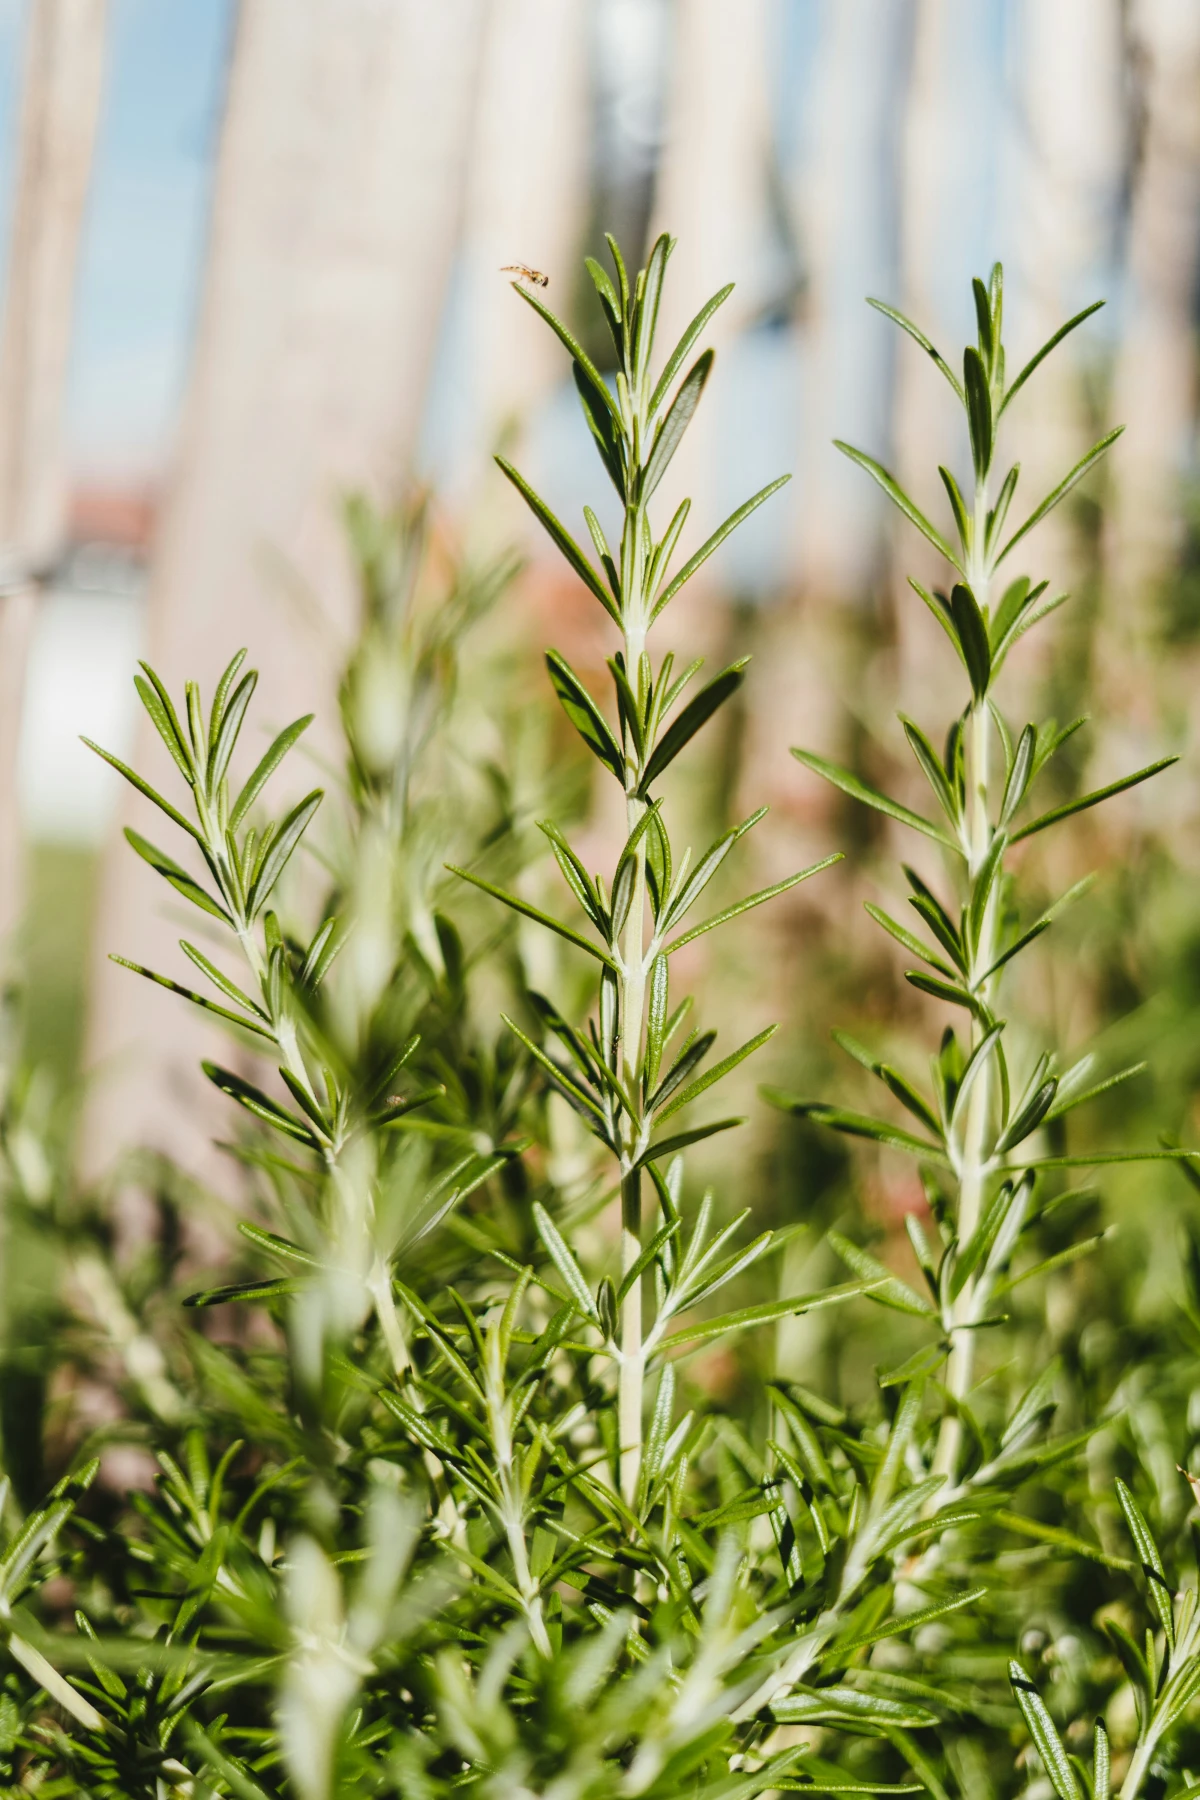
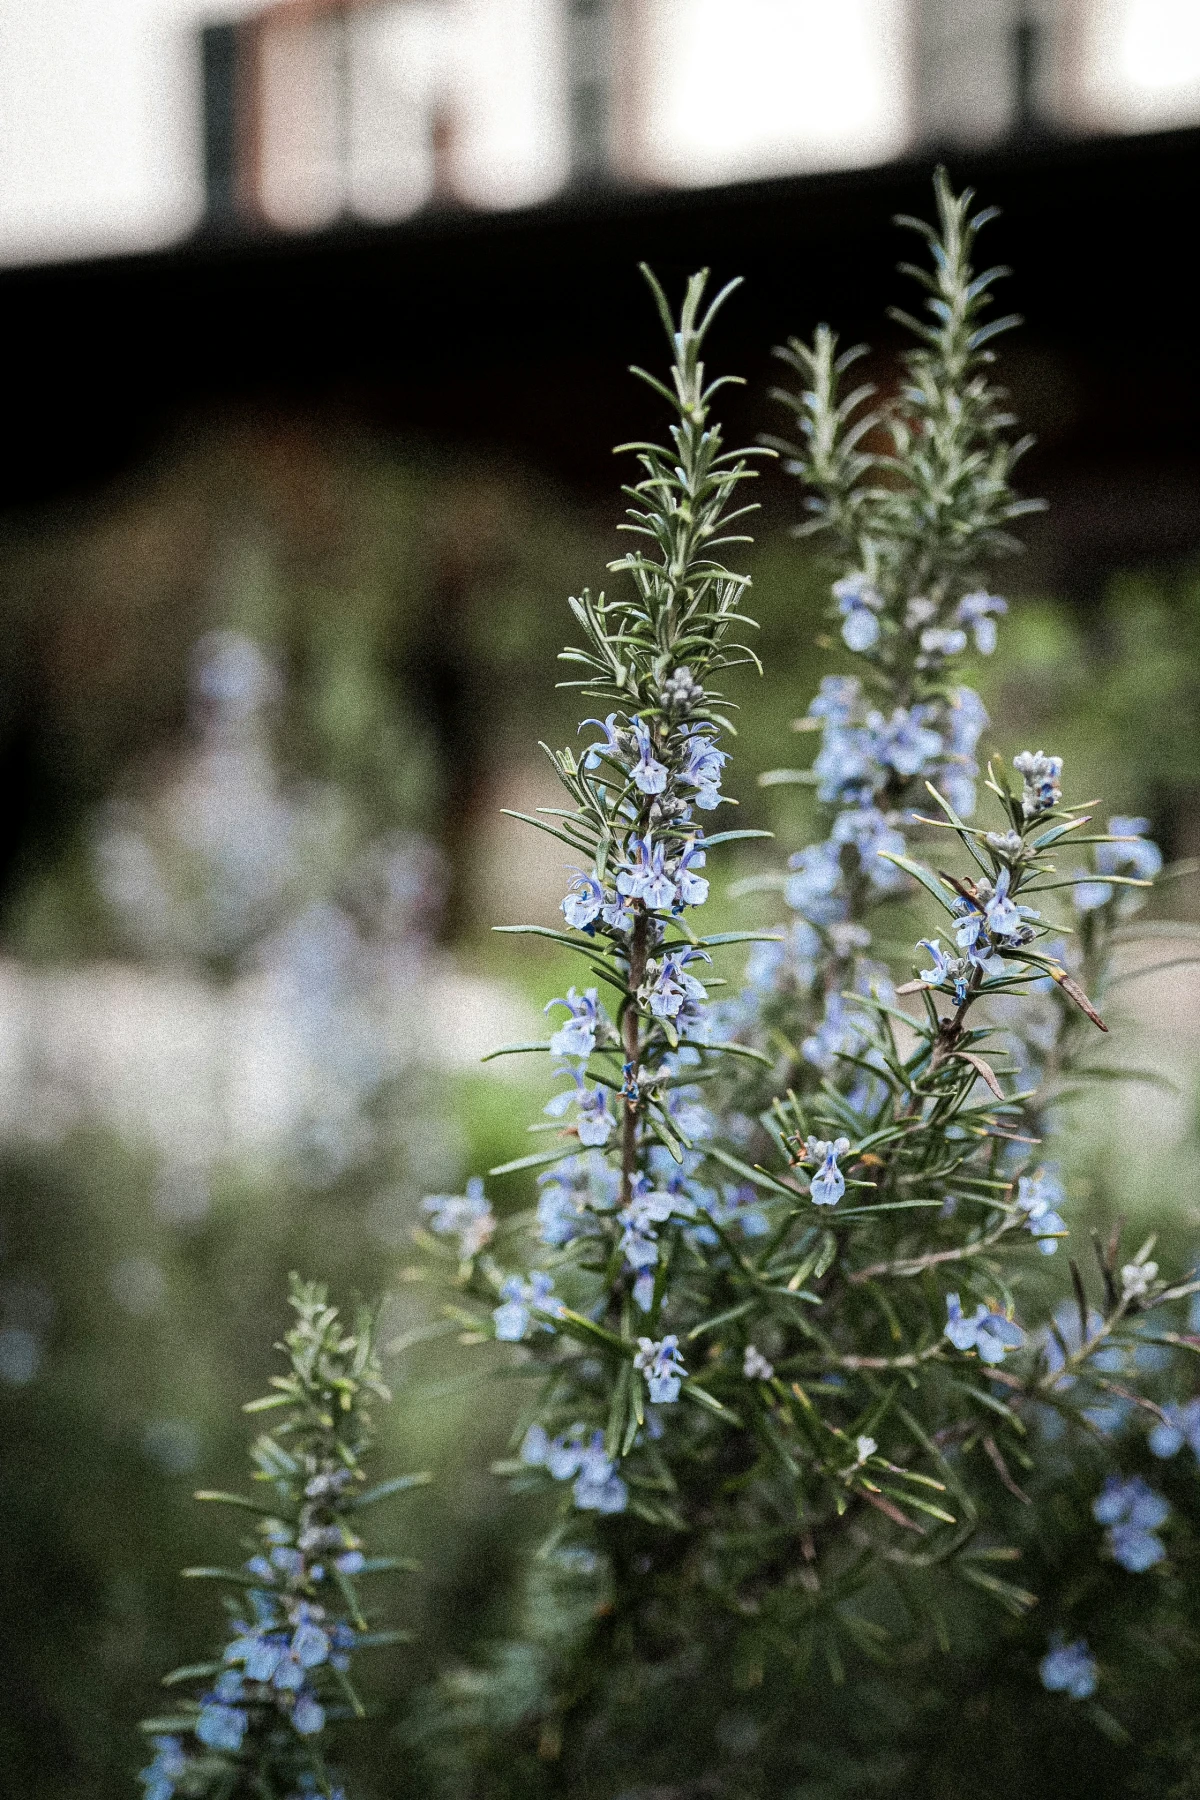
Before we even think about pots or soil, we have to get inside this plant’s head. It comes from a place with hot sun, rocky soil, and not a lot of rain. Its entire being is designed to handle those conditions. And honestly, its roots are its biggest weakness when things get cold and wet.
Rosemary roots evolved in gritty, sandy soil that lets water rush right past. They absolutely need oxygen to live. When you stick them in heavy, standard potting soil and keep it damp, the water pushes out all the air. The roots can’t breathe, and they start to suffocate and rot. Root rot is, without a doubt, the number one killer of wintered-over rosemary. Understanding this one thing is half the battle.
Oh yeah, and then there’s the light situation. Plants aren’t dumb; they know winter is coming because the days get shorter. This tells rosemary to slow down and conserve energy. But when we bring it into a warm, 70-degree house with dim light, we send it the most confusing signals ever. The warmth screams “Grow!” while the terrible light whispers “Sleep!” This conflict makes the plant produce weak, spindly new growth that’s a magnet for pests. Our job is to find that happy medium: enough light to stay healthy, but cool enough temps to keep it resting.
The Big Decision: In the Ground or in a Pot?
Your strategy completely depends on where you live. The USDA Hardiness Zone map is a good starting point, but it’s not the whole story. It just tells you the average coldest temperature in your area.
- Zone 8 and warmer: You’re golden. Your rosemary should be perfectly fine outside all year with very little fuss.
- Zone 7: This is the nail-biter zone. With the right spot and some protection, you can often pull it off. A warmer Zone 7b has better odds than a 7a.
- Zone 6 and colder: Don’t even try it. Your rosemary absolutely must be in a container that you can bring indoors.
But remember, I’ve seen rosemary perish in a Zone 8 garden with dense, clay soil, and I’ve seen one thrive in a protected Zone 7 spot against a south-facing brick wall. That little bubble of warmth is called a microclimate, and it can make a world of difference.
So, what’s the game plan? It really comes down to one question. If you leave it in the ground, your biggest enemy is a deep freeze and soggy winter soil. Your main job is all about proper placement and protection. If you bring it inside in a pot, the script flips. Now, your biggest threat is you—specifically, killing it with kindness through overwatering and terrible light. The challenge shifts from battling nature to recreating it indoors.
Staying Outside (Zones 7-8)
If you’re in a borderline zone, you can’t just cross your fingers. For a better shot at survival, pick a tougher variety from the start. Look for names like ‘Arp’ or ‘Hill Hardy’ at the nursery; they’re known for being more resilient to cold.
Here’s how to prep for the cold:
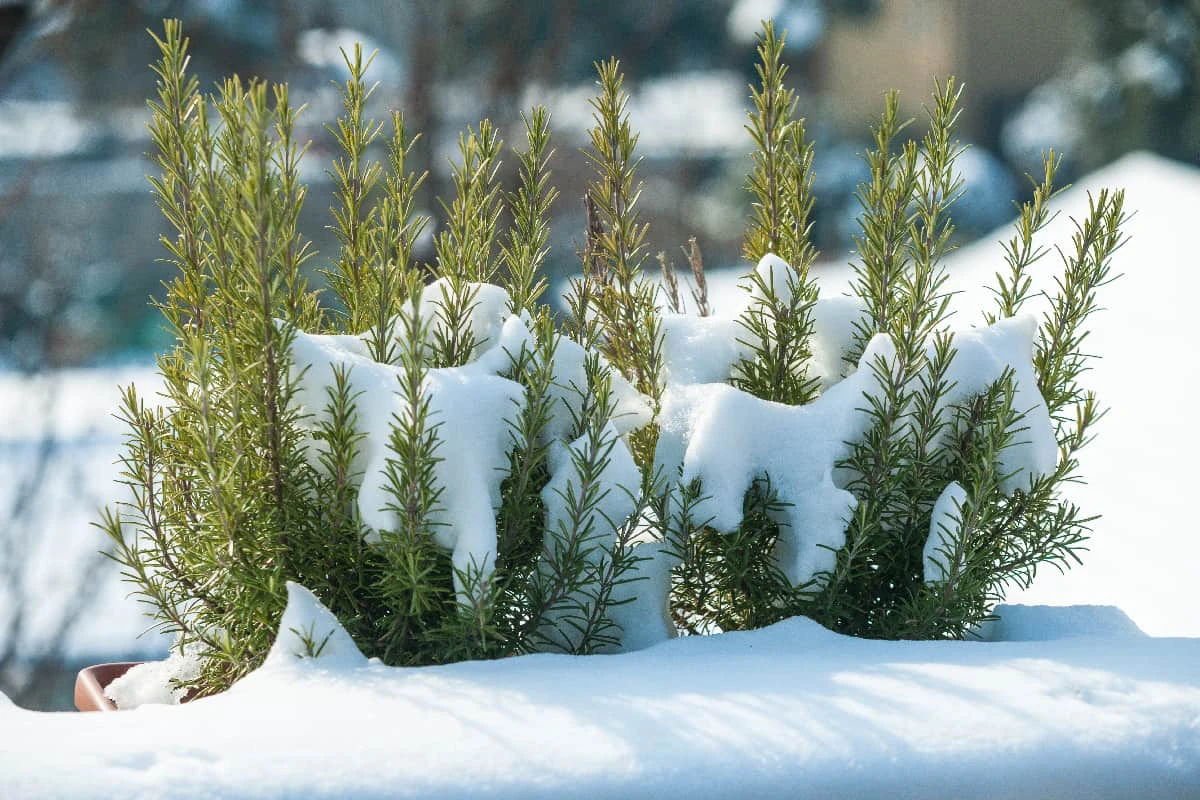
- Pick the Right Spot: It needs at least 6-8 hours of direct sun, even in winter. And drainage is everything. If you have heavy clay, you have to amend it. Mix in compost and, more importantly, coarse sand or fine gravel to make it grittier. Planting on a little slope or in a raised bed is even better.
- Mulch the Right Way: Mulch insulates roots from a brutal freeze-thaw cycle. In late fall, after the first light frost (that 29-32°F range) but before a hard freeze (below 28°F), add 2-3 inches of light, airy mulch like shredded bark or pine straw. Heads up! Never pile mulch right up against the stem. Leave a 2-3 inch gap around the base to prevent the crown of the plant from rotting.
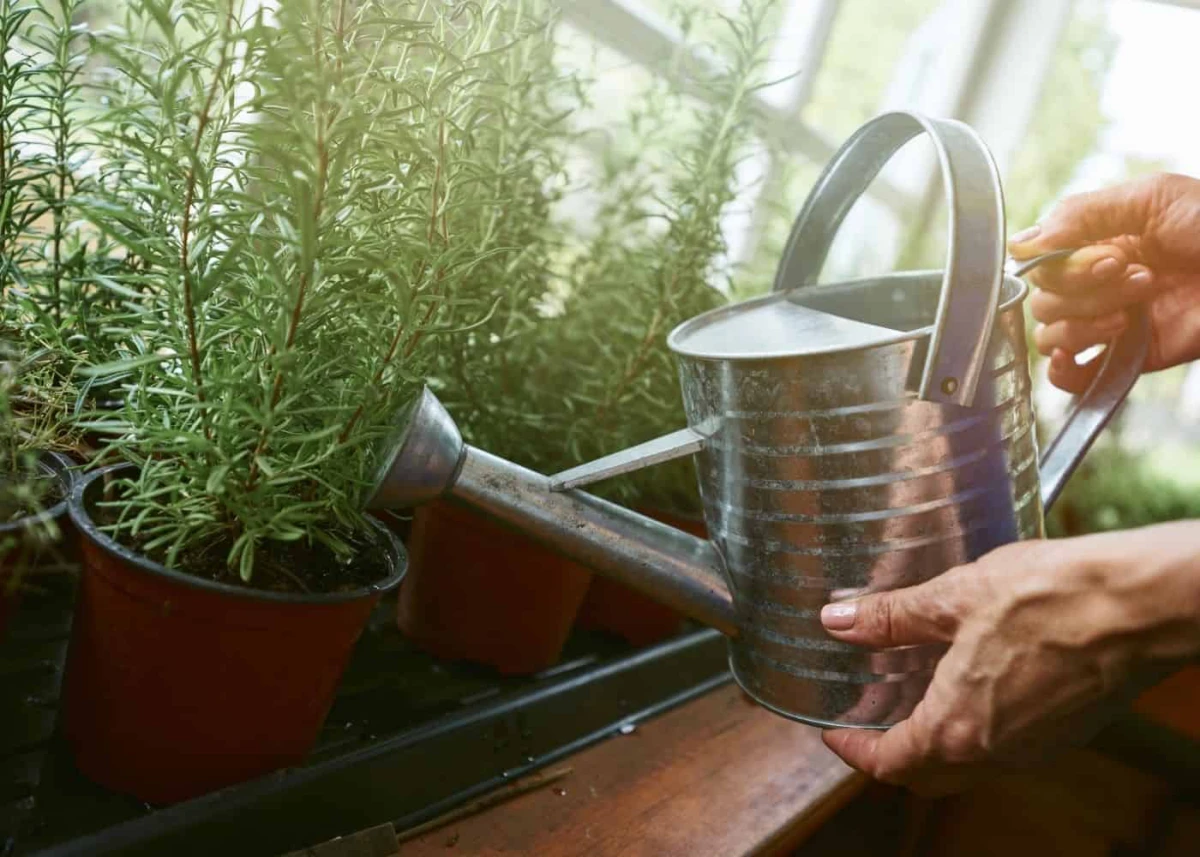
- Winter Watering: Yep, even dormant plants get thirsty. On dry, windy winter days, check the soil. If it’s bone dry a few inches down, give it a good drink, but only on a day when the temps are well above freezing.
- Emergency Blankets: For a sudden cold snap in Zone 7, you can build a temporary shelter. Pound some stakes around the plant and wrap them with burlap. Don’t wrap the plant itself—that traps moisture. For extra warmth, you can loosely fill the space with straw. Take it all down as soon as the arctic blast is over.
Coming Indoors (The Potted Plant Method)
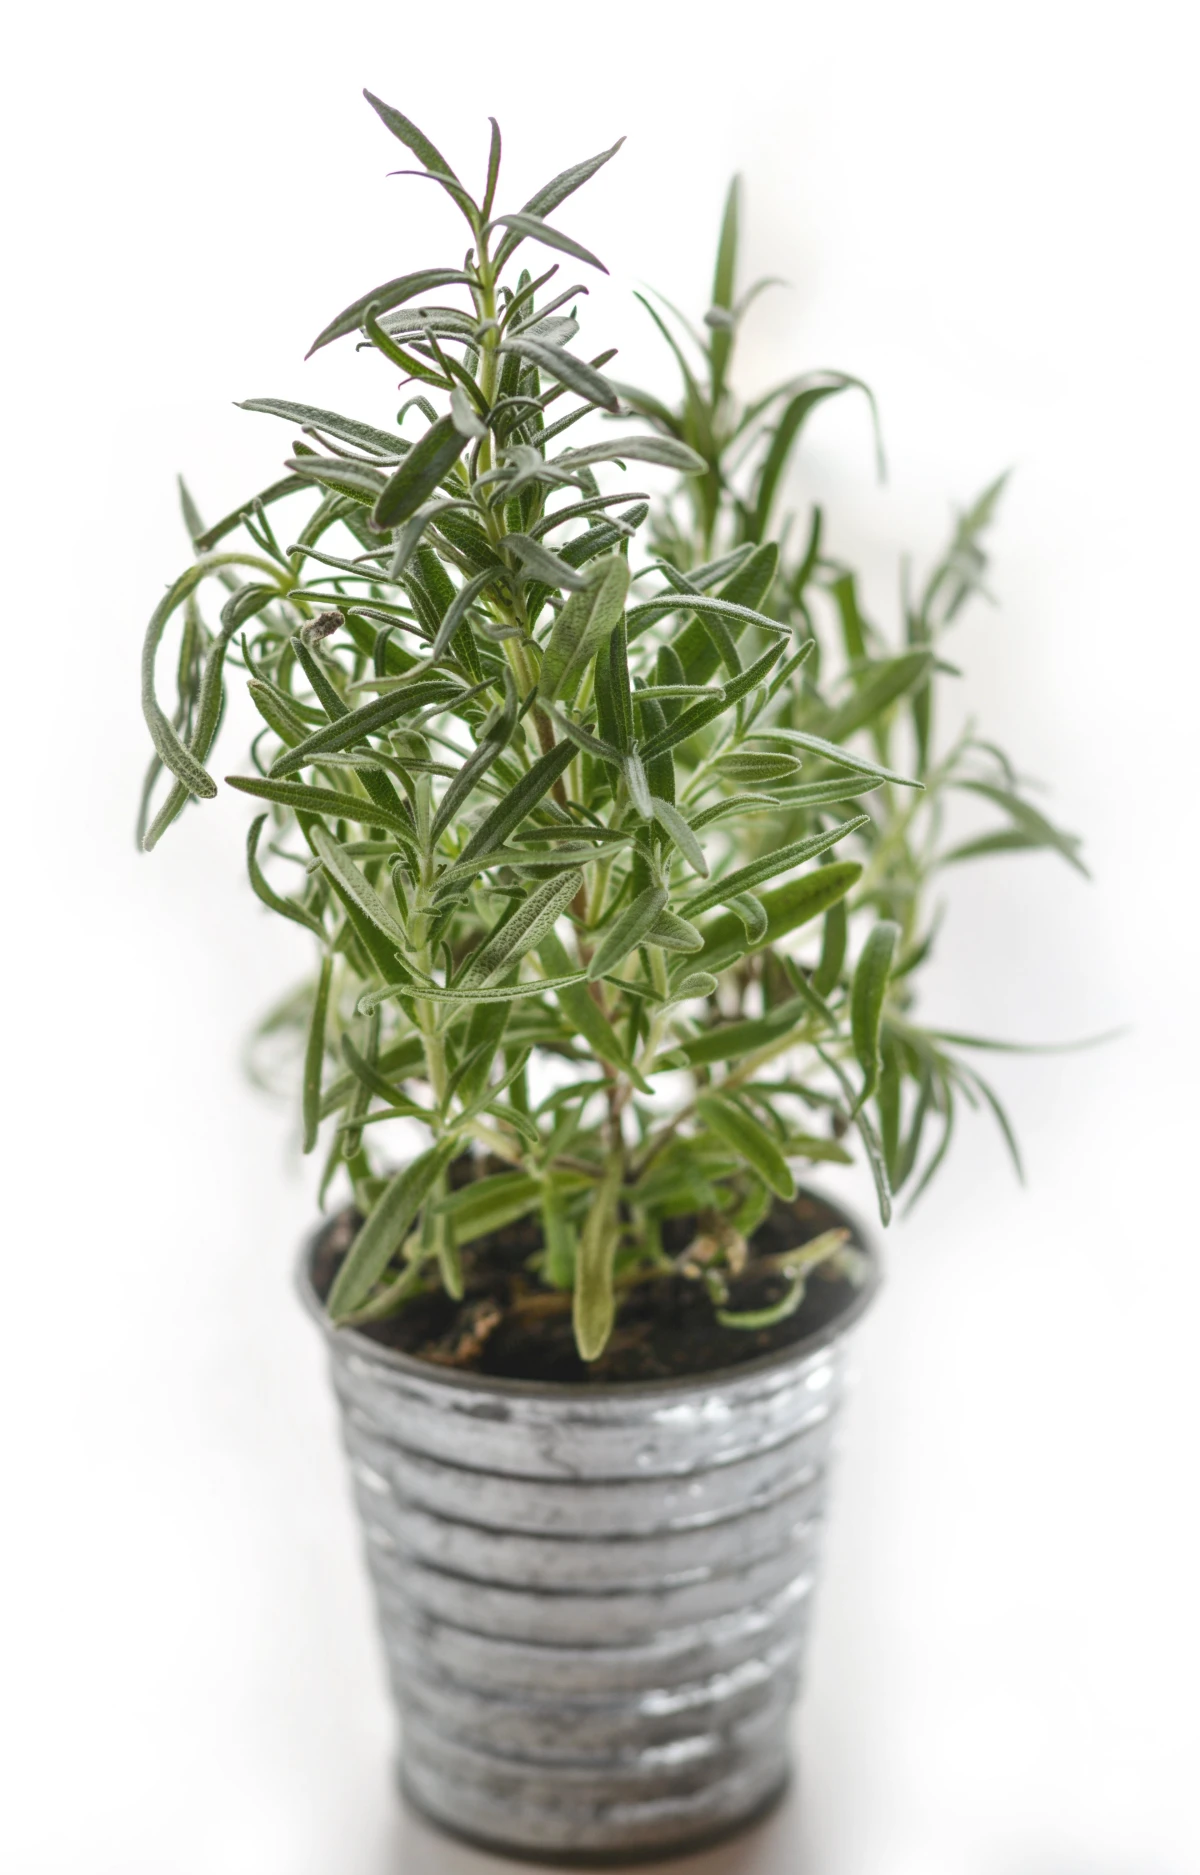
For us in colder climates, this is the yearly ritual. And success starts with the pot and soil.
A simple terracotta (unglazed clay) pot is your best friend. It’s porous, so it breathes and helps the soil dry out evenly. Make sure it has a big drainage hole—if it doesn’t, it’s just a decoration. And don’t go too big! A pot that’s just an inch or two wider than the root ball is perfect. Too much extra soil just stays wet for too long.
Now for the soil. Never use dirt from your garden. My go-to recipe is simple and creates the sharp drainage rosemary craves. Building this perfect soil won’t break the bank, either. You’ll need:
- Two parts high-quality potting mix (about $10 for a decent-sized bag)
- One part perlite (around $8 a bag)
- One part coarse sand or fine poultry grit (another $8)
The transition from outside to inside is where I failed with my first plant. You can’t shock it by moving it from a cool porch to a warm living room. You have to acclimate it over a week. Before the first hard frost, start bringing it inside for just a few hours a day, then take it back out. Gradually increase its indoor time. This slow adjustment is key to preventing it from dropping all its needles in protest.
Creating a Happy Indoor Home for Winter
Your goal is to mimic a cool, sunny, Mediterranean winter. This is pretty much the opposite of most centrally heated homes.
Light is EVERYTHING
Rosemary needs a ton of direct light. A south-facing window is the bare minimum, and even that’s often not enough in the dreary days of winter. I learned a long time ago that to get good, consistent results, you have to add a grow light.
And you don’t need a spaceship-level setup. Honestly, a simple full-spectrum LED bulb—you can find a good 15W one online for about $20—screwed into a basic $15 clamp lamp from the hardware store does the trick perfectly. Position it 6 to 12 inches above the plant and plug it into a simple outlet timer for 10-14 hours a day. This one small investment will make the biggest difference, I promise.
The Art of Watering: Less is More
This is where good intentions go bad. People kill their rosemary with kindness. Ditch the watering schedule. You only water when the plant needs it, which isn’t very often in winter. A better method than the finger test is to learn the weight of the pot. Pick it up right after you’ve watered it well. Get a feel for that weight. Then, every few days, lift it again. You’ll be amazed how much lighter it feels when it’s dry. When it feels significantly lighter, it’s time to water.
When you do water, do it right. Take the plant to the sink and water it until water streams out of the drainage hole. This flushes out any built-up salts. Then—and this is critical—let it drain completely. Never, ever let your pot sit in a saucer full of water. That’s a first-class ticket to root rot.
Humidity and a Gentle Breeze
Dry, heated indoor air can make rosemary leaves brittle. But please, don’t mist it! Misting is a temporary fix that can invite fungal diseases like powdery mildew, especially if the air is stagnant. A much better trick is to create a humidity tray. Just fill a saucer with pebbles, add water until it’s just below the top of the rocks, and set your pot on top. The pot stays elevated out of the water, and the evaporation creates a nice little humid microclimate around the plant. A small, quiet fan in the room set on low can also work wonders for air circulation.

Winter Troubleshooting and Quick Tips
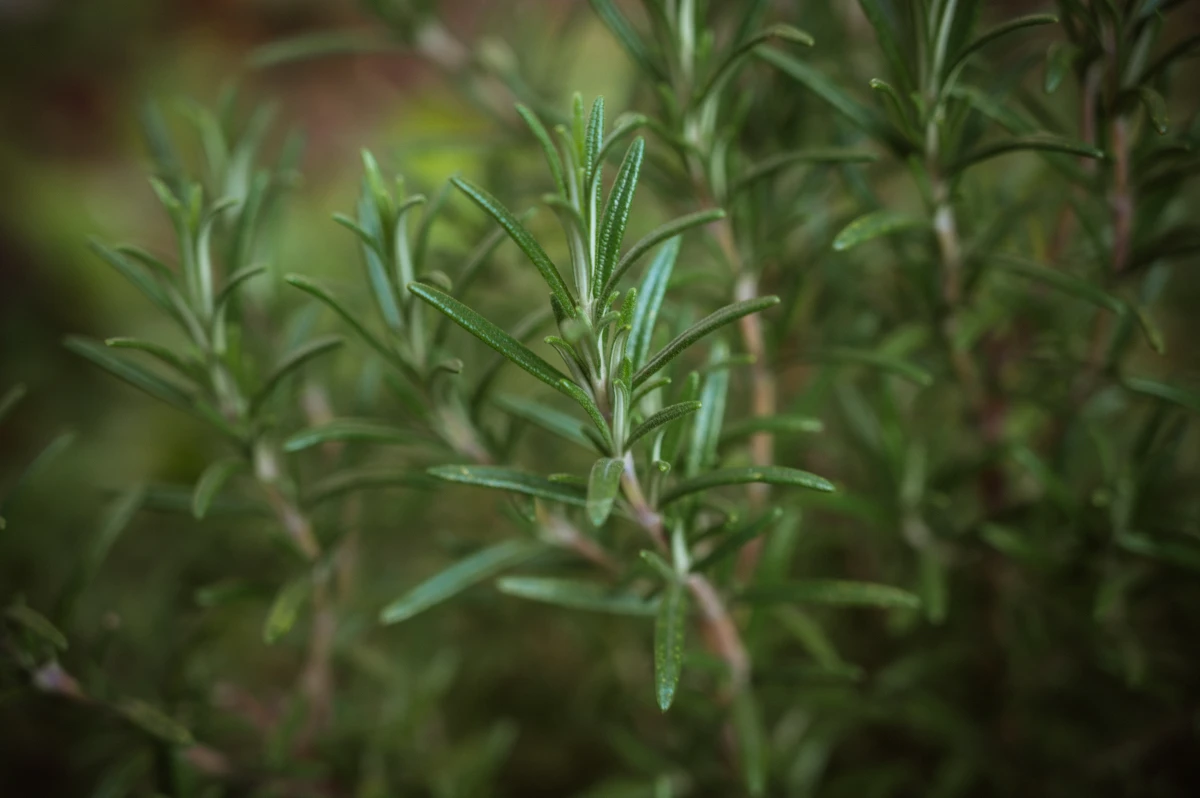
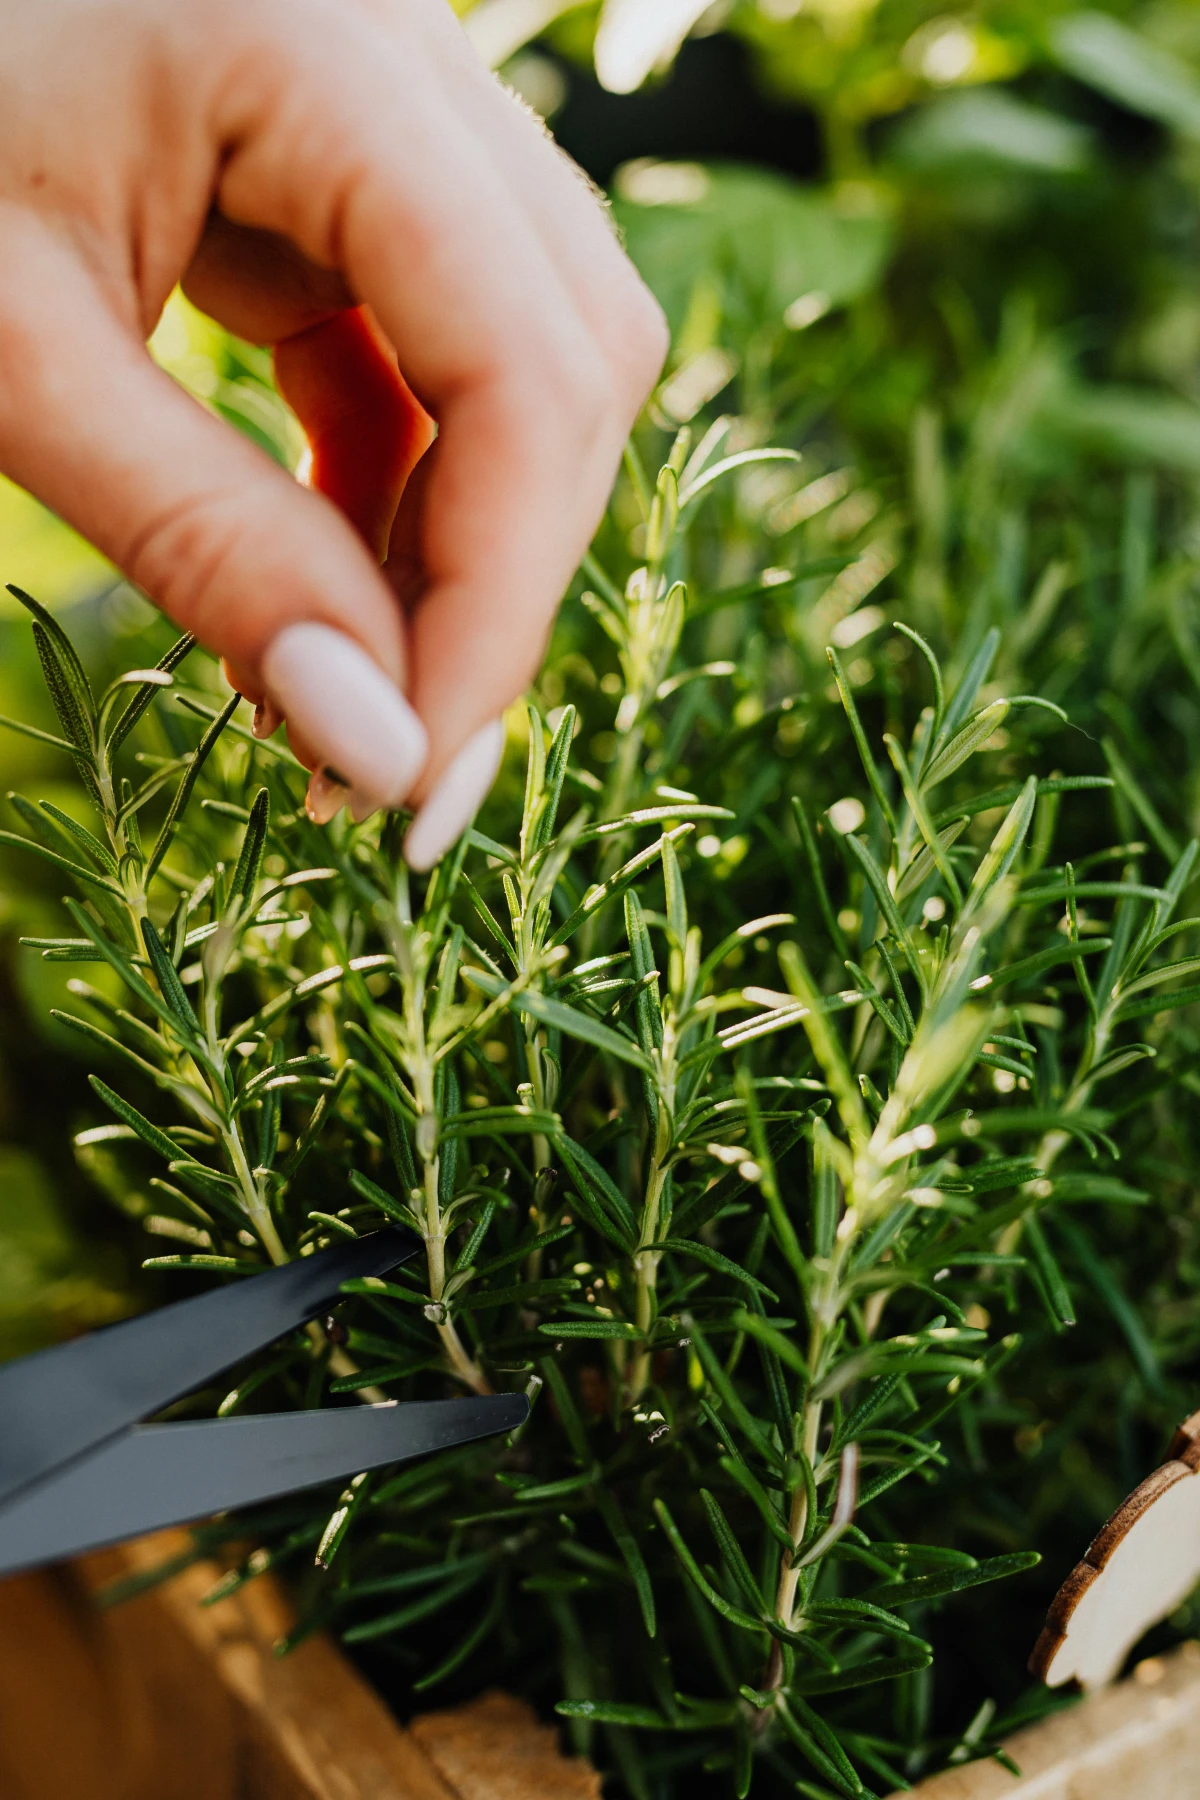
Pruning: This is not the time for a major haircut. Only snip off what you need for cooking. When you do, cut just above a set of leaves to encourage branching later.
Pests: The dry indoor air is a paradise for spider mites and aphids. Check under the leaves for them. If you see them, a strong spray of water in the sink can work for a small problem. For a bigger issue, use a proper insecticidal soap. (A DIY version is one teaspoon of pure castile soap in a quart of water). Spray the whole plant, let it sit for an hour, then rinse it off.
Feeding: Don’t do it. Just don’t. Fertilizing a dormant plant is like force-feeding someone who’s asleep. The plant can’t use the nutrients, and the salts will just build up and burn the roots. Wait until you see strong new growth in the spring.
The Dreaded Question: Is It Dead, or Just Sleeping?
We’ve all been there, staring at a pot of brown, crispy-looking sticks. Before you toss it in the compost pile, try the scratch test. It’s an old-timer’s trick that works.
Take your thumbnail or a small knife and gently scratch a tiny piece of bark off a main stem. If you see bright green underneath, congratulations, it’s still alive! It’s just deeply dormant and probably a little mad at you. Give it time and correct its conditions. If all you see is dry, brown wood, well, it’s time to make peace and plan a trip to the nursery in the spring.
The Ultimate Insurance Policy: Take Cuttings
Feeling a bit overwhelmed? If you do just one thing this fall, do this: take an insurance cutting. It takes five minutes and literally doubles your chances of having rosemary next year. In late summer or early fall, just snip a healthy 4-inch piece, strip the leaves off the bottom half, dip it in rooting hormone powder (this helps a lot), and stick it in a small pot of damp perlite and peat moss. Cover it with a plastic bag, and in 6-8 weeks, you’ll have a brand new baby plant that’s much easier to manage indoors.

Waking Up for Spring
Once all danger of a hard frost has passed, you have to reintroduce your plant to the great outdoors slowly. You can’t just shove it out into the bright sun; you’ll scorch its leaves. Start it in a shady, protected spot for an hour or two a day. Over a week or so, gradually give it more time outside and more direct sun. After about 10 days, it’ll be tough enough to handle its sunny summer home.
There’s a real satisfaction in seeing a plant you babied all winter burst back to life. Just pay attention. Your plant will always tell you what it needs. Good luck!
Galerie d’inspiration
- Perfect aeration to prevent root suffocation.
- Rapid drainage that mimics a dry, Mediterranean hillside.
- A stable structure that won’t compact over the winter.
The secret to achieving these benefits? Skip the standard potting soil and create this expert blend: Mix two parts all-purpose potting mix with one part perlite and one part coarse horticultural sand. This simple recipe is the single best insurance policy against the dreaded winter root rot.

Is a sunny south-facing window really enough for my rosemary?
Often, it’s a trap. Winter sun is weak and the days are short. This low light tells the plant to go dormant, but indoor heating screams ‘grow!’ This conflict produces weak, leggy growth susceptible to pests like spider mites. The fix is simple: supplement with a grow light. You don’t need a huge setup; a single full-spectrum LED bulb, like a Sansi or GE Grow Light, in a clamp lamp for 6-8 hours a day provides the consistent energy it needs to stay robust without triggering a massive, unhealthy growth spurt.
Upright Varieties (‘Arp’, ‘Tuscan Blue’): These are your best bet for overwintering success. Their strong, woody, vertical stems make them inherently tougher and more forgiving of imperfect indoor conditions.
Trailing/Prostrate Varieties (‘Prostratus’, ‘Irene’): While beautiful spilling from pots, these are more tender and challenging. Their fine stems are more susceptible to both rot and drying out indoors. Reserve them for milder climates or be prepared for very attentive care.


