Baltic Blue Pothos Care: Your Guide to Getting Those Amazing Split Leaves
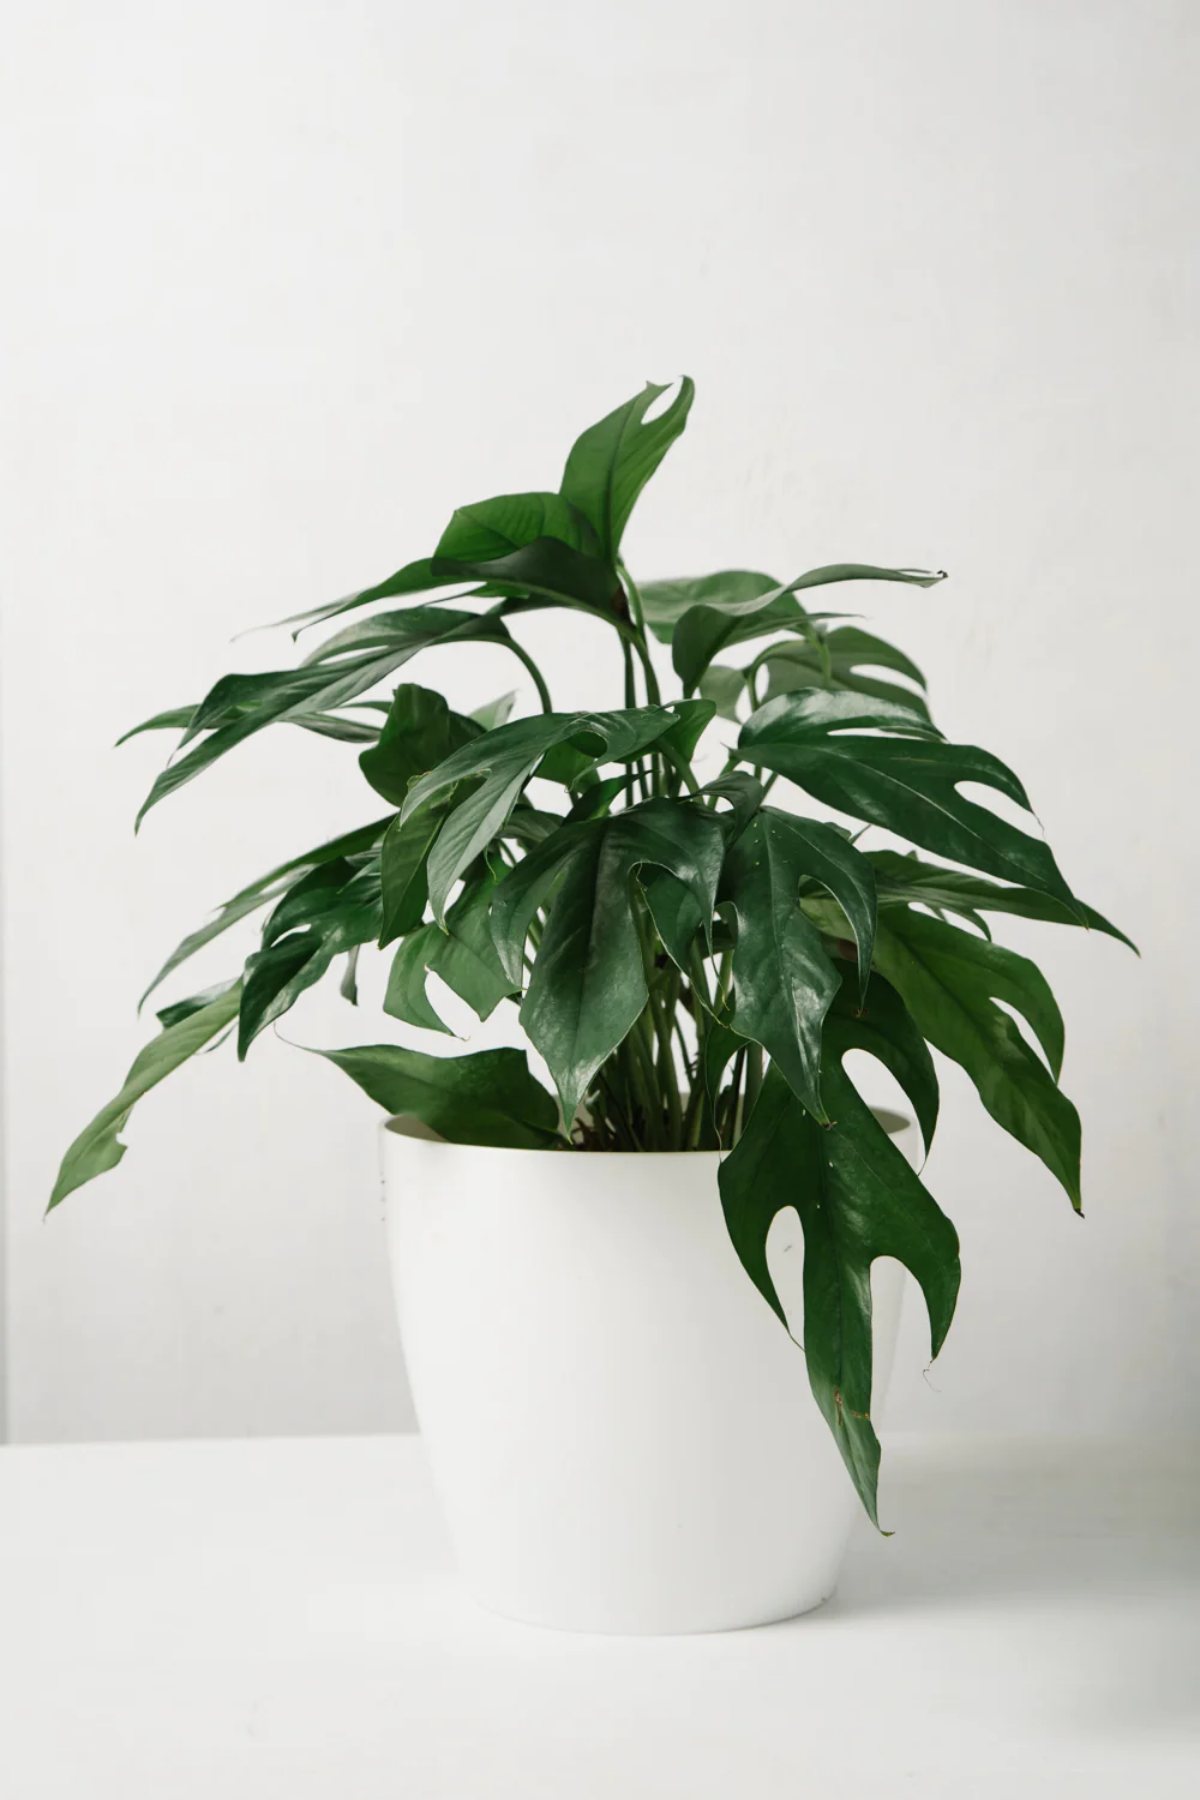
I’ve been around the plant world for a long, long time, from tiny specialty shops to massive growing operations. You see a lot of plants come and go, but some just have that ‘it’ factor. The Baltic Blue Pothos is one of them. The first time I saw one, I’ll admit I was a little skeptical. Another pothos? But this one felt different. It has this incredible deep, blue-green sheen that almost shifts in the light, and the leaves have a unique spear shape, even when young. It’s a plant with some serious personality.
In this article
So, this isn’t going to be just another list of care tips. I want to pull back the curtain and show you how to truly understand this plant. We’ll get into the why behind its habits and the little tricks we use in the biz to get amazing results. The goal is to help you get ahead of problems and unlock the incredible potential hiding in that little pot you just brought home from the garden center—which, by the way, usually runs about $15 to $40 depending on its size.
First Things First: This Isn’t Your Average Pothos
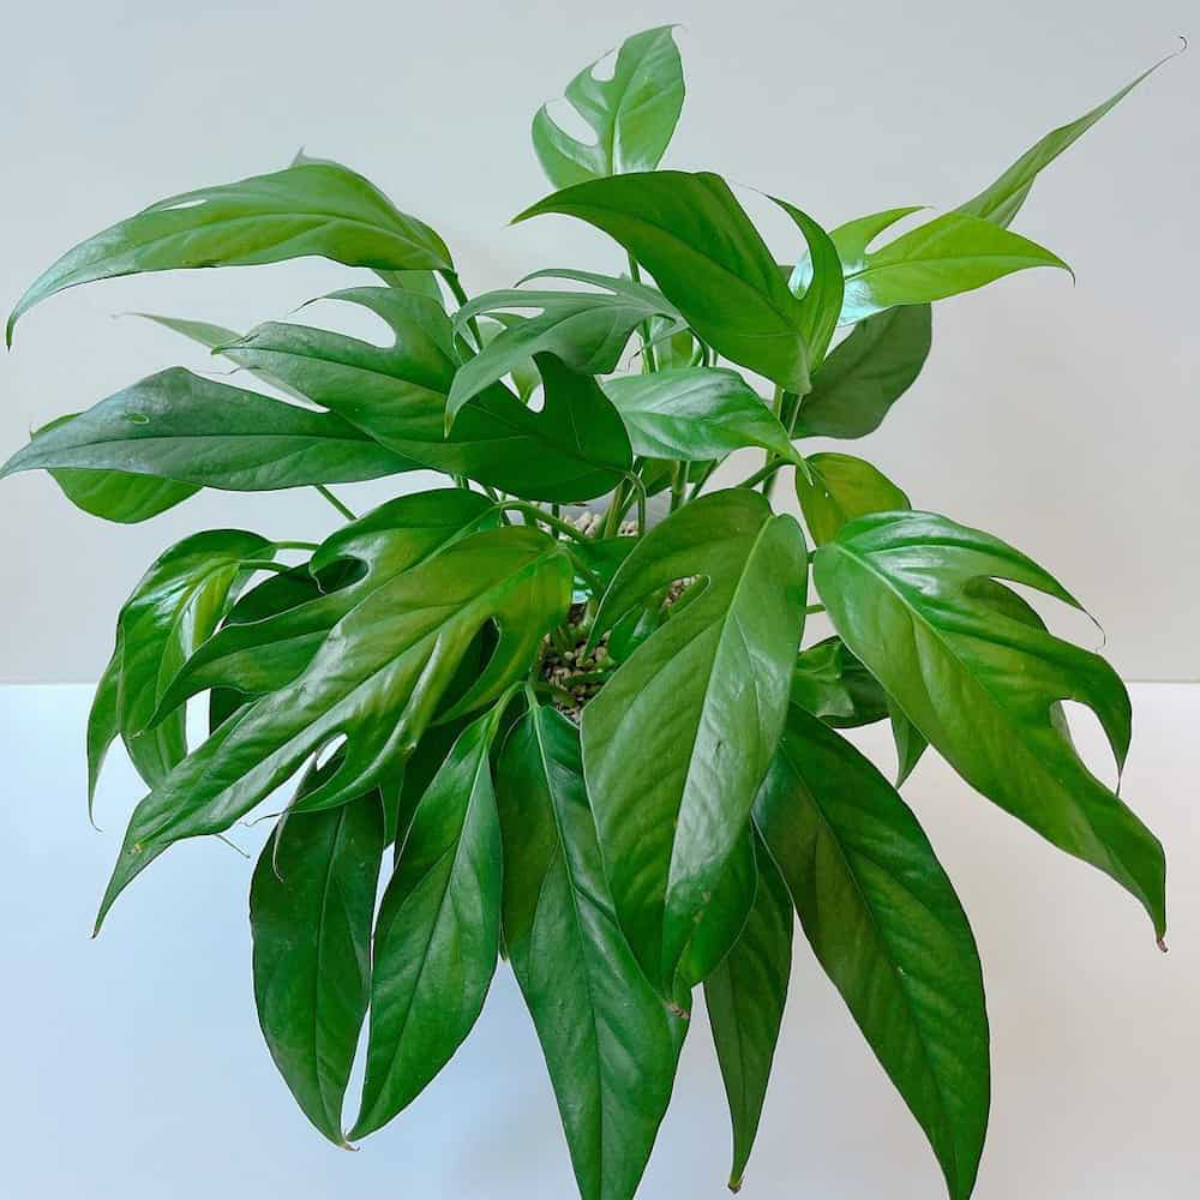
Before we even talk about water or soil, you’ve got to know what this plant really is. It’s a cousin to the common Golden Pothos, but its scientific name, Epipremnum pinnatum, tells a more interesting story. In the wild, it starts its life on the dark forest floor, creeping along until it finds a tree to climb. This two-part lifestyle is the secret to everything.
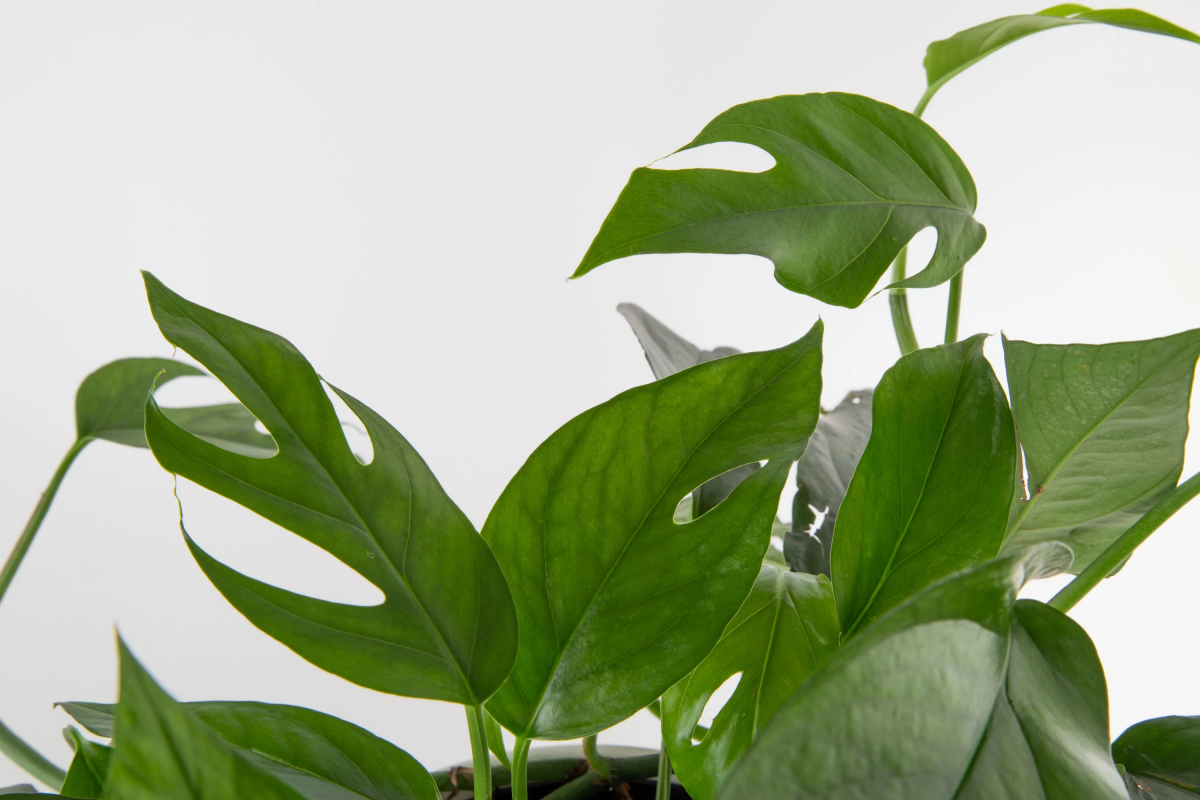
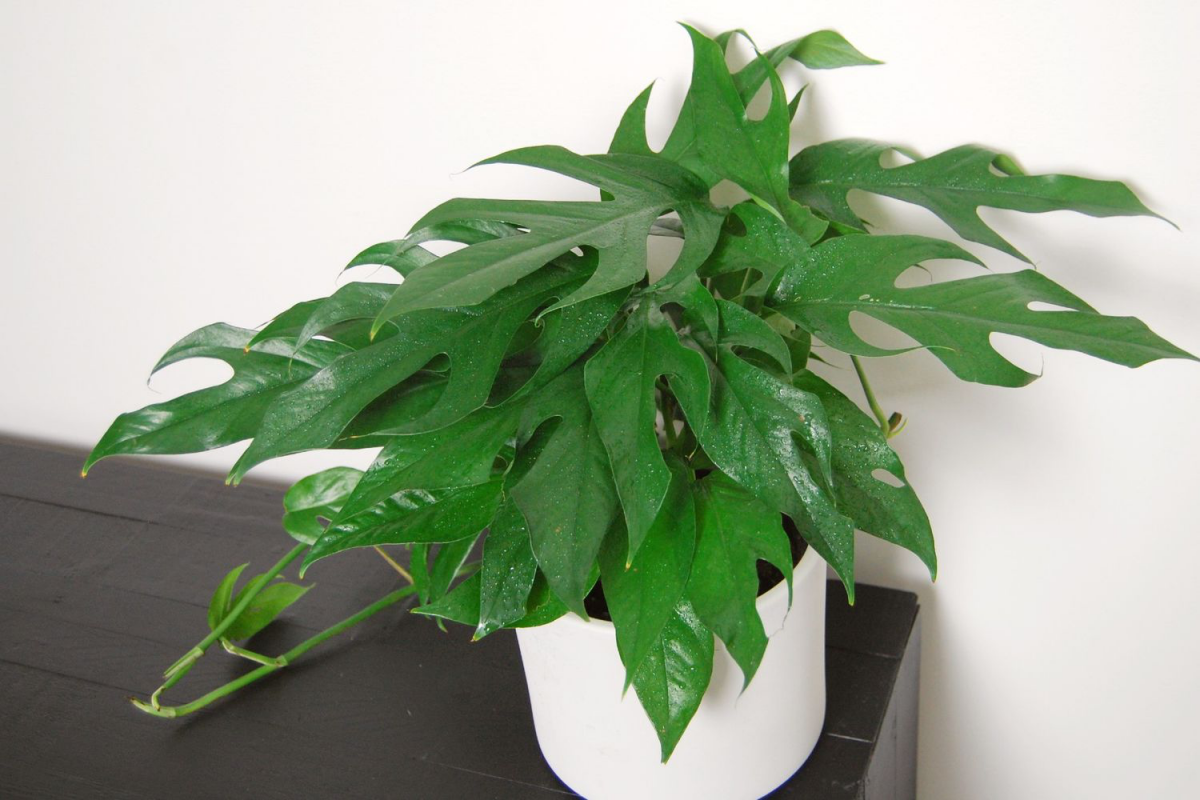
As a young plant, it has those solid, lance-shaped leaves you see in the store. But once it grabs onto a tree and starts climbing toward the light, a magical transformation happens. The leaves get way bigger and start developing those dramatic splits, or fenestrations. Honestly, many people don’t even realize they own a plant that can do this! Giving it something to climb is how you unleash its stunning mature form.
And that ‘blue’ color? It’s not pigment, it’s physics. The leaf surface has a special waxy layer with a microscopic texture that scatters light in a way that our eyes perceive as blue-green. This is why the color is most intense on healthy, clean new leaves. If the plant is stressed or dusty, that cool effect diminishes.
Heads Up! A Serious Safety Warning
Like all its relatives in the aroid family, the Baltic Blue Pothos is toxic if chewed or eaten. Please take this seriously, especially if you have curious pets or small children. The plant’s cells are filled with tiny, needle-like crystals. If chewed, these crystals embed themselves into the mouth and throat, causing immediate pain, swelling, and irritation. I’ve heard too many horror stories of expensive, scary vet visits from a puppy taking just one bite. Always, always place this plant well out of reach. It’s also a good idea to wash your hands after pruning, as the sap can cause mild skin irritation for some people.
Getting the Light Just Right
Light is everything. It’s the fuel for your plant’s growth and color. Everyone throws around the term “bright, indirect light,” but what does that actually mean for you at home?
Here’s a simple trick: hold your hand up in the spot you want to put your plant. If it casts a soft-edged, blurry shadow, you’ve found the sweet spot. If the shadow is sharp and dark, the sun is too direct and will scorch the leaves.
- Good spots: Right in front of a north-facing window, or a few feet back from an east-facing window that gets gentle morning sun.
- Be careful spots: West-facing windows get blasted with hot afternoon sun, so the plant needs to be several feet away or behind a sheer curtain. South-facing windows are usually too intense unless the plant is way across the room.
Your plant will tell you if the light is wrong. Not enough light, and it’ll get ‘leggy’—long, thin stems with lots of space between the leaves as it stretches for a light source. The blue sheen might also fade to a dull green. Too much direct sun causes crispy brown spots and a pale, washed-out look.
Quick Win for New Owners: Just brought your Baltic Blue home? Your first mission is to not kill it with kindness. Find a good spot using the hand-shadow trick and then just let it be for a week or two. Let it acclimate to its new environment before you even think about repotting it.
Watering: How to Not Drown Your Plant
I can say with total confidence that overwatering kills more houseplants than anything else. We mean well, but we get a little too generous. The roots need oxygen just as much as they need water, and constantly soggy soil suffocates them, leading to the dreaded root rot.
The finger test is okay, but here’s a pro-level technique: learn the weight of the pot. Pick it up right after you’ve given it a good, thorough watering. Feel how heavy it is? Now, pick it up every couple of days. When it feels significantly lighter—almost airy—it’s time to water again. A 6-inch pot might feel like a full carton of milk when watered, and almost empty when it’s dry. You’ll get the hang of it!
When you do water, take it to the sink and drench the soil until water pours out of the drainage holes. This ensures all the roots get a drink and flushes out any mineral buildup. Let it drain for a good 15 minutes before putting it back. Never, ever let it sit in a saucer full of water.

Oh yeah, a quick word on those cheap moisture meters you can get for $10-15. They can be a decent starting point if you’re nervous, but they can also be wildly inaccurate. Learning the pot-weight method is a skill that will serve you for all your plants, for life.
The Perfect Home: Soil and Repotting
You can’t just use any old potting soil from a bag. Most of them are too dense, hold way too much water, and are a one-way ticket to root rot for an aroid like this. You need a chunky, airy mix that mimics what it would find on the forest floor.
The Pro Aroid Mix Recipe:
Here’s the blend I swear by. It provides the perfect balance of moisture, drainage, and airflow.
- One part high-quality potting soil (the base)
- One part orchid bark (for chunky air pockets)
- One part coarse perlite (to keep it light and airy)
That’s it for the basic version! You can usually find bags of orchid bark and perlite at Home Depot, Lowe’s, or any garden center for about $8-$15 per bag. If you want to get a little fancy, you can also add a small scoop of horticultural charcoal to absorb impurities or some worm castings for a gentle nutrient boost.
Don’t feel like mixing? I get it. If you’re short on time, you can find pre-made ‘Aroid Mix’ on sites like Etsy or from specialty online plant shops. It’ll cost more, maybe $15-$25 for a decent-sized bag, but it’s a great plug-and-play option.
As for repotting, only do it when the plant is clearly root-bound (roots circling the bottom), usually every 2-3 years. Choose a new pot that’s only 1-2 inches wider. Too much extra soil holds water and increases the risk of rot.
Feeding Your Plant (Without Overdoing It)
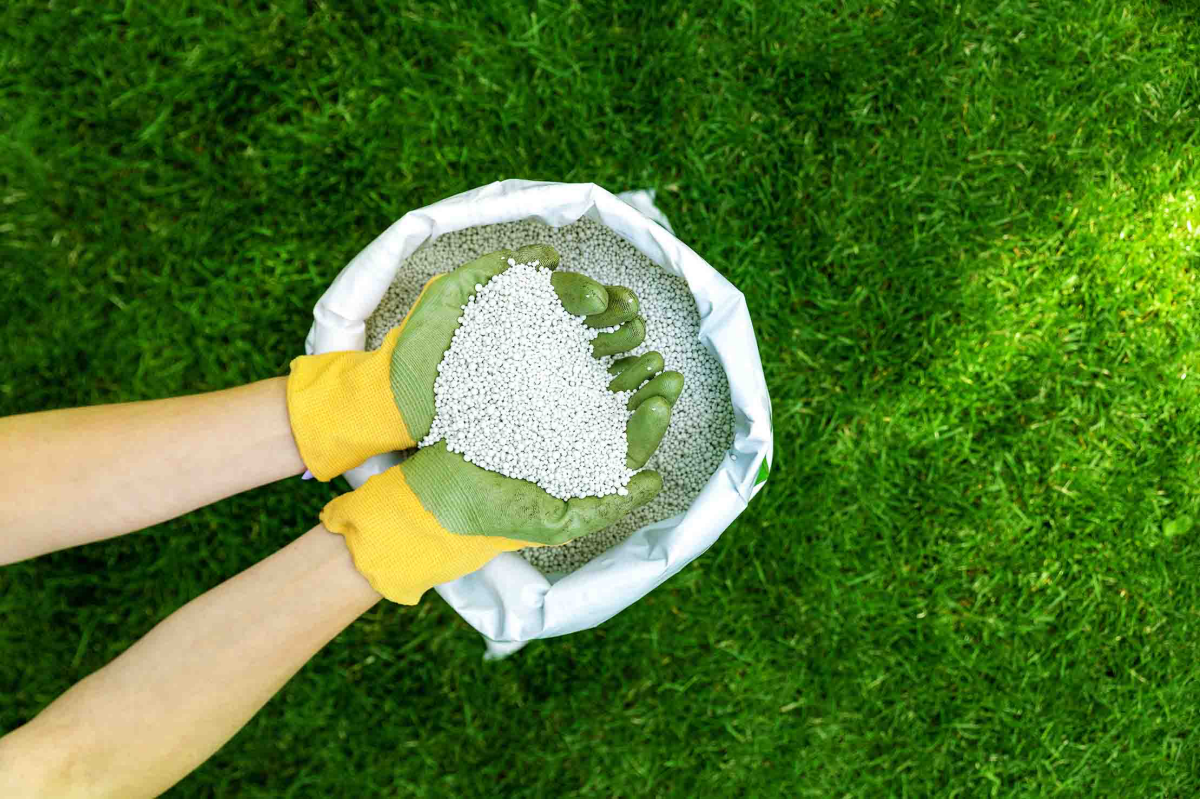
Think of fertilizer as a vitamin supplement, not a five-course meal. In the wild, these plants get a slow, steady trickle of nutrients. That’s what we want to replicate.
The best and safest method is to fertilize “weakly, weekly” during the growing season (spring and summer). Grab any balanced liquid houseplant fertilizer and dilute it to 1/4 of the strength recommended on the bottle. Use this super-diluted mix every time you water. This provides a gentle, consistent supply of food the plant can actually use.
CRITICAL TIP: Never, ever fertilize a bone-dry plant. You will scorch the roots. If the soil is dry, water it with plain water first, then come back an hour later or the next day with your fertilizer mix. In the fall and winter, cut back feeding to once a month or stop entirely as the plant’s growth slows.
Pruning, Propagating, and Getting Those Splits!
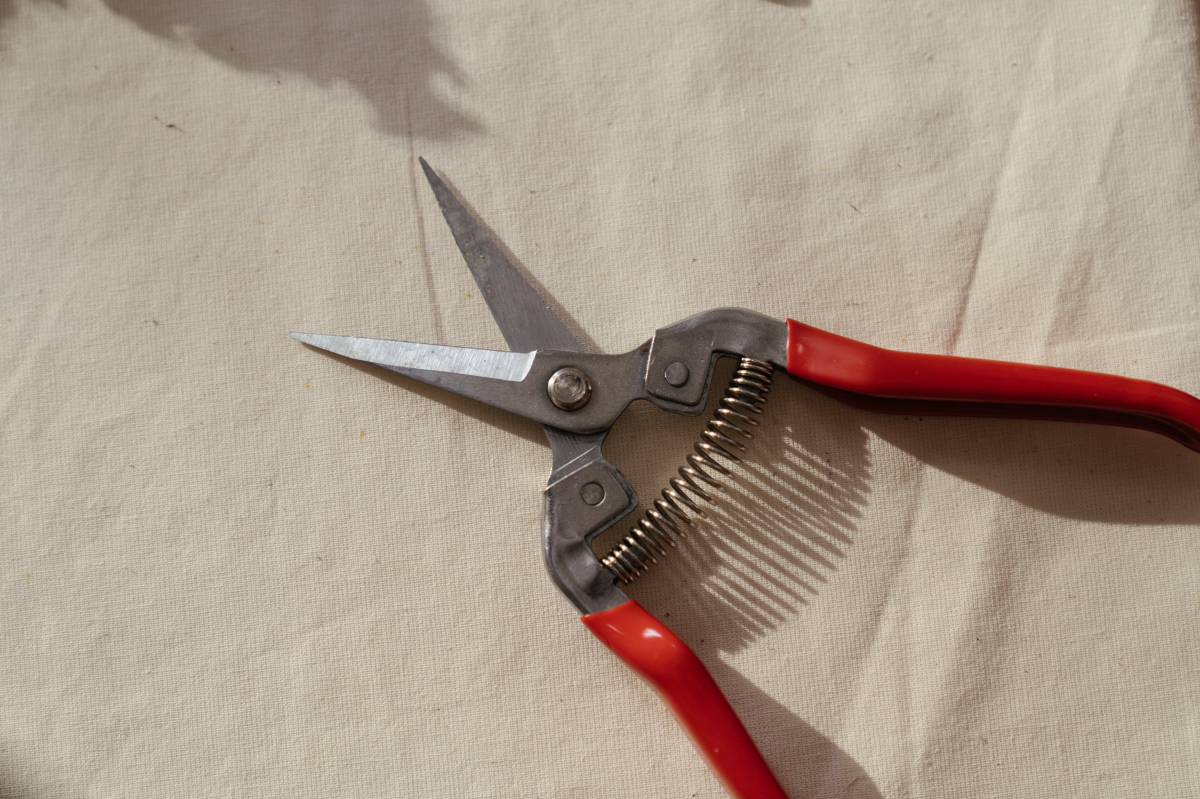
This is the fun part where you get to shape your plant’s future. If you want a full, bushy plant instead of a few long, stringy vines, you have to prune it. When you snip a vine, you encourage new growth points to activate further back on the stem. Always use clean, sharp scissors (wiping them with rubbing alcohol is a good habit).
And don’t throw those cuttings away! They are super easy to propagate.
- Water Propagation: This is the classic method. Just pop a cutting (with at least one leaf and one node—the little bump on the stem) in a jar of water. The huge advantage is that it’s fun to watch the roots grow. The downside? Sometimes the plant has a little trouble adjusting from water roots to soil roots when you pot it up.
- Sphagnum Moss Propagation: This is my preferred method and what a lot of pros do. You nestle the cutting in some damp (not soggy!) sphagnum moss inside a clear plastic container with a lid. The moss provides the perfect combo of moisture and air, and the roots that form are much tougher and transition to soil with ease.
Unlocking the Fenestrations: Okay, here’s the secret sauce for getting those amazing split leaves. You MUST give it something to climb. This is non-negotiable. The physical act of the plant’s aerial roots sinking into a surface triggers the hormonal change to mature. A simple bamboo stick won’t cut it. You need a moss pole or a rough wooden plank. You can find moss poles online or in garden centers for about $15-$30. As the plant grows, gently attach the stem to the pole and keep the pole itself moist by misting it. With good light, regular feeding, and a climbing pole, you could start seeing split leaves within a year or two.
Troubleshooting Common Issues
Even the best of us run into problems. Here’s the quick-and-dirty guide to fixing them.
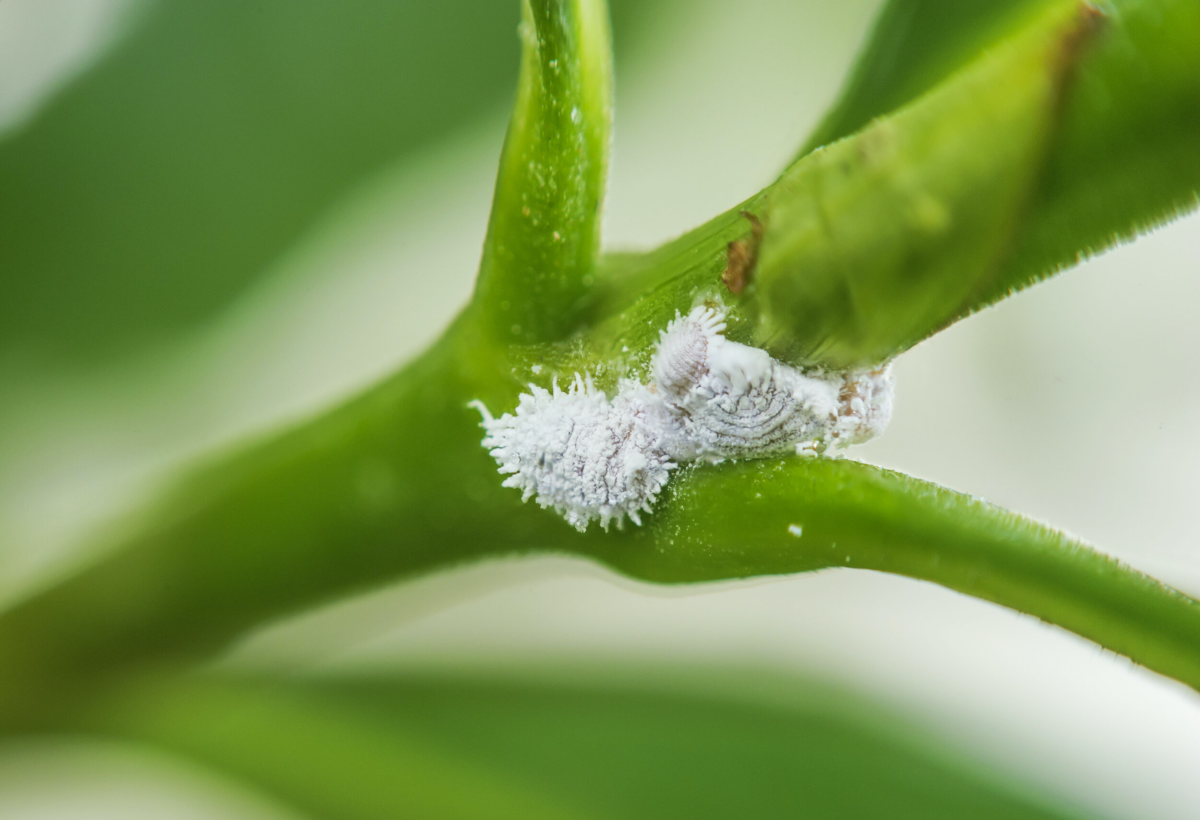
- Pests: The most common are spider mites (look for fine webbing), mealybugs (tiny white cottony specks), and thrips (tiny moving slivers that cause silvery leaf damage). For most of them, a good shower and a thorough spray-down with an insecticidal soap like Safer’s or Bonide will work wonders. Just be persistent and repeat the treatment every 5-7 days for a few weeks.
- Root Rot: If you have yellowing lower leaves and a mushy stem base, you need to act fast. Unpot the plant, and with clean scissors, cut off every single piece of black, mushy, stinky root. Be ruthless. Repot into a smaller pot with fresh, dry aroid mix and don’t water it for at least a week to let the cuts heal.
- Leaf Spots: Usually caused by fungus or bacteria from water sitting on the leaves. Snip off the affected leaves, give the plant better air circulation, and try to water the soil without splashing the foliage.
Caring for a Baltic Blue is incredibly rewarding. It’s a plant that really shows you what it needs once you learn its language. Give it the right light, be strict with your watering, and set it up in good soil. A little patience and the right care will be rewarded with a truly spectacular plant that transforms right before your eyes.
Galerie d’inspiration


Wondering why your Baltic Blue seems a bit lackluster in its store-bought soil?
The secret to a truly thriving Epipremnum pinnatum lies in its roots. Commercial all-purpose potting mixes are often too dense, retaining excess water and stifling the aerial roots this climber loves to develop. For peak health and that coveted blue sheen, create a custom aroid mix. It’s easier than it sounds and makes all the difference.
- 40% Orchid Bark: Provides chunky air pockets, mimicking the tree bark it naturally clings to.
- 30% Perlite: Guarantees excellent drainage and prevents compaction.
- 20% Coco Coir: Retains just the right amount of moisture without becoming waterlogged.
- 10% horticultural charcoal: Helps to purify the soil and prevent bacterial growth.
An estimated 90% of fenestrations (leaf splits) on Epipremnum pinnatum fail to develop indoors simply because the plant lacks vertical support.
This isn’t just about aesthetics; it’s about biology. The plant’s internal trigger for maturing and splitting its leaves is the act of climbing. By giving it something to latch onto, you’re directly signaling it to grow into its magnificent adult form. A simple moss pole that you keep slightly moist is the gold standard for encouraging strong aerial root attachment and larger leaves.
Moss Pole: The ultimate choice for recreating a natural habitat. Encourages large, fenestrated leaves by allowing aerial roots to embed. Requires misting to stay moist. Brands like Mossify offer convenient, high-quality options.
Wooden or Metal Trellis: A more minimalist, design-forward choice. Provides excellent support and airflow, but the plant’s aerial roots won’t embed. A great low-maintenance option if you love the leaf shape but prefer a cleaner look.
The choice boils down to your desired aesthetic and how much you want to engage with the plant’s natural climbing habit.


