Don’t Build a Patio That Sinks: The Pro’s Guide to Doing It Right
I’ve seen it a hundred times. A homeowner shows me their patio, brand new just a year or two ago, and it’s already a mess. The pavers are uneven, a corner has popped up after a freeze, and water now pools right against their house. It’s a huge disappointment, and the fix is always expensive. Here’s the kicker: the problem is almost never the expensive stones on top. It’s always what’s underneath—a foundation that was rushed or built wrong.
In this article
Building a great patio isn’t just about making a pretty surface. It’s about creating a stable, long-lasting system that can handle anything you throw at it: rain, ice, and years of barbecues. It’s a craft, really. I want to walk you through the principles and techniques the pros use so you can build a patio that will outlast your furniture, or at least know exactly what to look for when you hire someone else.
First Things First: It’s All About Water and Dirt
So many people think a patio is just pavers sitting on the ground. That’s the exact thinking that leads to a lumpy, sinking mess. A proper patio is a layered system designed to defeat two main enemies: water and shifting soil. Getting this right is everything.
Water is Public Enemy #1
If water can’t get away, it will wreck your work. It can seep into your house’s foundation, and in the winter, it freezes and expands, pushing pavers up into ugly bumps. This is called frost heave, and it’s a patio-killer. Your entire design needs to focus on making water leave.
How do we do it? With a very precise, gentle slope. The industry standard is a drop of 1/4 inch for every foot the patio extends from your house. This means a 12-foot patio should be a full 3 inches lower on the far side than it is against the foundation. It’s so subtle you’ll never notice it when you’re walking or setting up chairs, but it’s enough to make gravity your best friend.
Oh, and here’s a quick tip to see what that slope actually looks like. Go outside and lay a 4-foot level on your driveway. Lift the far end until the bubble is perfectly centered. Did you have to lift it about an inch? Congrats, that’s the perfect 1/4-inch-per-foot slope in action!
Your Soil Isn’t as Solid as You Think
Soil is a mix of particles, water, and air. When you put a heavy patio on top of loose topsoil, it will eventually settle. And it won’t settle evenly, creating dips and low spots. This is why we don’t just dig a hole and fill it with pretty stones.
The pros dig out all that soft topsoil to get to the firm subsoil below. Then, we build the foundation back up with a material that can be packed down incredibly tight: crushed stone aggregate. By compacting this stone in layers, we squeeze out all the air pockets and create a dense, interlocking base that spreads the weight evenly. When it’s done right, you can jump on it and it feels as solid as concrete.
The Hard Part: Nailing the Excavation and Base
Honestly, this is where most DIY projects fail and where professionals spend most of their time. Rushing the base is a guarantee you’ll be doing this all over again in a few years. Don’t do it.
Step 1: Plan and Dig Safely
Before you even think about grabbing a shovel, you need to know what’s buried in your yard. In the US, you can call 811. It’s a free service that gets local utility companies to come out and mark any underground gas, water, or electric lines. Hitting an unmarked line is no joke—it’s incredibly dangerous and a mistake that can cost thousands. Call a few days before you plan to dig.
So, how deep do you dig? In a colder climate with freezing winters, your base needs to be deeper to prevent frost heave. A good rule is to plan for an 8 to 12-inch base of aggregate. In a warmer, frost-free climate, you can often get away with a 4 to 6-inch base. So the total depth is your paver height (usually around 2 3/8 inches), plus a 1-inch sand bed, plus that crucial 8-12 inches of aggregate.
Step 2: The Pro’s Secret Weapon (Geotextile Fabric)
After you’ve dug out the area and sloped the bottom, we lay down a special material that looks like a thick black or gray felt. It’s called non-woven geotextile fabric, and it’s a step many DIYers skip. BIG mistake. This fabric acts as a barrier, keeping your clean stone aggregate from mixing with the dirt below. Without it, fine soil particles will slowly work their way up, ruining your drainage and stability. This one inexpensive layer, which you can find at any landscape supply yard, can add decades to your patio’s life.
Step 3: Build the Base in Layers (or “Lifts”)
For the base, you want a 3/4-inch crushed angular stone. It might be called ‘crusher run’ or ‘dense grade aggregate’ at the supply yard. The key word is angular. Whatever you do, don’t use round pea gravel. I once had to tear out a patio where the owner used it—after one winter, the whole thing looked like a funhouse floor because the round stones just rolled around like marbles.

Now, you can’t just dump 12 inches of stone in the hole and pack down the top. The force won’t reach the bottom. We build the base in 2 to 4-inch thick layers, or “lifts.” Spread a layer, then go over it multiple times with a mechanical plate compactor (you can rent one for about $75-$100 a day). You’ll hear the sound change from a low thud to a higher-pitched smack, and the machine will start to bounce more. That’s how you know it’s tight. Repeat this process, lift by lift, until you’ve built a stone slab that’s nearly as hard as concrete.
How Much Stone Do I Need?
This is the question that trips everyone up. Here’s a simple formula to figure it out: multiply the length of your patio (in feet) by the width (in feet) by the depth of your base (in feet). For an 8-inch base, you’d use 0.67 feet. Divide that total number by 27 to get the cubic yards you need to order. By the way, one cubic yard of aggregate weighs roughly 1.3 tons. It’s always better to order a little extra than to run out mid-project!
Step 4: The Sand Bed
The final layer of the foundation is a 1-inch bed of coarse, washed concrete sand. This isn’t for structure; it’s just a smooth surface for setting the pavers. A brilliant DIY trick is to lay down two parallel pieces of 1-inch diameter electrical conduit or PVC pipe. Pour the sand between them and drag a straight 2×4 across the pipes to screed the sand perfectly flat. Then, just carefully pull the pipes out and fill in the little channels.
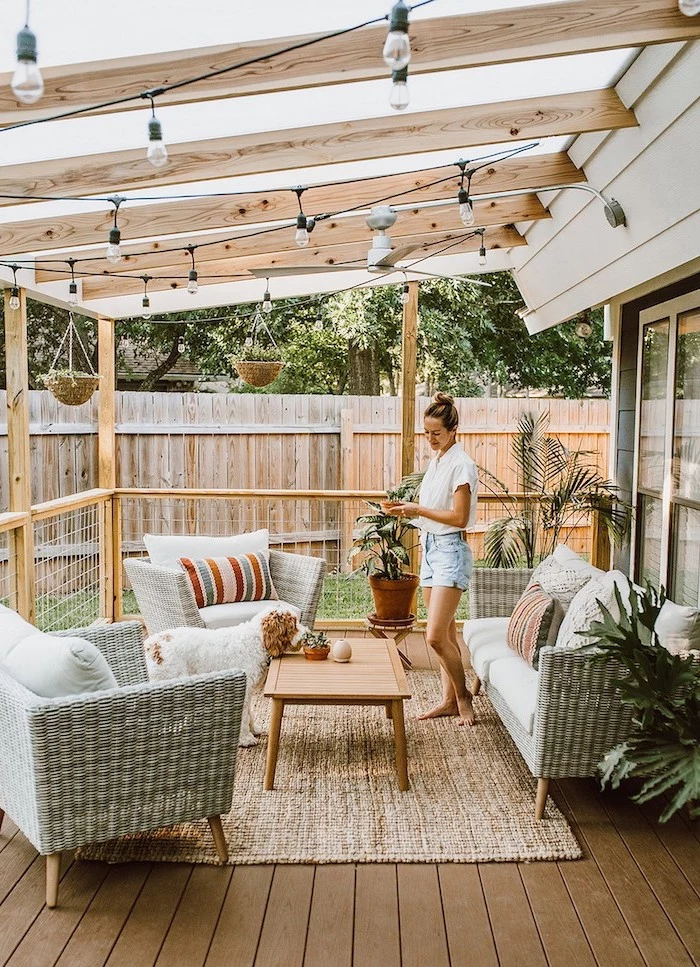
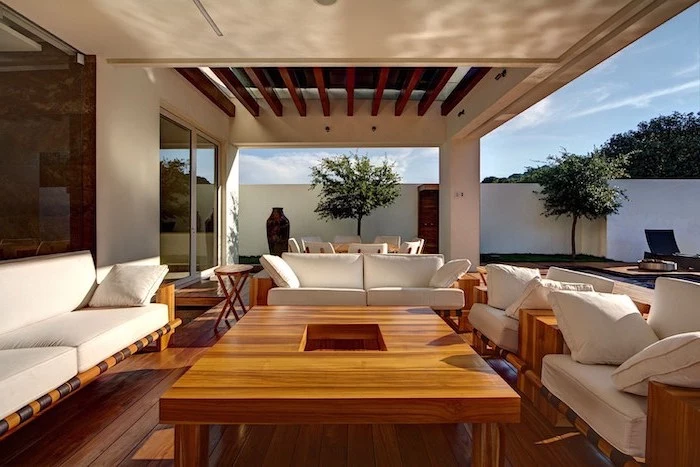
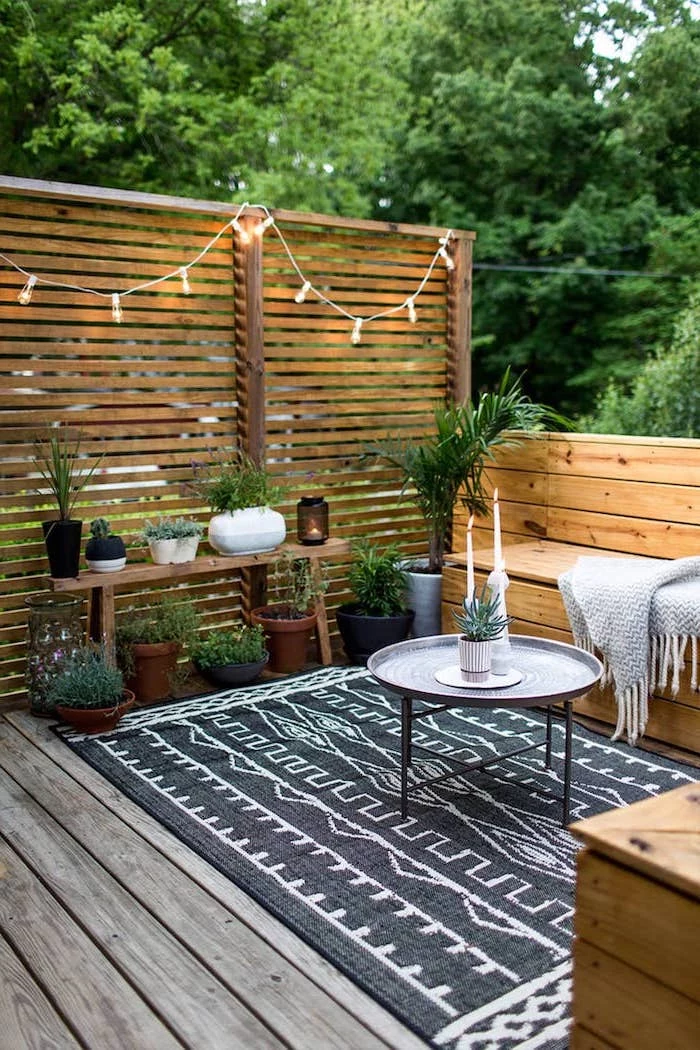
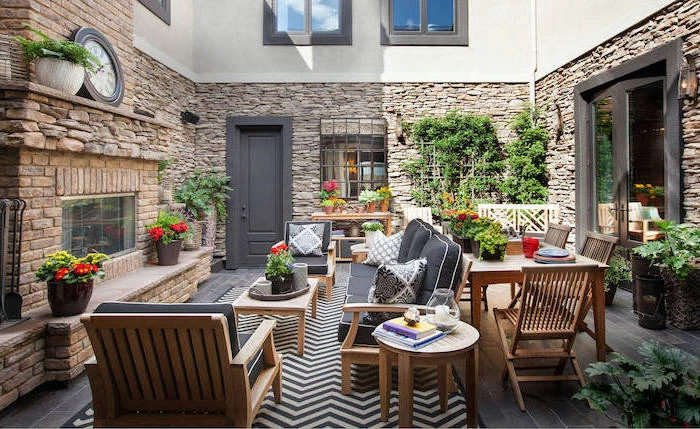
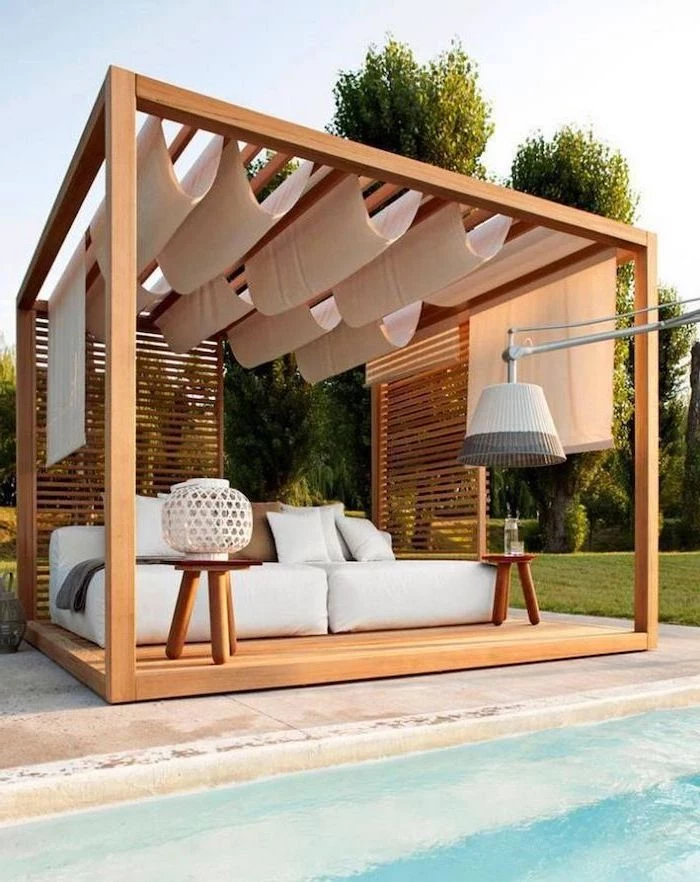
Choosing Your Look: What to Put on Top
The surface is the fun part, but your choice affects cost, installation difficulty, and maintenance. Let’s break down the most common options.
-
Concrete Pavers: These are the workhorses of the patio world. They’re manufactured to be perfectly uniform, making them super DIY-friendly. They’re also incredibly durable and come in endless styles. For materials alone, you’re looking at about $4 to $10 per square foot. If one ever cracks, you can just pop it out and replace it.
-
Natural Stone: Nothing beats the beauty of real bluestone or flagstone. But that beauty comes at a price—often $15 to $30 or more per square foot just for the stone. It’s also much harder to install. The stones have irregular thicknesses, so setting them requires a lot more skill, often using a mortar bed on a concrete slab, which is definitely a job for a pro. Heads up: dark stone can get scorching hot in the sun!
-
Poured Concrete: A simple concrete slab is often the cheapest route, especially for a large area. The major downside? Cracking. Even with control joints cut into the surface to guide cracks, they can still appear anywhere. And patching a crack without it looking obvious is nearly impossible.
-
Clay Brick Pavers: For a classic, timeless look, brick is fantastic. But you MUST use bricks specifically rated as pavers for ground contact. Regular house bricks are too soft and will absorb water, crumbling to pieces after the first hard freeze.
The Final Steps That Lock It All In
You’re not done when the last paver is down. These last few steps are what separate a good patio from a great one.
Edge Restraints Are a MUST
A paver patio is a floating system. Without a border to hold it in, the edges will slowly creep outward, creating gaps. This is a classic failure point. You need to install a rigid edge restraint—usually heavy-duty plastic or aluminum—around the entire perimeter. It gets staked into the aggregate base before you put in the joint sand.
The Magic of Polymeric Sand
For the joints, don’t even think about using regular play sand. It will just wash out, and you’ll have a thriving weed and ant farm within a year. You need to use polymeric sand. It’s a mix of fine sand and a polymer that hardens when you add water.
After you sweep it into the joints, here’s a crucial tip: use a leaf blower to get EVERY LAST GRAIN of sand dust off the surface of the pavers. If you wet it with that dusty haze on top, it will create a permanent cloudy film. Once the surface is perfectly clean, gently shower the patio with water to activate the sand. It will dry into a firm, flexible joint that locks everything together, keeps weeds out, and stops ants in their tracks.
To Seal or Not to Seal?
Sealing is optional, but I usually recommend it, especially if your patio is under a messy tree or serves as your outdoor dining spot. A good sealer protects against stains, can deepen the colors, and makes cleaning easier. The only catch is that it’s a maintenance task—you’ll likely need to reapply it every 3 to 5 years.
So, Can You Actually Do This Yourself?
Let’s be real. After reading all this, you might be a little intimidated. A small, relatively flat, square patio is a fantastic project for a determined DIYer with a strong back. But it is very hard, physical work.
Your DIY Shopping & Tool List:
- Good spade and a flat shovel
- A sturdy wheelbarrow (you’ll be moving tons of material)
- Tape measure, string line, and stakes
- A 4-foot level
- Rubber mallet
- And the big one: a Plate Compactor Rental (plan on $75-$100/day)
For a basic 12×12 patio, a reasonably fit person should plan for at least two full, tough weekends of work. All-in, a DIY paver patio will likely run you $10 to $15 per square foot in materials.
You should absolutely hire a professional when:
- Your yard has a major slope or drainage issues.
- You want to use tricky materials like irregular flagstone.
- The project involves retaining walls, stairs, or multiple levels.
- You need to run gas or electrical lines for a fire pit or outdoor kitchen.
- You honestly don’t have the time or physical ability for days of heavy labor.
If you do hire a pro, expect to pay anywhere from $20 to $40+ per square foot. Ask them about their base preparation. If they don’t mention geotextile fabric, compacting in lifts, and a proper slope, walk away. A great patio is a true investment in your home. Taking the time to build it right—or to find someone who will—is the only way to make sure that investment pays off.
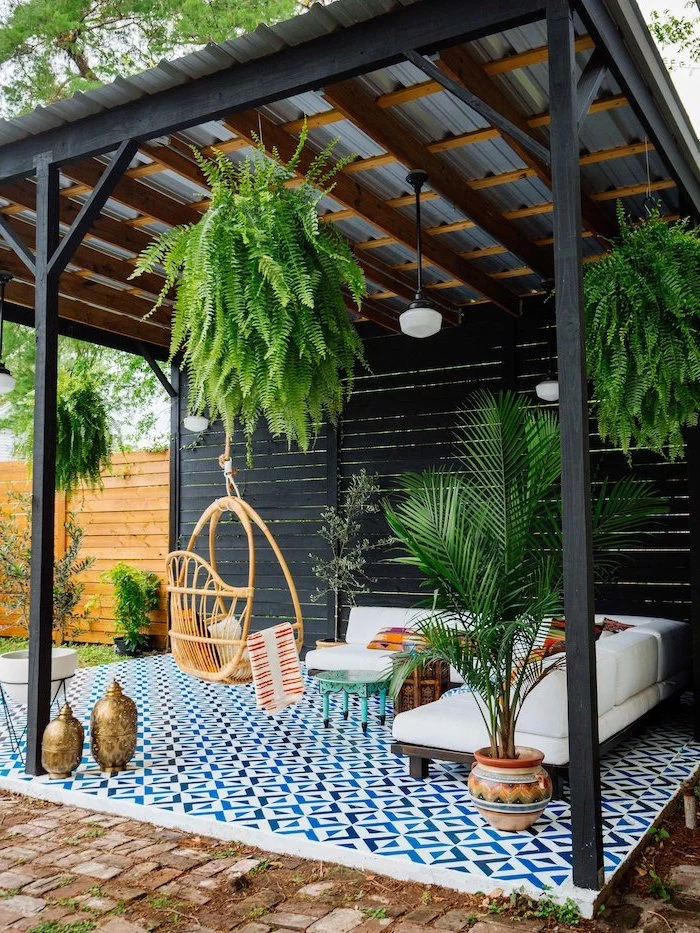
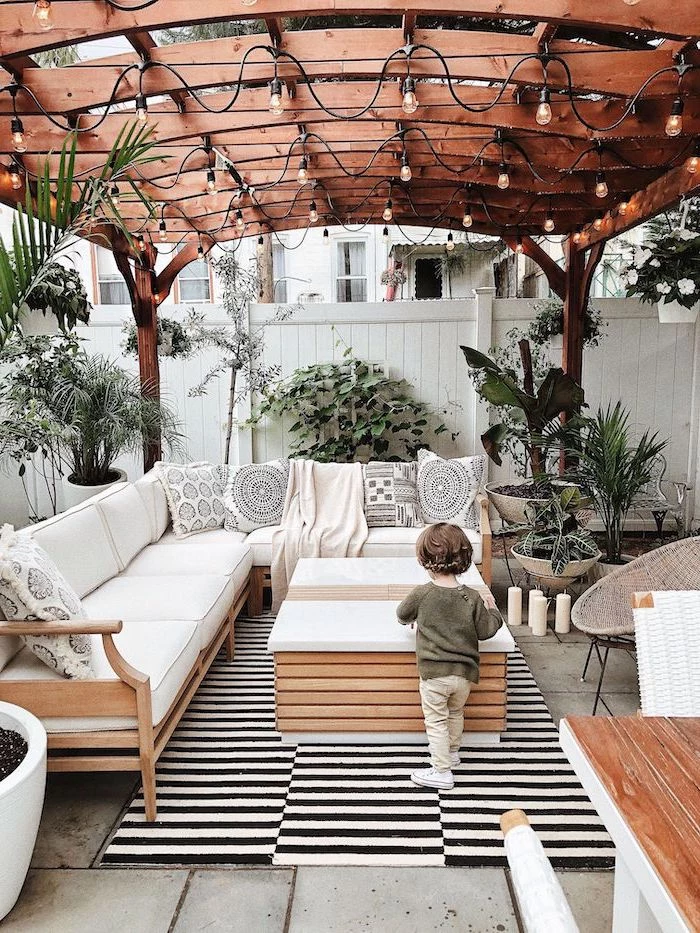
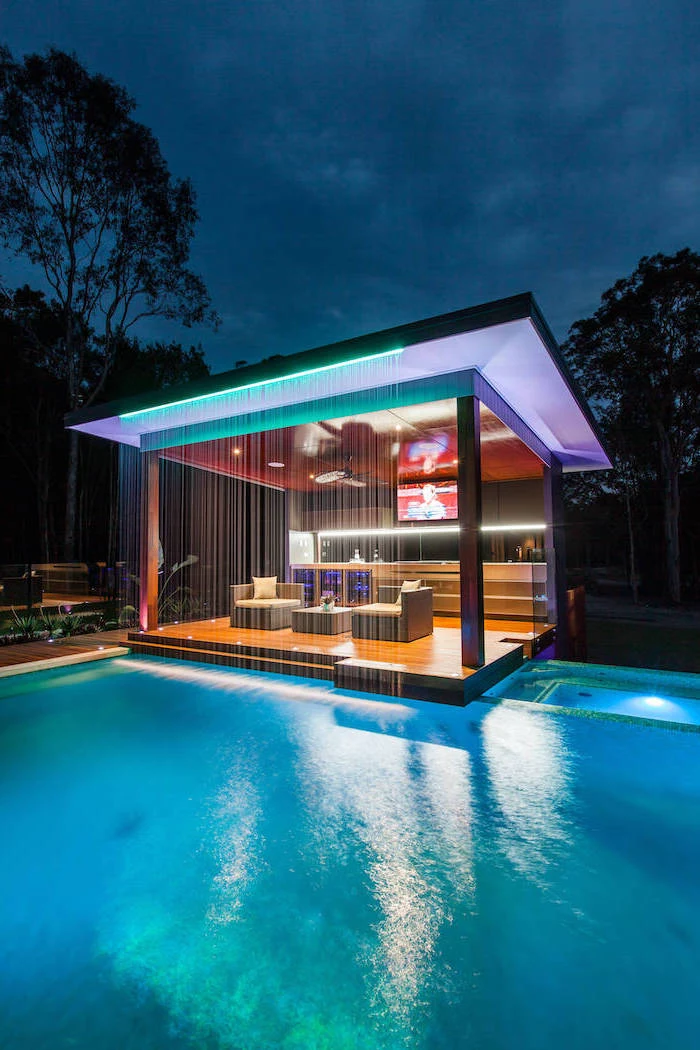
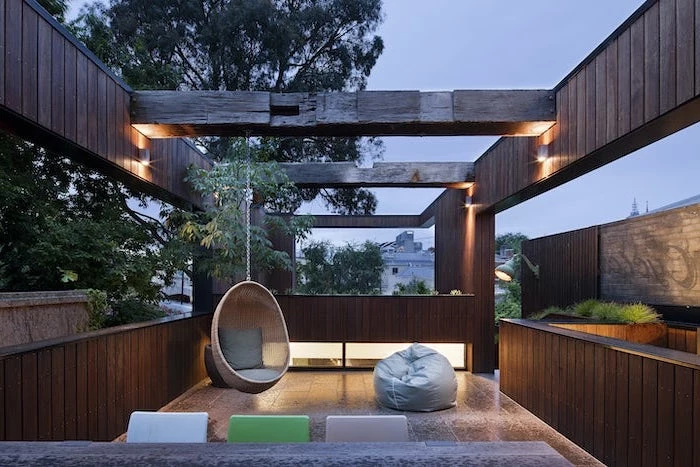
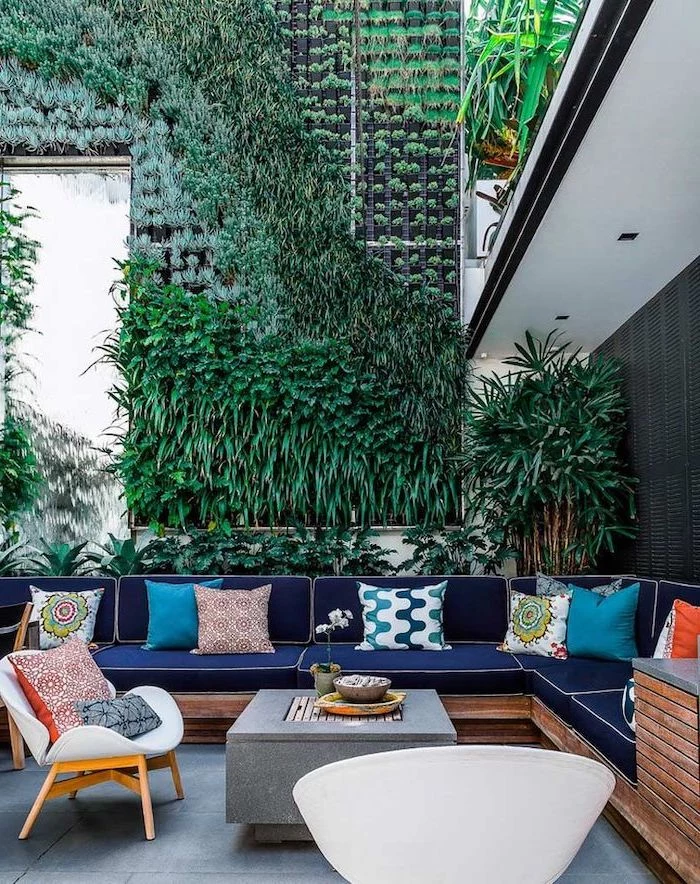
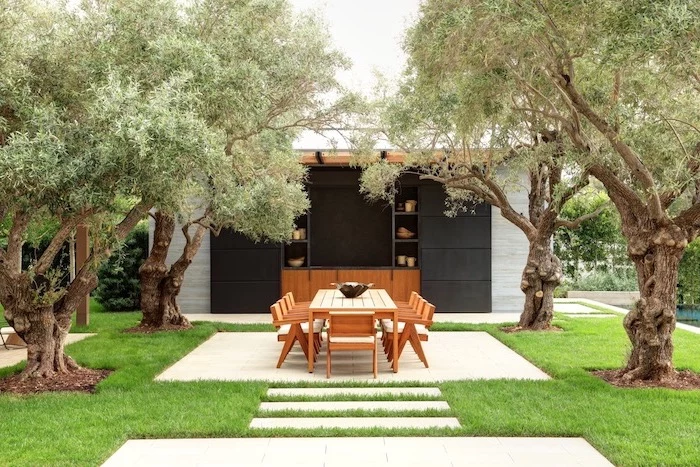
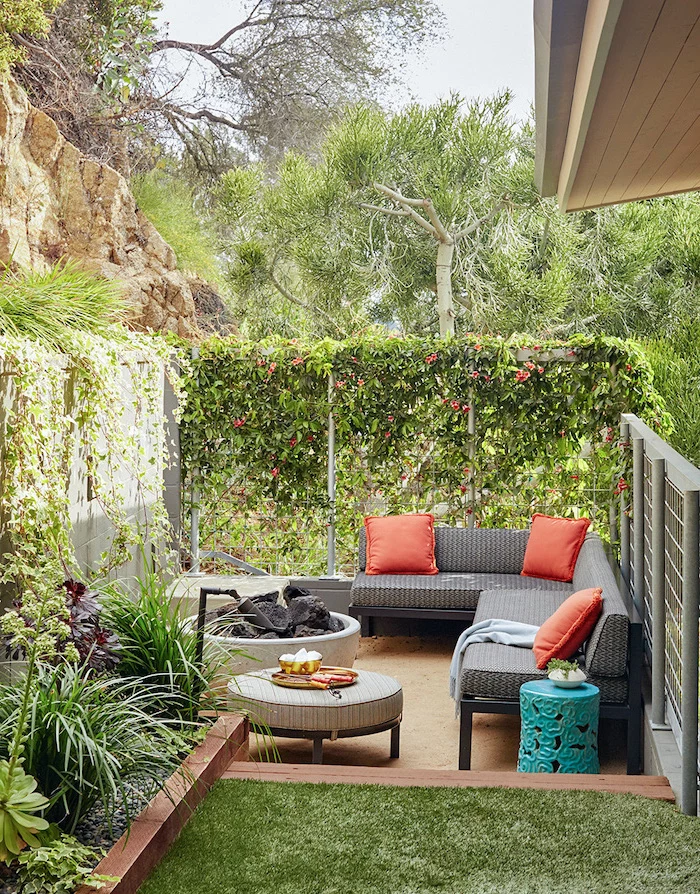
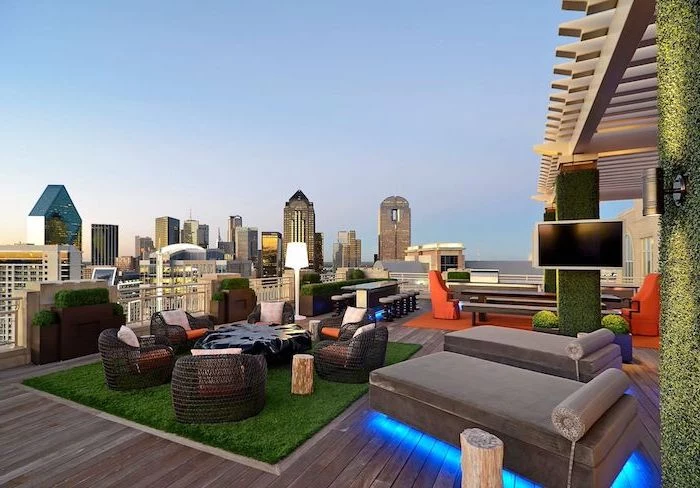
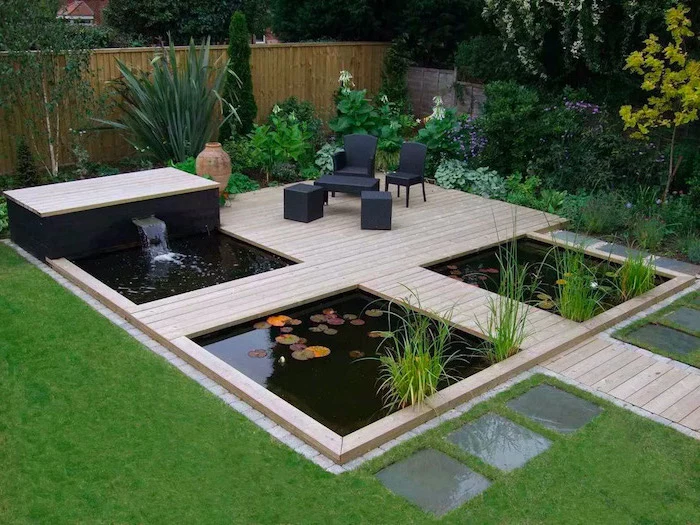
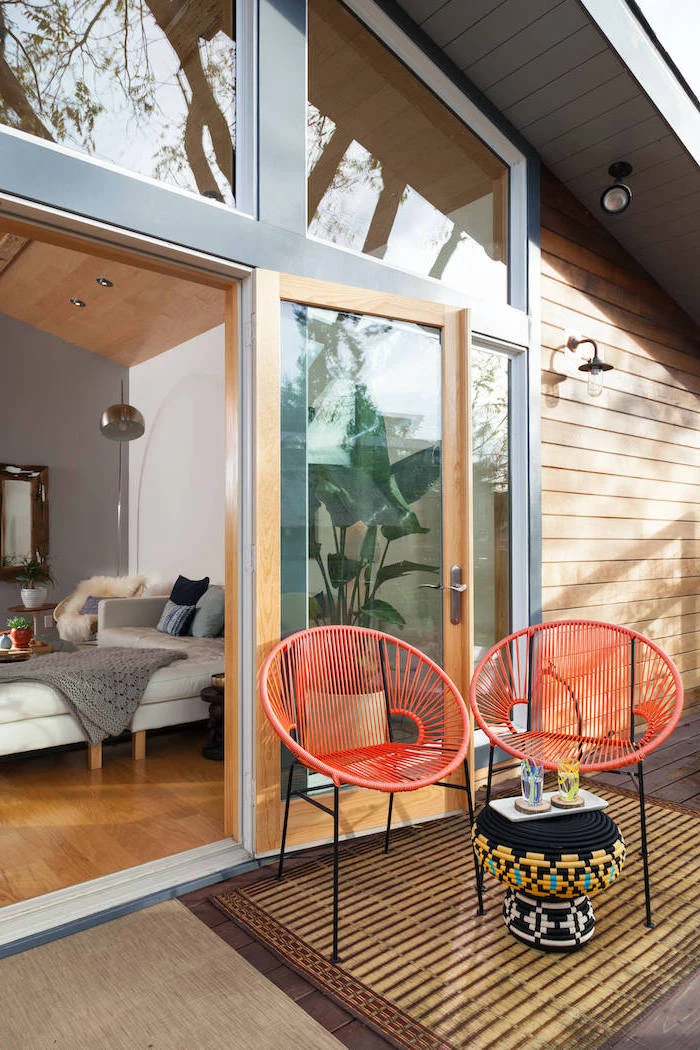
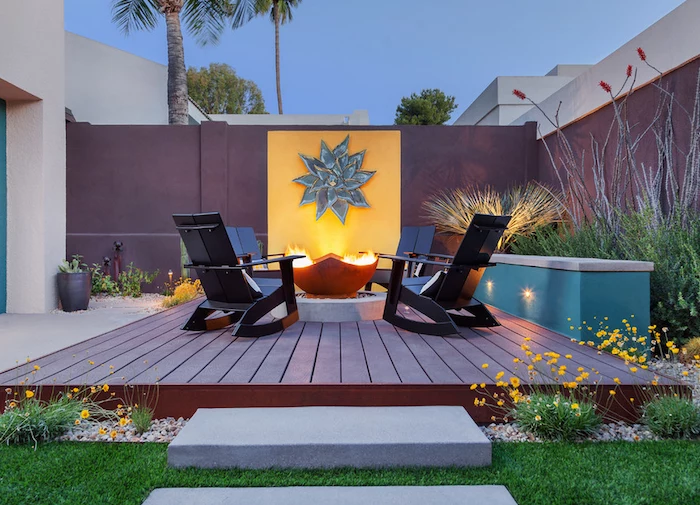
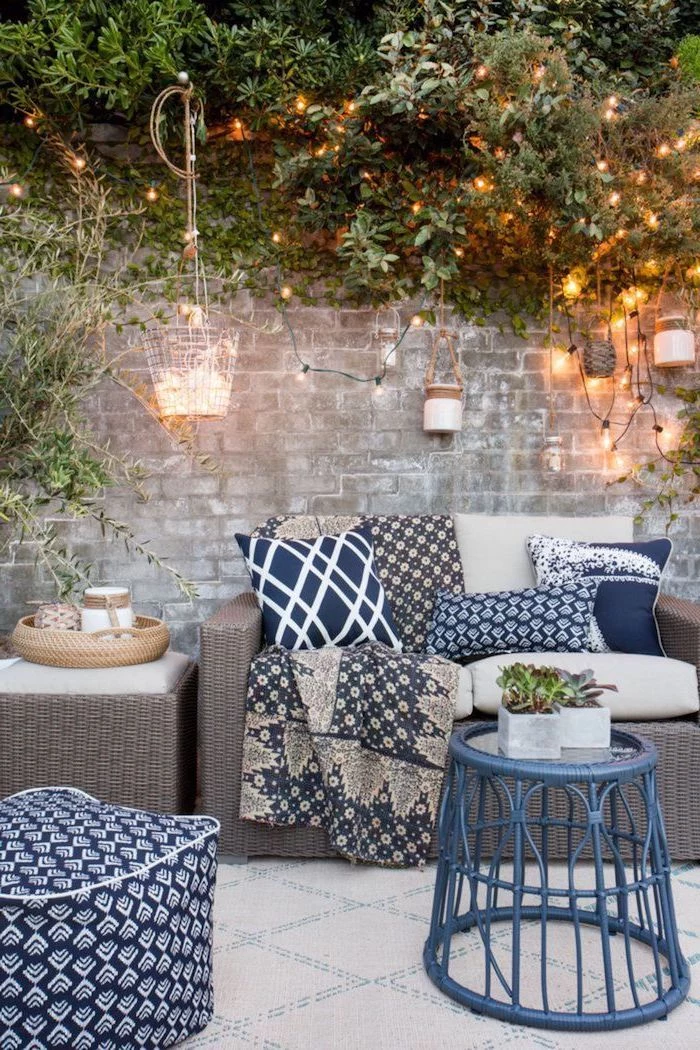
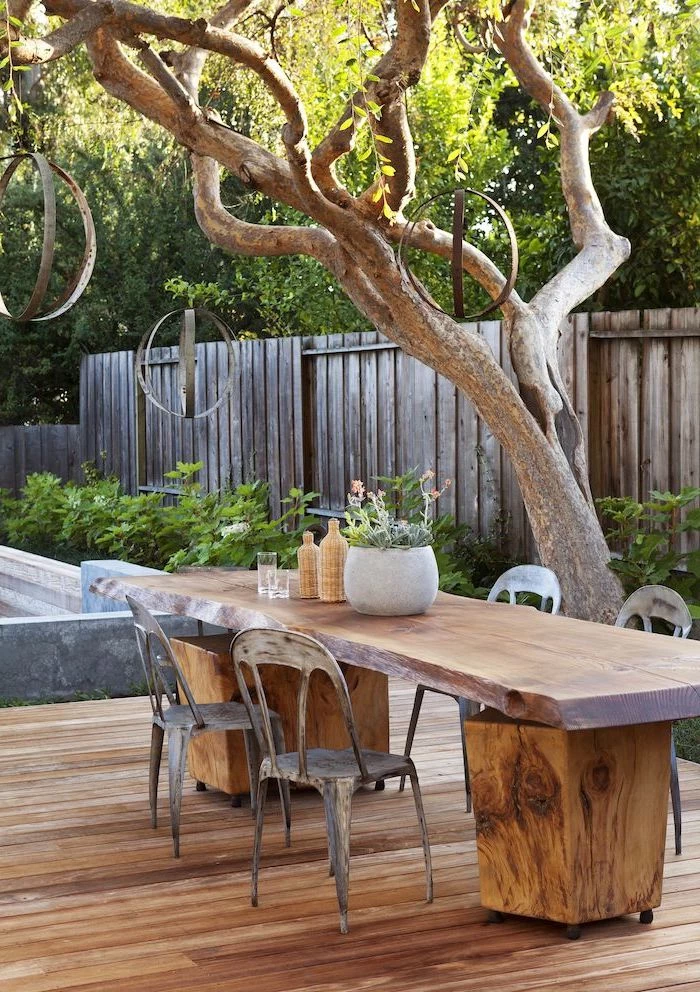
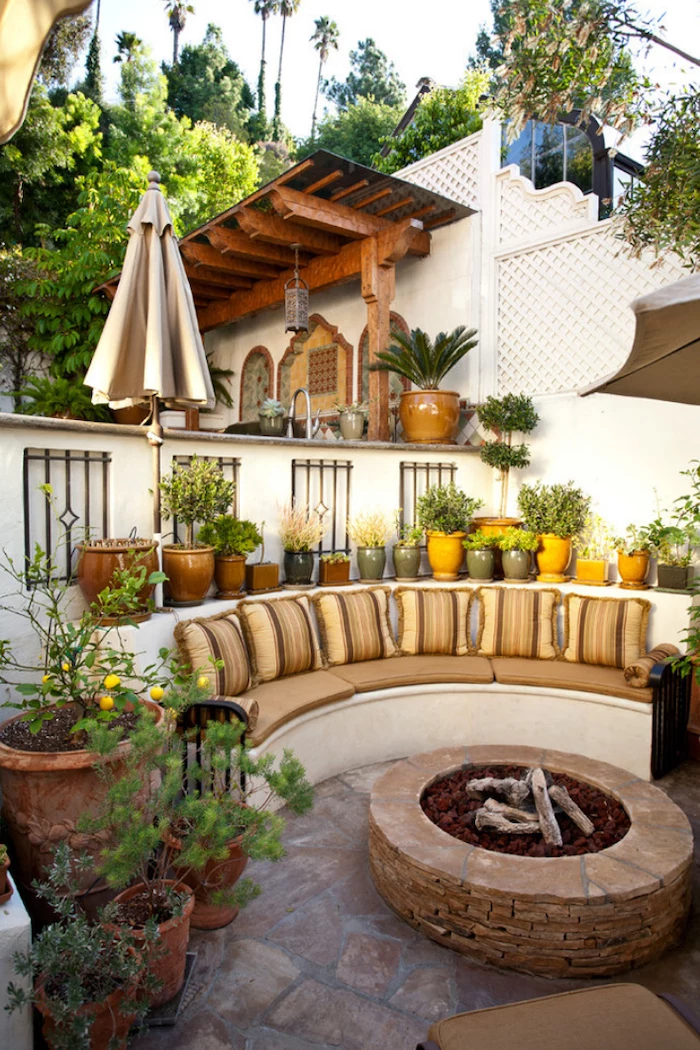
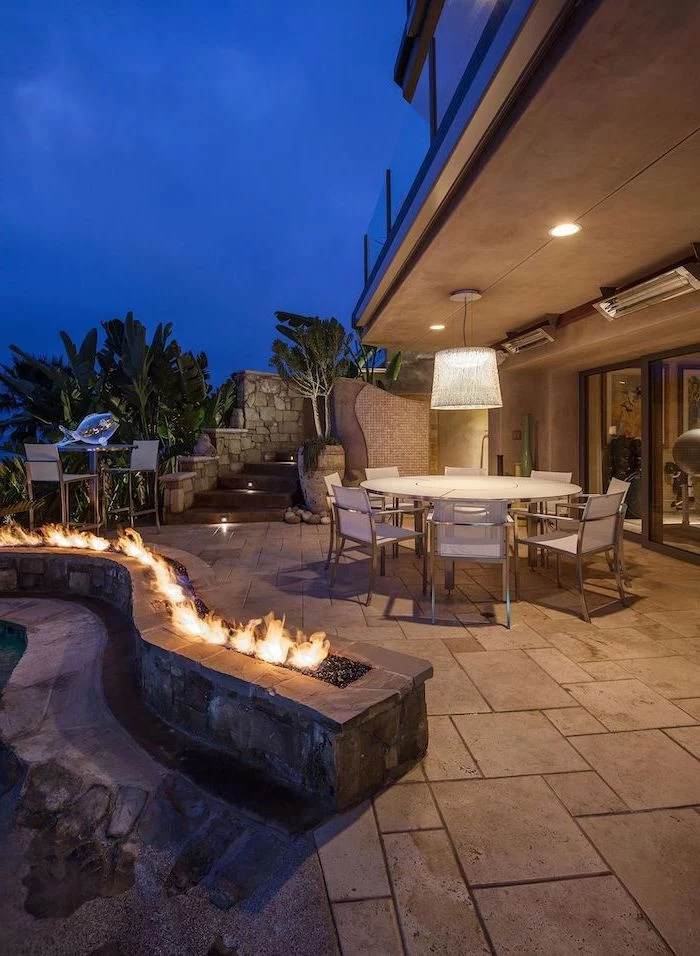
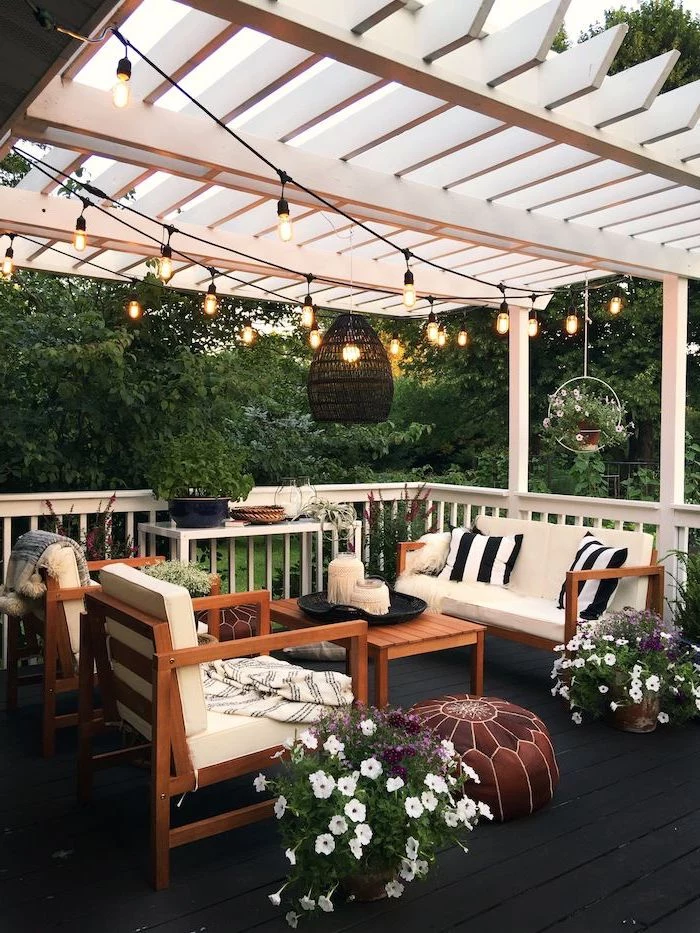
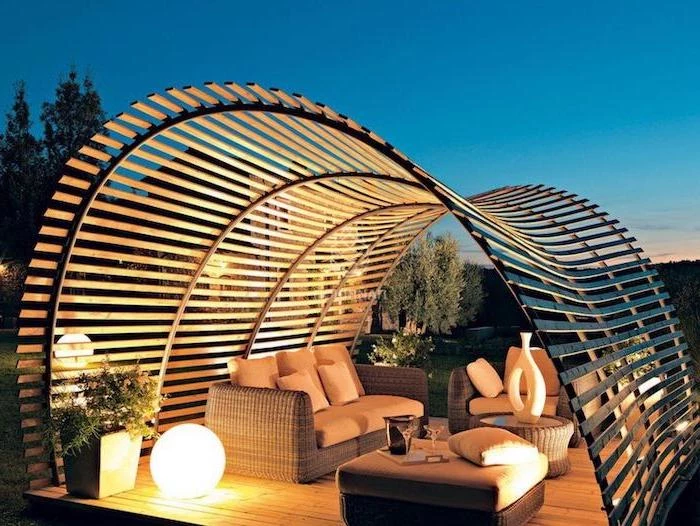
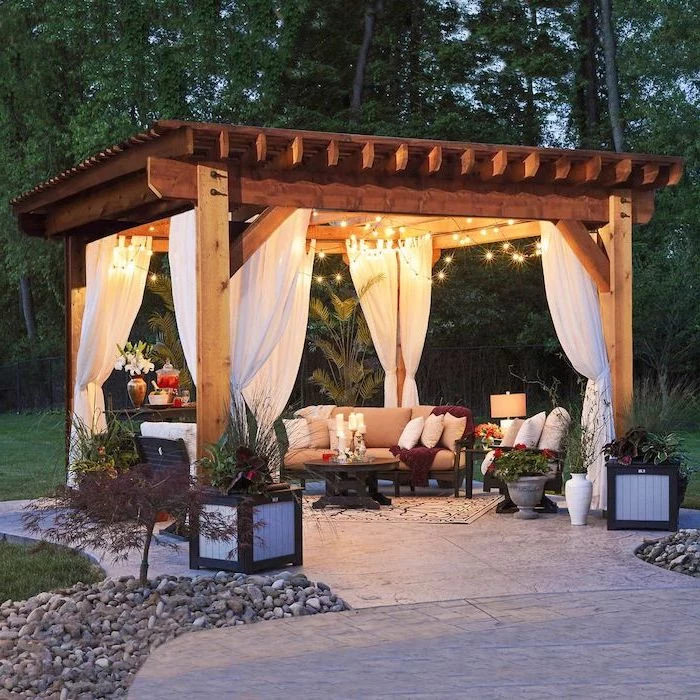
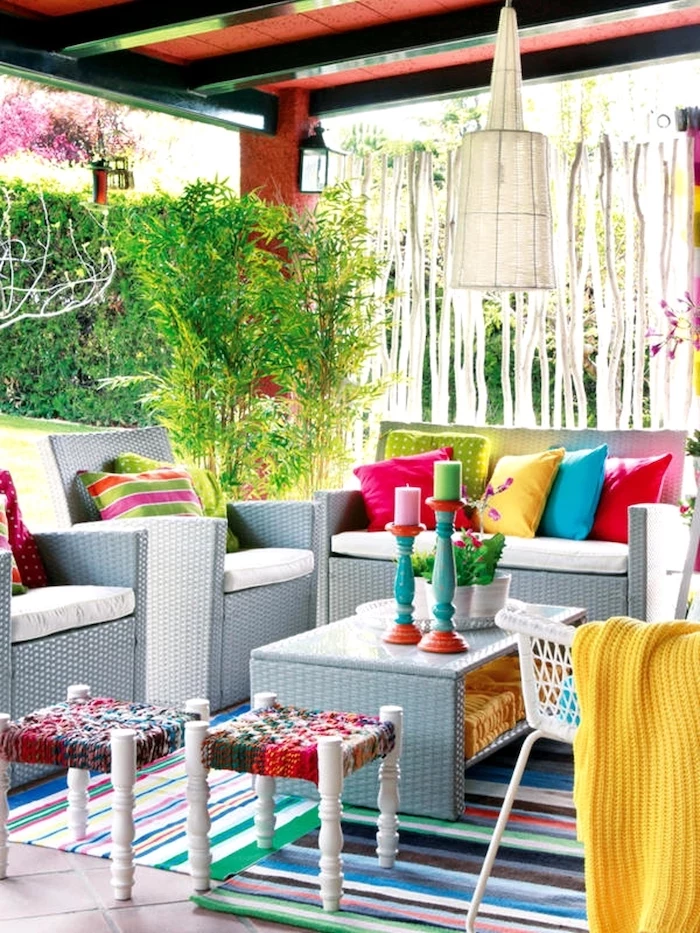
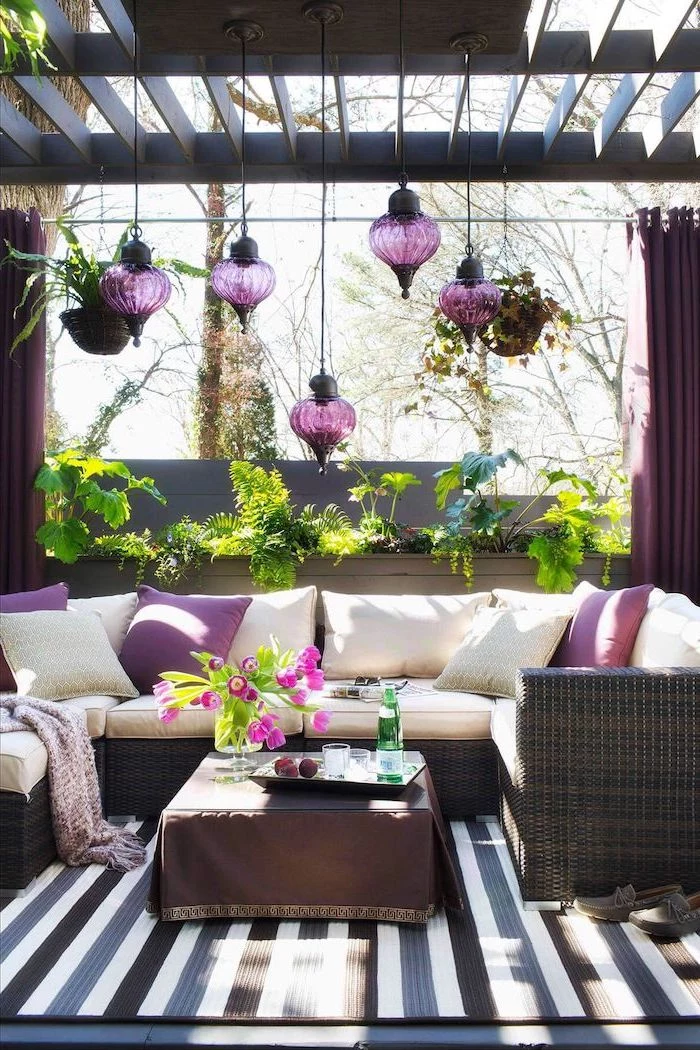
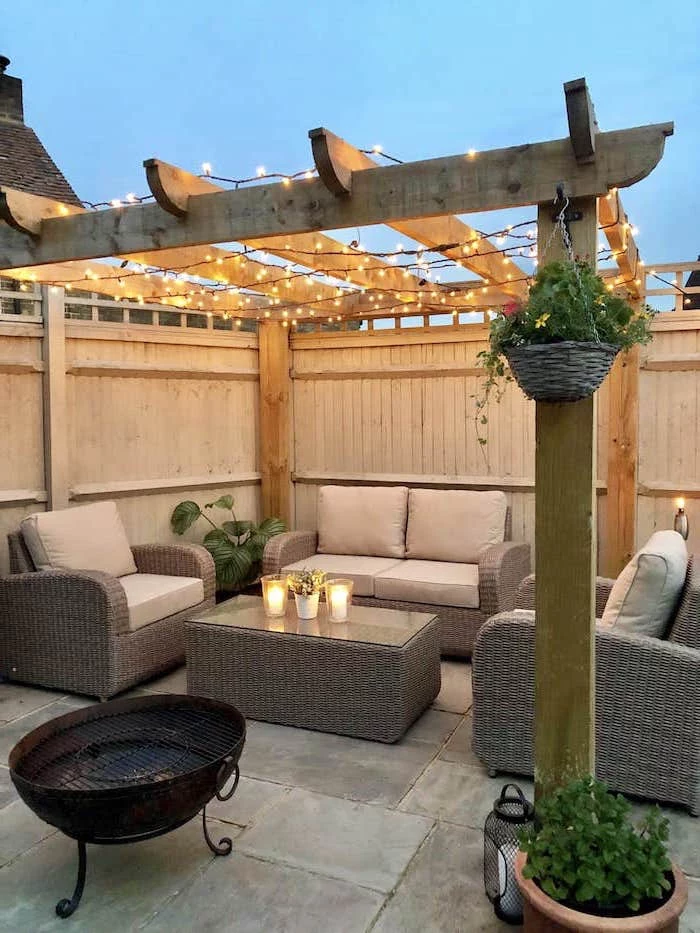
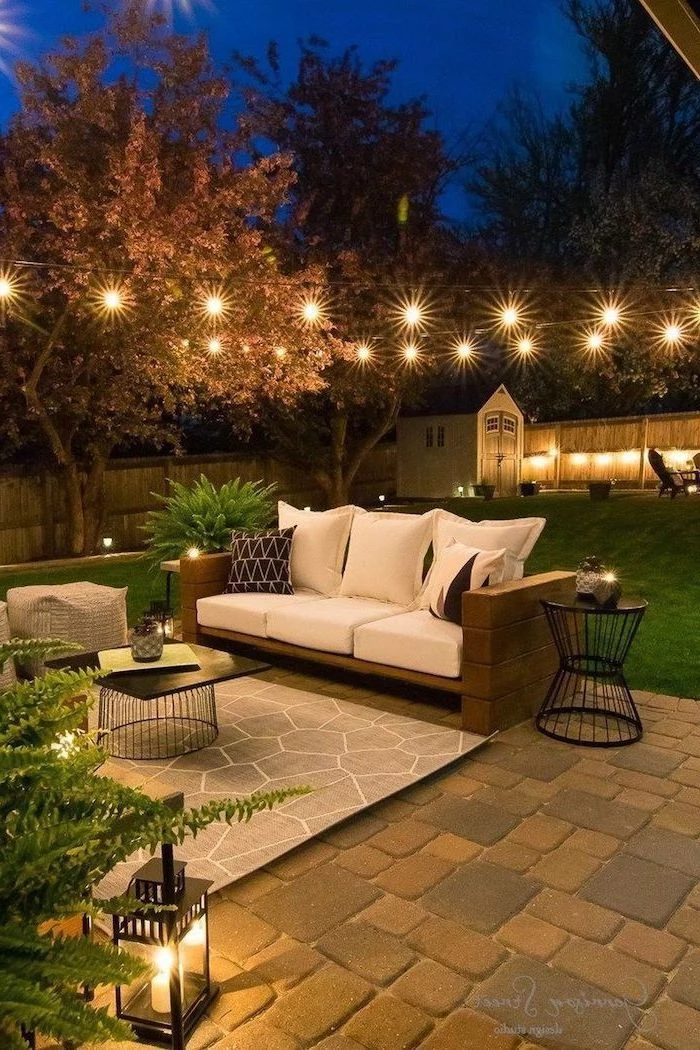
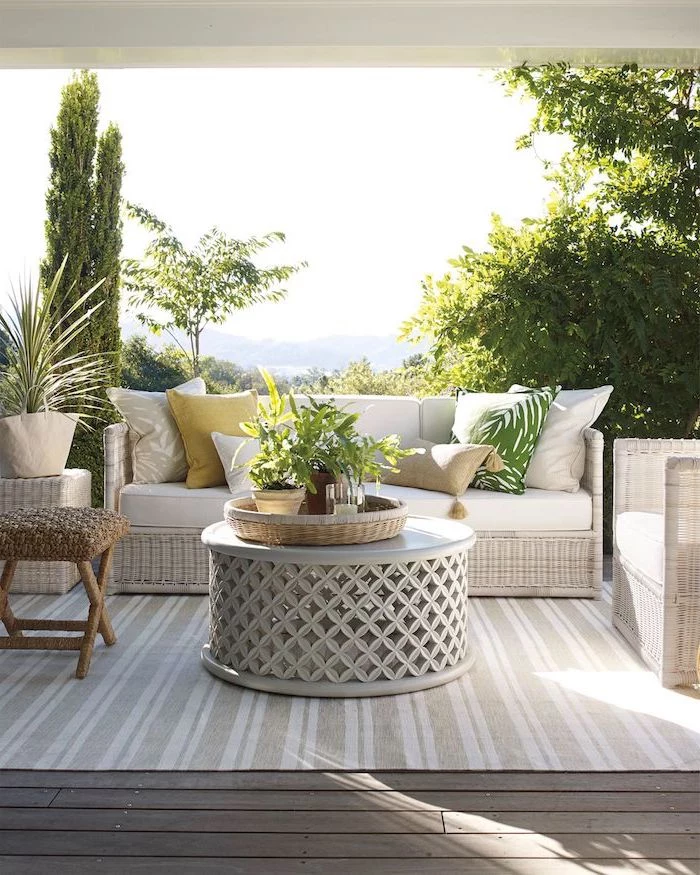
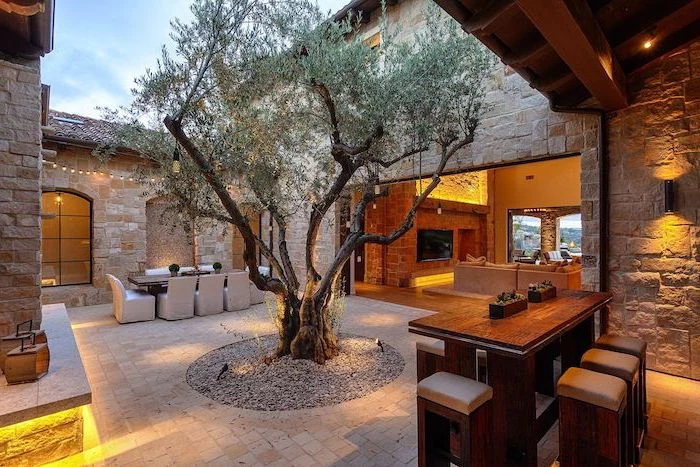
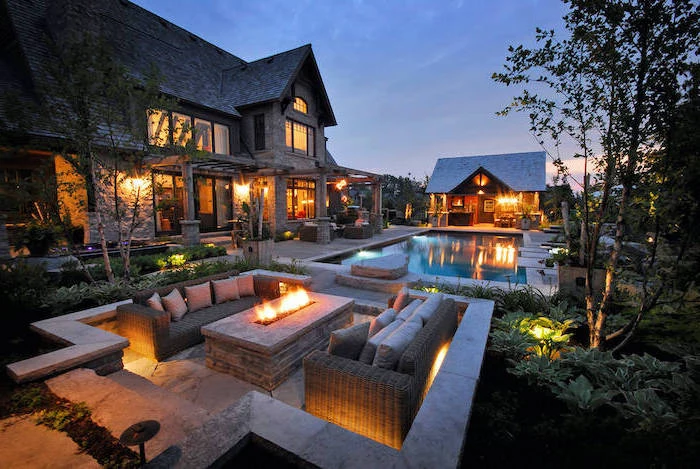
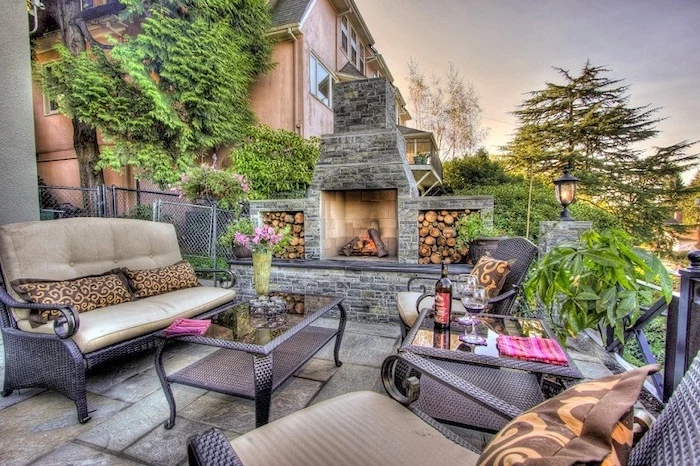
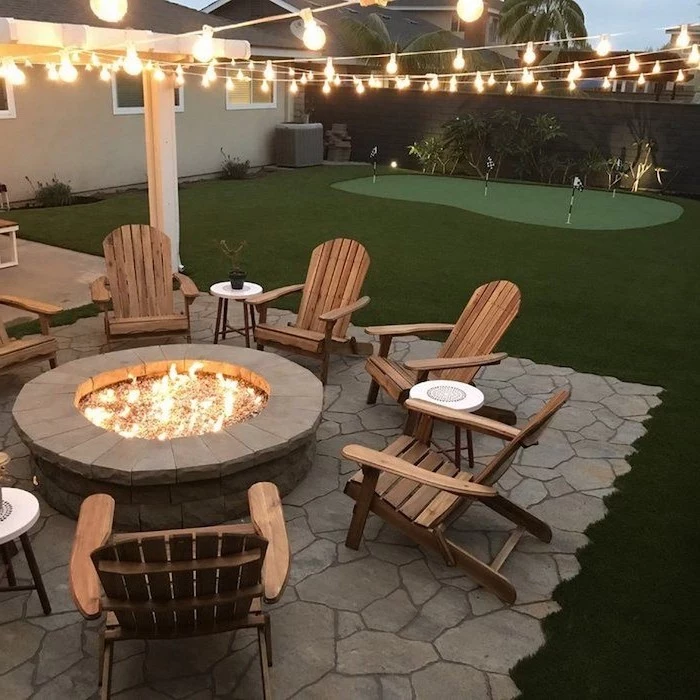
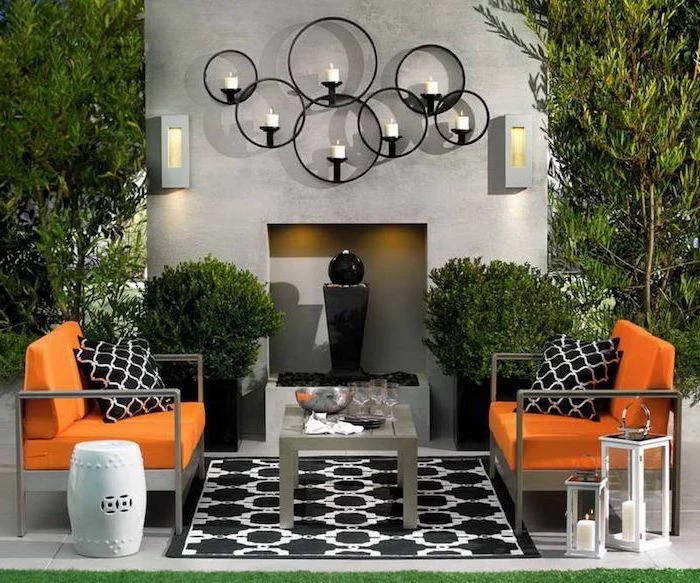
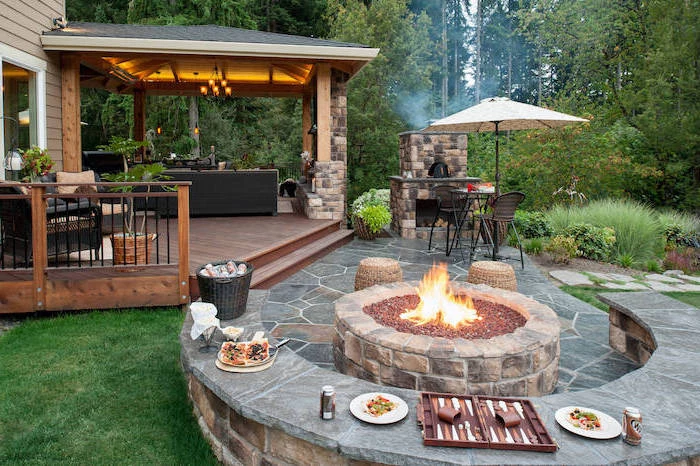
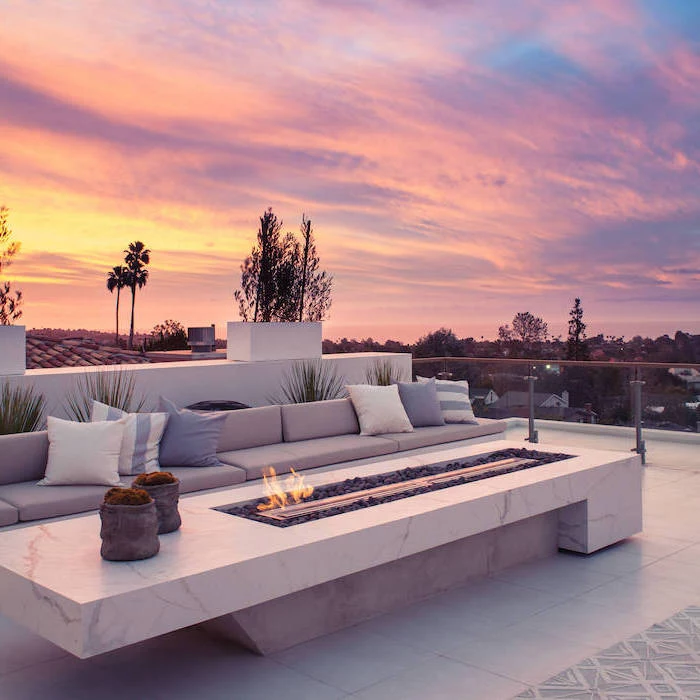
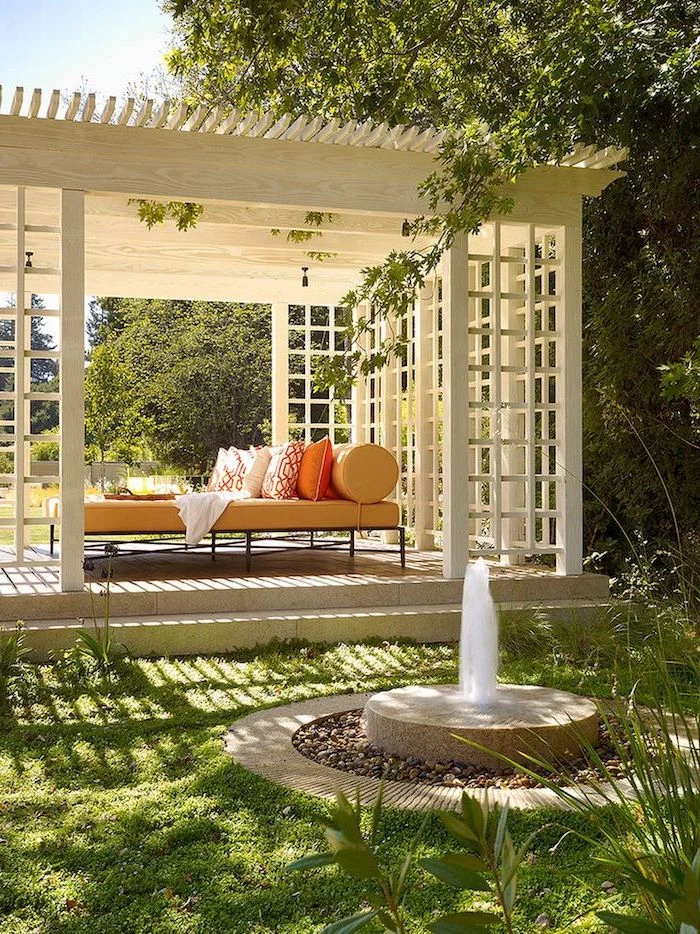
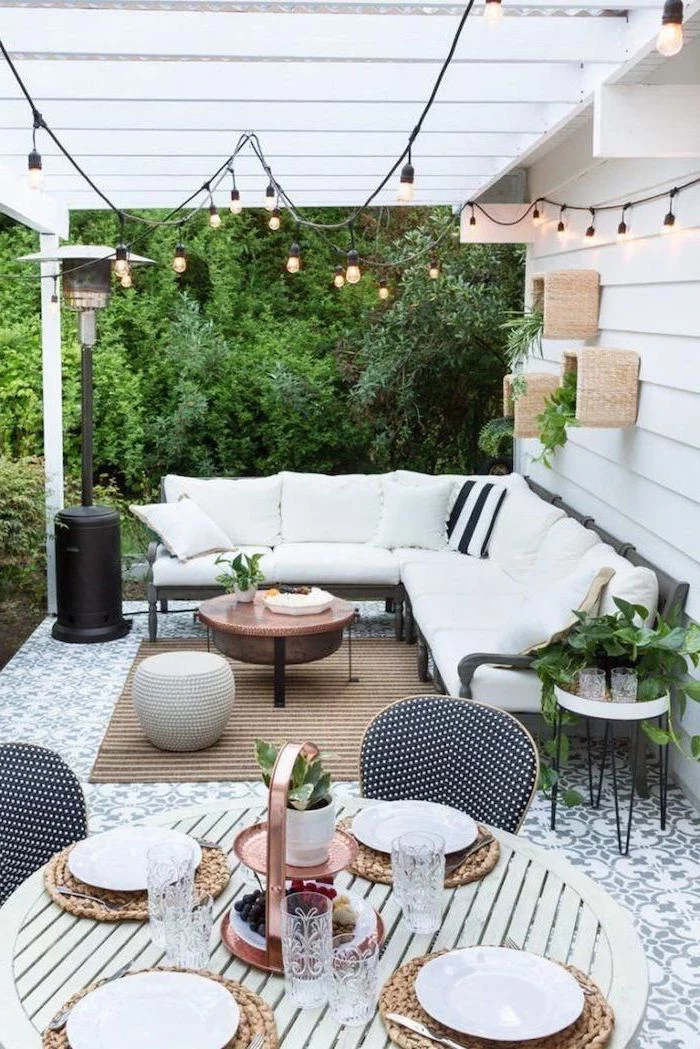
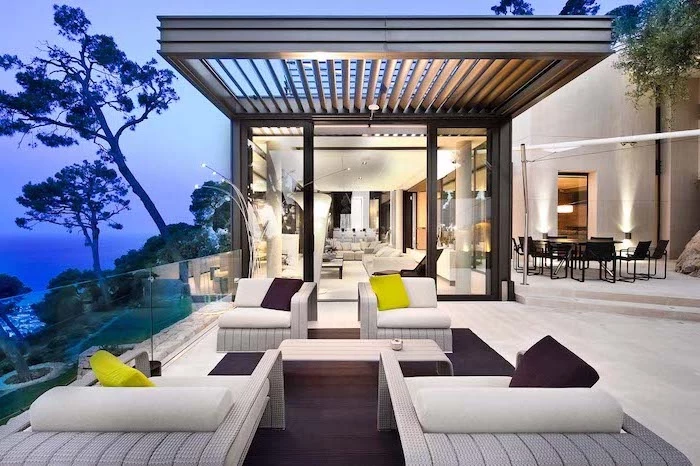
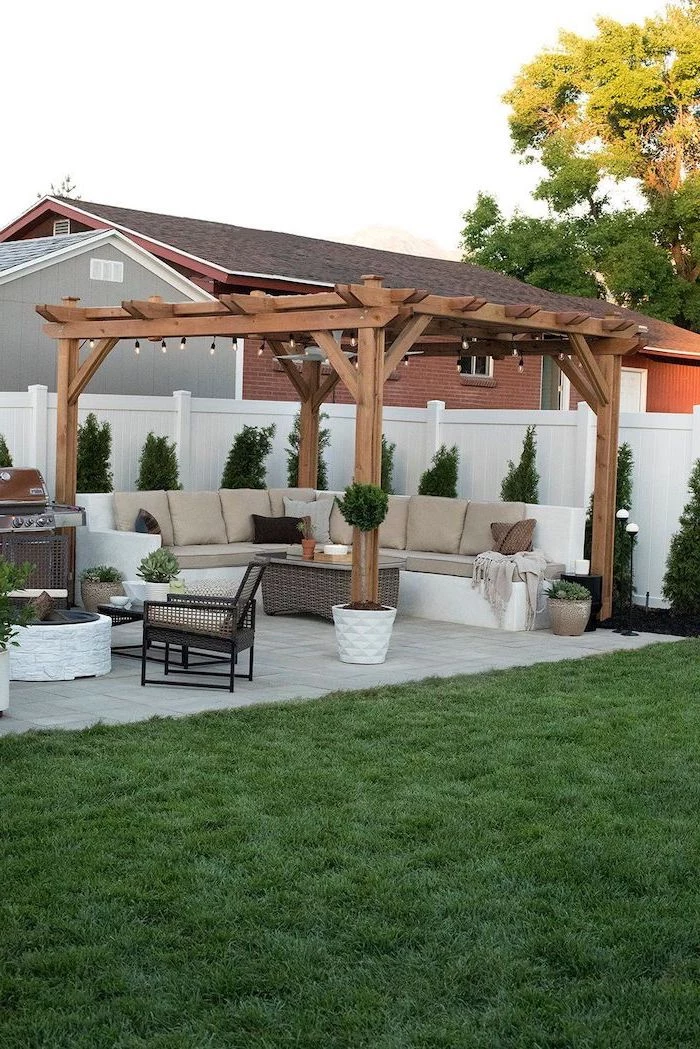
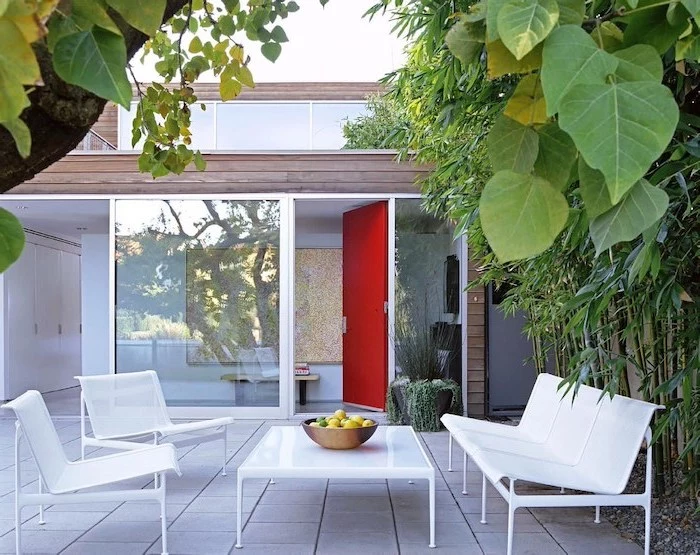
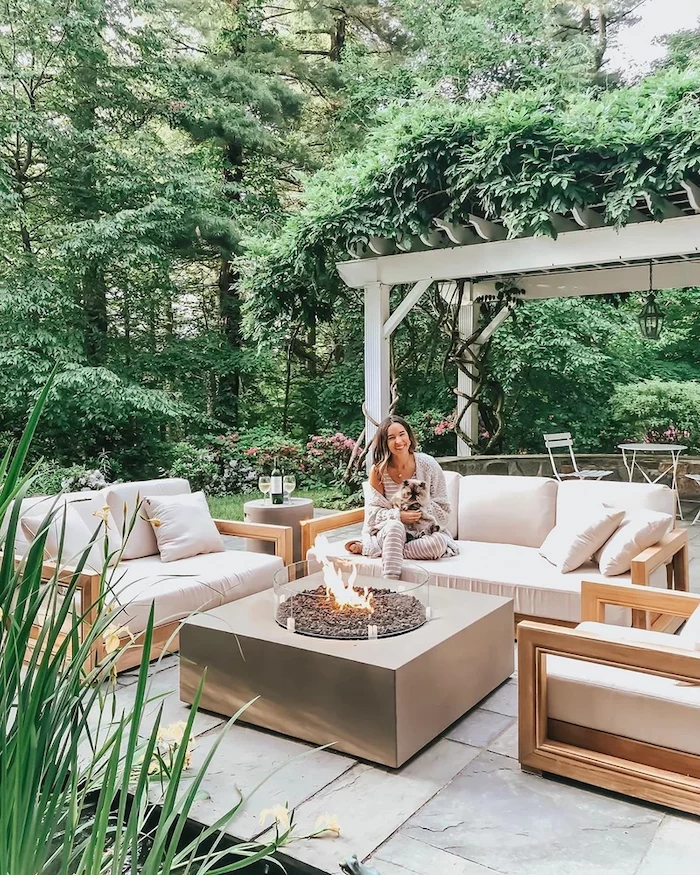
Inspirational Gallery
The Unsung Hero: Geotextile Fabric. Before you dump a single stone into your excavated base, consider laying down a layer of professional-grade geotextile fabric. It’s not just a weed barrier; it’s a separator. This tough membrane keeps your expensive gravel base from mixing with the soil below, preventing it from slowly sinking and disappearing over time. It also helps distribute the load more evenly, adding another layer of stability against shifting earth.
- Prevents weeds from growing up through the joints.
- Stabilizes the soil underneath your base layer.
- Increases the long-term structural integrity of your patio.
The secret? A quality paver edge restraint. Whether you choose heavy-duty plastic, aluminum, or a poured concrete curb, locking in those border pavers is non-negotiable. It’s the frame that holds your entire masterpiece together, preventing the pavers from creeping apart over the seasons.
According to a study by the National Association of Realtors, a new patio can recover over 95% of its cost in added home value. But only if it’s built to last.
What’s the difference between a rental compactor and a pro’s machine?
For the base layers of crushed stone, a heavy-duty forward plate compactor is essential. Look for one with a compaction force of at least 3,000 lbs to properly settle the 4-6 inches of aggregate. However, for the final pass over the pavers themselves, you must use a compactor with a urethane pad or a special paver roller. Running a bare steel plate directly over your brand-new pavers can scuff, chip, or crack them before you’ve even had your first barbecue.
Concrete Pavers: The workhorse of the industry. They offer immense variety in color, shape, and texture, are incredibly durable, and are typically the most budget-friendly option. Brands like Unilock and Techo-Bloc offer advanced technologies for colorfastness and unique finishes.
Natural Stone: Offers one-of-a-kind beauty, with each piece of bluestone, travertine, or flagstone having unique veining and color. It’s often more expensive and can require more skill to lay evenly due to natural variations in thickness.
For a blend of predictability and high-end looks, concrete pavers are hard to beat. For pure, timeless elegance, natural stone is unmatched.
Don’t just start digging. Before a shovel ever hits the ground, make the most important phone call of the project: dial 811 (or your local
The pattern you choose is more than just a style choice; it can add strength to the entire surface. A running bond (like bricks in a wall) is simple and classic. A herringbone pattern, laid at 45 or 90 degrees, provides more interlock and is excellent for areas with vehicle traffic or shifting ground. For a modern look, large-format pavers in a simple stacked or running pattern minimize joint lines and create a sense of space.
A single cubic yard of ¾-inch crushed stone, a common base material, weighs approximately 2,700 pounds.
This isn’t just a fun fact; it’s a critical logistical point. Underestimate your material needs, and you’ll be making multiple, back-breaking trips. Always calculate your volume (length x width x depth, in feet) and add a 10% buffer. Then, arrange for delivery. Your back will thank you.
The Final Lock: Polymeric Sand. Once your pavers are laid and compacted, the joints need to be filled. Don’t use simple playground sand. Modern polymeric sand, like Gator Sand or Techniseal’s EasyPro, is a game-changer. It’s a fine sand mixed with a polymer binder. When swept into the joints and lightly misted with water, it hardens to form a firm, flexible joint that locks pavers together, prevents weed growth, and resists erosion from rain and insects.
- A high-quality 4-foot level.
- String lines and stakes to maintain perfect lines and slope.
- A screed board (a very straight 2×4) for leveling the sand base.
- A rubber mallet for tapping pavers into place.
- A diamond blade on an angle grinder or wet saw for precise cuts.
Can I build a patio directly on the ground if I live in a warm climate?
Even without a deep frost line, skipping the base is a recipe for failure. Soil still expands and contracts with moisture content, and heavy rains can cause washout and settling. A proper 4-inch compacted aggregate base and a 1-inch sand bed are the absolute minimum for stability, no matter where you live. It ensures that the patio moves as a single, solid slab rather than a collection of individual, wobbly stones.
Think beyond the rectangle. While a square or rectangular patio is the easiest to lay out, a thoughtfully designed curve can soften the landscape and create a more organic flow. To execute a perfect curve, drive a stake at the center point, tie a string to it the length of your desired radius, and use it like a giant compass to mark your excavation and paver-cutting lines with marking paint.
In regions with cold winters, frost can exert pressures of up to 50,000 pounds per square foot on subterranean structures. Your patio base is no exception.
A crucial pro tip: your compacted base layer should extend at least 6 inches beyond the finished edges of the patio on all sides. This creates a stable
Eco-Friendly Drainage: Permeable Pavers. If your property has drainage issues or is subject to stormwater regulations, consider a permeable paver system. These pavers have larger gaps between them and are set on a base of open-graded, clean-washed stone. This design allows rainwater to pass directly through the surface and be absorbed into the ground, reducing runoff and replenishing groundwater. It’s an engineered system that turns your patio into an environmental asset.
Should I seal my new paver patio?
Sealing is a matter of aesthetics and maintenance. A good quality sealer will enhance the colors of the pavers (a
The most meticulous part of the job is creating the 1-inch sand setting bed. This is done by a process called ‘screeding.’ Lay two parallel pipes or rails on top of your compacted base, ensuring they are perfectly level and set to the correct final height. Then, pour sand between them and pull a long, straight 2×4 across the tops of the rails. This removes the excess sand, leaving a perfectly smooth, flat bed ready for the pavers. Do not walk on the screeded sand!
- Light up pathways for safety and ambiance.
- Create a stunning visual effect at night.
- Extend the usability of your patio well after sunset.
The secret? Plan your wiring from the very beginning. Low-voltage lighting is a fantastic addition, but the wiring needs to be run in conduit underneath the pavers before you even start compacting the base. Deciding to add lights later is a far more difficult and expensive task.
The Rise of Porcelain. A major trend in high-end patios is the use of 2cm-thick porcelain pavers. Unlike traditional ceramic tile, these are incredibly dense, durable, and almost completely non-porous. This makes them highly resistant to staining, frost, and fading. They offer sleek, modern aesthetics, including realistic wood-grain and stone finishes, without the maintenance of the real materials. They can be laid on a gravel and sand base just like concrete pavers.
Where to Splurge, Where to Save. Facing a tight budget? Never, ever skimp on the depth and compaction of your base. That is the engine of your patio. You can save money by choosing more affordable standard-finish concrete pavers over premium natural stone, or by doing the demolition and excavation yourself. But reducing your base from 6 inches to 3, or skipping the plate compactor rental, is a classic mistake that will cost you far more in the long run.
So the patio is sloped correctly, but where does all that water go? Don’t just grade it to run off into a low spot in your yard, creating a swamp. A professional plan considers the final destination. This might mean installing a channel drain along the edge, or leading the runoff to a French drain or a small, underground dry well filled with coarse stone. Managing water doesn’t stop at the patio’s edge.
Your job isn’t quite done after sweeping in the polymeric sand. Let the patio sit for at least 24-48 hours before walking on it or putting furniture back. This allows the binders in the sand to fully cure and harden. Getting it wet or disturbing the joints too early can ruin the locking mechanism, forcing you to wash it out and start over.
Metal Edging: Products like an aluminum option from Curv-Rite provide a crisp, almost invisible line that’s very strong and flexible for making smooth curves. It’s more expensive but offers a high-end, clean finish.
Plastic Edging: Contractor-grade plastic edging like Snap-Edge is a popular, cost-effective choice. It’s secured with long metal spikes and is durable, but can be more difficult to use for creating perfectly smooth curves.
For straight lines and budget projects, plastic is fine. For high-end designs with sweeping curves, aluminum is worth the investment.
The ‘tap and level’ process is where patience pays off. As you lay each paver on the sand bed, give it a few gentle taps with a rubber mallet to set it firmly. Use your level across several pavers at a time to check for consistency. Don’t worry about microscopic perfection at this stage; the final plate compaction will settle everything into its final, even position. Just focus on eliminating any obvious rocking or high spots.


