Why Your Seeds Aren’t Sprouting (And How to Actually Fix It)
I’ve been playing in the dirt for what feels like a lifetime. It all started in my grandpa’s slightly lumpy backyard, where he handed me a packet of radish seeds and pointed to a square of dirt. His only advice? “Don’t plant them too deep.”
In this article
Naturally, I jammed them in as far as my thumb would go. Only a couple of sad-looking sprouts ever appeared. That was lesson number one: gardening is about humility and paying attention to the little things. Since then, I’ve worked in commercial greenhouses and taught plenty of aspiring gardeners, and I’ve seen every mistake in the book—mostly because I’ve made them myself. What I’ve learned is that getting seeds to sprout isn’t some kind of magic trick. It’s a science. It’s about giving a tiny, sleepy seed the perfect wake-up call.
So let’s get into the nitty-gritty of what actually works, skipping the disappointment and getting straight to a tray full of happy seedlings.
First Things First: Your Beginner’s Shopping List
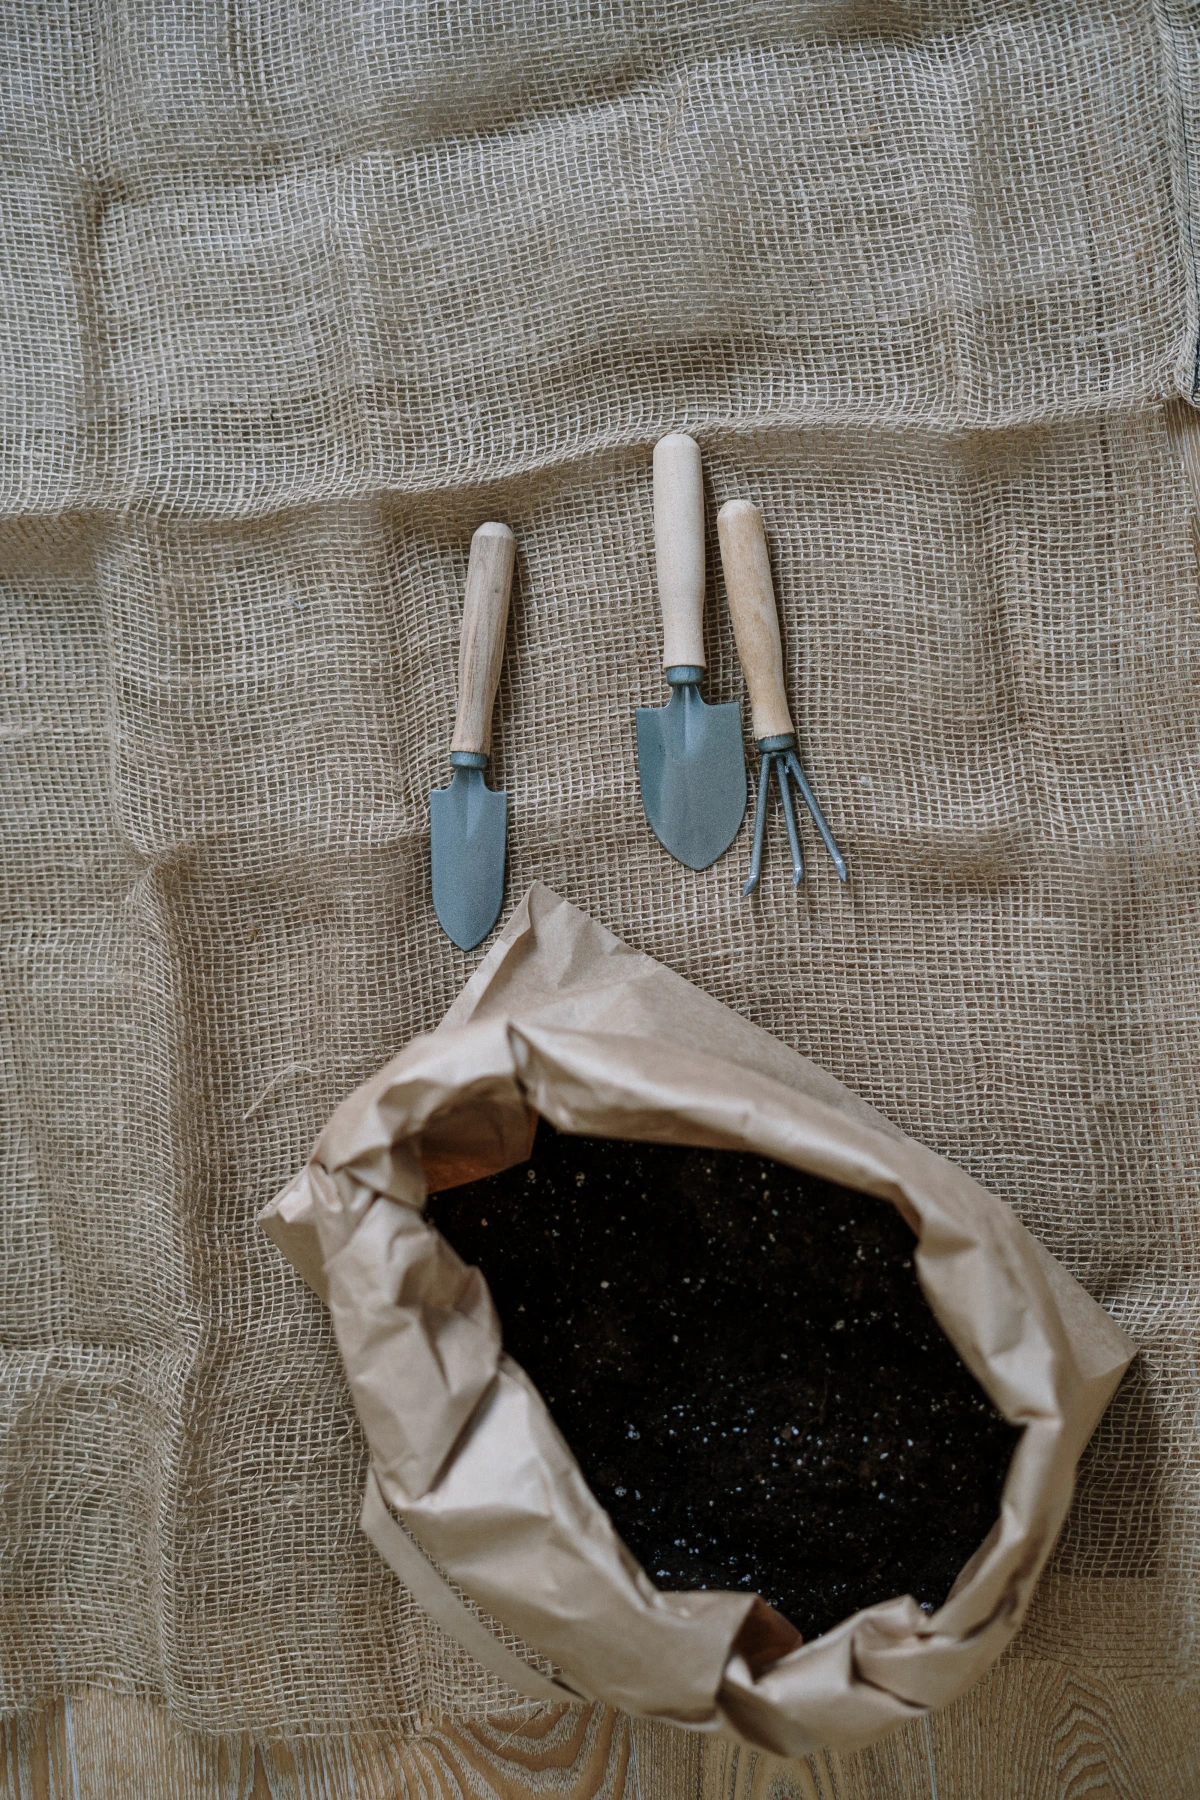
Before you even think about seeds, let’s talk gear. Walking into a garden center can be overwhelming, but you really only need a few key items to get started right. Here’s a realistic look at what you’ll spend:
- A Bag of Seed Starting Mix: Do not skip this! A good-sized bag costs around $15 to $25 and is worth every penny. You can find this at any hardware store or nursery.
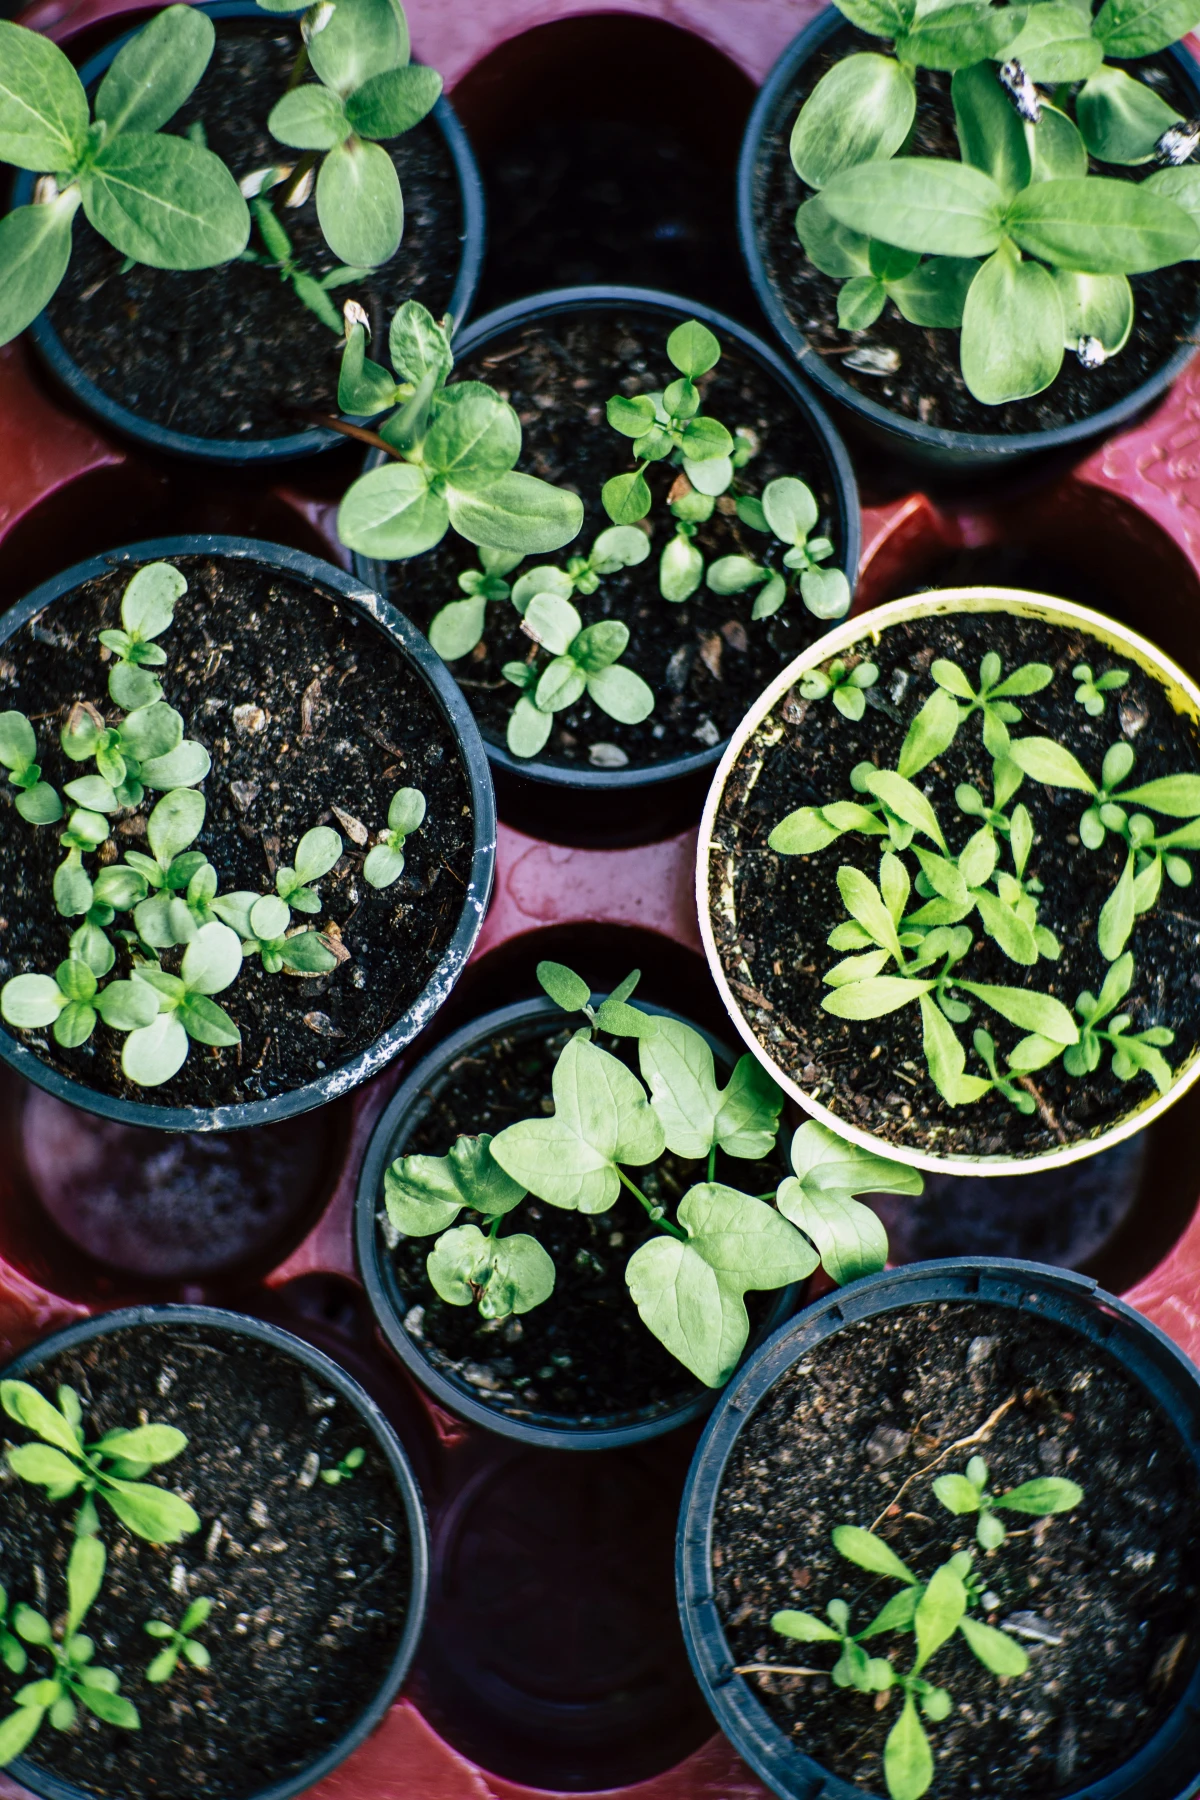
- Seedling Trays or Pots: You have options here. Simple plastic cell packs are cheap, maybe $10 for a bunch. Peat pots are biodegradable, which is cool, but they can dry out fast. Honestly, you can even use clean yogurt cups or egg cartons if you poke drainage holes in the bottom.
- A Basic Grow Light: A sunny window is almost never enough. For strong seedlings, you need a dedicated light. A simple 4-foot fluorescent shop light works wonders and will set you back about $40-$50. Modern LED versions are great, too, and might cost a little more upfront but save on electricity.
- A Seedling Heat Mat (Optional, but Recommended!): If you plan on growing anything that loves heat—like tomatoes or peppers—this is a game-changer. A standard mat costs about $25. Splurge the extra $20 for one with a thermostat controller. Trust me on this.
The Foundation: What Your Seeds Grow In
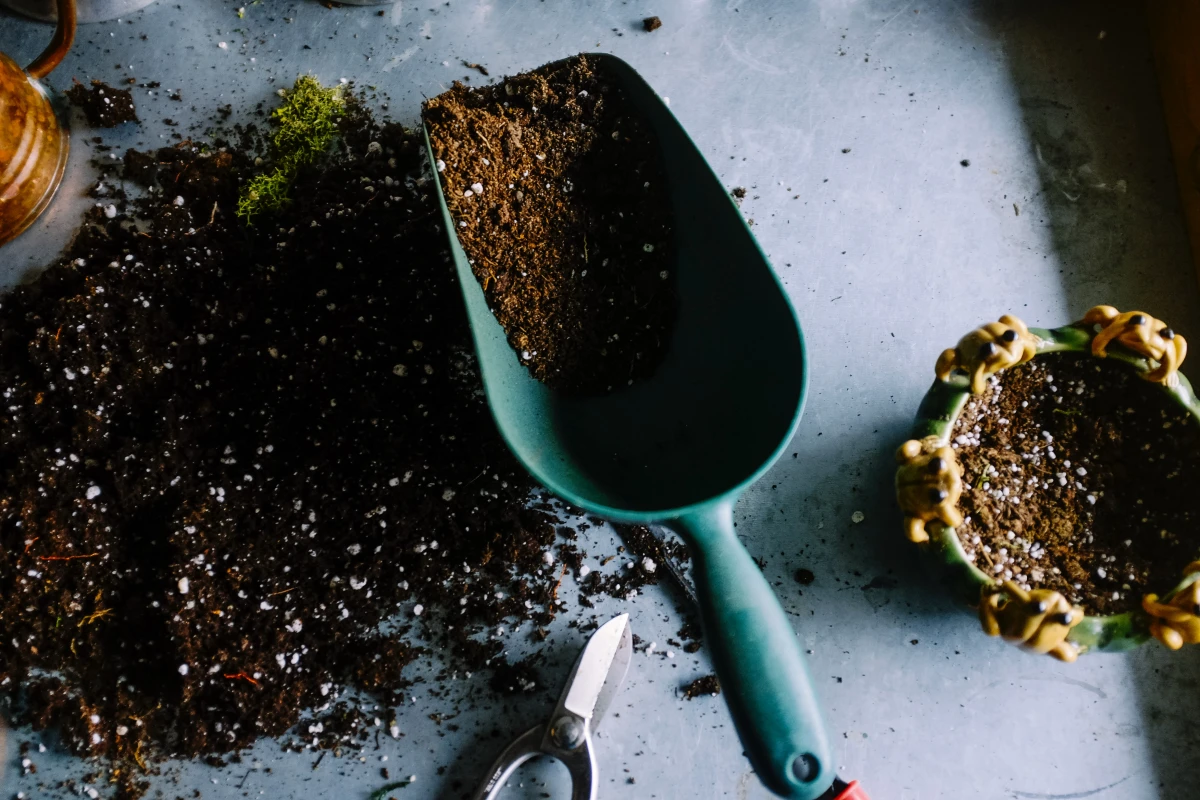
Okay, let’s talk about that seed-starting mix. The number one mistake I see is people scooping up dirt from their backyard. Garden soil is packed with weed seeds, hungry fungi, and all sorts of critters that will happily devour your delicate seedlings. A bagged seed-starting mix is sterile, light, and fluffy for a reason.
A quality mix is designed to do three things: hold moisture without becoming a swamp, provide pockets of air for roots to breathe, and drain away excess water. It’s usually a blend of a few key ingredients:
- Coco Coir or Peat Moss: This is the body of the mix, great for holding water. I lean towards coco coir these days; it’s a sustainable byproduct of coconuts and re-wets much more easily than bone-dry peat moss.
- Perlite: Those little white crunchy bits. They’re popped volcanic glass, and their job is to create air space and improve drainage.
- Vermiculite: Shiny, flaky minerals that are fantastic at holding onto both water and nutrients, releasing them slowly as the plant needs them.
Quick Tip: When you’re working with these dry mixes, they can kick up a lot of fine dust. It’s a good idea to wear a simple dust mask. I learned this the hard way after a day of mixing left me with a nasty cough. Also, lightly misting the mix with water as you work keeps the dust down.
Timing Is Everything (No, Really)
Planting a seed at the wrong time is a guaranteed path to failure. The most important thing to know isn’t today’s date, but your area’s average last spring frost date. Just search online for “last frost date” with your zip code, and you’ll find it. I circle this on my calendar every single year.
Once you have that date, you count backwards to know when to start your seeds indoors.
- For tomatoes and peppers, you’ll want to start them indoors about 6-8 weeks before your last frost date.
- For faster growers like cucumbers and squash, which don’t like being in pots for long, you only need to start them 2-3 weeks before.
- And for cool-weather crops like broccoli or cabbage, 4-6 weeks is the sweet spot.
Starting too early is a classic blunder! You’ll end up with huge, stressed-out plants that are desperate to get outside long before the weather is safe.
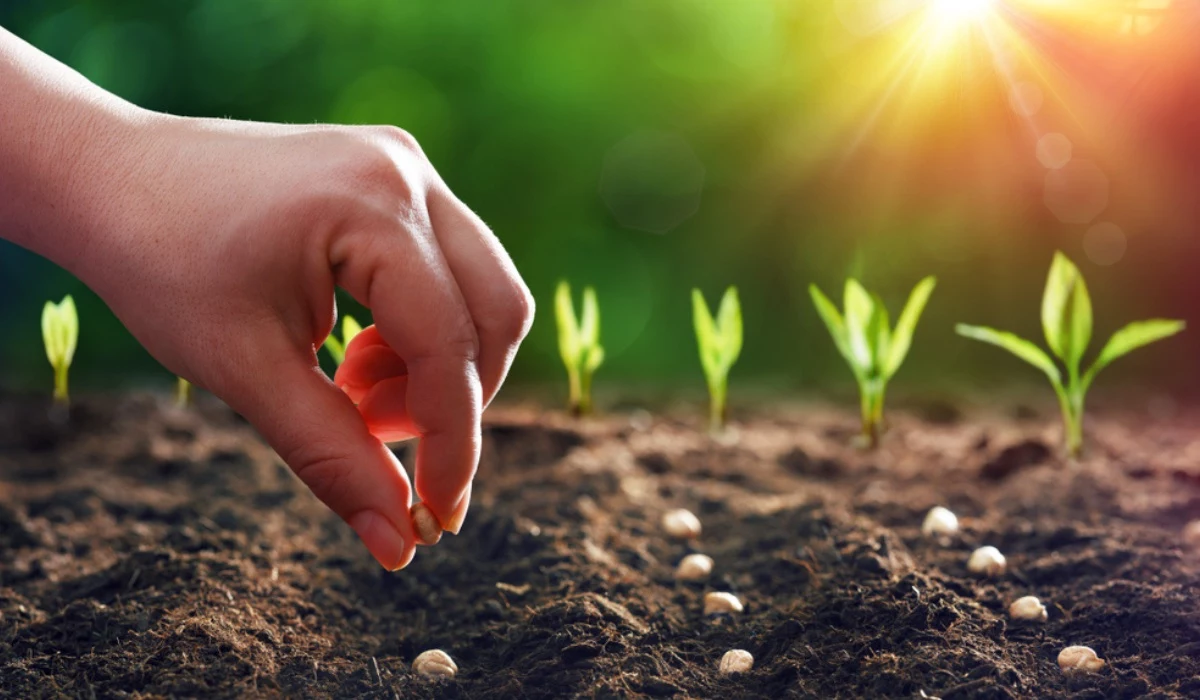
The “Not Too Deep” Rule and a Pro Trick
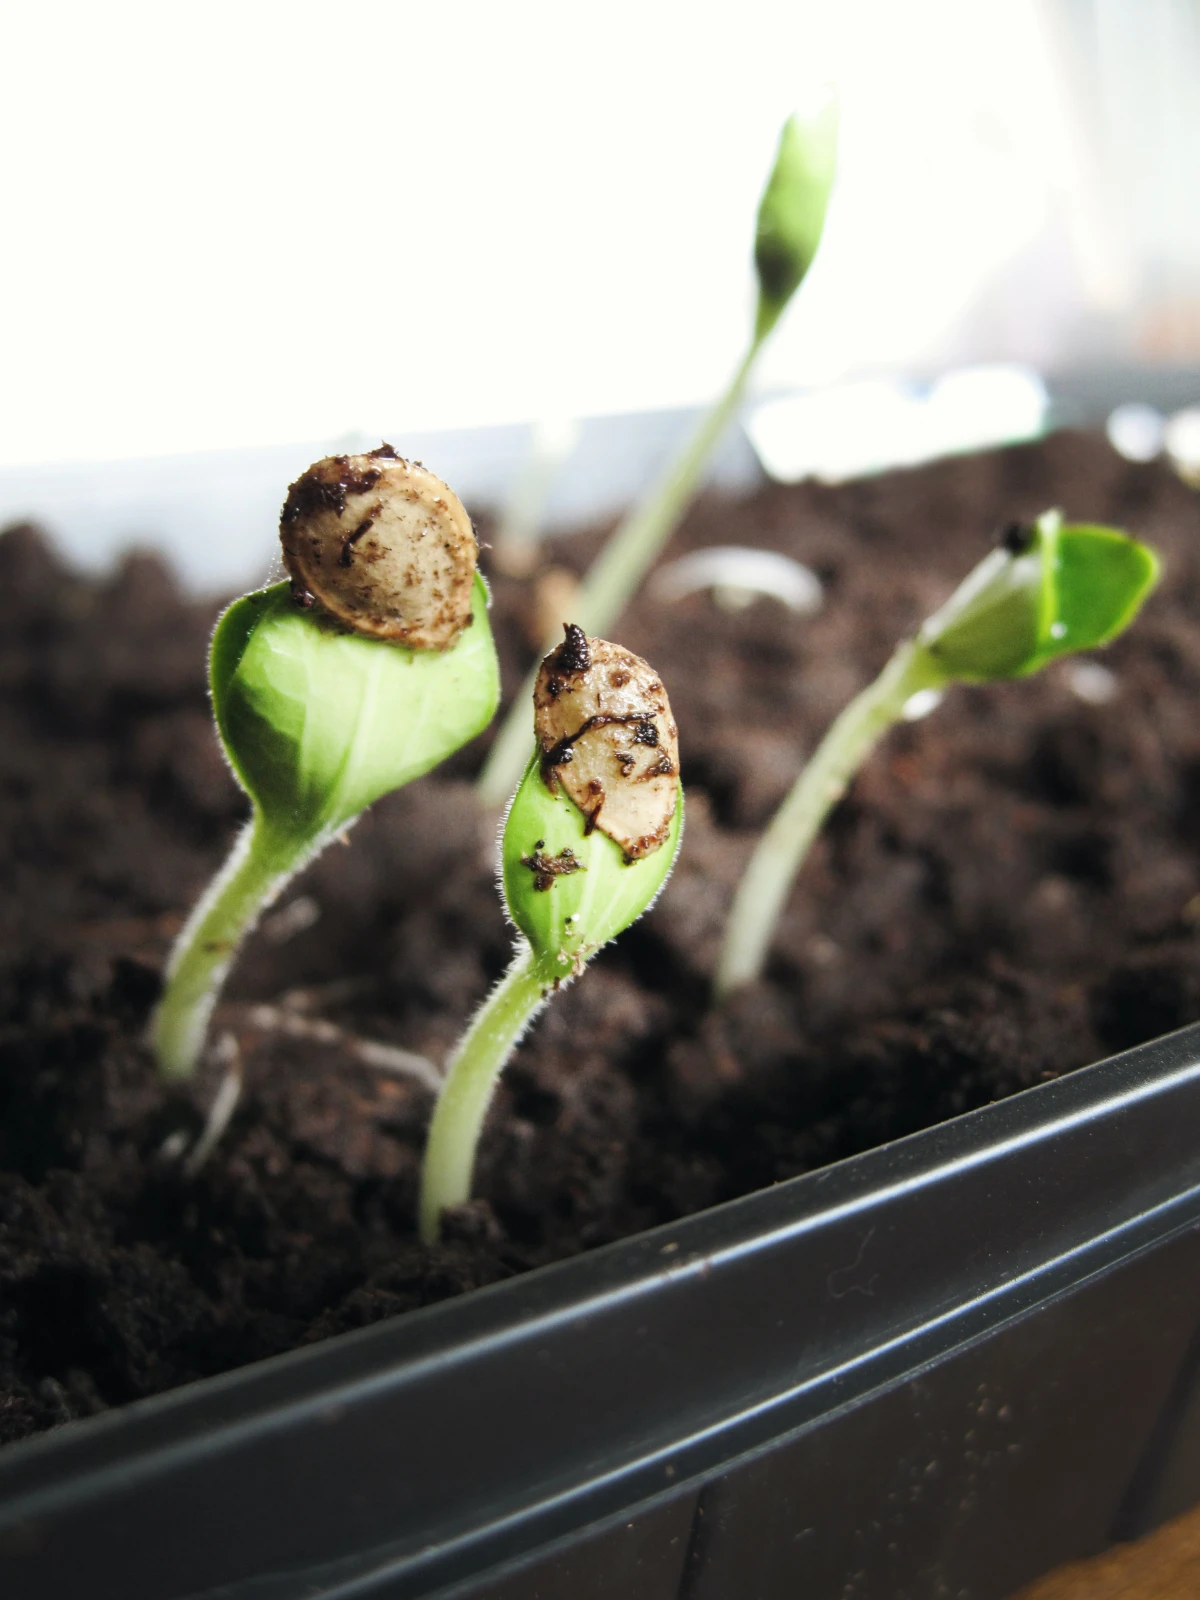
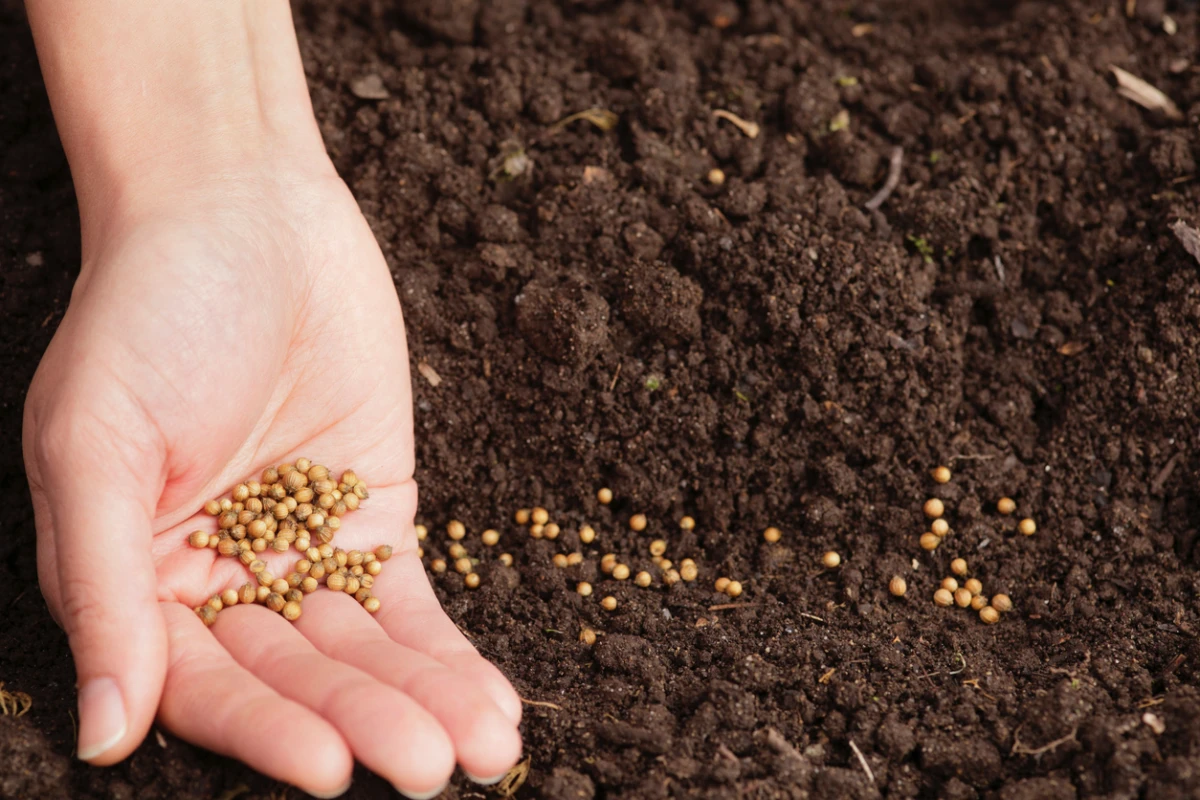
Remember my radish disaster? Planting depth is so important. A seed only has a small, finite pack of energy to push its first shoot up to the light. If you plant it too deep, it runs out of gas before it reaches the surface.
A good rule of thumb is to plant a seed about twice as deep as it is wide. For a tiny lettuce seed, that’s barely a sprinkle of soil. For a big pea, it’s about an inch.
But heads up! Some seeds, like lettuce, dill, and many flowers, actually need light to germinate. The seed packet will usually say “surface sow.” This means you just press them gently onto the top of your moist soil and don’t cover them at all.
A lesser-known trick: For these tiny, surface-sown seeds, I like to sprinkle a super-fine layer of vermiculite over them. It’s light enough to let the light through but holds moisture right against the seed, which seriously helps them sprout.
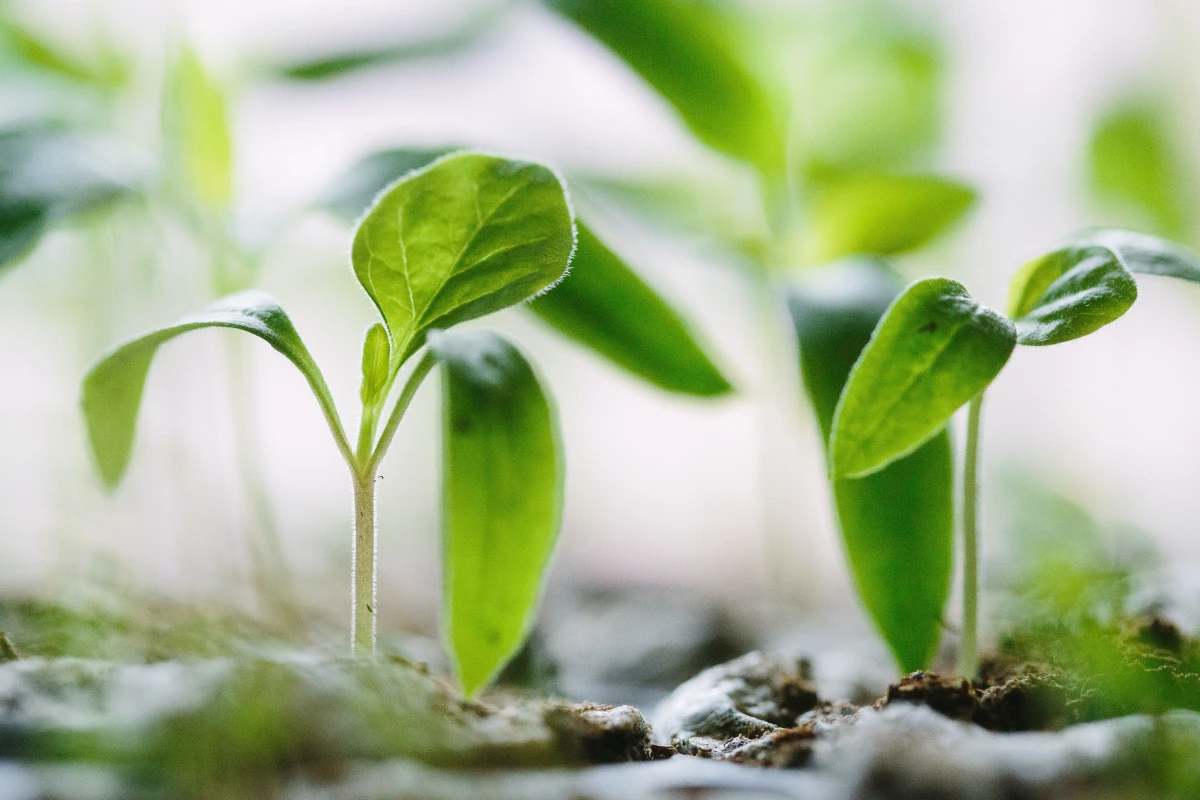
Let There Be (the Right Kind of) Light
A seedling stretching desperately toward a distant window will become “leggy”—all stem and no strength. These pale, floppy plants rarely recover, even if you get them outside. You can’t fix a leggy seedling; you can only prevent it.
This is where that grow light you bought comes in. The most common mistake people make is hanging the light way too high. You need to position the light just 2 to 3 inches above the tops of your seedlings. Seriously, that close! I use simple chains and S-hooks to make it easy to raise the light as the plants grow.
Keep the lights on for 14 to 16 hours a day. A cheap wall timer is your best friend here. It gives them a long day of
Inspiration:
Peat-Based Mix: The classic choice, found in bags like Pro-Mix or Jiffy. It’s light, airy, and holds moisture well. However, it can be slightly acidic and its harvest raises sustainability concerns.
Coco Coir-Based Mix: Made from coconut husks, this is a renewable alternative. It has a neutral pH, excellent water retention, and re-wets easily if it dries out. Look for brands like Espoma that offer coir-based seed starters.
For most beginners, either will work, but coir is quickly becoming the eco-conscious favorite.
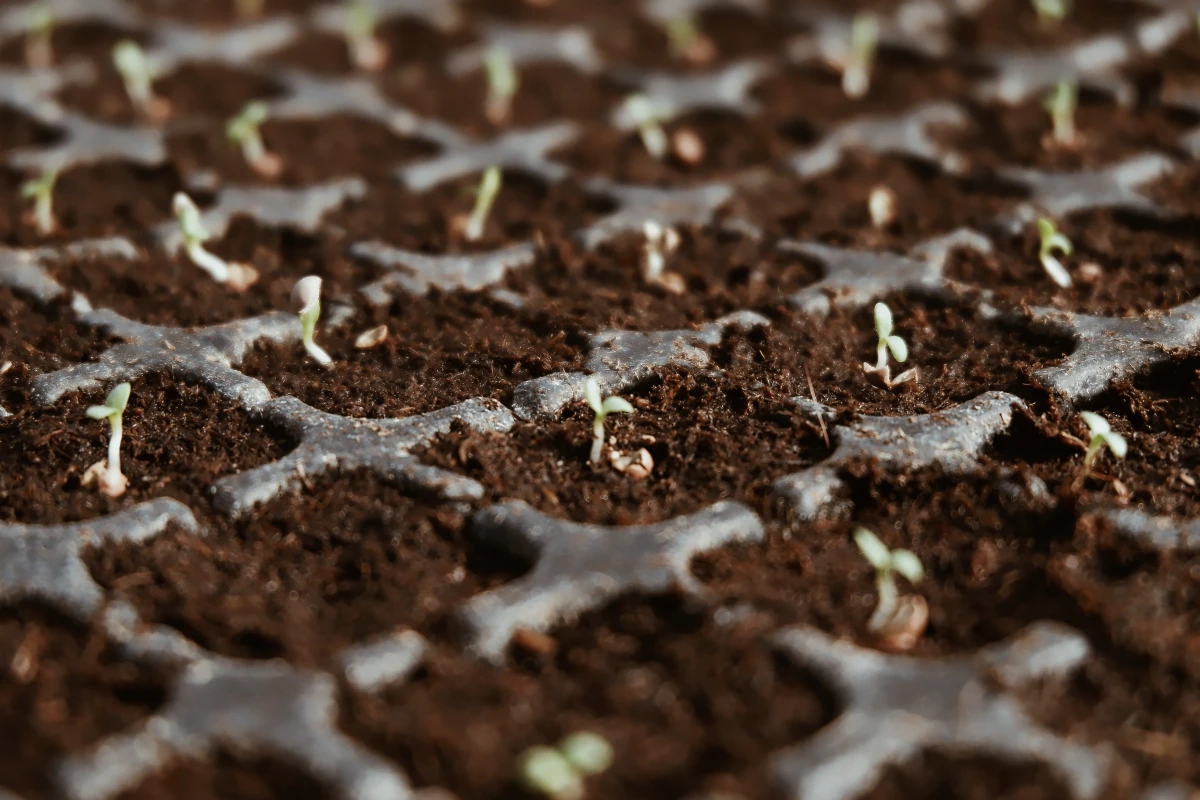
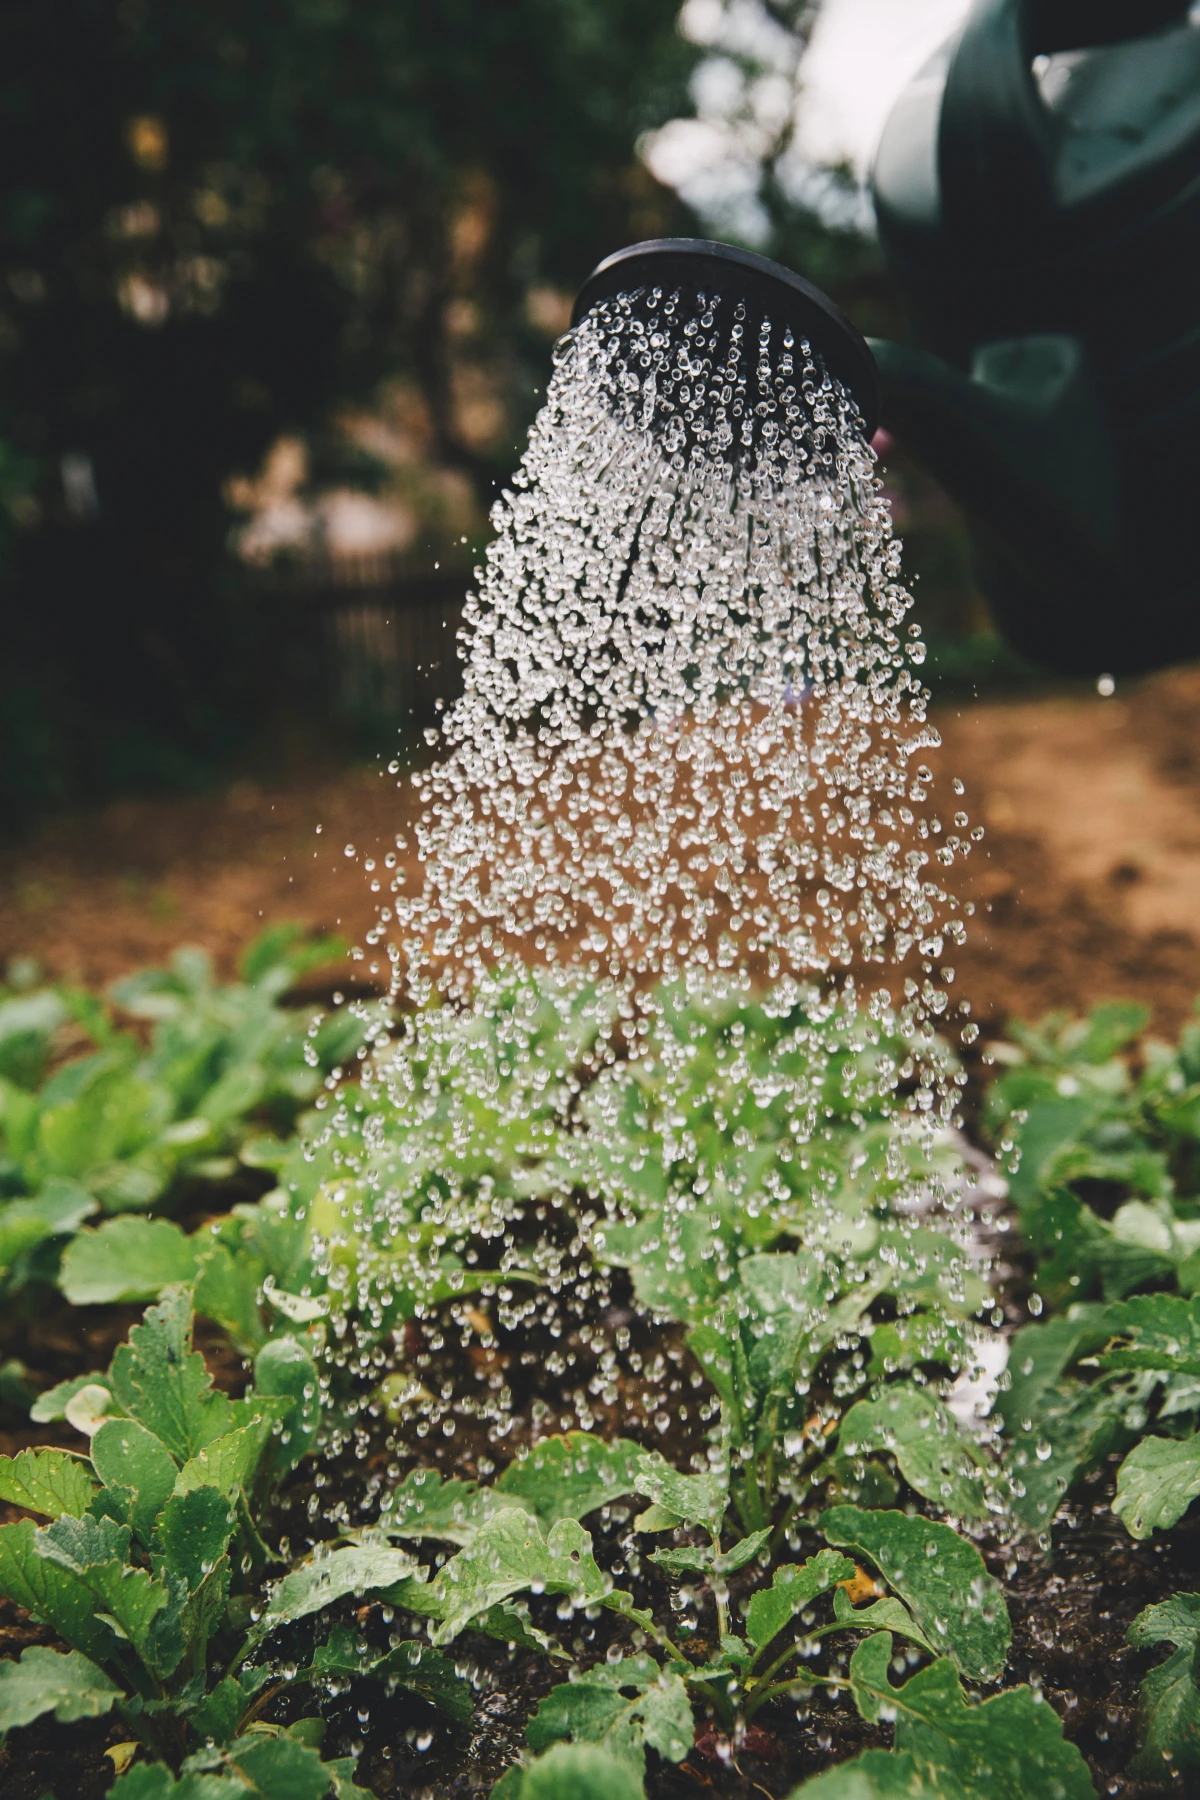
More than 90% of seedling loss in controlled environments is attributed to “damping off,” a fungal disease that thrives in cool, overly wet soil.
The key takeaway? Good air circulation and not overwatering are your best defenses. A small fan set on low near your trays can work wonders, and always let the soil surface dry slightly between waterings.
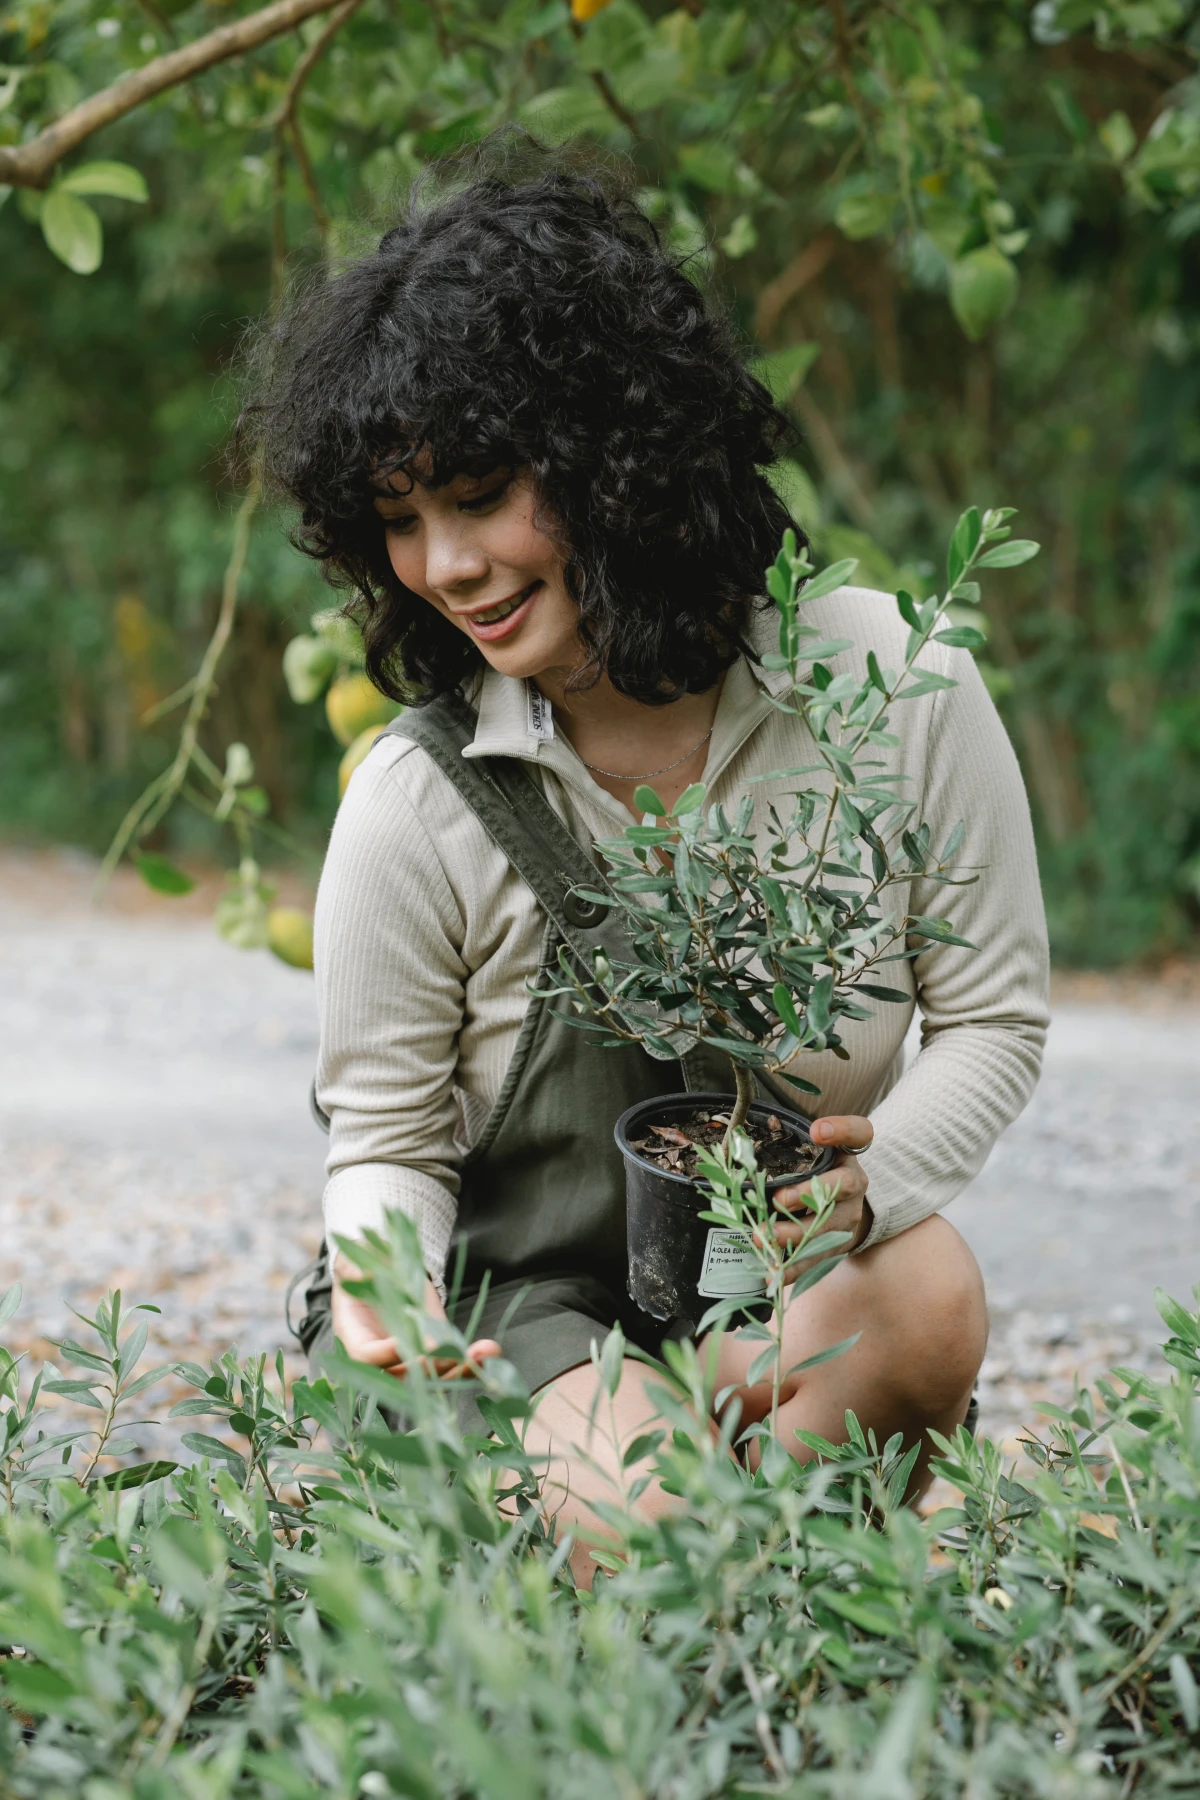
What is ‘hardening off’ and is it really necessary?
Absolutely. Think of your seedlings as babies who have lived their whole lives in a perfectly climate-controlled nursery. Hardening off is the process of gradually introducing them to the harsh realities of the outdoors—direct sun, wind, and fluctuating temperatures. Starting about a week or two before you plan to plant them in the garden, place your seedling trays outside in a sheltered, shady spot for just an hour. Each day, gradually increase their outdoor time and exposure to sunlight until they can handle a full day without wilting. Skipping this step can lead to sun-scorched leaves and fatal transplant shock.
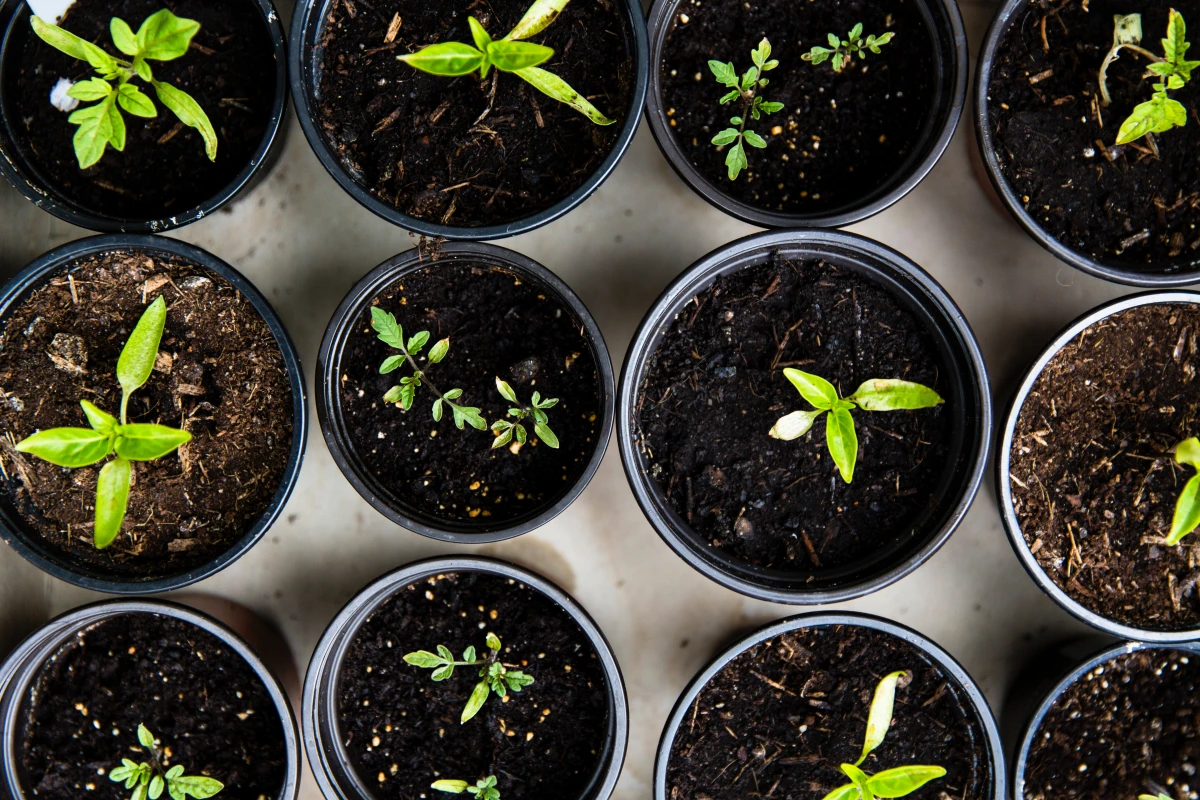
- Less transplant shock for delicate roots.
- Eliminates the need for plastic pots.
- Encourages a healthier, more robust root system.
The secret? A technique called soil blocking. Using a simple hand-press tool, like a Ladbrooke Soil Blocker, you can form compressed cubes of soil to start your seeds in. The roots naturally stop when they reach the air at the edge of the block, preventing them from becoming root-bound.
Don’t underestimate the power of a good label. Forgetting whether you planted ‘San Marzano’ tomatoes or ‘Sweet 100’ cherries is a common frustration. A simple, waterproof system is your best friend. Here are some reliable DIY options:
- Cut strips from an old plastic milk jug or yogurt container and write on them with a permanent marker.
- Use classic wooden popsicle sticks, but write in pencil—it fades less than many inks.
- For a more permanent, rustic look, find smooth, flat stones and use a paint pen.
Did you know that some seeds have built-in dormancy mechanisms? For seeds with very hard coats, like morning glories or lupines, a gentle ‘scarification’—nicking the seed coat with a file or sandpaper—can dramatically speed up germination by allowing water to penetrate.


