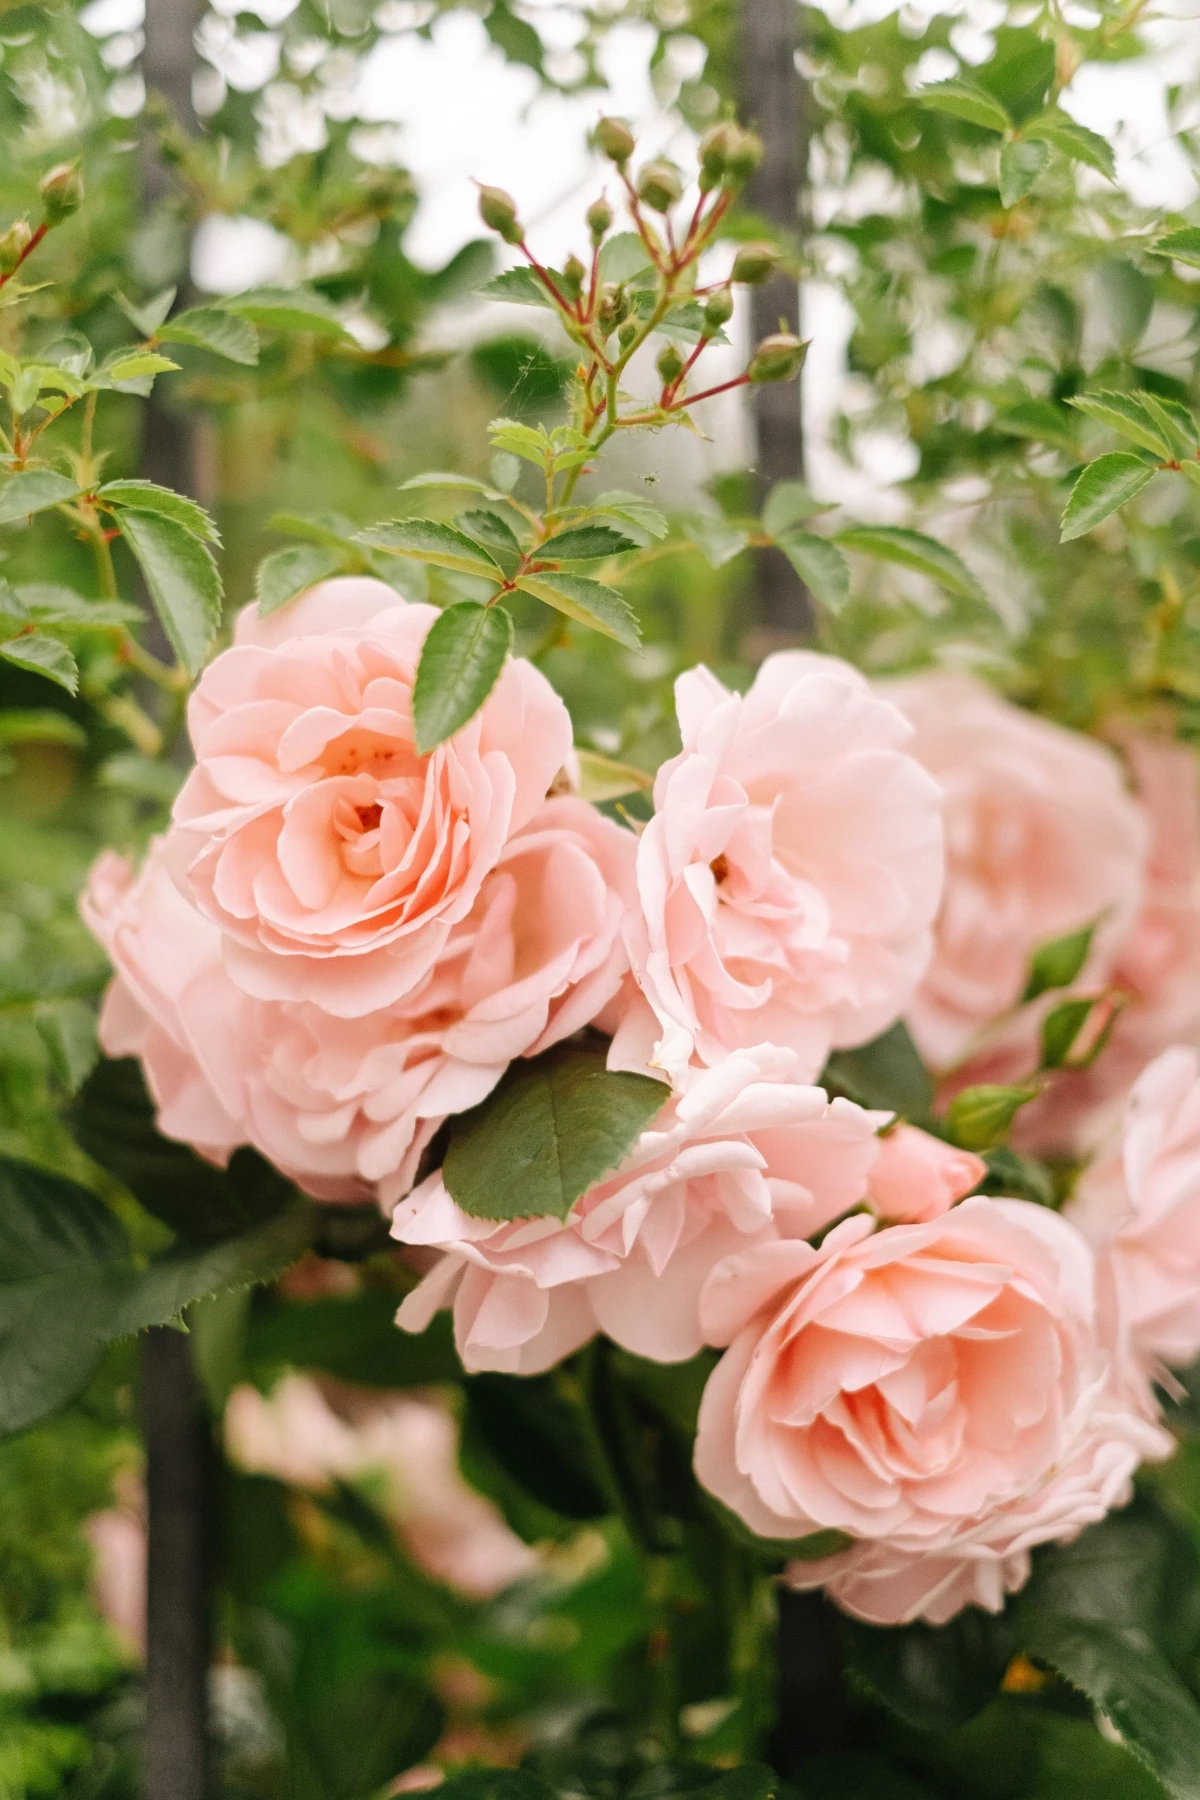
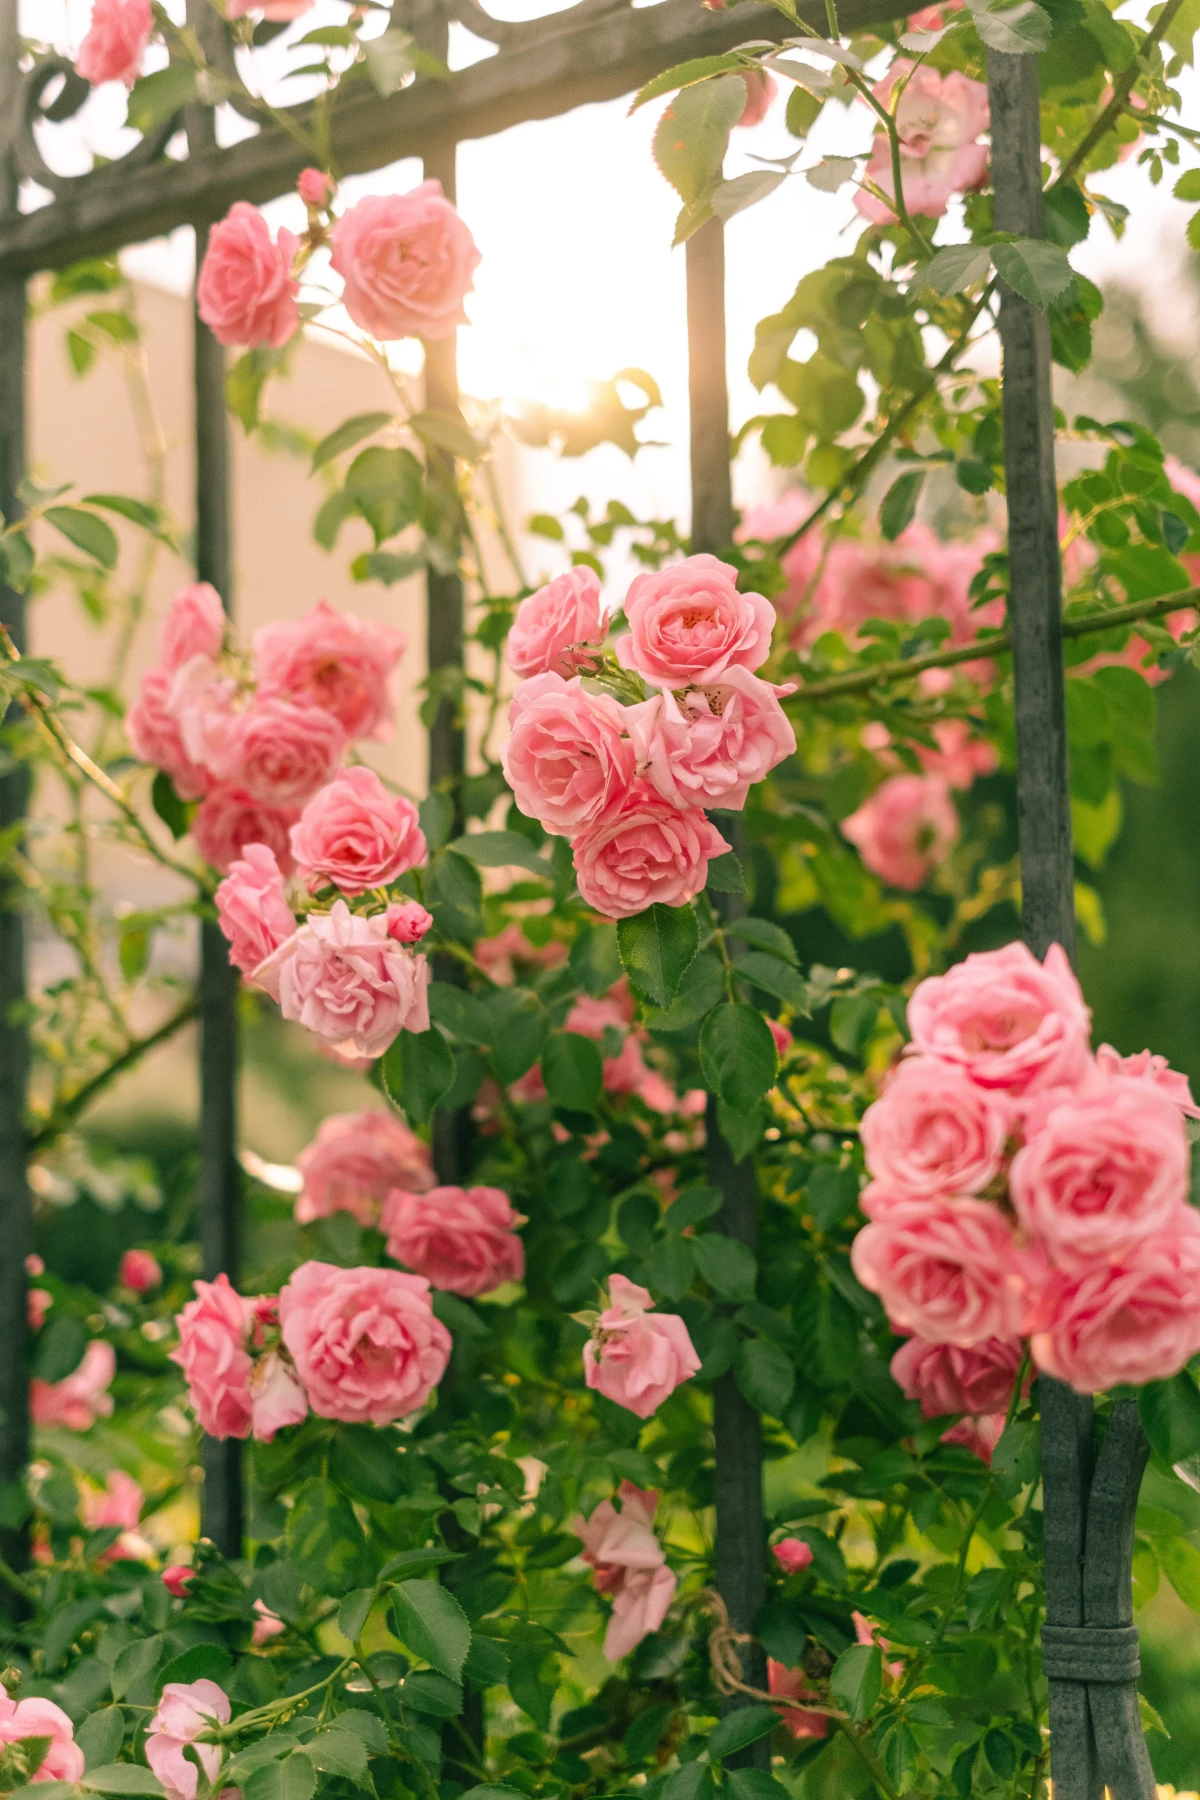
A No-Nonsense Guide to Growing Incredible Roses
I’ve spent more years than I can count with my hands in the dirt, fussing over roses. From huge public gardens to quiet private estates, I’ve seen it all. And after all that time, I’ve learned one simple truth: Roses aren’t difficult. Not really. They’re just incredibly direct about what they need.
In this article
- First Things First: Picking a Winner
- 1. The Foundation: Location, Location, Location
- 2. The Art of Watering: Go Deep, Not Often
- 3. Building the Buffet: It’s All About the Soil
- 4. Dealing with Unwanted Guests: Pests and Diseases
- 5. The Big Chop: Pruning Without Fear
- 6. The Rhythm of Care: Deadheading and Winter Prep
- A Final Thought: You’ve Got This
- Inspirational Gallery
Most problems pop up when we, the gardeners, just aren’t listening. So, let’s ditch the idea that roses are fussy drama queens. Think of them more like honest communicators. If you give them what they’re asking for, they’ll reward you like you wouldn’t believe.
So many people get burned by their first attempt. They see a yellow leaf or a sad-looking bush with no flowers and think they have a ‘black thumb.’ Honestly, that’s almost never the case. Success is all about building a solid foundation. This isn’t about secret formulas or weird garden hacks. It’s about learning the plant’s language, which, by the way, is just a mix of basic biology and good old-fashioned technique.
This guide isn’t a list of what you did wrong. It’s a blueprint for getting it right from the very start. We’re going to cover the big pillars of rose care: finding the right spot, watering the right way, building amazing soil, tackling pruning without fear, and handling the pests that are bound to show up. My goal is to give you that quiet confidence that comes from actually knowing why you’re doing something. When you get the ‘why,’ the ‘how’ just clicks into place.
First Things First: Picking a Winner
Before we even talk about digging, let’s talk about choosing a rose. Walking into a nursery can be overwhelming. To make your life easier, especially if you’re just starting, look for modern shrub roses. Many varieties have been bred to be incredibly disease-resistant and bloom their heads off without a ton of pampering. For climbers, look for vigorous, repeat-blooming types that are known for being tough. Asking the staff at a good independent garden center for a “bulletproof beginner rose” is always a smart move.
1. The Foundation: Location, Location, Location
Everything, and I mean everything, starts with where you plant your rose. A bad spot is a constant uphill battle. A good spot does half the work for you. The two things you absolutely can’t skimp on are sunlight and air circulation. You can fix soil, you can adjust water, but you can’t move the sun.
Roses are little sun-powered flower factories. They need at least six to eight hours of direct, unfiltered sun every day to crank out those gorgeous blooms. Less sun equals fewer flowers, weaker stems, and a plant that’s way more likely to get sick. It just runs out of fuel.
Airflow is the unsung hero of rose care. Fungal diseases like the dreaded black spot and powdery mildew absolutely love damp, stagnant conditions. When leaves stay wet for hours, it’s like leaving out a welcome mat for fungus. Good air circulation helps leaves dry off quickly after a rain shower or morning dew. Jamming a rose up against a solid wall or cramming it between other shrubs is just asking for trouble.

Quick tip: Before you dig, do a simple sun survey. Stick a tall stake in the ground where you plan to plant. Check on it every hour for a full day. You’ll get a real, honest picture of how much sun the spot gets, not just a guess. A spot that looks bright at noon might be in the shade all morning.
The Critical Detail: Planting Depth
Okay, lean in for this one, because it’s super important. How deep you plant your rose is vital, especially for grafted roses. Most roses you buy are grafted, meaning the pretty variety you want is fused onto a tough, hardy root system. This connection point is a knobby-looking thing called the bud union.
A quick aside on this: You might also see “own-root” roses for sale. This just means the whole plant, roots and all, is the same variety. They can be even hardier in cold climates because if they die back to the ground, what grows back is the same rose, not the rootstock. They can sometimes be a bit slower to get established, but they’re a fantastic choice.
Now, back to planting depth for those common grafted roses. The rule changes completely based on where you live:
- For cold climates (think Zone 6 and colder): You want to plant the bud union about two to four inches below the soil surface. This is a non-negotiable insurance policy that protects the graft from freezing solid in a harsh winter.
- For warm climates (Zone 7 and up): Do the opposite. Plant with the bud union sitting one to two inches above the soil. Burying it in a warm, wet climate can lead to rot right at the base of the plant.
2. The Art of Watering: Go Deep, Not Often
Water is life, for sure. But the way most people water their roses is a slow death sentence. The biggest mistake I see? Giving them a little sip of water every day. This creates a weak, needy plant with shallow roots that can’t handle a single hot day.

Here’s the deal: Roots grow toward water. When you only water the surface, the roots stay right there at the surface. Instead, you want to water deeply and less frequently. This encourages the roots to dive deep into the soil, creating a strong, resilient plant that can find its own water during dry spells.
And how you water matters, too. Sprinklers that douse the whole plant are a major no-no. Remember what we said about wet leaves? You’re basically inviting fungal diseases to a pool party. The goal is to get the water to the roots, not the leaves.
Soaker hoses or a drip irrigation system are your best friends here. They deliver water slowly, right where it needs to go. If you have to use a hose, just put the wand at the base of the plant and let it run on a slow trickle. And always try to water in the morning. This gives any stray splashes plenty of time to dry off in the sun.

Is It Thirsty or Drowning?
Don’t water on a schedule; water when the plant needs it. Your finger is the best tool for this. Shove it two or three inches into the soil near the plant. If it’s dry down there, it’s time to water. If it’s still cool and damp, wait another day.
But what if the leaves are yellow? It can be tricky, because both over- and underwatering can look similar at first.
- Signs of Overwatering: The leaves, especially the lower ones, will turn yellow and just fall off. The plant might look limp and droopy even though the soil is soaking wet. This is a red flag for root rot.
- Signs of Underwatering: The leaves will wilt, but they’ll also feel dry and get crispy brown edges. The whole plant just looks tired and stressed.
I learned this the hard way. I once lost a gorgeous yellow shrub rose because I planted it in a low spot with bad drainage. My careful watering, plus a week of heavy rain, literally drowned it. It was a tough lesson that roots need oxygen just as much as they need water.
3. Building the Buffet: It’s All About the Soil
You can’t expect a rose to put on a spectacular show if you’re feeding it junk food. Roses are heavy feeders, and for them, the soil is the entire buffet. Sticking a plant in compacted clay or sandy, thin dirt is a recipe for disappointment.
Good soil is alive. It’s teeming with microorganisms and earthworms that make nutrients available to your rose. The ideal soil is rich, drains well (remember my drowned rose?), and is slightly acidic. To get really nerdy, you’re aiming for a pH between 6.0 and 6.5. If the pH is off, the rose can’t absorb nutrients even if they’re present in the soil. It’s like having a fridge full of food but the door is locked. A cheap soil test kit from a garden center can give you a rough idea, but a lab test through your local extension office every few years is the gold standard.
Your New Rose’s First Meal
When you’re ready to plant, dig a hole that’s way bigger than you think you need—at least two feet wide and 18 inches deep. This gives the roots room to stretch out. Here’s a simple recipe for the perfect planting mix:
- Two parts of your existing garden soil (assuming it’s not terrible)
- One part high-quality compost or well-rotted manure (you can get a bag for $5-$10)
- A handful of bone meal (around $10 for a box that will last a while) to promote strong roots.
- A sprinkle of alfalfa meal (optional, but a great organic boost).
Mix that all up in a wheelbarrow and use it to backfill the hole around your new rose. After planting, add a two-to-three-inch layer of mulch, like shredded bark or pine straw, around the base. Just be sure to keep it a few inches away from the main canes to prevent rot. Mulch is amazing—it holds in moisture, keeps weeds down, and slowly breaks down to feed the soil.
Keeping the Buffet Stocked
You’ll need to feed your roses during the growing season. A good rule of thumb is to start when there’s about four to six inches of new spring growth. I like to use a balanced, granular rose fertilizer. When you see “balanced,” look for numbers on the bag that are roughly equal, like 10-10-10. A product like Espoma Rose-tone is a fantastic, widely available option. ALWAYS follow the package directions. More is NOT better here; you can easily burn the roots. Stop feeding entirely about six to eight weeks before your first frost to let the plant harden off for winter.
4. Dealing with Unwanted Guests: Pests and Diseases
It’s not a matter of if you’ll get pests, but when. Don’t panic! A healthy, well-cared-for plant is its own best defense, but sometimes you need to intervene.
- Aphids: These tiny pests love to cluster on new buds. Often, a strong blast of water from the hose is enough to knock them off. If they’re persistent, a spray of insecticidal soap will do the trick.
- Japanese Beetles: Ugh, these are the worst. The most effective (and weirdly satisfying) control is to go out in the cool of the morning with a bucket of soapy water and knock them in. They’re sluggish then and drop easily. Avoid those pheromone traps; they tend to just attract more beetles from your neighbors’ yards.
- Black Spot: This fungal disease is the bane of many rose growers. You’ll see black spots on the leaves, which then turn yellow and fall off. Good air circulation and watering at the soil level are your best preventative measures. If it shows up, remove and dispose of the infected leaves (don’t compost them!). For persistent problems, a fungicide containing neem oil (an organic option) or a conventional fungicide can be used.
5. The Big Chop: Pruning Without Fear
Okay, let’s talk about pruning. People are terrified of this. They think they’ll make one wrong cut and the whole plant will die. Here’s a secret: it’s actually much harder to kill a rose by pruning it wrong than by not pruning it at all.
Pruning is basically a conversation where you tell the plant where to put its energy. It also cleans up the plant, gets rid of diseased wood, and improves that all-important air circulation. For most modern roses, you do the main pruning in early spring, right as the little leaf buds start to swell.
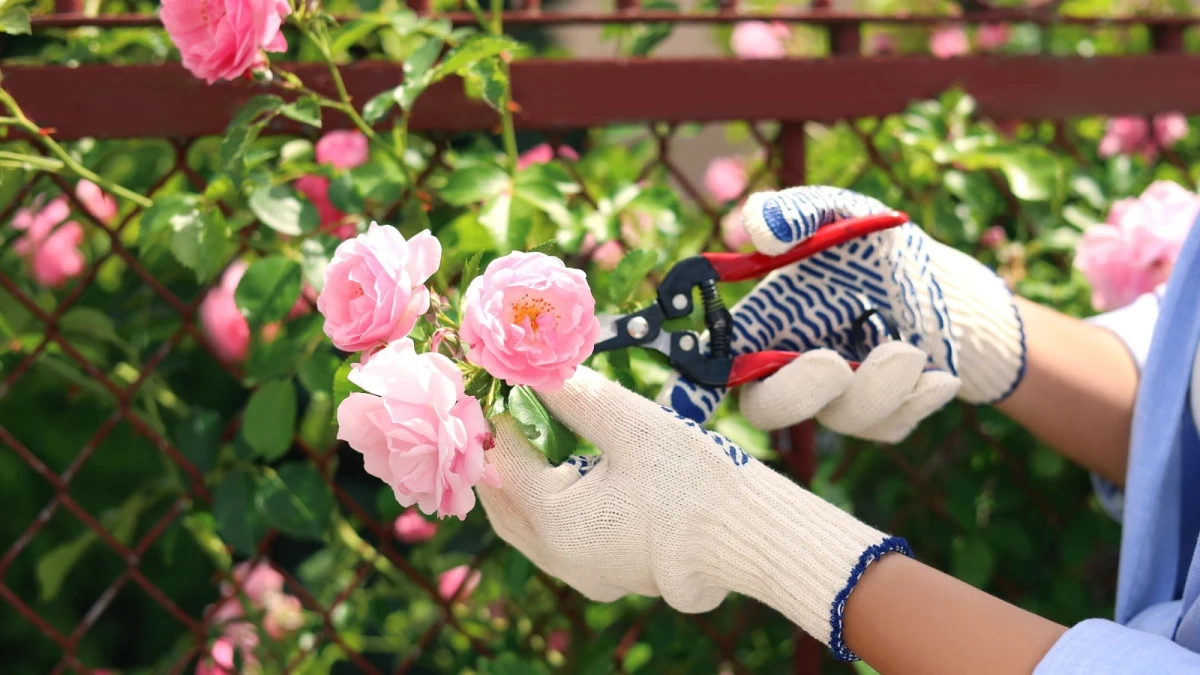
Before You Start: Gather Your Gear
Having the right tools makes all the difference. You’ll need:
- Sharp Bypass Pruners: These make clean cuts like scissors. Don’t use anvil-style pruners that crush the stems. A good pair will cost between $20 and $60, and it’s a worthy investment.
- Sturdy Gloves: Preferably long ones that protect your forearms. Rose thorns are no joke.
- Loppers or a Pruning Saw: For any thick, woody canes that your hand pruners can’t handle.
- Rubbing Alcohol: To wipe your pruner blades between plants. This is a crucial step to avoid spreading diseases from one bush to another.
Heads up! I once got a nasty fungal infection called sporotrichosis from a tiny thorn prick while pruning a vigorous climbing rose. It’s often called ‘rose gardener’s disease’ for a reason. Wear your gloves, and if you get a scratch, clean it well. Seriously.
The Four Simple Steps to a Perfect Prune
I teach everyone this simple, four-step method. It takes the guesswork out of it.
- The Clean-Out: First, remove anything that’s obviously dead (it’ll be brown or black and dry), damaged (broken or rubbing), or diseased. Also, snip off any spindly, weak growth that’s thinner than a pencil. Cut it all the way back to the base.
- Open the Center: Now, look at the overall shape. You’re aiming for a vase-like structure with an open center. Remove any canes that are growing inward or crossing over each other.
- Pick Your Champions: This feels brutal, but it works. Choose three to five of the strongest, healthiest, greenest canes to be the main framework of your plant. Cut everything else out. This focuses all the plant’s energy on producing top-quality flowers.
- The Haircut: Finally, cut those remaining canes down. For a classic hybrid tea, I often go hard, down to about 12-18 inches. For shrub roses, a lighter trim, removing about one-third of their height, is usually plenty. Always make your cut about 1/4 inch above a bud that’s pointing outward, away from the center of the plant. Angle the cut at 45 degrees so water runs off.
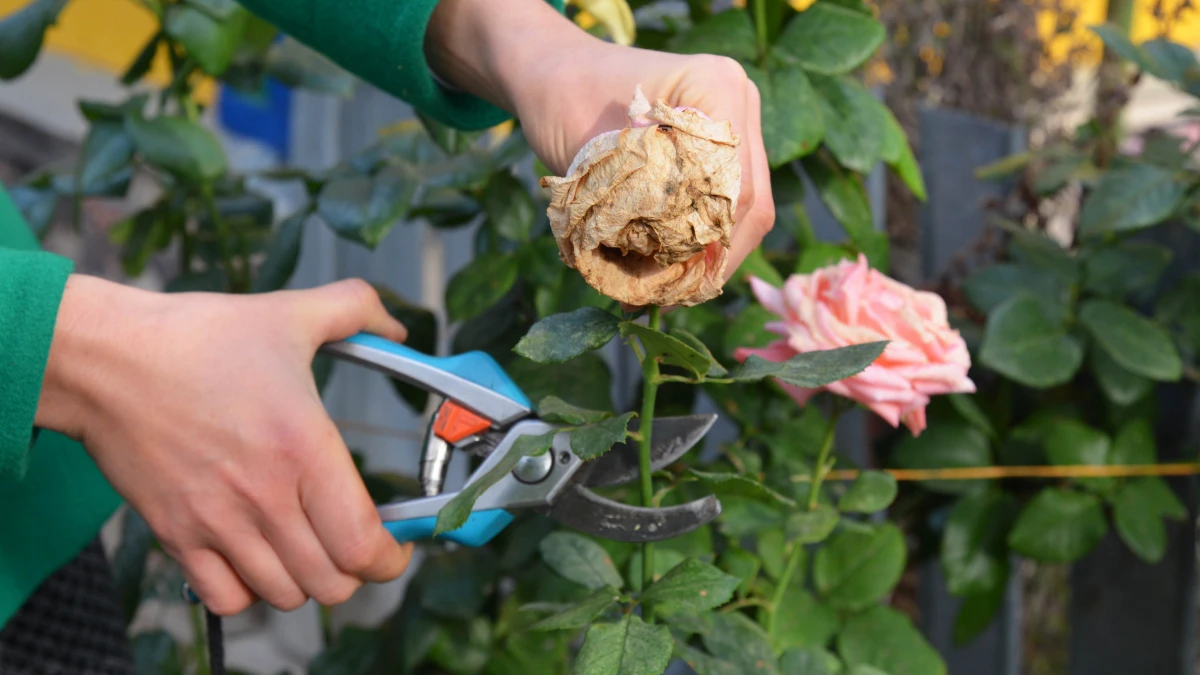
6. The Rhythm of Care: Deadheading and Winter Prep
Your work isn’t done after the big spring prune. The single best thing you can do to keep the flowers coming all summer is deadheading. A rose’s goal is to make seeds (called rose hips). When you snip off the spent flower, you trick the plant into thinking, “Oops, I failed. I’d better make more flowers!”
Don’t just snap the head off. Follow the stem down to the first leaf that has five little leaflets. Make your cut just above that spot. A strong new flower shoot will grow from there.
But—and this is a pro tip—you need to know when to stop. About six to eight weeks before your first expected frost, stop deadheading. Letting those last flowers form hips sends a natural signal to the plant to slow down and get ready for winter. Continuing to deadhead late in the season encourages tender new growth that will just get zapped by the cold.
Tucking Them in for Winter
If you live in a cold climate, a little winter protection goes a long way. After the ground has frozen (not before!), you can provide extra insulation. The easiest method is to mound up about 10-12 inches of loose soil, compost, or mulch around the base of the plant. This protects the bud union and the base of the canes. You can also use pre-made rose collars or cones. Just remember to remove the extra protection in the spring after the threat of a hard freeze has passed.
A Final Thought: You’ve Got This
At the end of the day, growing beautiful roses is a partnership. You observe, you listen, and you provide what the plant needs. It’s a rhythm you get into through the seasons. The effort you put in building great soil in the spring pays you back with stunning blooms all summer.
And never underestimate the power of local knowledge. I highly recommend looking up your local rose society (just search for “American Rose Society Find a Local Society”) or finding an independent garden center with experienced staff. The advice from a gardener who deals with your exact soil and weather is absolutely priceless. They can help you take these universal rules and apply them perfectly to your own backyard.
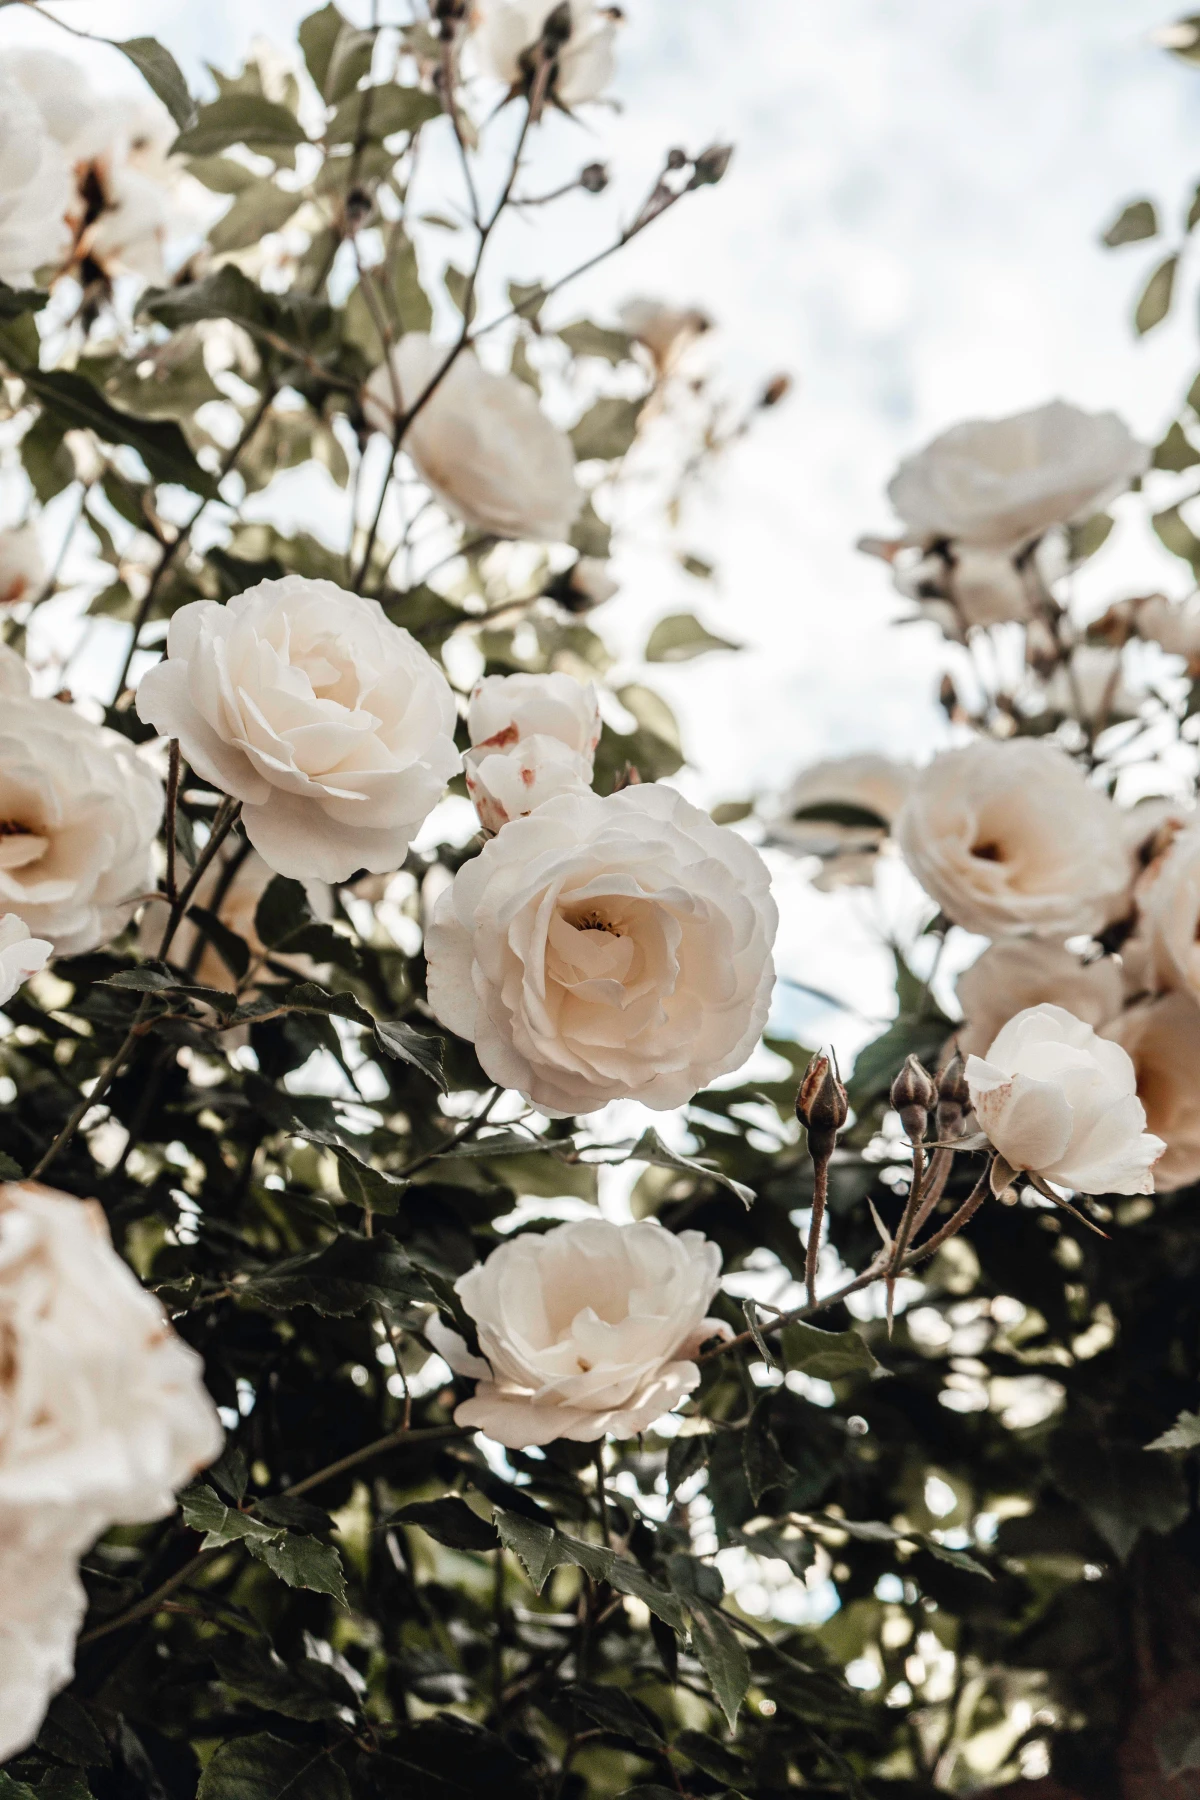
Inspirational Gallery
Don’t just plant roses, orchestrate a garden scene. The right companion plants not only look beautiful but can also improve the health of your roses by deterring pests and attracting beneficial insects. It’s a classic horticultural strategy for a reason.
- Lavender: Its strong scent is known to deter aphids and rabbits, and its silvery foliage is a stunning contrast to rose leaves.
- Nepeta (Catmint): This low-growing perennial with soft blue flowers hides the often-bare lower stems of roses, creating a fuller look.
- Alliums: Their bold, spherical purple heads pop up in late spring, adding architectural interest and are thought to ward off a variety of pests.
The rose is a great deal happier, and I am sure, better, for having its feet cool and shaded from the sun by other plants.
This insight from legendary gardener Vita Sackville-West reminds us that a rose bush isn’t an isolated specimen. Mulching or underplanting with low-growing perennials keeps the root zone cool and moist, reducing stress on the plant during the hottest days of summer.
Is your rose food actually working?
Roses are heavy feeders, but not all fertilizers are created equal. For lush growth and abundant blooms, look for a balanced granular fertilizer formulated specifically for roses, like Espoma Rose-tone. It contains essential macro and micronutrients plus beneficial microbes. Apply it after the initial spring pruning and then follow the package instructions, typically every 4-6 weeks through the growing season, to provide a steady supply of energy.
Bypass Pruners: These act like a pair of scissors, with two curved blades that pass by each other for a clean, precise cut. This is the gold standard for cutting live rose canes, as it minimizes damage to the plant’s vascular system. Brands like Felco or Fiskars are trusted by professionals.
Anvil Pruners: These have a single straight blade that closes onto a flat surface (the anvil), crushing the stem. Reserve these for removing completely dead wood only, as they can damage healthy, living tissue.
Don’t just see your roses, experience them. Plant a famously fragrant David Austin ‘Gertrude Jekyll’ or a classic, spicy ‘Mister Lincoln’ near a frequently used path, a window, or a patio chair. The perfume that drifts on a warm evening is a reward in itself, a sensory bonus that elevates a simple garden to a personal sanctuary.
- Attracts beneficial earthworms to the soil.
- Provides a slow-release source of nitrogen.
- Helps deter pests like slugs and snails.
- Slightly acidifies the soil, which roses appreciate.
The secret? Your morning coffee grounds. Once a week, simply sprinkle the used, cool grounds thinly around the base of your roses and gently work them into the top layer of soil or mulch.
A common mistake: Planting your rose too deep or too shallow. For most modern roses, the swollen area where the rose was grafted onto the rootstock (the bud union) should be just at or slightly above soil level in warmer climates. In very cold climates (Zone 5 or colder), planting it 1-2 inches below the soil level can offer crucial winter protection.
Did you know? The American Rose Society officially recognizes over 40 different classes of roses, from ancient Gallicas to modern Hybrid Teas and hardy Shrubs.
This incredible diversity means there is truly a rose for every garden situation. Before you buy, think about what you want: A single, perfect bloom for cutting? A cascade of flowers down a trellis? A tough, no-spray hedge? Identifying the right class is the first step to finding your perfect rose.
To get a jump on black spot and other fungal diseases, a preventative spray with dormant oil or a copper-based fungicide in late winter can work wonders. Applied before the buds break, this simple step helps to eliminate overwintering fungal spores on the canes and surrounding soil, giving your roses a clean, healthy start to the season.


