Your Potted Plants Are Begging You to Read This: A Real-World Guide
Look, I’ve spent years in the dirt, first at a bustling nursery and now helping people design their own green spaces. And I’ve seen it all. The number one reason plants in pots die isn’t some exotic pest or weird disease. It’s a simple, fundamental misunderstanding of what a pot actually is.
In this article
People grab a gorgeous pot, plop a plant in, and cross their fingers. But here’s the deal: a pot isn’t just a pretty vase. It’s a tiny, isolated ecosystem, and you’re its manager. The dance between the soil, water, roots, and the pot material itself is a delicate one, and learning its steps is the key to success.
This isn’t about memorizing vague rules. It’s about getting the ‘why’ behind what you’re doing. Once you get it, you can stop guessing and start growing plants that thrive for years, not just a few sad months. Let’s dig in.
First Things First: Your Pot is More Than Just a Home
Before you even glance at a plant, you need to understand the container. Seriously. The pot’s material, size, and drainage will dictate your watering schedule and the overall health of your plant more than almost anything else.
Material Showdown: Terracotta vs. Glazed Ceramic
This is usually the first choice you face at the garden center, and they couldn’t be more different.
Unglazed Terracotta (the classic clay pot): There’s a reason the pros love these. Terracotta is porous, which means it breathes. Air and water can move right through the clay walls. This is huge because it helps the soil dry out more evenly, which is your number one defense against root rot. If you have a heavy hand with the watering can, terracotta is your new best friend. It also keeps roots aerated and happy. The only catch? In hot, dry weather, you might be watering every single day. A terracotta pot that costs $10 for a standard 8-inch size is a fantastic investment for beginners.
By the way, that chalky white stuff that builds up on the outside of old terracotta pots? That’s not mold! It’s the sign of a healthy, breathing pot, showing minerals and salts being wicked away from the plant’s roots. It’s doing its job.
Glazed Ceramic (the pretty, shiny ones): These pots have a waterproof coating, so they hold moisture for much, much longer. This is great for plants that love staying consistently damp (think ferns and prayer plants) or for gardeners who are a bit forgetful. A nice glazed pot can range from $25 to over $100 depending on its size and artistry. But you have to be careful—the risk of overwatering is WAY higher. There’s no evaporation happening through the sides, so one extra watering can leave your plant sitting in a bog. If you switch a plant from terracotta to glazed ceramic, you HAVE to adjust your watering habits. Don’t water it on the same schedule!
A Quick Word on Self-Watering Pots
You see them everywhere now, and they can be a useful tool, not just a gimmick. They use a reservoir system to let the plant wick up water as it needs it. They’re fantastic for thirsty plants or if you travel a lot. The key is to let the reservoir dry out completely for a few days between fillings to allow the soil to aerate. Otherwise, you can still end up with constantly waterlogged soil at the bottom.
Drainage: The One Rule You Can’t Break
I’m going to be blunt: if a pot doesn’t have a hole in the bottom, it’s a plant coffin. Period. I don’t care how beautiful it is. Never plant directly into a container without drainage.
Those gorgeous hole-less pots are called ‘cachepots’—they’re meant to be a decorative sleeve. You just slip the boring plastic nursery pot your plant came in right inside. Why is this so critical? Roots need oxygen to live. When you water and the excess has nowhere to go, it drowns the roots, cutting off their air supply. This leads to root rot, a foul-smelling, mushy mess that will kill your plant from the bottom up.
Heads up! The old advice to add a layer of gravel at the bottom for drainage is a myth. It actually makes things worse by creating a swampy layer of perched water right where the roots are trying to grow. Just use a pot with a hole. It’s that simple.
Let’s Talk Soil: Building the Perfect Foundation
Please, whatever you do, do not scoop soil from your garden into a pot. Garden soil is heavy and dense. In the ground, it has an entire ecosystem of worms and microbes to keep it loose. In a pot, it compacts into a solid brick that either stays wet forever or dries and shrinks away from the sides of the pot.
Good potting mix is often called ‘soilless’ because it’s an engineered blend of ingredients designed to provide four things: anchorage, water retention, nutrients, and—most importantly—air space.
My Go-To All-Purpose Potting Mix
Bagged mix is fine, but mixing your own is cheaper and gives you total control. Here’s a foolproof 1:1:1 recipe. When I say “part,” I mean any container you want to use for measuring. An old yogurt cup, a coffee can, a 1-gallon bucket—just use the same one for each ingredient.
- 1 part Coco Coir (or Peat Moss): This is your base for holding water and nutrients. Coco coir, made from coconut husks, is a fantastic, renewable option. A compressed brick costs about $5-$10 and expands to a surprising volume.
- 1 part Perlite (or Pumice): This is for aeration. Those little white crunchy bits are perlite, and they create air pockets so roots can breathe. A decent-sized bag will run you about $8-$12.
- 1 part Compost (or Worm Castings): This is the food. Good, rich compost provides a slow-release source of organic nutrients. A bag of high-quality stuff is usually $10-$15.
You can find all these ingredients at a local nursery or big-box stores like Home Depot. A quick safety tip: these ingredients can be dusty, so I always mix them outdoors or in a well-ventilated space, and it’s a good idea to wear a simple dust mask.
Tweaking the Mix
The beauty of this recipe is how easy it is to adjust. For succulents and cacti that need to dry out fast? Change the ratio to 1 part coir, 2 parts perlite, and just a half part compost. For a moisture-loving fern? Try 2 parts coir, 1 part perlite, and 1 part compost.
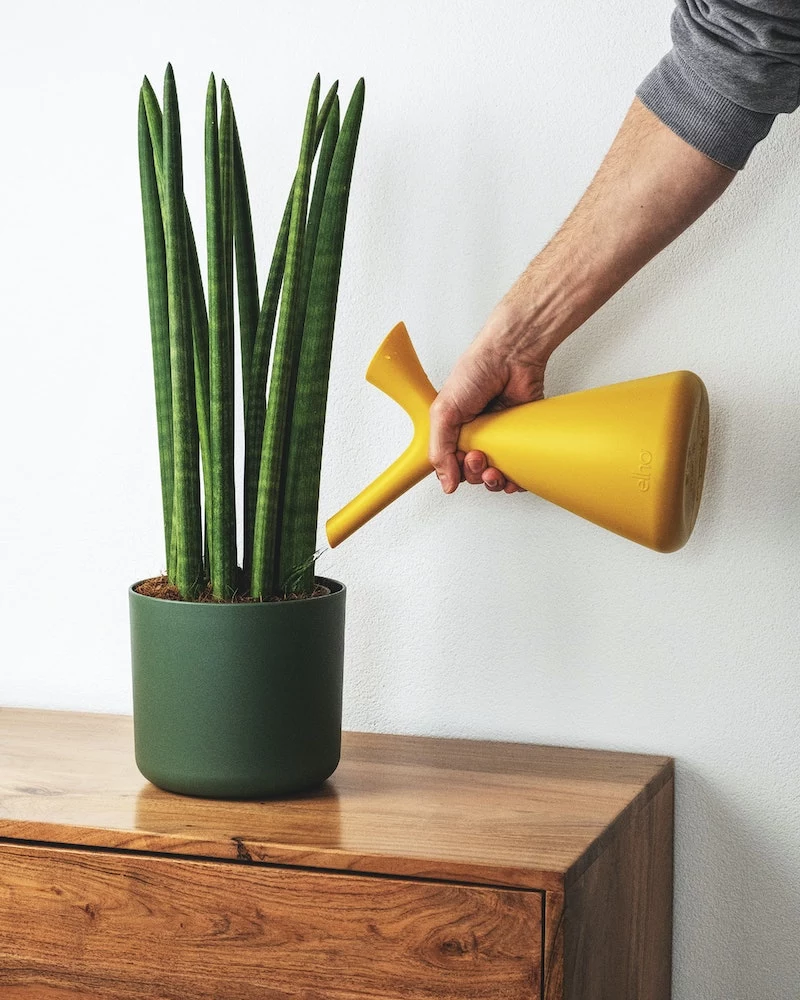
Watering: It’s a Skill, Not a Schedule
The advice to ‘water once a week’ has killed more houseplants than anything else. A plant’s thirst changes constantly with the season, light, and temperature. You have to learn to check.
There are two foolproof ways to know when it’s time to water:
- The Finger Test: This is your best tool. Stick your index finger into the soil up to the second knuckle. If it feels dry at the tip, it’s time to water. If you feel any moisture, wait a day or two and check again.
- The Lift Test: After a while, you’ll get a feel for how heavy a pot is when it’s freshly watered versus when it’s bone dry. It’s surprisingly obvious once you start paying attention.
When you do water, do it properly. Take the plant to the sink and water it until a good amount flows out of the drainage hole. This ensures the entire root ball gets a drink and, just as importantly, it flushes out any built-up mineral salts from your tap water. Then, be sure to dump out any excess water from the saucer. Never let a pot sit in a tray of water.
Your 5-Minute Challenge: Go find one of your plants right now. Use the Finger Test. Stick your finger two inches deep. Is it damp or dry? You just took the first step to truly understanding your plant’s needs. See? You got this.
Fertilizing Without Fear
Your potting mix has some food in it, but plants are hungry. Eventually, they’ll use up the nutrients. That said, I’ve seen way more plants damaged by too much fertilizer than too little.
For beginners, I can’t recommend a slow-release granular fertilizer enough. Look for a balanced one (where the three numbers on the package, N-P-K, are the same, like 14-14-14). Brands like Osmocote are widely available. You just mix the little pellets into your soil when you pot the plant, and they feed it slowly for months. It’s almost impossible to mess up.
If you prefer liquid fertilizer, live by the rule: ‘weekly, weakly.’ Dilute it to quarter-strength of what the label says and use it every week or two instead of a full-strength blast once a month. This mimics how plants get nutrients in nature and avoids ‘fertilizer burn’—where you literally scorch the roots with too many salts. I learned that lesson the hard way trying to rush a batch of ferns once. They all got crispy brown edges, and it was a long, slow recovery. Patience is a gardener’s best virtue.

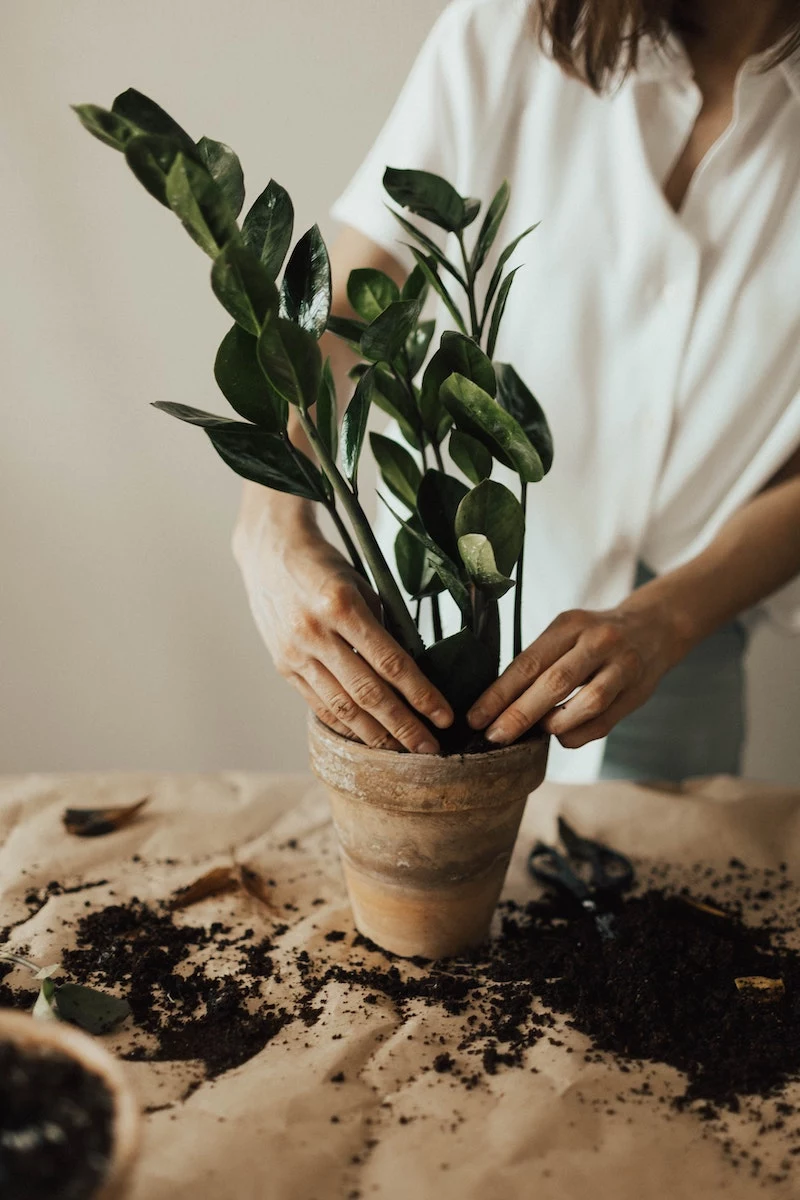
Growing Up: Repotting and Pruning
Eventually, your plant will need a bigger home. This is called becoming ‘root-bound.’ You’ll know it’s time when you see roots growing out of the drainage hole or water rushes straight through the pot without soaking in. Most plants need this every 18-24 months.
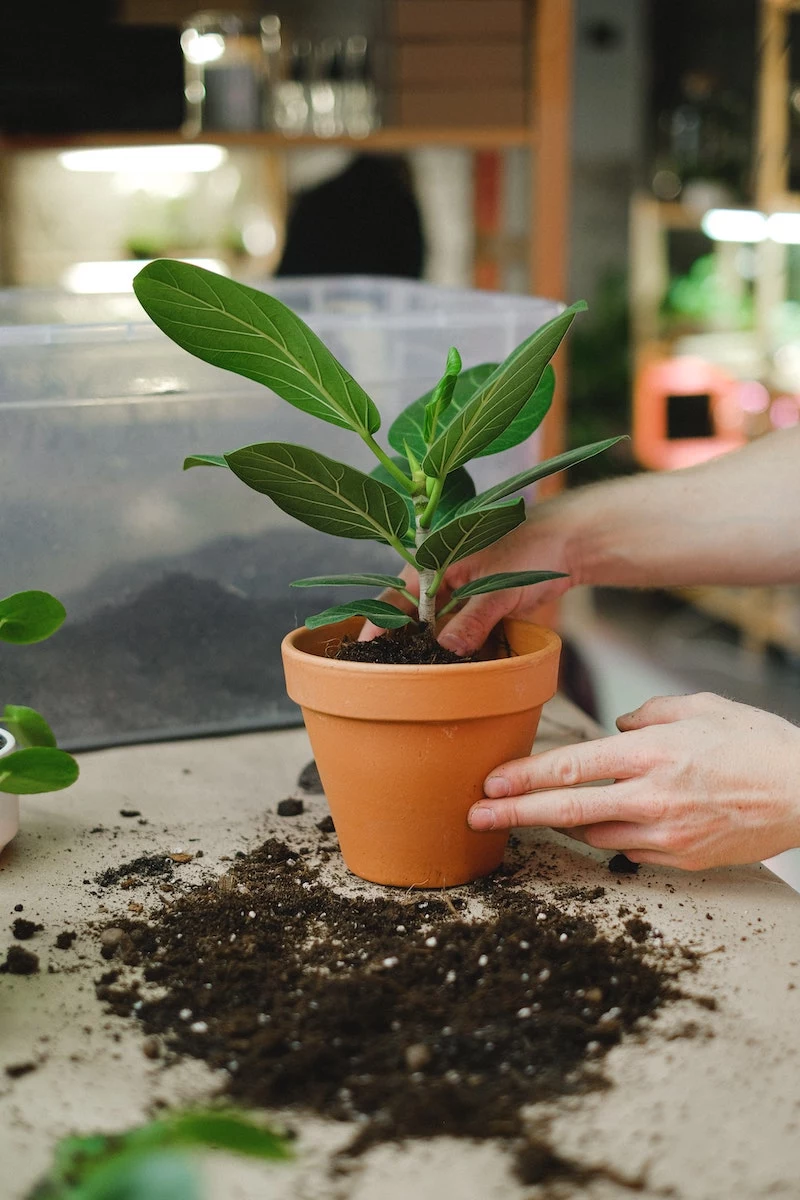
How to Repot Like a Pro
Before you start, get your gear ready. You’ll need:
- Your new pot (only 1-2 inches wider than the old one!)
- Fresh potting mix
- A small trowel
- Some newspaper or a tarp to contain the mess
The biggest mistake people make is moving a plant into a pot that’s way too big. That massive volume of extra soil stays wet for too long, creating a perfect storm for root rot. Just go up one size. Gently slide the plant out of its current pot, tickle the roots with your fingers to loosen them up if they’re circling, and place it in the new pot with fresh soil. Water it well, and you’re done!
Troubleshooting Common Problems
Even with great care, stuff happens. Here’s how to read the signs.
- The Symptom: Yellowing Leaves
What It Might Mean: This is the most common one. If lower leaves are yellowing and the soil is always damp, you’re overwatering. If leaves all over are yellowing and the plant looks wilted and sad, you’re probably underwatering. It can also signal a nutrient deficiency.
What to Do: Always start with the Finger Test! Adjust your watering. If the soil seems fine, it might be time to fertilize. - The Symptom: Brown, Crispy Leaf Tips
What It Might Mean: This usually points to low humidity or inconsistent watering. It can also be a sign of salt buildup from tap water.
What to Do: Try to be more consistent with watering. If you have hard water, letting it sit out for 24 hours before use can help, or switch to filtered water. - The Symptom: Annoying Little Black Flies (Fungus Gnats)
What It Might Mean: This is a sign that the top layer of your soil is staying wet for too long. The gnats themselves are harmless, but their larvae live in that damp soil.
What to Do: Let the top two inches of soil dry out completely between waterings. This breaks their life cycle and is the most effective way to get rid of them.
Honestly, learning to care for plants in pots is one of the most rewarding things you can do. It connects you to the natural world, right in your own living room. It just takes a little practice and observation. Once you start thinking about the pot, the soil, and the plant as one single system, you’ve already become a true gardener.
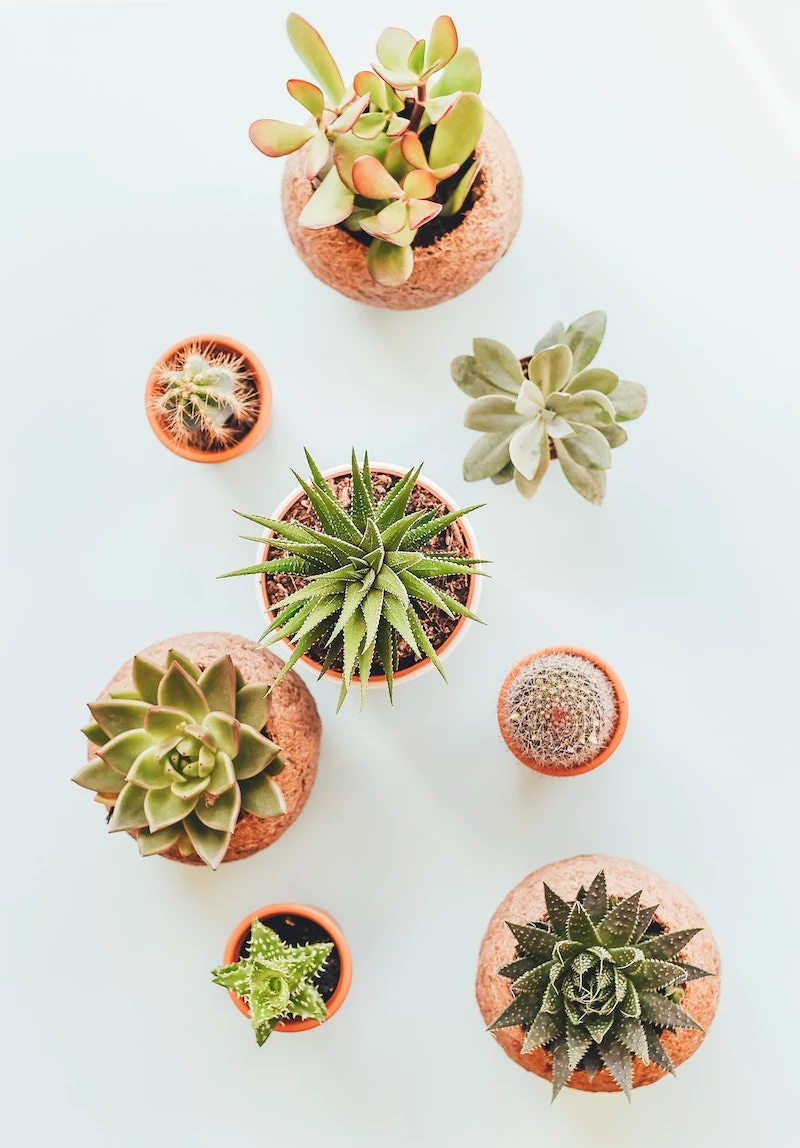
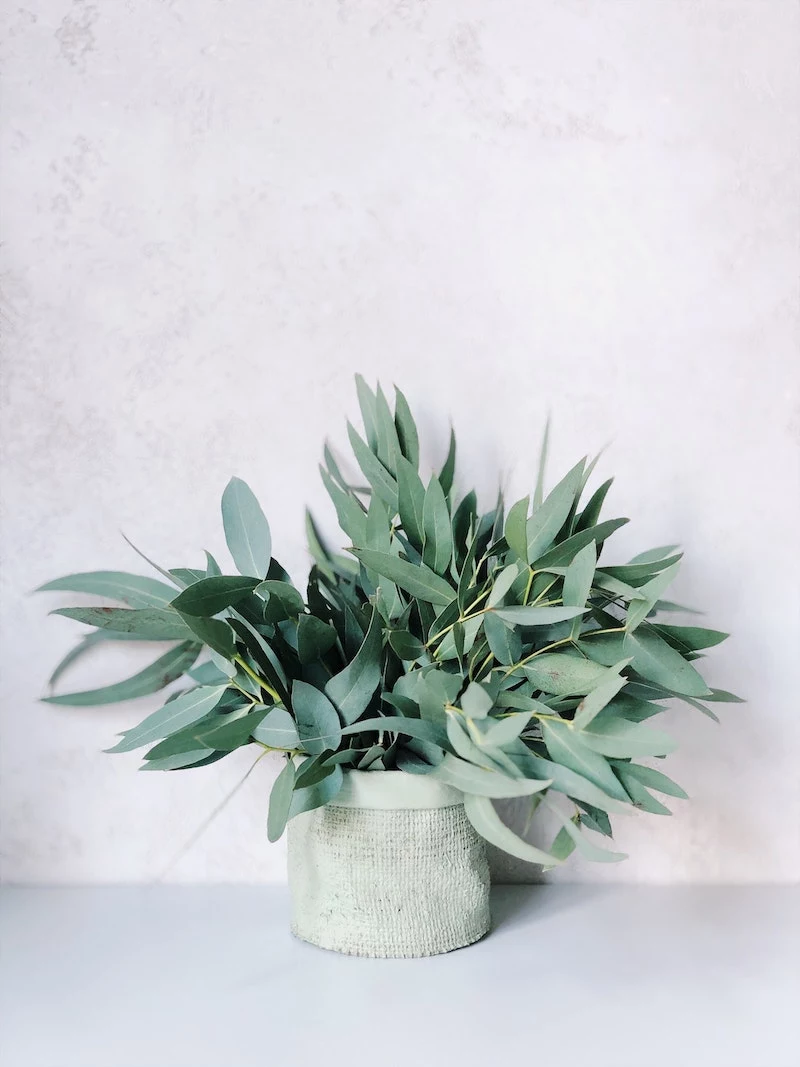
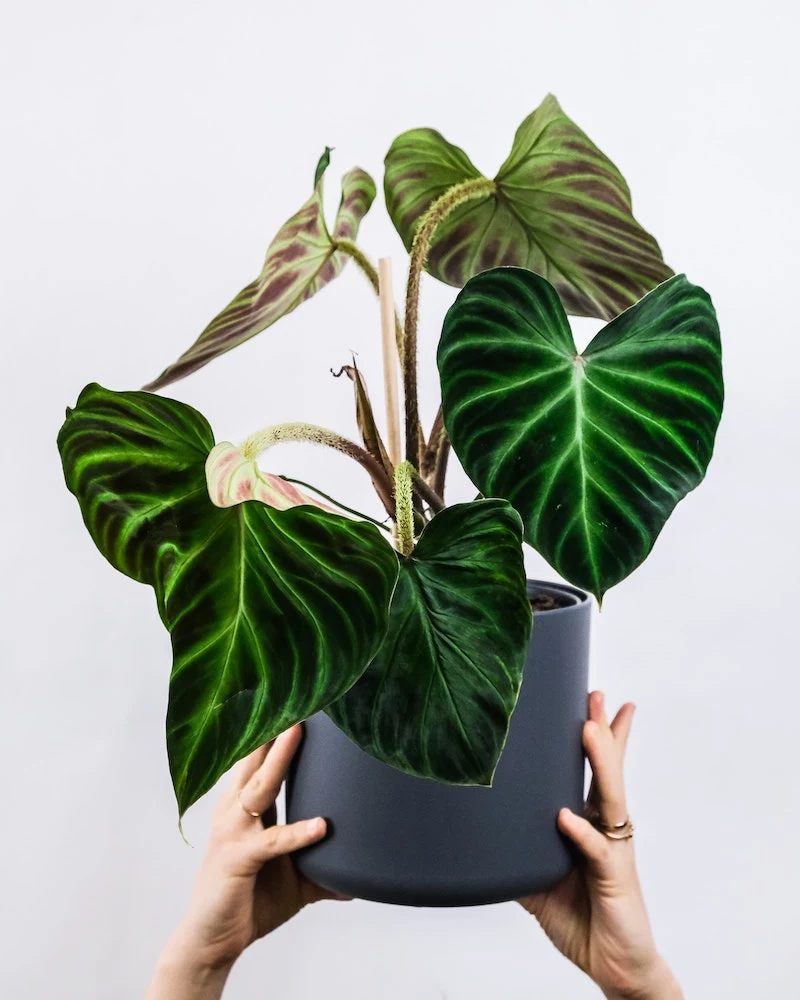
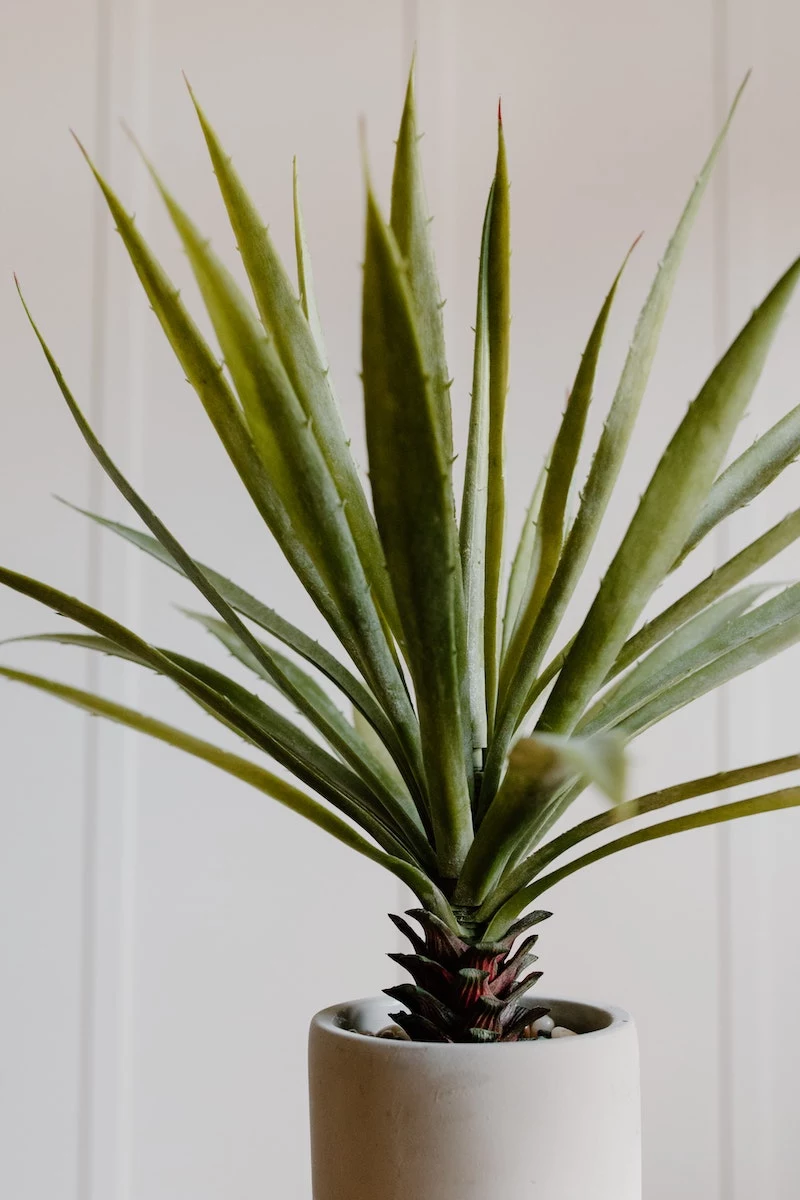
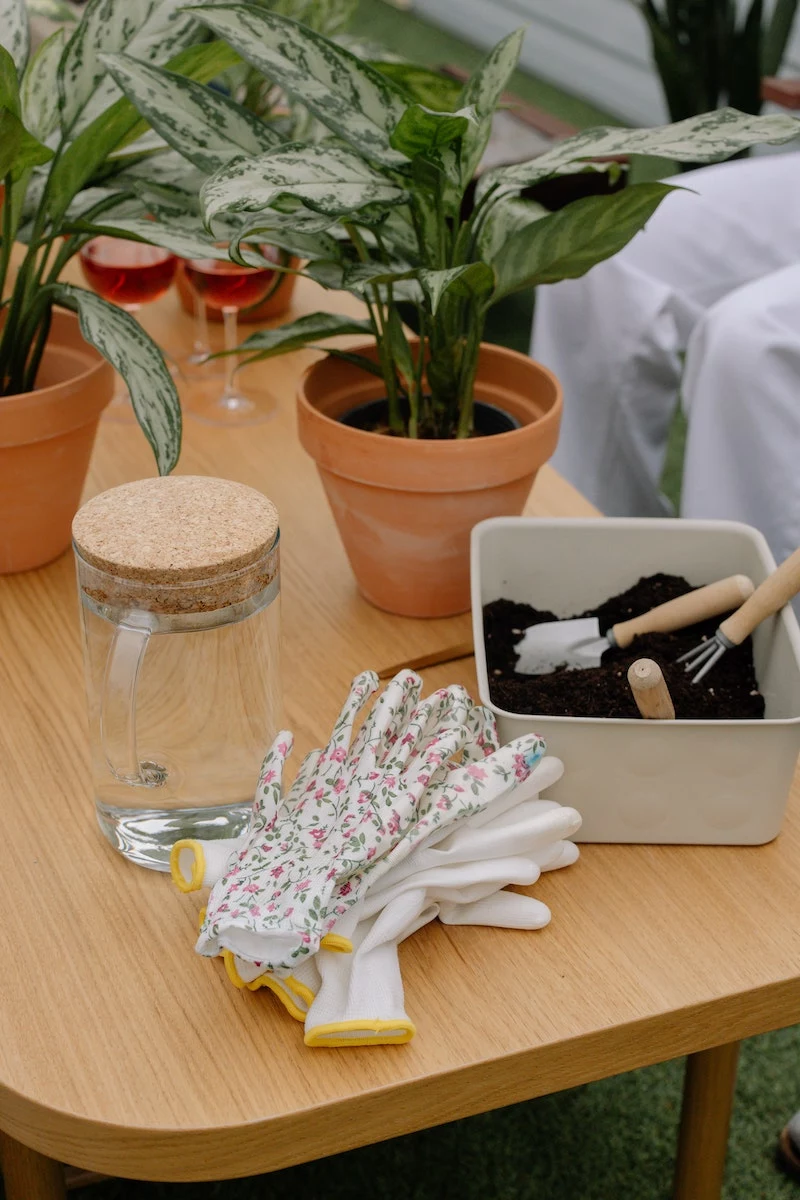
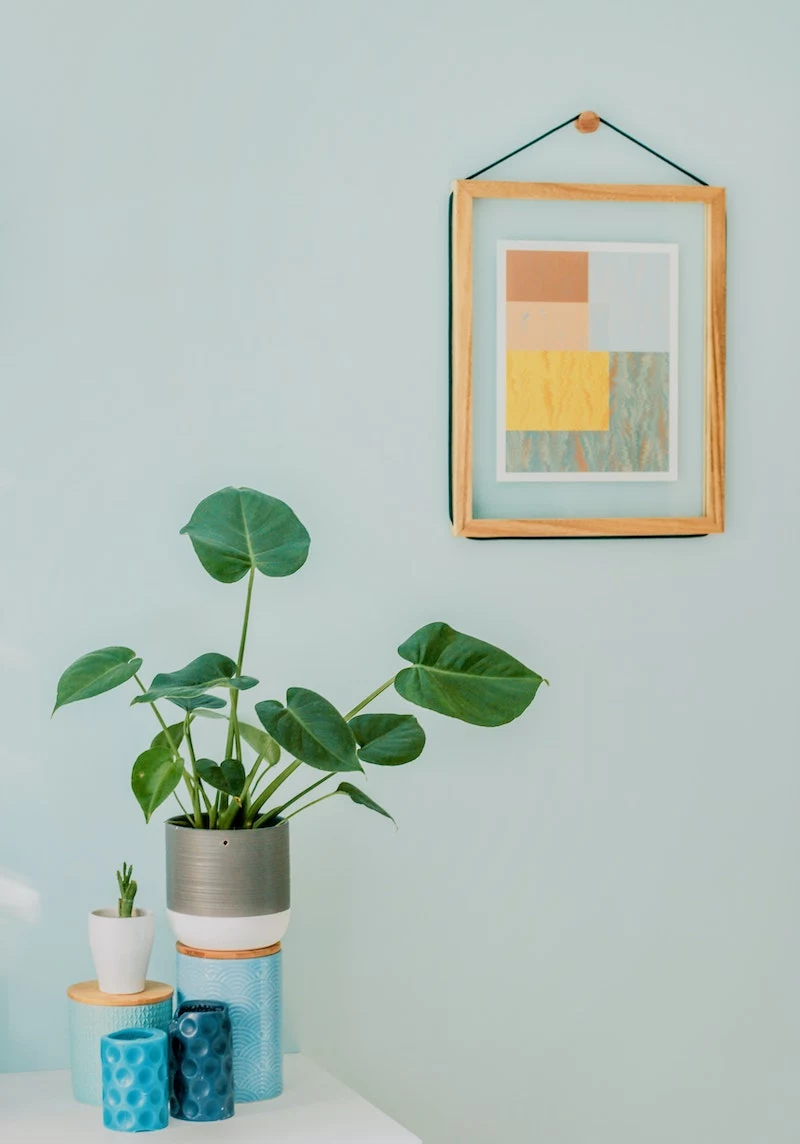
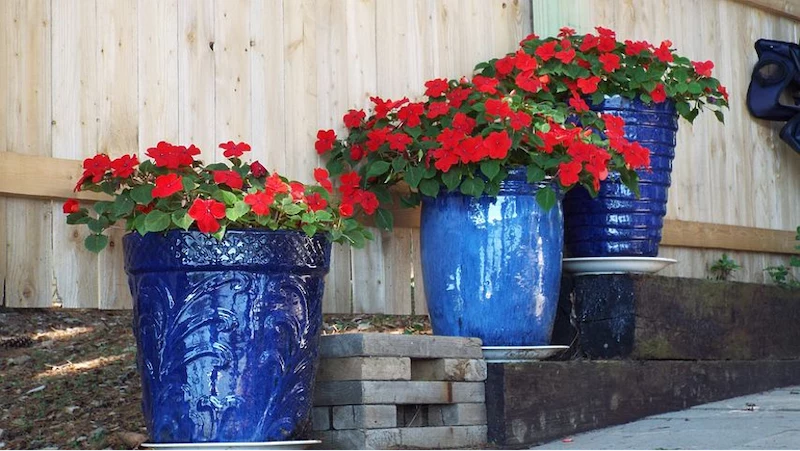
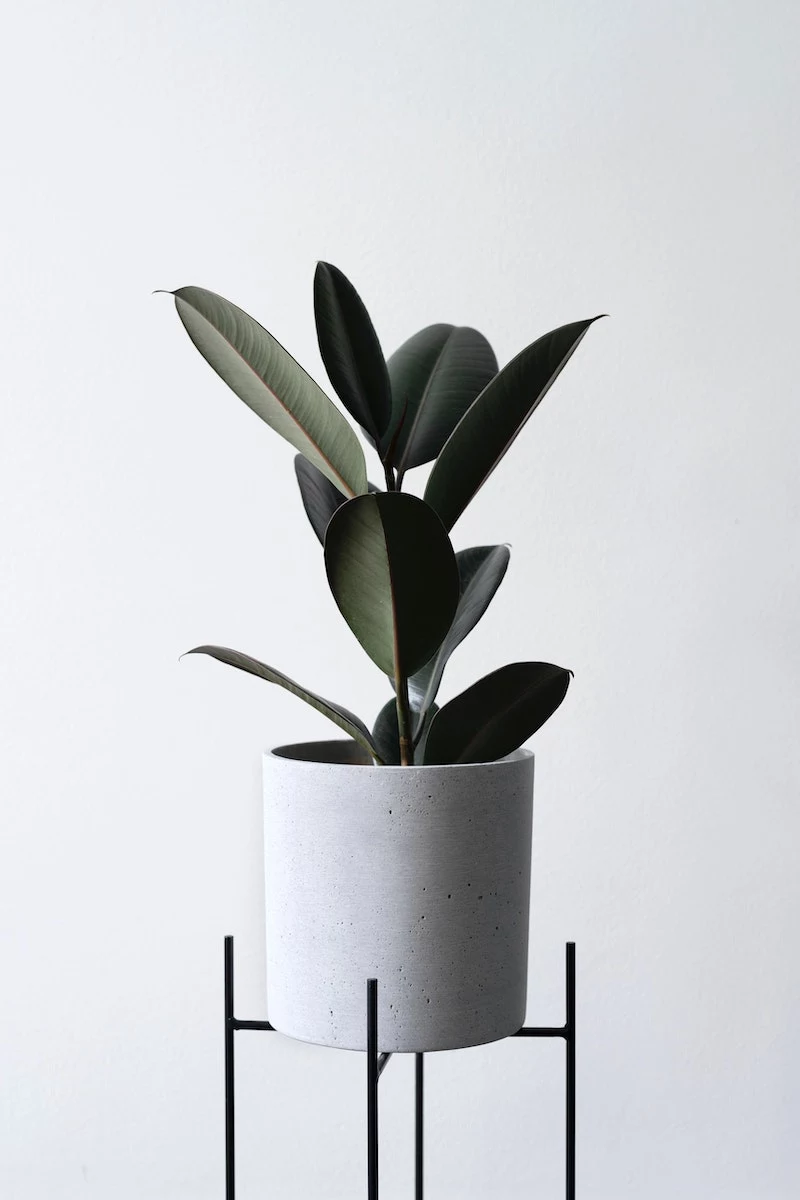
Inspirational Gallery
Wait, shouldn’t I add a layer of gravel to the bottom of my pot for better drainage?
This is one of the most persistent myths in gardening, but the science says no. Adding a layer of gravel or broken pottery shards doesn’t improve drainage; it actually raises the water level inside the pot. Water doesn’t easily move from the fine-textured potting soil to the coarse gravel layer, creating a ‘perched water table’ that keeps the roots sitting in a soggy zone right above the rocks. Ditch the gravel and instead, just make sure your pot has an unobstructed drainage hole. That’s the real secret.
The Basic Plastic Nursery Pot: Don’t overlook it! Lightweight, cheap, and designed with excellent drainage, these are the workhorses of the plant world. Their flexibility makes it easy to check the root ball and repot. They’re ideal as an inner liner slipped inside a more decorative ‘cachepot’ (a pretty pot without a hole).
The Modern Self-Watering Planter: A game-changer for thirsty plants or forgetful owners. Brands like Lechuza or Crescent Garden use a reservoir system that wicks water up to the roots as needed. It’s a bigger initial investment, but it practically eliminates the risk of over- or under-watering.


