Tired of Floppy Tomatoes? Here’s How to Stake, Cage, and Trellis Like a Pro
I’ve been growing tomatoes for a long, long time. I started small, with just a couple of pots on a city balcony, and now I manage long rows in a commercial-style high tunnel. Through all of that, one thing has never changed: if you want a fantastic harvest, you absolutely must give your tomato plants some support.
In this article
Honestly, this isn’t just about keeping the garden looking tidy. It’s about the health of your plants and the quality of your fruit. A tomato plant left to sprawl on the ground is basically a welcome mat for problems. Fruit that touches damp soil will rot. Slugs and other pests have a free buffet. And fungal diseases, which thrive on wet leaves and poor airflow, can wipe out your entire crop in a matter of days. Lifting that plant up into the sun and air is the single most important thing you can do after you plant it.
But before you run out and buy the first support you see, you need to know what kind of tomato you’re growing. This is the first mistake so many new gardeners make. The plant’s growth habit dictates the support it needs, and getting this right is the key to a happy, heavy harvest.
First Things First: Know Your Tomato Type
Okay, let’s get into a little plant science, but I’ll make it quick. Tomatoes generally fall into two main categories based on how they grow. Your choice of support depends entirely on which type you have.
Determinate (or “Bush”) Tomatoes
Think of these as the sprinters of the tomato world. They grow to a specific, predetermined size, usually about three to four feet tall, and then stop. They produce their flowers at the ends of the branches, which means they set all their fruit in a relatively short window, maybe a few weeks. Once you harvest that big batch of fruit, the plant is pretty much done for the season.
These are your classic paste and canning tomatoes. Because their size is predictable, their support needs are a bit simpler. They just need a structure that can handle a defined height and a whole lot of weight all at once. They won’t outgrow their support system, which is a big plus.
Indeterminate (or “Vining”) Tomatoes
These are the marathon runners. Indeterminate tomatoes will grow and produce fruit all season long, right up until the first frost finally tells them to stop. They have no set size—seriously, I’ve had some vining cherry tomato varieties climb over twelve feet in my high tunnel. They set fruit all along the main vines, not just at the tips.
Most of your big, beautiful heirloom slicers and those super-sweet cherry tomatoes are indeterminate. They demand tall, incredibly strong support that you can often extend as they grow. That little cone-shaped cage you can grab for $5 at a big-box store? It will absolutely fail. I learned this the hard way years ago after finding a row of my best slicing tomatoes collapsed in a tangled, heartbreaking heap after one summer thunderstorm.
And let’s talk about that weight for a second. A single mature vining tomato plant can easily carry 15 to 25 pounds of fruit at once. Add the weight of the vine itself, and you’re asking a support to hold up 50 pounds or more. It’s not just a guide; it’s a structural, load-bearing piece of equipment.
Choosing Your Support System: The Real-World Options
Over the years, I’ve tried just about every method out there. Each one has its pros and cons, depending on your tomato type, your garden space, and how much time you want to spend tending to them. Let’s break down the most common systems.
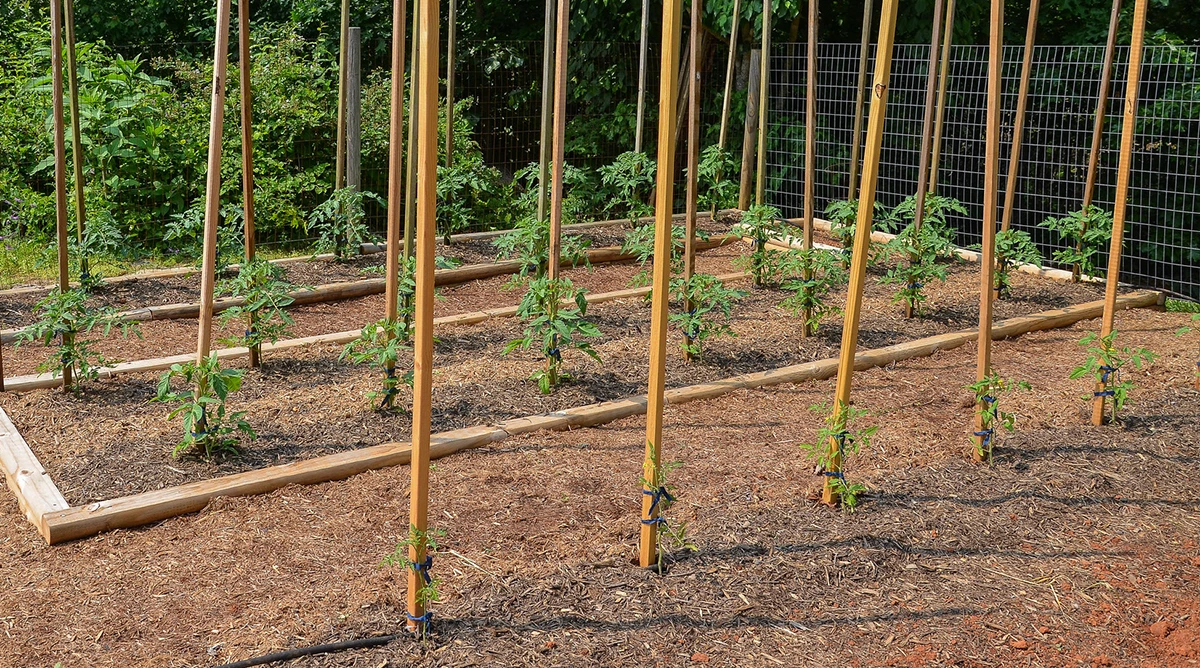
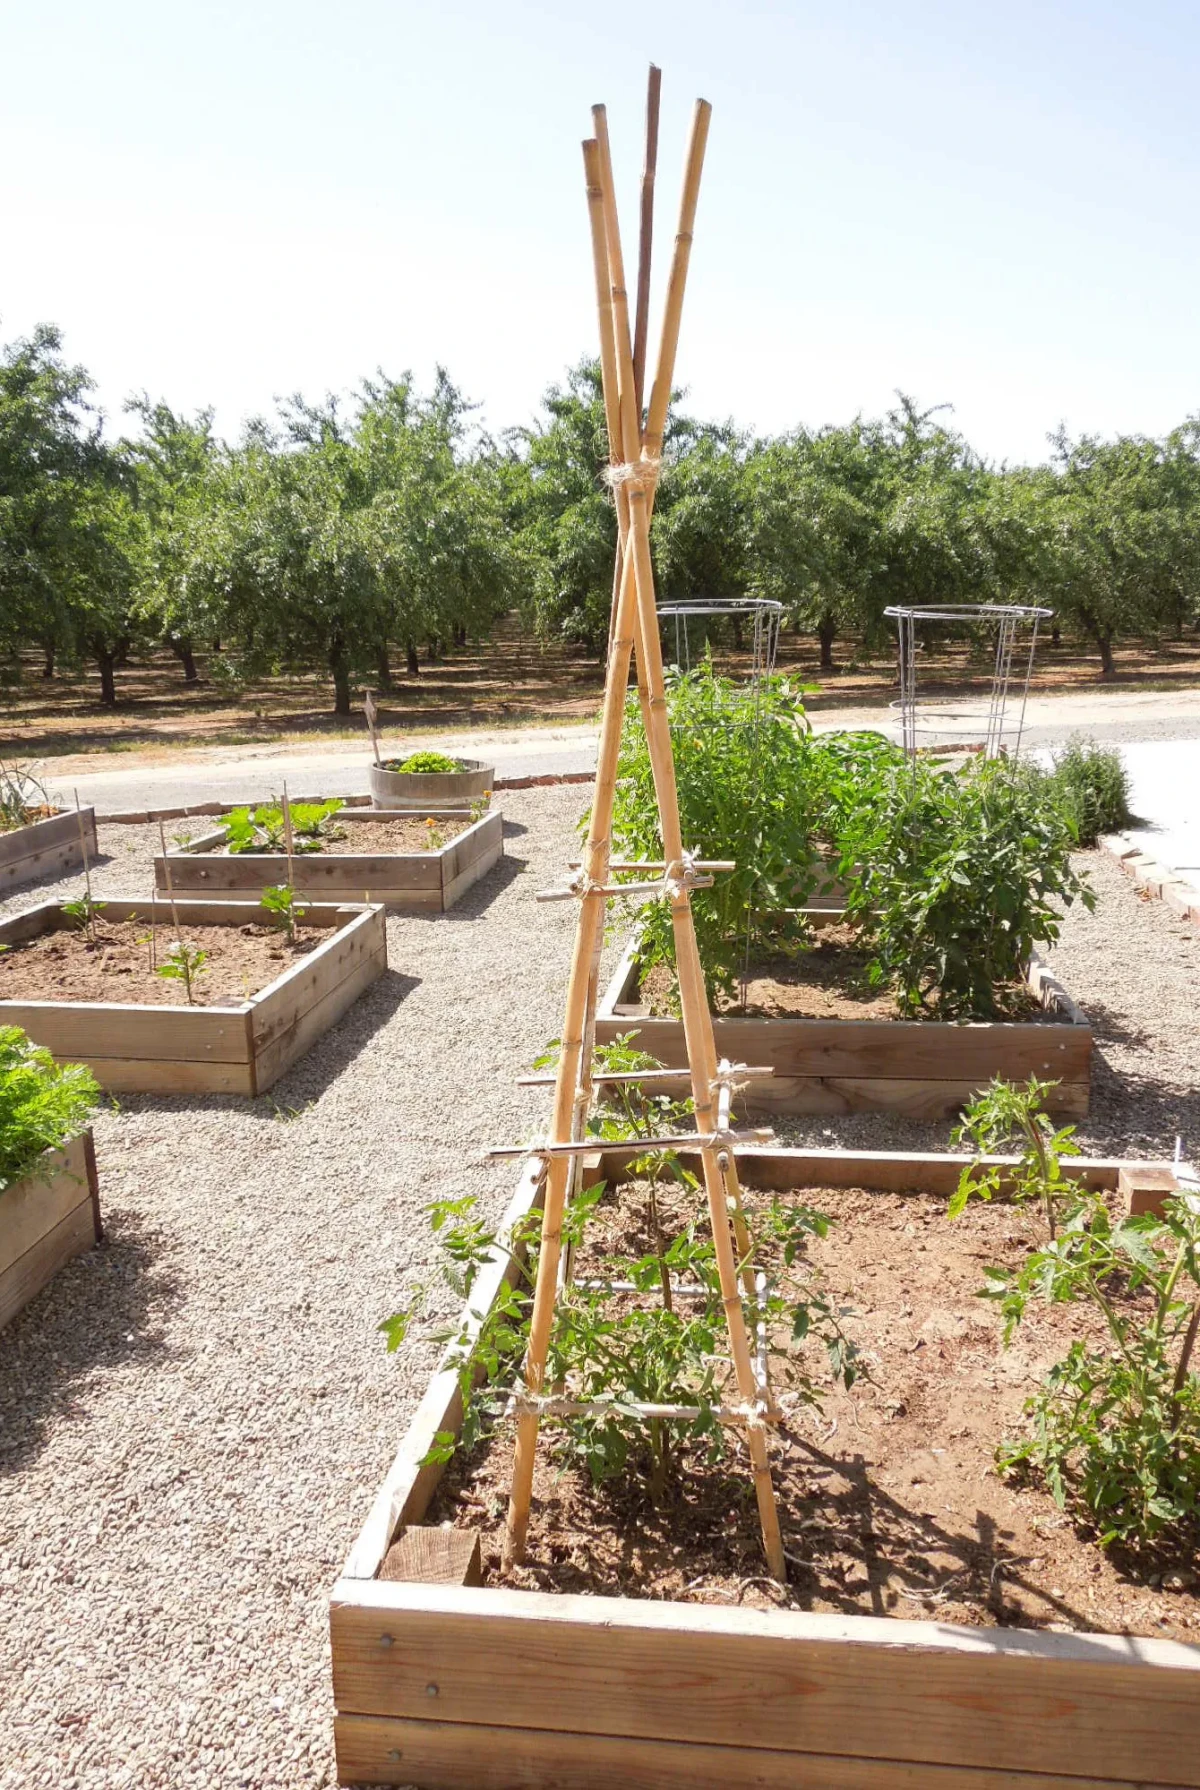
Method 1: Staking (The Classic)
Staking is the old-school, traditional method. It’s simple and inexpensive, but—and this is a big but—it requires the most ongoing work. You’re basically training the plant to grow up a single pole, which means you have to be out there tying and pruning regularly.
- What You’ll Need: For vining tomatoes, you need a stake that’s at least 7-8 feet long. You’ll drive 1-2 feet into the ground, leaving 6 feet of support above ground. I prefer untreated cedar or locust wood stakes (at least 1.5 inches square), but metal T-posts or heavy-duty rebar are fantastic, long-lasting options you can find at any hardware or farm supply store for about $4 to $7 each.
- The Technique: Quick tip: Always, ALWAYS drive the stake into the ground before you plant your tomato. Put it about 4-6 inches from the transplant spot. If you do it later, you risk spearing the root system. As the plant grows, tie the main stem to the stake every 6-8 inches using soft material like strips of old t-shirts or garden twine. Never use fishing line or wire—it’ll slice right into the stem.
- The Verdict: This is a high-maintenance method. You’ll need to be in your garden every few days for a few minutes of tying and pruning. But the upside is amazing airflow, which is a huge advantage if you live somewhere humid where fungal diseases are a constant battle.
A Smart Twist on Staking: The Florida Weave
This is my go-to method for growing rows of bush-type tomatoes. It’s a brilliant system that uses just stakes and twine to support an entire row of plants, and it saves a ton of time.
Here’s how you’d set it up for, say, a 10-foot row with 5 plants. You’d need three sturdy T-posts (about $4-$6 each) and a roll of strong baling twine (maybe $5 for a roll that will last you years). You place a post at each end of the row and one in the middle (after every two plants). When the plants are about a foot tall, you tie the twine to an end post, run it down one side of the plants, pulling it tight, and wrap it around the next post. Then you weave it back down the other side of the plants. Boom. You’ve made a string sandwich that holds the plants upright. Just add a new layer of twine every 8-10 inches as they grow.
Method 2: Caging (The Famous “Set-It-and-Forget-It” Myth)
Ah, tomato cages. They seem so easy, right? The problem is that the standard, flimsy, cone-shaped cages you find everywhere are, to be frank, mostly useless for serious tomato growing. They’re too short for vining types and too weak to hold up a heavy crop of bush tomatoes. A strong wind can topple the whole operation.
Quick Fix: Already bought those flimsy cages? Don’t panic. You can salvage the situation. Grab a single tall, sturdy stake, like a 7-foot T-post, and drive it into the ground right beside your caged plant. Weave the post through the cage wires as you push it in. This gives the cage a strong backbone and might just save your plant from collapsing in a storm.
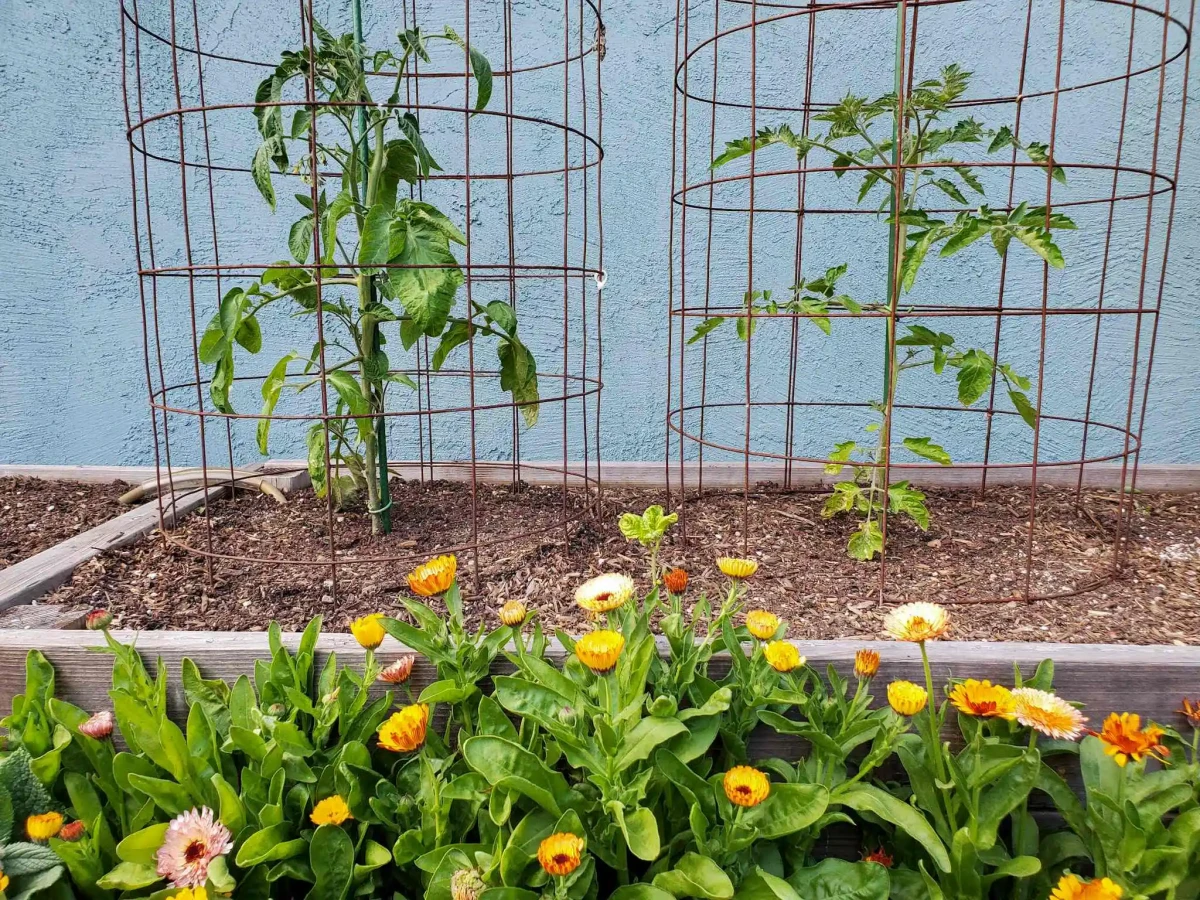
The Better Way: DIY Heavy-Duty Cages
If you love the idea of caging, the best route is to make your own. This is a one-time investment that will give you indestructible cages that last for decades.
- The Material: You’re looking for concrete reinforcing wire, often called remesh. You can find it in rolls or flat panels in the building materials section of stores like Home Depot. Look for a 6-inch grid pattern; the openings are big enough to get your hands in for harvesting.
- The Cost & Build: A big roll might set you back $100 to $150, but it can make 15-20 cages. That works out to about $7-$8 per cage for something that will literally last a lifetime—a total steal! Use bolt cutters (and wear gloves!) to cut a length of about 60-66 inches. Roll it into a cylinder to create a cage about 18-20 inches in diameter. Pro tip from experience: The first year I made these, I made them too narrow, maybe 12 inches across. Harvesting was a nightmare! That 18-20 inch diameter is the sweet spot.
- The Verdict: These are the best cages money can’t buy (because you have to make them). They support the massive weight of any tomato plant, you don’t have to do much pruning, and they’re incredibly stable.
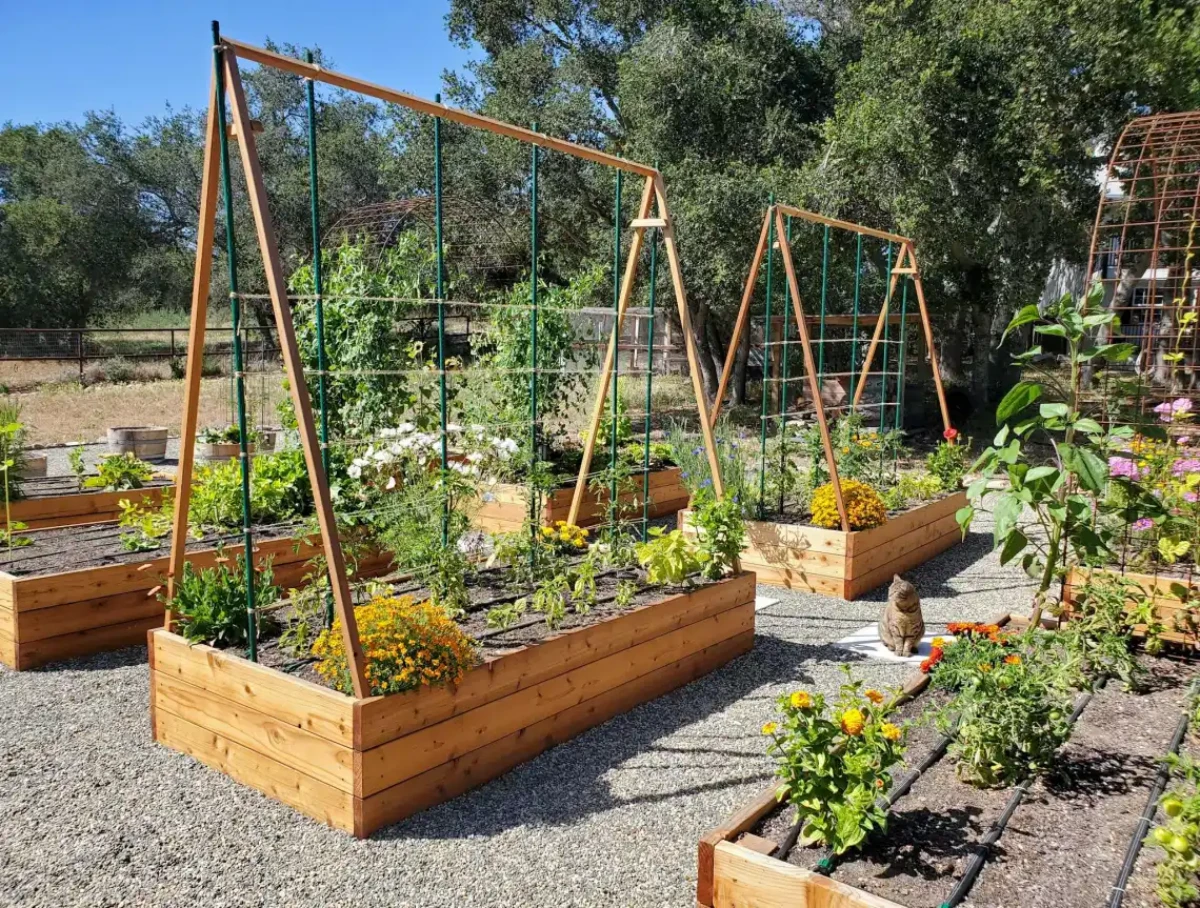
Method 3: Trellising (The Ultimate System)
A trellis is a more permanent structure that you train plants onto. This is what the pros use for maximum production.
One of the best options is a panel trellis using cattle or hog panels. These are heavy-gauge wire panels, usually 16 feet long, that you can get from a farm supply store for around $25-$35 a pop. You can set them up vertically using T-posts, or even better, create an A-frame by leaning two panels against each other and tying them at the top. The A-frame is my top recommendation for windy areas; it’s practically hurricane-proof. You just weave the growing vines through the grid—super simple and amazing for airflow.
So, Which One Should You Choose?
Feeling a little overwhelmed? Let’s boil it down.
If you’re on a tight budget or growing rows of canning tomatoes, the Florida Weave is your champion. It’s incredibly cheap, fast to set up, and very effective for determinate types.
If you want the lowest maintenance for big, sprawling plants, invest an afternoon in making your own DIY remesh cages. The upfront cost and effort pay off for decades. This is my top pick for all-around performance for both determinate and indeterminate types.
If you have a small space or really value a tidy garden, a single, well-pruned stake is a classic for a reason. It’s perfect for keeping vining tomatoes under control in a tight spot, as long as you commit to the regular tying and pruning.
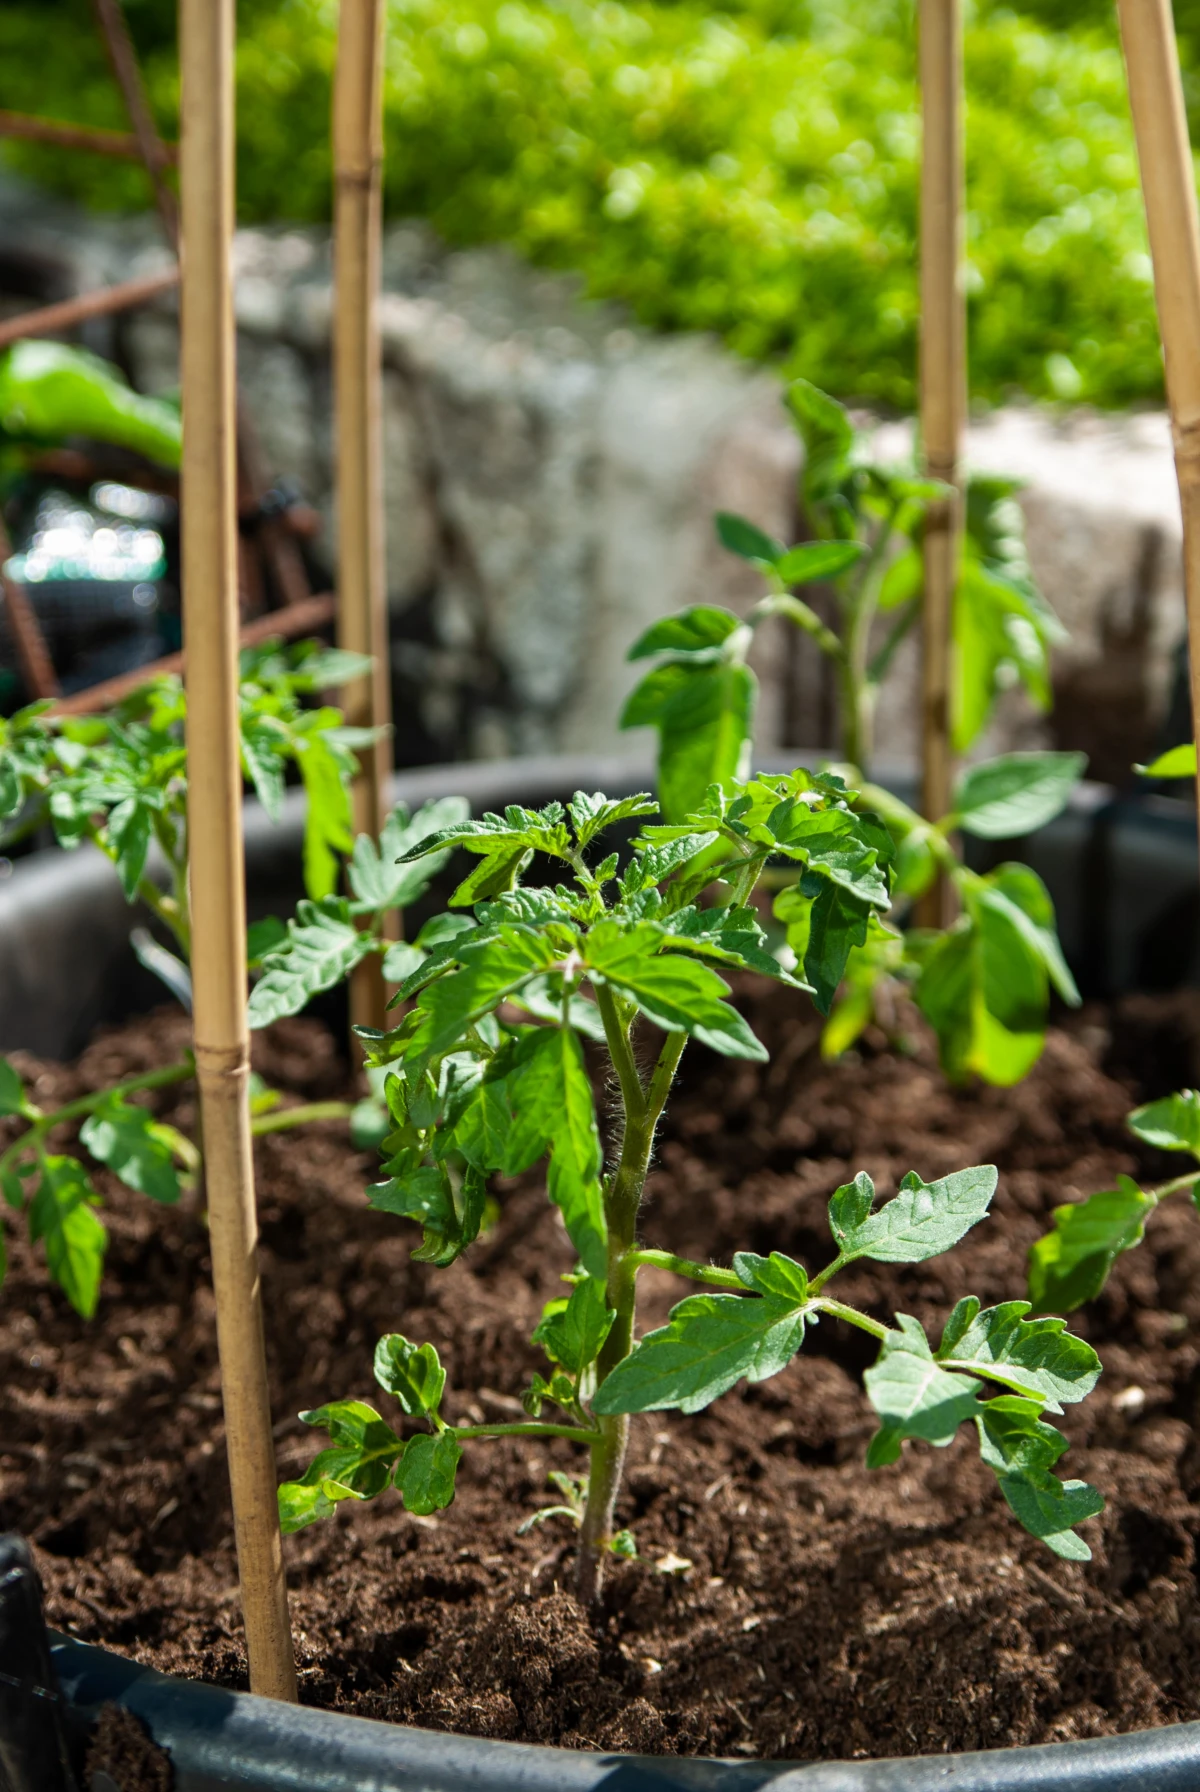
Oh, and for you container gardeners! For a single plant in a 5-gallon pot, your best bet is either a single, very sturdy stake driven deep into the pot or a smaller DIY cage made from a 4-foot section of remesh. It’ll be way more stable than any store-bought cage.
A Few Final Words of Wisdom
No matter which method you choose, please remember a couple of non-negotiable safety rules. If you’re using metal T-posts or rebar, always place a safety cap on the exposed top. An old tennis ball or a plastic bottle works perfectly. Bending over and catching a steel post with your eye is a life-altering injury. Don’t risk it.
And remember the most common mistakes: support your plants when you plant them, not when they’re already flopping over. Tie them loosely so the stem has room to grow. And always plan for the plant’s mature size, not its seedling size.
When the season is over, a little cleanup goes a long way. You can stack your DIY cages, bundle your stakes, and reuse them for years. The one thing I’d recommend replacing is your twine; starting with fresh twine each season is a cheap and easy way to prevent the spread of any lingering diseases.
Putting in the right support system feels like a lot of work at the beginning of the season. But trust me, it’s an investment that pays you back all summer long with healthier plants, a bigger harvest, and way less frustration. Get the foundation right, and your tomato plants will thank you for it.


