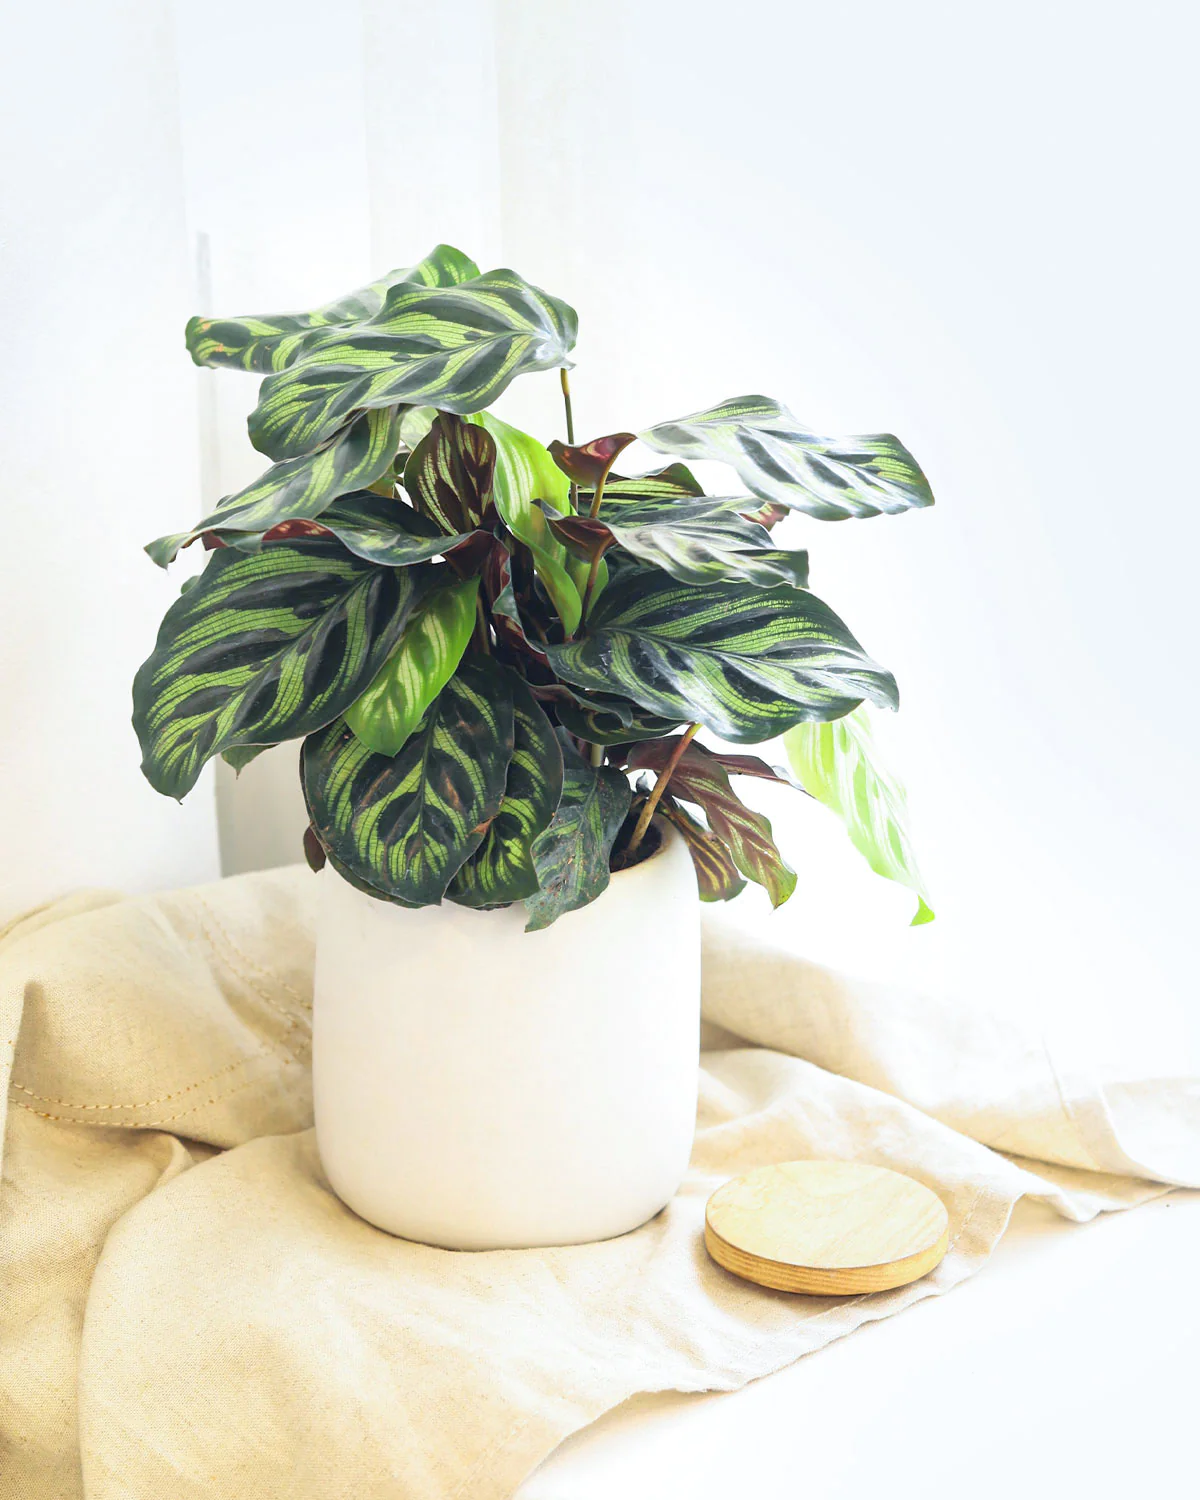
The Brutally Honest Guide to Keeping Your Peacock Plant Alive
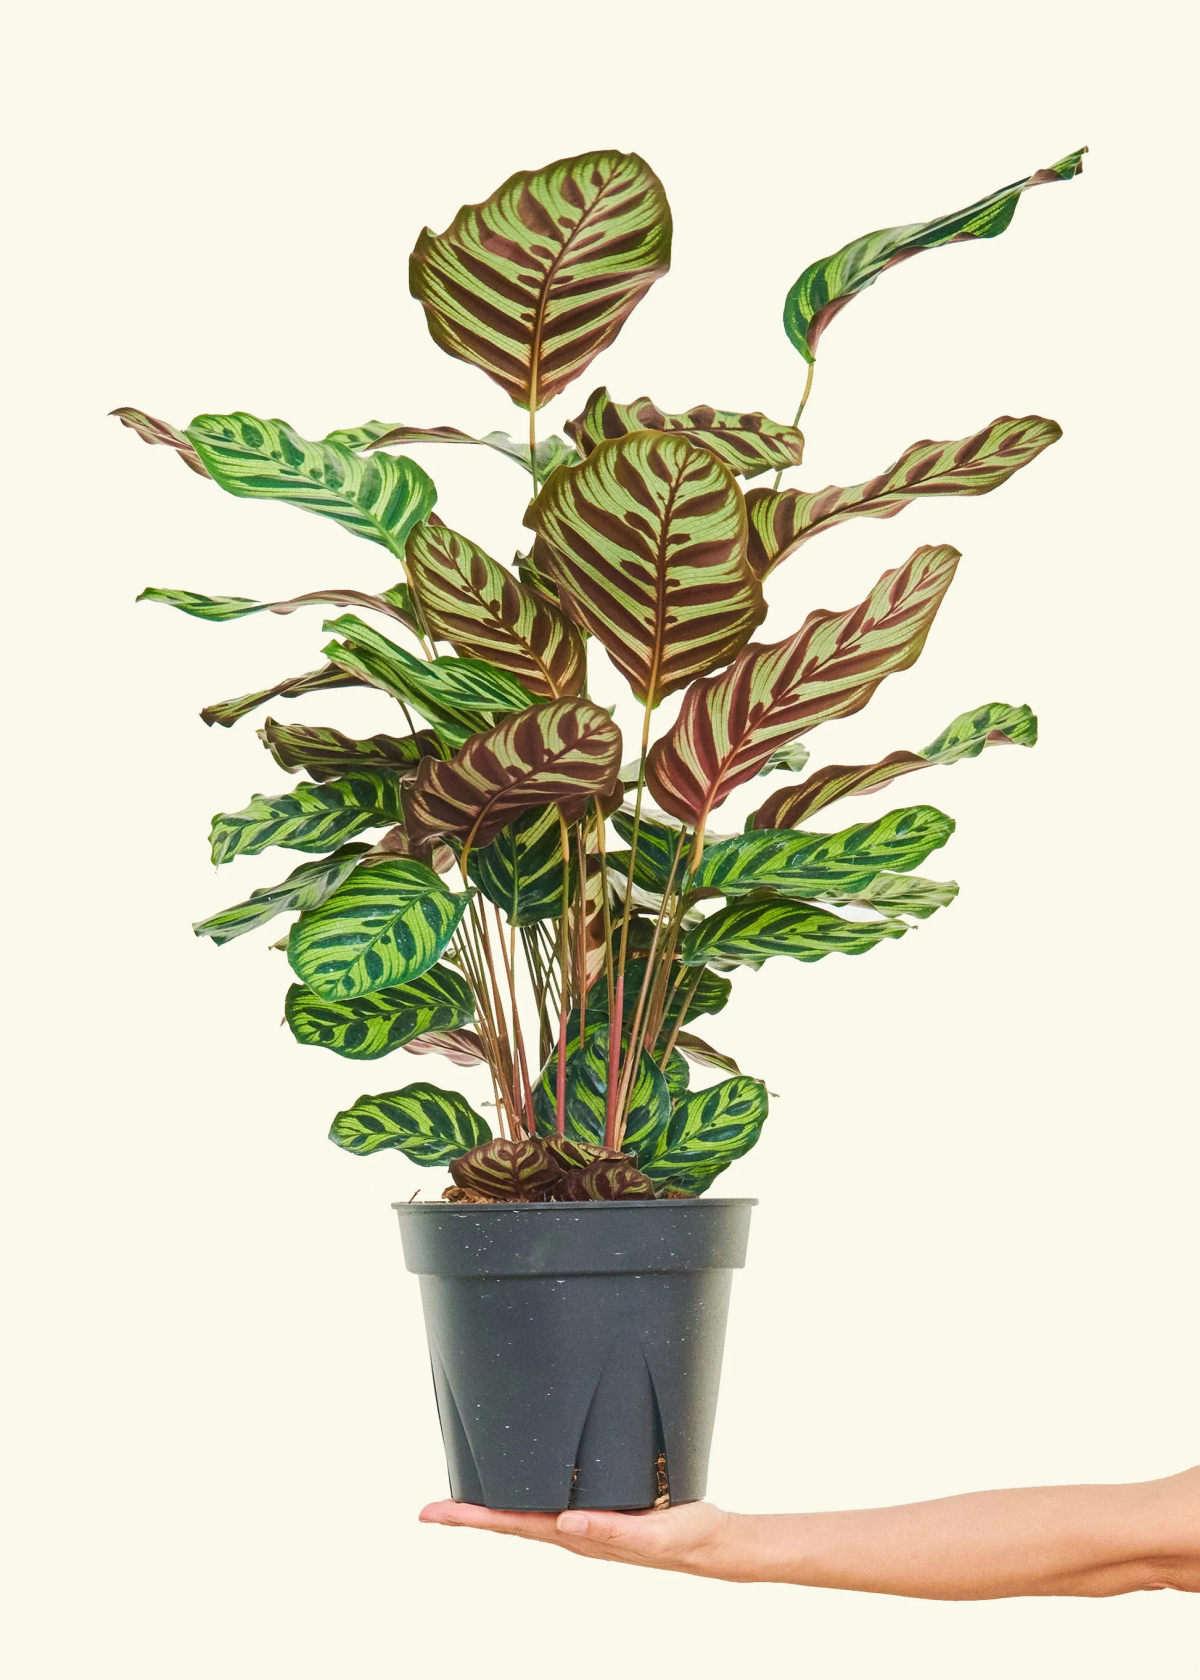
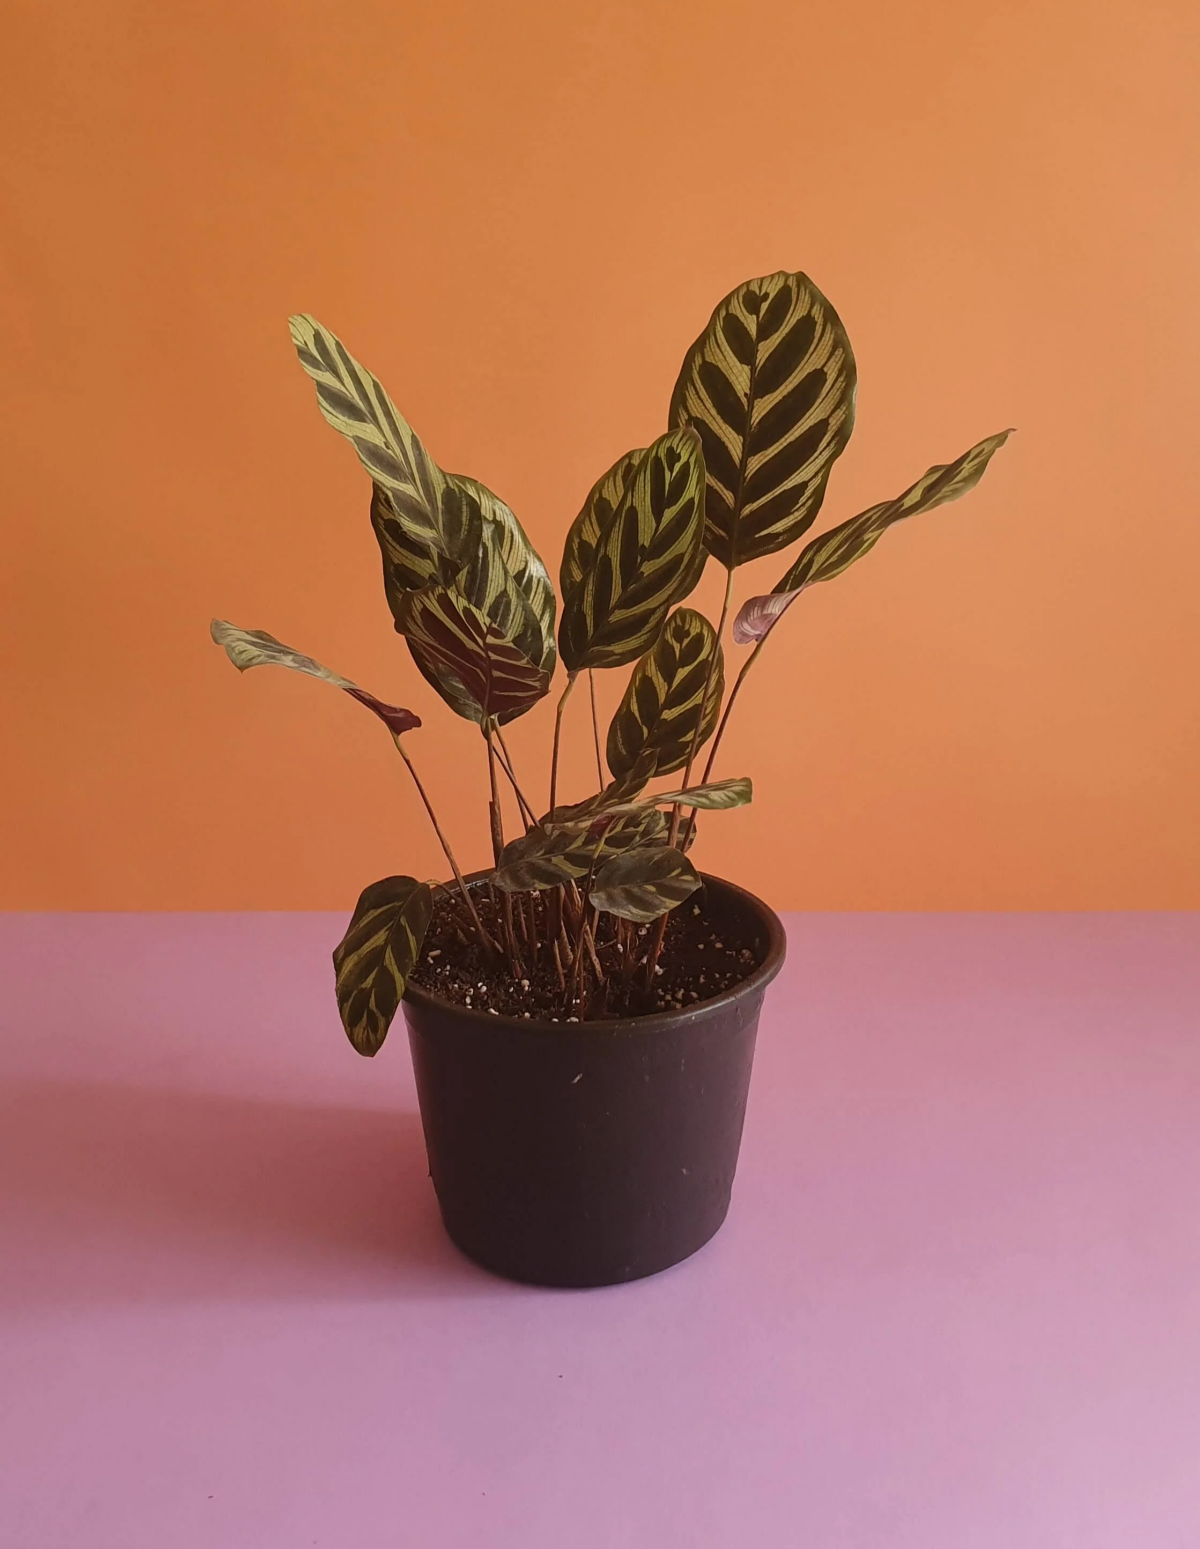
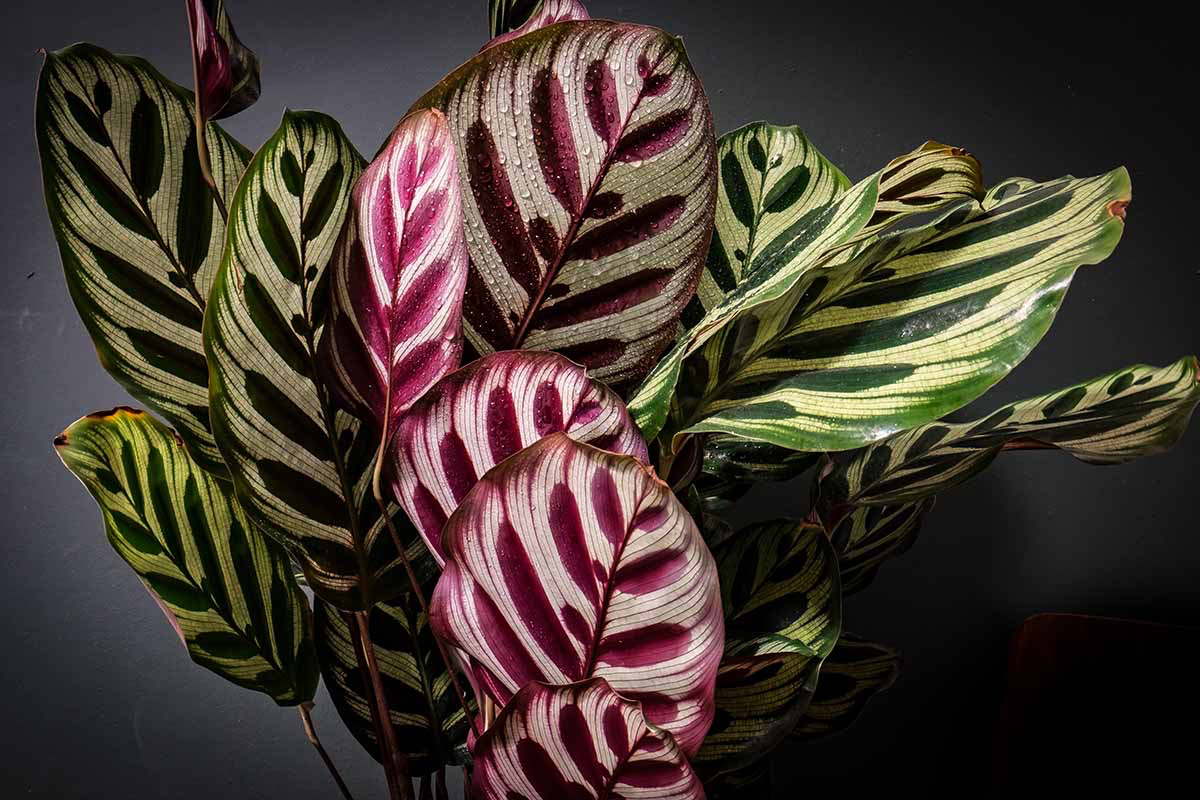
So, you’re thinking about getting a Peacock Plant. I don’t blame you. With leaves that look like they were hand-painted, they’re one of the most stunning plants you can bring into your home. But let’s be real for a second: they’re also one of the quickest to turn into a crispy, brown mess if you don’t know what you’re doing.
In this article
- Quick Win: The Easiest Thing You Can Do Today
- Think Like a Rainforest Plant
- The Foundation: Soil is Everything
- Light & Temperature: The Sweet Spot
- The Art of Watering (and Why Your Tap Water Sucks)
- Care and Maintenance Basics
- Troubleshooting: When Things Go Wrong
- Final, Friendly Advice
- Galerie d’inspiration
I’ve seen it a hundred times. Someone falls in love at the garden center, brings it home, and a few weeks later they’re frantically Googling “why are my Calathea leaves crunchy?” This isn’t a plant you can just stick in a corner and water whenever you remember. It’s a bit of a diva, and it has demands. The good news? Its demands are actually pretty simple once you learn to speak its language.
This guide is all about setting you up for success from day one. We’re going to skip the quick fixes and build a solid foundation, covering everything from the perfect soil mix to the art of watering. Because when you get it right, you don’t just have a plant; you have a living masterpiece.

Quick Win: The Easiest Thing You Can Do Today
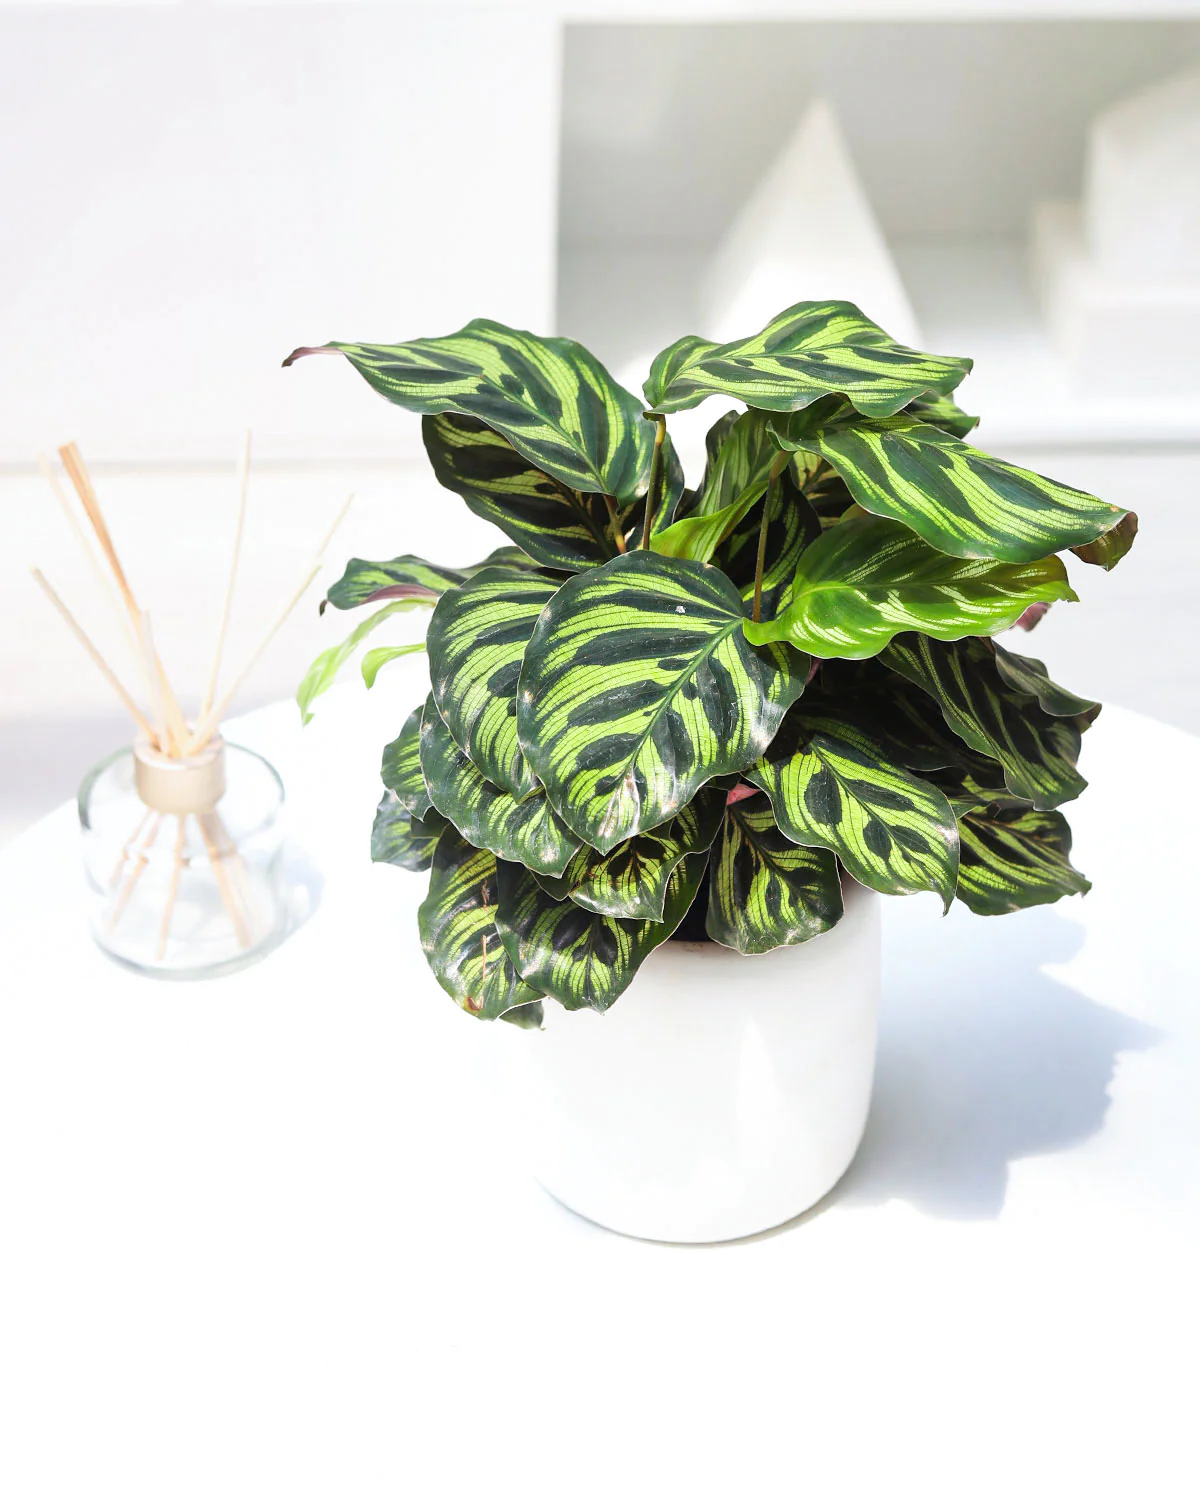
Don’t have time to read everything right now? Here’s one thing you can do to make your Peacock Plant happier instantly: group it with other plants. Seriously. Plants naturally release moisture, and putting them together creates a little humid microclimate. It’s free, it’s easy, and it’s a great first step.
Think Like a Rainforest Plant
To keep any plant happy, you have to understand where it comes from. The Peacock Plant’s home is the floor of a tropical rainforest. Just picturing that tells you almost everything. It’s not getting blasted by direct sun; it’s getting dappled light filtered through a canopy of massive trees. The air is thick with humidity, and the ground is a spongy, moist mix of leaves and bark, not a muddy swamp.
Your whole job is to mimic that environment in your living room.
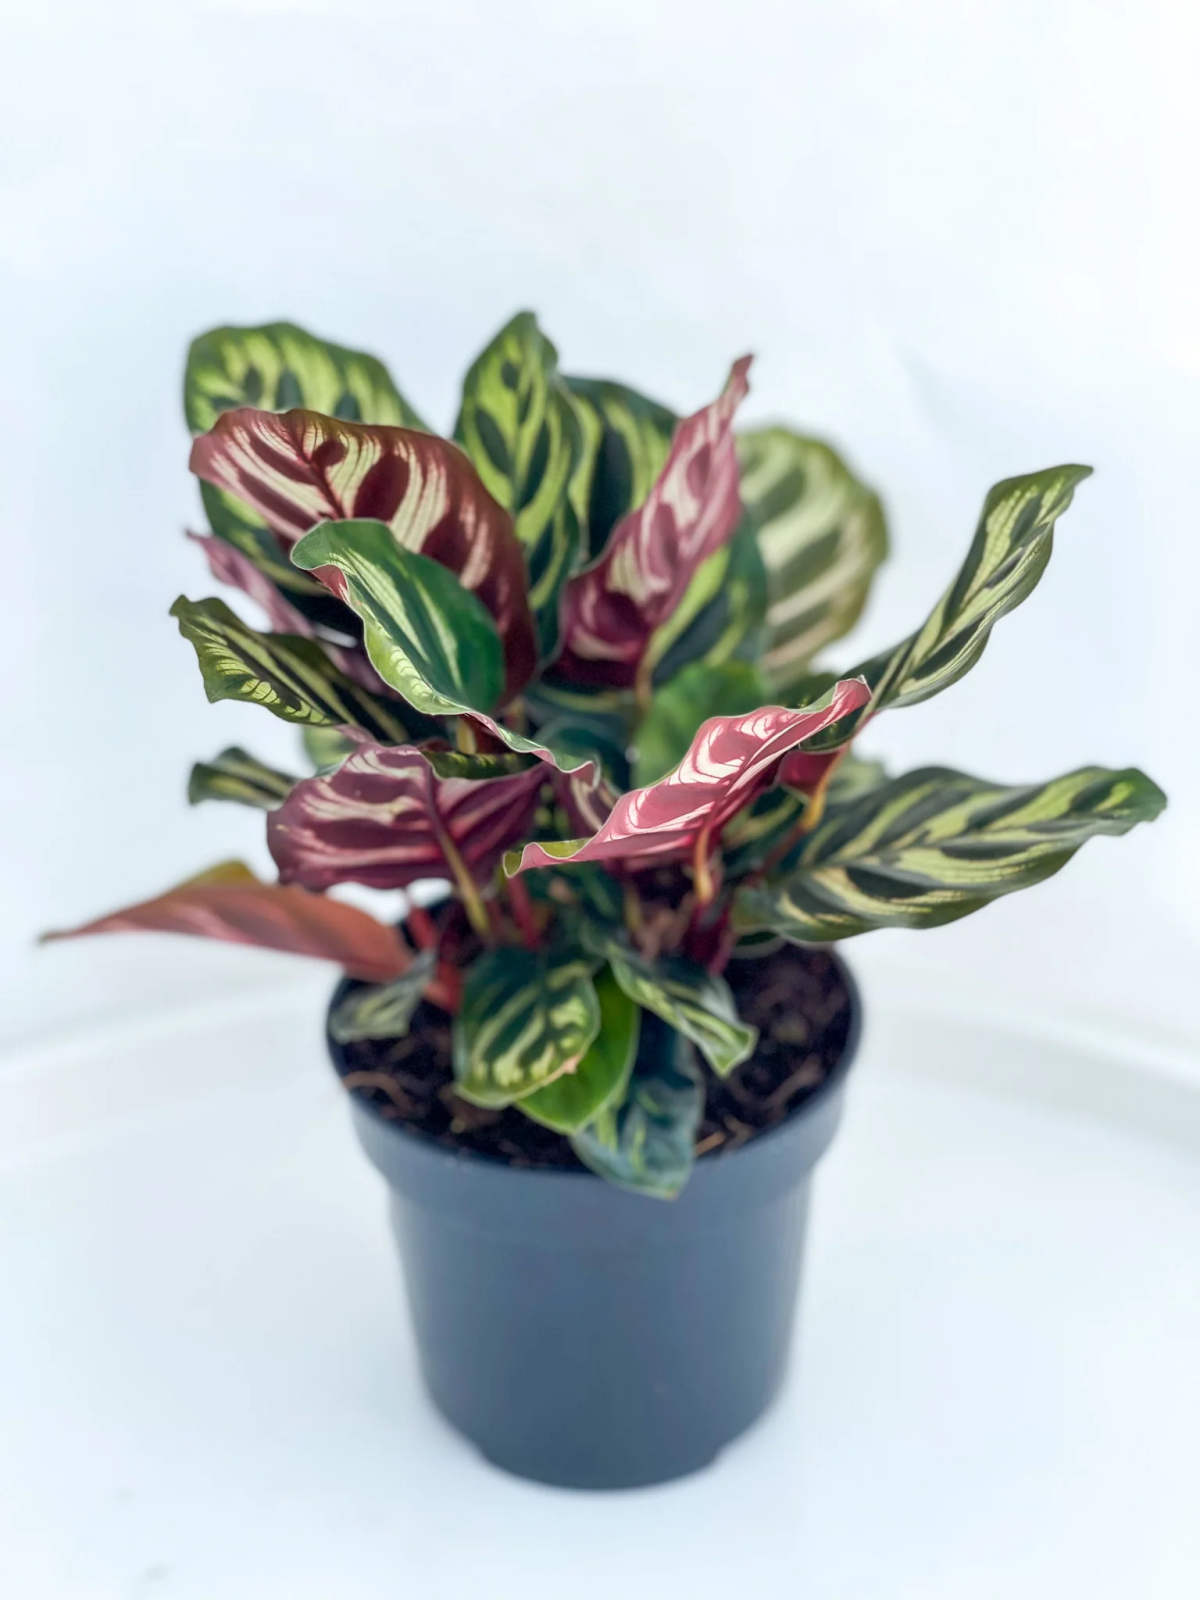
By the way, have you ever noticed its leaves move? They rise up in the evening (like hands in prayer, which is why it’s in the ‘prayer plant’ family) and lower again in the morning. This is a sign of a healthy, happy plant! It’s controlled by tiny, specialized joints at the base of the leaf stems. If the leaves stop their daily dance, it’s a major sign that the plant is stressed, usually from a watering issue or not enough light.
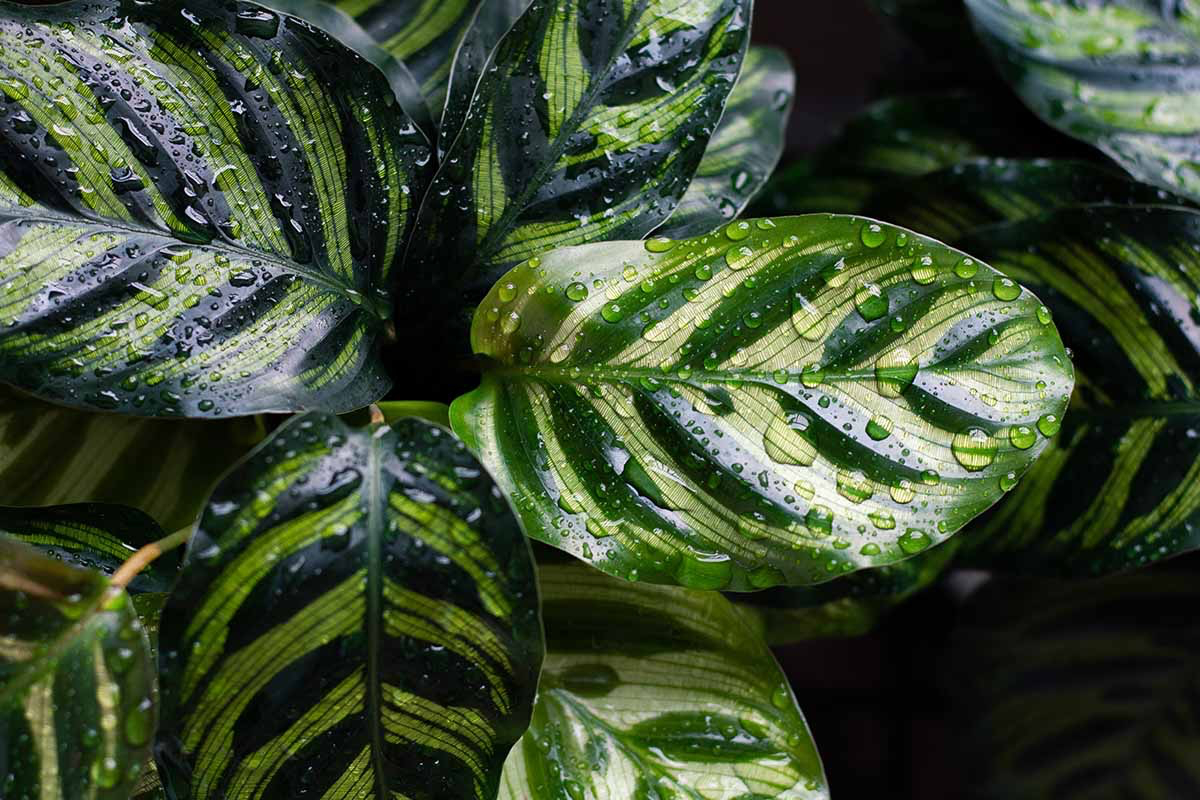
Those gorgeous, paper-thin leaves are designed for a super-humid world. In the dry air of most homes, they lose water way faster than the roots can suck it up. That’s what causes those dreaded crispy brown edges. It’s not just a cosmetic problem; it’s your plant’s way of screaming, “I’m thirsty!”
The Foundation: Soil is Everything
I’m going to say something controversial: you cannot use standard, all-purpose potting soil straight out of the bag and expect this plant to thrive. I’ve seen it fail over and over. That stuff is usually too dense, holding on to way too much water and suffocating the roots. It can also contain slow-release fertilizers that will scorch the Peacock Plant’s very sensitive root system.
The Pro-Level Soil Mix
Mixing your own soil sounds intimidating, but it’s super easy and the best thing you can do for your plant. Here’s the recipe I swear by. You can find all this stuff at a good garden center or online.
- 40% Coco Coir or Peat Moss: This is your base. It holds moisture really well. I prefer coco coir because it’s a sustainable resource and easier to re-wet if you accidentally let it dry out completely. A brick of coco coir usually costs around $5-$10.
- 30% Perlite: Those little white rocky bits. They create air pockets so the roots can breathe. A decent-sized bag will run you about $5-$8.
- 20% Orchid Bark: This adds chunkiness, mimicking the forest floor and preventing the soil from getting too compacted. Expect to pay $8-$12 for a bag.
- 10% Horticultural Charcoal (Optional but great): This is my secret weapon. It helps keep the soil “sweet” by filtering out impurities. It’s a great little insurance policy against funky soil.
Good to know: A single bag of each of these ingredients will be enough to repot a whole bunch of plants, so it’s a good investment for your collection. Just mix it all in a bucket. When you grab a moistened handful, it should clump together but not drip water. It should feel spongy, not like mud.
The “Good Enough” Soil Shortcut
Okay, okay. Maybe you’re not ready to become a soil-mixing guru. I get it. If you absolutely must buy a pre-made mix, look for one designed for African Violets. They tend to be lighter and better draining than standard mixes. To make it even better, buy a small bag of perlite or orchid bark and mix in a few extra handfuls to improve the aeration. It’s not perfect, but it’s a whole lot better than the alternative.
Picking the Right Pot
The pot you choose directly impacts how often you’ll need to water.
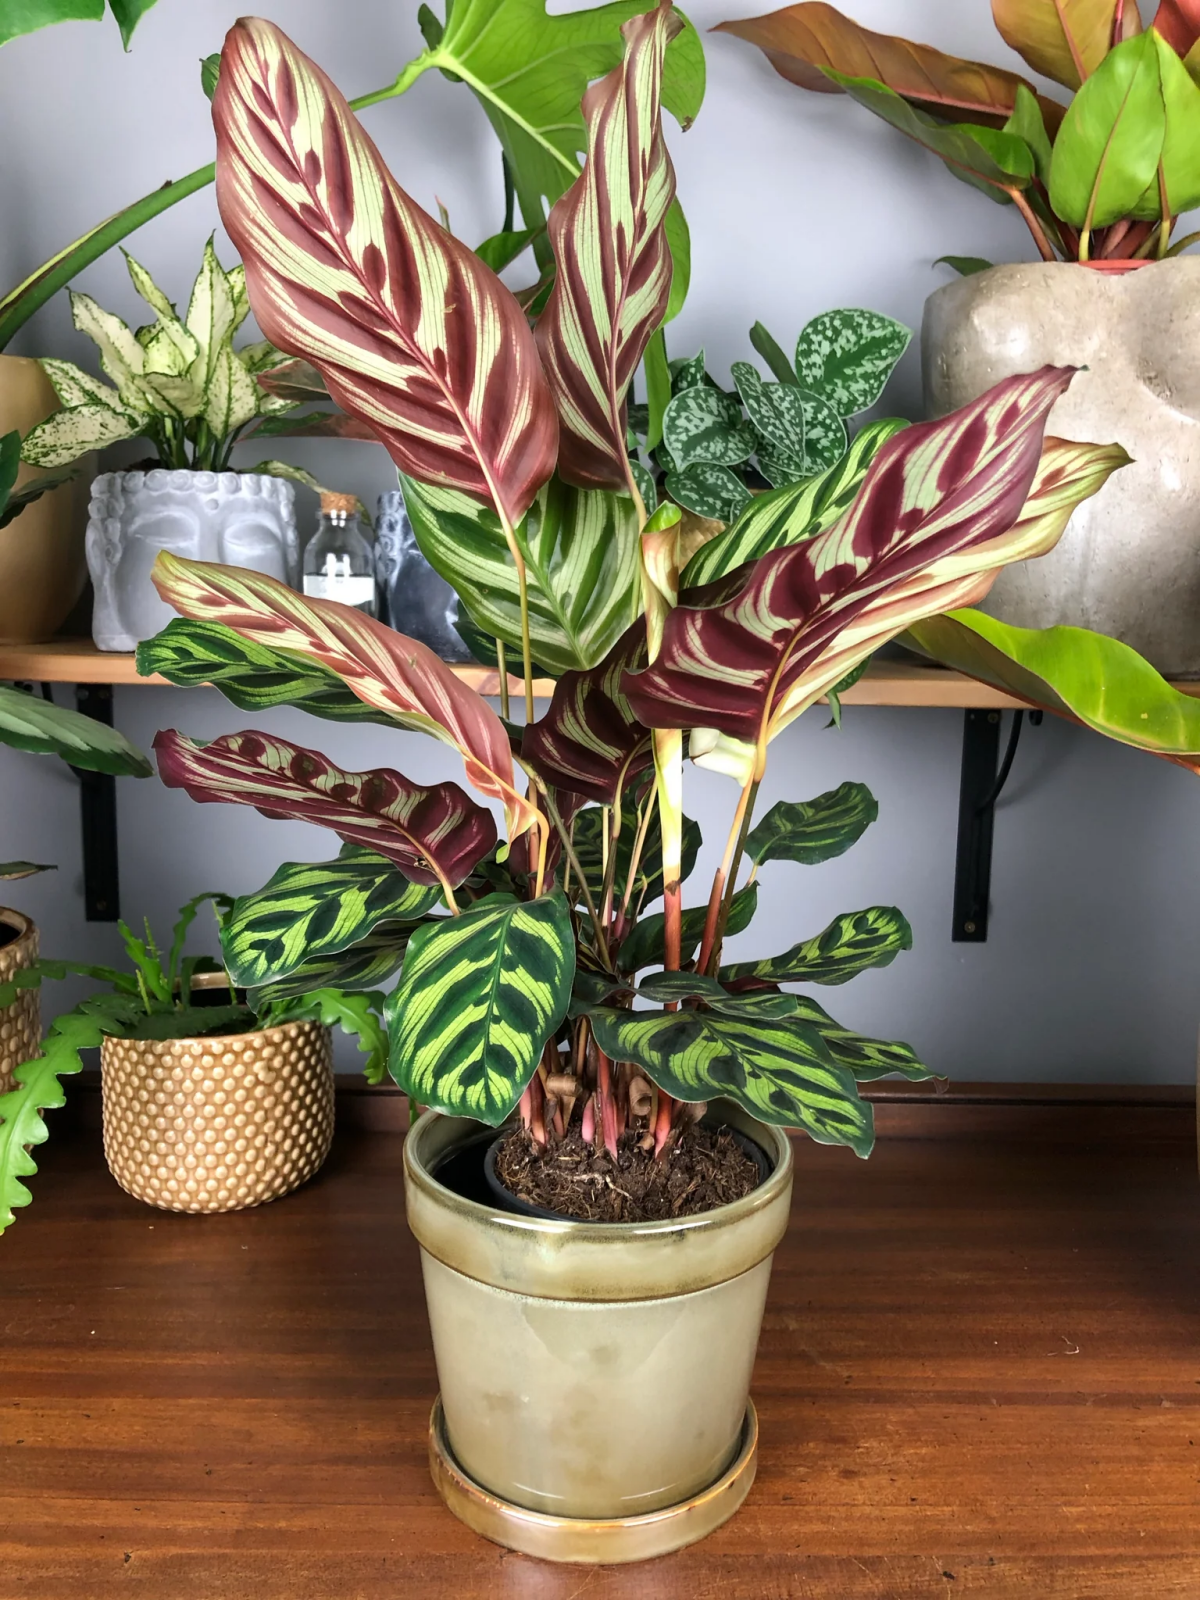
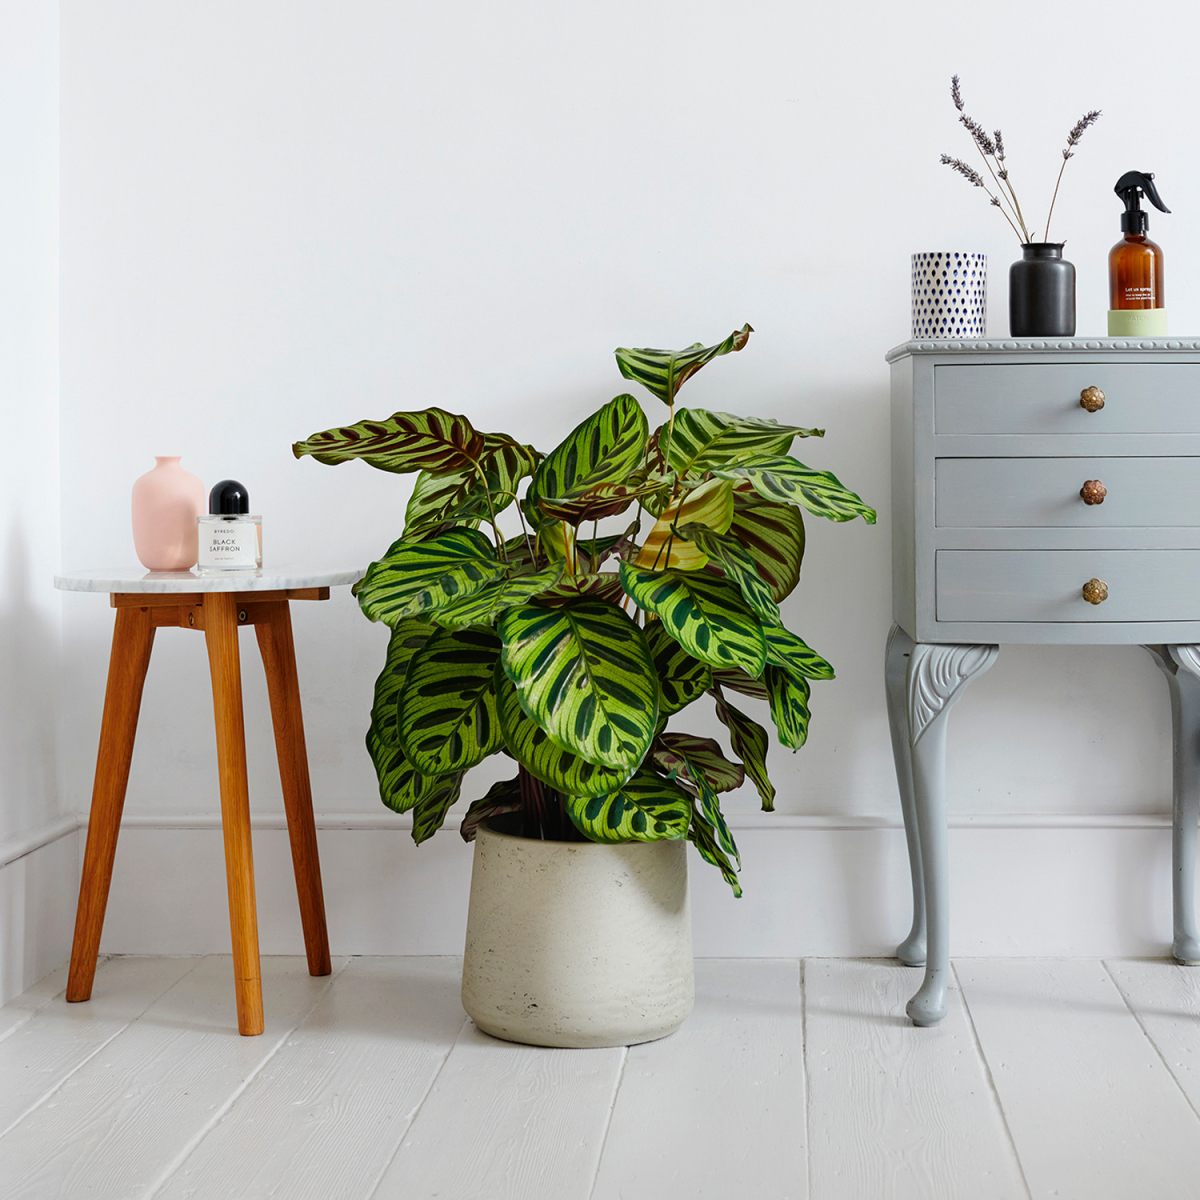
- My Go-To: Plastic Nursery Pots. They’re cheap (often under $2), lightweight, and they hold moisture in, creating a stable environment for the roots. You can always slip the plastic pot into a pretty decorative planter (a cachepot) to get the best of both worlds.
- A Good Alternative: Glazed Ceramic. The glaze acts just like plastic, preventing water from evaporating through the sides. Just make sure it has a drainage hole!
- Avoid This Pot: Terracotta. I know they look great, but I strongly advise against terracotta for these plants, especially if you’re a beginner. The clay is porous and literally pulls moisture out of the soil, meaning you’ll have to water constantly to keep the plant from freaking out. A client of mine once moved a perfect Calathea into a terracotta pot, and it was a crispy mess within two weeks. We saved it, but only by moving it back to a simple plastic pot.
Heads up! No matter what pot you choose, drainage is NON-NEGOTIABLE. If a pot doesn’t have holes, it’s not a pot. It’s a plant coffin.
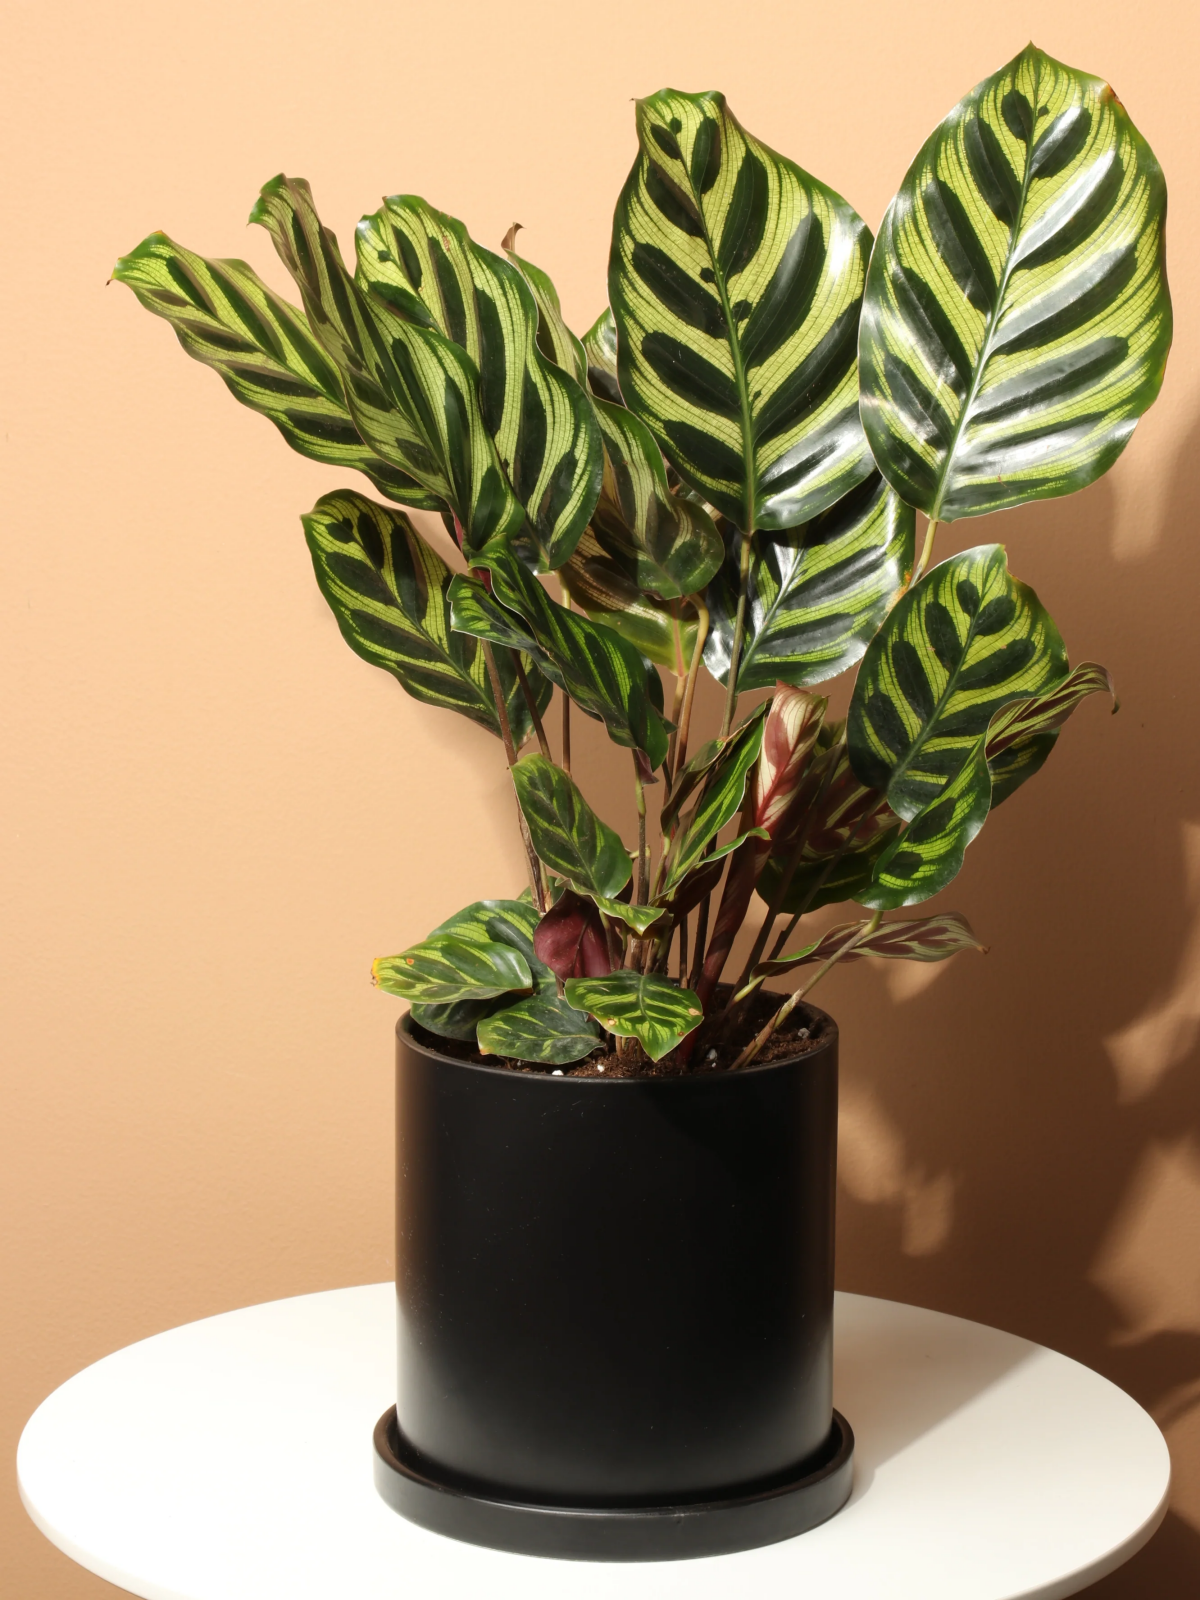
Light & Temperature: The Sweet Spot
“Bright, indirect light” is the most confusing phrase in plant care. Let’s simplify it. The plant should be in a spot where it has a wide view of the sky but where the sun’s actual rays don’t hit the leaves for more than an hour of gentle morning sun. Hot afternoon sun will leave ugly, pale scorch marks.
Think about these placements:
- Several feet back from a sunny south or west-facing window.
- Right beside a north-facing window.
- Directly in an east-facing window (that gets gentle morning sun).
- Tucked behind a sheer curtain that filters the light.
These plants also like the same temperatures we do, roughly 65-80°F (18-27°C). The key is stability. Keep them away from drafty doors, windows, and especially heating or A/C vents. A constant blast of hot, dry air is a death sentence for their leaves.
The Art of Watering (and Why Your Tap Water Sucks)
This is where most people go wrong. You can’t water on a schedule, like every Saturday. You have to check the soil. The goal is to keep the soil consistently moist, but never soggy.
Stick your finger about an inch into the soil. If it feels almost dry, it’s time to water. For a more techy approach, a soil moisture meter is a fantastic tool that takes out all the guesswork. They cost about $10-$15 online or at garden centers. On most meters with a 1-10 scale, you’ll want to water when the needle hits a 3 or 4. Don’t let it drop into the red “dry” zone!
When you do water, do it properly. Take the plant to the sink and give it a thorough soak until water runs freely out the bottom. Let it drain for a good 15 minutes. And please, never let it sit in a saucer full of leftover water. That’s the fastest way to cause root rot.
Water Quality is a HUGE Deal
Peacock Plants are incredibly sensitive to the minerals and chemicals in most tap water, especially chlorine and fluoride. These build up in the soil and get sent to the leaf tips, causing them to burn and turn brown. The best water options are:
- Rainwater: The absolute gold standard. It’s free!
- Distilled Water: You can buy it by the gallon at any grocery store.
- Reverse Osmosis (RO) Water: If you have an RO filter for drinking, it’s perfect.
Quick tip: If you must use tap water, using a water filter can make a big difference. A standard Brita filter helps with chlorine, but a ZeroWater filter is even better. It removes pretty much all dissolved solids, making it very similar to distilled water. A pitcher costs around $30 and is a worthy investment for your pickiest plants.
How to Actually Increase Humidity
Your home is probably way too dry for this plant, especially in winter. It wants 50-70% humidity. Misting is a popular tip, but honestly, it’s mostly useless. The effect lasts for a few minutes at best. Here’s what really works:
- Get a Humidifier: This is, hands down, the most effective method. A small humidifier near your plants can be a total game-changer. You can find decent ones for $25-$40.
- Group Your Plants: As I mentioned earlier, this creates a natural humidity bubble.
- Use a Pebble Tray: Get a shallow tray, fill it with pebbles, and add water. Place your plant pot on top of the pebbles, making sure the pot isn’t sitting in the water. As the water evaporates, it raises the humidity right around the plant.
Care and Maintenance Basics
Feeding: These guys are light eaters. Over-fertilizing is a much bigger risk than under-fertilizing. During spring and summer, feed them once a month with a balanced liquid fertilizer (look for numbers that are roughly equal, like 10-10-10 or 20-20-20). And here’s the key: dilute it to half the strength recommended on the bottle. Don’t fertilize at all in the fall and winter.
Pruning: This is easy. If a leaf gets old, yellow, or brown, just snip it off. Use clean scissors and cut the stem all the way back to the base of the plant. It keeps things looking tidy and tells the plant to focus its energy on new growth.
Repotting & Propagating: About every year or two, you’ll need to repot. Repotting is also the best time to make more plants! When you take the plant out, you’ll see it grows from thick, underground stems called rhizomes. You can gently pull these apart. Look for a natural separation point—it’s better to pull than to cut if possible. Just make sure every new piece has at least a few leaves and its own healthy clump of roots. It might look a little sad and wilted for a week after the operation, but with warmth and high humidity, it’ll bounce back.
Troubleshooting: When Things Go Wrong
Even with the best care, you might see an issue. Here’s a quick rundown of what to look for and what to do.
The Symptom: Crispy, Brown Leaf Edges
What it means: This is almost always a combo of low humidity and mineral-heavy tap water.
The Fix: Get that humidity up with a humidifier or pebble tray. And immediately switch to distilled, rain, or filtered water. You can’t fix the brown parts on old leaves, but you can prevent it on new ones.
The Symptom: Yellowing Lower Leaves & Mushy Stems
What it means: You’re overwatering. The soil is waterlogged, and the roots are starting to rot.
The Fix: Stop watering right away. Let the soil dry out more between waterings. If it’s really bad, you may need to pull the plant out, trim off any black, mushy roots with clean scissors, and repot in fresh, barely-moist soil.
The Symptom: Faded Leaves with Scorched Spots
What it means: It’s getting hit with too much direct sun.
The Fix: Move it to a spot with less intense light immediately. That’s it.
The Symptom: Tiny Webs Under Leaves, Dusty Look
What it means: You’ve got spider mites. They absolutely love the dry conditions that Calatheas hate.
The Fix: Isolate the plant from your others! Take it to the shower and give every leaf (top and bottom) a good spray-down to knock the pests off. Follow up with an insecticidal soap or neem oil spray, making sure to coat everything. You’ll need to repeat the treatment every week for a few weeks to kill them all.
Final, Friendly Advice
One of the absolute best things about the Peacock Plant? It’s completely non-toxic to cats, dogs, and people, making it a safe choice for a home full of curious pets and kids.
Remember, all this advice is a starting point. The most important thing you can do is just pay attention. Your home’s conditions are unique. Feel the soil, look at the leaves. Your plant will tell you what it needs. It might seem like a challenging plant, but caring for a Calathea teaches you to be a better, more observant plant parent. And that’s a skill that’s totally worth learning.
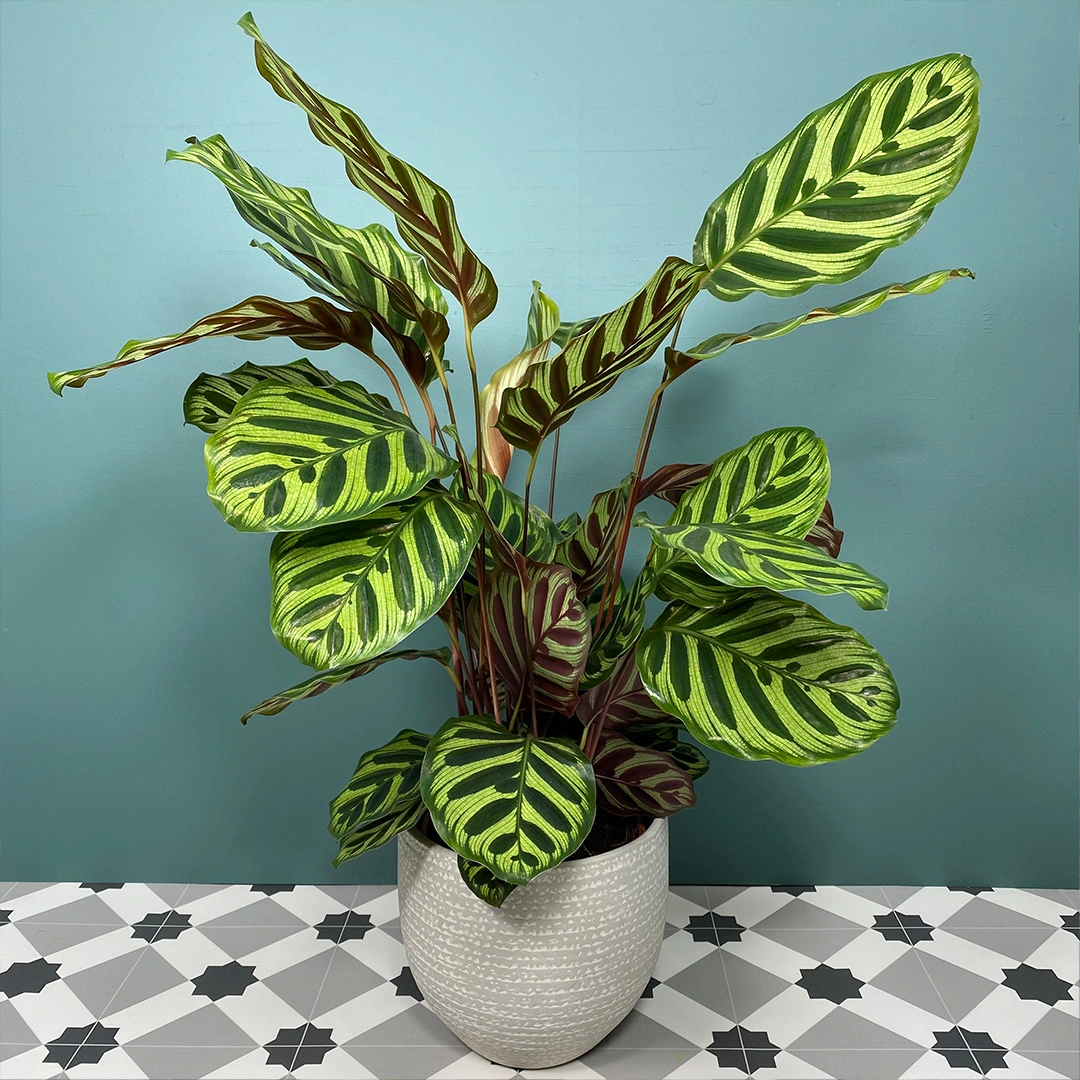
Galerie d’inspiration
Wondering why your Calathea’s leaves have crispy brown edges despite your best watering efforts?
The culprit might be the water itself. Peacock Plants are notoriously sensitive to the minerals and chemicals found in most tap water, especially fluoride and chlorine. These build up in the soil over time and can burn the delicate leaf tips. The simplest solution is to switch to distilled water, rainwater, or water from a reverse osmosis filter. In a pinch, letting a jug of tap water sit out for 24 hours can help some of the chlorine evaporate, but it won’t remove the minerals.
Over 90% of common houseplant problems are related to improper watering. For a moisture-loving plant like the Peacock Plant, the type of pot you choose is half the battle.
Terracotta Pot: Its porous nature is great for succulents, but it’s a fast track to crispy leaves for a Calathea as it wicks moisture away from the soil too quickly.
Glazed Ceramic or Plastic Pot: These non-porous materials are your best bet. They retain soil moisture evenly, creating the consistently damp (but not waterlogged) environment your plant craves. Always ensure there’s a drainage hole!


