Forget the Store: Your Complete Guide to Growing Mangoes at Home
I’ve spent a long, long time working with trees, but honestly, nothing compares to the mango. My first real lesson didn’t come from a book; it came from an old grower in a sun-drenched grove down in South Florida. He showed me how to tell different varieties apart just by the shape of a leaf or the smell when you crushed it. He taught me that growing a mango tree isn’t a checklist—it’s more like building a relationship. It’s all about watching, listening, and being patient.
In this article
So, this guide isn’t about shortcuts. It’s about sharing the solid, hands-on knowledge I’ve picked up from my own successes and, let’s be real, plenty of failures. We’ll get into the science, the pro techniques, and the real-world challenges. My goal is to give you the foundation to grow a tree that becomes a healthy, fruit-giving part of your yard for decades.
First, Let’s Talk About the Tree Itself
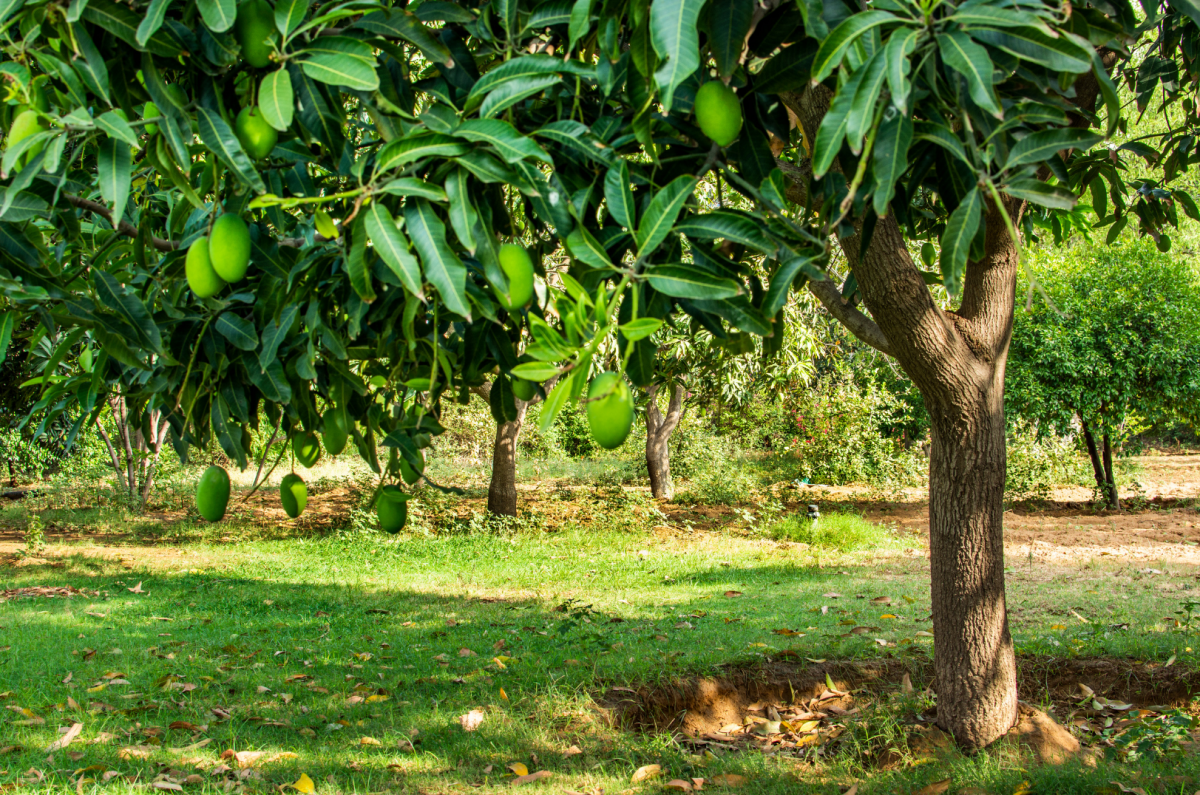
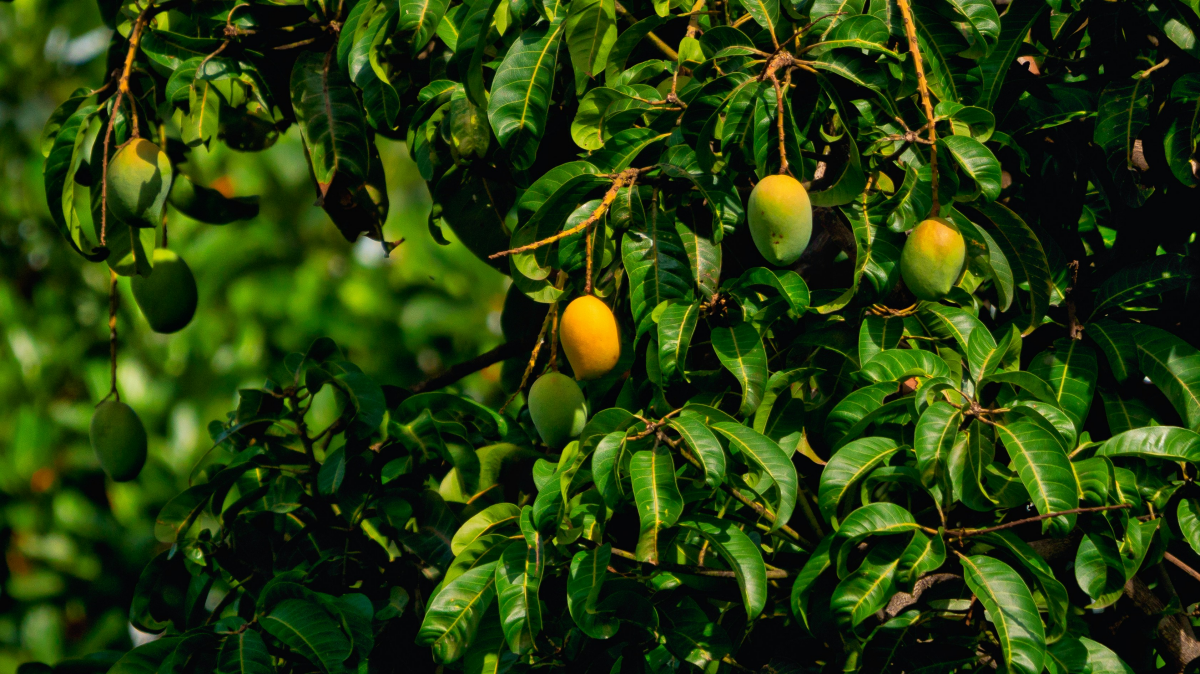
Before you even grab a shovel, it pays to understand what you’re working with. The mango tree (Mangifera indica) is a tropical evergreen that’s in the same family as cashews and pistachios. But, and this is a big one, it’s also related to poison ivy. That’s not a random bit of trivia; it has some serious safety implications we’ll cover later on. Knowing its nature is the key to everything.
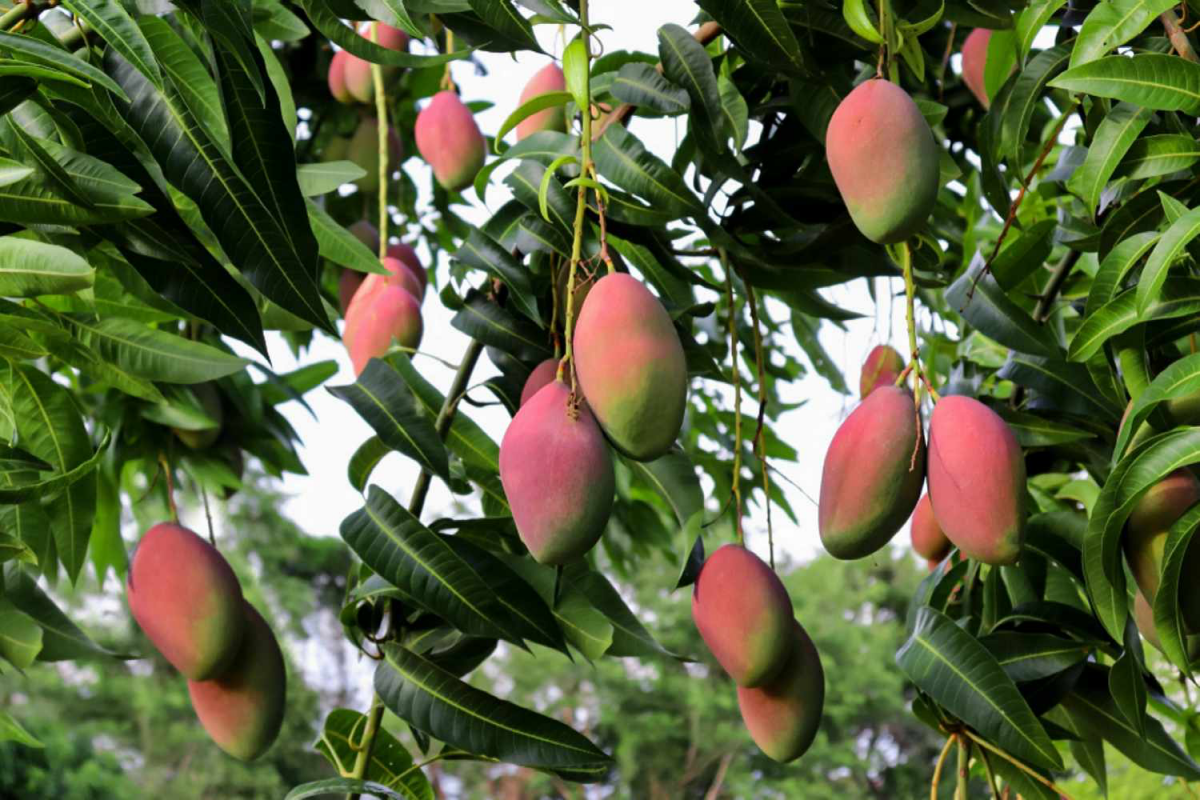
Mangoes need a climate without hard freezes. In the U.S., that generally means you’re in USDA Hardiness Zones 10 or 11. (By the way, if you’re not sure, just do a quick online search for the “USDA Plant Hardiness Zone Map” to find yours). Some folks have luck in zone 9b, but it takes a ton of work with frost protection. The tree’s most important need, though, is a distinct dry period, usually in late fall or winter. This little bit of stress is what tells the tree, “Okay, stop making leaves and start making flowers.” No dry spell? You’ll get a gorgeous shade tree with almost no fruit.
Your soil is basically the tree’s pantry. Mangoes aren’t super fussy, but they really want well-drained, sandy, or loamy soil with a pH between 5.5 and 7.5. That term “well-drained” is absolutely non-negotiable. If a mango’s roots sit in standing water, they will rot, and it’s a fast death sentence. You can easily test your drainage: dig a hole about a foot deep and fill it with water. If it takes more than 4 to 6 hours to drain completely, your drainage is slow. If there’s still water in it the next morning, you have a serious problem to fix before you even think about planting.
Starting Out: The Seed Gamble vs. a Grafted Tree
Your first big choice is how to get started. You can either grow a tree from a seed you saved or buy a grafted tree from a nursery. Honestly, for anyone who actually wants a reliable harvest, I always point them toward the grafted route. But let’s break it down.
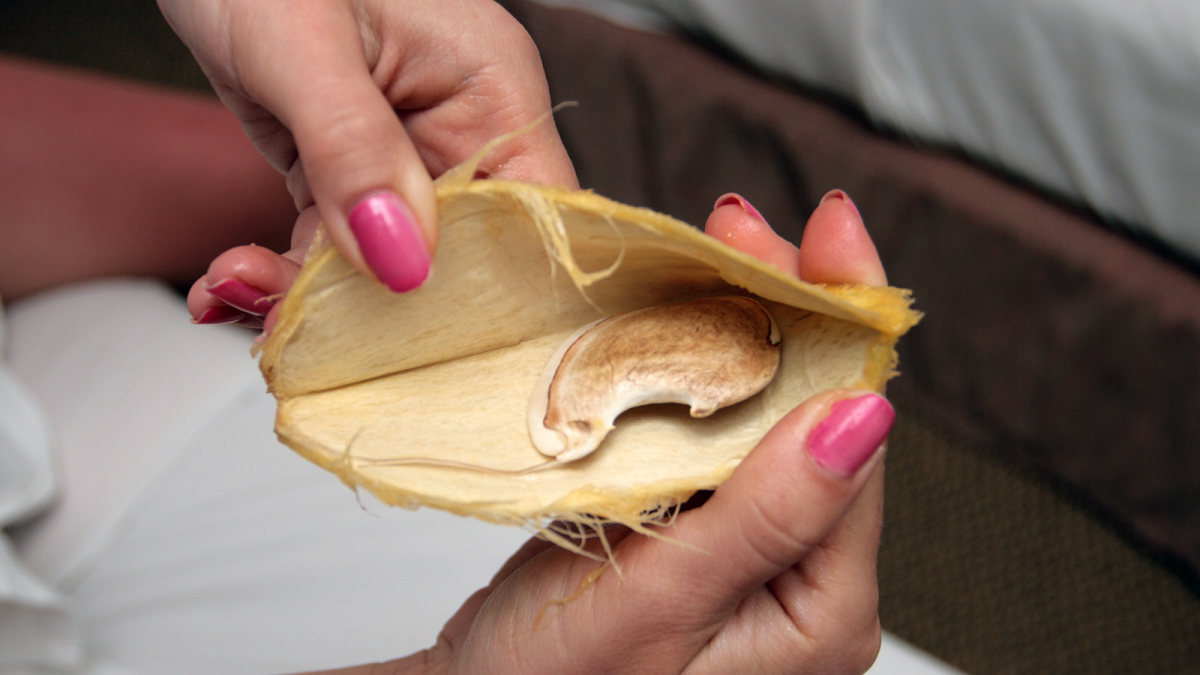
The Seed Route: A Fun but Unpredictable Project
Growing a tree from the seed of a mango you loved is a cool experiment. But the outcome is a total lottery. Some mango seeds (often the Indian types) are monoembryonic, meaning they are a genetic mix of the parent and whatever pollinated it. The tree you get will be a complete surprise. Other seeds (common in Southeast Asian varieties like the ‘Ataulfo’ or Honey mango) are polyembryonic. These contain clones of the mother tree, so you have a much better shot at getting what you expect. Either way, you’ll be waiting five to eight years for your first fruit. It’s a project for the curious, not for the hungry.
The Grafted Route: The Pro’s Choice for a Reason
A grafted tree is a two-part plant: a tough, resilient root system (the rootstock) fused with a cutting (the scion) from a mature tree known for its amazing fruit. This is how the pros do it, and it’s what you’ll find at any good nursery. You’re guaranteed the exact fruit variety you paid for, and the tree will likely start producing in just two to four years.
When you’re shopping for one, expect a good 3-gallon grafted tree to run you anywhere from $50 to $90. A larger, more established 7-gallon tree could be $150 or more. When you’re picking one out, look for a clean, healed graft union (where the two parts meet), bright green leaves, and a sturdy trunk. Oh yeah, and gently try to lift it from the pot. If you see a thick mat of roots circling the bottom, it’s “root-bound.” I once tried to save a badly root-bound mango tree; it never really recovered and was quickly overtaken by a smaller, healthier tree I planted a year later. It’s just not worth the headache.

Planting Your Tree for a Long, Happy Life
Planting isn’t just digging a hole; you’re laying the foundation for the next 50 years. Get this right, and you’ll avoid so many problems down the road.
Getting Your Gear Ready
Before you start, make sure you have everything on hand. Think of it like a recipe. You’ll need a good shovel, a utility knife (in case you need to score the root ball), a bag of quality mulch like pine bark, a water source like a hose or a few full watering cans, and of course, your new tree. Having it all there makes the process smooth and stress-free.
The Planting Process Step-by-Step
- Dig a wide, shallow hole. This is so important. Dig the hole two to three times wider than the root ball, but no deeper. If you dig too deep, the tree will settle over time, burying its root crown and causing it to rot. You want the roots to grow out, not down into soft, disturbed soil.
- Prep the tree. Carefully slide the tree out of its container. Gently loosen any circling roots at the bottom with your fingers. If it’s tightly wound, make a few shallow vertical cuts with your utility knife to encourage the roots to grow outward.
- Get the height just right. Place the tree in the hole. Lay a shovel handle across the hole to check the depth. The top of the root ball should be level with or even an inch above the surrounding ground.
- Backfill with native soil. Use the soil you dug out to fill in around the tree. It’s tempting to add a bunch of compost or manure, but don’t do it! This creates a “luxury pocket” that discourages the roots from exploring the native soil around them.
- Water it in well. Give the tree a deep, slow watering to settle the soil and get rid of air pockets. I like to build a small dirt donut or berm around the edge of the hole to hold water. For a new tree, think about 5 gallons of water poured slowly into that basin.
- Mulch the right way. Spread a 2 to 4-inch layer of mulch over the whole area. And here’s the crucial part: pull the mulch back 4 to 6 inches from the tree trunk itself. Mulch touching the trunk is a huge mistake.
Heads up! A quick tip: The easiest thing you can do for your tree today? Go outside right now and check that the mulch isn’t touching the trunk. Pulling it back takes 30 seconds and literally prevents collar rot, the #1 killer of young, improperly planted trees.
Long-Term Care: Keeping Your Tree Thriving
Once your tree is in the ground, your job shifts to caretaker. How you water and feed it over the next few years will shape its future.
Watering and Fertilizing
For the first year, a young tree needs consistent water—a deep soak two or three times a week should do it, but always check the soil first. As it gets older, it becomes much more drought-tolerant. A mature tree might only need a good soaking every few weeks during a dry spell. And always remember to cut back on water in the late fall and winter to trigger flowering.
When it comes to fertilizer, timing is everything. For young trees in their first three years, use a balanced, slow-release fertilizer (something like an 8-3-9 blend) every couple of months during the growing season. For mature trees, after the harvest, you can use a balanced fertilizer to support new growth. But in the late fall, switch to a low-nitrogen, high-potassium formula to encourage flowers and fruit, not leafy growth. I also swear by a foliar spray of liquid manganese and zinc, especially in high-pH soils where those nutrients get locked up.
Pruning for a Stronger, Healthier Tree
Pruning makes people nervous, but it’s how you create a strong tree that’s easy to manage. The best time to prune is right after you finish harvesting in the summer. Pruning in winter can accidentally remove the branches that were about to give you fruit!
- Key Goals: First, always remove any dead or diseased wood. Second, open up the canopy by trimming branches that are crossing or rubbing. This lets in light and air, which prevents fungus and ripens the fruit. Third, control the height to make it easier to spray and harvest.
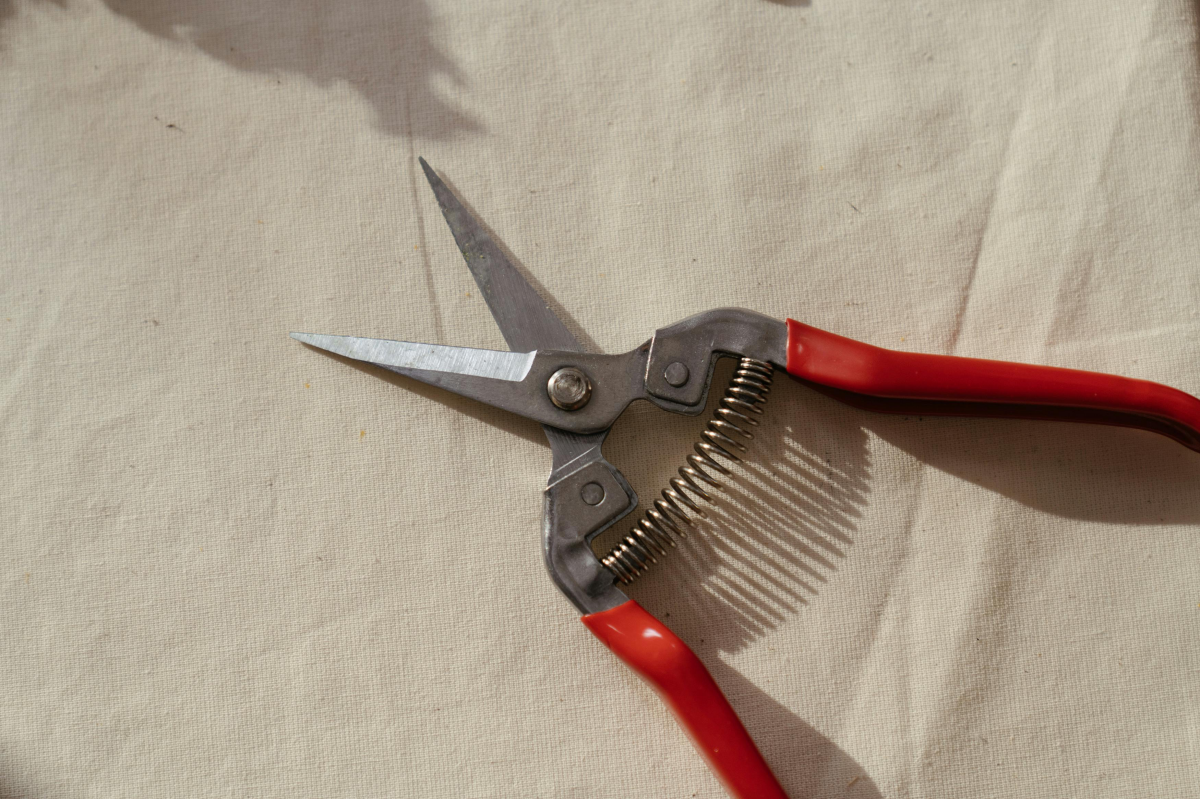
- A Word on ‘Tipping’ for Height Control: This is a great pro trick. Tipping just means snipping the last few inches off the tallest vertical branches after they’ve finished a growth spurt. This signals the branch to grow wider instead of taller, leading to a bushier, more manageable tree.
- The Famous Three-Cut Method: For any branch thicker than your thumb, don’t just lop it off! This can tear the bark down the trunk. Instead: 1) Make a small undercut a few inches out from the trunk. 2) Make your main, complete cut an inch further out from the first cut. The branch will fall cleanly. 3) Remove the remaining stub with a final, clean cut near the trunk. This prevents tearing and helps the tree heal fast.

Common Problems (and How to Actually Solve Them)
Growing mangoes isn’t always perfect. Here are the issues I see most often.
- Anthracnose: In humid places, this fungus is your top enemy. It creates black spots on leaves, flowers, and fruit. Good air circulation from pruning is your best defense. In the pros, a preventative spray program with a liquid copper fungicide during flowering is standard practice.
- Powdery Mildew: Looks like a white powder on new growth. It hates direct sun, so pruning helps a lot. Sulfur-based fungicides work well if it shows up.
- Pests: For scale and mealybugs, which suck sap, a strong blast of water works for minor cases. For a bigger problem, horticultural oil is fantastic because it smothers the pests without harsh chemicals.
- No Fruit! This is the most frustrating one. The cause is almost always one of three things: watering too much during the winter dry season, using too much high-nitrogen fertilizer, or pruning at the wrong time of year.

A Critical Safety Warning: Please Read This
I have to end with this, because it’s incredibly important. As I mentioned, mangoes are in the poison ivy family. The sap, skin, and leaves contain urushiol, the same oil that causes that awful rash. I’ve seen some painful cases of “mango rash” on people who weren’t careful during harvest. It looks and feels just like a bad case of poison ivy.
How to Handle Your Harvest Safely
When you pick your fruit, a sticky, clear sap will drip from the stem. This is the stuff you have to avoid. Follow these steps to stay safe:
- Wear gloves and long sleeves. No exceptions.
- Cut the mango with a long stem (a few inches). Let the sap drip off away from you and your clothes.
- Wash the fruit thoroughly with soap and water while still wearing gloves to remove any residual sap before you bring it inside.
- Re-trim the stem just before you’re ready to peel and eat.
And of course, when pruning, use a sturdy ladder and common sense. For any job that’s high off the ground or near power lines, please, just hire a certified arborist. Your safety is worth more than any mango.
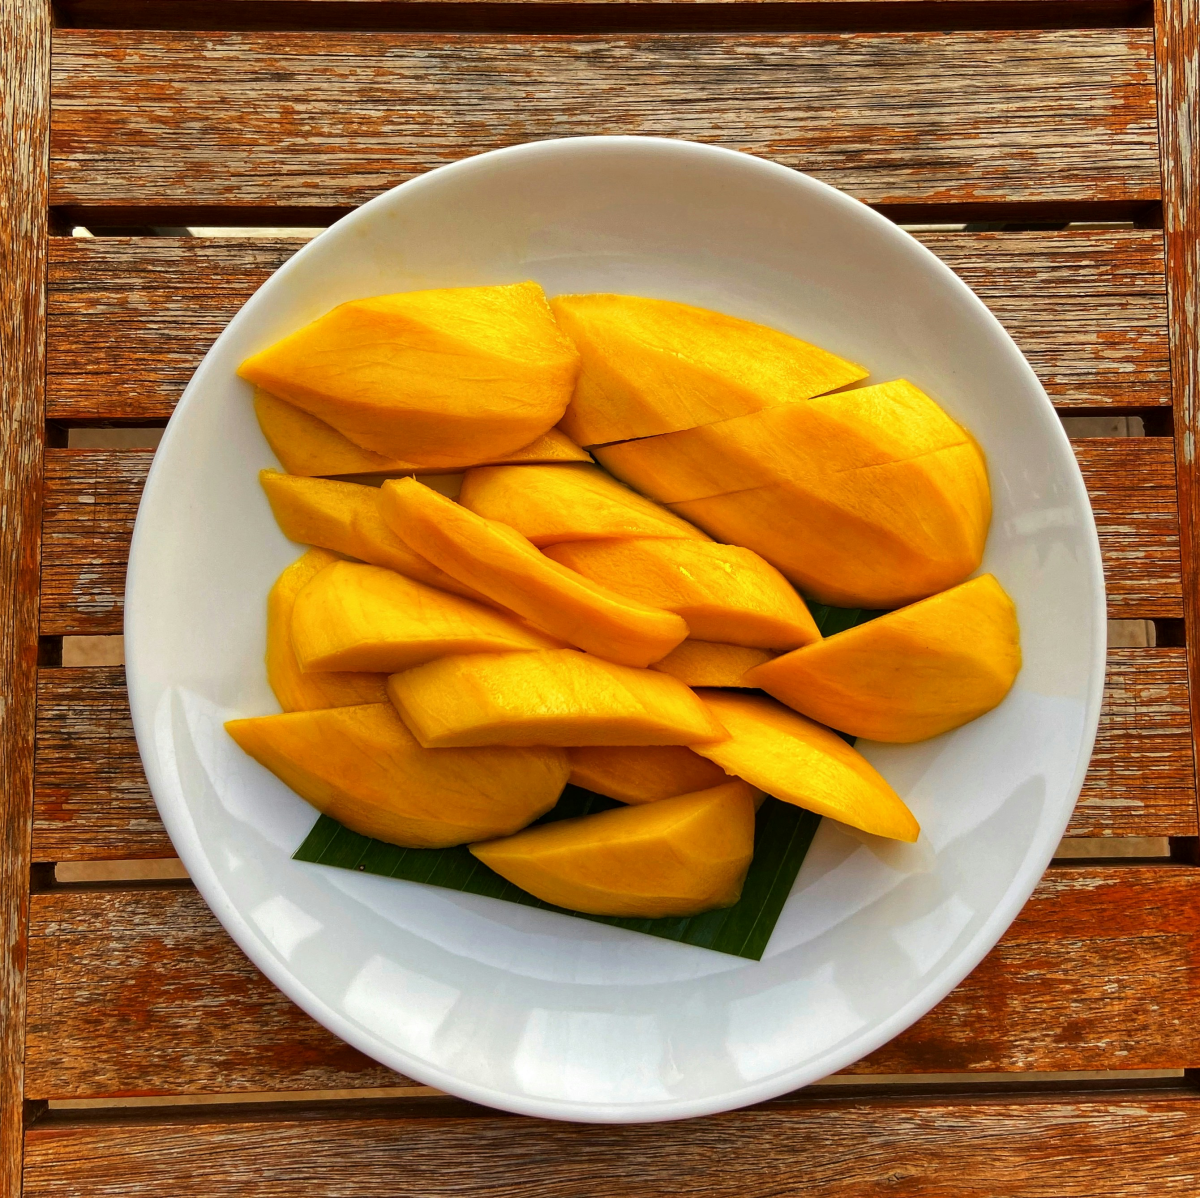
Growing a mango tree is a long-term commitment. It’s an investment of care and learning. But I promise, the moment you taste a perfectly ripe, sun-warmed mango from a tree you grew yourself, you’ll know that every bit of effort was worth it. It’s one of the best things a gardener can experience.
Galerie d’inspiration
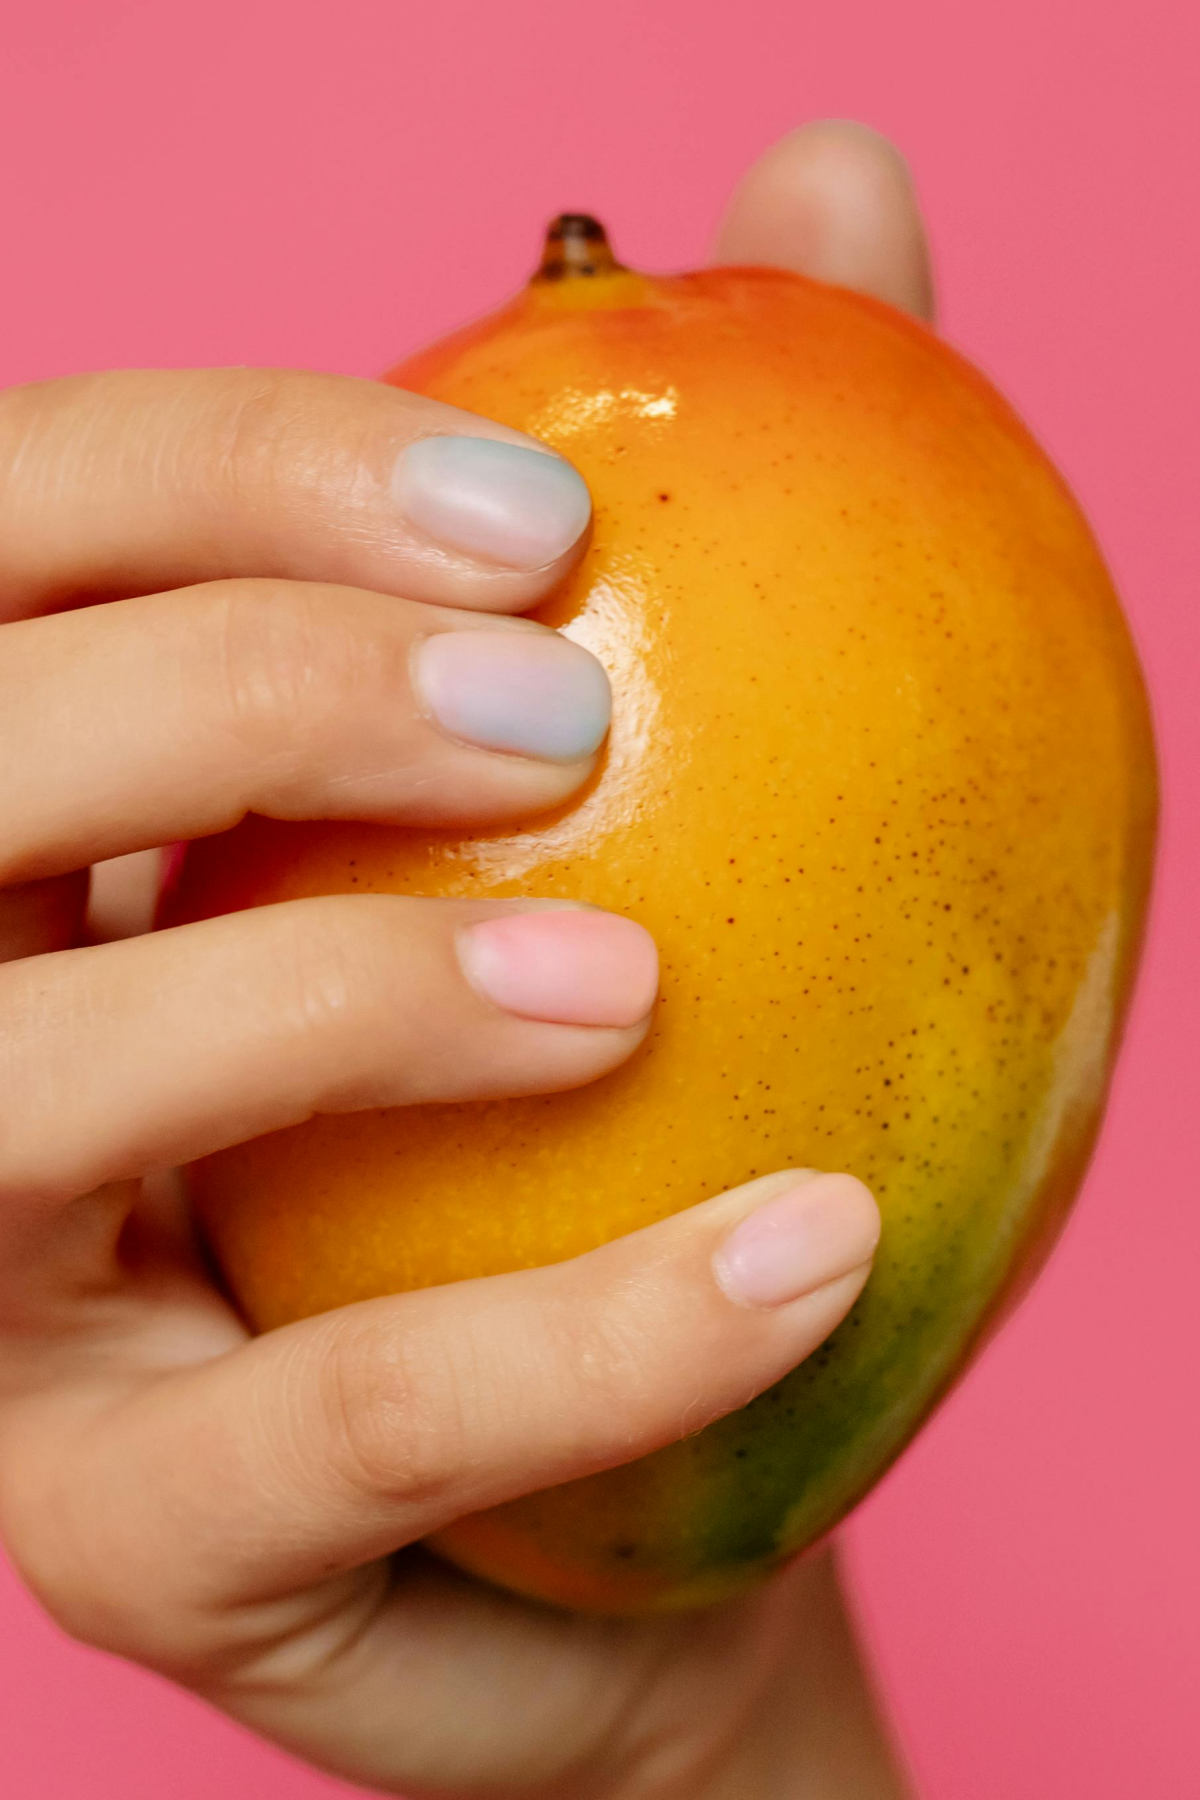
I found a seed in my store-bought mango. Can I plant it?
While it’s a fun experiment, it’s a gamble for fruit. Mangoes from the grocery store are often hybrids, and the seed may not grow “true to type,” meaning the fruit could be stringy and flavorless. More importantly, a seedling can take over eight years to produce fruit, if it ever does. For a guaranteed harvest in just a few years, your best bet is to purchase a grafted tree from a nursery. A grafted ‘Kent’ or ‘Nam Doc Mai’ will ensure you get the exact delicious fruit you’re dreaming of.
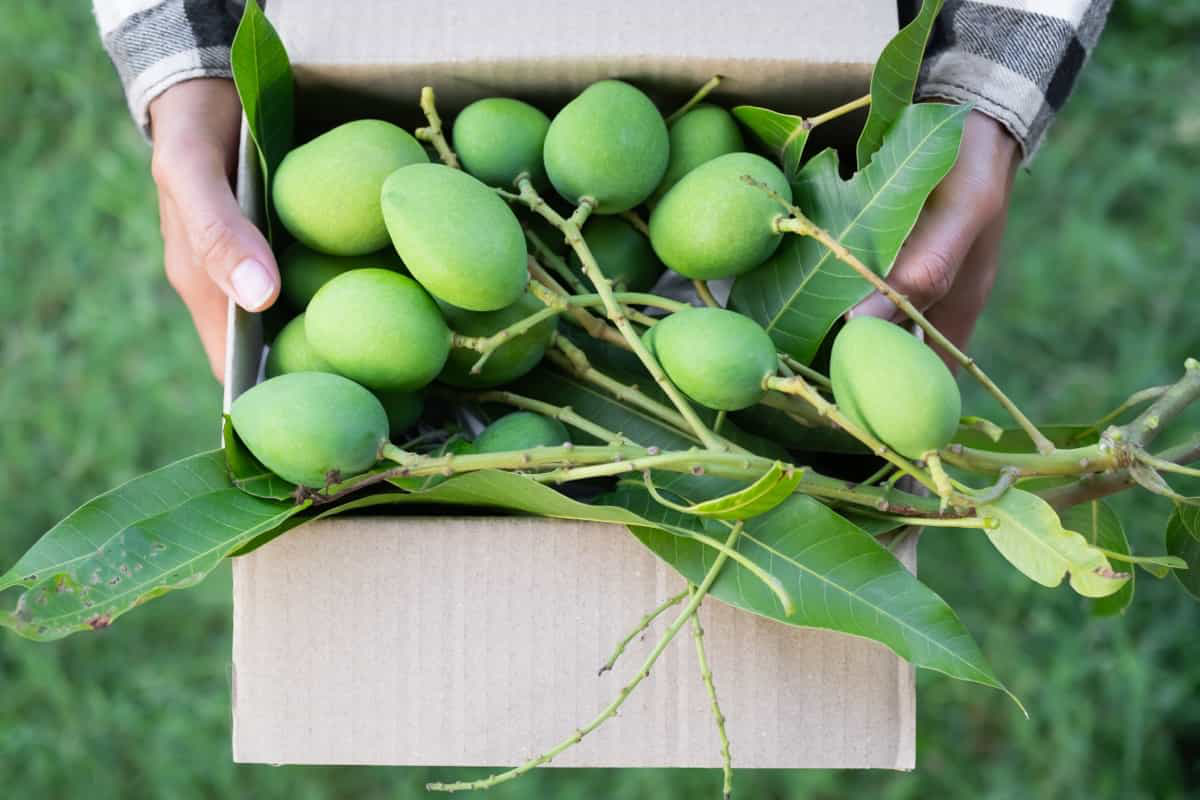
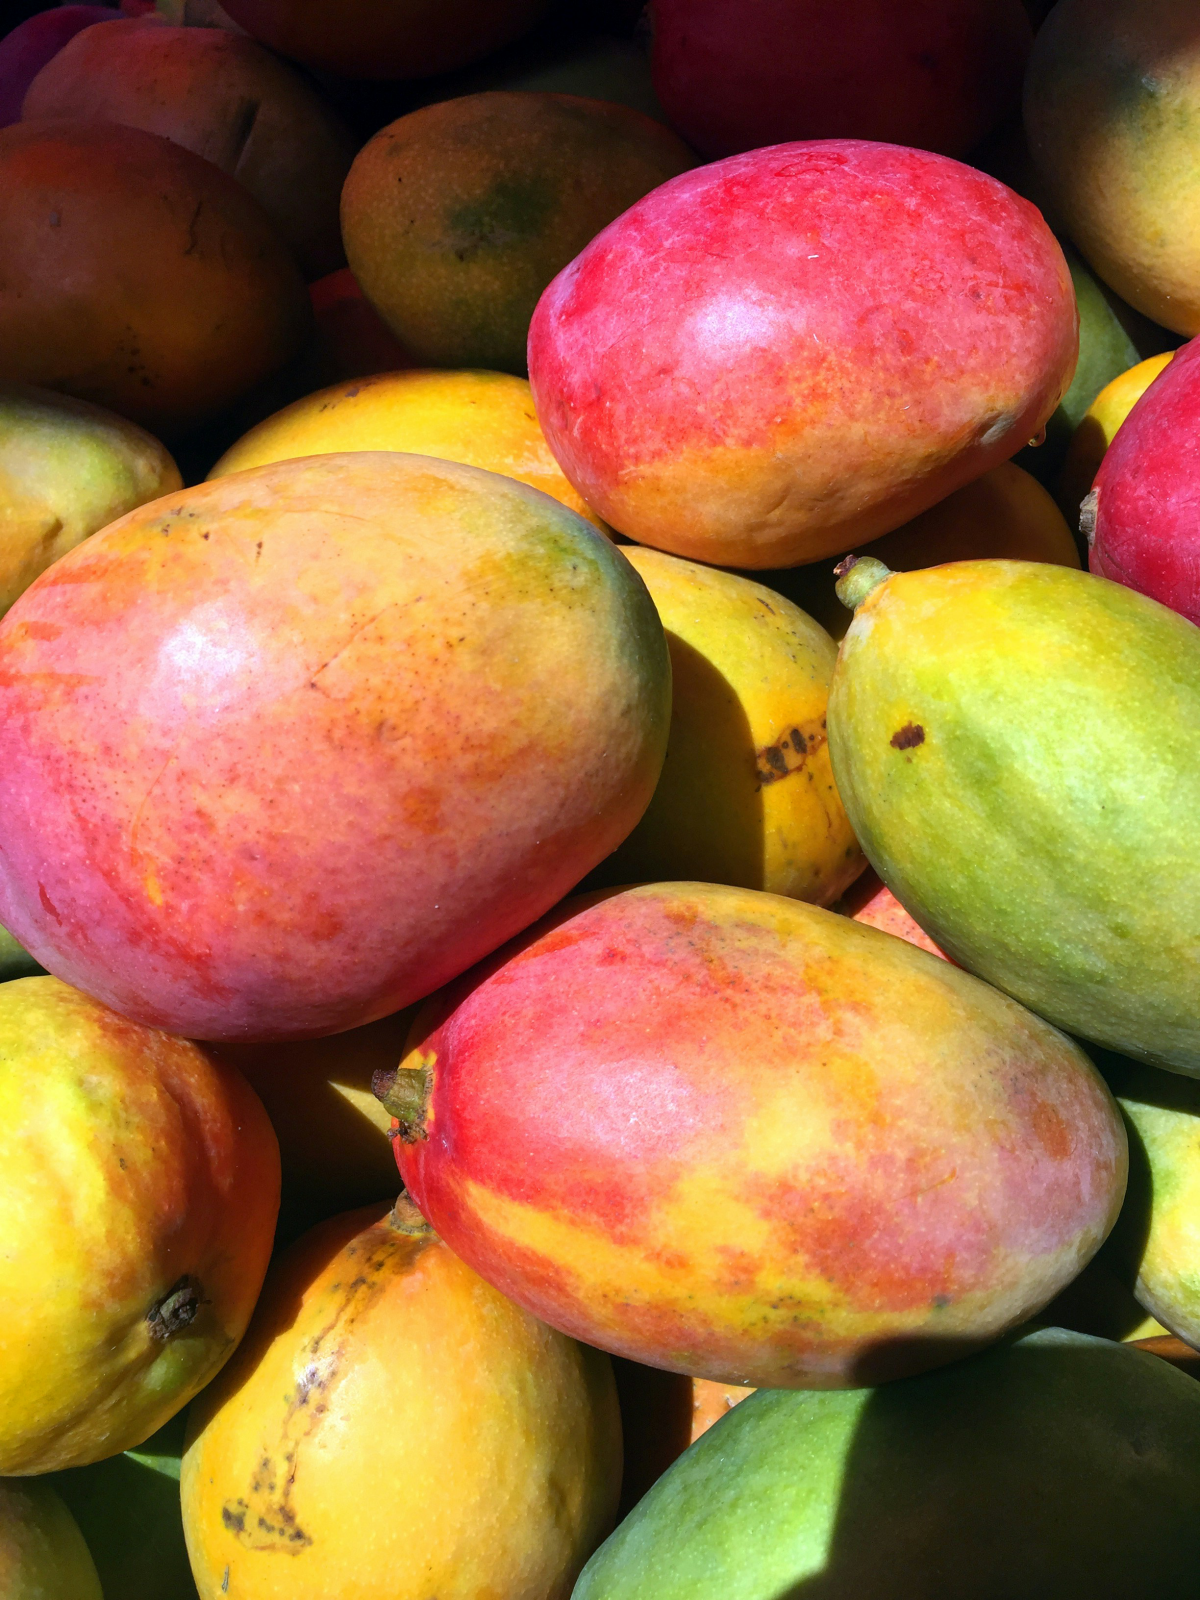
India grows almost 45% of the world’s mangoes, producing over 20 million metric tons annually.
This staggering number highlights the fruit’s cultural and agricultural importance in its native region. When you plant a mango tree, you’re not just growing fruit; you’re connecting with a rich global history that spans thousands of years and touches millions of lives.
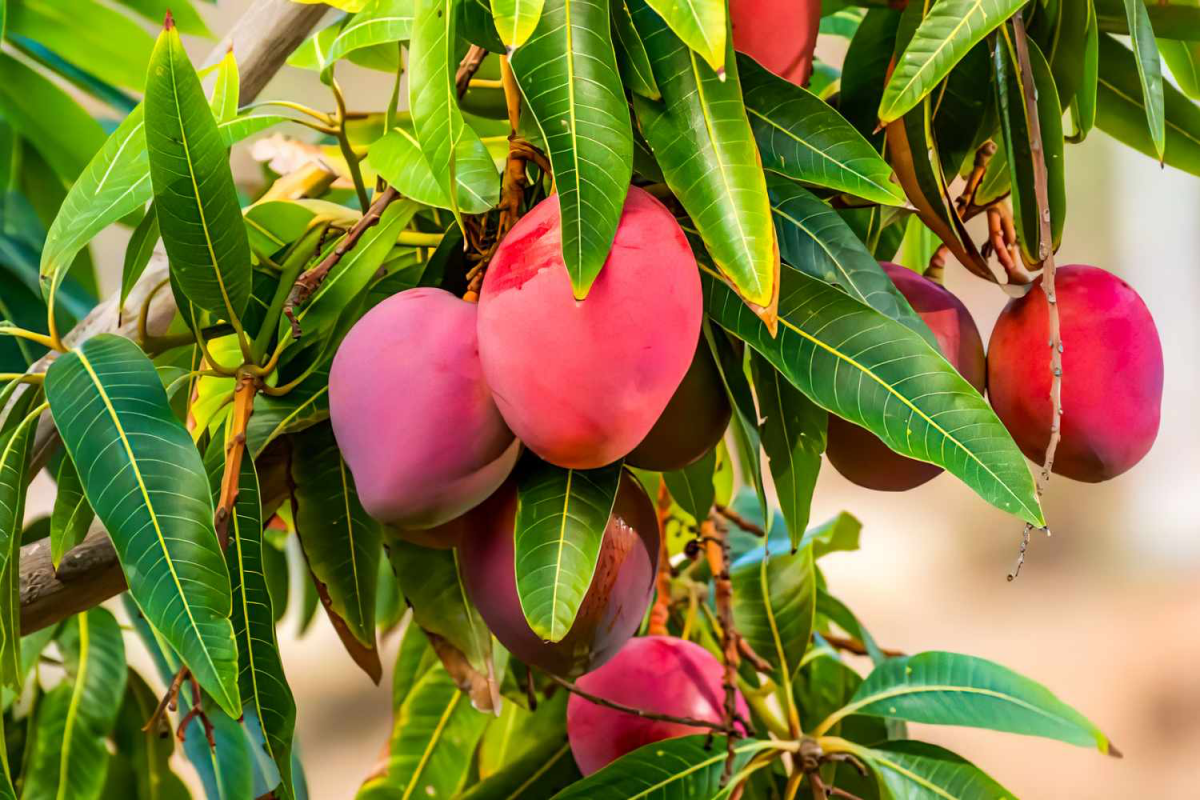
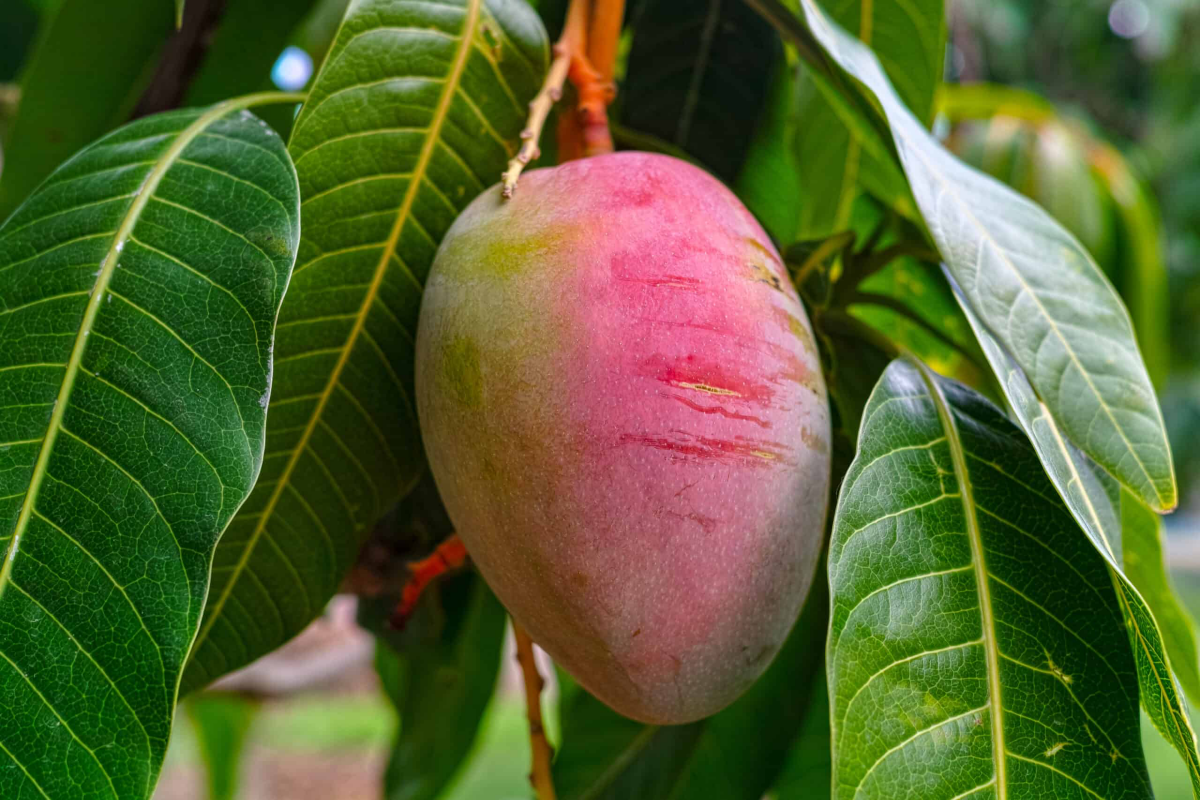
The right variety for your space is key. Not all mango trees grow into giants. If you’re working with a smaller suburban yard, look for dwarf or semi-dwarf varieties that are easier to manage, protect from frost, and harvest.
- The ‘Ice Cream’ variety is famously compact and can even be grown in a large container.
- ‘Pickering’ is another excellent choice, known for being a naturally small, productive tree with coconut-flavored flesh.
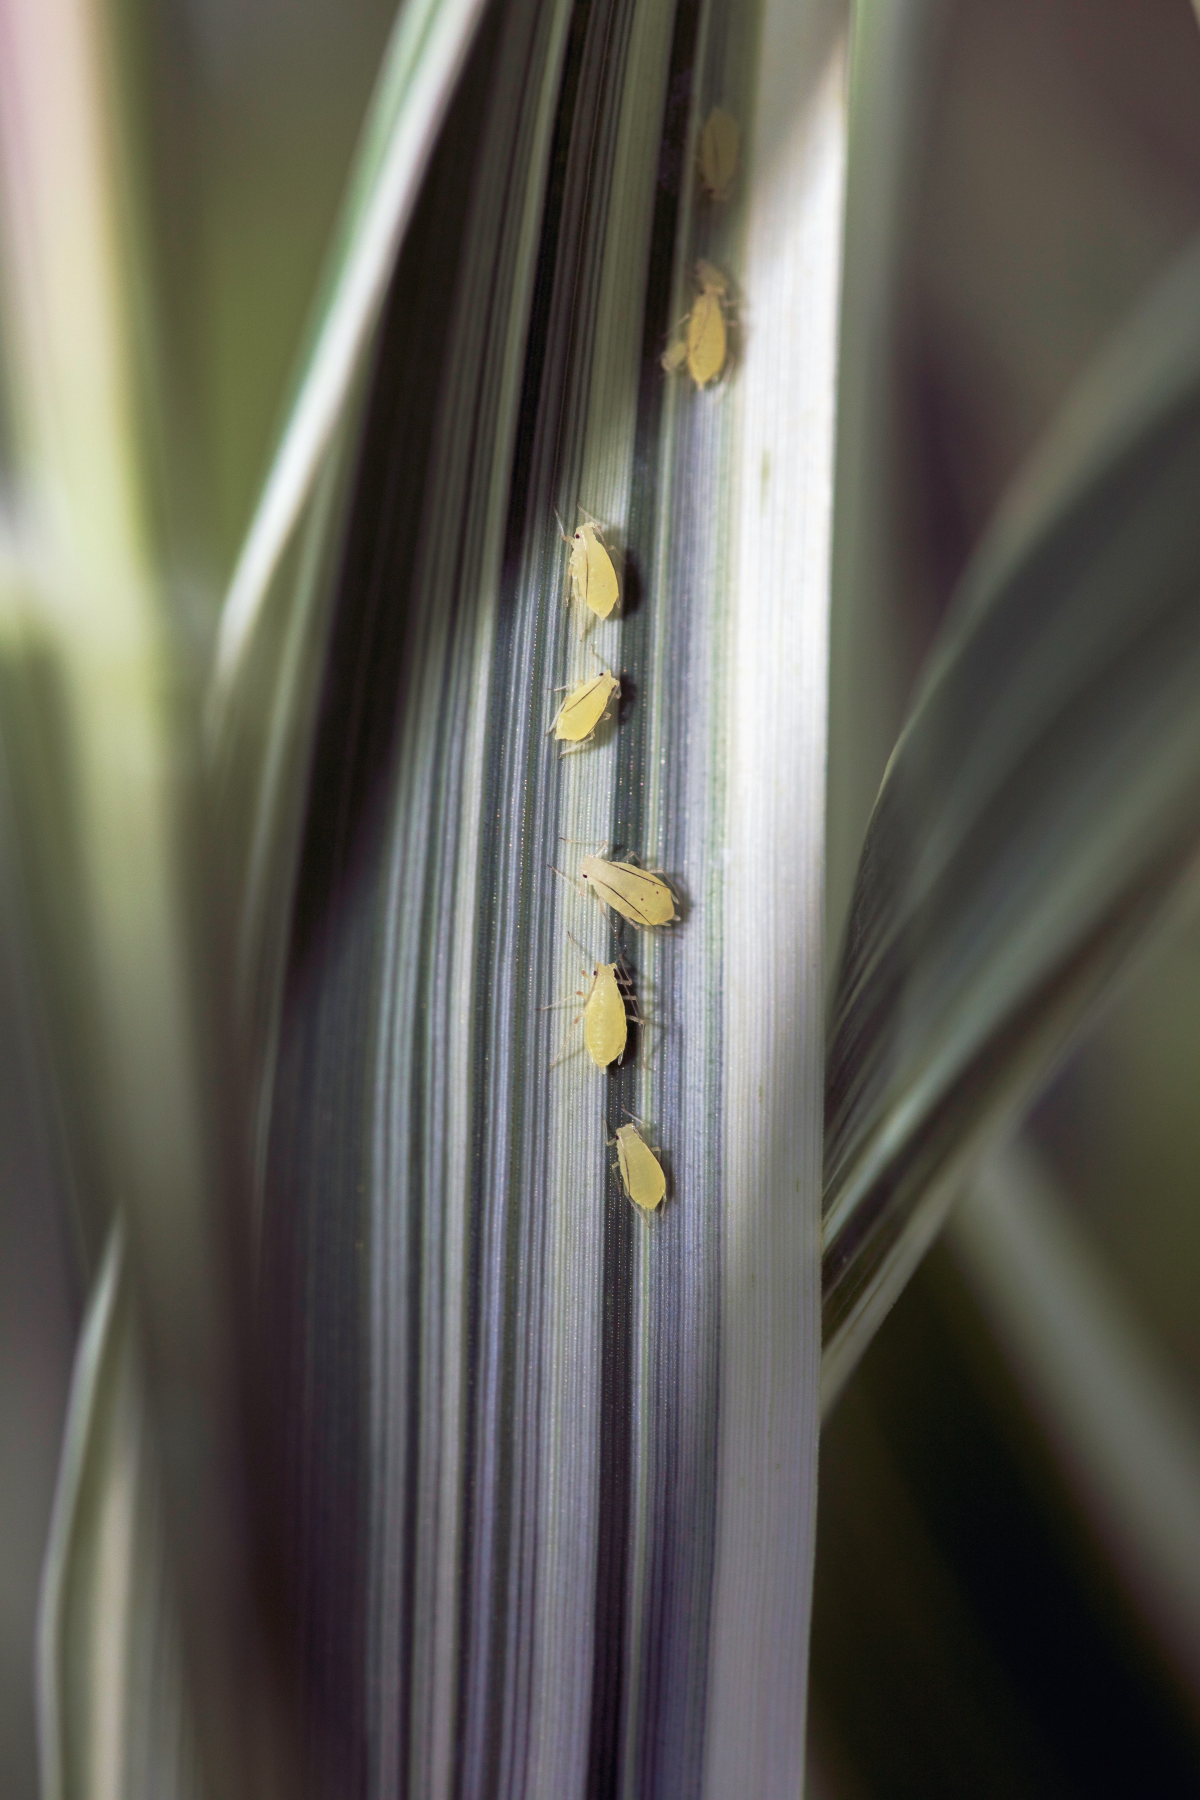
Those tiny green insects clustered on new growth, as seen in the gallery, are likely aphids. They suck sap and can weaken your young tree. Before reaching for harsh chemicals, try a strong jet of water from your hose to dislodge them. For a more persistent problem, an evening application of an insecticidal soap or a product like Bonide’s Neem Oil will smother them without harming beneficial insects or burning the leaves in the midday sun.
- Dramatically improved air circulation, which helps prevent common fungal diseases like anthracnose.
- Better sunlight penetration deep into the canopy, ensuring more flowers and evenly ripened fruit.
- A stronger, more manageable structure that won’t break under the weight of a heavy harvest.
The secret to these benefits? Strategic pruning. After your tree has a flush of growth, wait for the new leaves to harden and darken, then prune a few inches off the end of select branches. This encourages low, outward branching rather than just upward growth.
A word on the infamous


