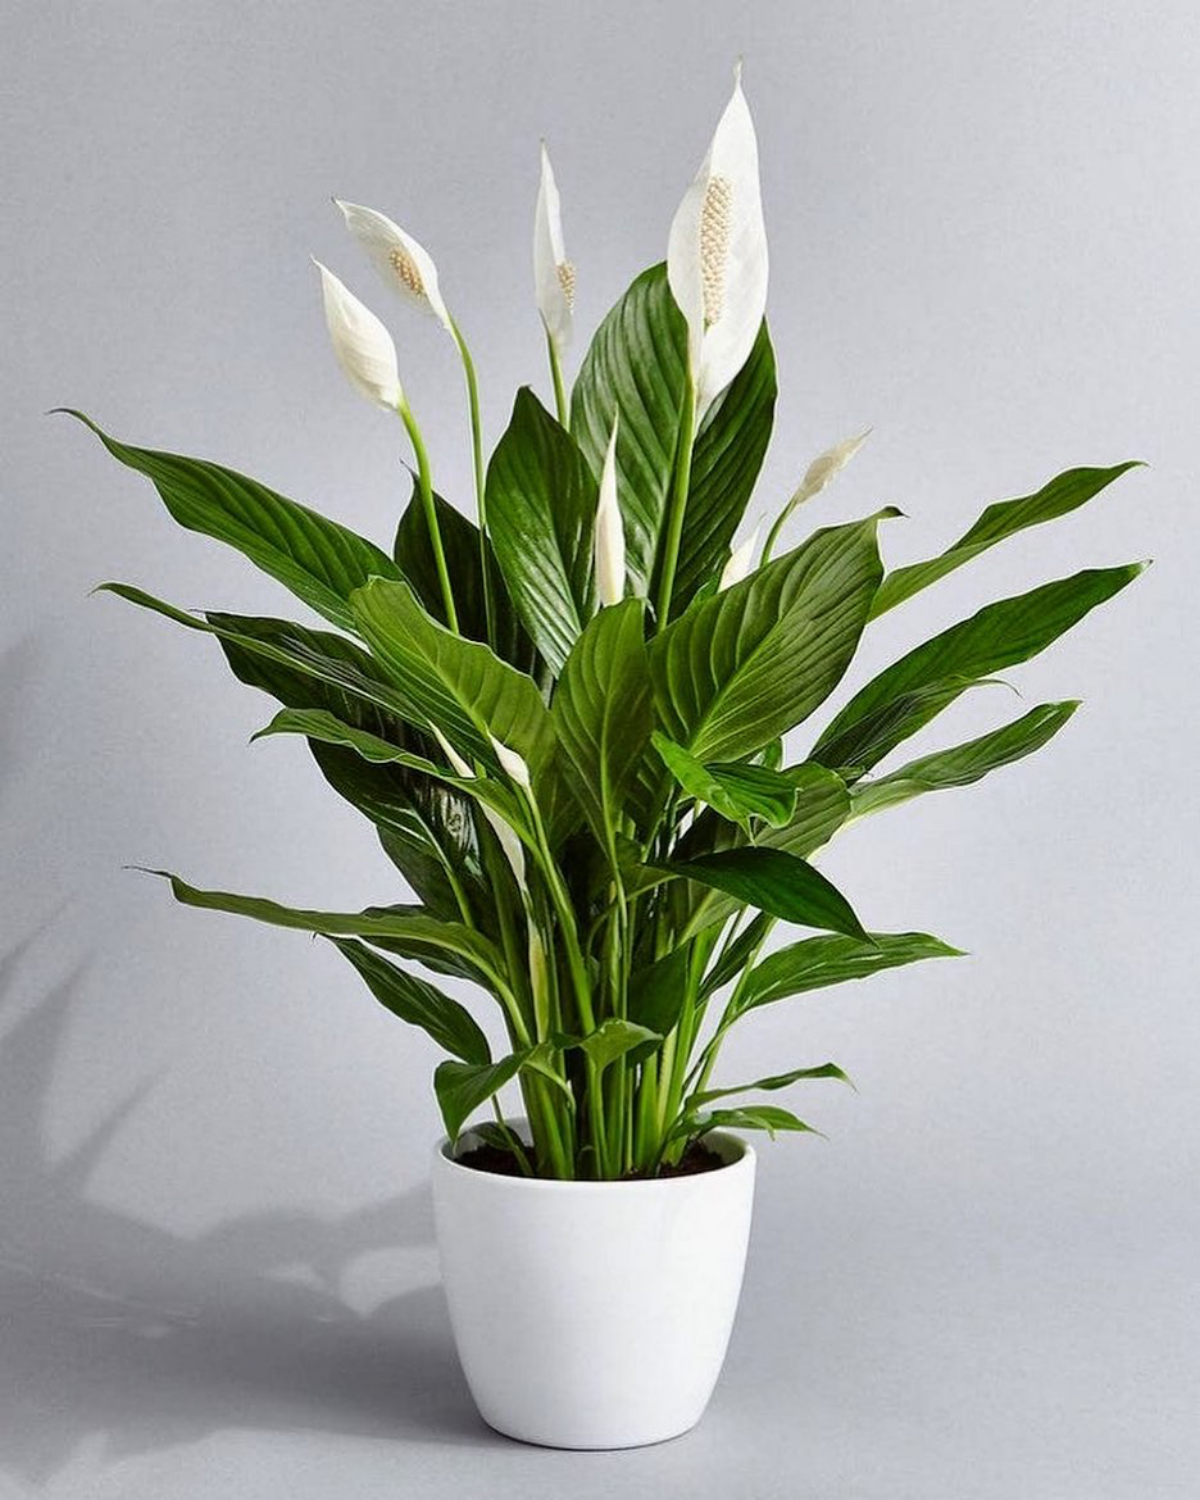
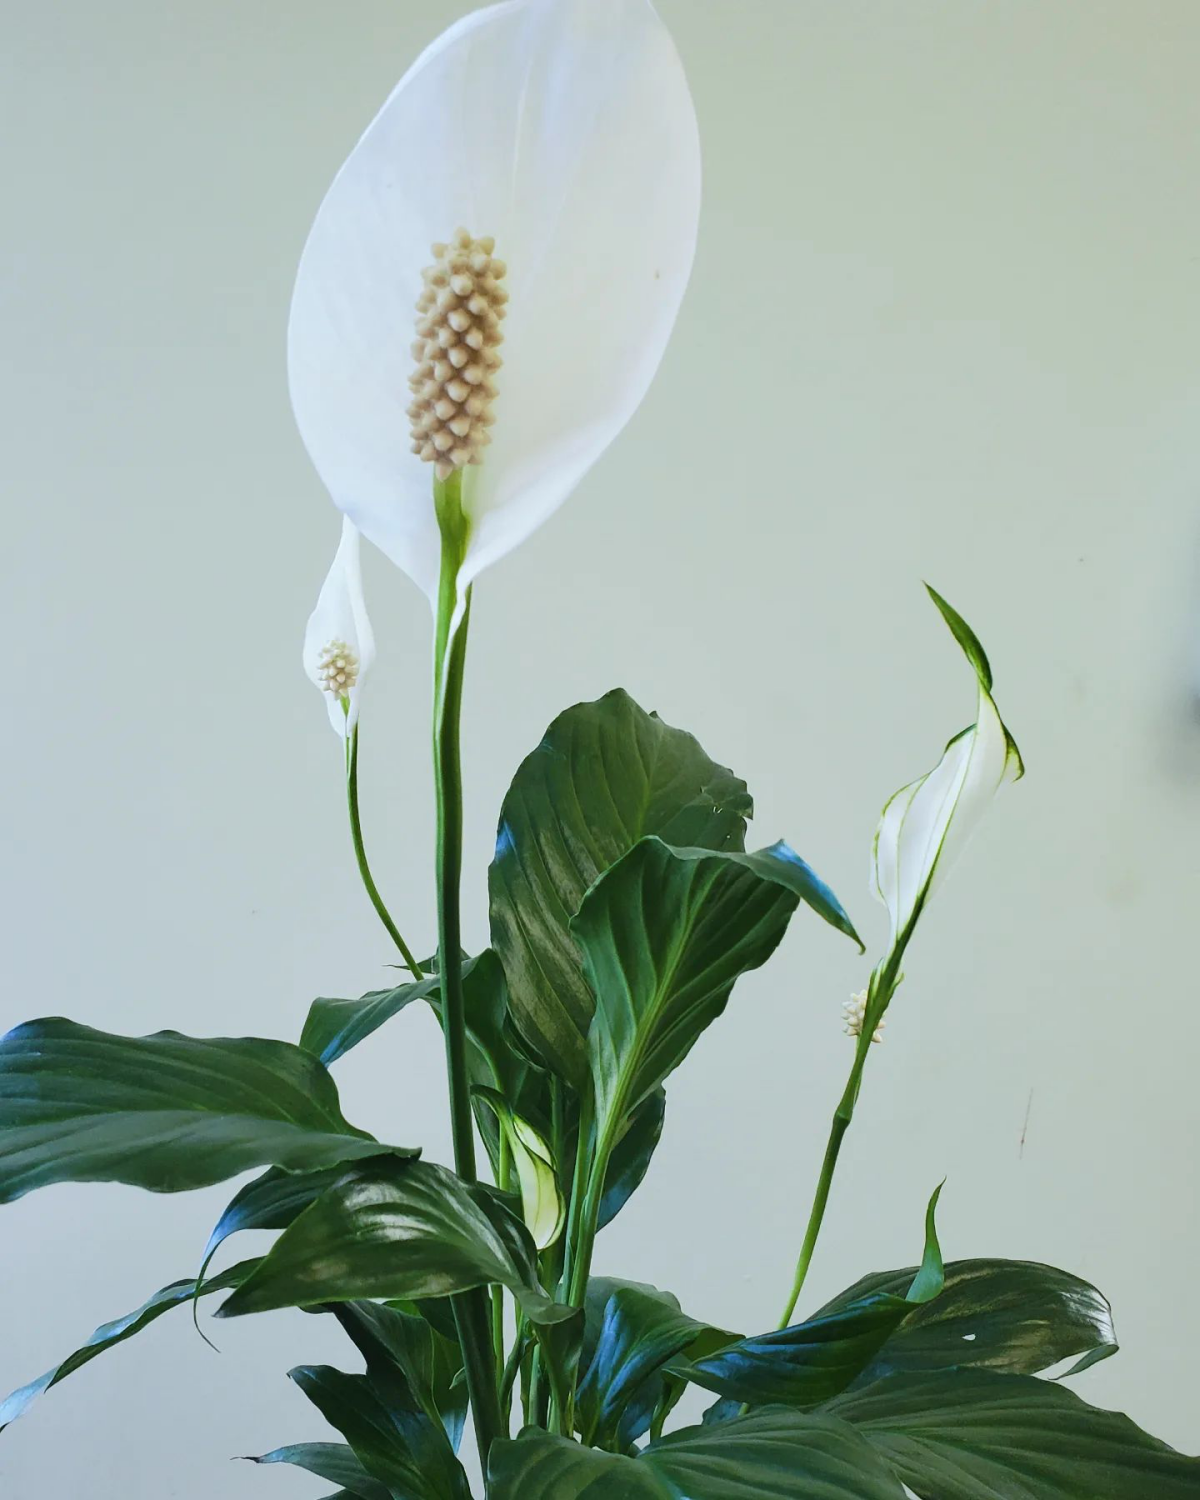
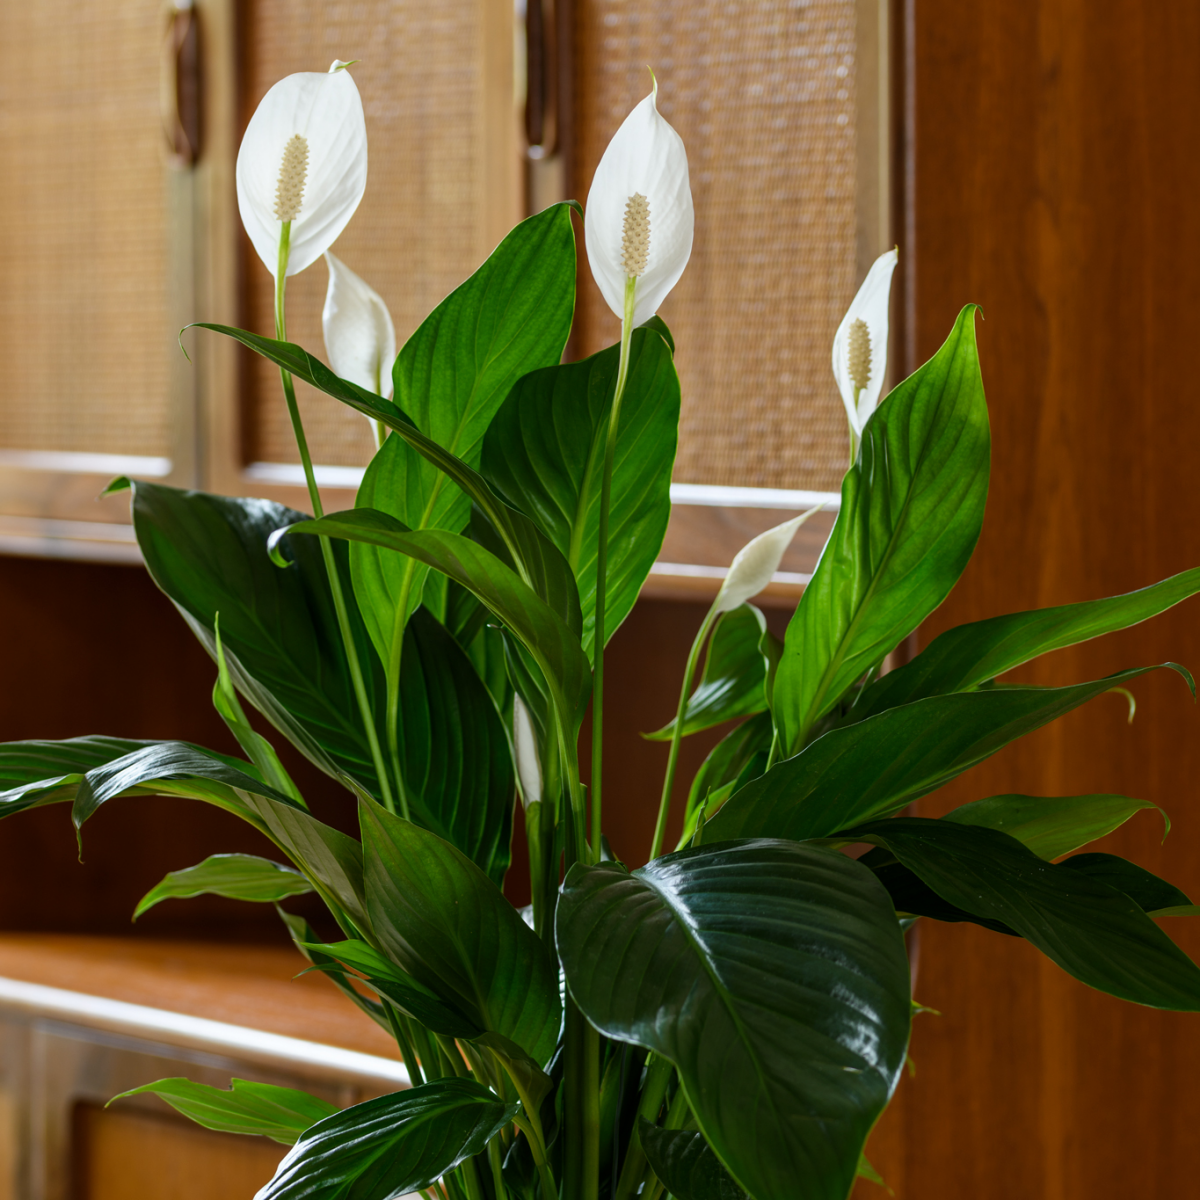
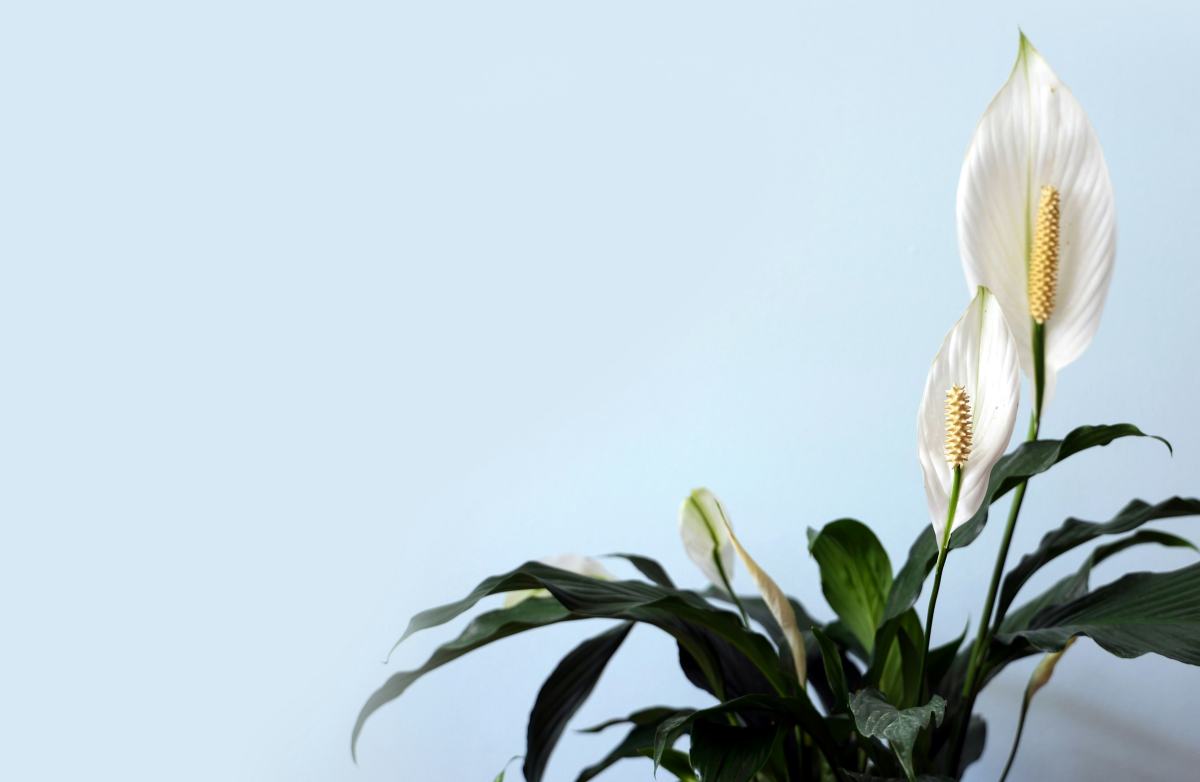
Why Your Peace Lily Has Brown, Crispy Leaf Tips (And How to Actually Fix It)
Peace Lilies are one of the most popular houseplants for a reason—they’re gorgeous, and they’re great at telling you what they need. A dramatic droop usually means it’s thirsty. No flowers? It’s probably asking for a bit more light. But the one thing that drives everyone crazy, from first-time plant owners to seasoned pros, is the slow, creeping development of brown, crispy leaf tips.
In this article
It’s frustrating! It ruins the look of those beautiful, deep green leaves. I remember working with a corporate client once who had a stunning row of giant Peace Lilies in their lobby. Within a month, every single plant had brown tips. They were sure the plants were dying from some mysterious disease. But the culprit wasn’t a disease at all; it was their care routine. They were using straight tap water on a rigid, by-the-calendar schedule. Once we understood what the plants were actually asking for, we had them looking perfect again. This guide is all about that—getting past the basic advice to understand the why behind the brown tips so you can become a pro at reading your plant.

First, What’s Actually Happening to the Leaf?
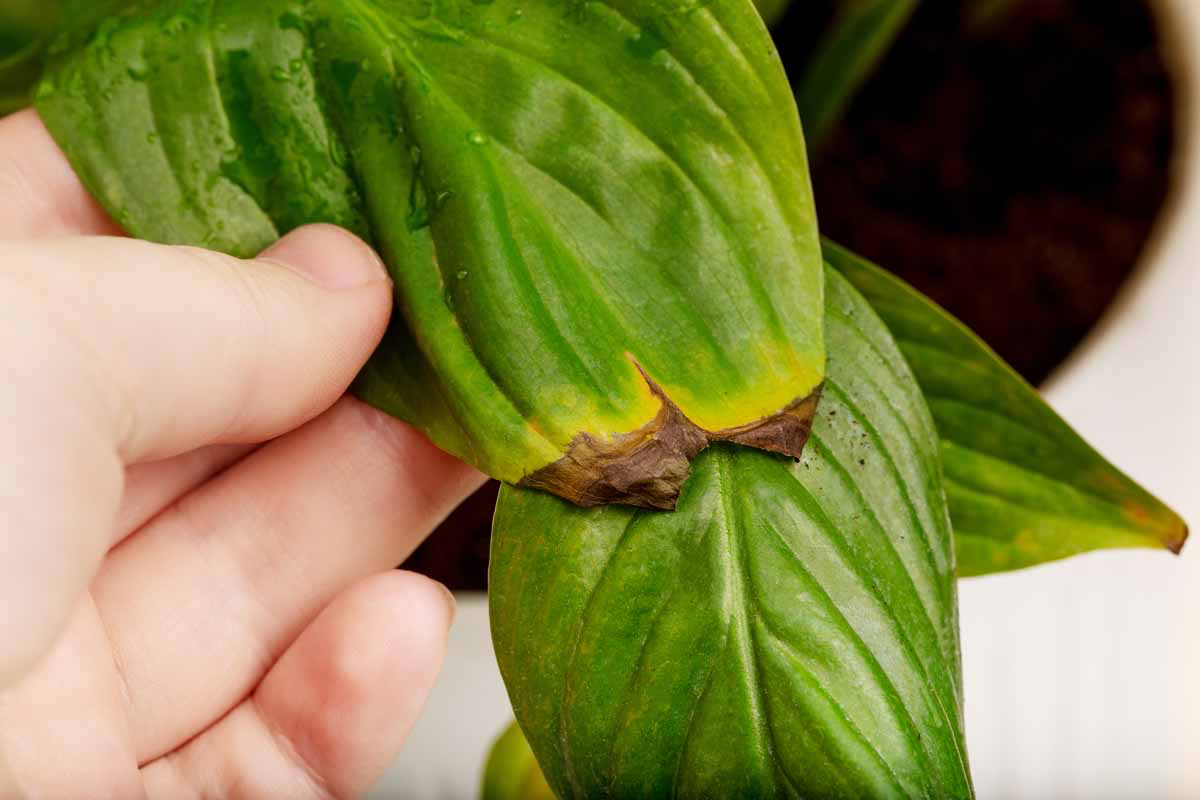
Before we jump into solutions, it helps to know what’s going on inside that leaf. A brown tip is simply dead tissue. Think of a leaf as a complex plumbing system that brings water and nutrients up from the roots to every last cell. The very tip of the leaf is the end of the line—it’s the farthest point from the source.
When the plant is stressed in a way that disrupts water delivery, the tip is the first part to suffer. It just runs dry before any other part of the leaf. The cells die, turn brown, and get brittle. So, a brown tip is really an early warning signal. It’s your plant’s way of saying, “Hey, something is making it hard for water to get all the way up here!” Our job is to play detective and find the stressor.
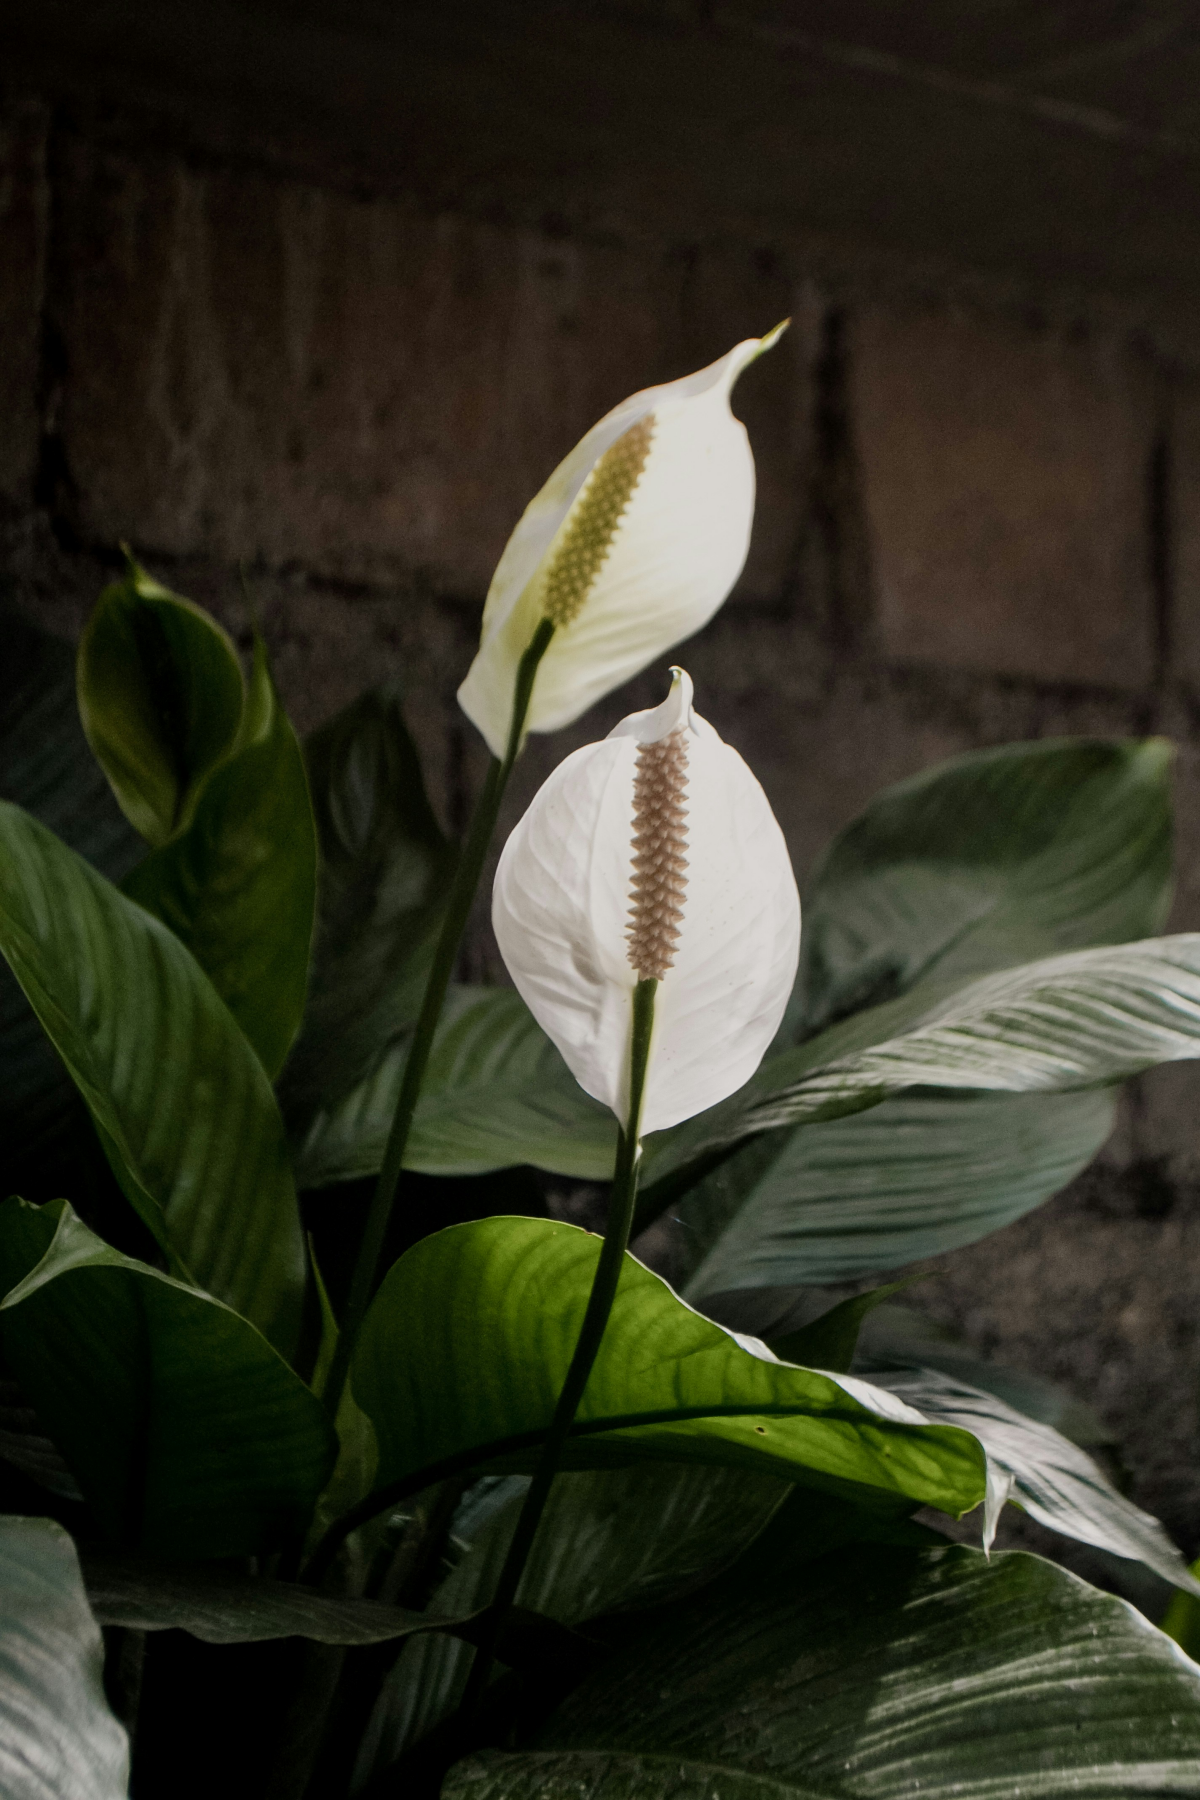
Playing Plant Detective: What Do the Clues Mean?
So, how do you tell what the specific problem is when they all cause brown tips? You have to look for other clues. It’s usually one of three main culprits.
- Crispy Tips + A Droopy Plant: If the pot feels light and the whole plant is wilting dramatically, the brown tips are almost certainly from underwatering. The tips are dry because the whole plant is dry.
- Brown Tips + An Otherwise Healthy Plant: Does the plant look perky and fine, but the tips are still getting that dry, well-defined brown edge? This is the classic sign of low humidity. The roots have enough water, but the dry air is sucking moisture out of the leaves too fast. This is super common in the winter when the heat is on.
- Dark Brown/Black Tips + Crusty Soil: Take a look at the tips. Are they a really dark brown, almost black? And do you see a white, salty-looking crust on the surface of the soil? If you’ve been fertilizing, this points directly to fertilizer burn.
Water and Soil: Getting the Foundation Right
Honestly, more than 90% of the issues I see trace back to water or soil. Getting this right is the most important thing you can do.
How to Water Like a Pro
The old advice to “water when the top inch is dry” is okay, but it can fail you. Some soils stay soggy at the bottom even when the top feels dry. Pros use more reliable methods.
First is the lift test. Go ahead, try it right now. After you give your plant a good soak, pick it up and get a feel for how heavy it is. Then, lift it every couple of days. You’ll quickly learn the difference between a fully watered plant and one that’s getting light and needs a drink. It’s the best trick in the book and becomes second nature.
When you do water, do it thoroughly. Take the plant to a sink or tub and let lukewarm water flow through the soil until it pours out the drainage holes. This does two things: it fully hydrates the entire root ball and, just as importantly, it flushes out any mineral buildup. Let it drain for a good 10-15 minutes before putting it back.
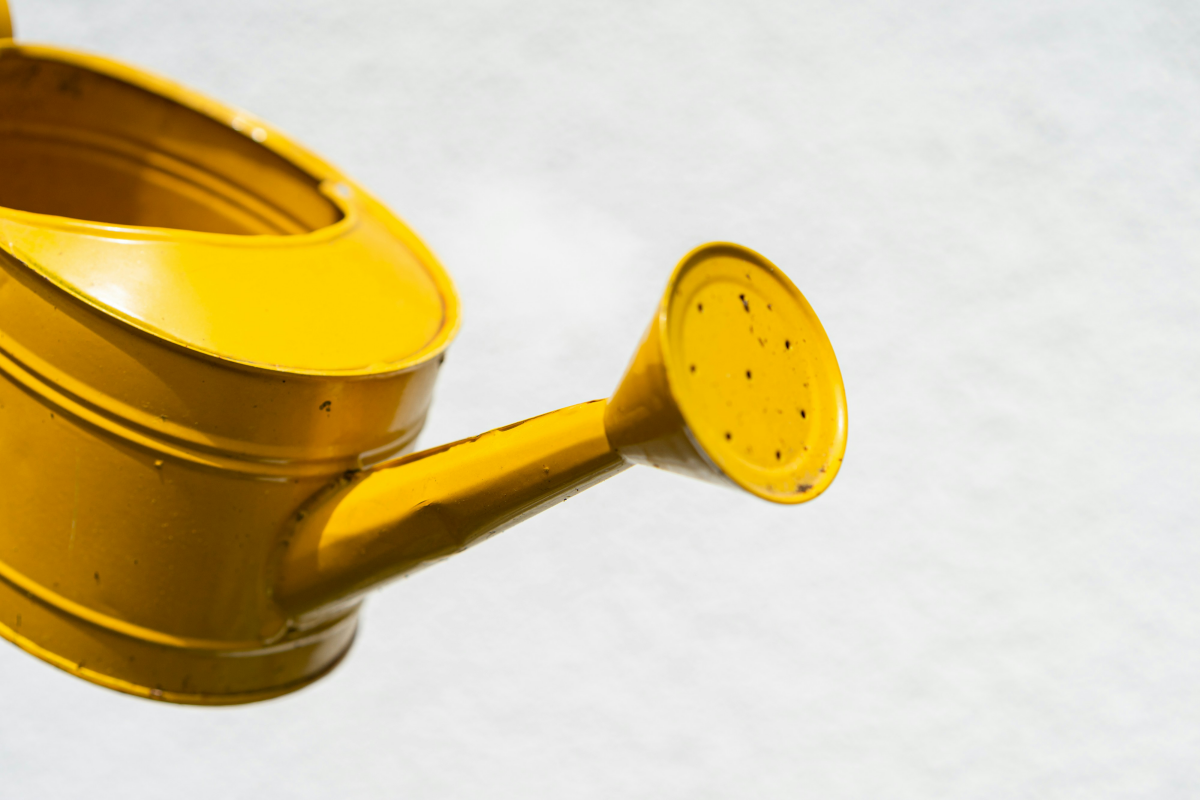
Quick Win: If you do nothing else after reading this, start doing this today. Fill up your watering can with tap water and let it sit out, uncovered, for at least 24 hours before using it. This allows the chlorine, which is harsh on roots, to evaporate. It’s a free and easy first step!
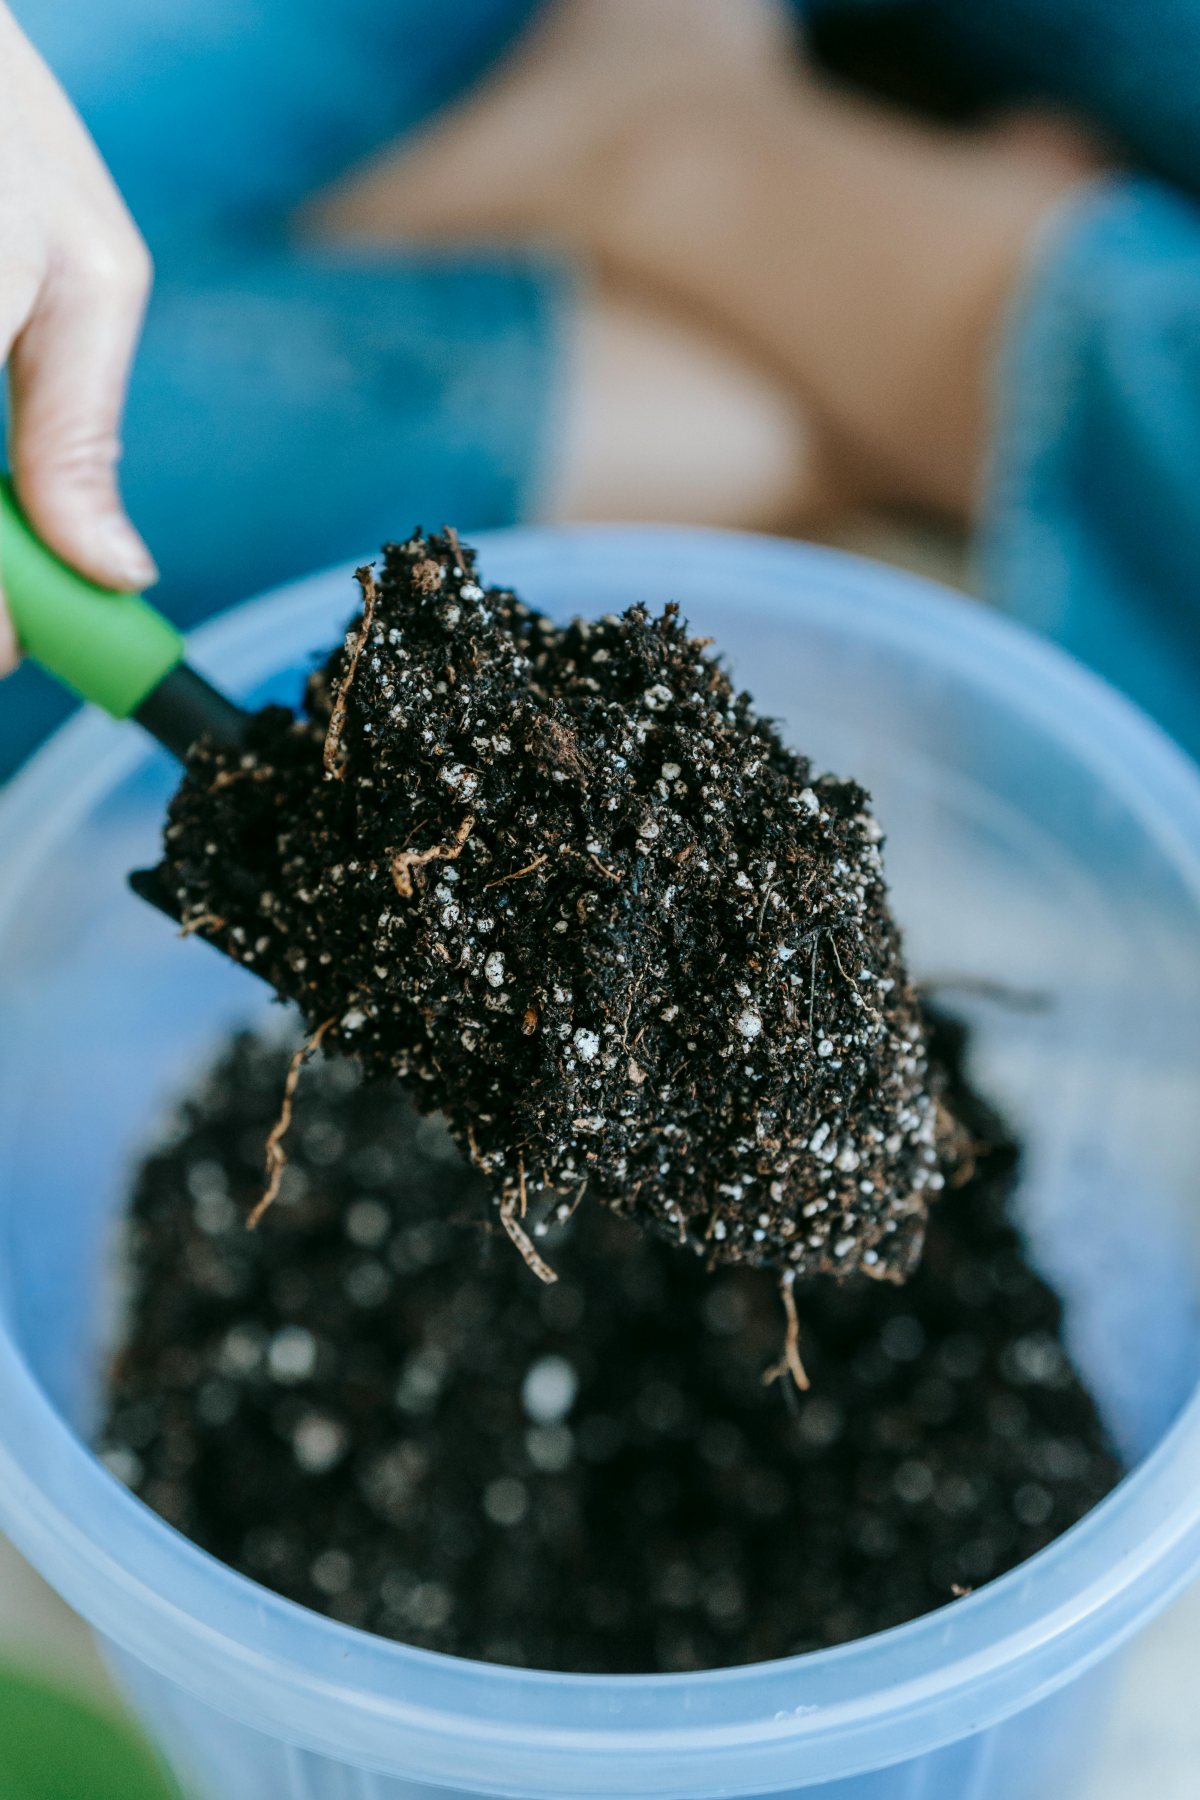
The Real Deal on Potting Mix and Pots
The right soil is non-negotiable. Your Peace Lily MUST be in a pot with drainage holes. If you love a decorative pot that doesn’t have holes (a cachepot), just keep the plant in its plastic nursery pot and place it inside the decorative one. You can easily pull it out for watering.
Heads up! Standard bagged potting mix is often too dense and holds too much water. You can easily make a much better, fluffier mix at home that your plant will love. A fantastic recipe is:
- 2 parts high-quality potting mix (around $10 for a decent-sized bag)
- 1 part perlite (a small bag costs about $8 and will last you ages)
- 1 part orchid bark (usually $10-$15 for a bag)
You can find all of this at any garden center, home improvement store, or online. This mix holds moisture perfectly without getting waterlogged, giving the roots the air they need to breathe.
By the way, should you use a terracotta or plastic pot? Terracotta is porous and dries out very quickly. This can be great if you’re a chronic over-waterer, but it can be a problem if you’re forgetful or have very low humidity. Plastic holds moisture longer, which is generally better for keeping a Peace Lily consistently moist.
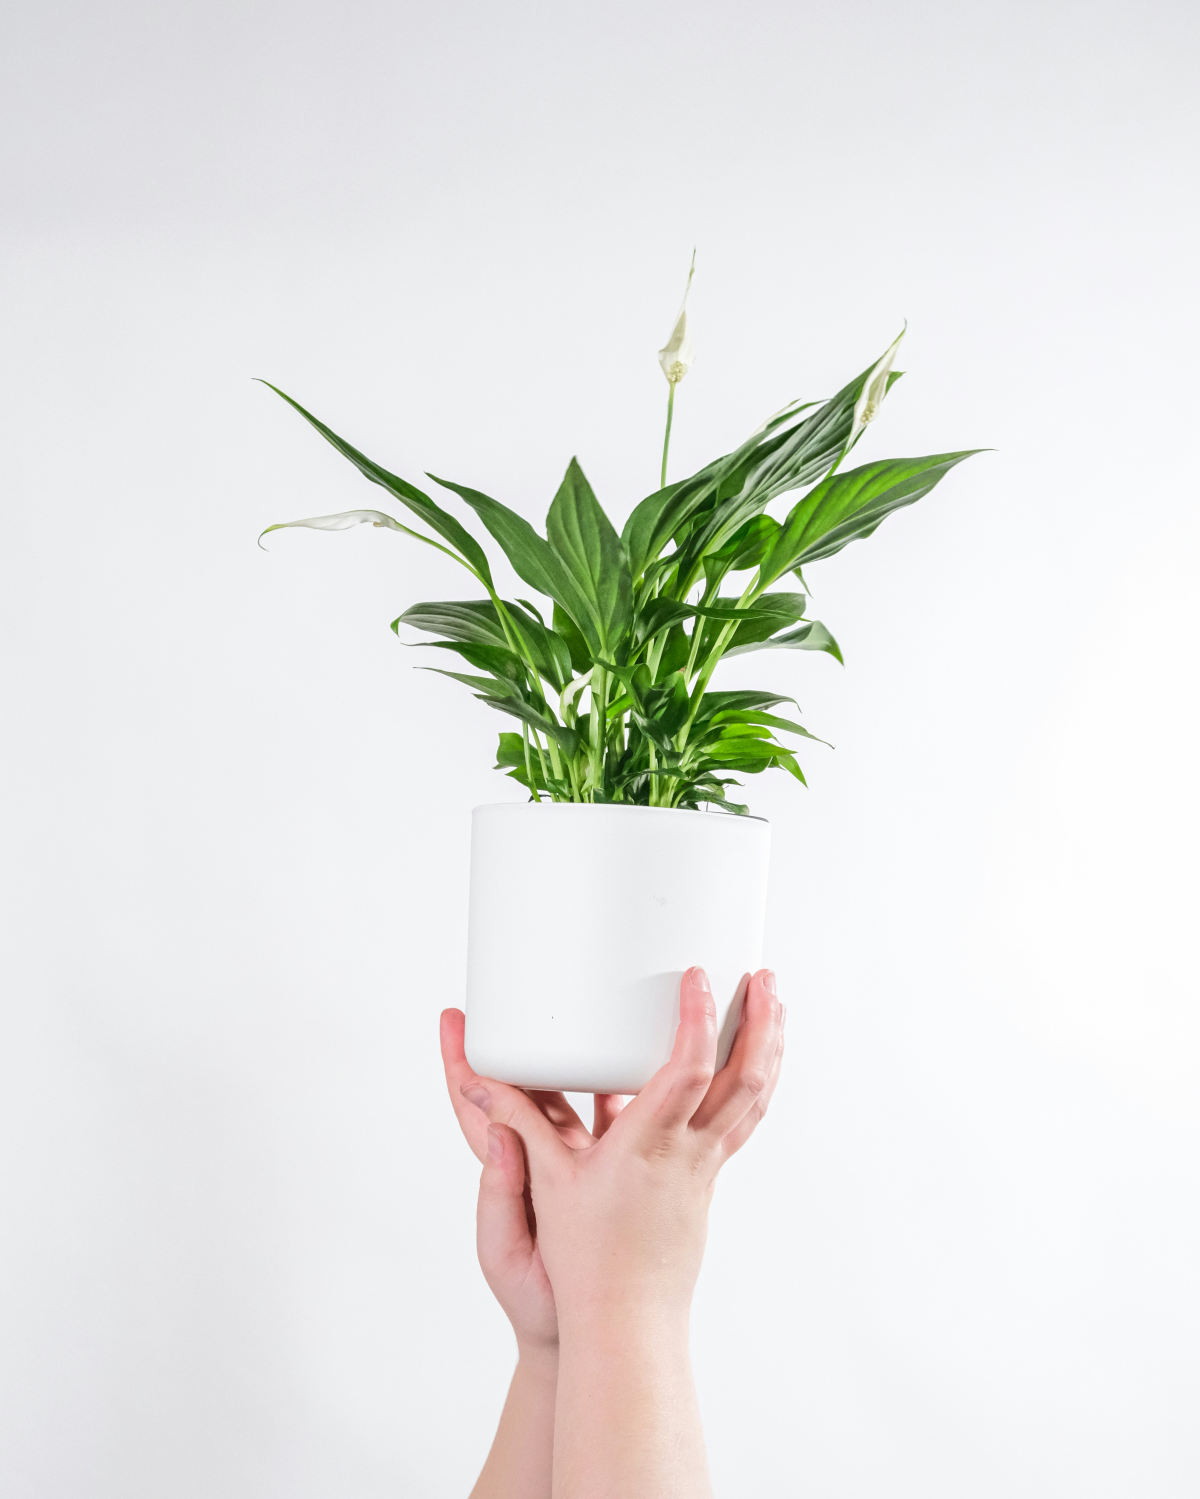
A Quick Note on Repotting: When you bring a new plant home, resist the urge to repot it into a pretty pot immediately! Give it a week or two to acclimate to your home’s environment before you add the stress of repotting.
The Hidden Culprits: Water Quality and Fertilizer
If your watering technique and soil are on point, but you still have brown tips, it’s time to look at what’s in your water and fertilizer.
What’s in Your Water?
Tap water can contain things that sensitive plants hate. The main offenders are chlorine, fluoride, and hard water minerals. Letting water sit out helps with chlorine, but many water treatment facilities now use chloramine, which doesn’t evaporate. Fluoride is another common additive that Peace Lilies are known to be sensitive to.
The best solutions? Filtered water from a simple pitcher or faucet filter is a great upgrade. The absolute gold standard is rainwater or distilled water, which are free of any added chemicals.
CRITICAL WARNING: A Note on Water Softeners
If your home has a salt-based water softener, DO NOT use that water for your plants. Ever. Water softeners work by adding sodium (salt) to the water. This salt builds up in the soil over time and will slowly kill your Peace Lily. Use water from an un-softened source, like an outdoor spigot, or switch to filtered or rainwater.
Fertilizer: Less Is Always More
Peace Lilies are not heavy feeders. The most common mistake is over-fertilizing. Too much fertilizer creates a buildup of salts in the soil that literally burns the roots, preventing them from absorbing water and causing—you guessed it—brown tips.
The fix is easy: be stingy with fertilizer. Use a balanced, water-soluble plant food, but dilute it to 1/4 or 1/2 of the recommended strength. Feed only once a month or so during the spring and summer, and not at all in the fall and winter. Oh yeah, and never fertilize a dry, wilting plant. That’s a recipe for disaster.
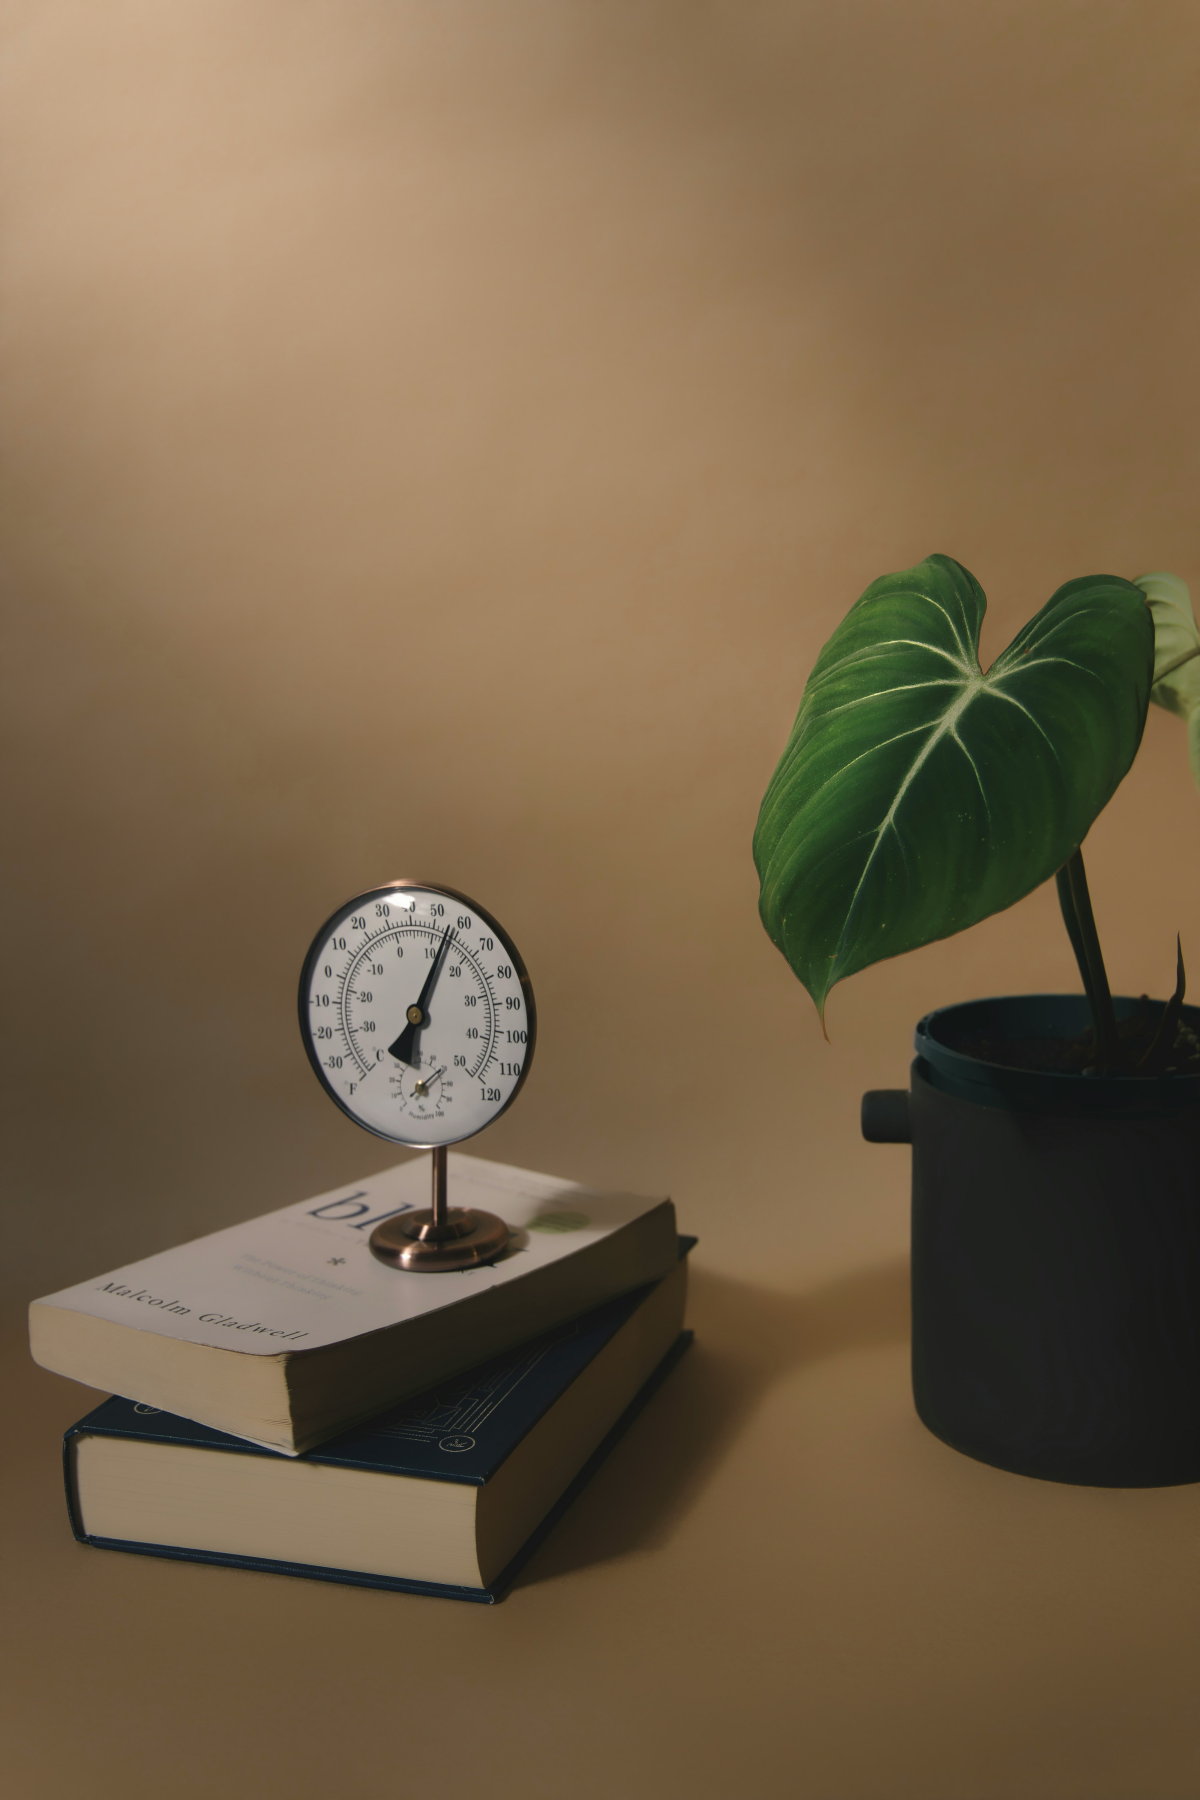
Don’t Forget Humidity!
This is probably the second most overlooked cause of brown tips. These plants come from tropical rainforests where the air is incredibly humid. Our homes, especially with air conditioning or central heat running, are like a desert in comparison. When the air is too dry, moisture evaporates from the leaves faster than the roots can supply it.
How to fix it?
- Group your plants together. They create a little humid microclimate for each other.
- Use a pebble tray. Place the pot on a tray filled with pebbles and water, making sure the pot sits on the pebbles, not in the water. It provides a constant little boost of humidity.
- Get a humidifier. This is, by far, the most effective solution. A small room humidifier can be a game-changer for your tropical plants, and you can find a decent one for $25-$40.
- (Misting, to be frank, doesn’t really work. It feels nice, but the effect is gone in minutes. It’s not a real solution.)
What to Do with the Damaged Leaves
Let’s be clear: a brown tip will never, ever turn green again. Pruning is just for looks, but it can make you and your plant feel a lot better.
Using a clean, sharp pair of scissors, you can either just snip off the brown tip (try to follow the leaf’s natural shape) or, if a leaf is more than half yellow or brown, it’s better to remove the whole thing. Follow the leaf stalk down to the base of the plant and make a clean cut. This lets the plant focus its energy on new, healthy leaves.
A Final Word: Be Patient
Fixing brown tips isn’t an instant process. Once you’ve made a change—whether it’s your watering schedule, your soil, or adding a humidifier—the real proof is in the new growth. Watch for those new leaves to unfurl from the center of the plant. When they come out and stay beautifully green from base to tip, you’ll know you’ve cracked the code.
Your Peace Lily isn’t trying to be difficult; it’s communicating. By learning its language, you’ll go from just owning a plant to truly caring for it. And that’s one of the best parts of bringing the outdoors in.
Galerie d’inspiration
Is filtered water really necessary for my Peace Lily?
While not always essential, it can be the single biggest upgrade for a fussy plant. Tap water often contains chlorine, fluoride, and dissolved mineral salts that build up in the soil over time. Since the Peace Lily can’t process them, these minerals accumulate at the leaf tips, causing chemical ‘burns’ that look just like the crispy tips from underwatering. An easy solution is to use a simple water filter pitcher, like a Brita or ZeroWater, or even just let tap water sit out overnight to allow some of the chlorine to evaporate before watering.
Peace Lilies are native to the tropical rainforest floors of the Americas, where humidity levels consistently hover above 60%.
This is the secret that watering alone can’t solve. In a dry home, especially during winter when heating is on, moisture evaporates from the leaves faster than the roots can supply it, causing the tips to dry out. Grouping your Peace Lily with other plants creates a small humid microclimate. For a more significant boost, place it on a pebble tray with water (ensuring the pot isn’t sitting in the water) or use a small humidifier, like those from Levoit, to keep the air comfortably moist.
When brown tips appear, a quick trim can instantly improve your plant’s appearance. The key is to cut smartly to keep the leaf looking natural.
- Use sharp, clean scissors or pruning shears (wiping them with rubbing alcohol prevents spreading potential issues).
- Instead of a blunt, straight cut, follow the natural V-shape of the leaf tip.
- Leave a tiny sliver of the brown edge. Cutting into the healthy green tissue can sometimes cause the new edge to brown again.