Stop Killing Your Houseplants: A Pro’s Guide to What Really Matters
Let’s Have an Honest Chat About Your Plants
After decades of running a commercial greenhouse, I’ve pretty much seen it all. I’ve revived plants that arrived practically frozen solid on a truck in January and fought off pest invasions that could have leveled an entire crop. And honestly, the best part of the job is watching someone walk out the door with a new plant, their face full of excitement.
In this article
But then, sometimes, they come back. Weeks later, they’re holding that same plant, and it looks… well, it looks miserable. The leaves are yellow, the whole thing is droopy, and they just ask, “What did I do wrong?”
Here’s the secret: the difference between a thriving plant and a dying one isn’t some magic formula. It’s about getting a few core things right—the same principles we use to keep thousands of plants looking good. And they aren’t complicated. They’re just about understanding what a plant actually needs to live.

By the way, before we dive deep, here’s the single easiest thing you can do for your plant today: take a damp cloth and gently wipe the dust off its leaves. Seriously. It helps the plant breathe and photosynthesize better, and it lets you spot any sneaky pests before they become a problem. It takes two minutes and makes a world of difference.
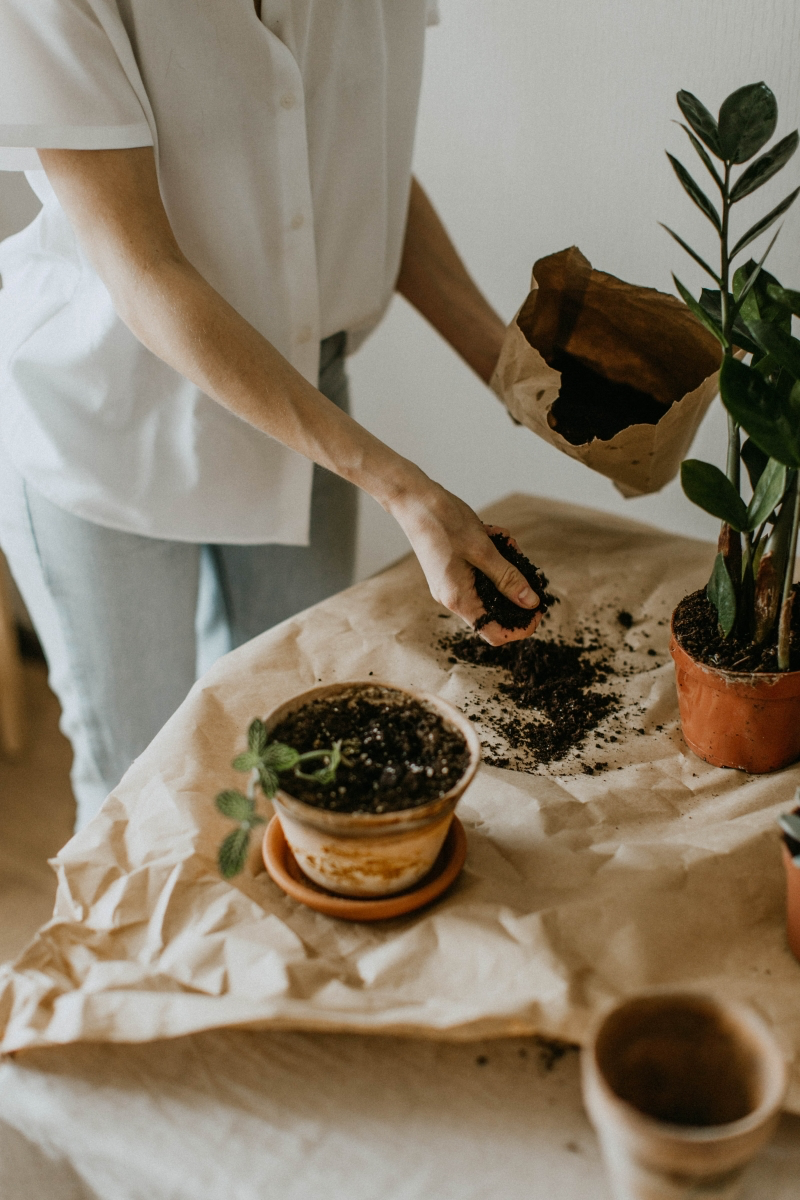
It All Starts with the Soil (And No, It’s Not Just Dirt)
Most beginners think soil is just there to hold the plant in place. But in reality, the potting mix is a living environment. It’s supposed to manage water, air, and nutrients for the roots. Getting this right is probably the most important thing you can do for your plant’s long-term health. That generic bag of “potting soil” from the big-box store? To be frank, it’s usually not great. It’s often too heavy and compacts over time, which is a recipe for root rot.
Why a Good Potting Mix Works
A great mix is all about balance. You need something that holds water, but also drains well and has plenty of air pockets. Plant roots need to drink, but they also need to breathe. They pull oxygen from those little air pockets in the soil. When a mix is too dense and soggy, water fills those pockets and the roots literally drown. That’s what we call root rot, and it’s the number one killer of houseplants.
Pro-Level Soil Recipes You Can Actually Make
In the greenhouse, we never use a one-size-fits-all mix. We blend our own depending on what the plant needs. These are my go-to recipes. And when I say “parts,” just think of it as your scoop. It could be an old yogurt cup or a measuring cup—as long as you use the same scoop for every ingredient, your ratios will be perfect.
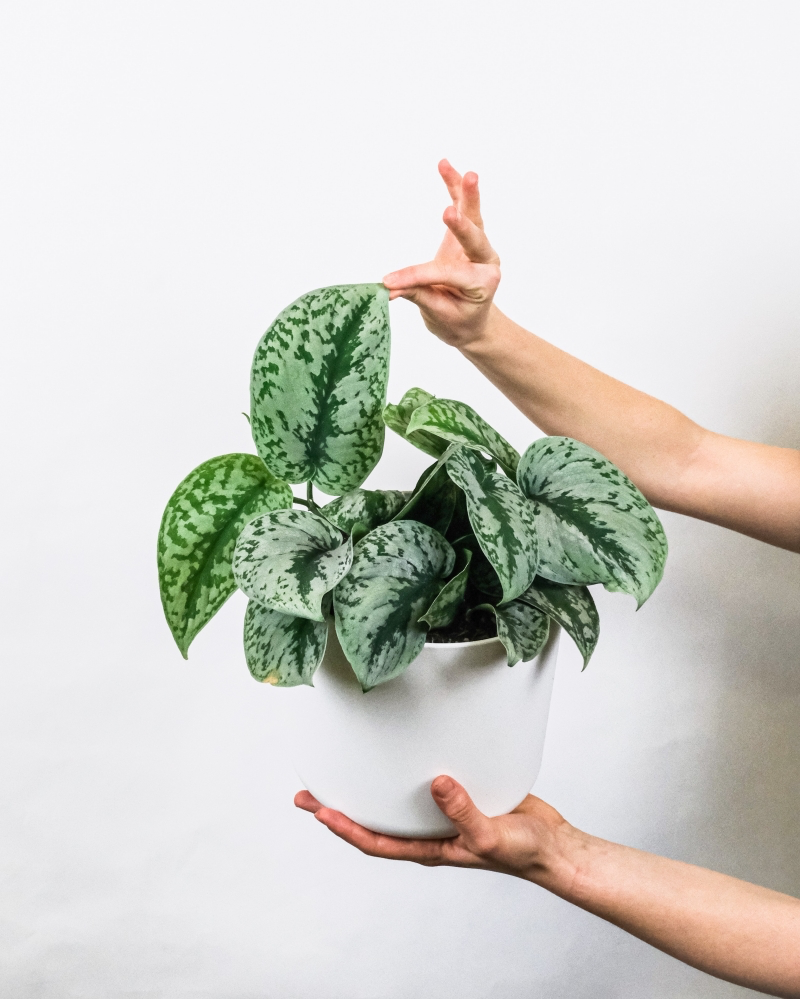
For Leafy Tropicals (like Monsteras, Pothos, and Philodendrons):
These guys love a chunky, airy mix that lets their thick roots breathe.
- 2 parts coco coir: For holding moisture. You can find a compressed brick of this online or at a garden center for about $10-$15, and it expands to make a ton of mix.
- 2 parts orchid bark: Creates those big air pockets. A bag costs around $10.
- 1 part coarse perlite or pumice: For drainage. A decent-sized bag will run you about $15 and will last you for ages.
- 1/2 part horticultural charcoal: Helps absorb impurities. Good to know: This is NOT the same as BBQ charcoal, which has chemicals that will poison your plants! Make sure it says “horticultural.” A small bag is usually under $10.
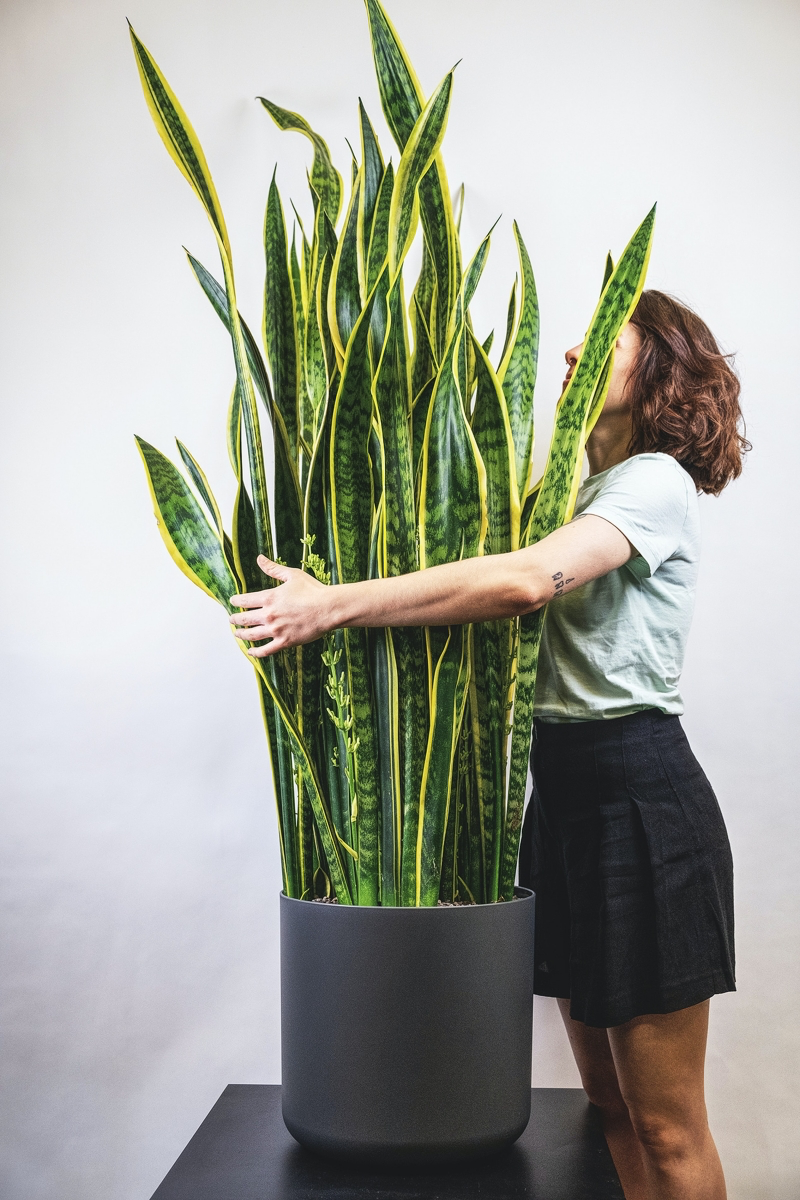
For Succulents and Cacti (like Echeveria and Snake Plants):
These desert dwellers hate wet feet and need something that drains instantly.
- 1 part basic potting soil: Just as a binder.
- 2 parts coarse sand or poultry grit: For sharp drainage. You can get a big bag of this at a farm supply store for cheap, maybe $10.
- 2 parts perlite or pumice: For aeration.
For Ferns and Prayer Plants (like Calatheas):
These plants want to stay consistently moist, but not soggy.
- 2 parts peat moss or coco coir
- 1 part perlite
- 1 part fine orchid bark or compost
Look, if mixing your own soil sounds like a project you’ll never get to, that’s totally okay. You can now buy excellent pre-made specialty mixes for aroids or succulents online or at local plant shops. They’ll cost more—think $20 for a small bag instead of $40 for a huge batch of your own—but it’s a fantastic, time-saving shortcut.
When You Should Repot
Plan on refreshing the soil every 18-24 months for most plants. Fast growers might even need it annually. When you see roots poking out the bottom, the plant keeps tipping over, or water seems to run straight through without soaking in, it’s time.
Quick tip: Only go up one pot size (like from a 6-inch to an 8-inch pot). Too big of a pot holds too much soil, which stays wet too long and invites root rot. If you pull a plant out and the roots are a solid, dense brick, don’t be afraid to take a clean knife and make a few vertical cuts around the outside. It feels brutal, but it encourages new roots to grow outward instead of just circling.
Watering Is an Art, Not a Schedule
The second biggest mistake I see? Watering on a strict schedule, like every single Sunday. A plant’s thirst changes constantly depending on the light, the season, and how much it’s growing. You have to learn to check the plant, not the calendar.
Overwatering vs. Underwatering: How to Spot the Difference
The cruel irony of plant care is that an overwatered plant often looks like an underwatered one—it gets yellow and droopy. So people see a sad plant, think it’s thirsty, and water it again. That’s the kiss of death. An underwatered plant can almost always be saved. An overwatered plant with advanced root rot is often a goner. So my number one rule is: When in doubt, wait.
Here’s how you can tell what’s really going on:
- Check the Leaves: An overwatered plant’s yellowing leaves often feel soft and limp, sometimes even getting mushy at the base where they meet the stem. In contrast, an underwatered plant’s yellow leaves will be dry, brittle, and crispy to the touch.
- Feel the Soil: This is the big one. Overwatered soil will be dark, dense, and evenly wet. It might even have a faint, swampy smell. Underwatered soil, on the other hand, will often have pulled away from the sides of the pot and feel light as a feather when you lift it.
- Look at the Stems: Mushy, blackening stems right at the soil line are a dead giveaway for rot caused by overwatering. A thirsty plant might have droopy or slightly wrinkled stems, but they will still feel firm.
How We Check for Thirst in the Greenhouse
I don’t trust those cheap moisture meters; they’re notoriously inaccurate. Instead, we use our senses.
- The Finger Test: Simple and effective. Stick your index finger into the soil up to your second knuckle. For most tropical plants, if you feel any moisture, wait. If it feels dry, it’s time to water.
- The Lift Test: My personal favorite, though it takes some practice. You get a feel for how heavy a pot is right after you water it versus when it’s completely dry. A dry pot is noticeably lighter.
- The Chopstick Method: Grab an unfinished wooden dowel or a plain bamboo chopstick. Push it gently to the bottom of the pot, leave it for a minute, and pull it out. If it comes out dark with damp soil clinging to it, the plant is fine. If it comes out clean and dry, it’s thirsty. It’s just like checking a cake for doneness.
Oh yeah, and a quick word on water quality. If your tap water is very hard or treated with a lot of chlorine, it can cause brown, crispy leaf tips on sensitive plants like Calatheas. An easy fix is to let your water sit out in an open container for 24 hours to let the chlorine evaporate. Or, for your really fussy plants, using collected rainwater or distilled water can be a total game-changer.
Light Is Literally Your Plant’s Food
Plants make their own food through photosynthesis, and light is the fuel for that process. Without enough light, a plant will slowly starve, no matter what else you do. But too much direct sun can scorch the leaves.
Decoding Your Home’s Light
Those tags that say “bright, indirect light” can be confusing. Here’s a simpler way to think about it:
- Direct Sun: Sunbeams are hitting the leaves. Great for cacti and succulents, bad for most others. Think of an unobstructed south- or west-facing window.
- Bright, Indirect Light: The sweet spot for most tropicals. It’s a very bright room, but the plant isn’t getting hit with direct rays. This could be a few feet back from a sunny window or right in an east-facing window with gentle morning sun.
- Medium Light: Further back from a window, or in a room with a north-facing window. Plants will survive here, but won’t grow much.
- Low Light: This doesn’t mean a windowless bathroom. It means the far corner of a room. Very few plants will truly thrive here.
A little pro tip: If you’re a tech person, you can download a light meter app on your phone. It’s not perfectly scientific, but it can be really helpful for seeing the real difference between that spot you think is bright and a spot that actually is.
A Little Bit of Care and a Lot of Leaving It Alone
Once you’ve got soil, water, and light figured out, the rest is about maintenance and observation. And sometimes, the most expert thing you can do is just leave your plant alone.
The Quarantine Rule for New Plants
Prevention is everything. I learned this the hard way. I once brought in a gorgeous new plant and skipped quarantine because I was in a hurry. A month later, my entire personal collection was fighting a losing battle with spider mites. It was a disaster. Never again.
When you bring a new plant home, keep it in a separate room for a few weeks. Inspect it carefully for pests like spider mites or mealybugs, especially on the undersides of leaves. It’s so much easier to treat one plant than your entire collection.
My go-to pest spray is simple: in a spray bottle, mix a quart of water with one teaspoon of a mild soap. Use a simple castile soap like Dr. Bronner’s or a basic blue Dawn. Definitely avoid anything with bleach, degreasers, or ‘ultra’ grease-fighting power, as those can harm the leaves. Spray the whole plant, let it sit for a few hours, then rinse it off. You’ll probably have to repeat this every week for a few weeks to get them all.

Don’t Be Afraid to Prune
Always snip off any yellowing or dead leaves. It makes the plant look better and removes a potential hiding spot for pests. And please, sterilize your scissors with rubbing alcohol between plants. It’s a quick wipe that can prevent you from spreading disease from one plant to the next.
The Art of Benign Neglect
It might sound weird, but you need to stop fussing. Plants hate being moved around. They spend a ton of energy getting used to their spot, and moving them forces them to start all over. Find a good spot and leave it there.
The same goes for fertilizer. More is NOT better. Over-fertilizing can burn the roots. My rule is to fertilize “weakly, weekly” during the spring and summer. That means using a balanced liquid fertilizer (a bottle of a good one costs about $15 and will last forever) diluted to 1/4 or 1/2 strength, about every other time you water. In the fall and winter, stop completely.
Final Thoughts
Getting good with plants is a journey. Your plants are always talking to you—you just have to learn their language. They’ll tell you they’re thirsty when they droop. They’ll tell you the light is too strong when their colors fade. And they’ll tell you they’re happy by pushing out beautiful new growth.
And don’t be discouraged if you lose a plant or two. The truth is, the best gardeners have killed the most plants. Every failure is just a lesson learned. Focus on these foundations, and you’ll go from just keeping plants alive to helping them truly thrive.
Inspirational Gallery with Photos
One of the most frequent mistakes is watering on a strict schedule, like every Saturday. Plants don’t work like that! Instead, get into the habit of checking. Stick your finger an inch or two into the soil. If it feels dry, it’s time to water. If it’s still moist, give it another day or two. This single change prevents the dreaded root rot more than any other trick.
Bright, Indirect Light: Think of a spot a few feet away from a sunny window, where the plant gets a wide view of the sky but no direct, harsh sunbeams on its leaves. This is the sweet spot for most tropicals like Monsteras and Philodendrons.
Low Light: This doesn’t mean a windowless closet! It refers to a room with a north-facing window or a spot more than 10 feet from a brighter window. Snake Plants and ZZ Plants are champs in these conditions, but even they appreciate a little light.
Does the type of pot I use really make a difference?
Absolutely. It ties directly into your watering habits and the soil mix you use. Classic unglazed terracotta is porous, meaning it breathes and allows soil to dry out faster. This is a fantastic safety net for those who tend to overwater. On the other hand, glazed ceramic or plastic pots are non-porous and hold moisture for much longer, which is great for thirsty plants or for owners who are a bit forgetful with the watering can.
A 2019 study published in the Journal of Exposure Science & Environmental Epidemiology found that to match the air-purifying efficiency of a home’s ventilation system, you’d need between 10 and 1000 plants per square meter.
So, while your Pothos won’t single-handedly purify your home, the psychological benefits are undeniable. The act of caring for a living thing and bringing green into your space has been proven to reduce stress and improve mood. That’s a benefit no air purifier can offer.
- It encourages stronger, deeper root growth.
- It reduces the risk of fungus gnats, which lay eggs in moist topsoil.
- It ensures the entire root ball gets evenly saturated.
The secret is a simple technique called ‘bottom watering.’ Just place your plant (in a pot with drainage holes!) in a shallow dish of water for 20-30 minutes and let it soak up what it needs from the bottom. Dump any excess water afterward.
Don’t rush to fertilize: A new plant from a nursery is almost always in soil that has slow-release fertilizer mixed in. Wait at least 4-6 months before you start adding more. When you do, choose a gentle, balanced liquid fertilizer like Schultz 10-15-10 Plant Food, and always dilute it to half the recommended strength to avoid burning the roots. Remember, plants get most of their energy from sunlight, not fertilizer.
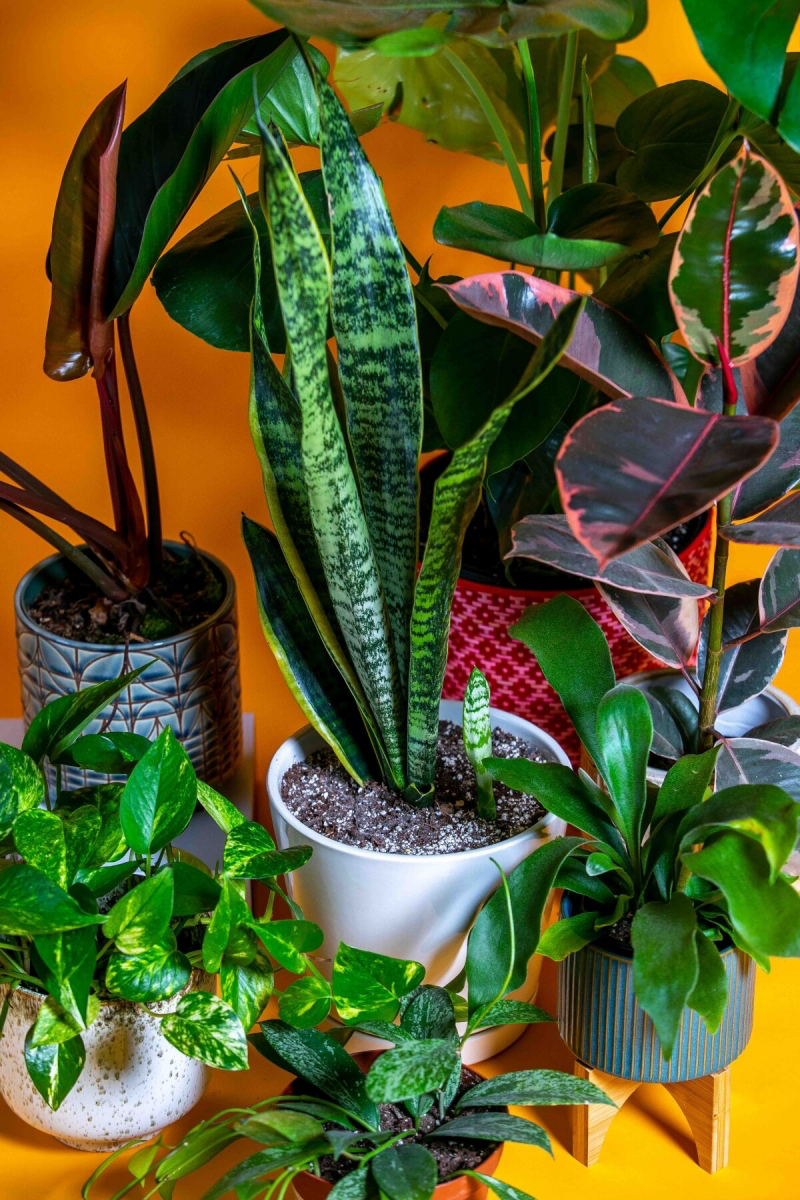
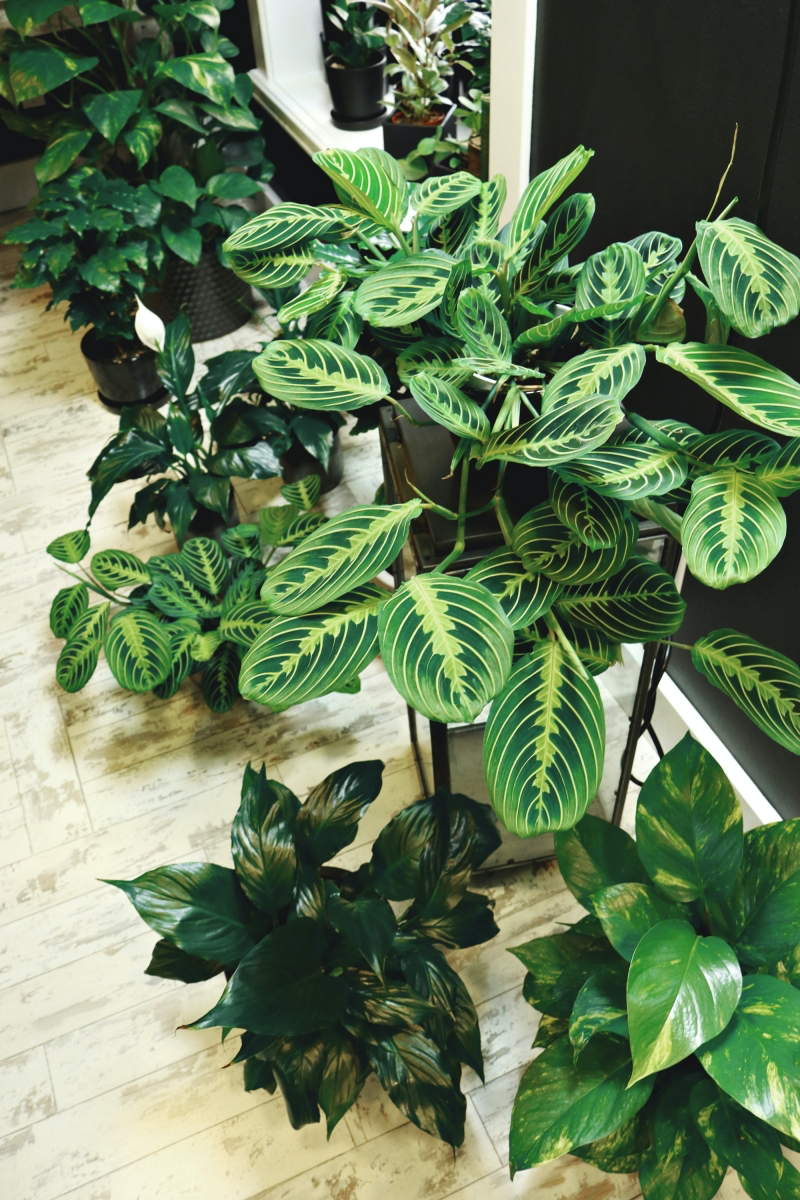
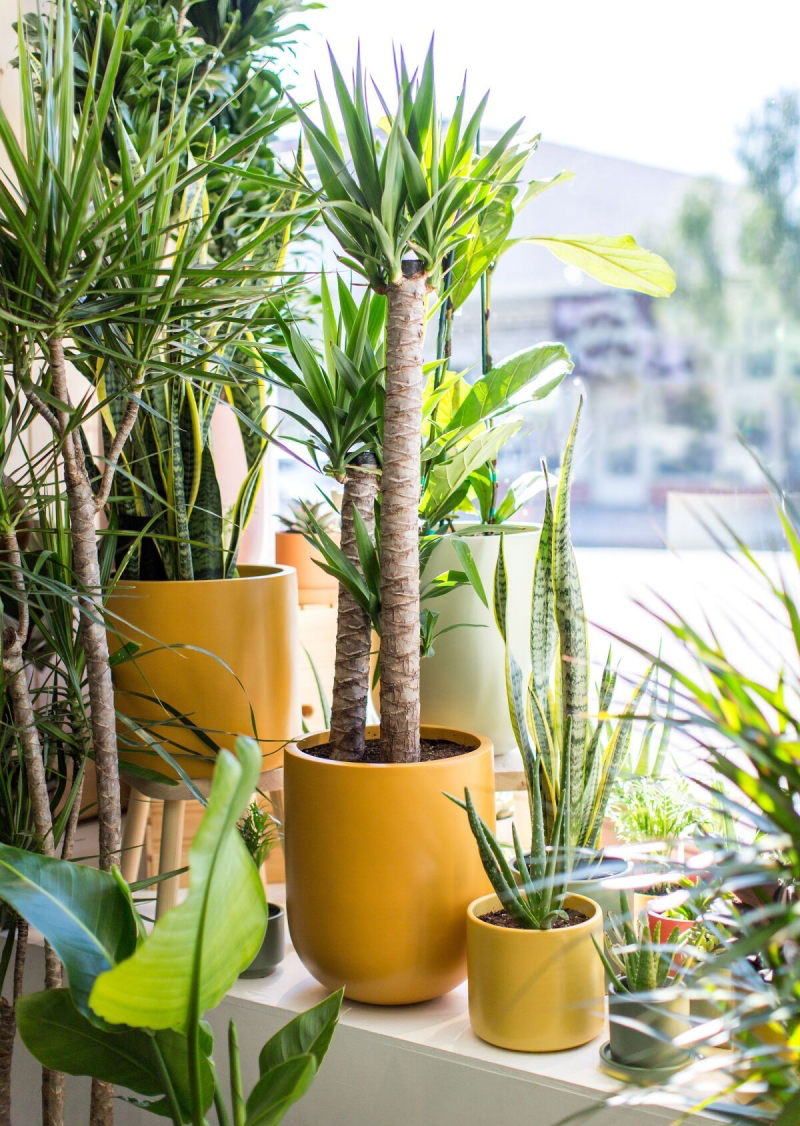
Create a mini-jungle and your plants will thank you for it. Grouping several plants together, especially humidity-lovers like Calatheas and ferns, raises the ambient humidity in their immediate area. As the plants release moisture through transpiration, they create a beneficial microclimate for their neighbors. Plus, the visual effect of varied leaf shapes and heights creates a stunning, living art installation in your home.
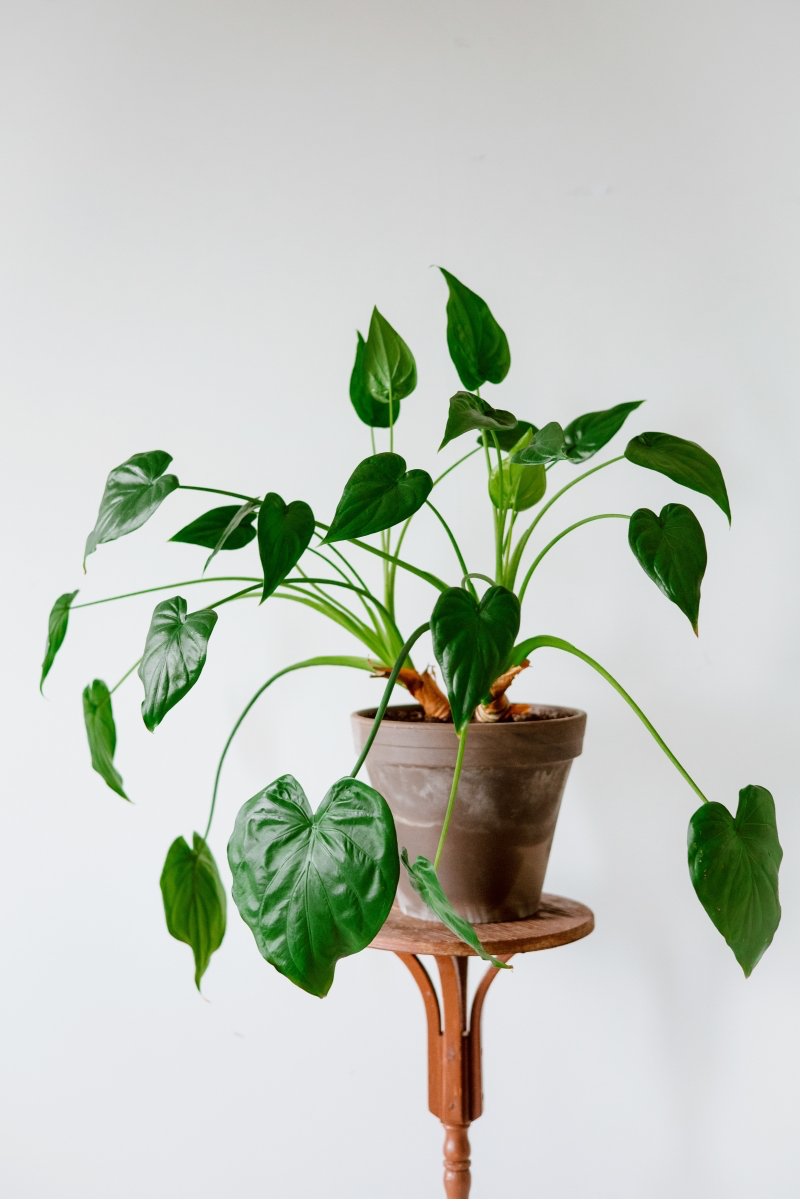
My new plant is dropping leaves! Is it dying?
Probably not! Plants are sensitive to change. Think about it: it’s gone from a perfect greenhouse environment to a truck, to a store, and finally to your home with different light, humidity, and temperatures. This is a stressful journey! It’s completely normal for a plant to show some signs of shock, like dropping a lower leaf or two, as it acclimatizes to its new forever home. Give it a few weeks of consistent care and it should bounce back.
One of the great joys of houseplants is making more of them for free. Propagation is easier than you think, especially with vining plants like Pothos or Philodendron.
- Find a healthy vine and locate a ‘node’—the little brown bump where a leaf meets the stem.
- Make a clean cut just below the node, ensuring your cutting has at least one leaf and one node.
- Place the cutting in a glass of water, making sure the node is submerged. Change the water weekly.
In a few weeks, you’ll see new roots sprout, ready for planting!
Did you know that the common Spider Plant (Chlorophytum comosum) produces ‘pups,’ or baby plantlets, as a survival mechanism? In the wild, these plantlets on long stems can touch the ground and root themselves, allowing the plant to ‘walk’ to new locations.


