Don’t Plant a Single Thing Until You’ve Done This First
I’ve spent more seasons than I can count with my hands in the dirt, turning stubborn clay into gorgeous, loamy beds and helping folks who are just starting out. And you know the biggest mistake I see? It’s not about having a “green thumb” or a lack of effort. It’s rushing in without a plan.
In this article
We all get it. The seed catalogs arrive in the dead of winter, and you start dreaming. Then, on that first warm, sunny day, you race to the garden center, load up a cart full of beautiful plants, and just… hope for the best. That excitement is the best part, but without a little direction, it can lead to a lot of frustration.
A garden that truly thrives isn’t built on luck. It’s built on observation. Before you buy a single tool or seed packet, you need to get to know the space you’re working with. Think of it like you’re interviewing your yard. What are its quirks? What are its hidden strengths? Taking the time to answer these questions will save you a ton of money, headaches, and heartache down the road.

The Big Two: Understanding Your Light and Land
Honestly, the most critical resource for your garden is totally free: sunlight. Most of the veggies and fruits we love to eat need at least 6 to 8 hours of direct, unfiltered sun every single day to really produce. Any less, and you’re likely to end up with sad, spindly plants and a disappointing harvest.
Mapping Your Sunlight (The Right Way)
Figuring out your sun exposure isn’t a guessing game. Here’s a super simple method to create a “sun map.” Pick a sunny day (a weekend is perfect for this) and head outside every couple of hours. I’m talking 8 a.m., 10 a.m., noon, 2 p.m., 4 p.m., and so on. Each time, snap a quick photo of your potential garden spot or make a little sketch.
You will be shocked by what you find. A spot that’s bathed in glorious morning sun might be in the deep shadow of your house or a neighbor’s tree by midafternoon. This simple exercise gives you a clear map of which areas get 8+ hours of sun, which get 4-6 hours, and which are mostly shade. This map is your single most important planning tool. Period.
Heads up! If you have a standard 9-to-5 job and can’t be home all day, don’t sweat it. You can do this on a Saturday, or you can use a little tech to help. There are some great smartphone apps like SunSeeker or SunCalc that can show you the sun’s path across your property any day of the year.
Water, Drainage, and How Your Yard is Shaped
After light, you’ve got to think about water. Take a look at your yard. Is it flat as a pancake, or does it slope? Water runs downhill, which means a garden at the bottom of a slope could turn into a swamp after a heavy rain, while one at the very top might dry out in a flash.
The next time you get a good downpour, throw on your rain boots and go exploring. Watch where the water goes. Does it run off right away, or does it form puddles? If it pools up and sticks around for hours, you’ve probably got poor drainage. This is a silent garden killer because it suffocates plant roots. You can fix it, but you need to know about it first.
If you want to be sure, you can do a simple percolation test. It sounds technical, but it’s not. Dig a hole about a foot deep and a foot wide. Fill it with water and let it drain completely. Then fill it again, stick a ruler in, and check the water level. Come back in an hour. The water level should have dropped by at least an inch or two. If it’s barely moved, you’ve got a drainage problem and will probably want to look at building raised beds.
Wind and Hidden Microclimates
Every yard has little microclimates—small pockets where things are just a bit different. That spot against a south-facing brick wall? It soaks up heat all day, creating a warm zone that’s perfect for growing peppers or even figs in a climate that’s otherwise a little too cool.
Wind is another huge factor. A garden that’s constantly getting blasted by wind will dry out much faster and can even stress out or damage your plants. If your sunniest spot is also your windiest, you might need to plan for a simple windbreak. This doesn’t have to be a huge fence; it could be a simple trellis with climbing beans or a row of tall, sturdy sunflowers.
The Real Foundation: Getting to Know Your Soil
Here’s a secret the pros know: you don’t just grow plants, you grow your soil. Healthy soil is a living, breathing ecosystem that provides everything your plants need to thrive. Focusing only on the plants is like trying to build a house without a foundation.
Do This Simple Soil Test
A professional soil test is the best $15 to $25 you will ever spend on your garden. I’m serious, do not skip this step. You can usually get a test kit from a local university cooperative extension office. If you’re outside the US, a quick search for “[Your Country] soil testing lab” should point you in the right direction.
You just gather a few samples from your garden spot, mix them up, and mail them in. A few weeks later, you’ll get a report that tells you:
- Your Soil pH: This is huge. If your pH is off, plants can’t access nutrients in the soil, even if they’re there. The report will tell you exactly what to add (like lime or sulfur) to get it just right.
- Your Nutrient Levels: It takes all the guesswork out of fertilizing. You’ll know if you’re low on phosphorus or potassium, so you buy only what you actually need.
- Potential Contaminants: If you live in an urban area or near an old painted building, I strongly recommend paying a little extra for a heavy metals test. I once worked on a project where the soil had high lead levels. A simple $50 test could have spotted it, but instead, they had to spend over $1000 building fully contained raised beds and trucking in all new soil. It was an expensive lesson.
How to Actually Prepare Your Garden Bed
Once you know what you’re working with, it’s time to build your bed. You can skip the heavy rototilling, which can actually harm the soil structure. Here are a few better ways:
- Sheet Mulching (or Lasagna Gardening): This is my favorite no-dig method. You lay cardboard right over the grass or weeds, which smothers them. Then you just layer materials on top. A good recipe is to start with your cardboard (remove any plastic tape!), add a two-inch layer of “greens” (like fresh grass clippings), followed by a four-inch layer of “browns” (like shredded fall leaves), and top it all off with 3-4 inches of good compost. You can plant right into the top layer!
- Raised Beds: If you have terrible drainage, heavy clay, or contaminated soil, raised beds are your best friend. You have total control. For filling them, a fantastic all-purpose recipe is a mix of about 60% high-quality topsoil, 30% compost, and 10% an aeration material like perlite or vermiculite to help with drainage. Oh, and plan ahead for the cost—a standard 4×8 foot bed that’s 1 foot deep needs around 32 cubic feet of this mix!
Time for the Fun Part: Planning Your Garden
Okay, with the hard work done, you can finally start dreaming about plants again. But a little honesty here goes a long way.
Let’s Talk Time and Money
A garden needs consistent care. A single 4×8 foot raised bed might need 30-60 minutes of your time each week for watering, weeding, and harvesting in the middle of summer. Be realistic. It’s so much more rewarding to have one small, beautiful garden than five large, neglected ones.
And then there’s the budget. Startup costs can be a surprise. Here’s a rough idea for one raised bed:
- The Frame: Can range from $50 for a simple kit to $150+ for thicker, more durable materials.
- The Soil/Compost Fill: This is where you shouldn’t skimp. Expect to pay between $80 and $120 to fill a 4×8 bed with good quality mix.
- Plants & Seeds: You can easily spend $20-$40 to get started.
That’s potentially over $200 before you even buy a single tool. But remember, it’s an investment that pays off in delicious, fresh food.
Choosing the Right Plants for Your Spot
This is where your sun map comes back into play. It makes choosing plants foolproof.
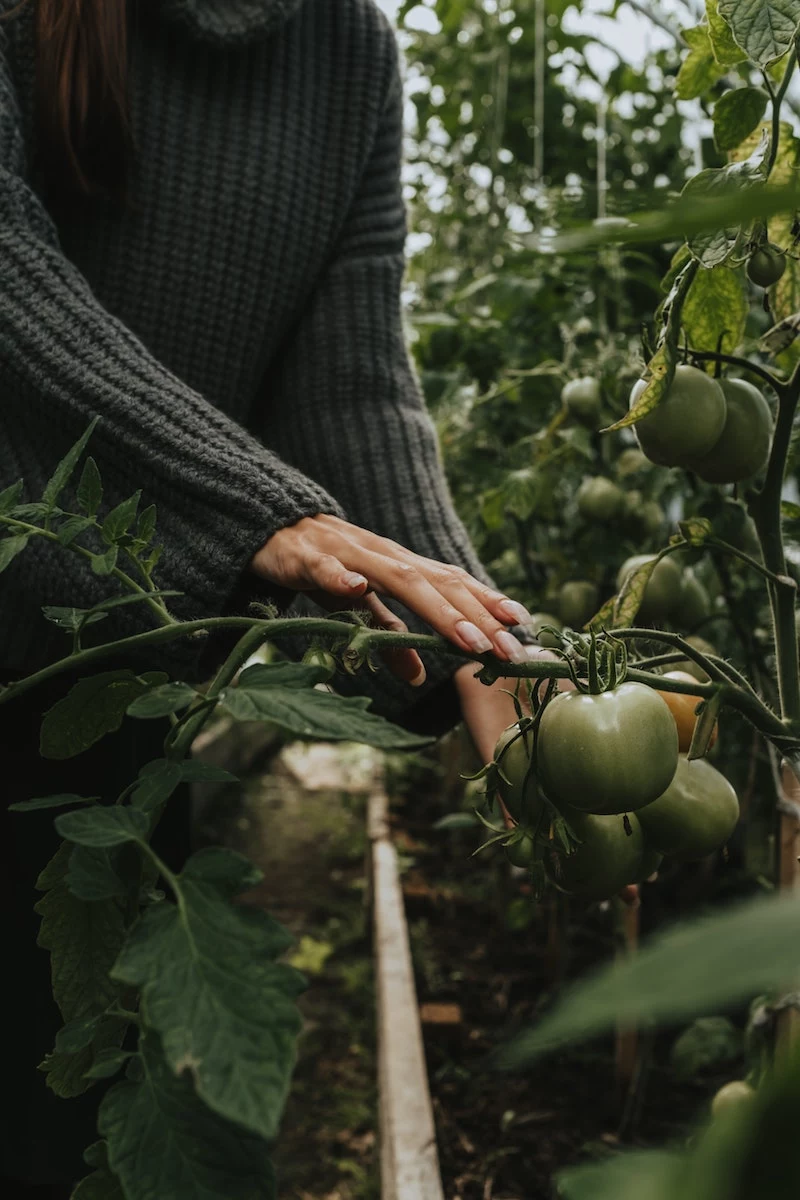
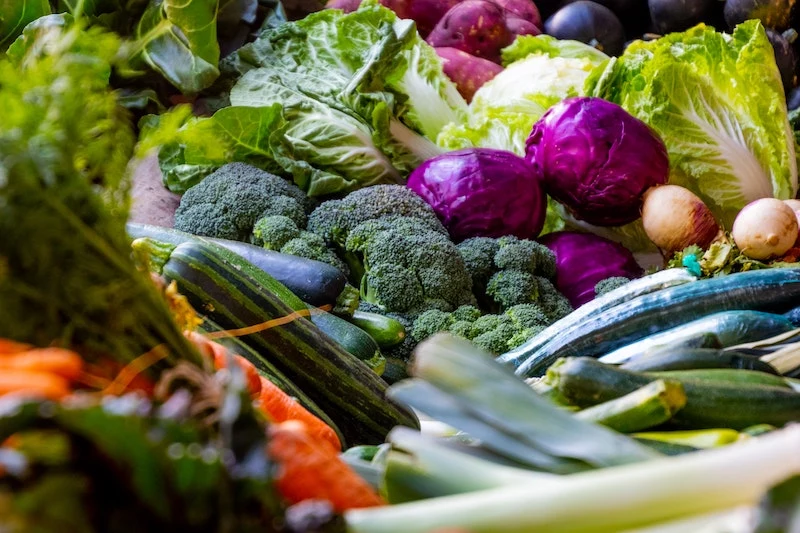
- For your full-sun champions (8+ hours of direct sun): This is prime real estate for sun-worshippers like tomatoes, peppers, zucchini, cucumbers, and corn.
- For those partial-shade spots (4-6 hours of sun): You can still grow a ton! Think leafy greens like lettuce, spinach, and kale, as well as broccoli and many herbs like parsley and mint.
For your first year, try to pick just 3 to 5 things your family absolutely loves to eat. Nailing a huge crop of tomatoes and basil will feel amazing and give you the confidence to expand next year.
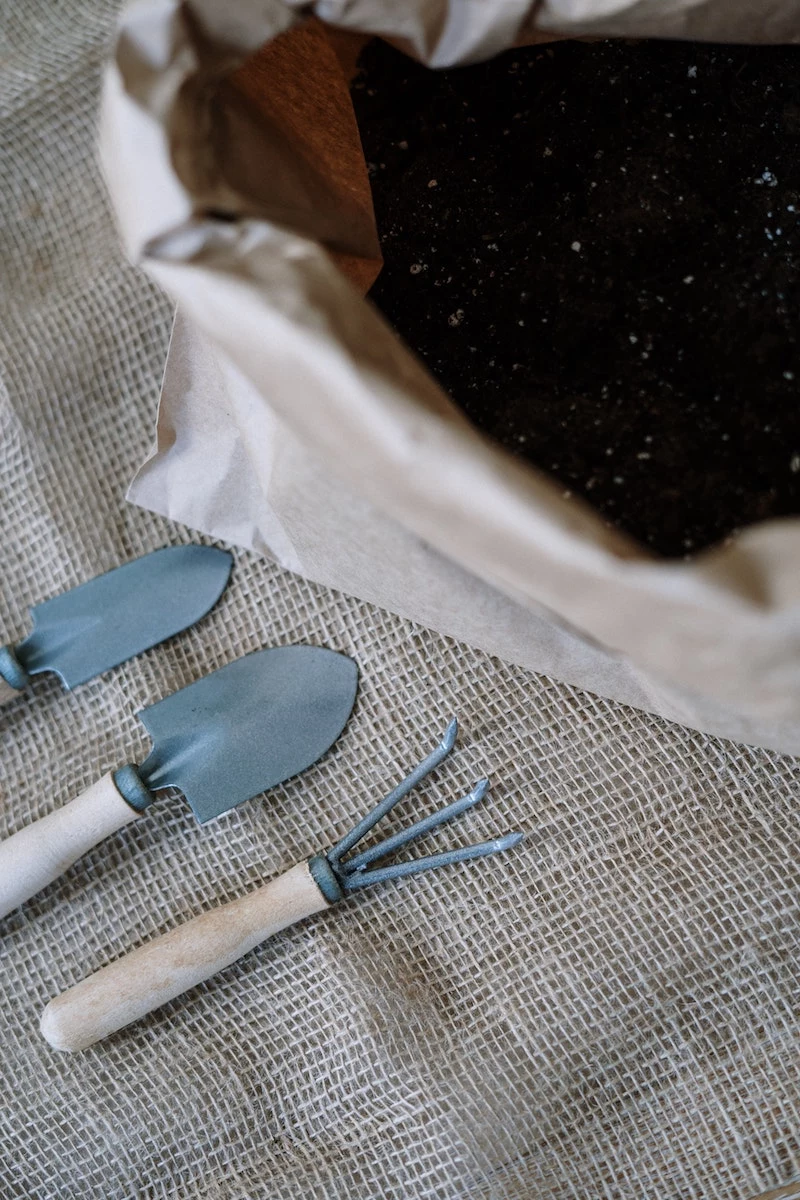
A Few Good Tools Are All You Need
You don’t need a shed full of brand-new, shiny equipment. You just need a few high-quality tools that will last.
- A Digging Fork: Better than a spade for breaking up compacted soil.
- A Hand Trowel: For transplanting and small jobs. This is where quality matters. Expect to pay $15-$25 for a good forged steel one that won’t bend, versus $5 for a cheap one that will frustrate you all season.
- Bypass Pruners: For clean cuts when harvesting or pruning.
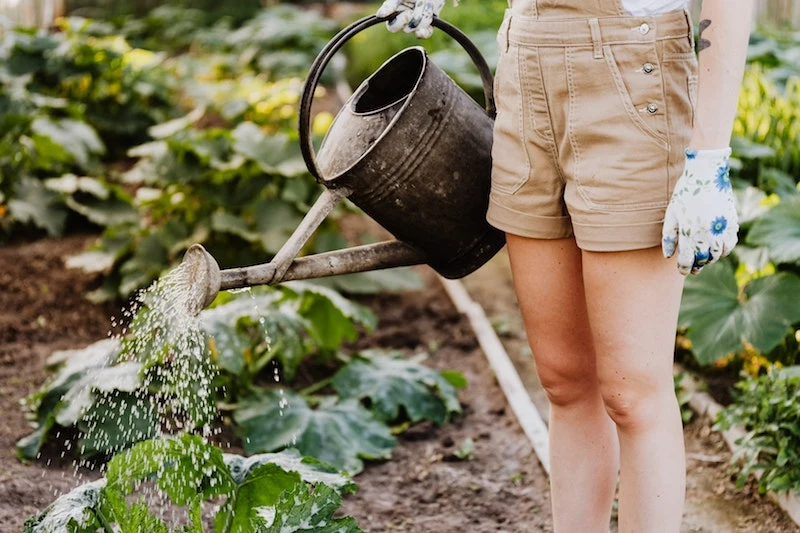
- A gentle watering nozzle: You want to water the soil, not blast the leaves off your plants.
And please, take care of your tools! Clean them off, give them a wipe with an oily rag to prevent rust, and they’ll last for decades. A little safety note: when you put a rake or fork down, always, always place it tines-down. I once saw someone step on an upturned rake, and the handle flew up and hit them right in the face. It’s a cartoon gag that is not funny in real life.
Your First Year is All About Learning
You’ve done the prep. You’ve built the soil. You’ve picked your plants. Now you get to grow.
Your first year is an experiment. You will have failures. We all do. A pest might find your beans, or a surprise hailstorm might shred your lettuce. Don’t see it as failure—it’s just information. Every challenge teaches you something valuable for the next season.
So, here’s your homework for this week. Don’t buy anything. Just go outside and make your sun map. Sketch out your yard, find your sunniest spot, and find the shady corners. That’s it. Once you know your light, you’re on your way to an incredible garden.
Inspirational Gallery
Before you get lost in individual plants, think in
- Before you add anything to your soil, find out what it actually needs.
- Your local university’s cooperative extension office often offers affordable, detailed soil testing.
- The results will tell you the pH and nutrient levels, taking all the guesswork out of fertilizing.
A weed is just a plant in the wrong place: But it’s also a clue! Before you pull everything, identify the dominant weeds. Dandelions often indicate compacted soil with low calcium, while chickweed thrives in high-nitrogen, well-tilled ground. They’re telling you about your soil conditions before you even pick up a trowel.
Does my garden have a drinking problem?
Before planting, check your drainage. Dig a hole about a foot deep and fill it with water. If it drains away in under four hours, your drainage is sharp and you’ll need to water more often. If water is still standing after a full day, you have a drainage issue. Plants hate
In-ground beds: The classic, budget-friendly choice. They require more initial work to amend the existing soil and can be tougher on your back. Best for those with naturally decent, workable soil.
Raised beds: A great solution for poor, rocky, or compacted ground. You control the soil mix from day one, they warm up faster in spring, and offer better drainage. Kits from brands like Vego Garden or Greenes Fence make setup easy, though they are a bigger upfront investment.
Curious about your soil’s texture? Try the simple
Over 90% of the world’s food is grown in soil, but it’s a resource we often disturb unnecessarily.
This is why the
- Attracts beneficial earthworms that aerate the soil for you.
- Adds essential nutrients slowly and naturally.
- Improves both drainage in clay soil and water retention in sandy soil.
The secret? Free compost. Start a compost pile with kitchen scraps (no meat or dairy), grass clippings, and fallen leaves. It’s the single best thing you can do for your future garden, and it costs nothing but a little patience.
Take a handful of your potential garden soil and really feel it. Is it gritty like sand, silky smooth like flour, or sticky and hard like clay when wet? A truly healthy, loamy soil feels damp and spongy, holds together when squeezed but crumbles easily, and has a rich, earthy smell. That’s the texture you’re aiming for—a living foundation for your plants.


