Your Patio Isn’t a Tiny Yard: The Real-Talk Guide to Amazing Container Gardens
After years of designing and planting container gardens, I’ve learned one thing for sure: a patio is not just a small yard. Not even close. It’s a whole different world with its own set of rules. The intense heat radiating off concrete, the wind that whips around a corner, the deep, dark shade from an overhang—these are the things that decide if a plant lives or dies.
In this article
Honestly, I’ve seen more beautiful, well-intentioned plants fail because they were treated like they were in a regular garden bed than for any other reason. But here’s the good news: creating a lush, gorgeous patio space is completely doable. You just need the right playbook.
This isn’t a list of trendy plants that will look good on Instagram for a week and then give up. This is a collection of lessons learned in the trenches, from sunny apartment balconies to shady restaurant patios. We’ll walk through how to actually understand your unique space, how to pick the right pot and soil (it matters more than you think!), and how to choose plants that won’t just survive, but will actually thrive.

First Things First: Become an Expert on Your Patio
Before you even think about heading to the garden center, you need to do a little recon. Every single patio is its own microclimate. Figuring out its quirks is the most important step you’ll take. The pros always do a site assessment first, and you should, too.
Map Your Sun Like a Pro
You see “full sun” on a plant tag and it means 6+ hours of direct sunlight. “Part sun” is 4 to 6 hours, and “shade” is less than 4. Simple, right? Well, not exactly. The morning sun is gentle and forgiving. The afternoon sun, especially from about 1 p.m. to 4 p.m., is a blowtorch. A plant that loves six hours of morning sun might get completely scorched by the same number of hours in the afternoon.
Here’s a trick I teach everyone. On a sunny day, go out to your patio four times: around 9 a.m., 12 p.m., 3 p.m., and 5 p.m. Just snap a quick photo with your phone or sketch where the sun is hitting. This simple sun map tells you everything. You might find one corner is a furnace all day, while another spot is a perfect, gentle haven for a shade-lover.
The Deal with Heat, Wind, and Airflow
Patios are surrounded by hard surfaces—concrete, brick, glass—that soak up heat and reflect it right back. This can easily raise the temperature around your plants by 10 to 15 degrees compared to a grassy lawn. This “heat island” effect means your plants will get thirsty much faster. It also means some plants that are perfectly fine in your climate might struggle in a hot pot on the patio.
And then there’s wind. A breezy patio is lovely for us, but it’s incredibly drying for plants. If you’re in a spot that acts like a wind tunnel, you’ll want to choose sturdier plants or maybe even set up a small decorative trellis to act as a windbreak. On the flip side, a walled-in patio with zero airflow can get humid and stagnant, which is basically an open invitation for fungal diseases like powdery mildew.
The Foundation: Pots and Soil Are Everything
For a container plant, the pot and the soil are its entire universe. Getting this right isn’t just a suggestion; it’s the key to success. In my experience, most container failures start right here.
Choosing Your Container
The material your pot is made from has a huge impact on its weight, how fast it dries out, and even the temperature of your plant’s roots. It’s not just about looks.
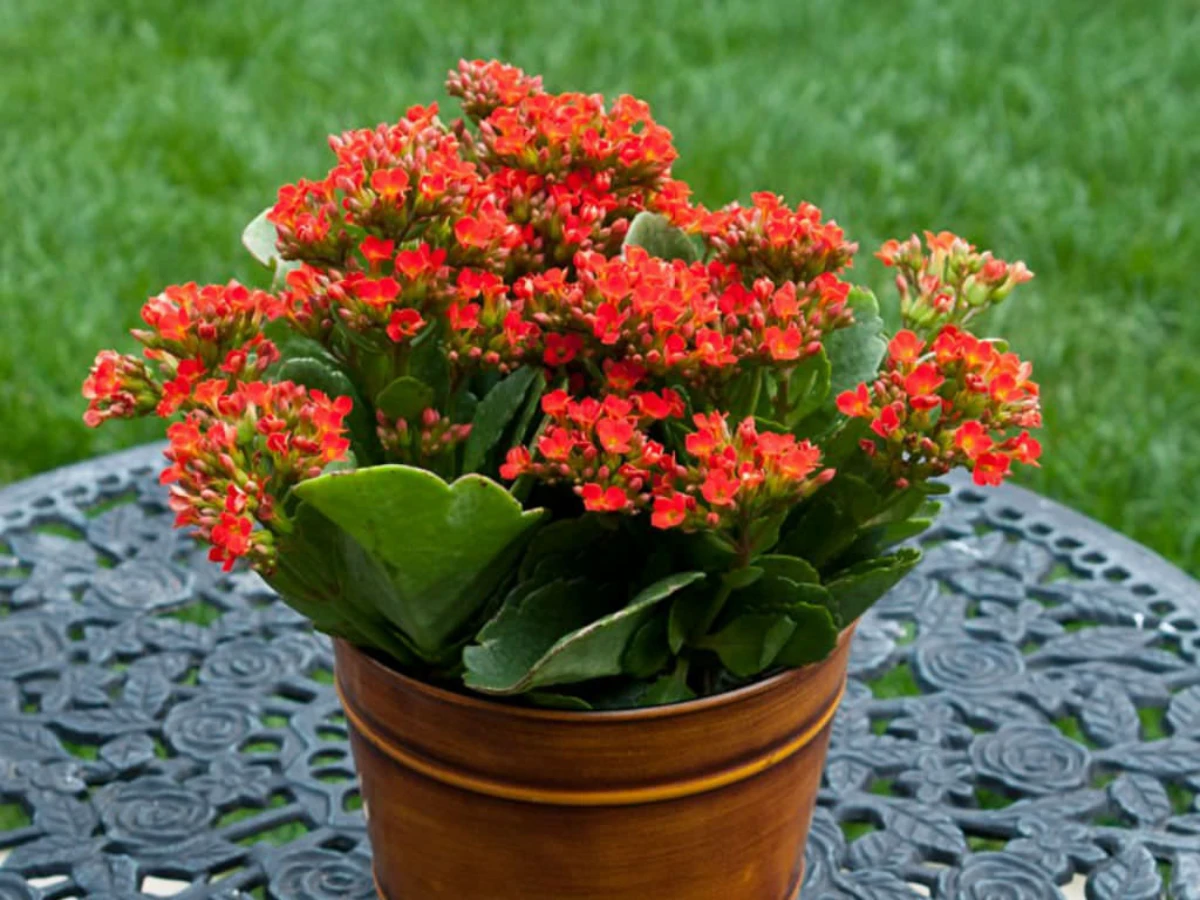
- Terracotta (Unglazed Clay): These are classic for a reason. They’re beautiful and porous, meaning they breathe. This is fantastic for plants that hate having “wet feet,” like succulents or lavender. The big downside? They dry out incredibly fast, especially in sun and wind. In a hot spot, you might be watering these daily. They can also crack in a hard freeze if left outside full of damp soil. They’re usually affordable, starting around $10 for a medium pot and going up to $40 for larger ones.
- Glazed Ceramic: A glazed pot holds moisture much better and comes in endless colors and styles. They are heavy, which is great for stability in windy spots. This is a solid all-around choice for most flowers and veggies. Just remember that a large one can be a real beast to move once it’s full of soil and water. Expect to pay anywhere from $30 to $100+ depending on size and artistry.
- Plastic and Resin: Don’t knock ’em! These are lightweight, budget-friendly (often $15-$50 for a really big one), and excellent at holding moisture. A great choice if you need a large planter that won’t break your back or your wallet. A quick heads-up: dark-colored plastic can get screaming hot in the sun and literally bake the roots. I always recommend lighter colors for this reason.
- Wood: Wooden planters, especially cedar, are fantastic insulators, protecting roots from both extreme heat and cold. They offer a great natural look but will, of course, break down over time. If you plan to grow anything edible, make sure the wood is untreated.
One Rule to Rule Them All: Every single pot MUST have a drainage hole. I’m serious. No exceptions. Without a way for excess water to escape, it pools at the bottom, the soil gets saturated, and the roots literally drown and rot. If you find a decorative pot you love that doesn’t have a hole, you can often drill one yourself with the right kind of drill bit.
Oh, and by the way, that old trick of putting a layer of gravel in the bottom of the pot? It’s a myth. It doesn’t improve drainage; it actually makes it worse by creating a false water level that keeps the roots soggy. Just use good soil and a drainage hole.
The Right Dirt (Hint: It’s Not from Your Garden)
Never, ever, ever use soil from your garden in a pot. It’s way too heavy. It compacts into a brick, suffocating the roots, and it drains poorly. Plus, it’s probably full of weed seeds and pests you don’t want. You have to use a product labeled “potting mix” or “potting soil.” A big bag from a place like Home Depot or Lowe’s will run you about $15-$25 and will fill several medium-sized pots.
If you’re feeling adventurous or have a lot of pots, you can mix your own. It’s cheaper in the long run. A fantastic, all-purpose recipe is just three equal parts:
- A moisture-holding base: Peat moss or coconut coir.
- An aeration material: Perlite or vermiculite (those little white crunchy bits).
- Organic matter: Good quality compost.
To make it less abstract, just grab an old yogurt container or coffee can as your scoop. One scoop of peat, one scoop of perlite, one scoop of compost. Mix it all up in a wheelbarrow or a bucket, and you’re golden.
The Fun Part: Choosing Your Plants
Okay, now that you’ve got the foundation sorted, you can finally think about plants. A fantastic design trick is the “Thriller, Filler, Spiller” method. It’s a simple formula for creating balanced, professional-looking containers.
- Thriller: A tall, dramatic plant in the center that adds height.
- Filler: Mounded plants that surround the thriller and fill out the pot.
- Spiller: Plants that cascade over the edge of the pot.
Here are some reliable performers I’ve used time and time again.
For That Hot, Sunny Patio
These plants can take the heat, as long as they get enough water and are in a decent-sized pot (think at least 12 inches in diameter) so their roots don’t cook.

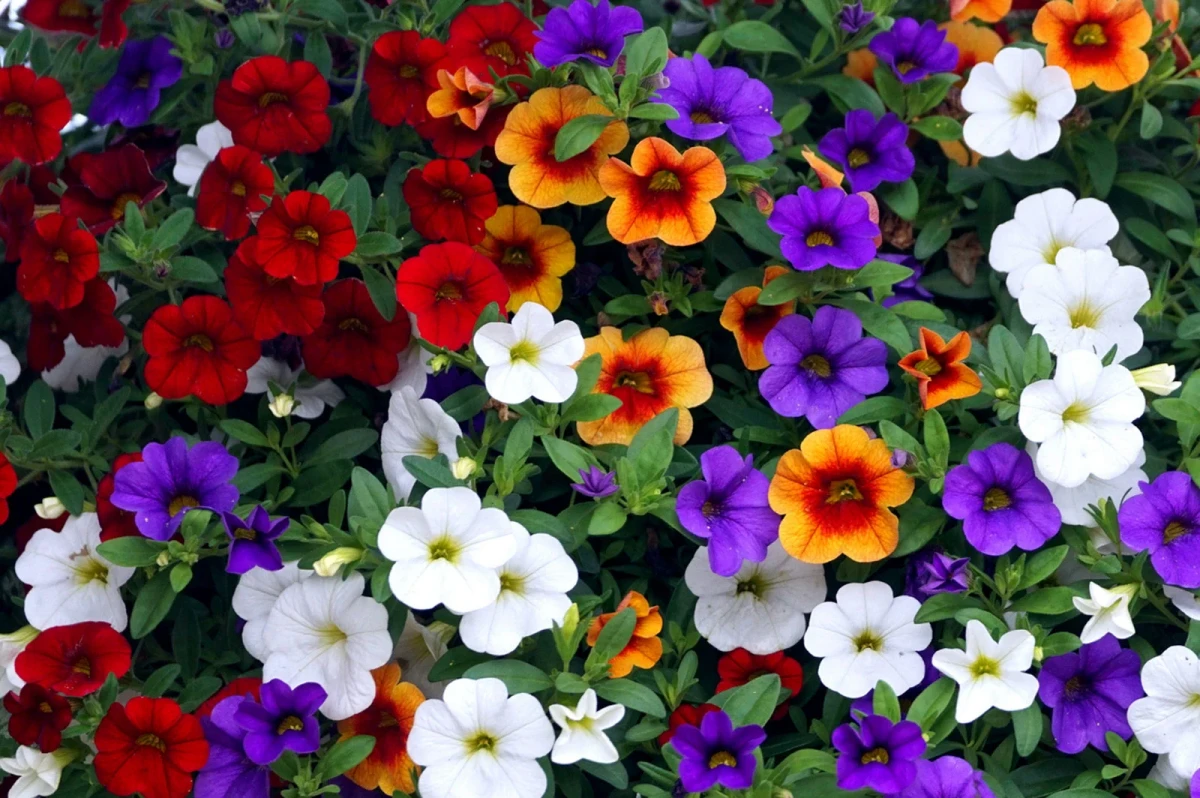
Million Bells (Calibrachoa): This plant is a total workhorse and a perfect “spiller.” It looks like a tiny petunia but blooms nonstop with no need to pick off the old flowers. They are heavy feeders, though. I always mix a slow-release fertilizer into the soil at planting and then give them a liquid feed every couple of weeks. If the leaves turn yellow with green veins, they need a shot of liquid iron.
Lavender: The scent is pure joy, but people often kill it with kindness. The key is drainage. Use a terracotta pot and a gritty soil mix (add a handful of sand to your potting mix). Let it dry out between waterings. Don’t over-fertilize! For a single plant, a 12- to 14-inch pot is a good starting point to give its roots room to breathe.
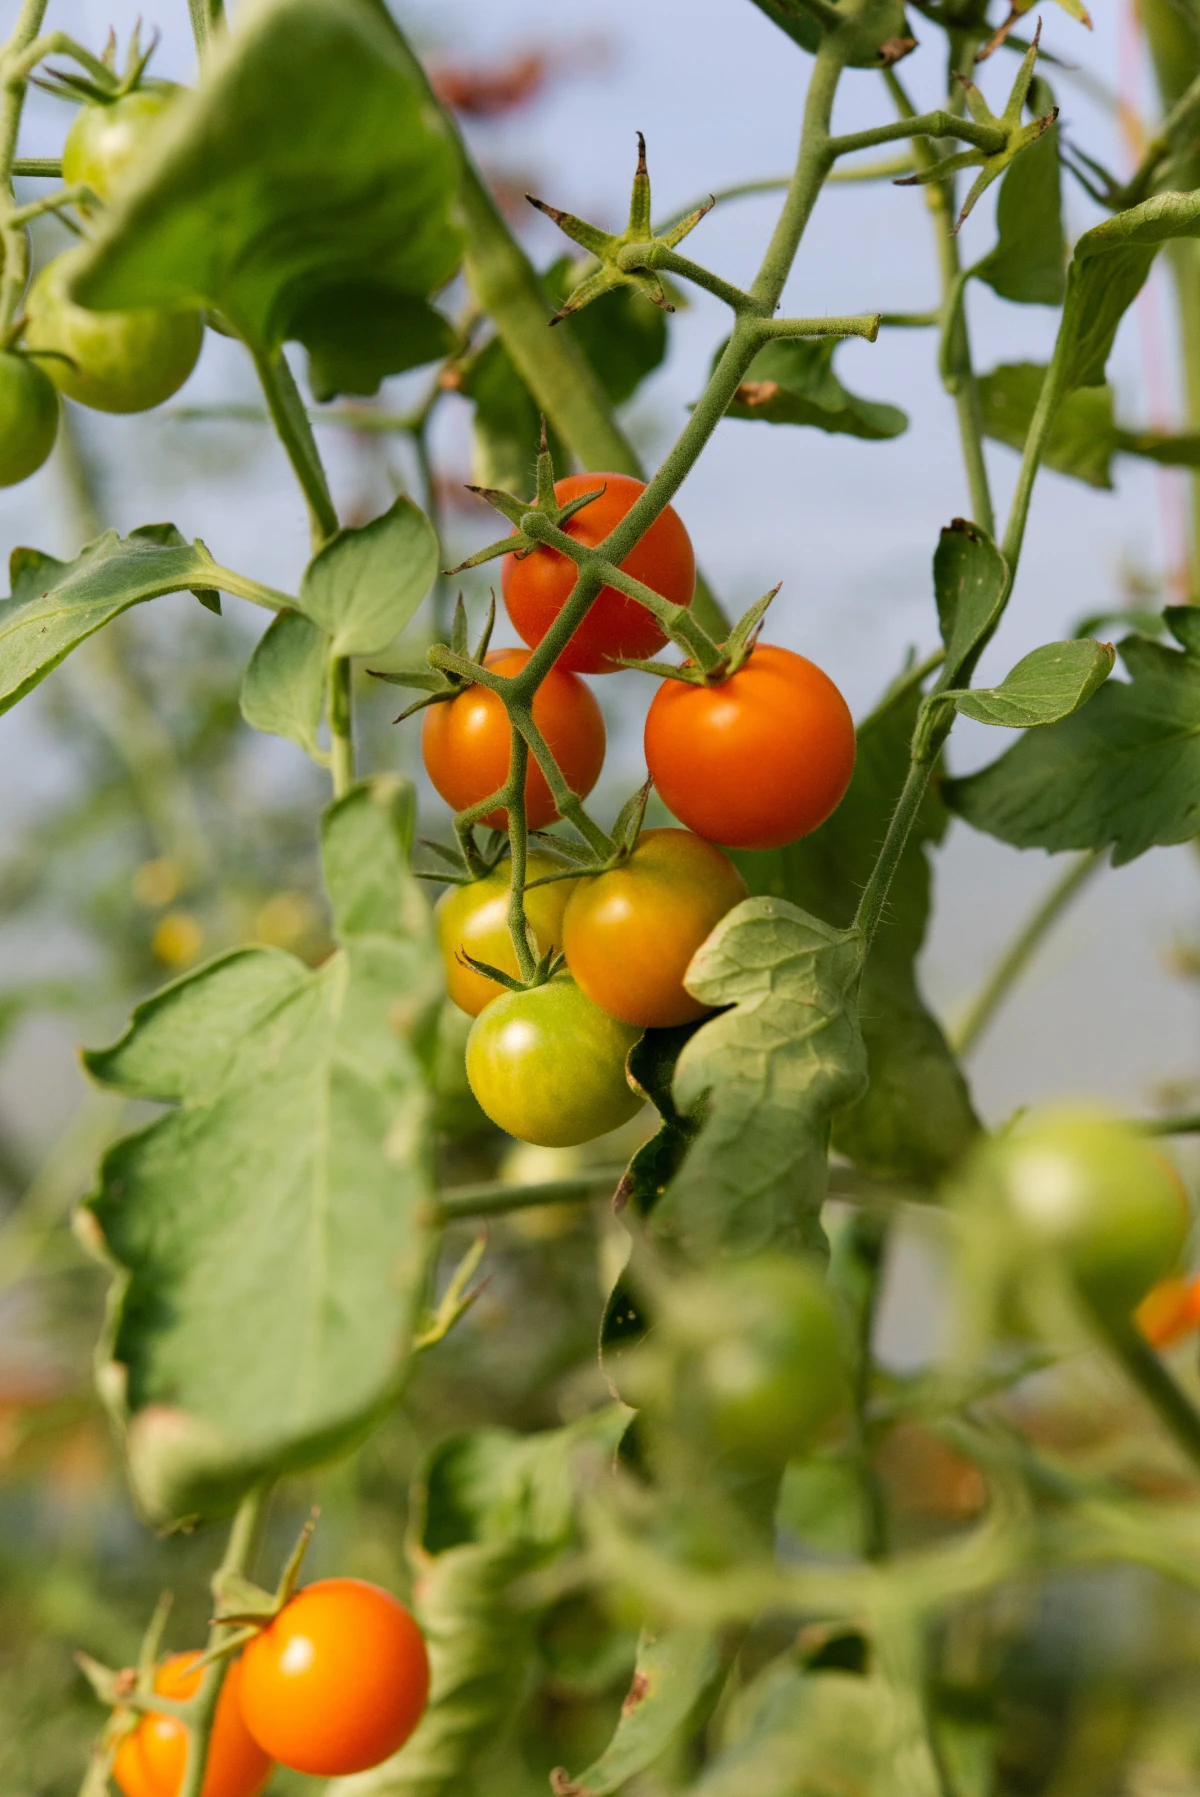
Determinate ‘Patio’ Tomatoes: You can absolutely grow tomatoes! The secret is to choose a “determinate” or “bush” variety that stays compact. A common issue is blossom end rot (that black, leathery spot on the bottom), which is caused by inconsistent watering. A five-gallon pot (about 12-14 inches wide) is the absolute minimum for one tomato plant to prevent it from drying out too fast.
For a Little Fragrance and Foliage
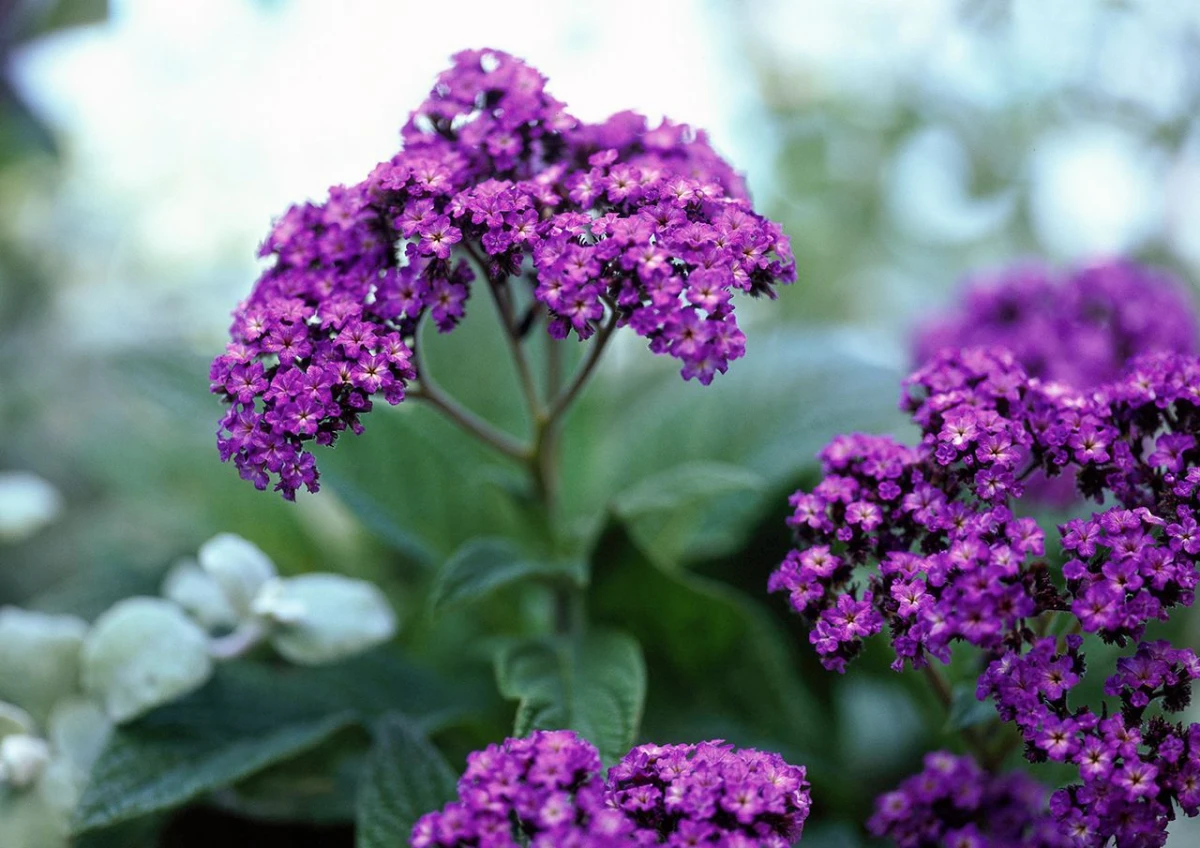
These plants appreciate a break from the brutal afternoon sun and add scent and structure.
Heliotrope: If you want a plant that smells like cherry pie or vanilla, this is it. It’s a wonderful “filler.” It’s also very thirsty and will wilt dramatically to let you know it needs a drink. Good to know: all parts of this plant are toxic if eaten by pets or people. If you have curious critters or kids, maybe skip this one and try a pet-safe Geranium or Snapdragon instead.
Madagascar Dragon Tree (Dracaena): Often sold as a houseplant, this is my secret weapon for a perfect “thriller.” Its spiky, upright form adds instant drama. I usually treat it as an annual accent, or I pot it up separately at the end of the season and bring it inside as a houseplant for the winter. It’s surprisingly tough!
A Foolproof Recipe for Your First Pot
Feeling overwhelmed? Let’s make it super simple. Here’s a can’t-mess-it-up combo that will look great all summer.
1. The Pot: Get a 14-16 inch glazed ceramic or good-quality resin pot ($30-$60). Make sure it has a hole!
2. The Soil: One bag of all-purpose potting mix ($15-$25).
3. The Plants ($15-$20 total):
- Thriller/Filler: One Geranium (Pelargonium). They’re tough, colorful, and handle sun well.
- Spiller: One Sweet Potato Vine (Ipomoea batatas). The chartreuse ‘Margarita’ or deep purple ‘Blackie’ are classics that grow fast and fill out beautifully.
This simple combo gives you height, color, and that lovely cascading effect. It’s a huge confidence booster!
Keeping Your Plants Happy All Season
Planting is just the start. A little ongoing care is what keeps your patio looking lush and vibrant.
Watering: The Finger Test
“How often should I water?” It’s the million-dollar question. The only real answer is: when the plant needs it. The best way to know is to stick your finger about two inches into the soil. If it feels dry, it’s time to water. If it’s damp, check again tomorrow. When you do water, do it thoroughly until you see water running out of the drainage hole. This encourages roots to grow deep and strong.
Fertilizing Made Easy
Container plants are stuck with the nutrients you give them. My simple strategy is to mix a granular, slow-release fertilizer into the soil when planting. This acts like a multivitamin for a few months. Then, for heavy bloomers like Million Bells or petunias, I give them a boost with a water-soluble fertilizer (the kind you mix with water) every 2-4 weeks.
Dealing with Unwanted Guests
Sooner or later, you might see little pests like aphids or spider mites. Don’t panic! For most minor infestations, a strong blast of water from the hose is enough to knock them off. If they’re persistent, a pre-mixed insecticidal soap (around $10 at any garden center) is a safe and effective next step. Just spray the plants down, making sure to get the undersides of the leaves.
The End-of-Season Cleanup
What do you do when the season winds down? Don’t just let the pots sit there and get sad.
First, pull out all the annual plants (the ones that only live for one season). They can go right into your compost bin. For any perennials you want to try and save, like that Dracaena, you can pot them up and bring them indoors to a sunny window.
Next, empty the soil out of your pots into a wheelbarrow or onto a tarp. It’s generally best not to reuse potting soil year after year, as it can harbor diseases. You can spread the old soil on your garden beds.
Finally, give the empty pots a good scrub with soap and water to remove any mineral deposits or lingering pests. Store terracotta and ceramic pots somewhere dry and protected, like a garage or shed, to prevent them from absorbing water and cracking during a freeze. A little cleanup now makes starting again next spring so much easier.
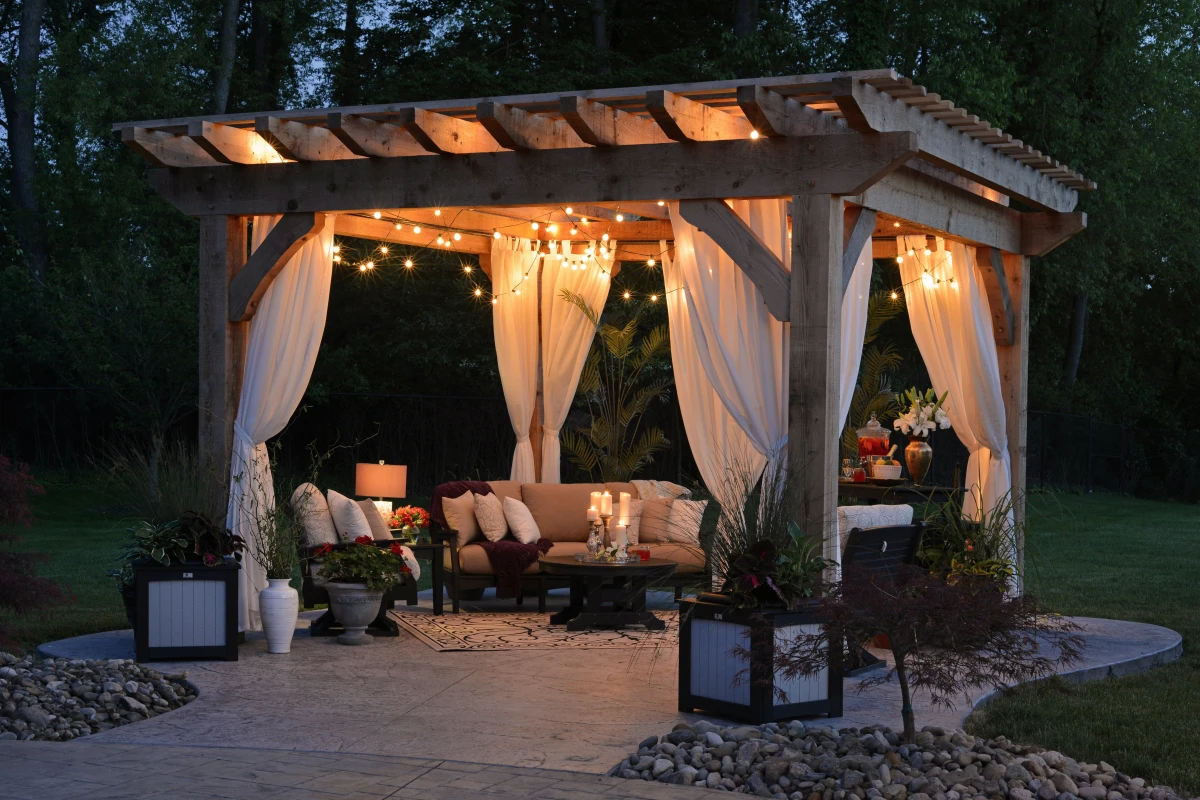
Inspirational Gallery with Photos
Terracotta Pots: Classic and porous, they allow air and water to move through the sides. This is great for root aeration but means soil dries out very quickly, which is perfect for drought-tolerant plants like succulents and rosemary.
Fabric Pots: Modern options from brands like Smart Pots or Vego Garden promote healthier roots through
- A dramatic, vertical plant for height (the Thriller).
- Mounding plants to fill the middle space (the Filler).
- Trailing plants to cascade over the edge (the Spiller).
The secret to a professionally designed look? The “Thriller, Filler, Spiller” method. It’s a simple formula that creates balance, dimension, and interest in any container.
Did you know? Potting mix is not soil. Using dense garden soil in a pot leads to compaction, which suffocates roots and causes waterlogging.
Always choose a quality, peat- or coir-based potting mix. Blends like FoxFarm’s Ocean Forest or Pro-Mix are specifically formulated with perlite or vermiculite to provide the light, airy structure that container plants need to thrive.
Wondering if your thirsty plants need another drink?
Instead of giving a small sip daily, which encourages weak, shallow roots, commit to deep watering. Drench the pot thoroughly until water flows freely from the drainage hole. This ensures the entire root ball is saturated. Then, wait. Let the top inch or two of soil become completely dry before you water again. This simple cycle prevents both over- and under-watering.
Think beyond what you see and design for what you can smell. As the sun sets, some plants release their most intoxicating fragrances. Place a pot of flowering tobacco (Nicotiana), night-scented stock, or a climbing star jasmine near your seating area. Their perfume will transform your patio into a sensory retreat after dark.
The one non-negotiable rule of container gardening: Your pot MUST have a drainage hole. Without it, you don’t have a planter, you have a root-rot-producing bathtub. If you fall in love with a decorative pot that lacks a hole, use it as a ‘cachepot’—simply slip a slightly smaller plastic nursery pot with drainage inside.
Container plants are hungry diners entirely dependent on you for their meals. The nutrients in fresh potting mix are typically used up in about six weeks. To keep them flourishing, you have two great options:
- Slow-Release Granules: Mix a product like Osmocote Plus into your soil at planting time. It acts like a slow-drip IV of nutrients, feeding your plants for several months with every watering.
- Liquid Fertilizer: For a more immediate boost, use a water-soluble food like a fish emulsion or Miracle-Gro every 1-2 weeks. It’s a quick shot of energy for heavy bloomers and fast-growing plants.
Self-watering planters from brands like Lechuza can reduce watering frequency by up to 75%.
These clever containers use a built-in water reservoir that allows plants to wick up moisture as they need it. It’s a game-changing solution for thirsty plants on a hot, sun-baked patio, and a lifesaver if you travel.
Don’t limit your garden to the floor. Growing vertically with a trellis, railing planters, or hanging baskets draws the eye upward, making a small patio feel more spacious and lush while maximizing your growing area. A simple clematis vine or a basket of trailing Supertunia Vista can completely change the scale of your space.
- Enjoy ultra-fresh ingredients just steps from your kitchen.
- Control exactly what goes into your food—no pesticides unless you choose them.
- Harvest just what you need, reducing food waste.
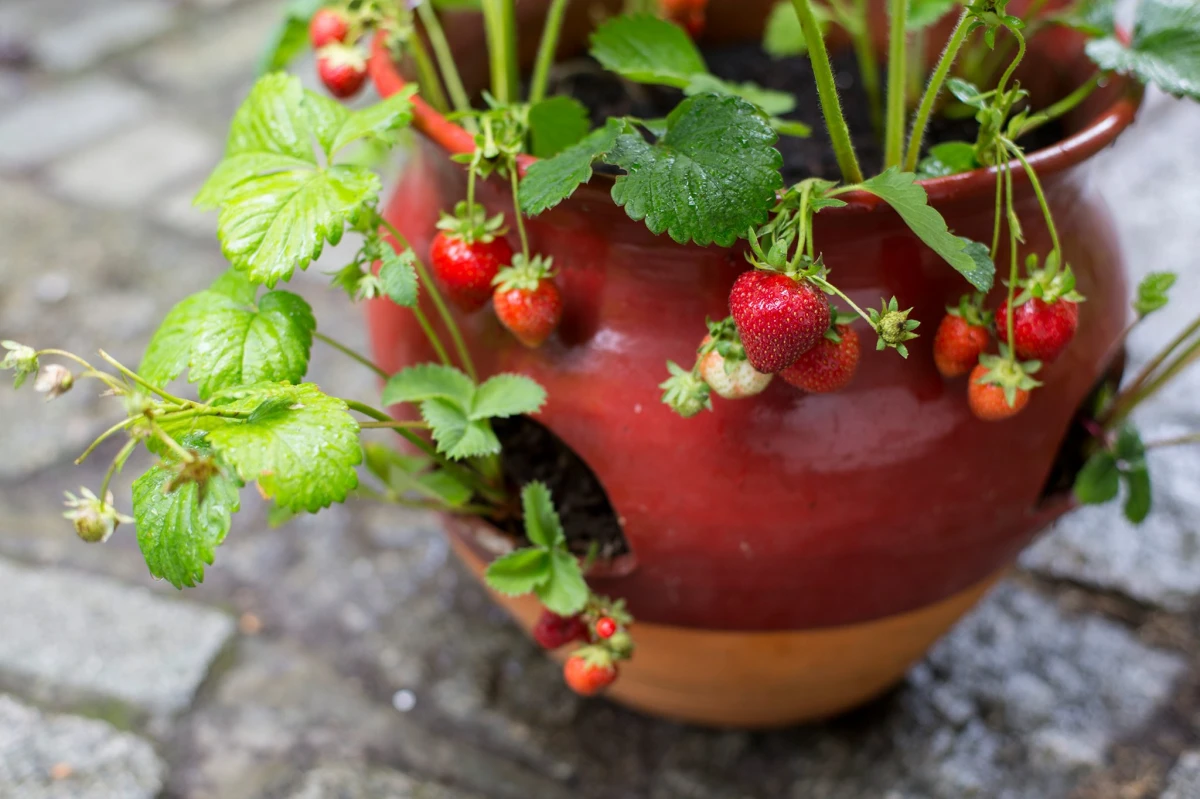
The appeal? Growing your own edibles. Your patio is the perfect place. Start with a 5-gallon pot for a dwarf ‘Patio’ tomato, a window box of mixed lettuces, or a simple container of ever-useful herbs like basil and mint.


