The Real Reason Your Orchid Won’t Bloom Again (And How to Actually Fix It)
I’ve spent more than my fair share of time with my hands in bark and moss, trying to coax flowers out of some seriously stubborn orchids. I’ll never forget one of my firsts—a beautiful white Phalaenopsis I grabbed from the grocery store. It was stunning for months. And then… nothing. For what felt like an eternity, it just sat there, popping out new leaves but not a single flower spike. I almost gave up on it.
In this article
- First Things First: What Do I Do With the Old Flower Stem?
- Light: Your Most Powerful Blooming Tool
- Temperature: The Secret Seasonal Signal
- Watering and Humidity: How Not to Drown Your Plant
- Feeding: The ‘Weekly, Weakly’ Rule
- A New Spike Appeared! Now What?
- Repotting Without the Panic
- Final Thoughts: It’s All About Patience
- Inspiration:
That plant taught me everything. It forced me to look past the pretty petals and actually understand the living thing in the pot. Honestly, the most common question I hear is, ‘Why won’t my orchid rebloom?’ And the answer is never just one thing. It’s about learning to read the plant’s signals and giving it what it needs to thrive.
So many people treat these plants like long-lasting bouquets, tossing them once the flowers fade. But that’s a huge misunderstanding! An orchid you buy in full bloom was grown in a high-tech greenhouse with perfect, computer-controlled conditions. When you bring it home, it’s like it landed on a new planet. Getting it to rebloom isn’t a secret trick; it’s about mimicking its natural life cycle right in your living room.
First Things First: What Do I Do With the Old Flower Stem?
Okay, let’s tackle the number one question everyone has when the last flower drops. You’re left with this long, naked stem. Do you cut it? Leave it? It’s paralyzing, I know. For the most common household orchid, the Phalaenopsis (or Moth Orchid), you have two good choices.
- The Patient Approach (Cut to the Base): If the stem has turned completely brown and crispy, your choice is made. Snip it off as close to the base of the plant as you can. But even if it’s still green, I often recommend cutting it all the way down. Why? This lets the plant put all its energy into growing stronger roots and leaves, basically ‘recharging’ for a bigger, better bloom next season.
- The Quick-Win Approach (Trim to a Node): Look closely at the green flower stem. You’ll see little triangular bumps along its length, kind of like faint seams. These are called nodes. If you’re feeling lucky, you can trim the stem about one inch above the second or third node from the bottom. Sometimes, the plant will send out a new, smaller branch of flowers from that node in a few months. It’s not a guarantee, and the blooms are usually smaller, but it can be a nice surprise!
Honestly, for a healthier plant in the long run, I usually just cut the whole stem off and let the plant rest. Now, with that out of the way, let’s get into the real work of triggering a brand-new spike from scratch.
Light: Your Most Powerful Blooming Tool
If an orchid isn’t blooming, the first thing I check is always the light. It’s the plant’s food source. Without enough light, it simply can’t store up the massive amount of energy it takes to produce flowers. It might have enough juice for a new leaf, but not for a whole flower spike.
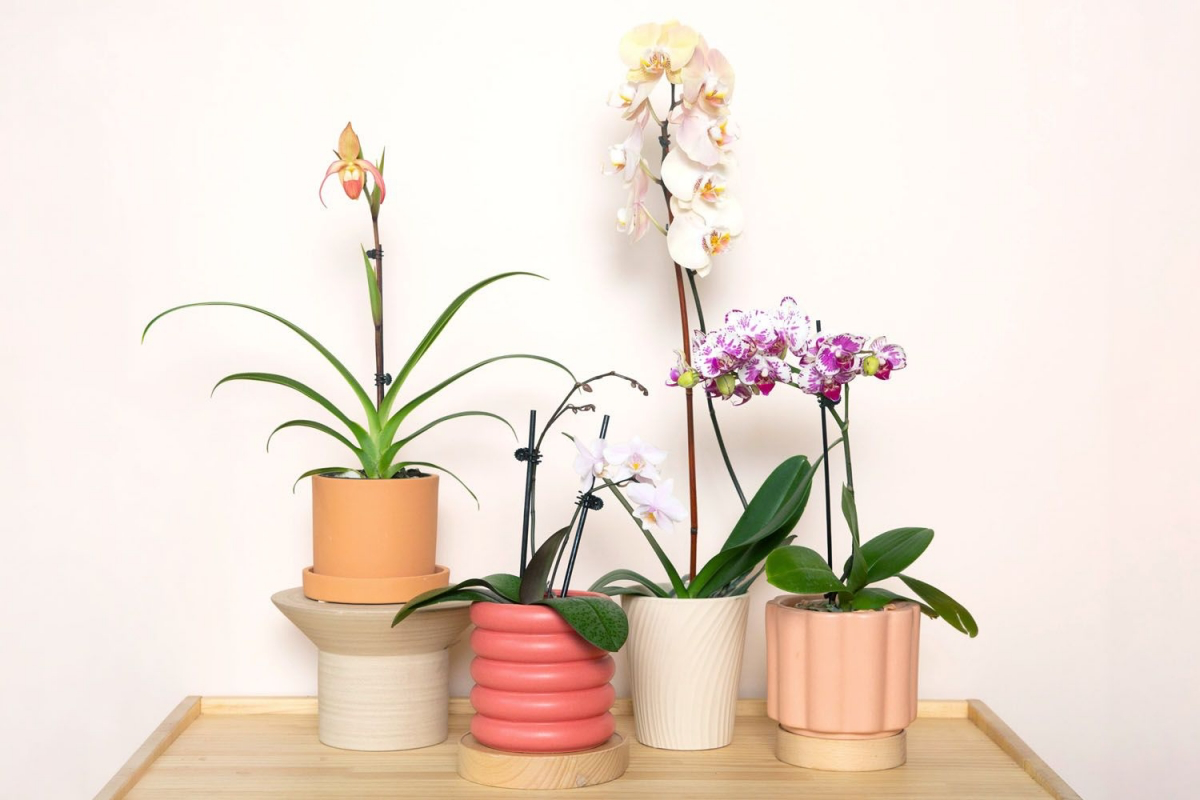
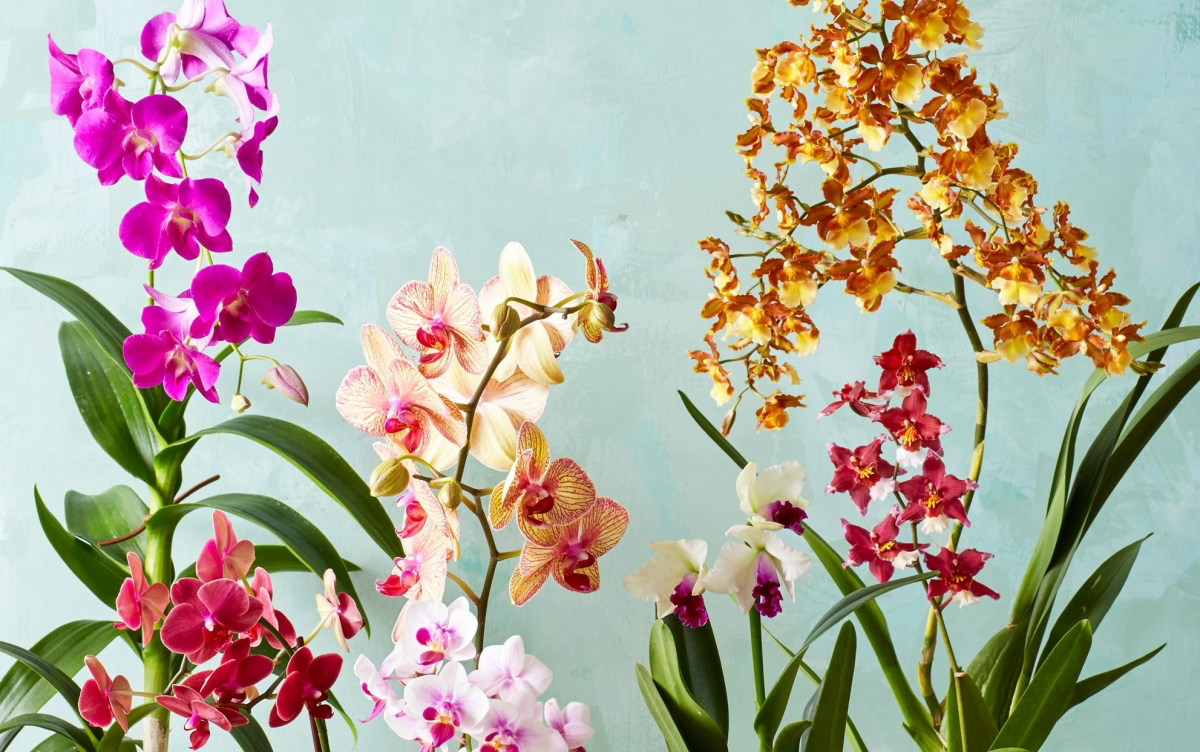
Different orchids need different light levels, which comes from where they evolved. A Phalaenopsis grows under a jungle canopy, so it likes dappled, indirect light. A Cattleya, on the other hand, often grows higher up, soaking in much brighter sun.
A Pro’s Simple Light Test:
You don’t need a fancy meter. Just use your hand. On a bright day, hold your hand about a foot above your orchid’s leaves and look at the shadow.
- Fuzzy, blurry shadow? That’s low light. It’s probably okay for a Phalaenopsis, but not much else.
- Soft-edged but clear shadow? That’s medium light. This is the sweet spot for many types like Oncidiums and Dendrobiums.
- Sharp, crisp shadow? High light. Perfect for Cattleyas and Vandas, but this will definitely scorch a Phalaenopsis.
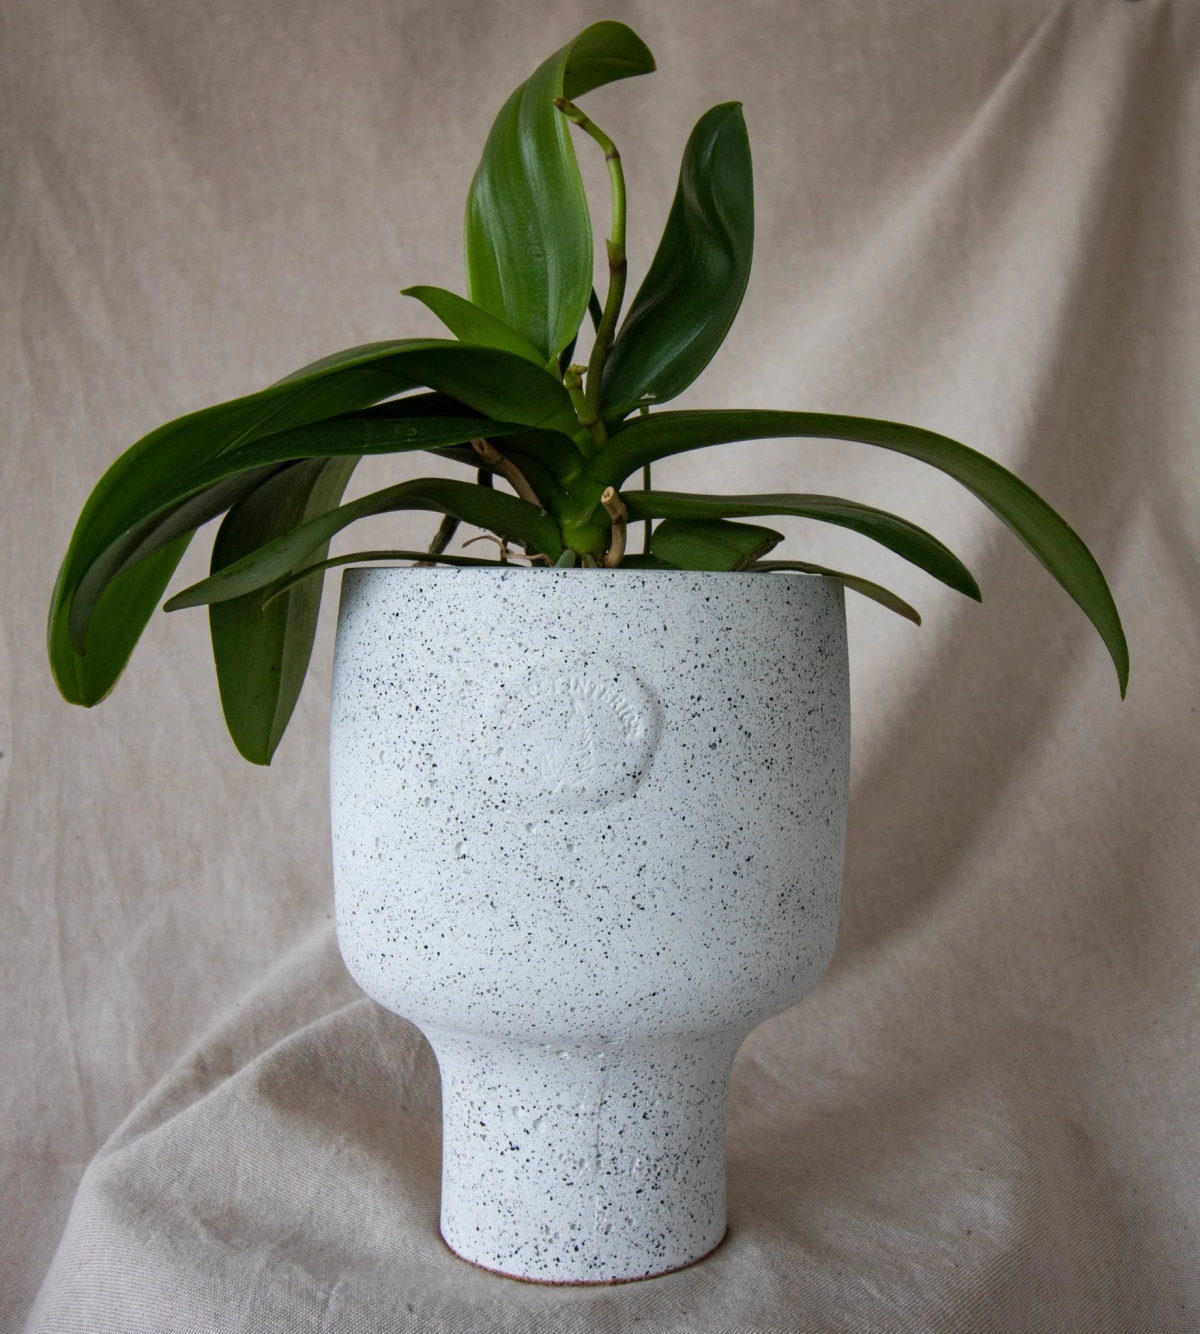
Pay attention to the leaf color, too! A happy Phalaenopsis should have bright, olive-green leaves. If they’re a deep forest green, it needs more light. If they’re turning yellowish or getting reddish edges, it’s getting too much sun. You’ll learn to read these signs.
Temperature: The Secret Seasonal Signal
For most Phalaenopsis orchids, a specific drop in temperature is the non-negotiable signal to start growing a flower spike. It mimics the changing seasons, telling the plant that a cooler, drier period is coming—the perfect time to flower. If your home stays at a steady 72°F day and night, your orchid is just waiting for a signal that never arrives.
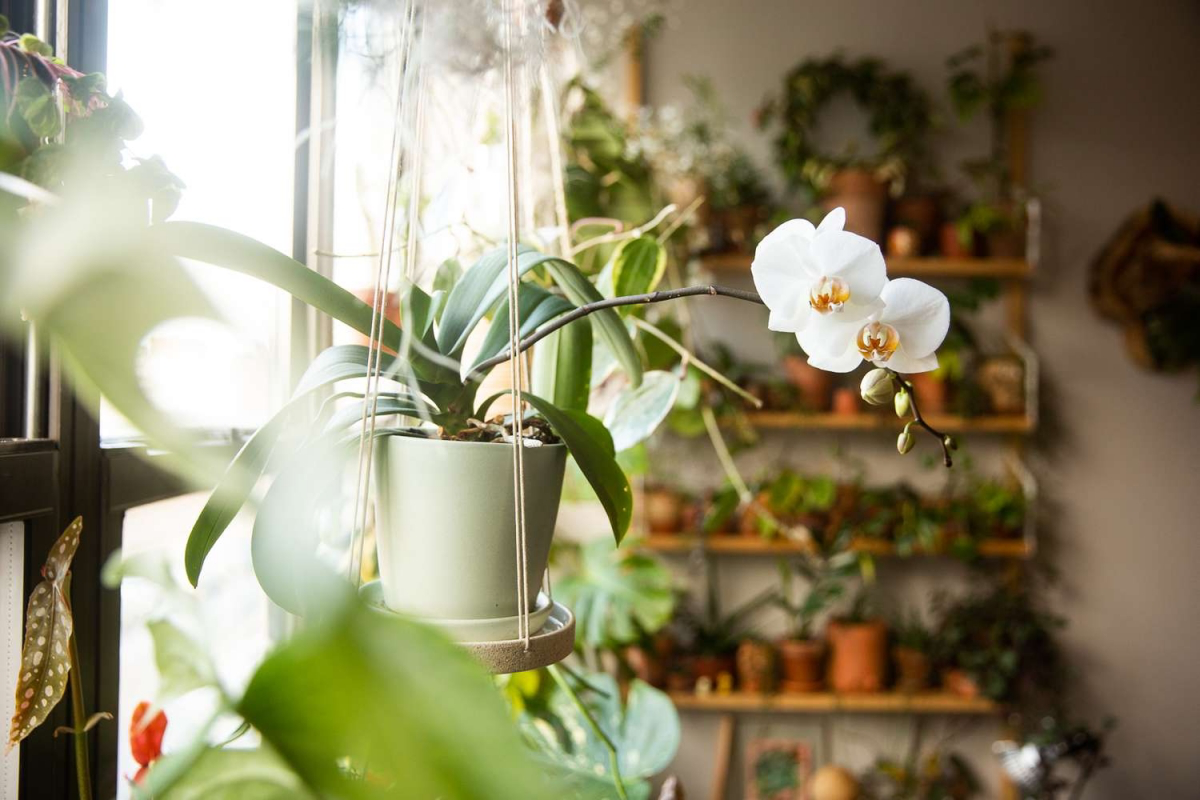
To trigger a bloom, you need to give it a nighttime temperature drop of about 10-15°F for three to four weeks straight, usually in the fall. The easiest way to do this? Just move your plant closer to a window. The glass gets cool at night and provides that temperature difference naturally. I’ve known people who just crack a nearby window in their ‘orchid room’ at night in September and October to get the job done.
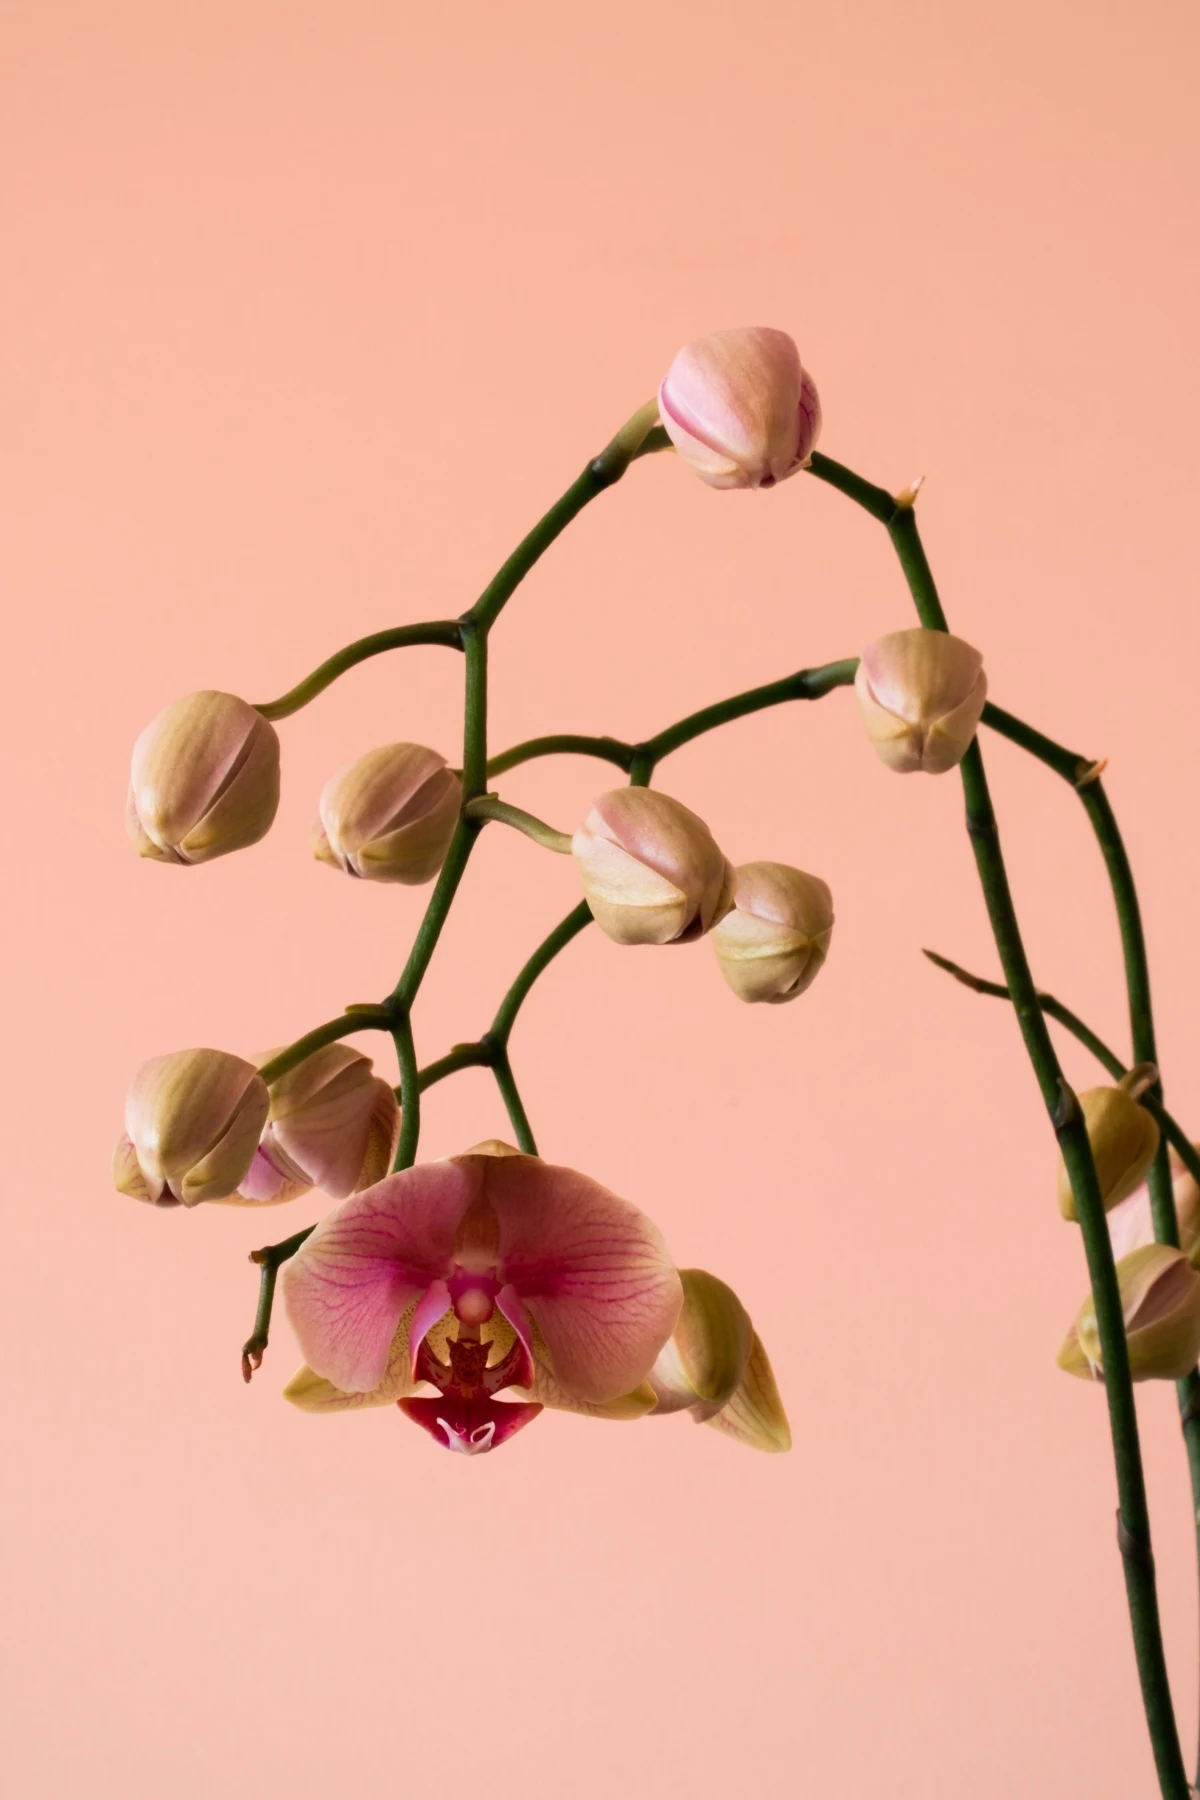
Once you see that little green ‘mitten’ (the tip of the new flower spike) peeking out from between the leaves, you’ve done it! You can move the plant back to its normal, warmer spot. The trigger has been pulled.
Watering and Humidity: How Not to Drown Your Plant
I’m going to be blunt: overwatering is the #1 way people kill their orchids. I learned this the hard way with a gorgeous Slipper Orchid early on. I kept it soggy, thinking I was being attentive. The roots turned to mush in a month. Lesson learned.
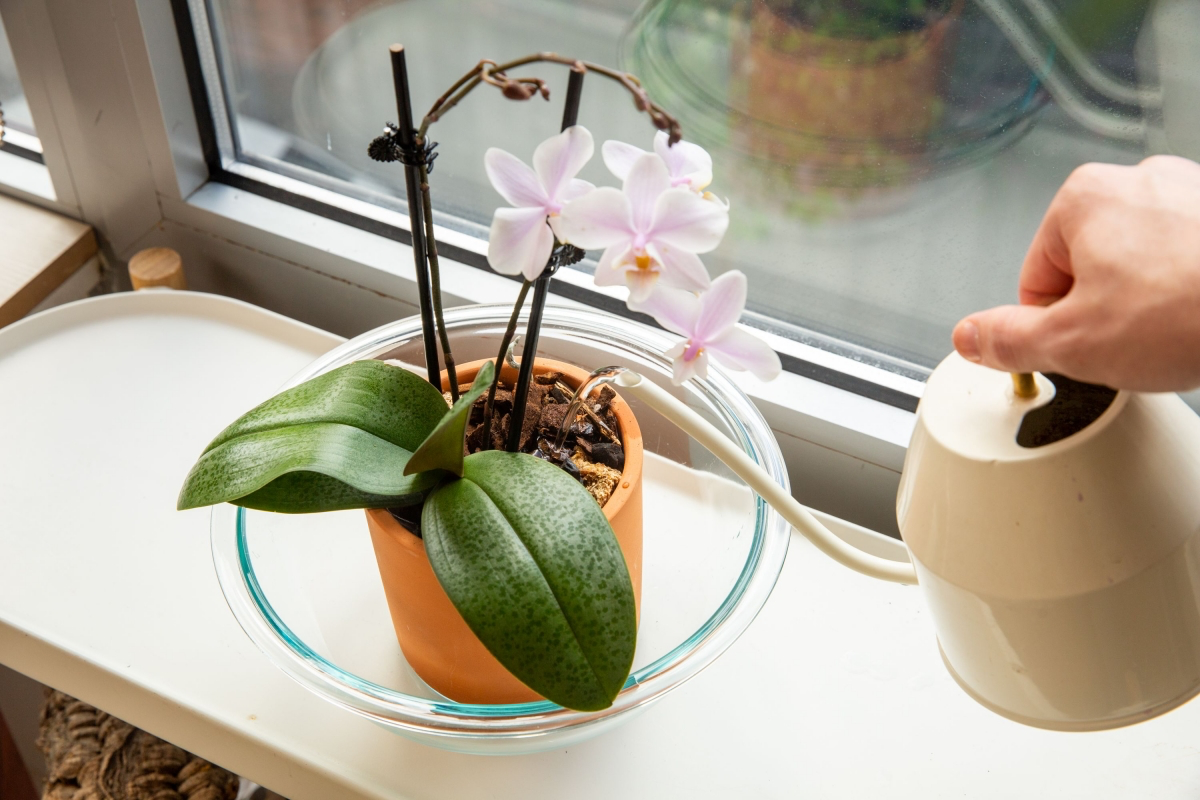
Most orchids are epiphytes, meaning they grow on trees, not in soil. Their roots are meant for a cycle of a heavy downpour followed by air-drying. So, take the plant to the sink. Water the bark or moss thoroughly with lukewarm water, letting it flush through the drainage holes for a minute. This hydrates the roots and washes out fertilizer salts. Then—and this is the critical part—let it drain completely. NEVER let it sit in a saucer of water.
A quick tip: instead of watering on a schedule, just check the pot. A pot with a dry orchid feels way lighter than a watered one. Or, stick a wooden skewer into the mix. If it comes out damp, wait a few more days.

Feeding: The ‘Weekly, Weakly’ Rule
Fertilizer can do more harm than good if you overdo it. Orchids are not heavy feeders. The best advice I ever got was to fertilize ‘weekly, weakly.’ Never use fertilizer at full strength. I mix mine at 1/4 of the recommended dose on the package.
During spring and summer (the growing season), use a balanced fertilizer, something like 20-20-20. You can find a good all-purpose orchid food, like Better-Gro Orchid Plus, at most big box stores for under $10. In the fall, when you want to encourage blooming, you can switch to a ‘bloom booster’ formula with a higher middle number (Phosphorus), like 10-30-20. This is the chemical nudge that says, ‘Hey, stop making leaves and think about flowers!’
Every fourth or fifth watering, use only plain water to flush out any mineral buildup.
A New Spike Appeared! Now What?
Seeing that new spike is thrilling! But don’t celebrate just yet—the next few months are crucial. Once the spike appears, move the plant back to a spot with stable, warm temperatures. The worst thing you can do now is move it around a lot or expose it to drafts or sudden temperature swings.
This is when ‘bud blast’ can happen, where the tiny, developing flower buds suddenly turn yellow, dry up, and fall off. It’s heartbreaking! It’s usually caused by stress: a sudden cold draft, low humidity, or letting the plant get bone dry. So keep conditions as stable as possible. Keep up with your watering, and maybe place it on a humidity tray (just a shallow tray of pebbles and water) to give it a little boost.
Be patient… from the moment that spike appears, it can take a good 2 to 4 months for it to fully grow, develop buds, and finally open its first flower. It’s a marathon, not a sprint!
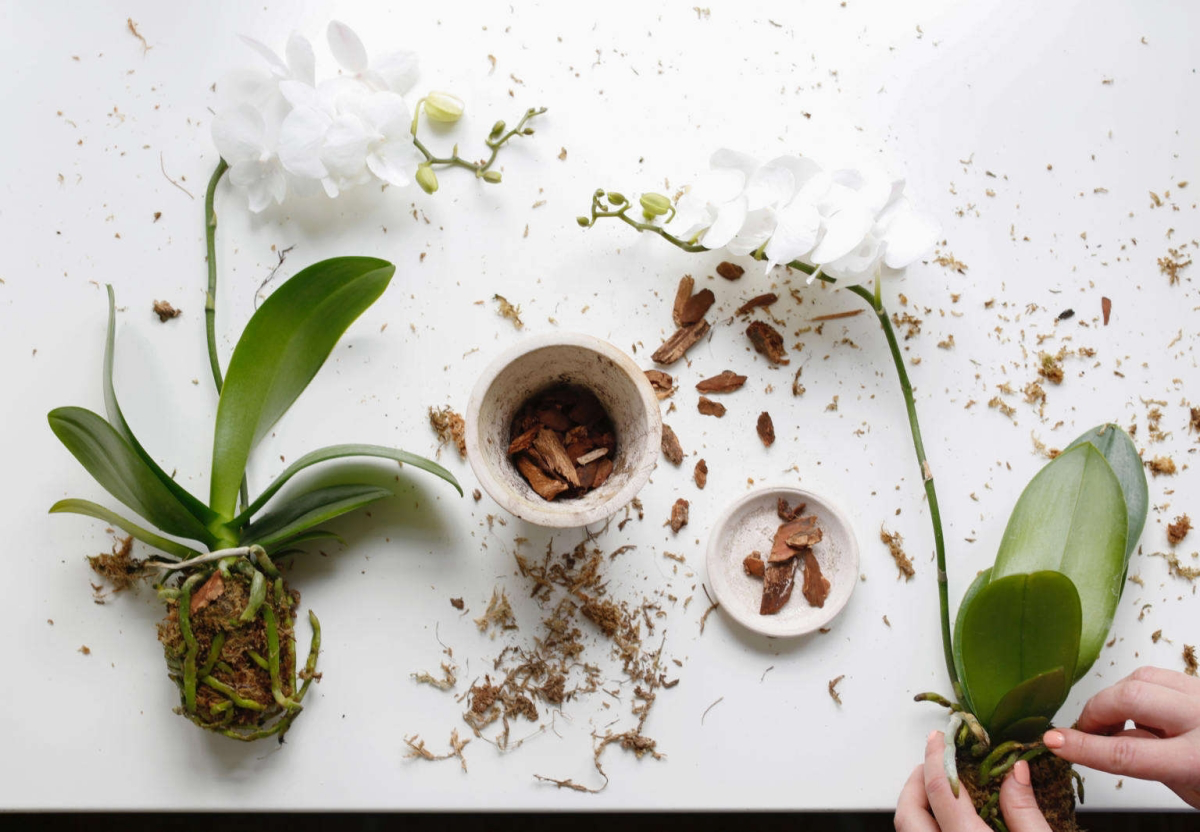
Repotting Without the Panic
Orchids actually like being a little ‘pot-bound,’ or crowded. A pot that’s too big encourages the plant to spend all its energy on root growth, not flowers. You should only repot for two reasons: the potting mix has broken down (it looks mushy and smells sour), or the plant is literally climbing out of the pot.
Heads up! Never repot an orchid when it’s in bloom. Wait until after the flowers have faded.
Your Beginner’s Repotting Shopping List:
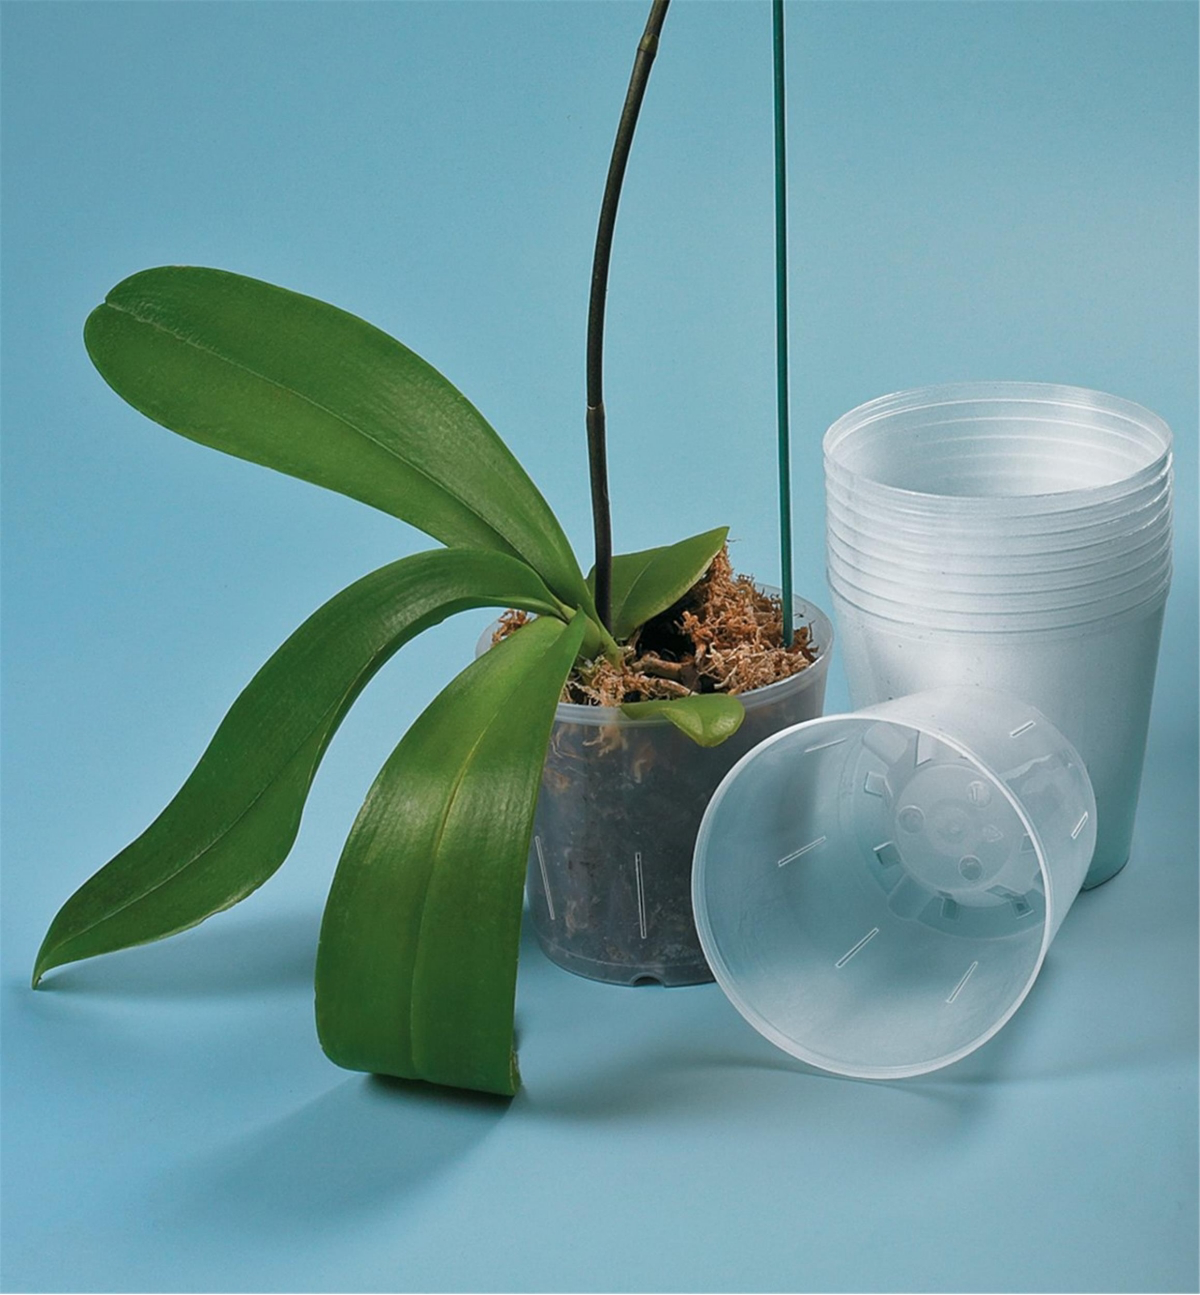
- A clear plastic orchid pot, just one inch wider than the current one (about $3-$5). Clear pots are great because you can see the roots!
- A bag of quality orchid potting mix, usually fir bark based ($10-$15 from a nursery or online).
- A pair of sharp, sterilized pruning shears or scissors.
- Ground cinnamon (yes, from your spice rack! It’s a fantastic natural fungicide for cuts).
When you’re ready, gently pull the plant out, tease away all the old mix, and snip off any roots that are brown, mushy, or papery-hollow. Healthy roots are firm and whitish-green. If you nick a healthy root, just dab a little cinnamon on the cut. Pop it in the new pot, fill with fresh, pre-moistened mix, and wait about a week before you water it again. This gives any cuts time to heal. Expect the plant to take a season off from blooming while it settles into its new home.
Final Thoughts: It’s All About Patience
Learning to rebloom an orchid is a journey of observation. Don’t get discouraged! Pay attention to your plant—its leaves and roots are its language. Give it the right light, the right temperature cues, and don’t drown it with love (or water).
If you really want to dive deep, you can look up culture sheets for your specific type of orchid online. The American Orchid Society has an amazing database that’s super helpful. But for most common orchids, the tips here will get you 90% of the way there. Be patient, be observant, and enjoy the process. The reward of seeing that first flower spike that you made happen is one of the best feelings a plant owner can have.
Inspiration:

The secret to a new flower spike is a little bit of stress. How can you create it?
It’s all about the temperature drop. For a Phalaenopsis to get the signal to bloom, it needs a consistent dip in nighttime temperature of about 10-15°F (5-8°C) for about three to four weeks. Try moving it to a cooler room or placing it near a window where it experiences the natural evening cool-down (but away from frosty drafts!). This mimics the seasonal change in its native habitat and is often the final nudge a healthy plant needs.
Did you know? The ideal potting mix for most household orchids isn’t soil at all. It’s a chunky, airy mix designed to replicate how they grow on trees in the wild.
Using the right medium is crucial for root health, which fuels blooming. Look for mixes based on fir bark, charcoal, and perlite, like the popular Phalaenopsis Monterey Dark Imperial Orchid Mix from rePotme.com. This ensures excellent drainage and airflow, preventing the root rot that is a primary reason orchids fail to thrive and rebloom. Repotting every one to two years with fresh mix gives your plant a new lease on life.
Balanced Feed: A fertilizer with equal parts nitrogen, phosphorus, and potassium (like a 20-20-20 formula) is perfect for promoting strong leaf and root growth during the orchid’s resting period.
Bloom Booster: A formula high in phosphorus (the middle number, e.g., 10-30-20) specifically directs the plant’s energy toward producing flowers.
For best results, use a balanced fertilizer weakly, weekly, and switch to a bloom booster only when you see a new flower spike begin to emerge.


