Don’t Just Garden, Create Your Own Season: A Real-World Guide to Hoop Houses & Cold Frames
I still remember the pure frustration of my first few gardening seasons. I’d follow all the rules, get my seeds started on time, and then a surprise late frost would just wipe out half of my precious seedlings. Or I’d try to keep a favorite rosemary plant alive through the winter, only to find a brittle, brown skeleton in the spring. It honestly felt like a constant battle with the weather.
In this article
That all changed when I finally understood that gardening isn’t just about the ‘growing season’—it’s about creating your own. Building my first, super-simple cold frame was the turning point. It wasn’t pretty, built from scraps, but it worked. It taught me that a ‘greenhouse’ doesn’t have to be some massive, expensive glass palace. It just needs to be a space that traps the sun’s warmth and shields your plants from the worst of the elements.
Since then, I’ve built, managed, and fixed everything from tiny balcony setups to huge commercial-style hoop houses. I’ve learned which materials actually last and which ones fall apart after one season. I’ve seen simple design flaws lead to collapsed structures in a snowstorm or cooked plants on a surprisingly sunny day. This guide is built on all that trial and error. We’ll walk through the practical options, from tiny plant covers to sturdy A-frames. And more importantly, we’ll get into the ‘why’ behind the designs so you can pick the right structure for your garden, your climate, and your budget.
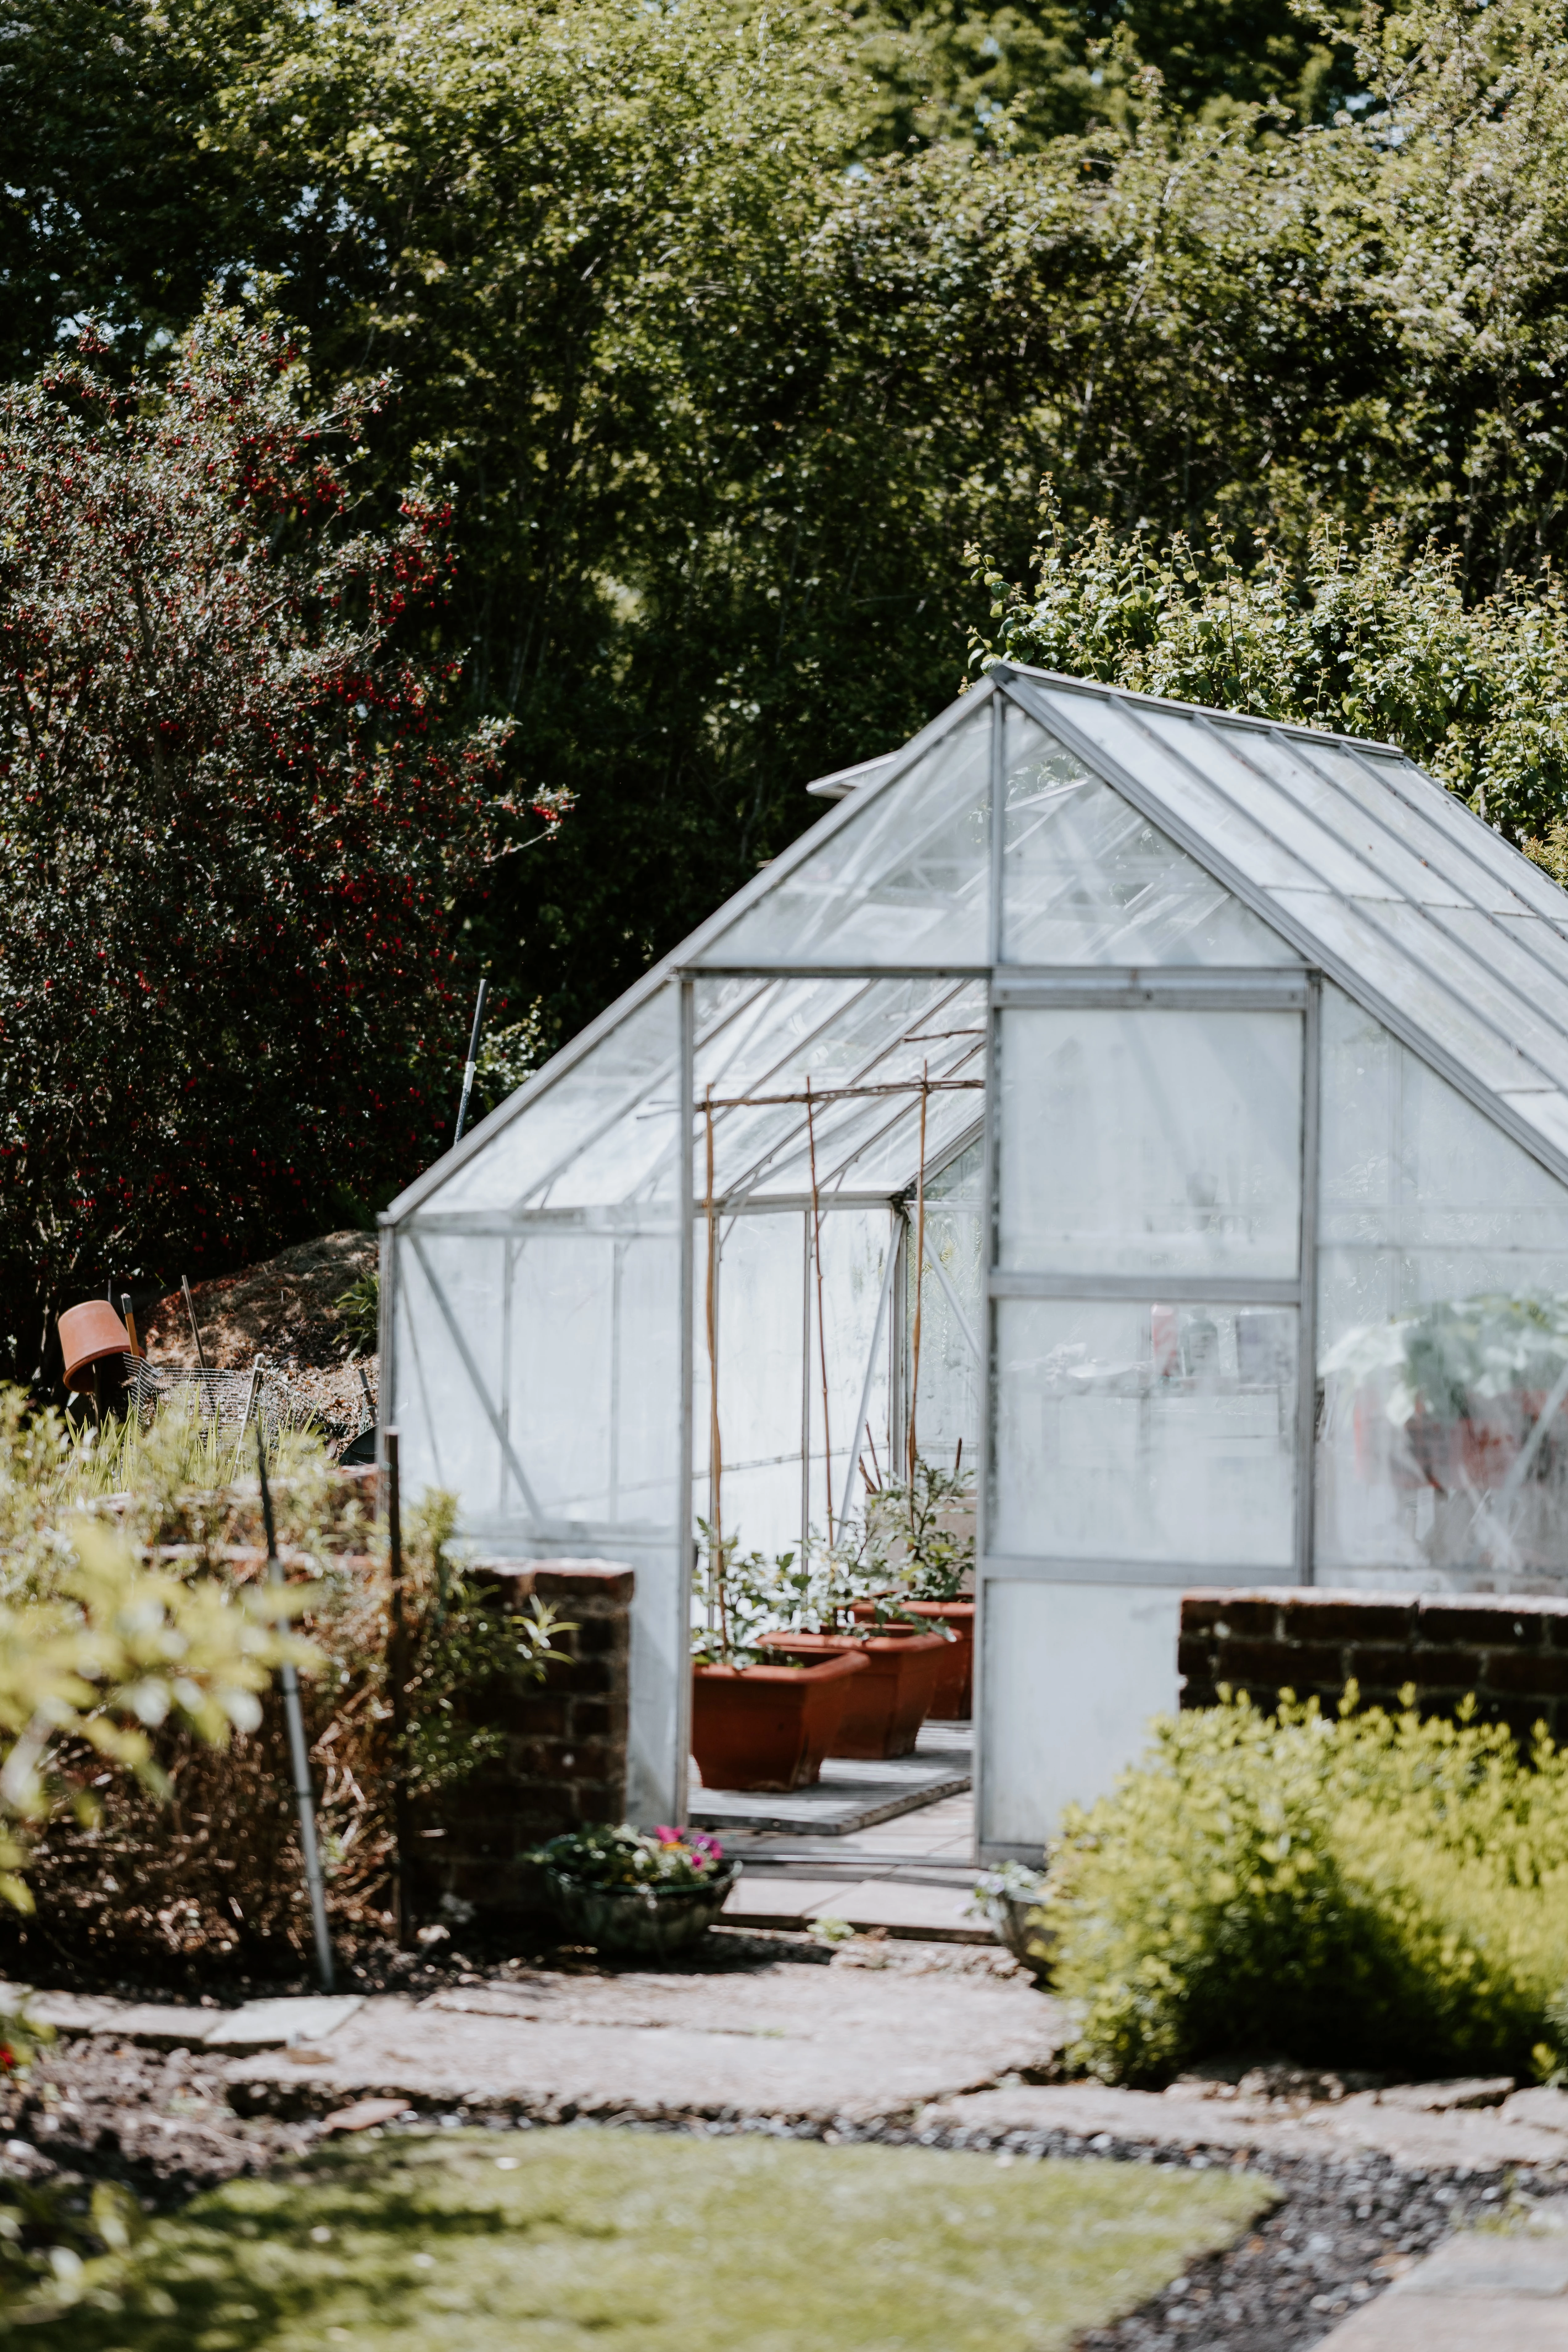
How a Greenhouse Actually Works (The Simple Version)
Before we even think about tools, let’s get the basic idea down. Knowing how these things function helps you make way smarter choices and fix problems later on. It’s less about complicated physics and more about managing light, heat, and air.
Just think about your car on a sunny day. Sunlight, which is a type of shortwave energy, zips right through the glass. It warms up the seats and the dashboard, which then radiate that energy back out as heat, or longwave energy. That heat has a much harder time escaping back through the glass, so the inside of your car gets hot, fast. A greenhouse works on the exact same principle. The clear covering is your car’s glass, and the soil and plants are the interior.
The Three Things You Have to Control
1. Light: Plants need light to live, simple as that. The covering on your structure, often called ‘glazing,’ has to let in as much light as possible. Different materials handle light differently. Clear glass lets in a ton of direct light, while some plastics are designed to diffuse it, scattering the light more evenly. Diffused light can actually be better because it reduces harsh shadows and prevents the top leaves from getting scorched.
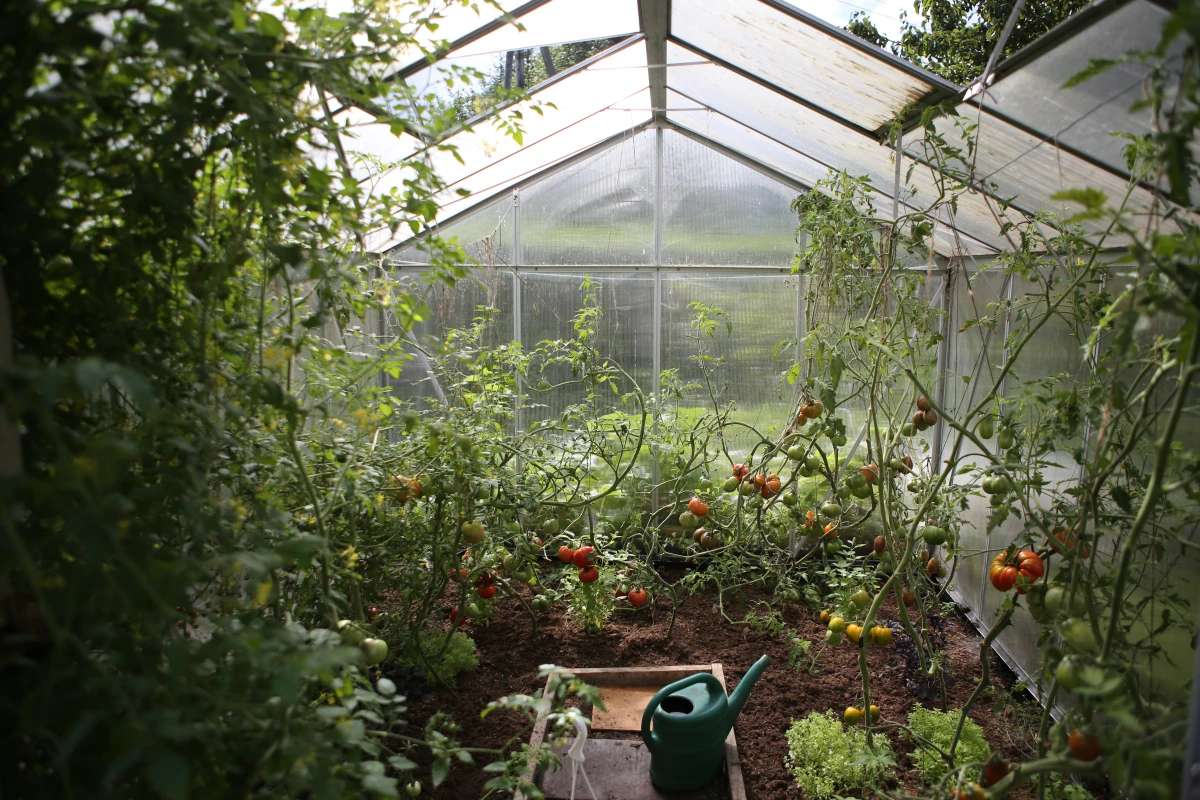
2. Heat & Insulation: A greenhouse’s ability to hold onto heat overnight is measured by its R-value, just like the insulation in your attic. A higher R-value means it stays warmer for longer. A single layer of thin plastic has a rock-bottom R-value (around R-0.85). But if you use two layers with an air gap between them, you can nearly double that. This is a huge deal in colder climates where you’re trying to keep things from freezing without having to run a heater all night.
3. Ventilation: Okay, listen up, because this is the single most overlooked—and most critical—part of a small greenhouse. On a cool but sunny 50°F day, the temperature inside a sealed cold frame can easily shoot past 100°F, literally cooking your plants in a couple of hours. I learned this the hard way one spring. I left for work on a cloudy morning, the sun came out, and I came home to a box of wilted, dead seedlings. You absolutely need a reliable way to let hot air out and bring fresh air in. This also lowers humidity, which is key to preventing fungal diseases.
A Quick Note on Placement: If you’re building a freestanding greenhouse, the best way to orient it is with the longest side facing south. This setup catches the most sun during the low-light winter months when you need it most.
Before You Build: What Do You Actually Want to Do?
It’s so easy to get carried away and plan for the biggest greenhouse you can possibly fit in your yard. But bigger isn’t always better. The right choice is all about matching the structure to your real-world goals.
So, let’s be honest. What’s the main goal here?
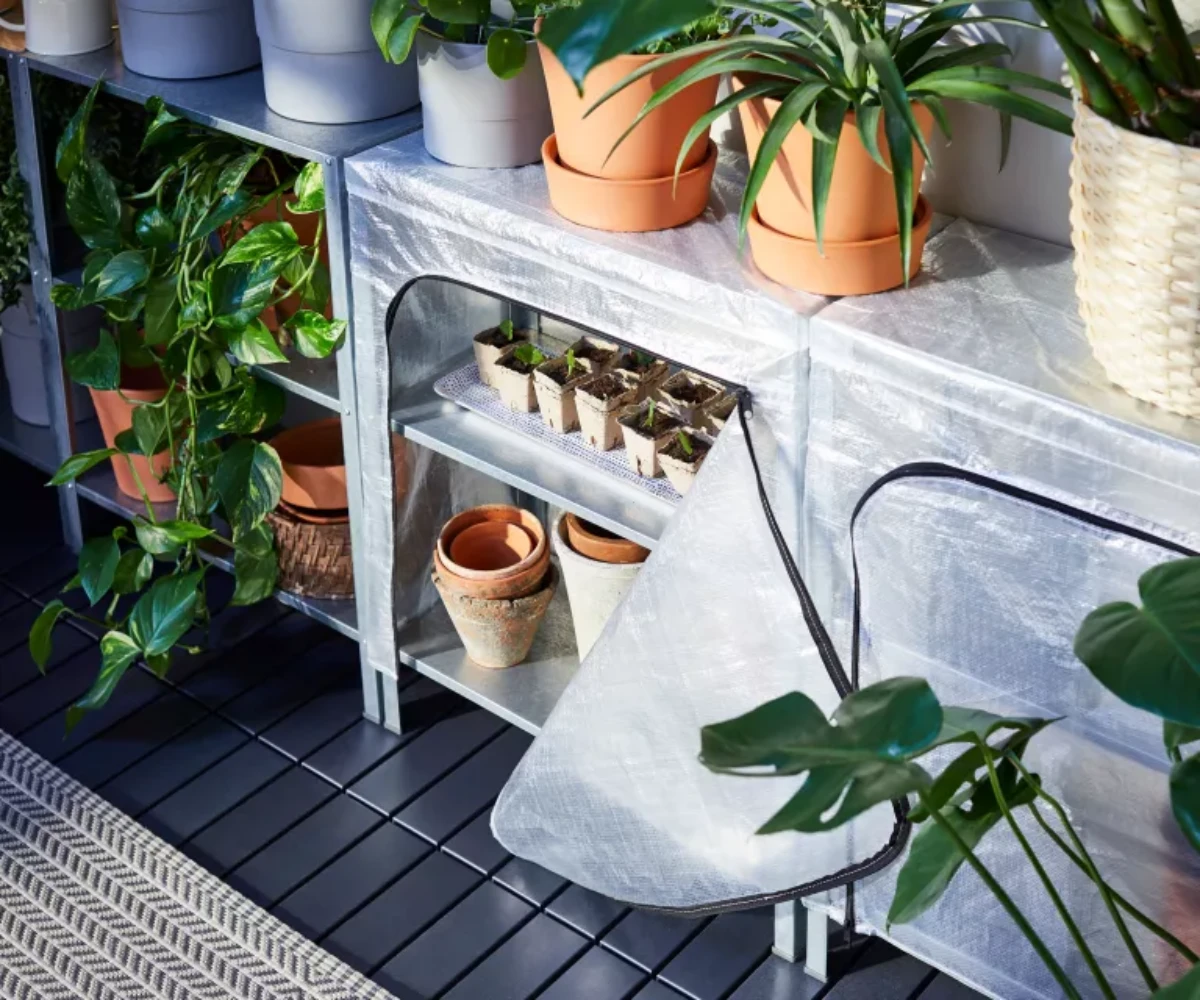
- Just starting seeds for spring? You really don’t need a walk-in structure. A simple cold frame or even a shelving unit with a plastic cover is perfect for the job.
- Trying to grow spinach and kale through the winter? You’ll need something a bit bigger and tougher, like a hoop house or an A-frame that can handle wind and snow.
- Want to keep tender plants like citrus trees alive? This means you’ll need a structure with good insulation (like twin-wall polycarbonate) and maybe even a small, safe heater for the absolute coldest nights.
Thinking this through will save you a ton of time, money, and frustration. The best greenhouse is the one you’ll actually use and can easily take care of.
Let’s Compare the Options (No Chart, Just Real Talk)
To make it easier, let’s break down the three main DIY choices. Think of it this way:
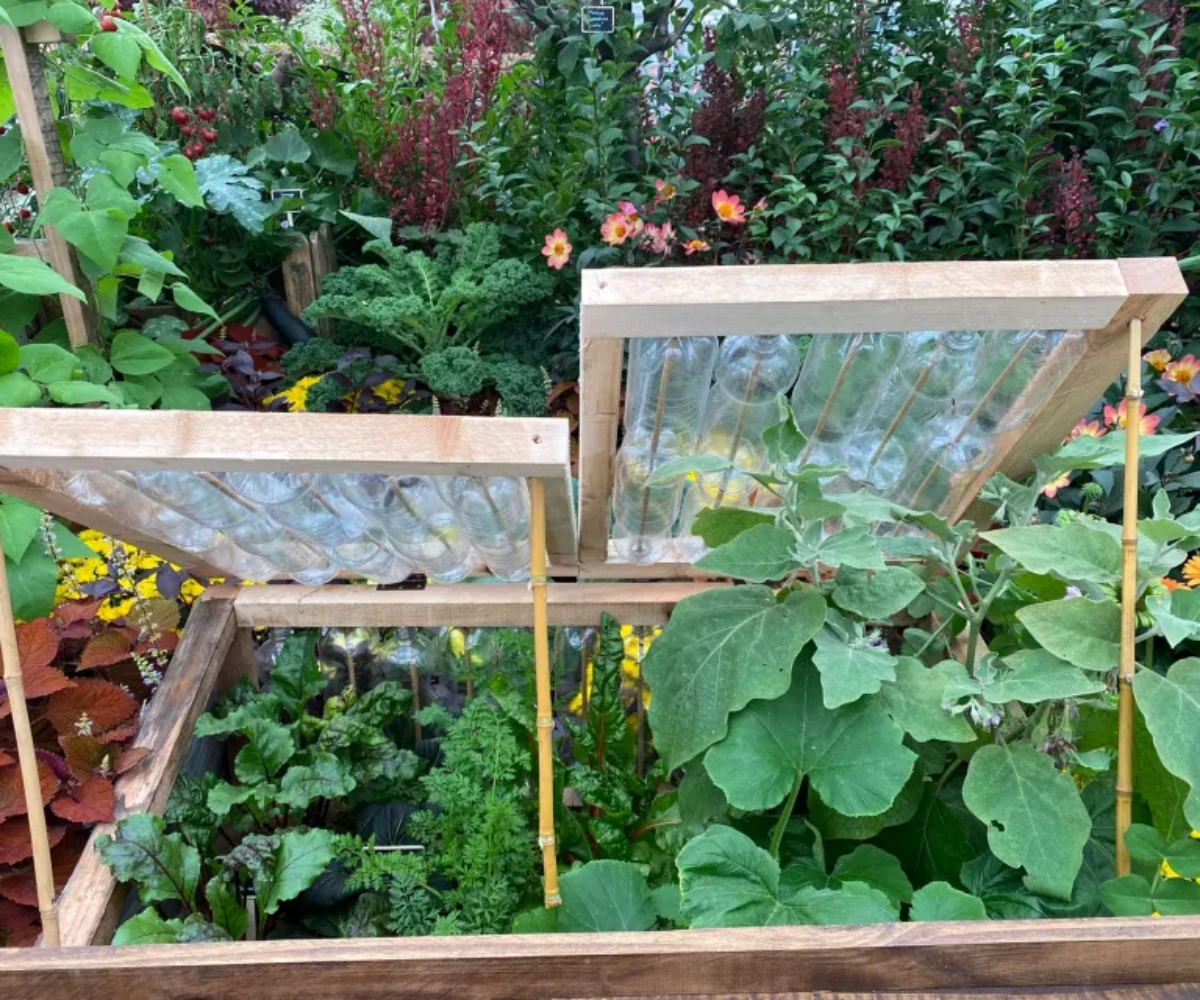
The Cold Frame is your starter. It’s low to the ground and fantastic for hardening off seedlings and growing hardy greens.
- Ballpark Cost: $50 – $150. You can build one for cheap if you salvage an old window for the lid, but buying new materials is still very affordable.
- Time to Build: A single afternoon. It’s a perfect weekend project.
- Durability: If built with decent wood, it can last for a decade or more.
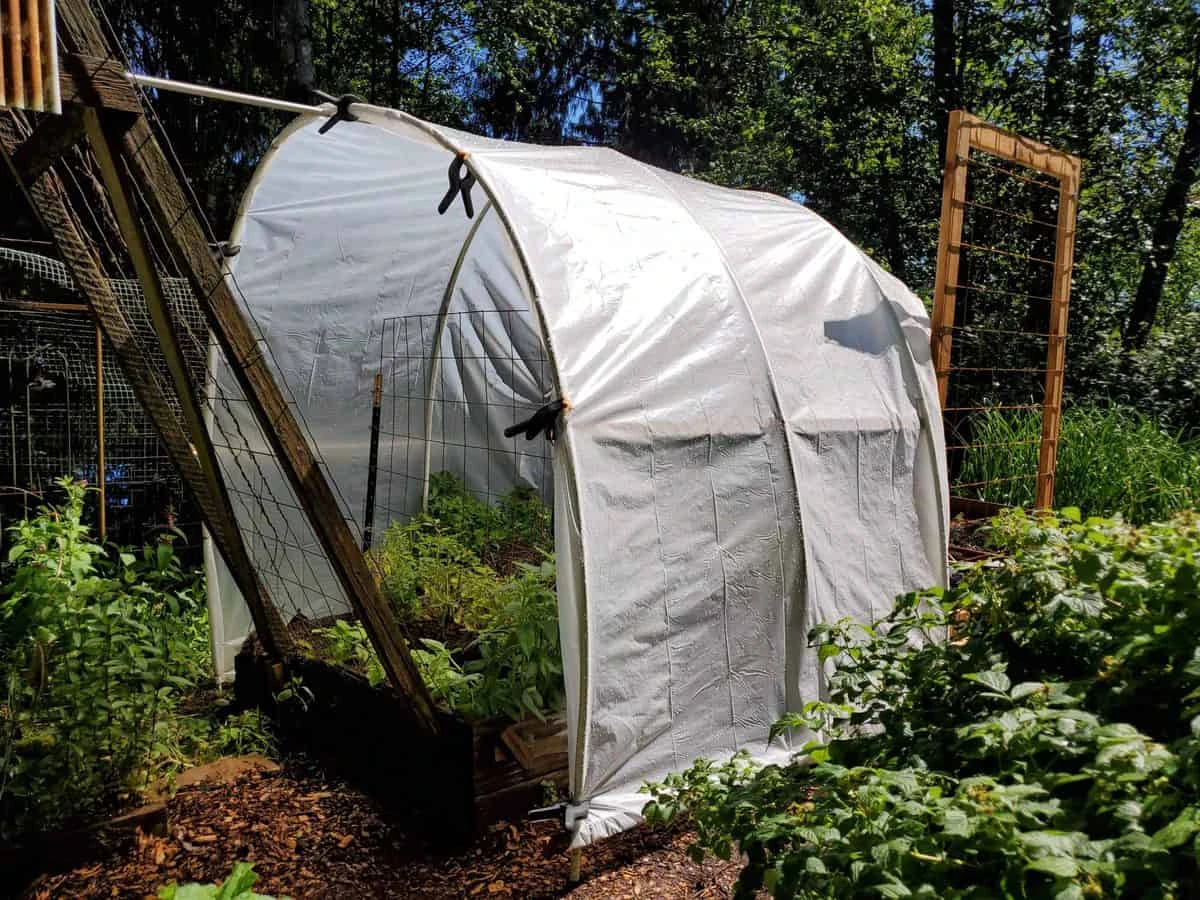
The Hoop House is the workhorse. It’s a scalable, cost-effective tunnel that gives you walking-around room.
- Ballpark Cost: $200 – $600 for a decent-sized hobby version (like 10×20 ft). The price depends heavily on whether you use cheap PVC or much stronger metal poles.
- Time to Build: A full weekend, maybe a bit longer for your first one.
- Durability: A PVC one might get you a few years. A metal-framed one can last for decades, though you’ll replace the plastic film every 4-6 years.
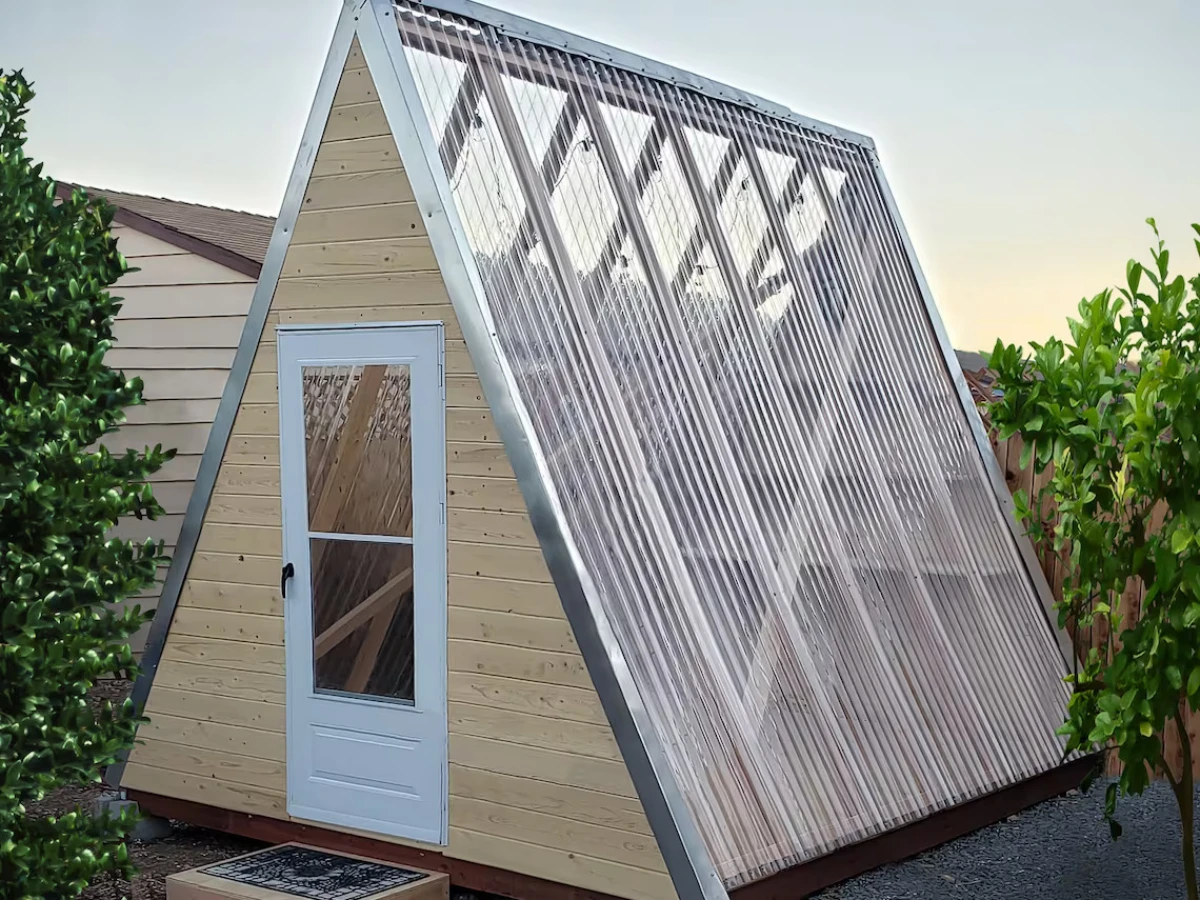
The A-Frame is the permanent structure. It’s sturdy, looks great, and is for the gardener who is serious about year-round growing.
- Ballpark Cost: This is a bigger investment. Expect to start around $800 – $1,000 for a small one and go up from there, depending on size and materials.
- Time to Build: This is a real construction project. Plan for several weekends.
- Durability: Built like a shed, it can last a lifetime with proper care.
Exploring the Options: From Quick Covers to Sturdy Structures
Alright, let’s get into the nitty-gritty of building these things. I’ll include some of the pro tips and material choices that make a huge difference.
1. Mini-Tunnels and Cloches (And Your First Project!)
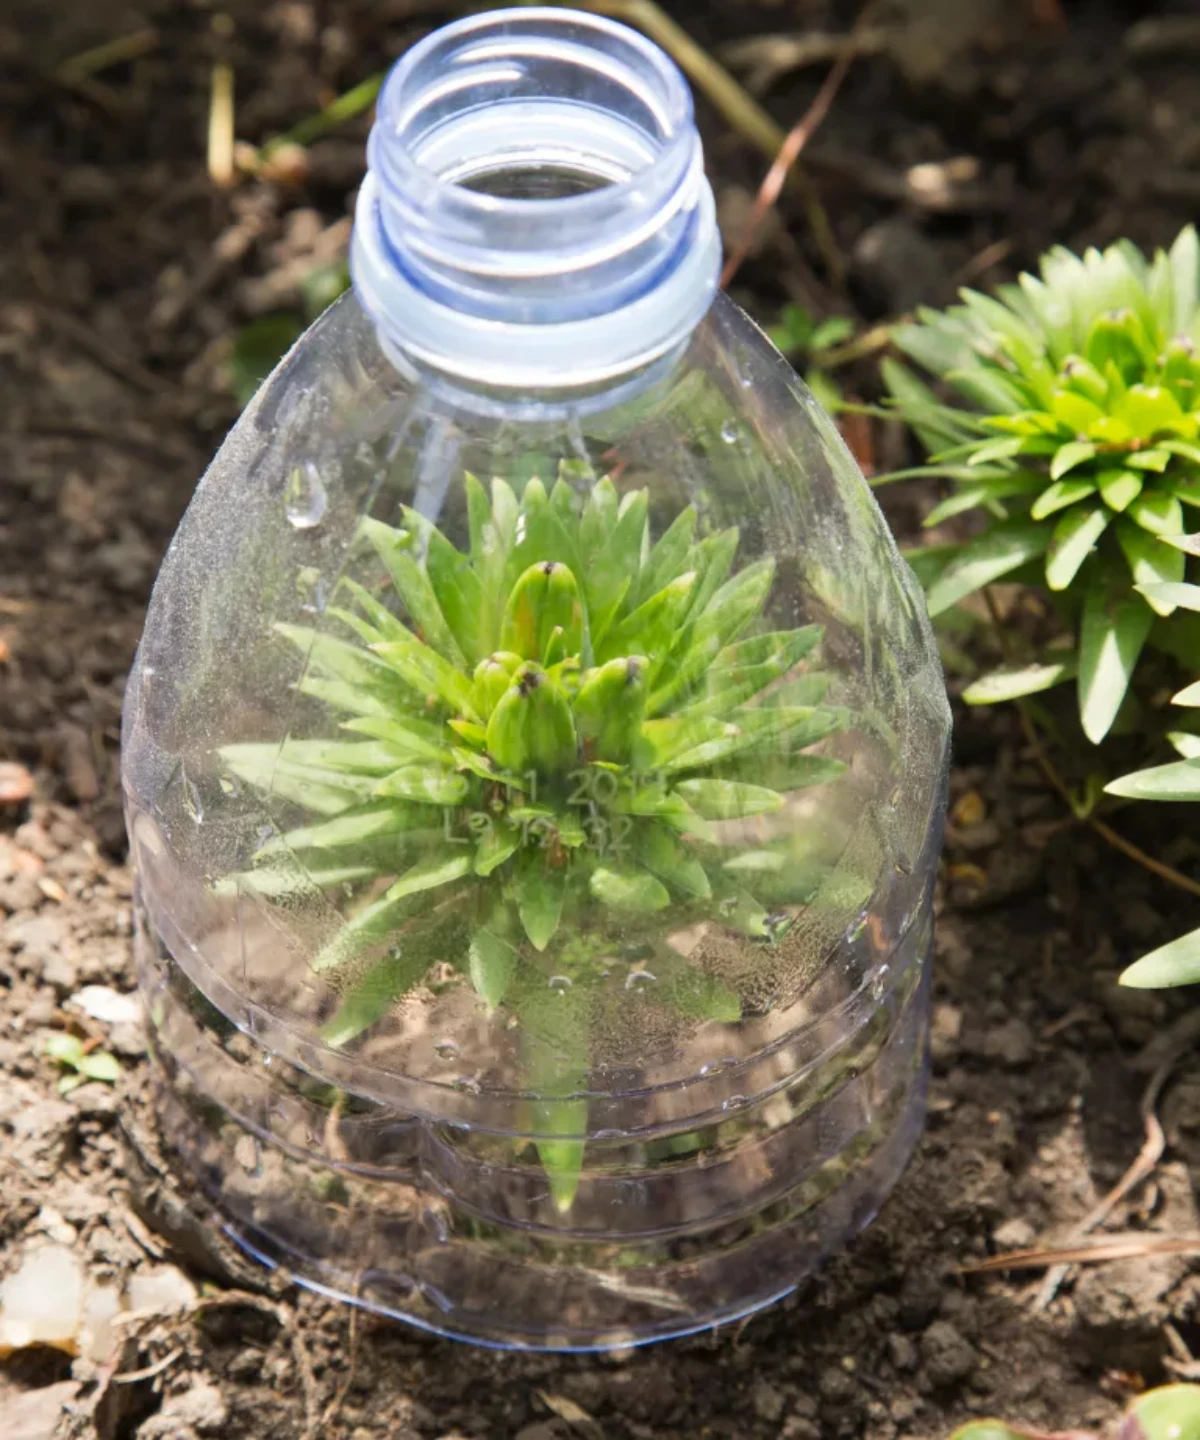
This is the most basic form of plant protection. You’ve probably seen the idea of cutting the bottom off a milk jug to cover a single plant. It works in a pinch for frost!
A Better Approach: For hardening off seedlings or protecting a whole row of lettuce, a low tunnel is way more effective. You can make one in an hour. Seriously.
Your First Project: A 1-Hour Low Tunnel
Want to try this out right now? Go for it!
- Get Your Supplies: You’ll need a few 6-foot lengths of 9-gauge wire (from any hardware store) and a package of floating row cover (not plastic!).
- Bend the Hoops: Bend the wires into smooth, semi-circle hoops.
- Set Them Up: Stick the ends of the hoops into your garden bed, about 3-4 feet apart, creating a tunnel.
- Cover It: Drape the row cover fabric over the hoops and secure the edges with rocks or soil.
Done! You just gave your plants a buffer from wind and a few degrees of frost protection. The best part? The fabric breathes, so you don’t have to worry about cooking your plants like you would under clear plastic. A friend once used a painter’s drop cloth over his new lettuce patch, and a single warm afternoon turned it into a solar oven. He lost everything. Use the right material!
2. The Cold Frame: The Gardener’s Best Friend
A cold frame is my number one recommendation for any serious gardener. It’s basically a bottomless box with a clear, sloped lid that you set right on the ground. It’s the best for getting seedlings ready for the real world and for growing spinach and salad greens deep into the fall.
- Shopping & Budget: You can build a great 4×8 foot cold frame for around $75 if you salvage an old window for the lid, or maybe $120 if you buy a new polycarbonate panel. Your list is simple: a few 2×10 boards for the frame ($40), a lid (free – $70), and some hinges and screws ($15).
- What You’ll Need: A drill, a saw, and a tape measure. That’s about it.
- The Frame: Untreated 2×10 or 2×12 lumber works great. For extra longevity, you can use cedar, or just treat standard pine with a non-toxic wood preservative like pure Tung oil or an eco-friendly brand. Heads up: avoid old railroad ties or any pressure-treated wood from before the modern era, as they can leach nasty chemicals into your soil.
- The Lid is Everything: An old storm window or a panel from a sliding glass door makes a fantastic, heavy-duty lid. If you can’t find one, just build a simple 2×2 frame and cover it with twin-wall polycarbonate. It’s lightweight, almost shatterproof, and insulates better than glass.
- Pro Tip: Build the back of the frame taller than the front (say, 18 inches high at the back and 12 inches at the front). This slope helps it shed rain and, more importantly, angles the lid perfectly toward the low winter sun.
- Management is Key: You must, must, must vent a cold frame. On any sunny day over 40°F, you need to prop that lid open. A simple stick works. But if you want to make your life easier, invest in an automatic vent opener. They cost about $40 online and are wax-filled cylinders that automatically push the lid open when it gets warm—no batteries, no electricity. It’s a total game-changer.
3. The Hoop House: Big Results on a Budget
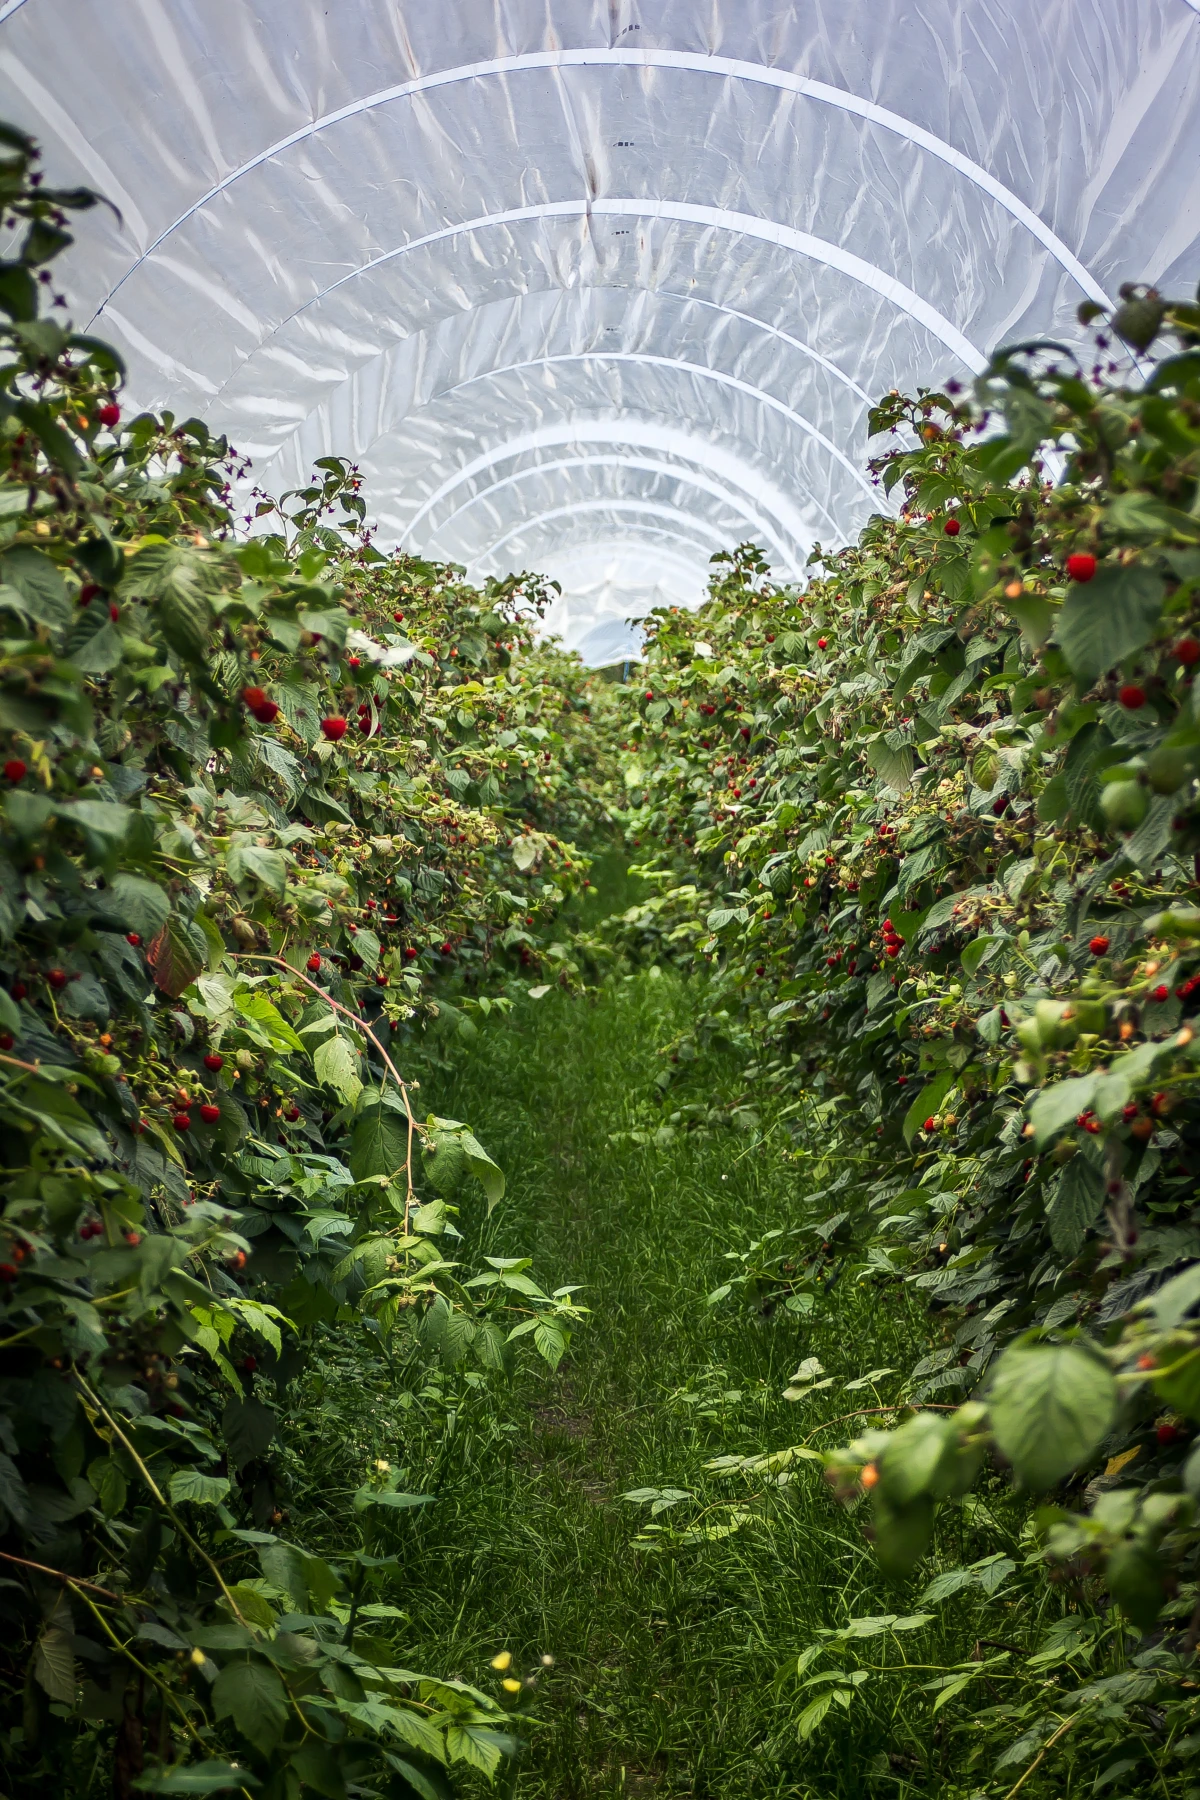
A hoop house (or high tunnel) is a favorite for a reason. It’s a super practical and scalable design made from a series of hoops covered in plastic.
- The Frame – PVC vs. Metal: This is your first big decision.
- PVC Pipe: It’s cheap, you can get it at any big box store, and it’s easy to bend. It’s fine for small, temporary tunnels. But—and this is a big but—standard PVC is not UV-stabilized. The sun will make it brittle, and it will likely crack and break within a couple of years. It also can’t handle a heavy snow load.
- Metal Conduit (EMT): This is what the pros use for smaller tunnels. It’s galvanized steel, so it’s way stronger and will last for decades. It costs more and requires a special tool called a conduit bender (about $50-$80 online) to make the hoops. Honestly, that bender is one of the best tool investments I’ve ever made.
- The Foundation: To anchor the hoops, you can drive 4-foot sections of rebar halfway into the ground every 4 feet and just slide your hoops over them.
- The Covering – DO NOT Get Cheap Here: I can’t say this enough. Do not use painter’s plastic or construction sheeting from the hardware store. It isn’t UV-stabilized and will shred into a million pieces in less than a year, making a huge mess and wasting your money. You need to buy proper 6-mil, UV-stabilized greenhouse plastic film. You can order it online from places like Bootstrap Farmer, Johnny’s Selected Seeds, or Growers Supply. It costs more upfront (a roll for a 10×20 ft house might be $100-$150), but it’s designed to last for at least 4-6 years.
- Securing the Plastic: On a calm day, pull the plastic tight. The best method is to use a ‘wiggle wire’ channel system, which is an aluminum track that you screw to your baseboards. You lay the plastic over it and then ‘wiggle’ a coated spring wire into the channel to lock it down tight. The DIY method is to sandwich the plastic between your baseboard and a thin wood batten, then screw it down.
- Snowy Climates? If you get heavy snow, build a ‘gothic’ style hoop house, where the peak is pointed instead of round. The steeper sides help the snow slide right off.
- Framing: This is a standard lumber project, usually with 2x4s. It’s crucial to have a solid, level foundation—a simple perimeter of 4×6 timbers on a gravel bed works well. Precision matters here.
- Glazing Options:
- Greenhouse Film: The most budget-friendly choice.
- Twin-Wall Polycarbonate: This is the best bet for year-round use. These rigid sheets have an air gap that provides good insulation. They’re more expensive but offer great light and durability. A quick tip: make sure to seal the open ends of the channels with special breather tape to keep moisture and algae out.
- Glass: The traditional look. It offers the best clarity but is heavy, breakable, and expensive. I’d only recommend it for very serious, permanent structures where looks are the top priority.
- Permits and Planning: Once you start building a permanent structure like this, especially if it’s over 100-200 sq. ft., you might need a building permit. My advice? Make a quick, friendly call to your local town or county planning office. It takes five minutes and is so much better than being told to take it down later.
- Wind is Your #1 Enemy: A lightweight hoop house is basically a giant kite. I once watched a neighbor’s poorly anchored tunnel get lifted by a thunderstorm and thrown into a tree. Your foundation is everything. Use long rebar stakes or screw the frame to a heavy wooden base.
- Snow Load is Real: If you live in a snowy area, don’t underestimate the weight of wet snow. A flat-roofed structure can fail easily. Always choose a design with a peak or rounded top. If a big storm is coming, you may need to go out with a soft rake and pull the snow off.
- Electrical Safety: Water and electricity are a bad mix. Any fan, heater, or outlet you put in a greenhouse MUST be rated for outdoor or damp locations, and the entire circuit must be protected by a GFCI. This is not optional; it’s a critical safety rule.
- Enjoy a longer growing season in spring and fall.
- Work with warmer, drier soil earlier in the year.
- Virtually eliminate weeding within the growing space.
- Concentrate compost and amendments exactly where they’re needed.
- Sunlight: Orient your structure with the longest side facing south for maximum solar exposure.
- Drainage: Avoid low-lying areas where water or cold air will pool. A slight slope is ideal.
- Wind: If possible, use an existing building or a line of evergreen trees as a natural windbreak.
4. The A-Frame: The Permanent Solution
If you’ve got some basic carpentry skills and want a more permanent, handsome structure, the A-frame is a classic. It’s incredibly strong and sheds snow like a champ.
How to Avoid Common Disasters
Building the structure is only half the battle. Keeping it standing and functional requires a little bit of attention. Trust me, I’ve learned these lessons from experience.
Honestly, building something to extend your growing season is one of the most rewarding things a gardener can do. It frees you from the tyranny of the calendar and lets you connect with your plants almost all year. Start with a project that fits your skills and your real needs. My first cold frame, hammered together from scrap wood and an old window, taught me more than any book ever could. It wasn’t perfect, but it gave me fresh salads in November and tough, healthy seedlings in May. Your own structure will do the same, providing you with food, flowers, and priceless lessons for years to come.
Inspirational Gallery with Photos
Twin-Wall Polycarbonate: The rigid, durable choice. It offers excellent insulation and diffuses light beautifully, preventing scorching. Its lifespan can exceed 10 years, but it’s a significant upfront investment.
6-mil Greenhouse Plastic Film: The budget-friendly workhorse. UV-stabilized films like Tufflite or Sun Master can last 3-5 years and are easy to install on a hoop frame. Less insulated, but highly effective for its cost.
The right choice often comes down to balancing longevity with your initial budget.
A single 55-gallon barrel of water painted black can store and radiate enough heat to protect nearby plants from a light frost.
This is the principle of thermal mass in action. Water absorbs solar heat much more slowly than air but also releases it slowly throughout the night. Placing several sealed, dark-painted barrels of water inside your hoop house, especially along the north wall, creates a natural heating system that buffers against sudden temperature drops without any electricity.
But will my hoop house collapse under heavy snow?
It’s a valid concern. The key lies in the design and materials. A Gothic or pointed-arch style hoop house is far better at shedding snow than a traditional Quonset (rounded) shape. For the frame, avoid using plumbing-grade PVC, which becomes brittle in the cold. Instead, opt for 1 3/8
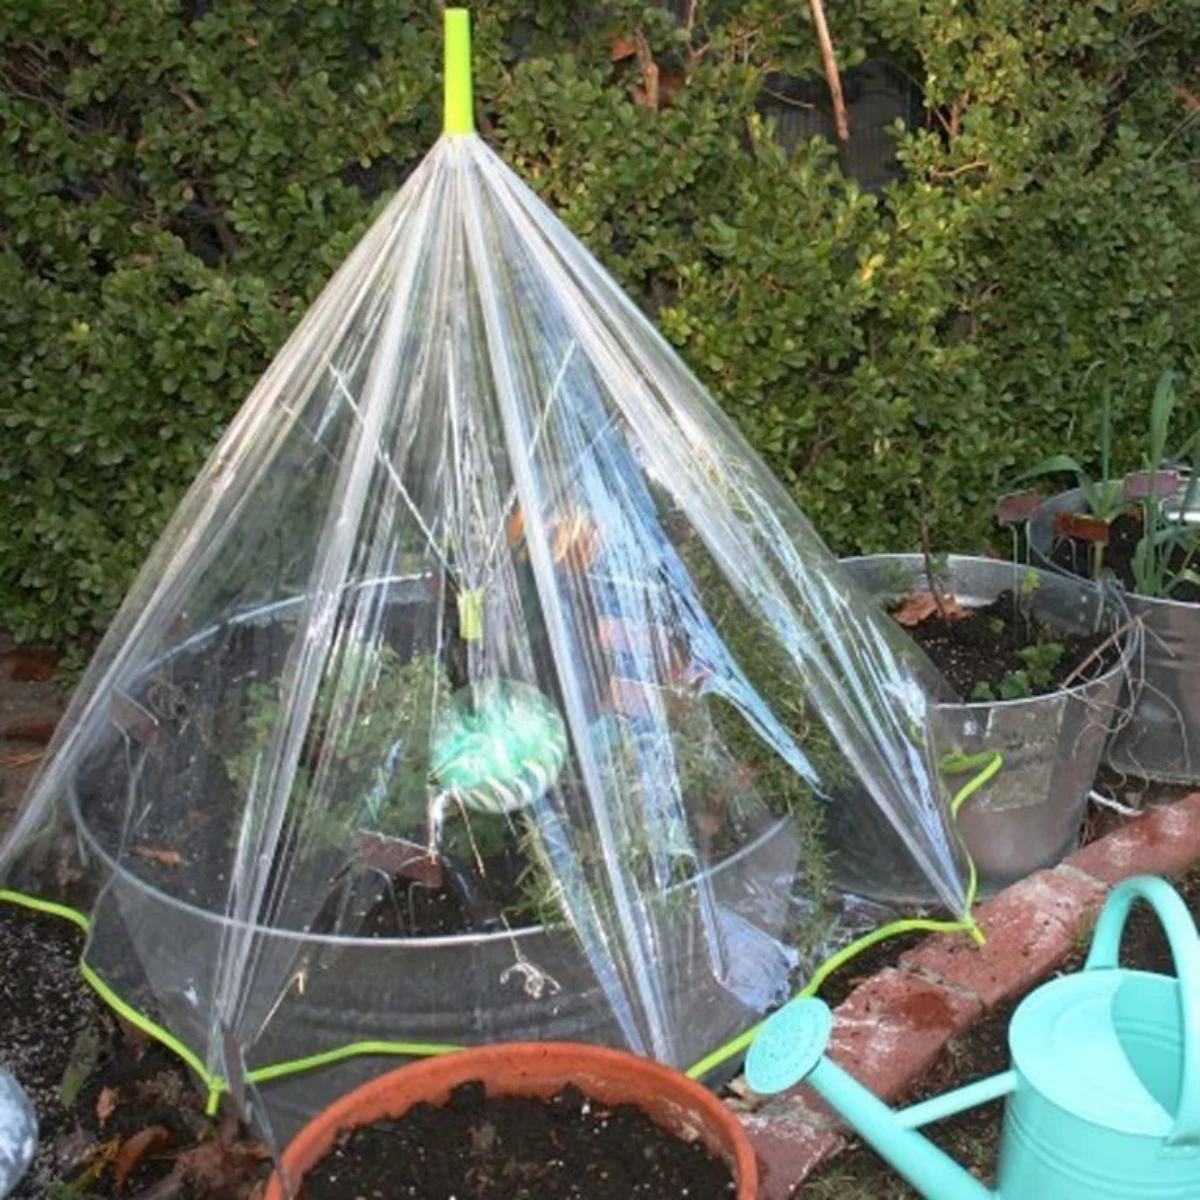
Long before modern hoop houses, 19th-century Parisian market gardeners (maraîchers) perfected season extension. They used thousands of individual glass bell jars, or ‘cloches,’ to protect tender plants. These cloches, combined with nutrient-rich beds built on layers of hot manure, allowed them to supply fresh produce to the city year-round, proving that the desire to cheat the seasons is a time-honored gardening tradition.
The secret? Building raised beds directly inside your hoop house. It elevates your garden, making it easier to manage and creating a perfect, controllable environment for your plants.
The simplest cold frame you’ll ever build: Arrange four straw or hay bales in a rectangle, creating a well-insulated frame. The decomposing straw will even generate a little bottom heat. Then, simply lay an old window or a sheet of clear polycarbonate over the top. It’s a rustic, effective, and almost free way to harden off seedlings or grow winter greens.
Choosing the right spot is as critical as the structure itself. Your success depends on maximizing precious winter light and protecting your investment from the elements. Before you build, consider:
For anchoring against high winds, driving 24-inch sections of rebar 18 inches into the ground provides exceptional holding power for your hoop house’s base pipes.


