Why Your Expensive Yard Still Looks Cheap (And How to Fix It for Good)
I’ve walked through countless backyards over the years, and a lot of homeowners say the same thing. They want their outdoor space to feel special, and they often use the word “expensive.” But after we chat for a bit, it becomes clear that’s not what they really mean.
In this article
- First Things First: Stop Buying Stuff and Start Looking
- Creating Flow: The Bones of Your Garden
- The Living Layers: Planting with a Purpose
- Bringing It All Together: Furniture and Focal Points
- The Final Polish: Bringing Your Garden to Life After Dark
- Keeping It Beautiful: The Art of Maintenance
- Inspirational Gallery with Photos
What they’re truly after is a space that feels intentional, cohesive, and permanent. They want a garden that looks like it belongs, like a natural part of the home that will only get better with time. It’s a feeling that has nothing to do with buying the priciest statues or the trendiest furniture. It’s all about thoughtful design and quality craftsmanship.
I once saw a yard filled with a small fortune’s worth of stuff—mismatched sculptures, fancy but uncomfortable chairs, and a chaotic mix of “specimen” plants. It was cluttered with expensive things, but honestly? It felt cheap. The real value isn’t in the price tag of any one item. It’s in the unseen structure, the way you move through the space, and the health of the plants. Let’s pull back the curtain on the pro principles that turn a basic yard into a garden with that lasting, high-quality feel.
First Things First: Stop Buying Stuff and Start Looking
The single biggest mistake people make is starting without a plan. The pros never, ever start by heading to the nursery or the stone yard. We start with observation. It’s called a site analysis, and skipping it is like building a house without checking the ground underneath. You’re just setting yourself up for headaches and wasted money down the road.
Become a Sun and Shade Detective
Before you do anything else, you need to map your sunlight. And I don’t mean just guessing. Grab your phone and take photos of your yard at 9 a.m., 12 p.m., and 4 p.m. on a sunny day. If you can, do this in different seasons to see how the light changes. That spot that’s blazing hot in the afternoon might be perfect for a morning coffee nook, while the shady side of the garage is a death sentence for a vegetable garden.
Good to know: A plant labeled “full sun” really does need at least six hours of direct, unfiltered sunlight. Anything less, and it will get leggy, weak, and susceptible to pests. This one simple step will save you a ton of cash on dead plants.
Follow the Water
Next up, pay attention to how water moves on your property. After a big rainstorm, where do the puddles form? That’s a low spot with poor drainage. If you build a patio there without fixing the grading, you’ve just created a permanent, swampy mess. The pros will often do a quick “percolation test.” It’s easy: just dig a hole about a foot deep and a foot wide, fill it with water, and let it drain. Then fill it again and see how much the water level drops in an hour. If it drops about two inches, you’ve got great drainage. Less than an inch? You likely have heavy clay or compacted soil.
This tells you if you need to think about adding a French drain or seriously amending your soil before you even think about planting. You can also get a soil test kit from a local university extension office. The results will tell you your soil’s pH. If it’s too alkaline (high pH), you’ll add sulfur. Too acidic (low pH)? You’ll add lime. The report itself will give you the exact amounts to use!
Know What’s Under the Grass
Okay, this one is CRITICAL. Before a single shovel hits the dirt, you have to know what’s buried underneath. In the U.S., you can call 811, the “Call Before You Dig” service. It’s totally free. They send crews to mark the location of underground gas, water, and electrical lines. I saw a homeowner hit a water line once trying to plant a tree. The emergency plumbing bill was ten times what the tree cost. Also, get a copy of your property survey so you know your exact property lines and local setback rules. It’ll save you from a nasty dispute with a neighbor or a stop-work order from the town.
Creating Flow: The Bones of Your Garden
Hardscaping—the patios, paths, and walls—is the skeleton of your garden. When it’s done right, it defines your outdoor “rooms” and guides you through the space. When it’s done wrong, it just feels awkward.
More Than Just a Sidewalk
A path should do more than just get you from point A to point B. It should invite you to wander and see what’s around the next corner. The width is a big deal. A main walkway should be at least four feet wide so two people can walk together comfortably. A smaller, meandering path through a flower bed can be narrower, maybe two feet wide.
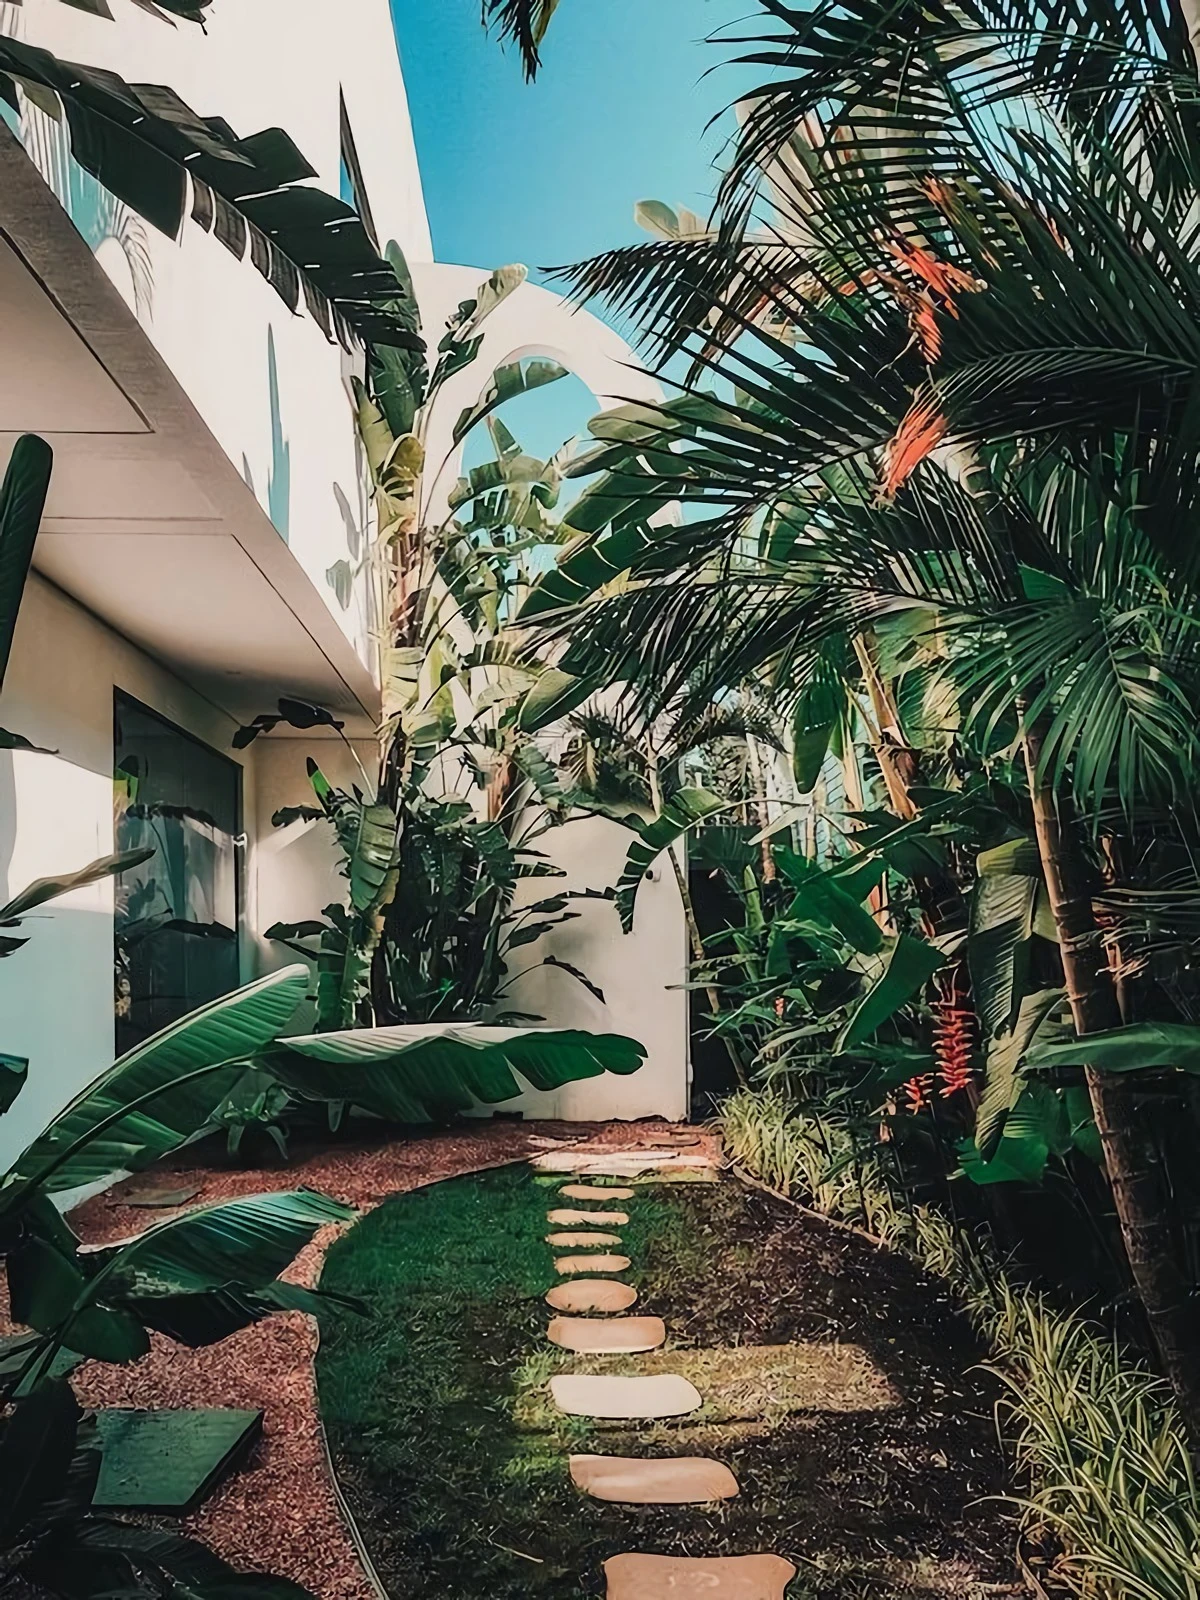
The material also sets the mood. Smooth concrete pavers give off a formal, modern vibe. Irregular flagstones with grass growing between them feel much more rustic and relaxed. A simple gravel path is a great budget-friendly option, but it needs a solid foundation and edging to look crisp and professional.
How to Build a Path That Won’t Wobble
Whether you’re using pavers or flagstone, the secret to a path that lasts is the base. In climates with freezing winters, this is non-negotiable.
First, you have to dig out about 6 to 8 inches of soil. Then, lay down a layer of geotextile fabric—this stuff is magic. It keeps your base materials from mixing with the soil below and helps block weeds. On top of that, you’ll add a 4 to 6-inch layer of compacted aggregate base (ask for “crusher run” or “¾-minus” at a landscape supply yard). You have to compact this in 2-inch layers using a plate compactor. Heads up, you can rent one of these from a tool rental shop for about $50 to $100 for a weekend. You’ll know the base is fully compacted when the machine’s sound changes from a dull thud to a higher-pitched crackle and it starts to bounce more.
Finally, you add a 1-inch layer of coarse sand on top. This is what you’ll use to wiggle each stone or paver perfectly level. Skip these steps, and I guarantee your path will be a lumpy, trippy mess after one winter.
Common Mistake to Avoid: A perfectly level patio sounds good, but it’s a terrible idea. It needs a very slight slope—about a quarter-inch drop for every foot of length—to drain water away from your house. A 10-foot-wide patio should be about 2.5 inches lower on the far side than it is against your foundation.
The Living Layers: Planting with a Purpose
Plants are what make a garden feel alive, but a high-quality garden isn’t just a random collection of flowers you thought were pretty at the store. It’s a community of plants designed for four seasons of interest.
Think in Layers, Like a Forest
The pros design in layers to create depth and a sense of fullness. It’s how things grow in nature, and it just works.
- The Canopy: These are your big shade trees, the ceiling of your outdoor room.
- The Understory: Smaller ornamental trees and large shrubs (think dogwoods or hydrangeas) that add structure underneath the canopy.
- The Herbaceous Layer: This is where your perennials, grasses, and annuals live. They provide the bulk of the color and texture.
- The Groundcover Layer: Low-growing plants that spread to cover the soil, acting as a living mulch to keep weeds down and moisture in.
A garden with all these layers feels complete. A yard with just a lawn and a few shrubs shoved against the house feels naked and unfinished.
The Pro Planting Trick: Plant in Drifts
Please, avoid what we call “polka-dot planting”—one of this, one of that, scattered all over. It looks busy and weak. Instead, plant in groups or “drifts” of the same plant. Putting three, five, or seven of the same perennial together in a sweeping mass makes a much bolder statement and looks way more natural. (By the way, the pros use odd numbers because it forces an asymmetrical, less rigid-looking arrangement that’s more pleasing to the eye. Even numbers tend to look like soldiers in a row.)
Bringing It All Together: Furniture and Focal Points
Just like your home has rooms, your garden should have defined areas for different activities. This is where you can really start to inject personality.
Choose Furniture That Actually Lasts
Outdoor furniture is a real investment. Cheap plastic or pine sets might look okay for a season, but they’ll degrade and look awful in just a couple of years. Spending a bit more upfront on quality materials saves you a ton of money in the long run.
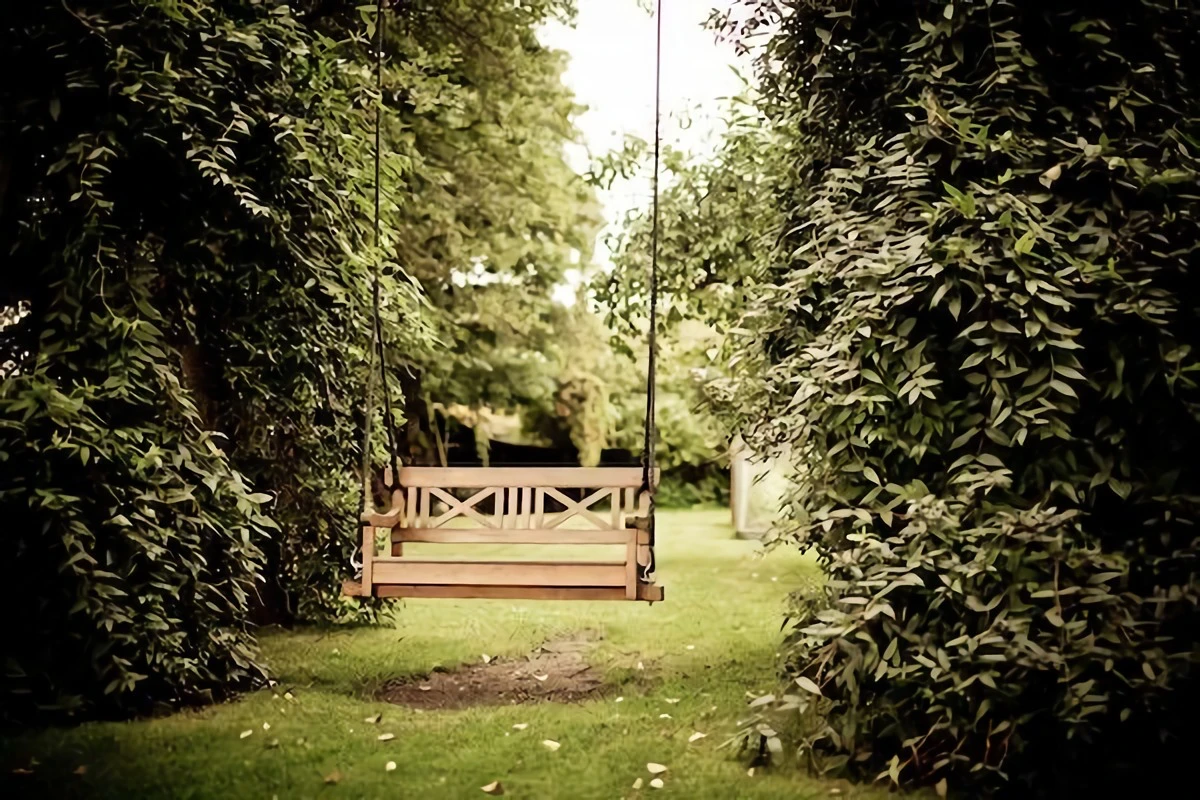
- Teak: This is the buy-it-for-life option. It’s naturally oily and resistant to rot and bugs. Left alone, it weathers to a gorgeous silvery-gray. A good set can run you $1,500+, but it can easily last 50 years.
- Powder-Coated Aluminum: This is lightweight, rustproof, and versatile. A quality set might start around $800. The key is the finish—a thick powder coat will last for decades, while cheap paint will chip and flake.
- Wrought Iron: Heavy, classic, and perfect for windy spots. It can cost around $700+ for a decent set. Its only weakness is that it can rust if the paint gets scratched, so it needs a little touch-up now and then.
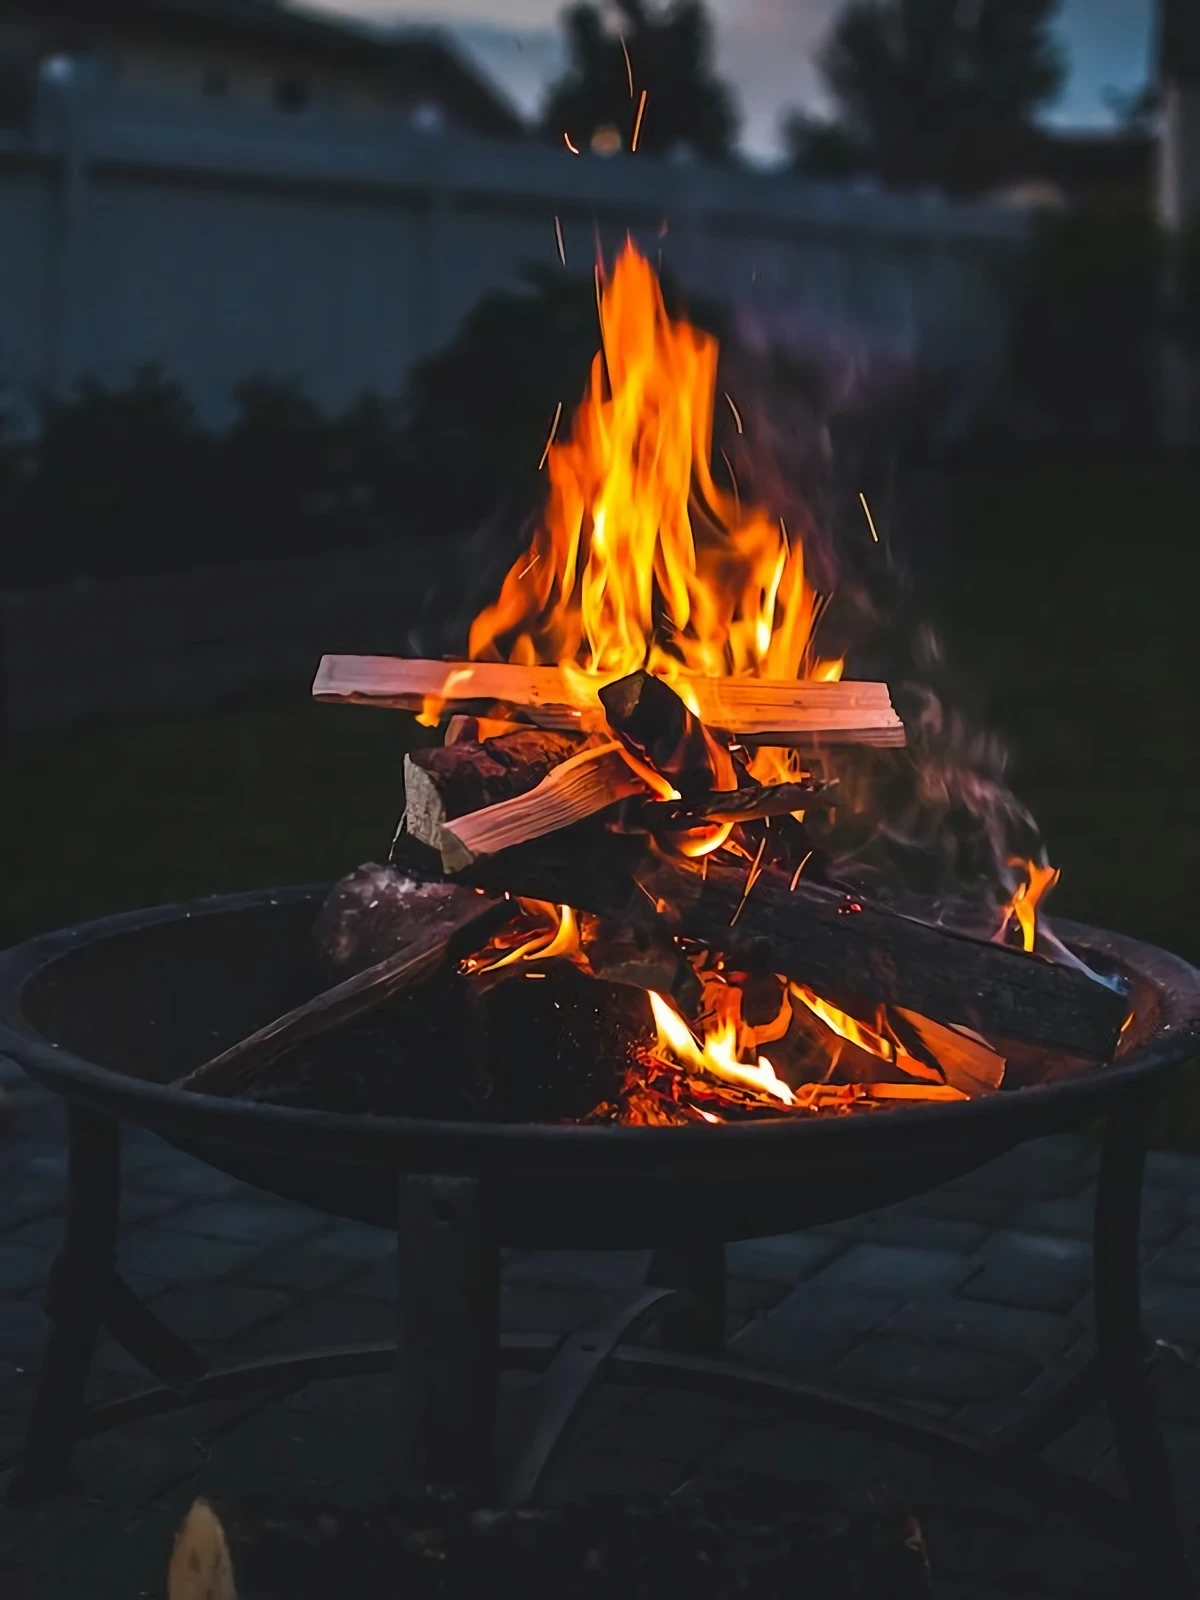
The Fire Pit: Your Outdoor Living Room
A fire pit is an amazing focal point that can extend your outdoor season by months. But you have to be smart about it. Most towns have rules about how far a fire pit must be from your house or fence—often 15 to 25 feet. Check your local fire code first!
SERIOUS SAFETY WARNING: Never, ever use river rocks or other smooth, porous stones in or around a fire pit. Trapped moisture inside the rock can turn to steam and cause the rock to literally explode. I’ve seen it happen. Stick to proper fire brick or a heavy-gauge steel insert for the pit itself.
As for fuel, you’ve got options. A professionally installed natural gas line is the ultimate convenience but is a significant investment, often costing $2,000 or more. A good wood-burning steel insert might run $300 to $700, plus your stonework, offering that classic campfire vibe. Propane is a good middle ground, but you’ll have to deal with refilling and hiding the tank.
The Final Polish: Bringing Your Garden to Life After Dark
Landscape lighting is one of the most transformative things you can do, but it’s so often an afterthought. Good lighting isn’t about blasting your yard with floodlights; it’s about creating mood and mystery.
Tricks of the Trade
Most pro systems are low-voltage (12V), making them much safer to work with. The goal is to see the effect of the light, not the fixture itself.
- Uplighting: Aim a light up at a beautiful tree or stone wall to highlight its texture.
- Moonlighting: Place a fixture high up in a tree and aim it down. The light filters through the branches, creating a beautiful, natural dappled pattern on the ground.
- Path Lighting: Use low, shielded fixtures to safely light a walkway. The light should point down at the path, not up into your eyes.
Oh, and for the light color, stick with a warm white, between 2700K and 3000K on the Kelvin scale. It creates a cozy, inviting glow that feels like a resort. Cooler, bluer light just looks sterile.
Quick tip on saving money: You can totally install a low-voltage system yourself—laying the wire (buried at least 6 inches deep) and placing the fixtures is a great DIY project. But ALWAYS hire a licensed electrician to install the transformer and the GFCI outlet it plugs into. Don’t mess with 120V power. It’s worth the $150 to $300 for peace of mind.
Keeping It Beautiful: The Art of Maintenance
A great garden is never truly “finished.” It’s a living thing that needs consistent care. Think of it as a seasonal rhythm.
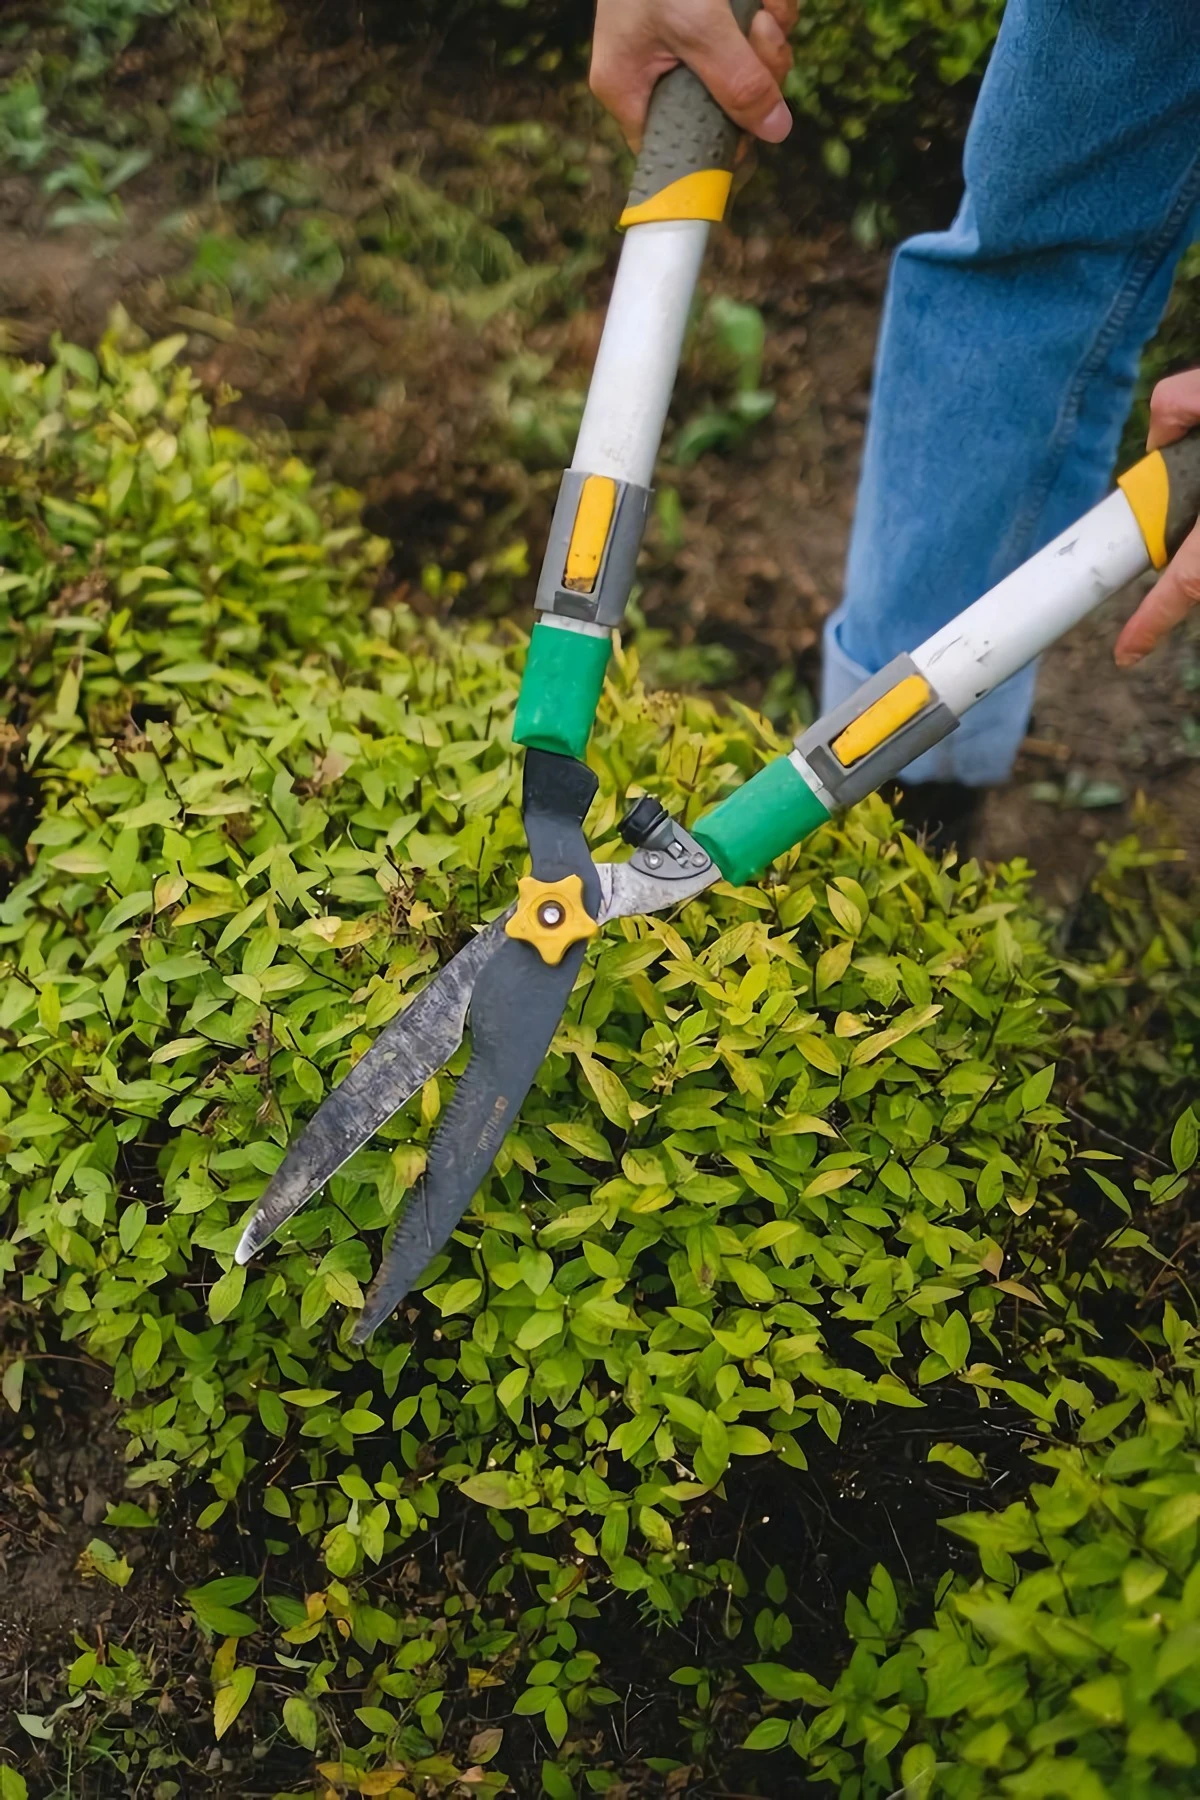
Your best friends for this will be a sharp spade for creating clean bed edges, a sturdy steel rake, and a good pair of bypass pruners for making healthy cuts on your plants. In spring, you’ll clean up and mulch. In summer, you’ll water deeply and deadhead flowers. In fall, you’ll rake leaves (shred them with your mower for amazing free mulch!) and prep for the cold. And in winter, you’ll prune and plan for the year ahead.
Creating an exceptional outdoor space is a process. It starts with understanding your land, builds on a strong foundation of well-built hardscaping, and is filled with a smart planting plan. It’s a long-term investment that pays off not just in property value, but in creating a space that brings you genuine joy for years to come.
Inspirational Gallery with Photos
The forgotten foundation: Before you even think about plants, think about your soil. High-end gardens look lush because their plants are thriving, not just surviving. Investing in a soil test and amending your beds with high-quality compost is the least visible but most impactful upgrade you can make. It’s the difference between plants that flourish and plants that struggle.
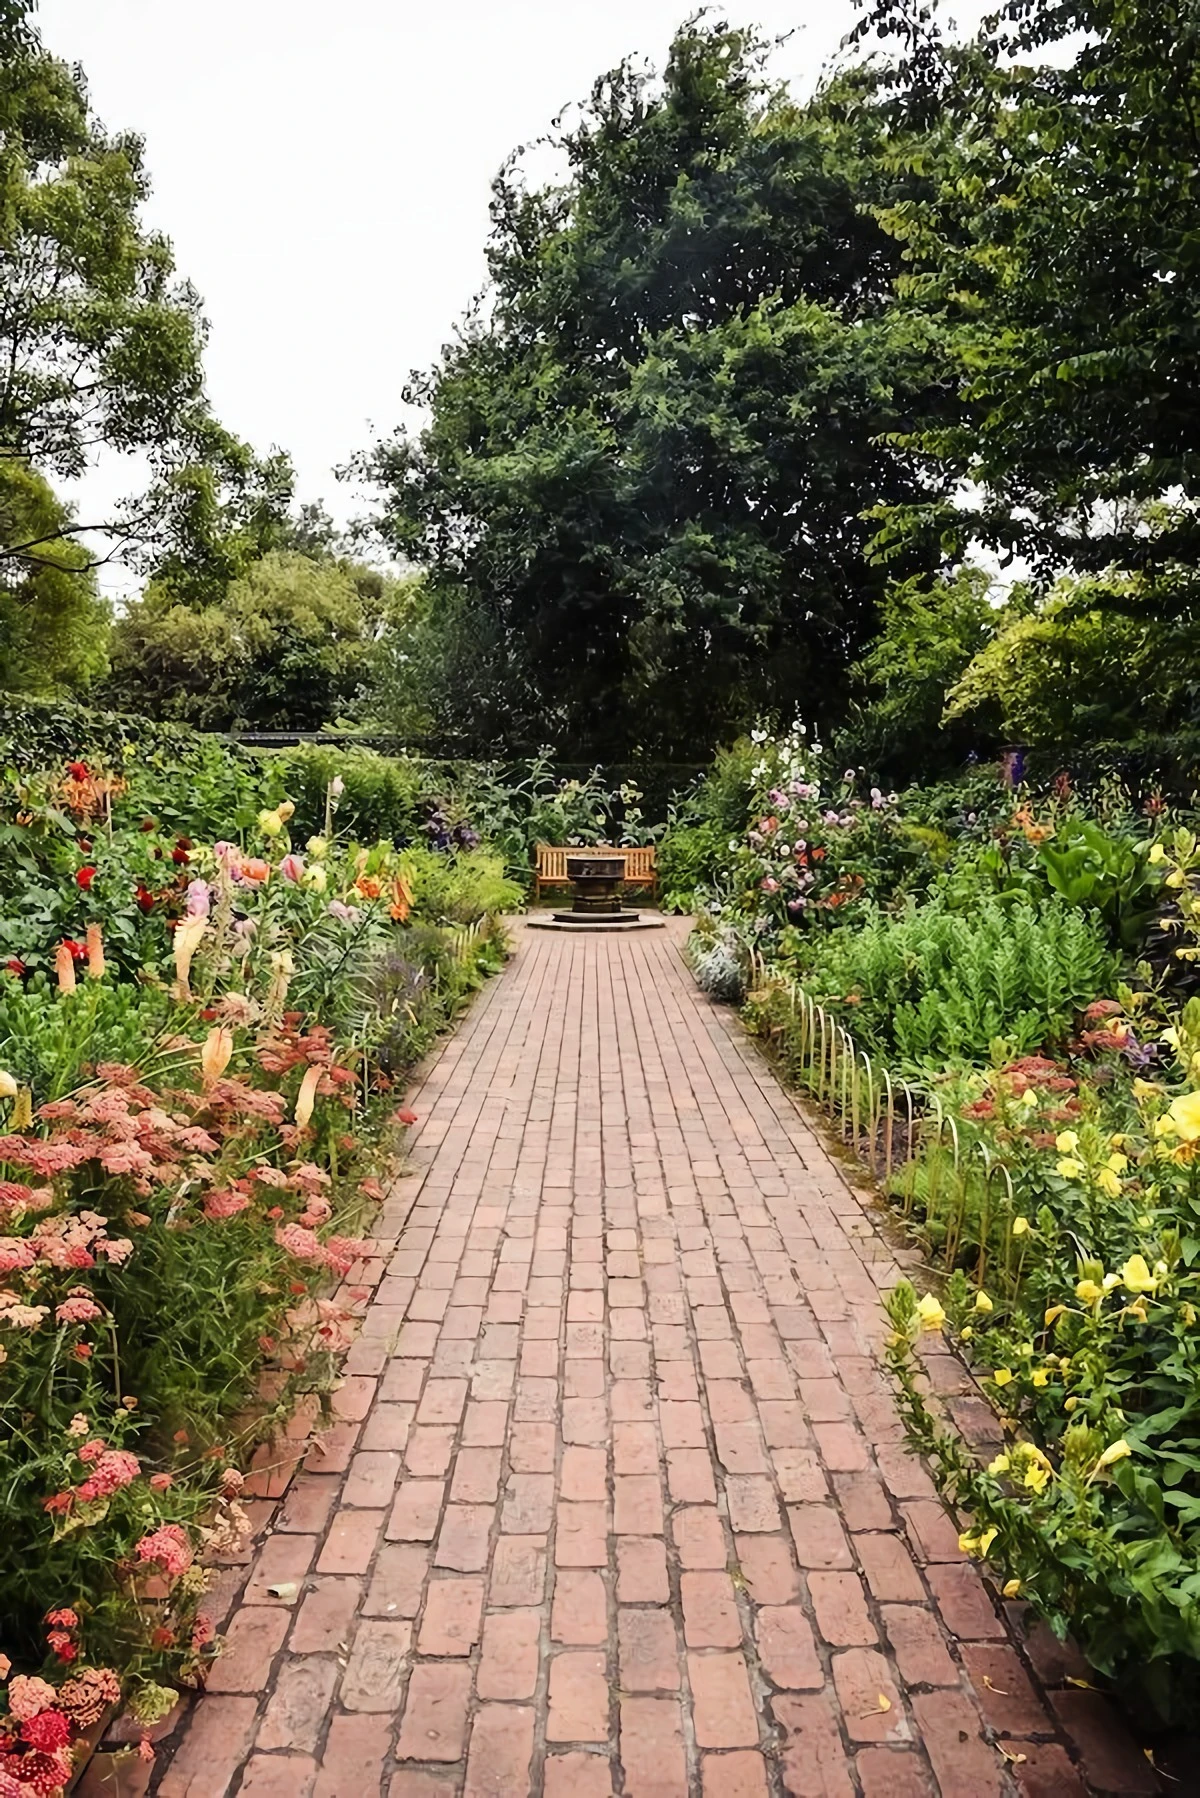
- Creates clean, deliberate lines between lawn and garden beds.
- Prevents mulch from spilling onto pathways, maintaining a tidy look.
- Gives the entire landscape a professionally maintained appearance.
The secret? Proper edging. Whether you choose discreet black steel edging for a sharp, modern look or traditional brick for a classic feel, defining your spaces is a non-negotiable step for a high-end result.
A study by the University of Washington found that a well-designed, mature landscape can add up to 15% to a home’s resale value.
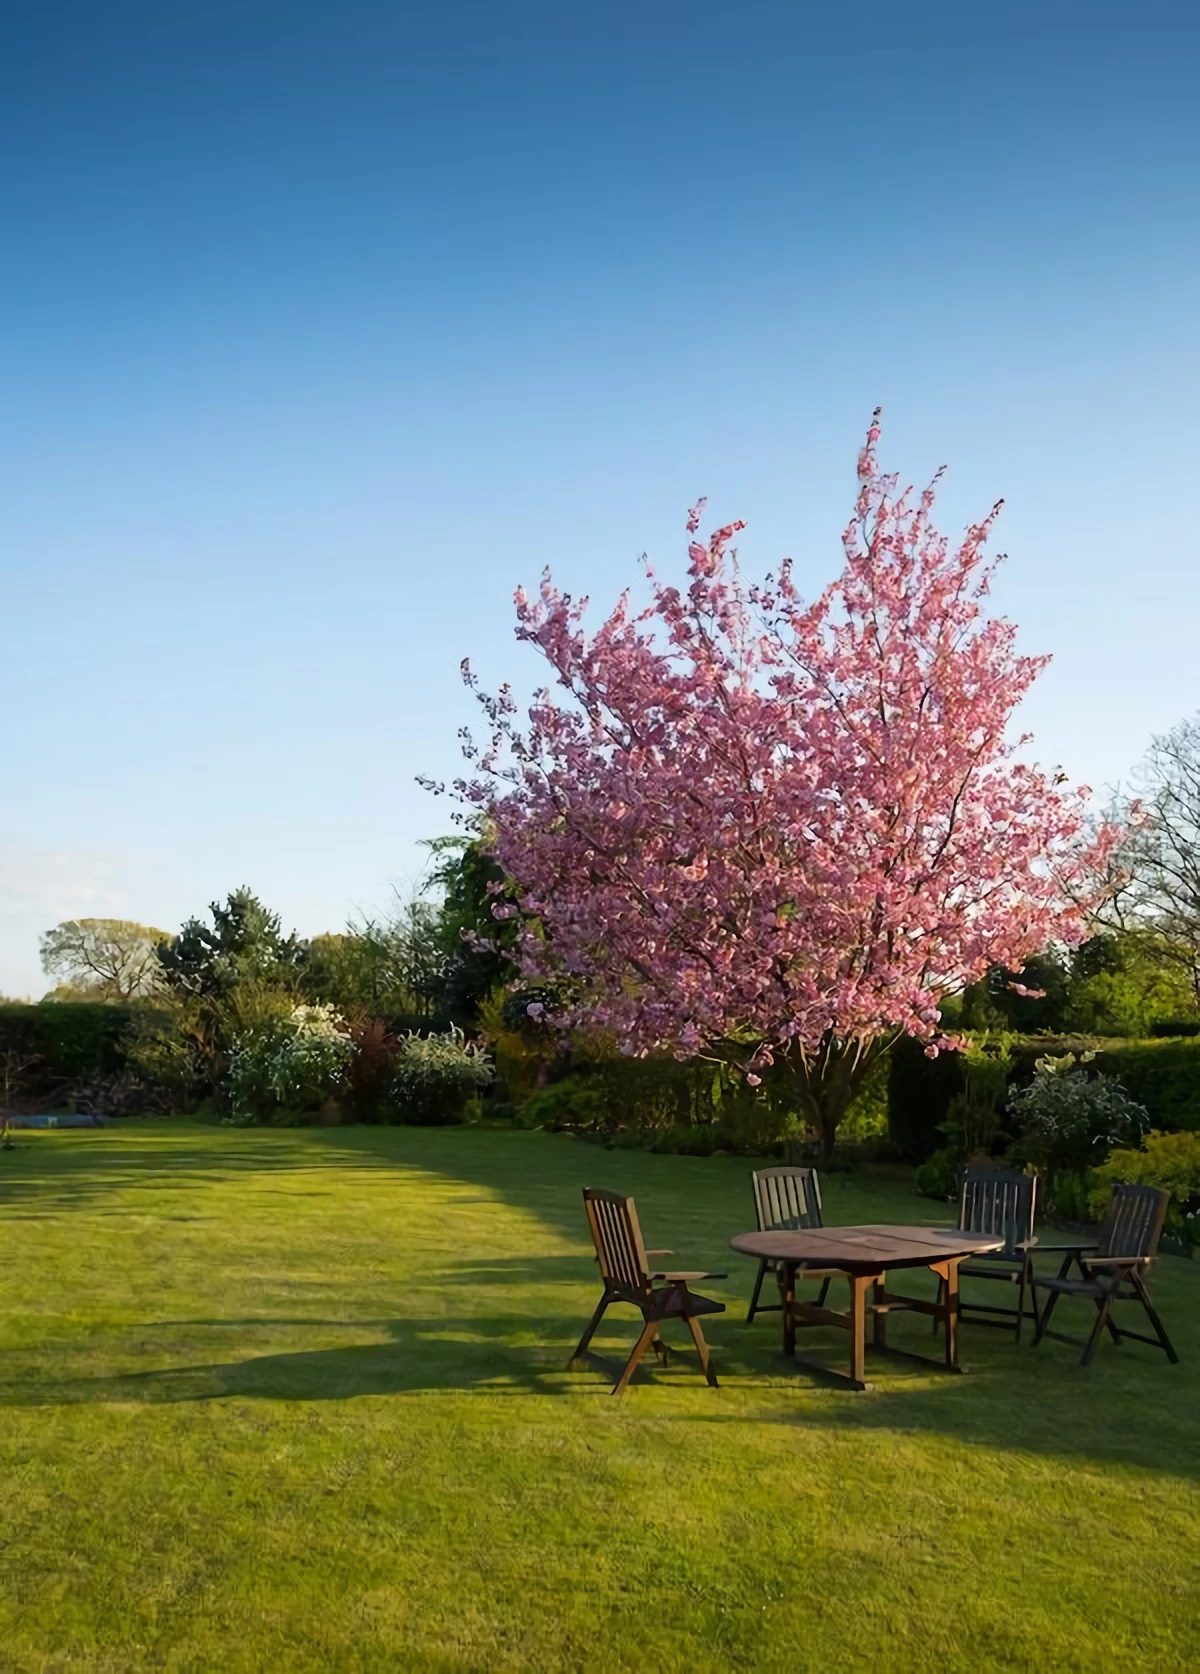
This isn’t about fancy statues. It’s about structure and maturity. This means investing in a few larger, high-quality trees or shrubs that will become permanent fixtures is a far smarter long-term strategy than filling beds with dozens of temporary annuals each year. Think of them as architectural assets, not just decorations.
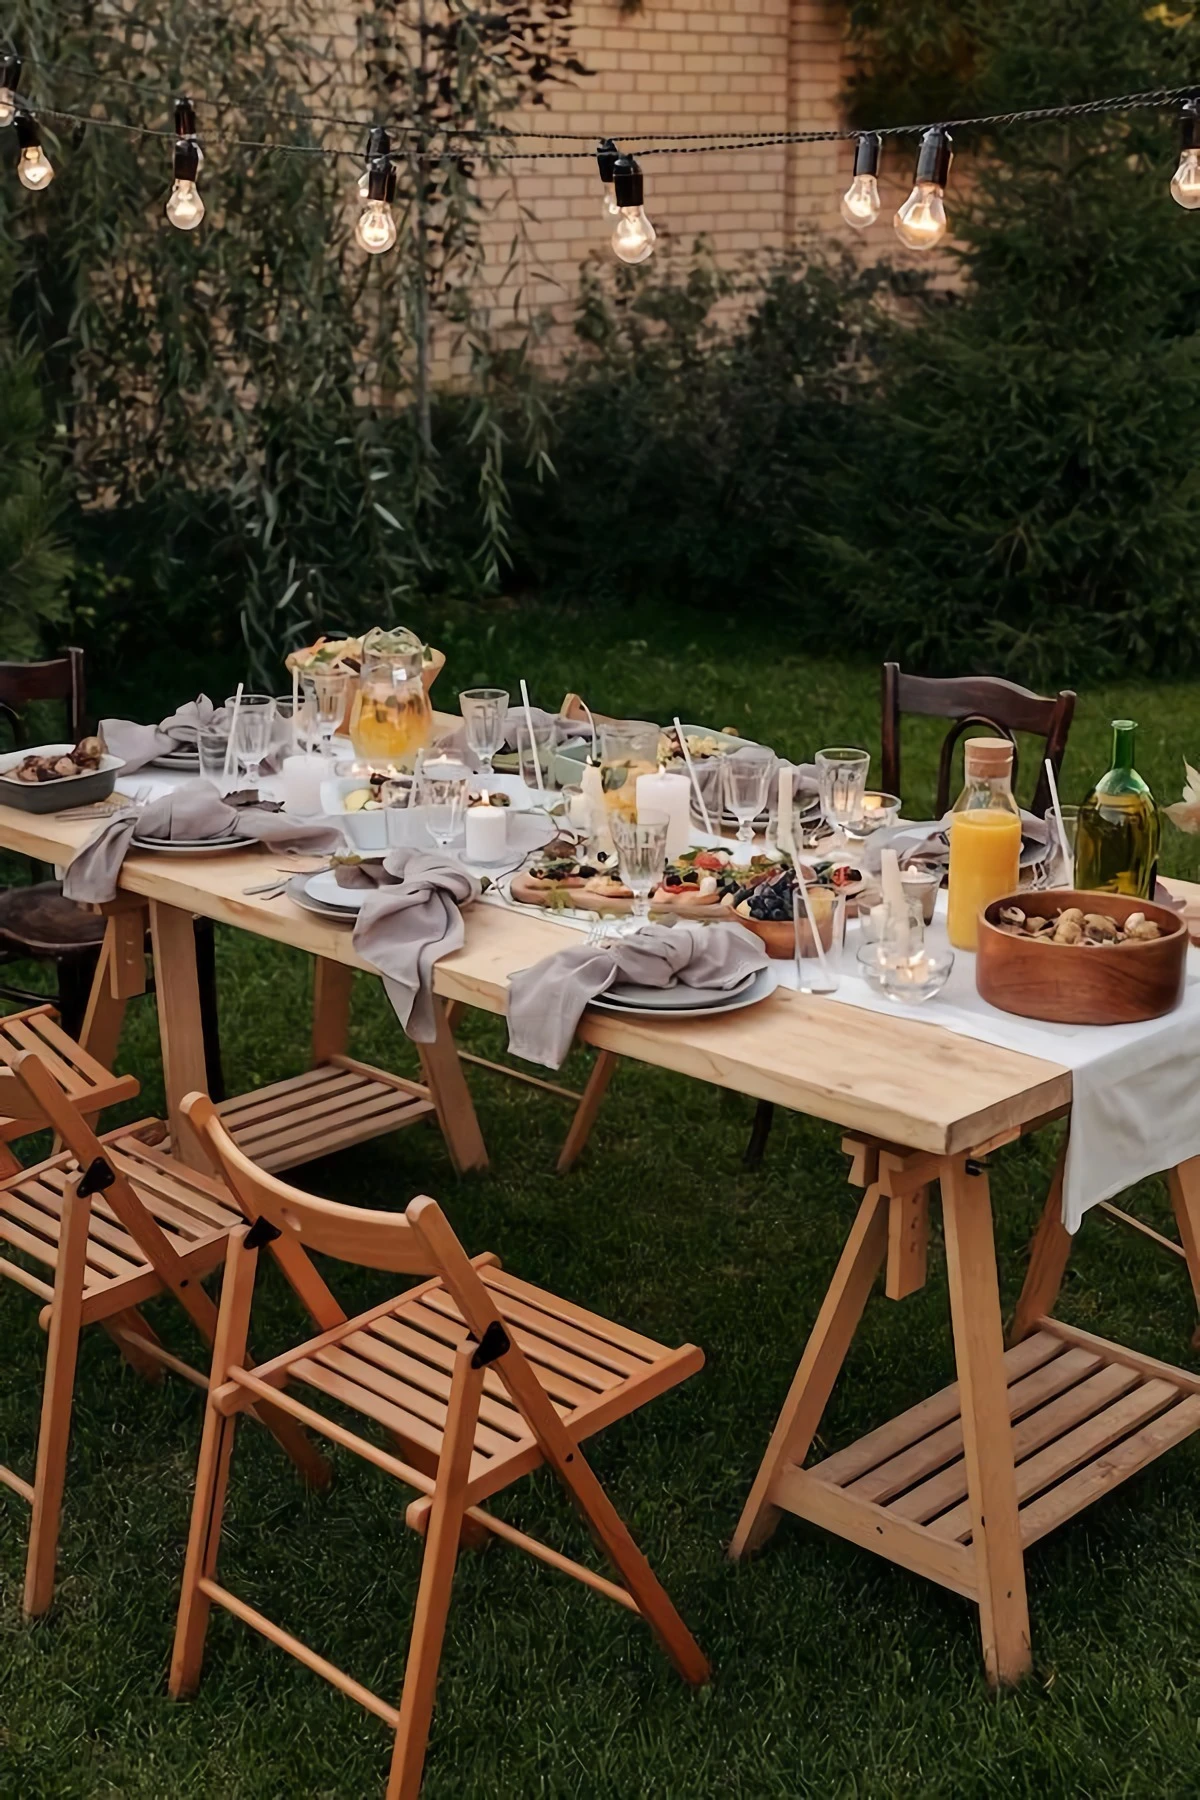
Does your garden simply vanish when the sun goes down?
A professionally designed space feels just as magical at night. The key is using layered, low-voltage lighting. Forget harsh, singular floodlights. Instead, use a mix of techniques: subtle uplighting on a specimen tree (like a Japanese Maple), path lights to guide the way, and soft accent lights within planting beds. Brands like Volt or Kichler offer durable brass or copper fixtures that patina beautifully and withstand the elements, adding to that feeling of permanence.
Resist the urge to create a botanical collection of one-of-everything. A high-end, cohesive look comes from repetition and a limited plant palette. Choose three to five core plants and repeat them in drifts and groupings throughout the garden. A mass planting of ‘May Night’ Salvia or a recurring cluster of ‘Karl Foerster’ grasses provides rhythm and unity that a hodgepodge of individual plants never can.
Even the most beautiful garden can be let down by visible utilities. Here’s how to cleverly conceal them:
- Air Conditioner Unit: Build a simple, modern screen using horizontal wood slats. Ensure there’s enough clearance for airflow (check manufacturer specs!).
- Utility Meters: Plant a cluster of tall, upright ornamental grasses or a non-invasive clumping bamboo in front of them.
- Hose and Reel: Invest in a stylish storage pot or a decorative wall-mounted holder that turns a functional item into a design element.
Decomposed Granite (DG): Offers a soft, natural, and permeable surface. It creates a relaxed, rustic-yet-refined feel, perfect for informal patios or secondary paths. It’s also significantly more budget-friendly.
Irregular Flagstone: Provides a solid, permanent, and classic look. Setting stones in sand or mortar creates a more structured and formal pathway, conveying a sense of timeless quality.
The choice depends on the feeling you want: DG for a casual stroll, flagstone for a grander walkway.
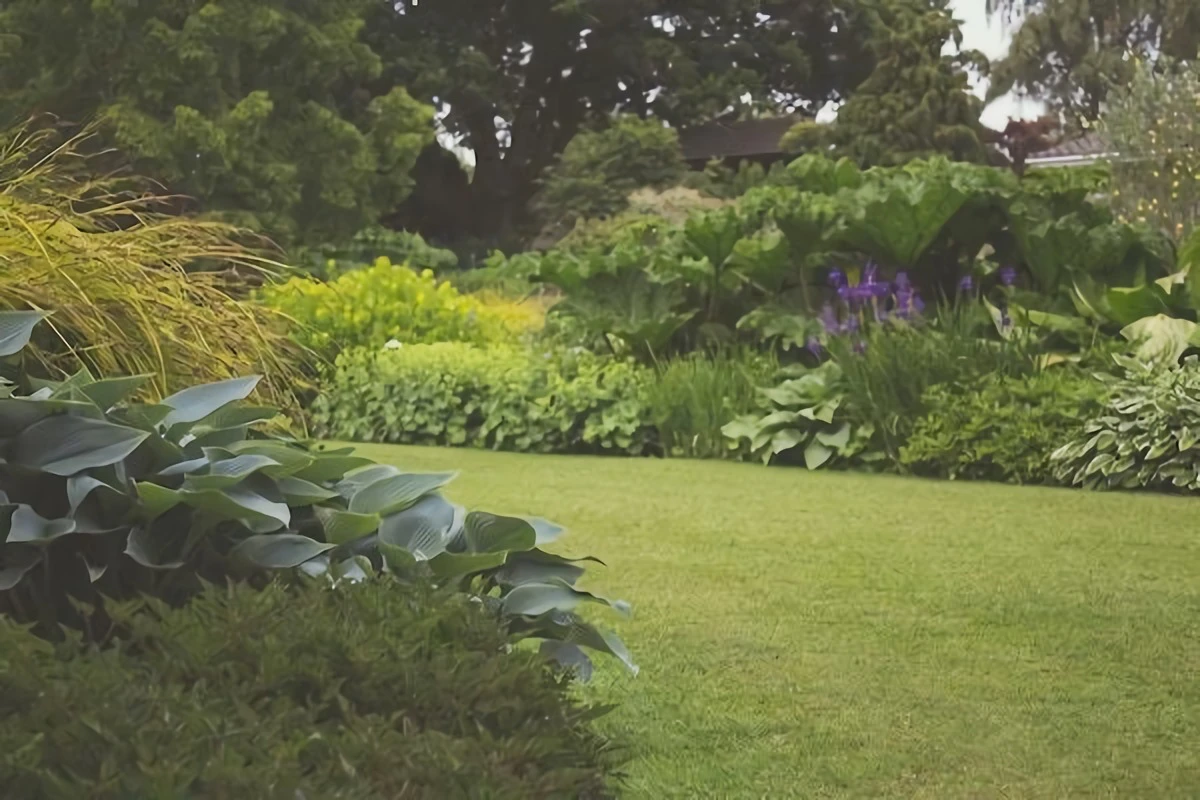
Think beyond flowers: A sophisticated garden relies heavily on texture and foliage for year-round interest. Flowers are fleeting, but the contrast between the bold, waxy leaves of a Hosta, the feathery fronds of a Japanese Painted Fern, and the sharp, upright blades of an Iris creates a rich, complex tapestry that looks intentional and beautifully designed long after the blooms have faded.


