Your Plants Are Trying to Tell You Something (And It’s Not Just ‘Water Me’)
I’ve spent a long time with my hands in the dirt, from my early days in a bustling commercial nursery to eventually running my own shop for specialty plants. And in all that time, I’ve realized something important: the usual advice about plant care is a great start, but it’s not the whole story.
In this article
Sure, we all know about watering, light, and fertilizer. That’s the foundation. But to get those truly stunning plants—the ones with deep, vibrant colors and that look genuinely happy—you have to think about their entire world. It’s the stuff people don’t talk about as much, like air movement and humidity. It’s about listening to the plant instead of just following a rigid schedule.
Honestly, beginners often want a simple checklist. Water on Sunday, feed once a month. But plants aren’t robots; they’re living things reacting to their environment in real-time. My goal here is to get you past that basic checklist and share some of the thinking we use in professional horticulture. These aren’t secrets, just a way of looking at things that will turn you from a plant owner into a plant grower.
First Things First: You Have to Actually Look at Your Plants
Before we get into humidifiers or fans, we need to talk about the single most powerful tool you have: your eyes. The first thing I’d have any new apprentice do at the nursery was just walk the greenhouses every single morning. Before touching a single watering can, just look. It sounds too simple, but this daily practice is more valuable than any fancy sensor you can buy.
Developing Your ‘Grower’s Eye’
This daily check-in is how you build a real connection with your plants. You start to notice the little things. It’s no longer just a ‘fern’ in the corner; it becomes your fern, and you start to pick up on the subtle cues it’s sending you.
So, what should you be looking for in this five-minute daily scan?
- Leaf Position: Are the leaves perky and firm, or are they starting to look a little sad and droopy? That slight droop is often the very first sign of thirst, way before the soil feels like a desert. A peace lily is super dramatic about this, but for something like a snake plant, it’s much more subtle.
- Color Check: Is the green rich and deep? Yellowing leaves are a classic panic moment for new plant parents. But don’t freak out! Quick Tip: How to Read a Yellow Leaf. Is it yellow but also soft and a bit mushy? That’s a good sign you’re overwatering. Is it yellow and crispy or dry to the touch? Probably needs a drink. If the leaf veins stay green but the rest of the leaf turns yellow, it might be asking for a specific nutrient. See? You’re a detective now.
- New Growth: Are new leaves popping up? Is the new growth a healthy size and color? If the new leaves are tiny and stunted, your plant might be begging for more light or a dose of fertilizer.
- The Soil Surface: Get up close and personal. Look for any fuzzy mold or tiny bugs. And instead of just poking the topsoil with your finger, grab a wooden chopstick or a skewer. Push it a few inches into the pot. If it comes out clean and dry, it’s go-time for watering. If it comes out dark with damp soil clinging to it, give it a few more days.
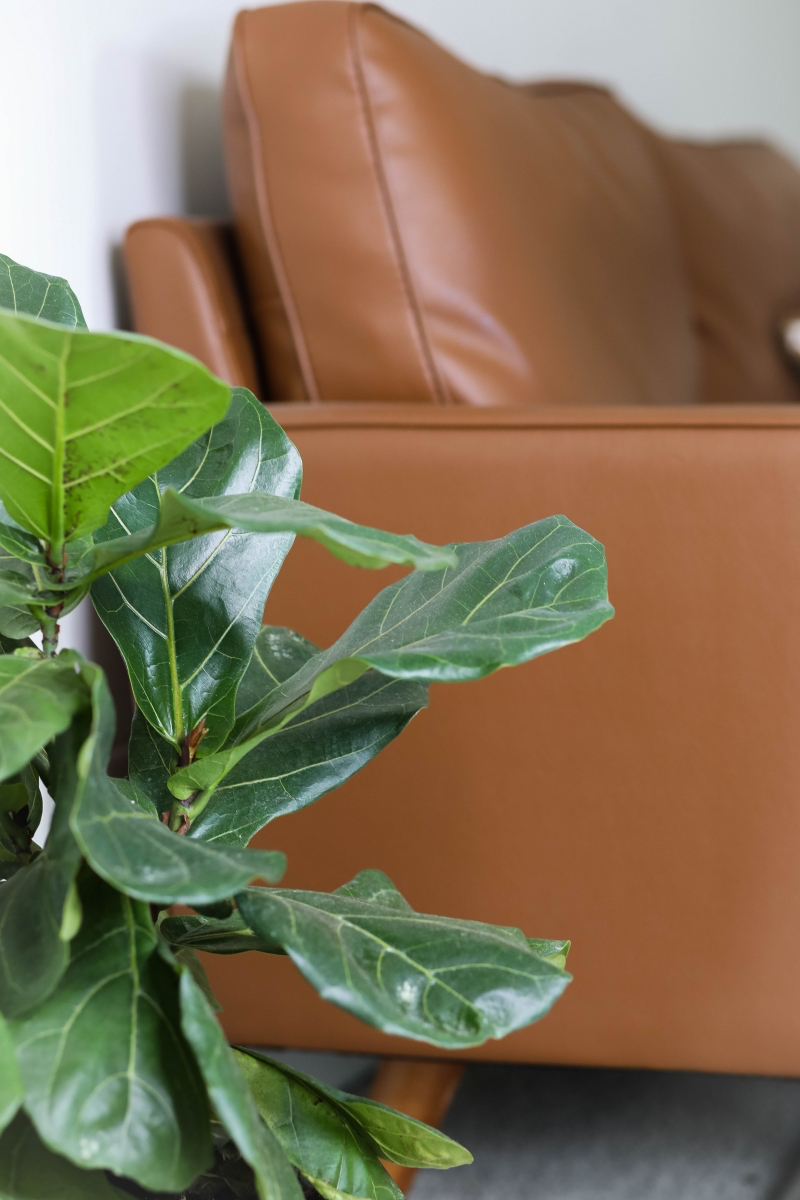
I learned this the hard way. I once had this incredible Fiddle Leaf Fig in my office. I got slammed with a huge order and broke my daily walk-around routine for about two weeks. When I finally went to check on it, I found a full-blown spider mite infestation. The undersides of the leaves were covered in this fine, dusty webbing with tiny, almost invisible moving dots. It took me months of work to save that plant—a problem a simple daily glance would have stopped in its tracks.
Let’s Talk Humidity (And Why Misting Isn’t the Answer)
So many of the houseplants we love, like Calatheas and most ferns, come from tropical places where the air is thick with moisture—think 60% to 90% humidity. Meanwhile, in our homes with central air and heating, the humidity can easily plummet to 30% or less, especially in winter. That dry air is incredibly stressful for tropical plants.
Why? Plants breathe through tiny pores on their leaves. When they open up to take in CO2, water escapes. In humid air, they lose less water. In dry air, moisture gets sucked out of the leaves like a vacuum. When this happens, you see those dreaded crispy brown leaf tips. It also makes them way more vulnerable to pests like spider mites, which absolutely thrive in dry conditions.
Better Ways to Boost Humidity
Misting is what everyone suggests, but honestly, it’s a temporary fix at best. The water evaporates in minutes. Here are some methods that actually work:
- Grouping Plants: This is the easiest and cheapest way. As plants release moisture (a process called transpiration), they humidify the air around them. Cluster a few of your tropicals together, and you’ve created a little humid microclimate. Cost: Free! Effectiveness: Low to medium, but better than nothing. Quick Win: Try this today. Grab three of your humidity-loving plants and put them together on a table. Boom. You just made their lives a little better in 10 seconds.
- Pebble Trays: A classic for a reason. Get a shallow tray or saucer, fill it with a layer of pebbles (you can find these at craft stores or garden centers for about $5 a bag), and add water until it’s just below the top of the rocks. Set your plant pot on top of the pebbles, making sure the pot isn’t sitting in the water. The evaporating water provides a steady, localized humidity boost. Cost: Around $10-$20 for a tray and pebbles. Effectiveness: Medium, and great for a single prized plant.
- A Humidifier: This is the gold standard and what we use in professional propagation houses. It’s the most effective and controllable option. A small cool-mist humidifier can make a world of difference for a corner of plants. You can find a decent one for between $30 and $60 online or at a big-box store. To really know what’s going on, grab a digital hygrometer (about $10-$15) to measure the humidity. Aim for a stable 50-60%. Heads up! You absolutely have to clean your humidifier regularly. A dirty one can spray mold and bacteria into the air, which is bad for you and your plants.
Of course, don’t put your cactus on a pebble tray. This is strictly for your tropical friends—your Calatheas, Alocasias, ferns, and orchids.
Give Your Plants a Workout (Seriously)
Out in the wild, plants are always moving. Wind blows, animals brush past them… this physical stress is actually a good thing! It signals the plant to grow stronger, thicker stems to avoid breaking. Indoors, our plants live a very still, pampered life, which can make them weak and floppy.
There’s even a sciencey name for it: thigmomorphogenesis. But all you need to know is that simulating movement helps your plants grow more compact and sturdy.
- The Gentle Shake: A few times a week, just gently grab the main stem of your plant and give it a little shake for 30 seconds or so. You’re aiming for a breezy day, not a hurricane. This is fantastic for young Fiddle Leaf Figs or rubber plants to encourage them to develop a nice, thick trunk.
- Use a Fan: For a more hands-off approach, an oscillating fan is your best friend. A small, cheap desk fan set on low for a few hours a day is perfect. You’re not trying to create a wind tunnel, just a gentle breeze. This has a massive side benefit, too: it dramatically improves air circulation, which helps prevent fungal issues and makes the topsoil less inviting for pesky fungus gnats.
Taking Your Plants on a Safe ‘Summer Vacation’ Outside
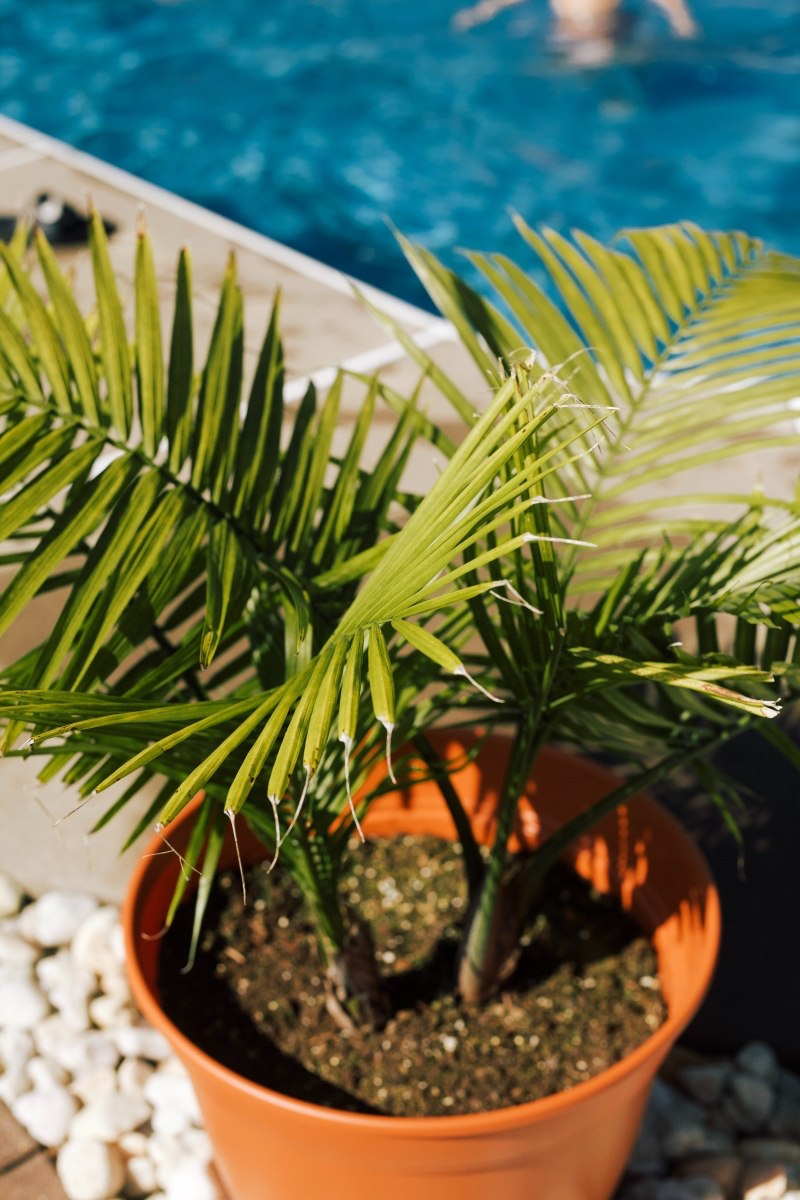
Letting your houseplants spend the summer outdoors sounds like a fantastic idea, and it can be! But moving a plant from your living room straight into the bright sun is a recipe for disaster. You have to acclimate them gradually in a process called ‘hardening off’.
I once moved a huge, gorgeous bird of paradise from a greenhouse straight onto a sunny patio. I thought it would love it. A few hours later, its leaves were covered in ugly, bleached-white patches. That’s plant sunburn, and that damage is permanent. Don’t be like me!
The 2-Week Hardening-Off Plan
Patience is everything here. This should take one to two weeks.
- Days 1-3: Find a spot in complete shade, like under a covered porch or a big tree. Leave the plants out for just 2-3 hours, then bring them back in.
- Days 4-6: Increase their outdoor time to 4-5 hours, still in full shade.
- Days 7-9: Now, you can introduce a little direct morning sun—it’s much gentler than the afternoon sun. Start with just an hour, then move them back to the shade.
- Days 10-14: Slowly increase the amount of direct morning sun each day. By the end of two weeks, most plants should be ready for a full day outside.
Outdoor Life & Coming Back In
A few things to remember: Plants outside dry out way faster, so you’ll need to water more often. And most importantly, the great outdoors has bugs! Before you bring your plants back inside for the fall (usually when nighttime temps dip below 50°F or 10°C), you MUST inspect them. Lesser-known trick: Use your phone’s camera and zoom function as a makeshift magnifying glass to check under leaves and where stems meet the soil. I always give every plant a preventative spray-down with insecticidal soap or neem oil (available at any garden center) before it crosses my threshold. This one step has saved me from countless winter infestations.
Final Thoughts
The real shift happens when you go from a rigid, task-based routine to a responsive, observant partnership with your plants. By understanding the world from their perspective—thinking about humidity, air movement, and gradual changes—you can solve problems before they even start. You can create a home where your plants don’t just survive, they truly thrive.
Don’t be afraid to experiment a little. See what works in your space. The core ideas here are what the pros use, but they’re totally adaptable for your home. Just start by paying attention. Your plants are talking to you every day; learning their language is the best skill you’ll ever develop.
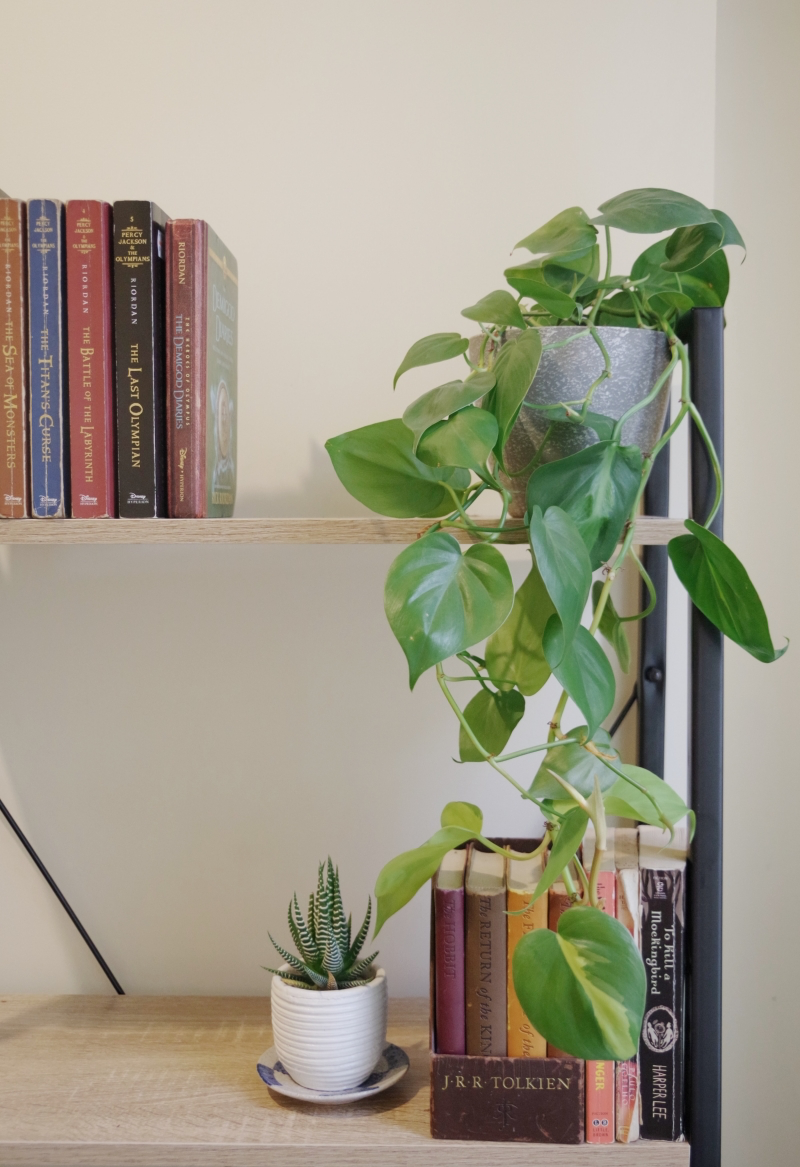
Inspirational Gallery with Photos
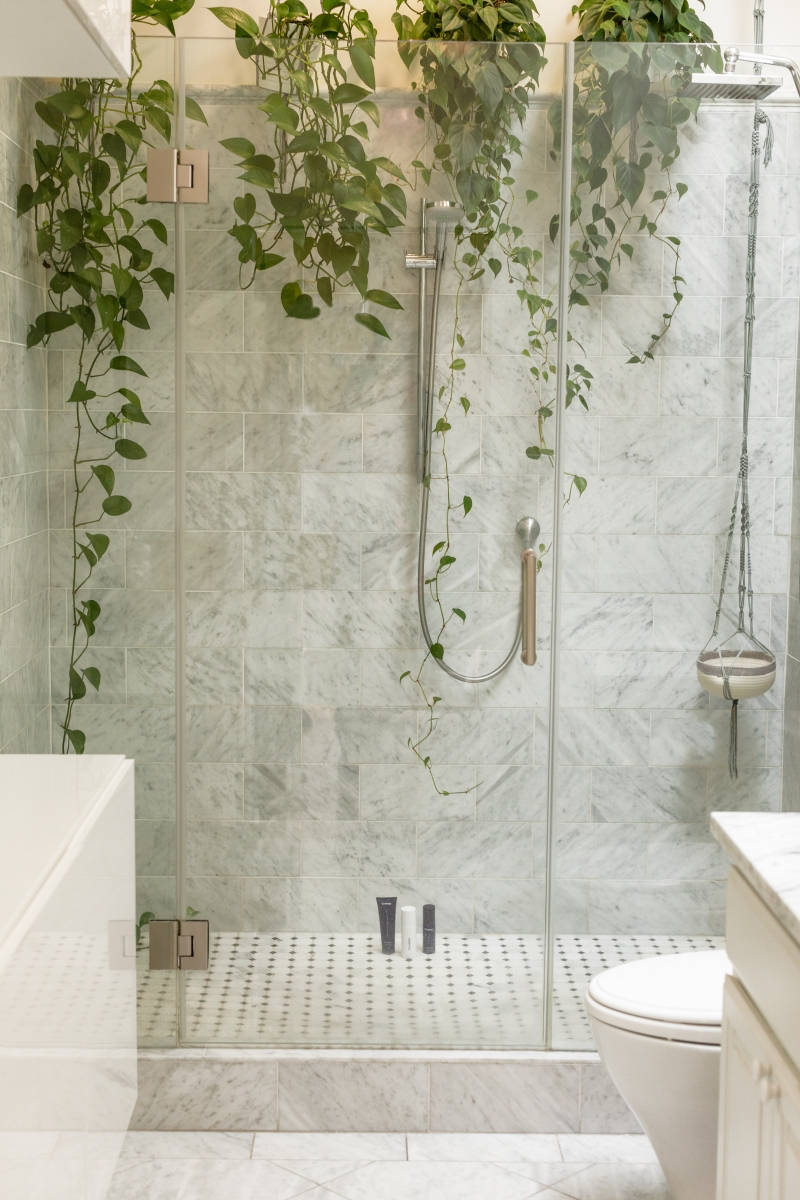
The average home has a humidity level of 30-40%, but many popular houseplants like Calatheas and Alocasias thrive in levels closer to 60-70%, similar to their native rainforest floor environment.
This gap is why you might see crispy brown edges on leaves, even with perfect watering. Investing in a small humidifier, like a Levoit Classic 100, placed near a cluster of tropical plants can be a game-changer, transforming your space into a mini-greenhouse where they can truly flourish.
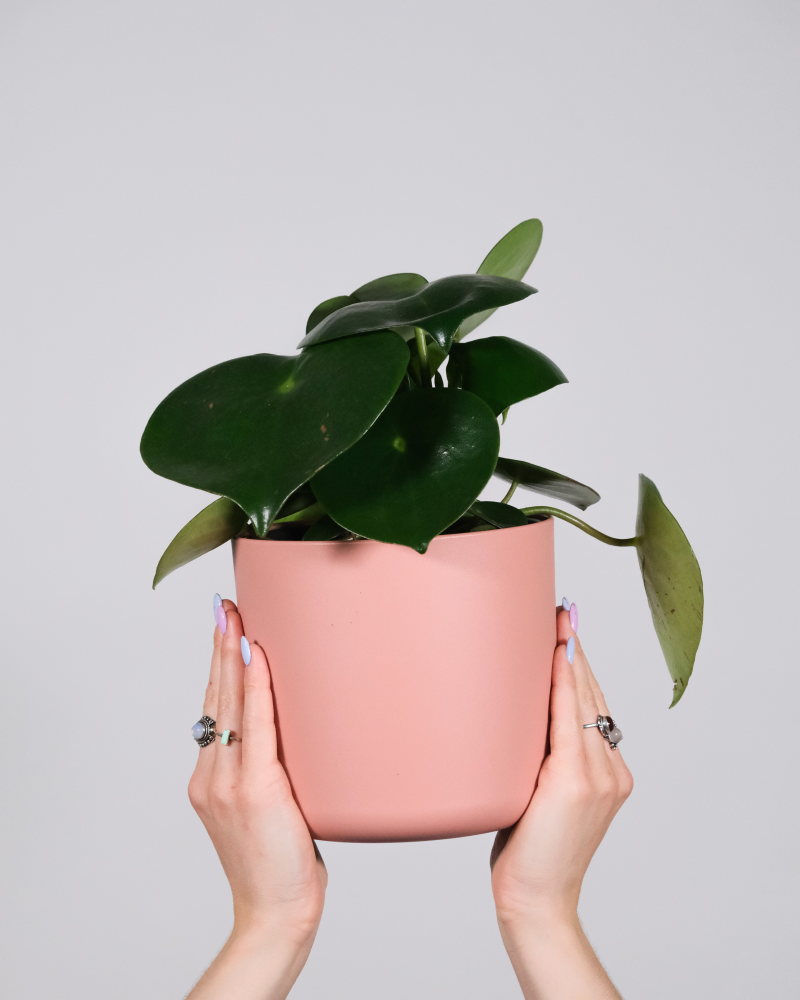
Is my plant trying to escape its pot?
If you see roots poking out of the drainage holes or coiling tightly at the surface, your plant is likely ‘root-bound.’ This means it has run out of space to grow and can’t absorb nutrients or water efficiently. Don’t panic! It’s a sign of a healthy, growing plant that’s ready for an upgrade. Gently slide it out of its pot to confirm. If the roots form a dense, solid mass, it’s time to repot into a container just 1-2 inches wider.
Moving beyond generic potting soil is a key step. For plants that hate ‘wet feet’ like Monsteras, Philodendrons, and other aroids, create a custom chunky mix that mimics their natural habitat of growing on trees.
- One part quality indoor potting mix (like FoxFarm Ocean Forest)
- One part orchid bark for aeration
- One part perlite or pumice to prevent compaction
- A handful of horticultural charcoal to keep it ‘sweet’
This blend allows for excellent drainage and airflow, drastically reducing the risk of root rot.
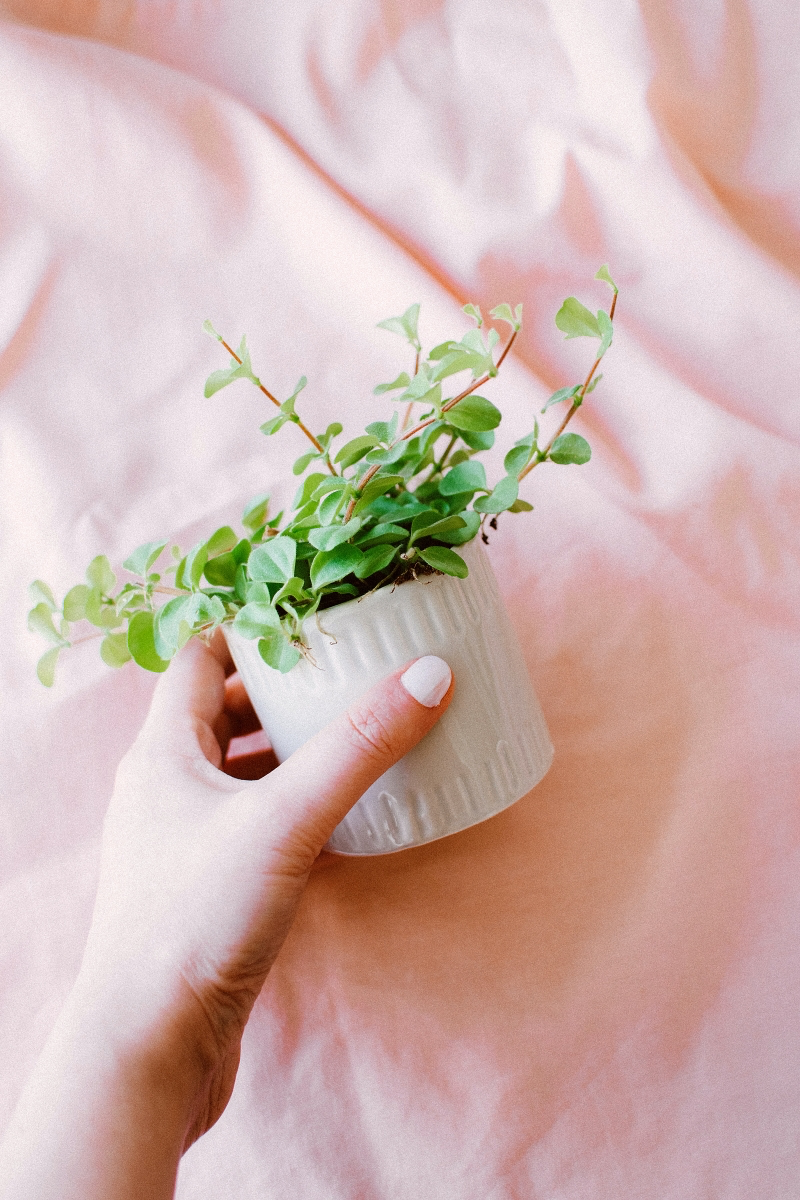
Terracotta Pots: These classic, unglazed clay pots are porous, meaning water and air can pass through the walls. This helps the soil dry out faster, which is excellent for succulents, cacti, and any plant prone to root rot.
Glazed Ceramic or Plastic Pots: These are non-porous, so they hold moisture for much longer. They are a great choice for moisture-loving plants like ferns or for plant parents who tend to underwater.
The key is to match the pot to the plant’s needs and your watering habits.
Don’t just water, aerate. In the wild, soil isn’t a static block; it’s teeming with life and movement. Compacted soil in a pot can suffocate roots even if the watering schedule is perfect. Once a month, gently poke a chopstick or a thin bamboo stake deep into the soil in several places (being careful to avoid the main root ball). This simple action creates air channels, improving oxygen flow directly to the roots and revitalizing the entire plant.
- Deeper, more vibrant leaf coloration.
- Thicker, more resilient stems and foliage.
- Increased resistance to pests and environmental stress.
The secret? Silica. While not a primary nutrient, adding a silica supplement like Botanicare’s Silica Blast to your watering routine strengthens plant cell walls from the inside out. It’s like giving your plant a suit of armor, making it physically tougher and better able to withstand common issues.
Think of airflow as your invisible ally against pests and fungal issues. Stagnant, humid air is a breeding ground for problems like powdery mildew and spider mites. You don’t need a wind tunnel; a small, oscillating fan set to low and placed in a room with plants for a few hours a day is enough. This gentle breeze strengthens stems, discourages pests from settling, and helps water evaporate from leaf surfaces, mimicking the natural environment.
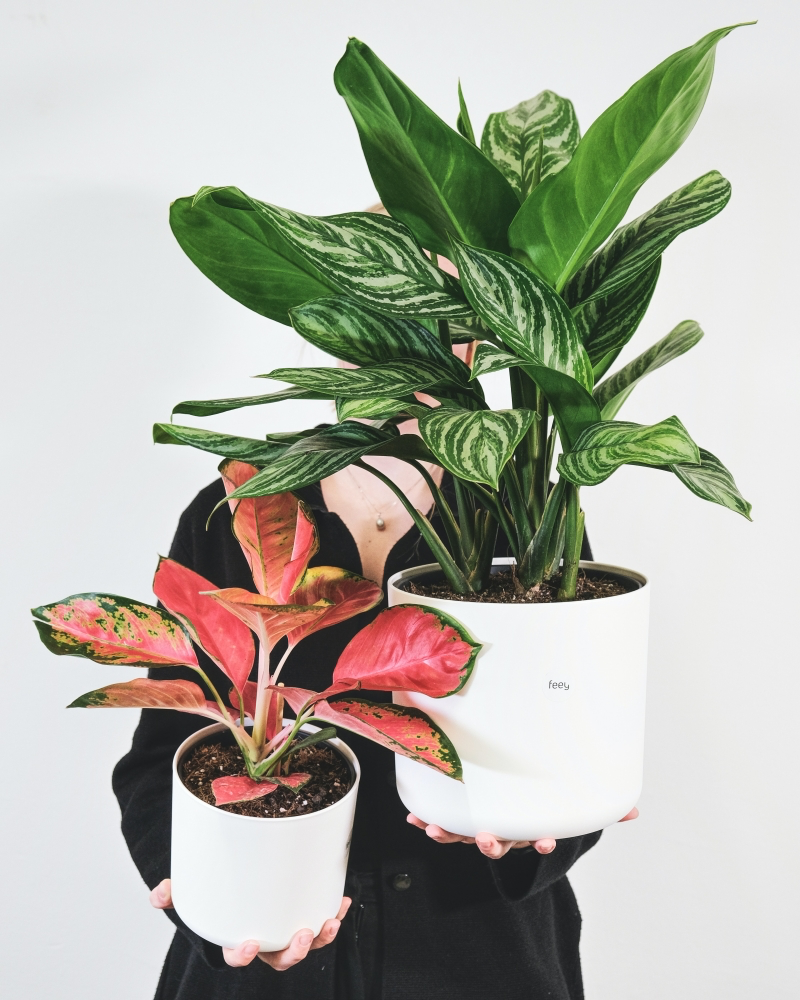
A 2018 study in the Journal of Environmental and Experimental Botany confirmed that a group of plants sharing a common airspace can communicate chemically when one is under attack by pests, triggering defense responses in its neighbors.
This is why grouping plants isn’t just for aesthetics. Creating ‘plant communities’—placing similar-need plants together—can boost ambient humidity and may even help them protect each other. A small cluster of Fittonias and Marantas, for example, creates a beautiful, self-sustaining humid microclimate.
A common mistake: Confusing a light-loving plant with a direct-sun-loving plant. Very few common houseplants, aside from cacti, want to be baked in direct, unfiltered afternoon sun. It’s too intense and will scorch their leaves. ‘Bright, indirect light’ means a spot near a window but out of the sun’s actual rays. A sheer curtain is the perfect tool to diffuse harsh light, giving your plants the energy they need without the burn.


