Garden Trellises That Actually Work: A No-Nonsense Guide
I’ll never forget the first trellis I built for a paying client. I was so proud. It was for some gorgeous climbing roses against a garage wall. I used untreated pine and some standard deck screws, and for about one season, it looked fantastic. Fast forward two years, and I get a call. The whole thing was sagging, streaked with rust, and literally pulling off the wall. It was a complete failure, and it taught me something crucial: a garden trellis isn’t just a pretty accessory. It’s a structural partner for a living, growing plant, and you have to build it for the long haul.
In this article
Since that humbling experience, I’ve put up hundreds of trellises, from simple A-frames for cucumbers to massive arbors built to handle the insane weight of a mature wisteria. And trust me, I’ve learned what works and what crumbles. The secret is thinking beyond day one and considering the real forces at play: how the plant grows, how heavy it’ll get, and what kind of weather it has to survive.

First, Understand Your Plant’s Game Plan
Before you even think about materials, you need to know how your plant climbs. It’s not just a random scramble for the sky; different plants have very specific moves. If you give a plant the wrong kind of support, you’ll spend your whole summer fighting it. It’s like giving a fish a ladder.
Most climbers operate on a simple principle: they move in response to touch. When a part of the plant bumps into a support, it triggers a growth reaction. But how they do it varies a lot.
Here’s the breakdown of the three main climbing styles:
- The Twiners: Think morning glories, pole beans, or many types of clematis. Their actual stems or leaf stalks will spiral around anything they can find. They need vertical supports like poles, wires, or netting to wrap around. They can’t do much with a flat, solid surface.
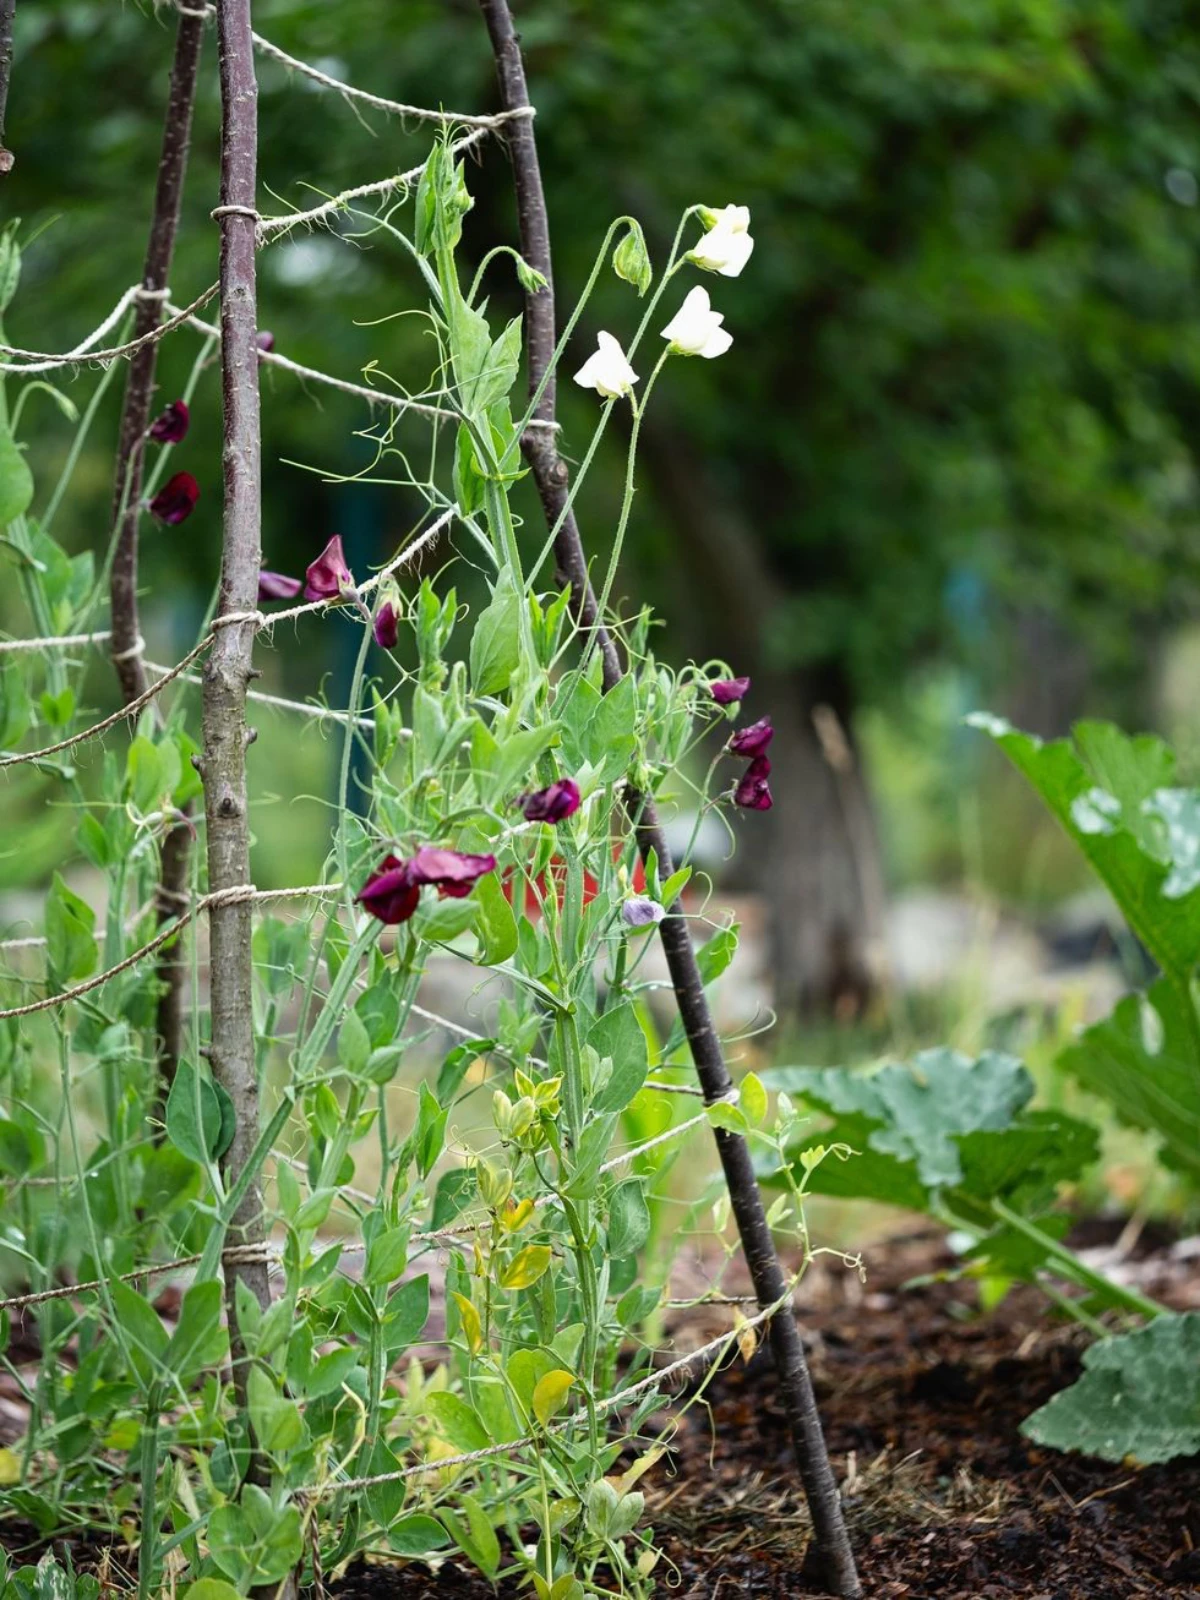
- The Tendril-ers: These are the smart ones, like sweet peas, passion flowers, and grapes. They send out little wiry feelers called tendrils. When a tendril touches something suitable, it coils around it like a tiny lasso, pulling the plant up. The key here is that they need something thin to grab. We’re talking supports no thicker than a pencil—things like wire grids with 2 to 4-inch openings, jute twine, or thin metal rods. A chunky 4×4 post is completely useless to them.
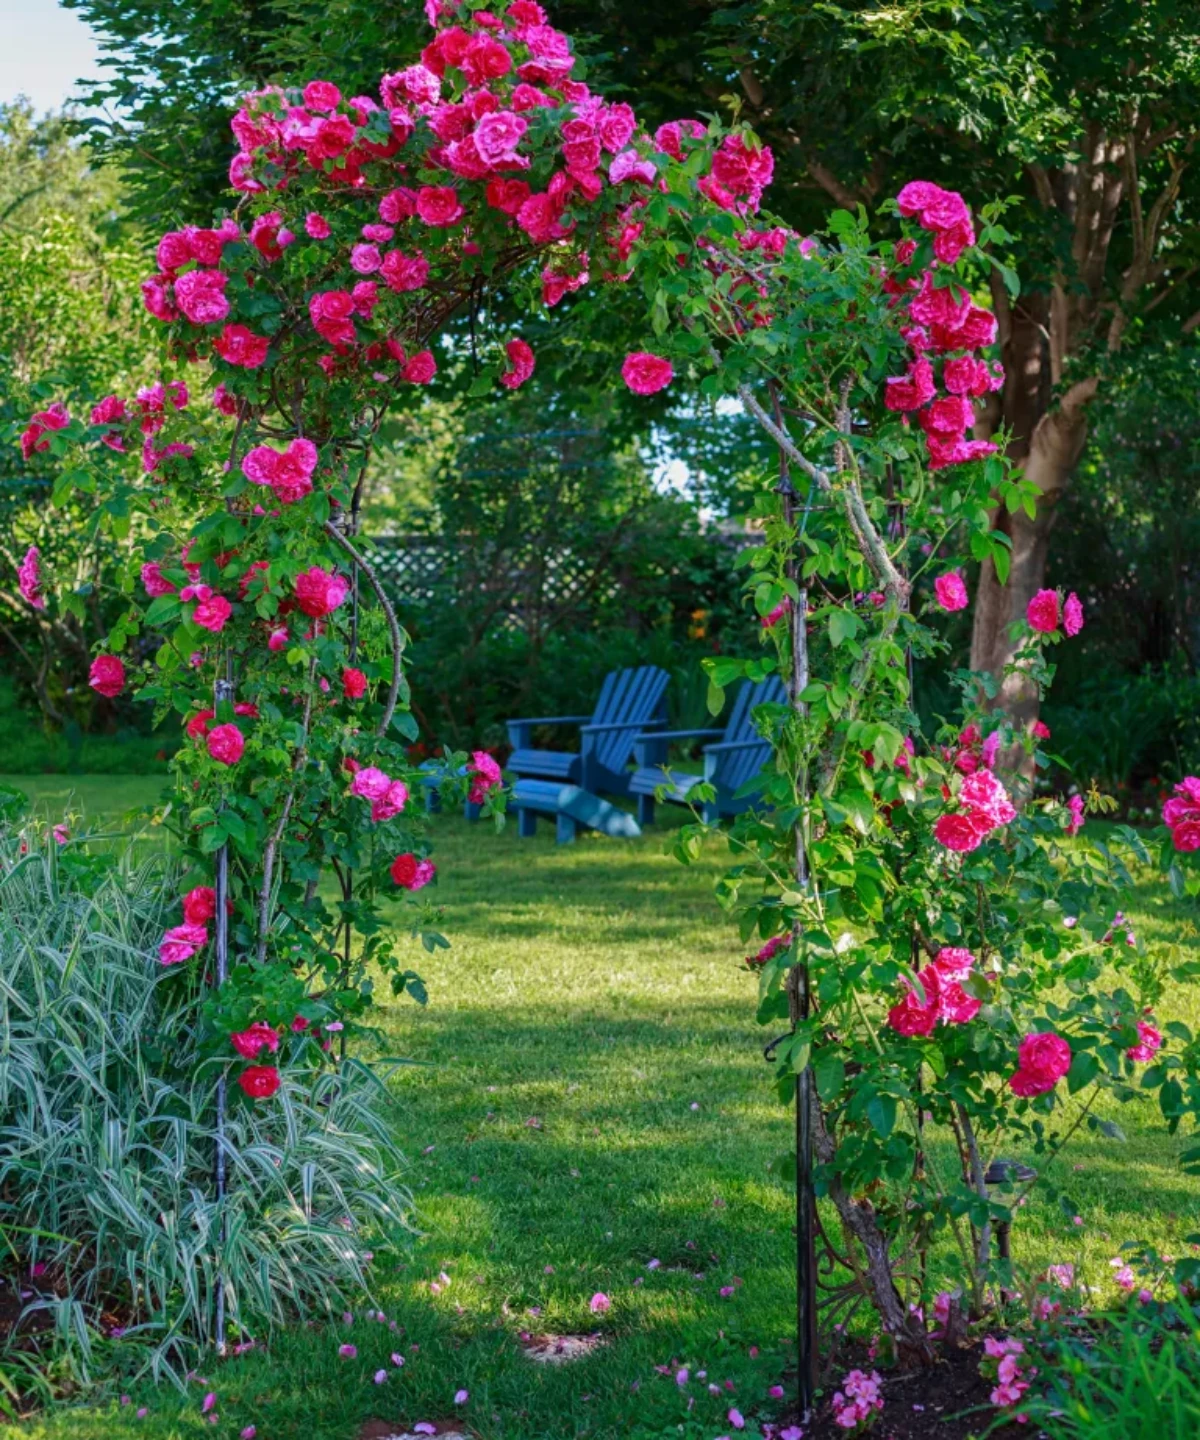
- The Scramblers & Clingers: This group includes classic climbing roses and bougainvillea. To be frank, they don’t really climb on their own. They just grow super long, stiff canes and kind of lean on things. In your garden, this means you have to play an active role, manually weaving and tying them to the trellis. Others, like climbing hydrangea and some ivies, use sticky pads or aerial roots to glue themselves directly to surfaces. A word of caution: these can be incredibly destructive to brick mortar and wood siding, which is why a trellis set off the wall is almost always a better idea.
Choosing Your Material: Durability, Looks, and Cost
The material you pick dictates the trellis’s lifespan, how much you’ll have to maintain it, and what it’ll cost you. Let’s get real about the pros and cons.
Wood: The Natural Classic
Wood just looks right in a garden. It’s my favorite for custom jobs because it’s so versatile. But please, don’t make my early mistake—the type of wood is everything.
Your best bets are Western Red Cedar or Redwood. They have natural oils that fight off rot and bugs. They’re more expensive, for sure—a standard 4×8 cedar lattice panel will run you between $40 and $60 at a place like Lowe’s or Home Depot. But they’ll last 15-20 years. If you don’t stain them, they’ll age into a beautiful silvery gray.
A budget-friendly alternative is pressure-treated (PT) pine. It’s chemically treated to resist rot. However, a big heads-up: I strongly advise against using modern PT wood where it will touch soil for edible plants. It’s just not a risk worth taking in a vegetable garden. It’s fine for posts set in concrete away from your veggies.
And untreated pine or fir? Just don’t. Unless it’s for a single-season annual like beans, it will start to rot in a couple of years, especially where the pieces join together.
Quick tip: Always use stainless steel or hot-dipped galvanized screws. A box of good quality stainless screws might be $12, but it’s worth every penny. Standard screws will rust, leaving ugly black streaks and, more importantly, will corrode and weaken the structure over time.
Metal: For Strength and Slim Profiles
Metal can do things wood can’t, offering incredible strength in very slim, elegant designs. It’s the go-to for seriously heavy vines.
Powder-coated steel is a solid, durable choice. The finish is baked on and is way tougher than any spray paint. Wrought iron is the traditional, heavy-duty option, but it’s pricey and often custom. For the really big jobs, like an arbor for a wisteria (which, by the way, can get to weigh over a ton when mature!), this is what the pros use. Aluminum is great because it’s lightweight and won’t rust, making it perfect for coastal areas, but it doesn’t have the brute strength of steel.
Safety warning: In hot, sunny climates, a dark metal trellis can get hot enough to actually scorch the tender new stems of a plant. If you’re putting a trellis on a south-facing wall in a hot region, you might be better off with wood or a lighter-colored metal.
Composites and Vinyl: The Low-Maintenance Pitch
I’m going to be honest here. I rarely use these. While the promise of no rust, no rot, and no painting sounds great, they just lack the character of wood or the strength of metal. They can get brittle in the cold and fade in the sun. If a piece breaks, you can’t really fix it. They have their place, but they don’t feel like a living part of the garden to me.
Trellis Types and Where to Use Them
Let’s talk about the actual structures and how to use them smartly.
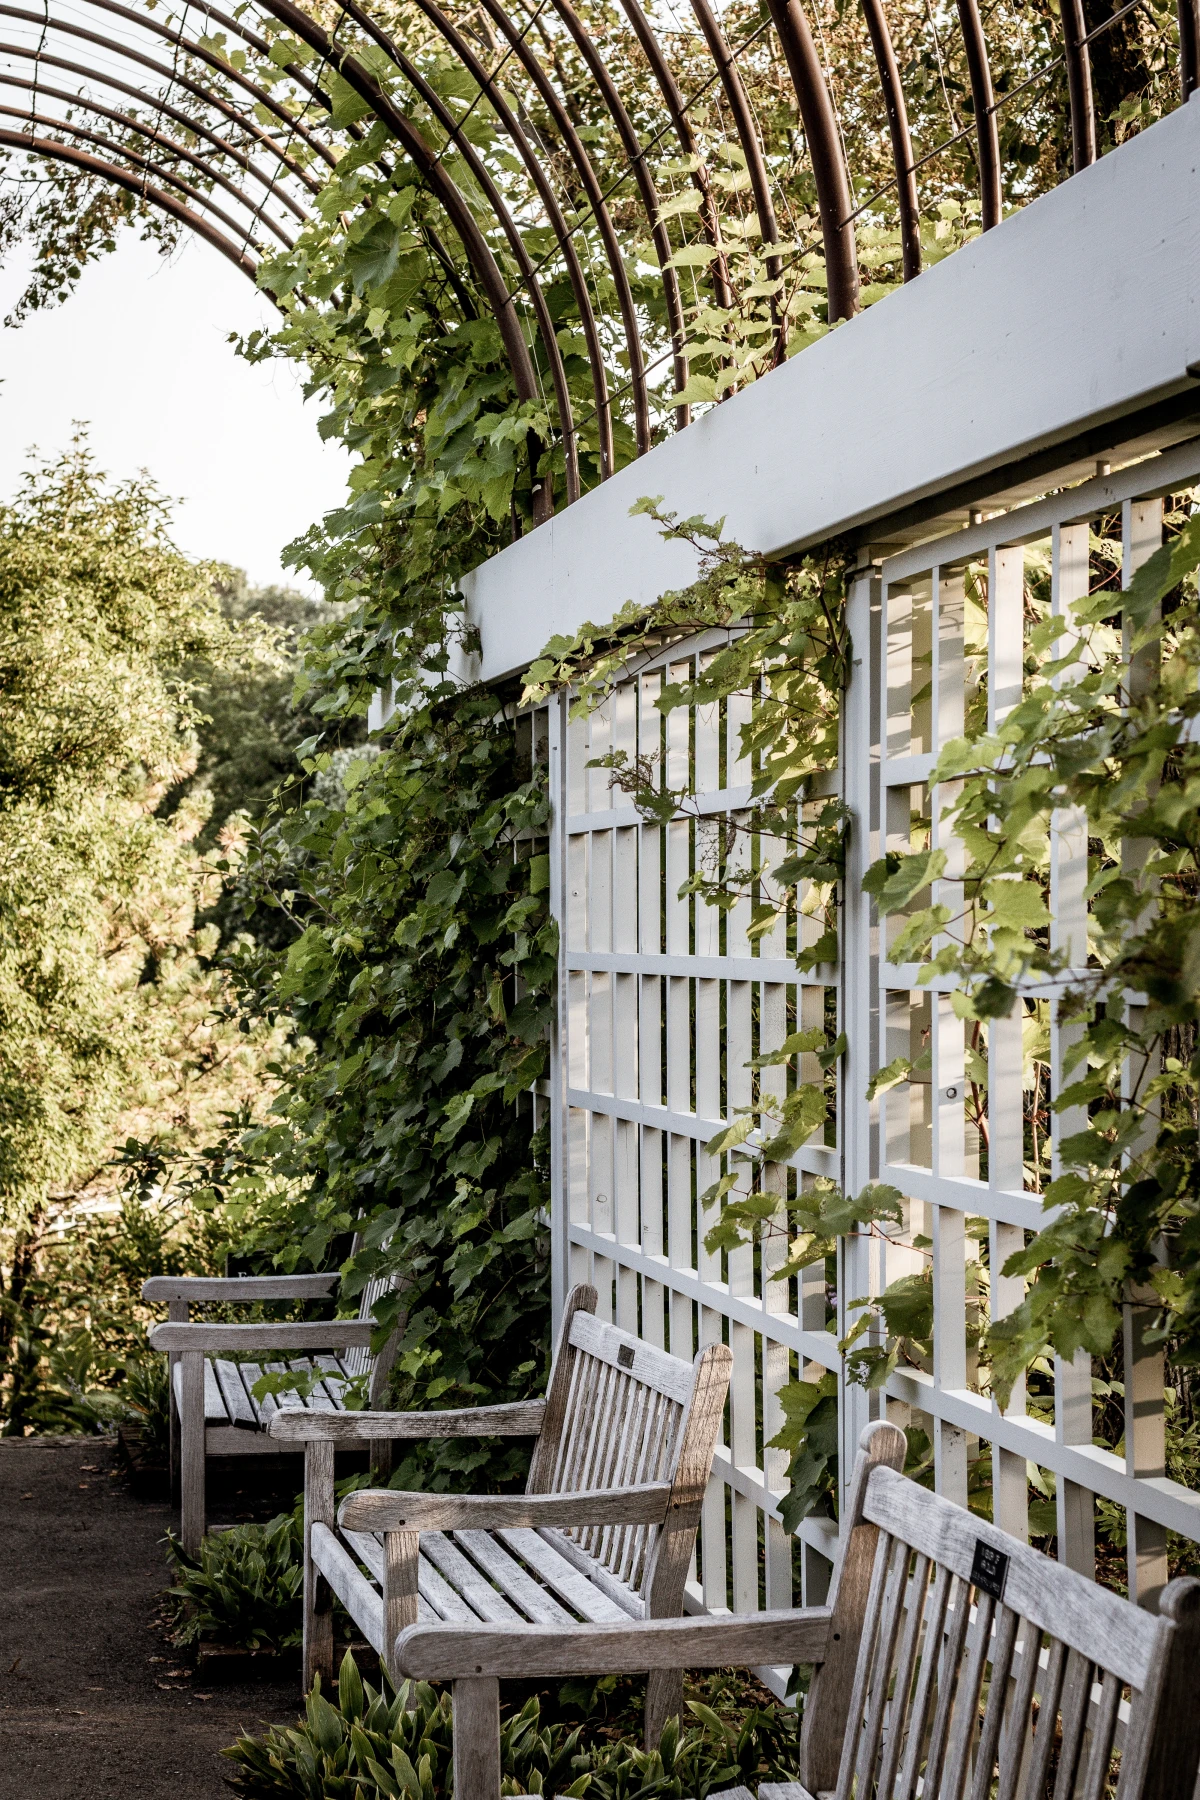
1. Wall-Mounted Grids
These are perfect for greening up a boring wall. But here is the single most important technique: you MUST create an air gap. Never, ever mount a trellis flat against a wall. Use spacer blocks or specialized standoff hardware to create a 2- to 3-inch gap. This allows air to circulate, keeping the wall dry and preventing plant diseases. For a brick wall, you’ll need a hammer drill and masonry anchors. For wood siding, you can use long, corrosion-resistant screws into the studs.

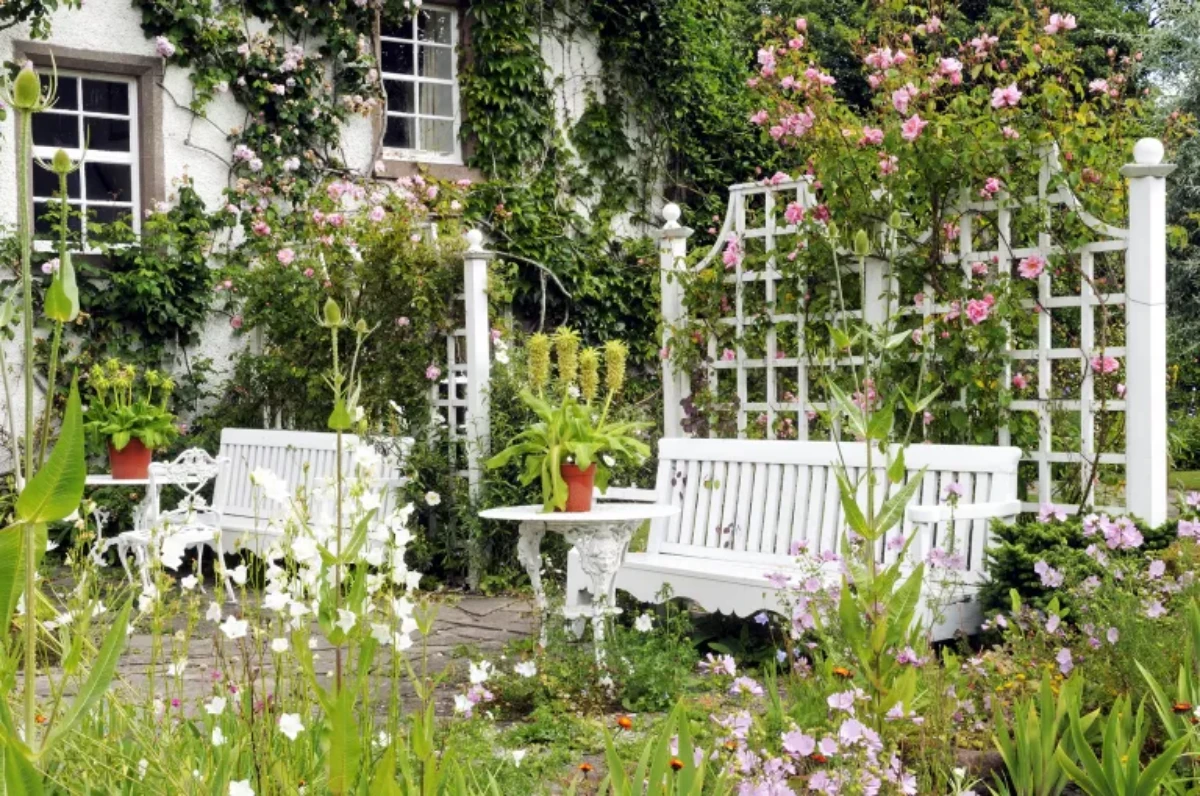
2. Freestanding Screens
A few freestanding panels can work wonders in a garden. You can use them to screen a neighbor’s view, hide your trash cans, or create a sense of an outdoor “room.” They’re basically short sections of fence that you anchor with posts set in the ground. They’re fantastic for creating privacy with fast-growing annual vines while your slower shrubs fill in.
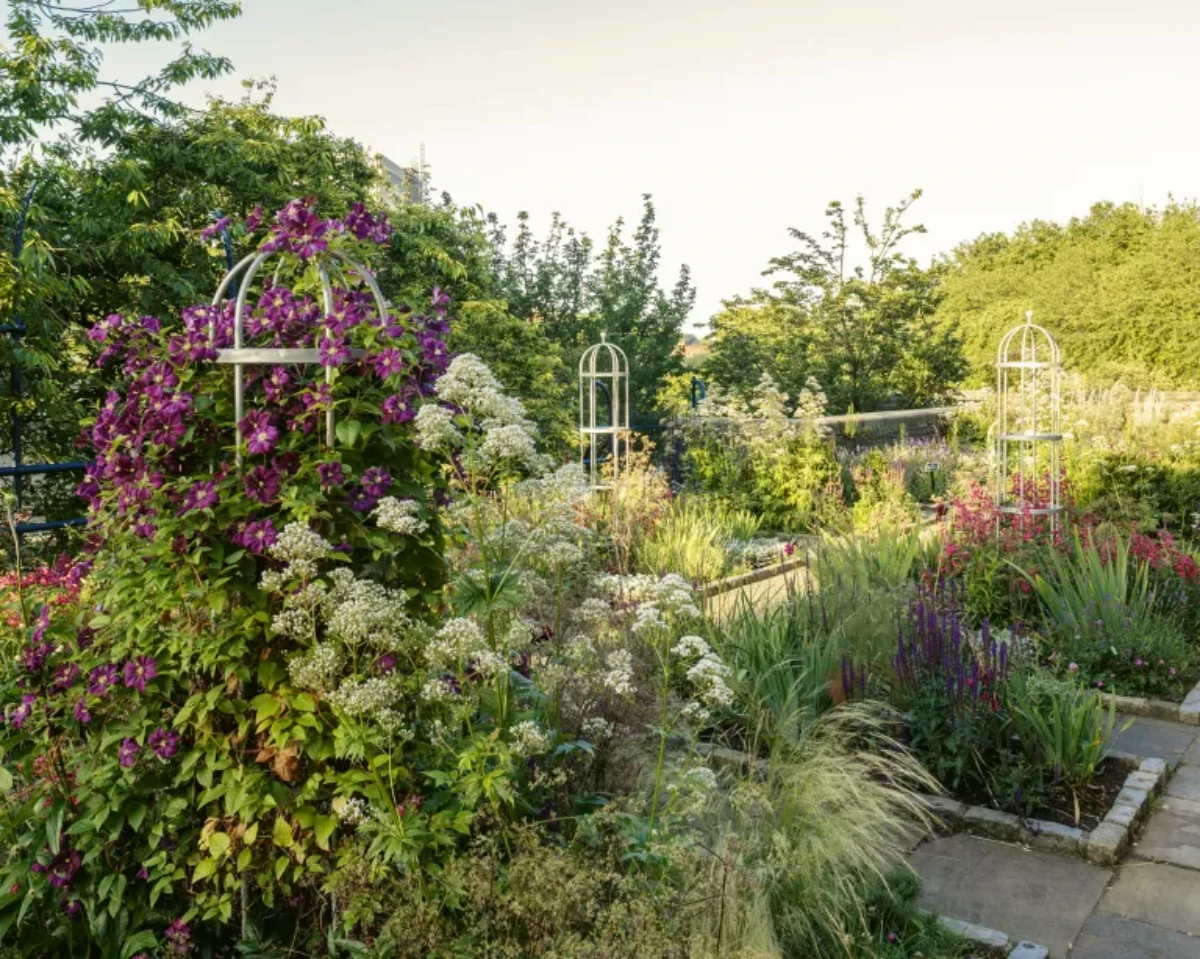
3. Obelisks and A-Frame Teepees
These are workhorses in the vegetable patch. An obelisk is a tall, four-sided pyramid structure that’s perfect for a pot or a small garden bed, giving pole beans or a flowering vine a place to go up. An A-frame is even easier. Here’s a quick recipe for one:
Build a Simple Cucumber A-Frame in 30 Minutes: Get four 8-foot 2x2s (cedar is best), a handful of 2.5-inch stainless steel screws, and a roll of jute or nylon netting. Lean two of the 2x2s together to make an ‘A’, and screw them together at the peak. Do the same for the other two. Stand your two ‘A’s about 6 feet apart and run a ridgepole (another 2×2 or a sturdy pole) across the top, screwing it in place. Then, just stretch your netting over the frame. Done! You’ve got a sturdy, reusable support for under $30.
4. Heavy-Duty Arbors
An arbor is a structure you can walk under, and it needs to be built tough. This is especially true for powerful woody vines like wisteria or trumpet vine. For these, you absolutely need to use hefty posts, like 6x6s, set in concrete. Underestimate the weight, and you risk the entire structure collapsing years down the line.
The Final Step: Training Your Plants
Okay, so you’ve built the perfect trellis. Now what? You have to gently guide your plants to use it.
For scramblers like climbing roses, you are the support system. As the new canes grow long and flexible, gently weave them horizontally through the trellis openings. This actually encourages more blooms! Use soft plant ties, old nylons, or special velcro strips to loosely secure the canes. A great method is the ‘figure-eight’ loop: make a loop around the stem, cross it, and then loop it around the trellis support. This gives the stem room to grow without being strangled.
For twiners and tendril climbers, your job is mostly at the beginning. When the plant is young, gently wrap the initial stems around the base of the support in the direction they naturally want to grow. Once they get the idea, they’ll usually take it from there, though you might need to tuck in a stray stem here and there.
Common Pitfalls to Sidestep
Before you start, let’s just quickly recap the most common mistakes I see:
- Forgetting the Air Gap: Please, for the love of your siding, leave a 2-3 inch gap behind any wall-mounted trellis.
- Underestimating Plant Weight: That cute little vine will one day be a heavy, woody beast. Build for the future, not just for now.
- Using the Wrong Fasteners: Rusting screws will fail. Spend the extra few bucks on stainless steel. It’s non-negotiable.
- Picking a Trellis That’s Too Small: A big, vigorous vine on a flimsy little trellis looks silly and will quickly overwhelm it. Give your plants room to grow into their adult size.
Building a good trellis is an investment, but it’s one that pays off for years with healthier plants and a garden that truly thrives. It’s about creating a lasting partnership, and when you get it right, it’s a beautiful thing to see.