Your Garden’s Dirty Secret: How to Read Your Soil (and Actually Fix It)
I’ve spent a good chunk of my life with my hands in the dirt, from the sticky red clay you find down South to the silty, rich ground in the great river valleys. And if there’s one thing I’ve learned, it’s this: a stunning garden isn’t just about fancy seeds or a perfect watering schedule. Nope. Its success is decided long before a single seed is planted. It’s all about the soil.
In this article
I once helped a frustrated gardener whose vegetable patch was a disaster for three years running. We’re talking stunted, yellow plants, the whole sad show. They were doing everything by the book—expensive organic fertilizers, a strict watering routine, you name it. But they’d never tested their soil. A quick lab test showed a pH that was way too acidic for their veggies to even absorb the nutrients they were adding. A little bit of lime to balance things out, and boom, the next season was a jungle. That taught me a lesson I’ll never forget: gardening without knowing your soil is like building a house without checking the foundation.
So before you can give your soil what it needs, you have to learn its language. This means getting your hands dirty. In this guide, I’ll walk you through some simple, hands-on tests that let you truly understand the ground you’re working with. These don’t replace a professional lab test (which I still think is a fantastic investment), but they’re the perfect first step to becoming a gardener who really gets it.
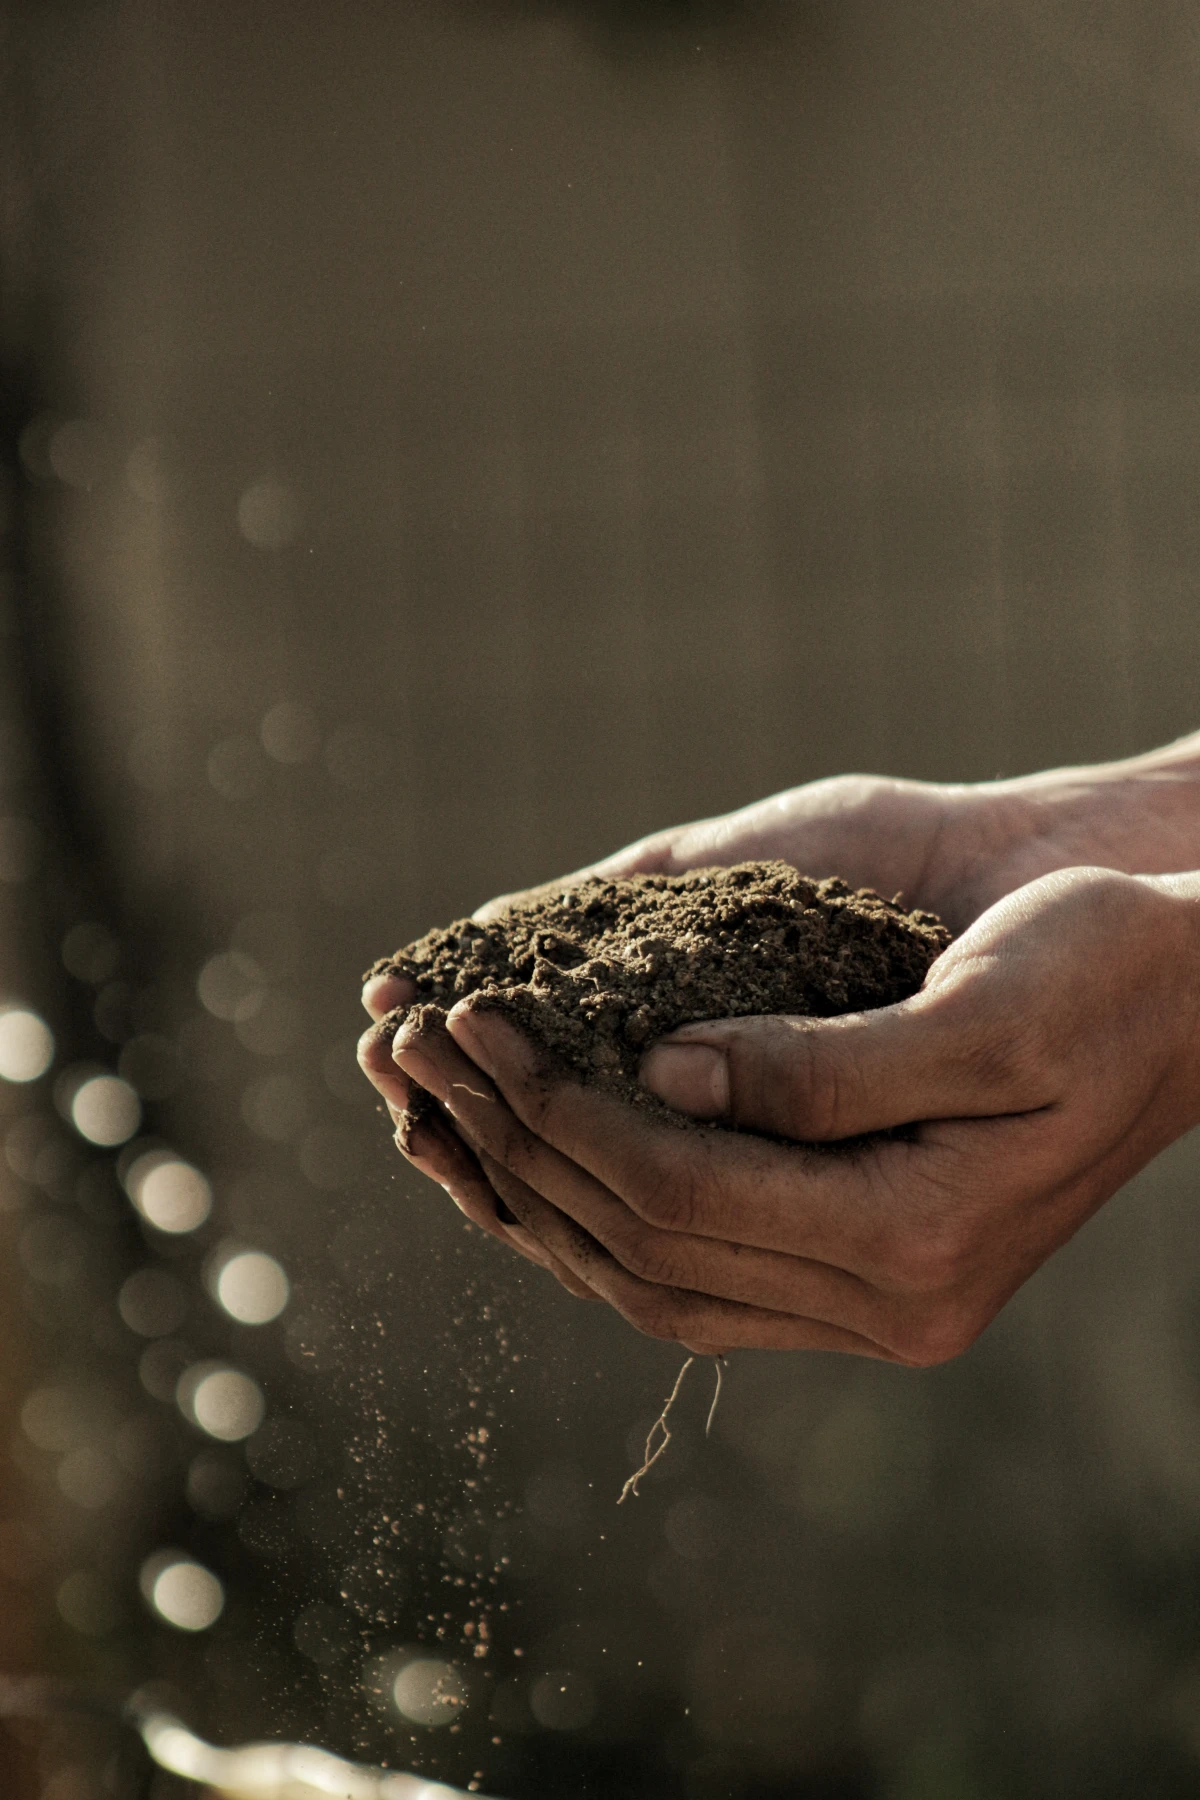
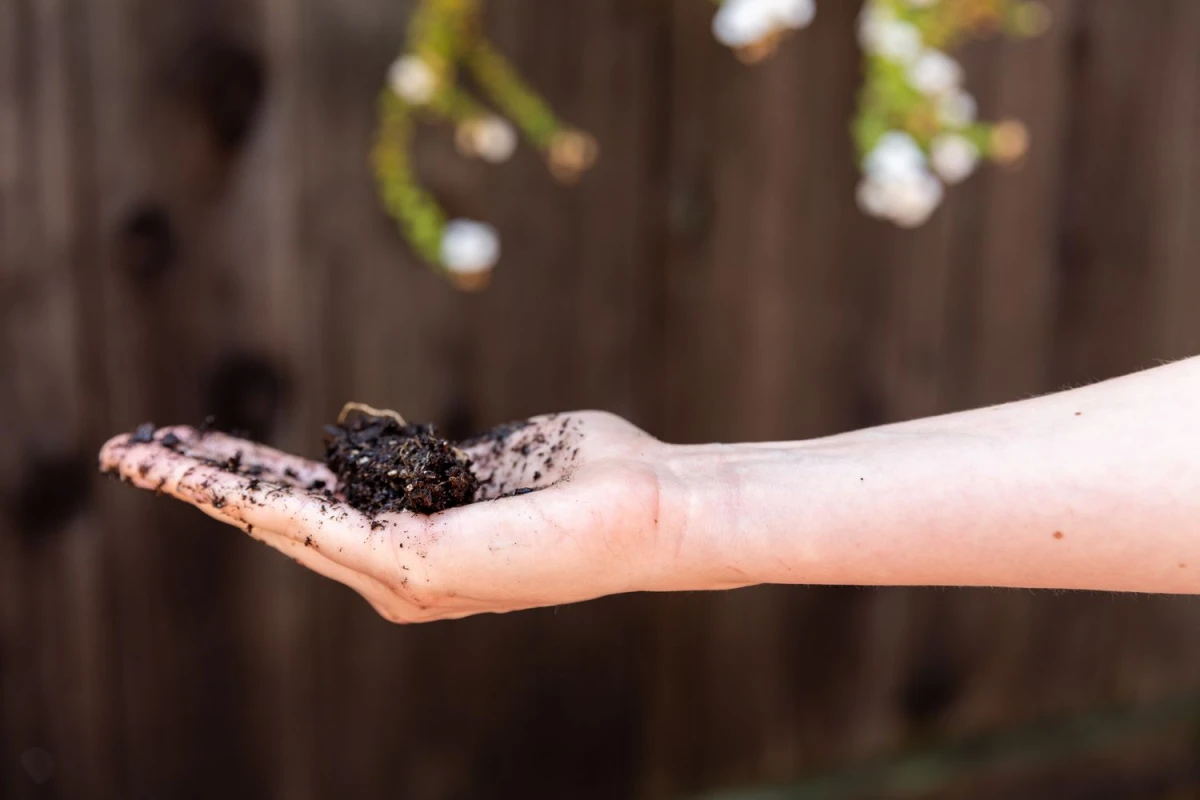
By the way, don’t have time for a full-blown investigation? Here’s a quick win: Just go dig up one shovelful of soil. Take a good sniff. Does it smell earthy and sweet, or kind of sour and stagnant? See any worms wiggling around? This one-minute check can tell you if your soil is alive and thriving or if it’s struggling and needs a helping hand.
What’s Actually Under Your Feet?
First off, soil isn’t just ‘dirt.’ Think of it as a living recipe. The main ingredients are three types of mineral particles, mixed with the all-important organic matter, plus a little air and water. The ratio of these mineral bits is what determines your soil’s texture, and that’s probably the most important thing you need to figure out.
The three mineral particles are sand, silt, and clay. Each one brings something different to the party.
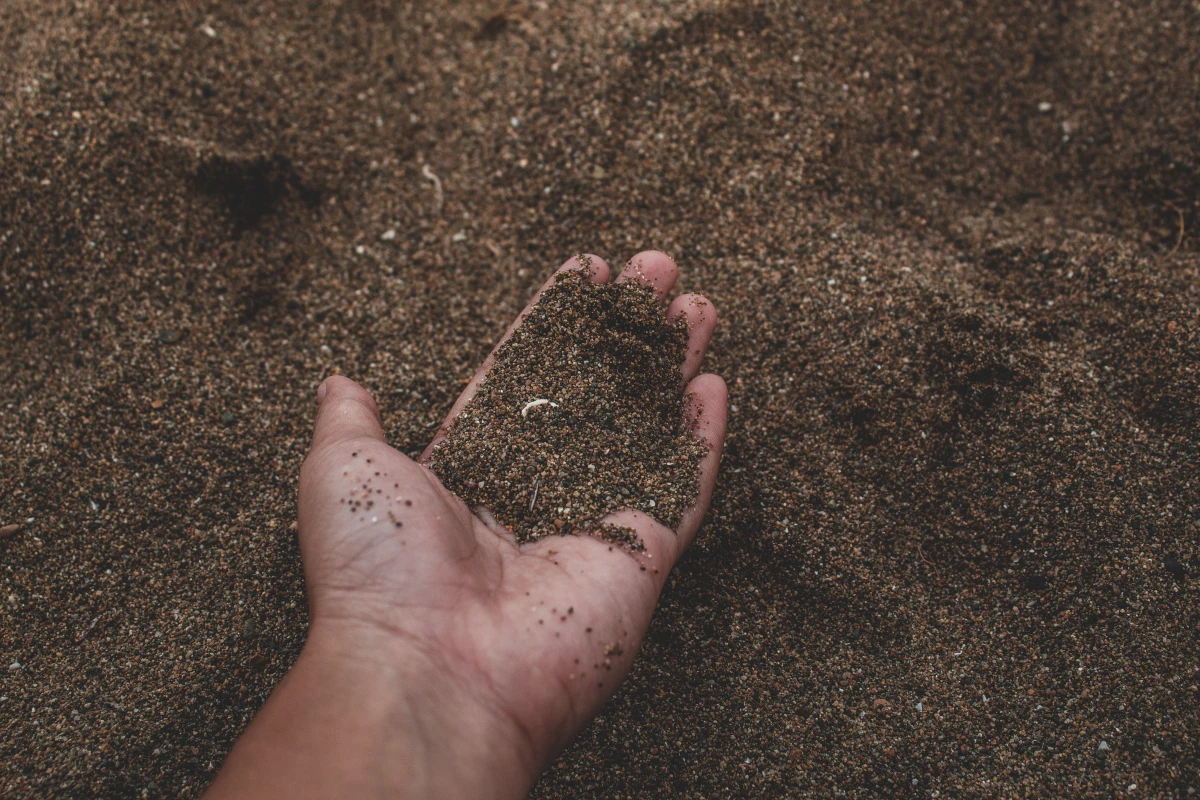
Sand particles are the big guys in the mix. They feel gritty, just like beach sand. Because they’re so large, they leave big gaps between them, which is great for drainage. The downside? Water rushes through so fast that it often takes valuable nutrients along for the ride. It’s tough for sandy soil to hold onto moisture or food for your plants.
Silt particles are the middle child—smaller than sand, bigger than clay. When it’s wet, silt feels incredibly smooth and silky, almost like soap. When dry, it’s fine and floury. Silt is pretty good at holding water, but it has a bad habit of compacting down if you walk on it or work it too much when it’s wet.
Clay particles are the tiniest of all, so small you can’t see them individually. When wet, clay is sticky and you can mold it like pottery clay. The particles are flat and they stack together super tightly, which means they hold onto water like a champ. That’s a double-edged sword, though, as it can lead to waterlogged soil and choked-off plant roots. But here’s the upside: those tiny particles are electrically charged and act like magnets for nutrients, making clay soils naturally very fertile.
The dream team soil, often called loam, is a balanced mix of all three. It gets good drainage from sand, water retention from clay and silt, and nutrient-holding power from clay. And the final magic ingredient? Organic matter. This is the dark, crumbly, life-giving stuff from decomposed plants and critters. It acts like a sponge for water and nutrients and helps glue the soil particles together into healthy clumps, which creates pathways for air and roots.
Get Your Hands Dirty: Simple Field Tests
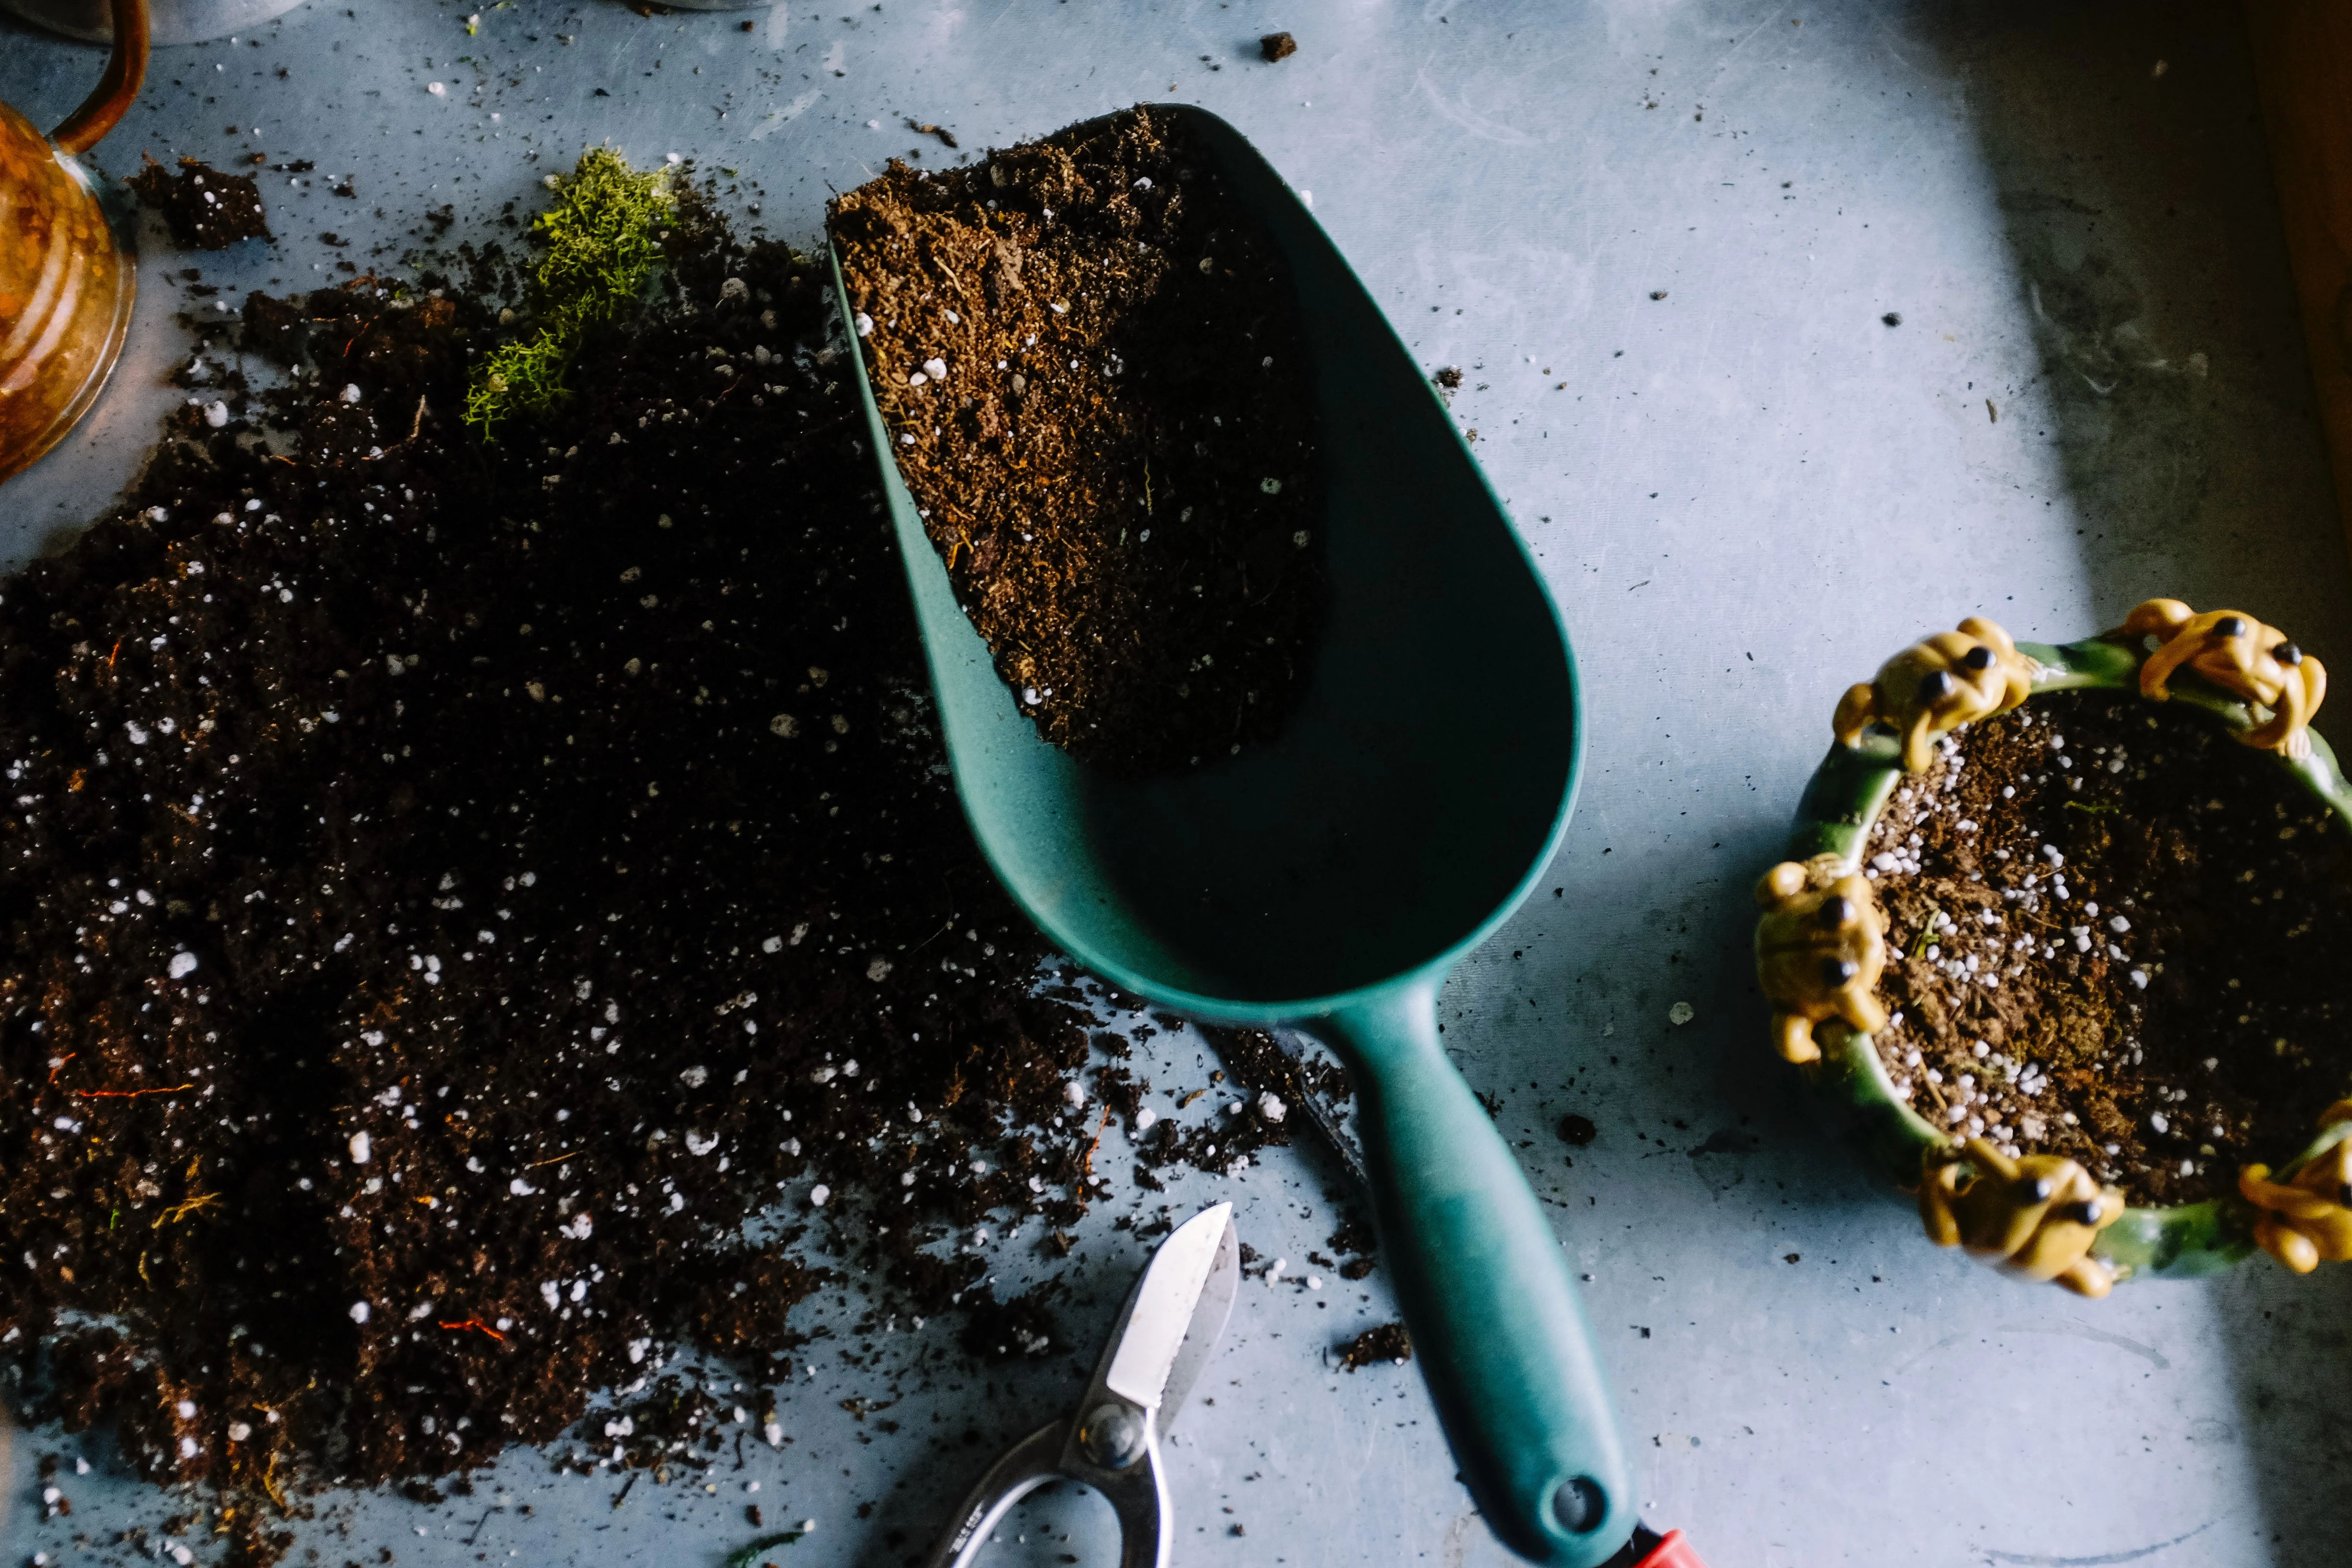
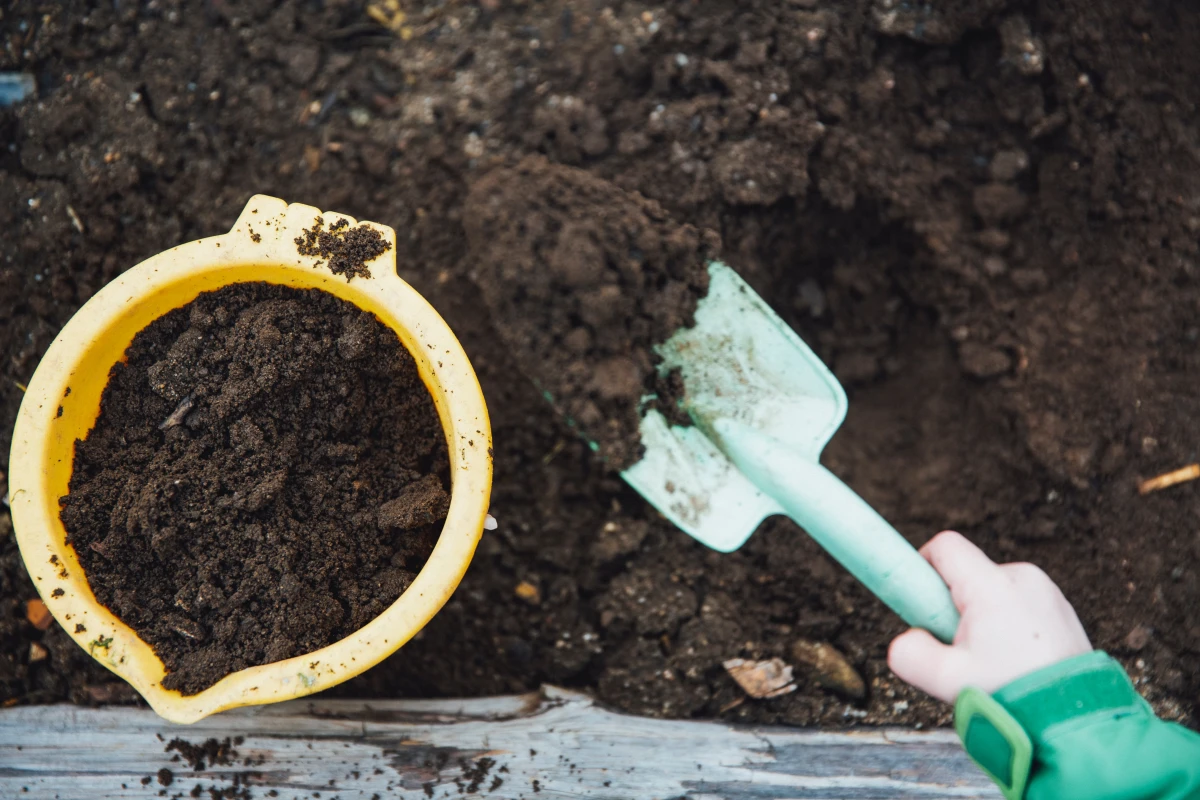
These next tests will tell you a ton about your soil. For the best results, you need a good sample. Don’t just skim some off the top. Use a trowel to dig down about 6 to 8 inches—right where the plant roots live. Grab soil from a few different spots in your garden, mix them all in a clean bucket, and pull out any big rocks or roots.
1. The Feel Test (aka The Ribbon Test)
This is the first thing any pro does. It’s fast, free, and surprisingly accurate once you get the hang of it.
Just grab a handful of your soil, slowly add a little water, and knead it until it feels like moist putty. Now, try to squeeze it into a ball, then push it between your thumb and forefinger to form a flat ribbon.
- If it feels gritty and won’t even form a ball, falling apart in your hand, you have sandy soil. It won’t form a ribbon at all.
- If it forms a nice ball but crumbles easily, and you can make a weak ribbon that breaks off before it gets to be about an inch long, that’s your jackpot: loamy soil. It feels both smooth and a little gritty.
- If it feels sticky and smooth, and you can form a long, strong ribbon that’s 2 inches or longer, you’re dealing with clay soil. The longer the ribbon, the more clay you have.
Okay, So What Now?
This is where the real work begins. Knowing your soil type is step one; step two is improving it.
- For Clay Soil: Your main goal is to break up that dense structure and improve drainage. The absolute best way to do this is by adding tons of organic matter. Think compost, aged manure, or shredded leaves. A good rule of thumb is to add a 2-to-4-inch layer on top of your beds each year, especially in the fall. It works its way in and breaks up the clay.
- Heads up! A common mistake is dumping sand into clay soil. Please, whatever you do, don’t do this. You’re not making loam; you’re basically creating a low-grade concrete. You can save your garden a world of hurt by remembering this one tip: fix clay with compost, not sand.
- For Sandy Soil: Your mission is the opposite—you need to improve water and nutrient retention. The answer? Surprise, it’s also organic matter! Compost and other organic materials act like a sponge, holding onto that water and nutrition that would otherwise just wash away. Peat moss can also work wonders here.
- For Loamy Soil: First off, congratulations! You’ve got a great starting point. Your job is mainly maintenance. A yearly top-dressing of an inch or two of compost will keep the nutrient levels up and maintain that beautiful, crumbly structure.
2. The Jar Test
This is a great visual follow-up to the feel test. It literally lets you see the percentages of sand, silt, and clay in your soil.
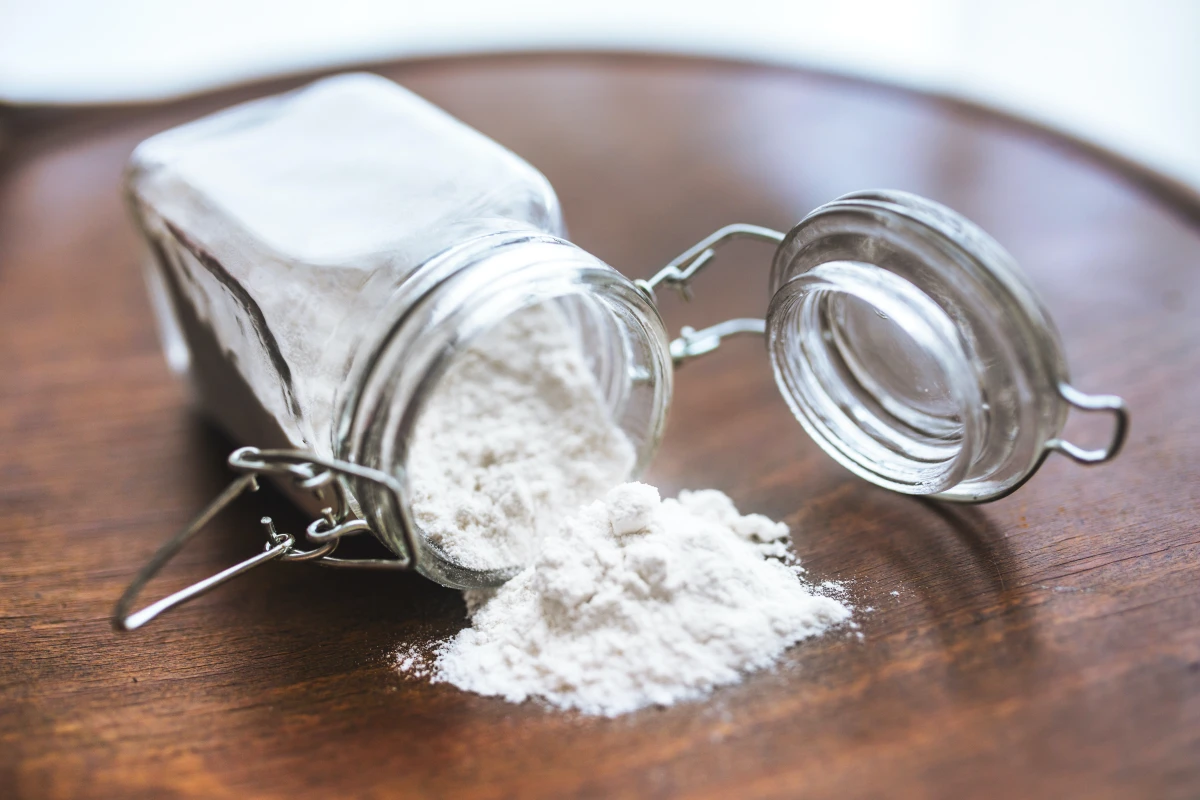
Grab a straight-sided glass jar (a quart-sized mason jar is perfect). Fill it about one-third full with your soil sample, then add water until it’s about three-quarters full. A pro-tip for better results: add a teaspoon of non-foaming dishwasher detergent. It helps break the clay particles apart so they settle properly. Now, screw the lid on tight and shake it like crazy for a few minutes until every clump is dissolved.
Set it on a flat surface and watch the layers form.
- After a minute or two, the heaviest stuff—the sand—will settle on the bottom. Mark this layer with a sharpie.
- Over the next few hours, the silt will settle on top of the sand. Mark that layer, too.
- After a day or two, the clay will finally settle out of the water, forming the top layer. Mark that, and now you can see your soil’s recipe right there in the jar.
If the sand layer is more than half the total height, you’re looking at sandy soil. If the clay layer is really thick (say, 40% or more of the total), you’ve confirmed you have heavy clay. If the layers look pretty evenly distributed, you’ve got that beautiful loam. It’s a powerful visual that really clicks.
3. The Drainage Test
This test tells you how quickly water moves through your soil, which is a huge deal for preventing root rot. It’s especially important before you plant anything expensive or fussy, like trees or lavender.
Dig a hole about a foot wide and a foot deep. Fill it with water and let it drain completely. This is a critical step many people skip—it saturates the surrounding soil so you get an accurate reading. Once it’s empty, fill it up again and measure the water level. Now, just time how long it takes to drain.
- Ideal drainage is about 1 to 3 inches per hour. Most plants love this.
- Fast drainage (more than 4 inches per hour) points to sandy soil. You’ll need to water more often.
- Poor drainage (less than 1 inch per hour) is a red flag. It means you have heavy clay or a compacted layer. For this, amending with compost is key. In severe cases, you might want to consider building raised beds to give your plants’ roots a chance to breathe.
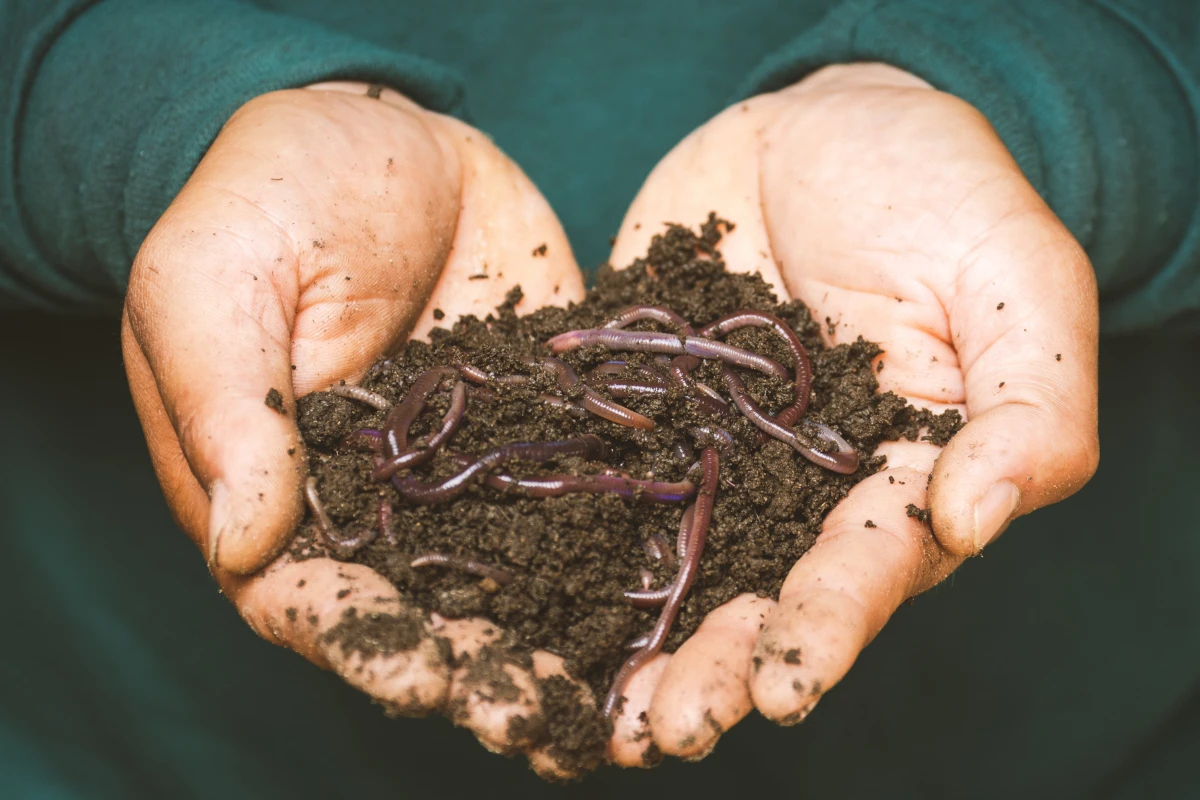
4. The Worm Count
Earthworms are the ultimate sign of healthy, living soil. They tunnel through the ground, creating channels for air and water, and their castings are basically super-food for plants. Pick a day when the soil is moist and dig up a one-foot-square section of your garden about a foot deep. Lay the soil on a tarp and count the worms.
- 10 or more worms: Awesome! Your soil is a thriving ecosystem.
- 5 to 9 worms: Not bad, but you could definitely improve things with more compost.
- Fewer than 5 worms: This is a sign your soil needs help. It could be compacted, lack food (organic matter), or have a pH issue.
And if you find zero worms? Don’t panic! It doesn’t mean your soil is dead forever. It just means it isn’t a five-star hotel for them… yet. Adding a thick layer of compost is like putting out a giant welcome mat and a free buffet. They will come.
When to Call in the Pros: Getting a Lab Test
These hands-on tests are amazing for understanding your soil’s physical properties. But for the chemistry—like the precise pH and nutrient levels—nothing beats a professional lab test. Honestly, I think it’s one of the best investments a new gardener can make.
Expect to pay somewhere between $15 and $30 for a standard test. It’s worth every penny because it tells you exactly what your soil needs, so you stop wasting money on fertilizers you don’t need. The report will give you a super-accurate pH reading and tell you your levels of key nutrients. Best of all, it comes with specific recommendations, telling you exactly how much of what amendment (like lime or sulfur) to add for the plants you want to grow.
The best place to get this done is through your local Cooperative Extension Service, which is part of a state university. Just do an online search for “your state + cooperative extension soil test” to find your local office. They’ll give you a kit and instructions. Oh, and a quick tip: The best time to do these tests and add amendments is in the fall. This gives the amendments all winter to break down and integrate, so your soil is perfectly prepped and ready for spring planting.
A Few Final Words of Wisdom
One last thing. A quick safety warning: If you’re gardening in a city, near a busy road, or on a property with an older house, it’s a really good idea to get a soil test that specifically checks for heavy metals like lead. It can accumulate in the soil from old paint or exhaust and is a serious health risk. Always better to be safe than sorry.
Remember, your soil is a living, breathing system that changes over time. Learning to read it is the most empowering skill you can have as a gardener. It’s a conversation. When you understand what your soil is trying to tell you, you can finally give it what it needs. And in return, it’ll give you a beautiful, healthy garden year after year.
Inspirational Gallery with Photos
What about the soil life you can’t see?
Beyond worms, your soil is a bustling metropolis of invisible helpers. Mycorrhizal fungi are a star player, forming a symbiotic web with plant roots. They extend the root system, helping plants absorb up to 1,000 times more water and nutrients. You can encourage their growth by avoiding chemical fungicides and excessive tilling. For a real boost, consider adding a mycorrhizal inoculant, like those from brands like Myke or Xtreme Gardening, when planting.
There are more microorganisms in one teaspoon of healthy soil than there are people on Earth.
That’s not just a fun fact; it’s the engine of your garden. These bacteria, fungi, and protozoa are responsible for breaking down organic matter into the nutrients your plants can actually eat. Feeding your soil with compost is like serving a banquet for this underground army.
Heavy Clay Soil: Feels sticky and dense. The goal is to improve drainage and aeration. Add coarse organic matter like compost, aged bark fines, or leaf mold. Gypsum can also help break up compacted clay particles.
Fine Sandy Soil: Feels gritty and drains too quickly. The goal is to improve water and nutrient retention. Add rich, moisture-holding materials like peat moss (or a sustainable alternative like coco coir), well-rotted manure, and compost.
Creating a five-star meal for your soil doesn’t have to cost a fortune. Many of the best amendments are free if you know where to look:
- Coffee Grounds: Ask a local café to save their used grounds for you. They’re a great source of nitrogen.
- Fallen Leaves: Your neighbors’ bagged leaves are your treasure. Let them break down into priceless leaf mold.
- Wood Chips: Local arborists are often happy to drop off a load of wood chips for free. Use them for pathways or let them age into a fungal-rich amendment.
The biggest soil myth: Adding sand to heavy clay soil will lighten it up. In reality, you’re more likely to create a substance resembling low-grade concrete. The fine clay particles just fill the gaps between the larger sand particles, resulting in an even denser, harder-to-work medium. Stick to organic matter like compost to improve clay structure.
The secret to creating the perfect acidic soil bed for blueberries, azaleas, or rhododendrons is all about the right amendments. While traditional peat moss works, sustainable alternatives like coco coir or pine bark fines are excellent choices. For a more direct approach, soil acidifiers containing elemental sulfur can be worked into the soil a season before planting. Always use a soil pH test kit, like the popular Luster Leaf Rapitest, to monitor your progress and avoid over-acidifying.
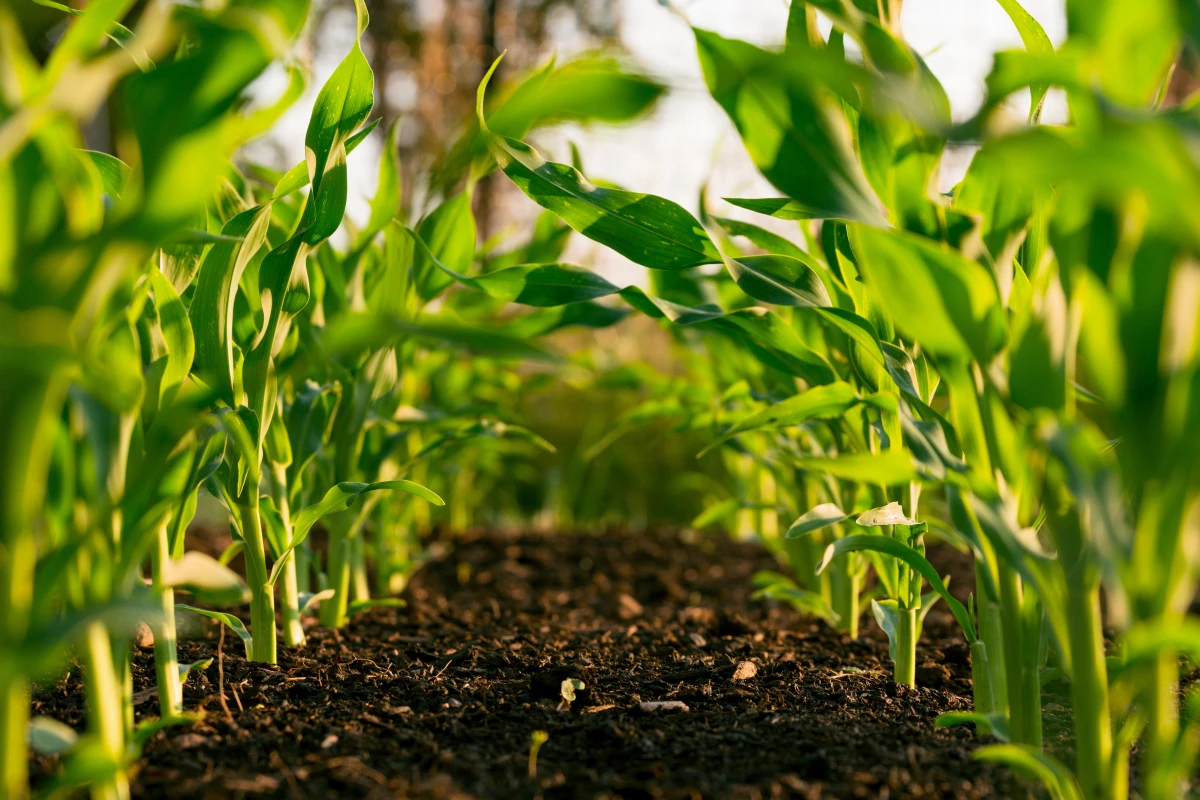
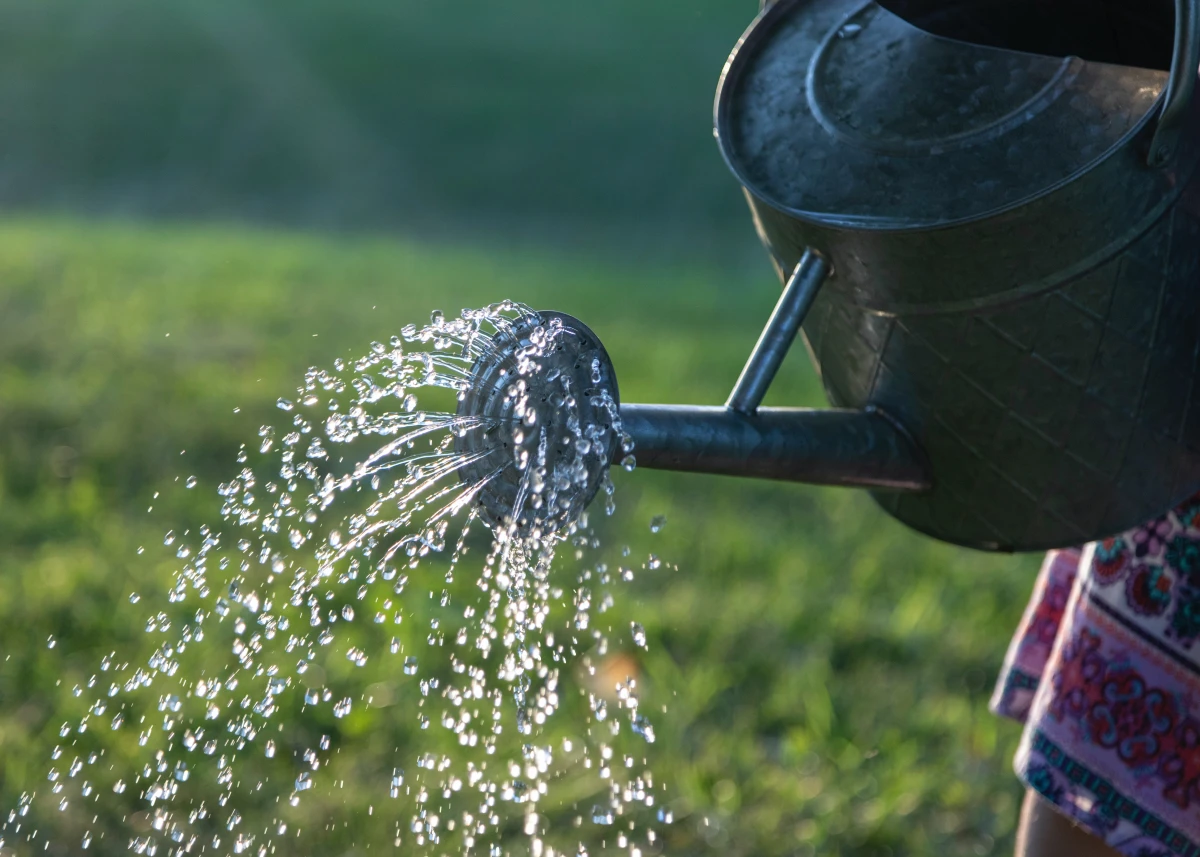
- Dramatically reduces the need for watering.
- Builds a spongy, resilient soil structure.
- Feeds the essential microbial life that nourishes your plants.
The secret? A two-inch layer of organic mulch. A simple application of shredded bark, straw, or compost on the soil surface protects it from sun and wind, preserving moisture and fostering a healthy ecosystem beneath.
Inspired by the ancient “terra preta” (black earth) of the Amazon, biochar is a modern gardener’s secret weapon for long-term soil health.
This highly porous charcoal is made by heating organic material in a low-oxygen environment. Unlike compost, which breaks down in a few seasons, biochar can persist in the soil for centuries. It acts like a luxury condominium for beneficial microbes and a sponge for water and nutrients, improving fertility and preventing nutrient runoff. To be effective, it must be “charged” by mixing it with compost before adding it to the garden.
Often called


