Stop Decorating Your Yard and Start Designing It—A Pro’s Guide
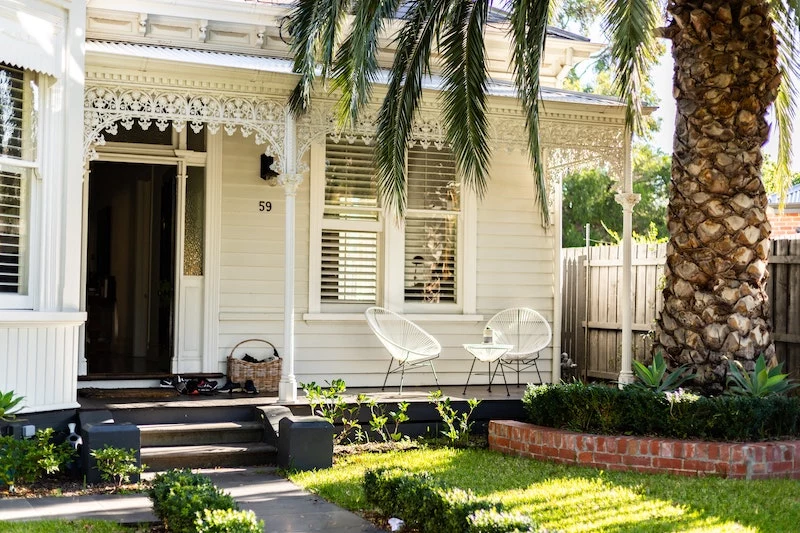
I’ve spent a lot of my career helping people with their outdoor spaces, and I’ve learned something really important: the best backyards aren’t just decorated. They’re designed. They feel like a genuine extension of the house, a place that pulls you outside and becomes the best room in your home.
In this article
It’s not about making your house stand out with a bunch of random stuff. Honestly, a lot of folks just buy things they like—a fountain here, a bench there—without any real strategy. The end result? It often feels a bit cluttered and disconnected. Before you even think about buying a single plant or solar light, the absolute best thing you can do is step back and make a plan. It’s what the pros do on every single project, and it saves a ton of money and headaches in the long run.
So, this isn’t going to be a list of what’s trendy this season. Instead, we’re going to dig into the core principles for building an outdoor space that’s beautiful, functional, and actually lasts.
By the way, if you’re itching to get started tonight and don’t have a plan yet, here’s a quick win. Go to any big box store and grab a cheap solar spotlight—we’re talking $20, tops. Tonight, after dark, go play with it. Shine it up on a cool tree, graze it across a stone wall, or highlight your front door. Seeing the effect for yourself is the best way to get your creative gears turning.
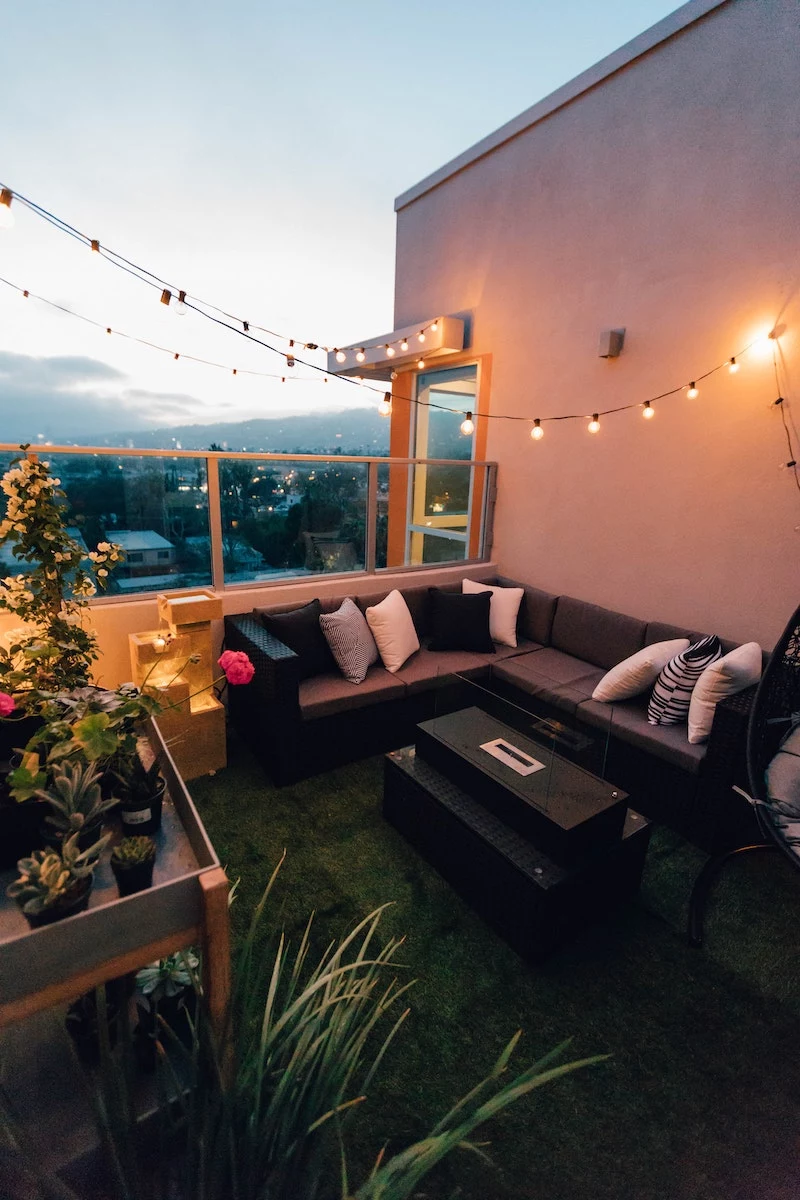
The First Layer: Getting Landscape Lighting Right
Let’s be real: nothing transforms a space after sunset like good lighting. But it’s also the one thing people mess up the most. Good lighting creates mood, makes things safe, and shows off your home’s best features. Bad lighting? It’s just glare. It feels more like a prison yard than a sanctuary, and it annoys your neighbors.
The Light Itself: What You Need to Know
Before you even look at a fixture, you have to understand the light it puts out. There are two numbers that matter.
First is color temperature, measured in Kelvin (K). This tells you if the light is warm and yellowy or cool and blueish. For a home, you almost always want to stick in the 2700K to 3000K range. It gives you that cozy, inviting glow that feels like old-school incandescent light. Anything higher, like 4000K or 5000K, starts to feel sterile and is way better suited for a hospital or a warehouse.
The second thing is brightness, measured in lumens. A common mistake is thinking brighter is always better. It’s not. The goal is to create soft, overlapping pools of light, not to blast your house like it’s a national monument. A path light only needs about 100-200 lumens. A light on a small ornamental tree might need 200-300 lumens, while a big, mature oak tree could take 800 lumens or more to look right.
The Gear and the Techniques
Nearly all professional landscape lighting is low-voltage (12V). It’s much safer to work with, and you can bury the wires directly in the ground without a conduit. A basic system has three parts: a transformer, low-voltage cable, and the light fixtures. The transformer is the heart of it—it plugs into a standard outdoor GFCI outlet and safely steps the power down.
Quick tip on transformers: Let’s say you’re planning a simple setup with 10 lights, and each fixture’s bulb is 5 watts. That’s a total of 50 watts. You never want to run your transformer at its maximum capacity—a good rule of thumb is to stay under 80%. So, for this 50-watt system, a 100W or 150W transformer is a perfect choice, giving you room to add more lights later. A quality one will run you about $150 to $250. And for installing that GFCI outlet? Absolutely hire a licensed electrician. Expect to pay between $300 and $600 for that job; it’s a non-negotiable safety investment.
Here are a few classic techniques we use to make a space look amazing:
- Uplighting: The go-to move. Place a spotlight at the base of a tree or column and aim it up. It creates fantastic drama and highlights texture. For a really wide tree, you might need two or three fixtures.
- Downlighting (or Moonlighting): This is a personal favorite. You mount a fixture high up in a tree and aim it down. The light filters through the leaves and creates a natural, dappled moonlight effect on the ground. It’s magical.
- Path Lighting: Purely for safety. The key is to stagger the lights on either side of the walkway—don’t line them up like an airport runway. The light should point down onto the path, not up into your eyes.
- Grazing: This is for showing off texture. You place the light right next to a surface like rough stone or brick and aim it almost straight up. It creates these incredible deep shadows and highlights that make the surface pop.
Heads up! When you bury that low-voltage cable, it needs to be at least 6 inches deep. I once had a client call me because half his lights went out. Turns out, he was edging his garden beds and sliced right through the wire because the last guy only buried it an inch deep. An extra hour of trenching saves a massive headache.

A professionally installed system can be a big investment, often starting at $3,000 and going up from there. But you can get fantastic results with a DIY approach, too. For pro-quality kits that a homeowner can install, check out brands like Volt Lighting. You can put together a really impressive system for $500 to $1,500.
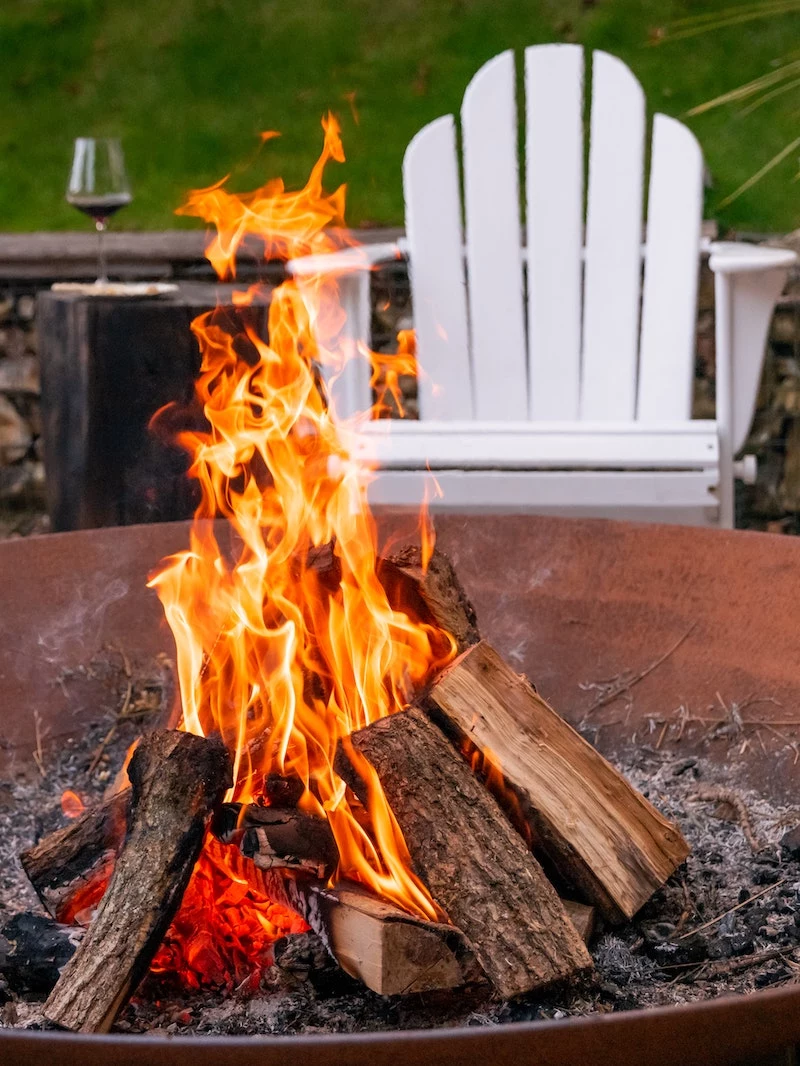
The Heart of the Yard: Fire Features
Nothing brings people together like a fire. It’s warmth, light, and a natural gathering spot. But let’s be clear: a fire pit is a serious piece of equipment. You’re dealing with high heat and open flames, so planning and safety have to come first.
Fuel Choice: Wood vs. Gas
Your first decision is how you’ll fuel the fire. Wood-burning pits give you that classic campfire experience—the crackle, the smoky smell, the big dancing flames. The downside? They create embers and smoke, which can tick off the neighbors. You also need a constant supply of dry wood and have to clean out the ash. More importantly, many towns and cities have strict rules or outright bans on wood fires, so ALWAYS check your local fire code first.
Gas fire pits, which run on either natural gas or propane, are all about convenience. You flip a switch, and you have fire. No smoke, no embers. Natural gas is the ultimate set-it-and-forget-it option, but you’ll need a licensed plumber to run the gas line. Depending on the distance from your house, that can cost anywhere from $500 to over $2,000. Propane is more portable since it uses a standard grill tank, but you have to refill it and hide the tank.
So what’s the right fit? Think of it in tiers:
- Good: A simple, portable steel fire bowl. It’s budget-friendly, usually $100 to $400, and gives you that wood-burning experience anywhere in your yard.
- Better: A pre-made paver block kit from a hardware store. These cost around $600 to $1,500 and give you a more permanent, built-in look for either wood or a gas insert.
- Best: A custom-built masonry fire feature. This is where you get into the $5,000+ range, but it’s fully integrated into your patio and designed exactly for your space, usually with the convenience of natural gas.

Safety is Not Optional
Clearance is everything. A wood-burning pit needs to be at least 15 to 25 feet away from any structure—your house, a shed, a fence, even trees. I’ve seen vinyl siding completely melted on a house because a portable fire pit was used too close to it on the patio. Gas pits can often be a bit closer, maybe 10 feet, but you have to check the manufacturer’s specs and local codes.
And never, ever put a fire pit directly on a wood deck or on grass. It must be on a non-combustible surface like a stone patio, concrete, or pavers.
One last critical point: if you’re building a custom gas pit, it MUST have proper ventilation. Propane is heavier than air and natural gas is lighter. If a tiny leak occurs, the gas can pool inside the enclosure. Without vents for it to escape, you’re basically creating a bomb. I’ve heard horror stories from other builders about unvented pits blowing their heavy lids 30 feet into the air. It’s no joke. Follow the burner kit’s instructions to the letter.
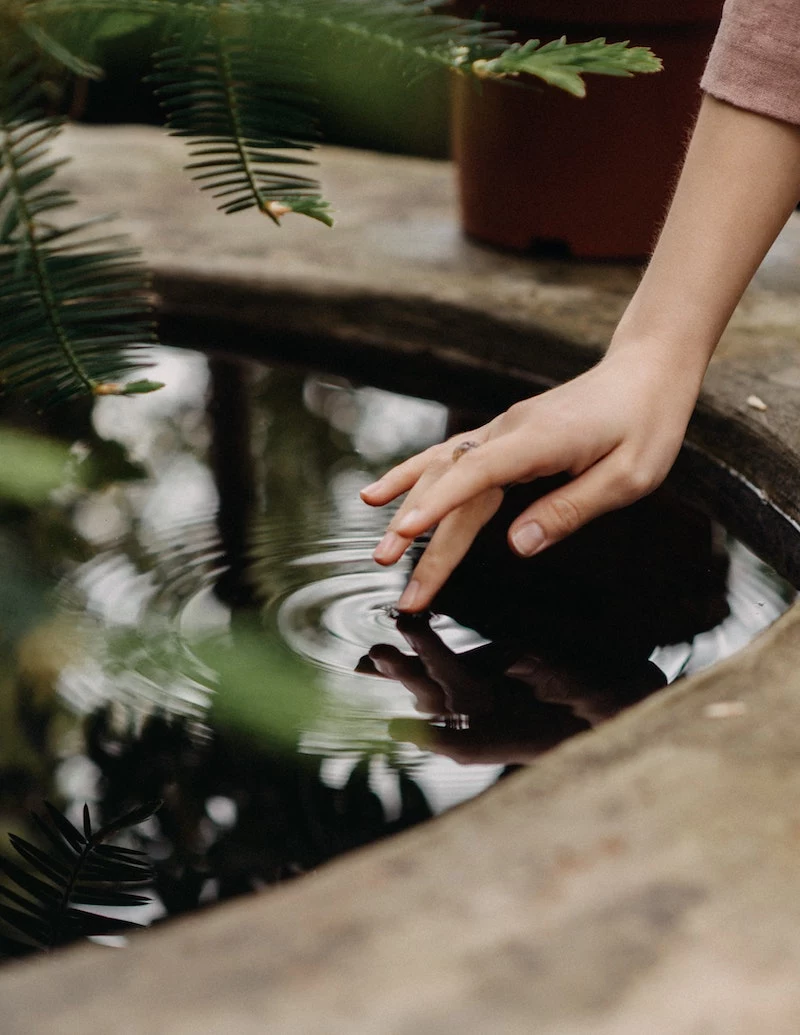
The Sound of Serenity: Water Features
The sound of moving water is just universally relaxing. It can mask traffic noise and even create a little cooling microclimate. Like fire pits, these can range from a simple plug-in fountain to a full-blown ecosystem pond.
The heart of any water feature is a recirculating pump. You need to make sure the pump is strong enough for the job, considering both flow rate (gallons per hour, or GPH) and head height (how high it can push the water). A gentle trickle needs way less power than a rushing waterfall.
For any in-ground feature, you’ll use a flexible liner to hold the water. But here’s a pro tip: you have to put a protective fabric underlayment down first. I’ve had to do repairs where this was skipped, and a single sharp rock punctured the liner, draining the whole feature overnight. It’s a cheap bit of insurance.
And just like with lighting, the pump must be plugged into a GFCI-protected outlet. Water and electricity are a deadly combination, and this is a non-negotiable safety step.
Be honest with yourself about maintenance. Here’s a quick rundown:
- Easiest: Self-Contained Fountains. You buy it, place it, fill it, and plug it in. Perfect for a patio corner. You can find nice ones for $150 to $600.
- My Pick for Most People: Pondless Waterfalls. You get the amazing sight and sound of a waterfall that disappears into a gravel bed. The water and pump are in a hidden reservoir underground. It’s much safer for kids and pets and way lower maintenance. A good-sized kit will run you $800 to $2,000.
- For the Dedicated Hobbyist: Ponds. A pond with fish and plants is beautiful, but it’s a living system that needs a lot of work. You’re talking about filters, pumps, algae control, and regular cleaning. It’s a serious commitment.
The Bones of Your Space: Hardscaping
Hardscaping is the framework: patios, walkways, retaining walls, and pergolas. These are the permanent, and often pricey, parts of your yard that define where you’ll hang out.
A Patio Is Only as Good as Its Base
This is where so many DIY projects go wrong. The long-term success of any paver or stone patio is all about what’s underneath it. In places with freezing winters, the ground heaves. A proper base stops your beautiful patio from turning into a wavy, cracked mess.
Here’s the no-shortcut method: we excavate 7 to 12 inches of soil. Then we lay a special fabric to keep the soil and gravel separate. On top of that, we add 4 to 10 inches of crushed stone aggregate, compacting it with a heavy plate compactor every two inches. Finally, a perfectly level 1-inch layer of sand goes down before the first paver is laid.
Sound like a lot of work? It is. For a 10×10 patio, you’re looking at a pretty tough weekend for two handy people. But the materials themselves aren’t crazy expensive. You’ll need about 2 cubic yards of aggregate (around $100) and a half-yard of sand (about $30). Oh, and you’ll need to rent a plate compactor for a day (maybe $90). Pro tip: Get your stone and sand from a local landscape supply yard, not a big box store. It’s way cheaper in bulk.
Going Vertical: Pergolas and Pavilions
An overhead structure like a pergola is fantastic for defining an outdoor room. For materials, pressure-treated pine is the cheapest but needs constant sealing. Cedar looks gorgeous and resists rot naturally but costs more. Composites and vinyl are low-maintenance but don’t have that classic wood look.
The most critical part? The footings. The posts have to be anchored in concrete that goes below your area’s frost line. Around here in the Northeast, that means digging down 36 to 48 inches. If you don’t, frost heave will slowly push your posts up and warp the whole structure. And remember, any big structure, especially one with a solid roof, is probably going to require a building permit. Check with your town hall before you buy any materials.
The Final Touch: Planting with a Purpose
Plants are the final layer that brings everything to life. But they aren’t just for looks. They provide shade, privacy, and food for wildlife. It all comes down to putting the right plant in the right place.
Before you even set foot in a nursery, get to know your yard. Where’s it sunny all day? Where’s it shady? Is your soil dry and sandy or heavy clay? Knowing this, along with your climate zone, is half the battle. Choosing plants that naturally thrive where you live is the secret to a garden that looks great without constant effort.
Think in layers, just like a painter does:
- Canopy Layer: Big shade trees that act as the ceiling.
- Understory Layer: Smaller ornamental trees and large shrubs for seasonal interest.
- Shrub Layer: The “walls” of your garden rooms, providing structure and backdrops.
- Perennial & Groundcover Layer: The flowers and low-growers that add color and texture.
To make this real, here’s a sample recipe for a sunny spot in a temperate climate: For your canopy, you can’t go wrong with a classic Red Maple. For the understory, a beautiful Dogwood tree. For the shrub layer, a grouping of 3 or 5 ‘Endless Summer’ Hydrangeas will provide color for months. And for your perennial border, a mass of Black-Eyed Susans is always a cheerful sight.
When I’m coaching new designers, I always tell them to start with the “bones” of the garden—the trees and shrubs. They take the longest to grow and provide the structure. You can always swap out perennials later. It’s a lot harder to move a 15-foot tree that’s in the wrong spot.
Putting It All Together
Creating a truly amazing outdoor space is a marathon, not a sprint. It starts with a smart plan, not a shopping spree. If you have a big project in mind, spending a few hundred dollars on a consultation with a landscape designer can save you thousands in mistakes. For the heavy lifting involving gas, high-voltage electricity, or major structures, please hire licensed pros. Their expertise is an investment in your safety and your home’s value.
It’s okay to build in phases over several years, as long as you’re working from that master plan. When every element is chosen with purpose, your yard will transform from just a patch of grass into a seamless, cherished part of your home.


