Your Nail Tech’s Guide to a Manicure That Actually Lasts Through Vacation
For over fifteen years, I’ve seen the seasons change from my salon chair, and nothing signals the start of summer like the vacation talk. Clients come in practically floating, buzzing about upcoming trips. Their nail requests shift from deep, cozy winter colors to shades that scream sunshine and saltwater. They all want the same thing: a manicure that not only looks amazing on the beach but can actually survive it.
In this article
And let me tell you, a true vacation-proof manicure is a technical challenge. It’s got to hold its own against a brutal trifecta of sand, chlorine, and nonstop sun. A lot of folks, and even some new techs I’ve trained, think it’s just about picking a bright color. They learn fast that it’s a science. I’ve seen gorgeous coral gel peel off in a single sheet because the nail wasn’t prepped for humidity. I’ve seen brilliant white polish turn a sad, dull yellow without the right protection.
So, let’s get into the nitty-gritty. We’re going beyond pretty colors and diving into the techniques and practical choices that create a manicure strong enough for any getaway.
Gel vs. Regular Polish: The Real Talk for Your Trip
Before we even touch a file, you have to make the big decision: gel or traditional polish? Honestly, for a vacation, it’s a crucial choice that impacts durability, maintenance, and your wallet.
Let’s break it down, no fluff:
- Durability: Gel wins this one, and it’s not even close. A professionally applied gel manicure can easily last two to three weeks with no chips. Traditional polish, even when done perfectly, will give you a solid five to seven days before showing wear and tear at the tips. For a highly active, water-logged vacation, gel is almost always the smarter bet.
- DIY-Friendliness: Here, traditional polish has the edge. Anyone can learn to paint their nails. Gel, on the other hand, has a learning curve. It requires specific equipment and a very precise application to avoid issues like lifting or, worse, skin allergies.
- The Removal Process: Taking off regular polish is a breeze—a little acetone and you’re done. Removing gel is a commitment. It requires a proper 15-minute soak-off, and if you get impatient and start picking or peeling, you will seriously damage your natural nails. I can’t stress this enough.
- The Cost Factor: At a salon, a gel manicure typically runs between $40 and $65, while a traditional one might be closer to $25 to $40. If you’re thinking of going the DIY route, a good starter gel kit can be an upfront investment of around $75 to $100 (we’ll get to what you need), but it pays for itself after just a couple of uses.
The Science Behind a Bulletproof Manicure
To make a manicure last, you have to understand its enemies. Sun, salt, and chlorine are a powerful gang that breaks down nail products on a chemical level. Knowing this helps you fight back from the very beginning.
Sunlight, with its UV rays, is the number one threat to your color. It causes something called photodegradation, which basically means it breaks down the color pigments in your polish. That’s why a hot pink can fade to a dusty rose after a week in the sun. Neon colors are especially vulnerable here because their pigments are just naturally less stable.
But UV light doesn’t just fade the color; it attacks the polish itself. With gel polish, the danger lies in the top coat. A quality gel top coat is designed to be a UV-resistant shield. Cheaper ones? Not so much. For intense sun, a specialty UV-blocking top coat isn’t optional; it’s essential. These contain ingredients that absorb UV radiation before it can harm the layers underneath. For regular polish, a classic like Seche Vite is great, and for gel, make sure you’re using a high-quality, non-wipe top coat from a reputable pro brand.
Then there’s water. Your natural nails are porous, kind of like a sponge. When you swim, they absorb water and swell slightly. When they dry, they contract. This constant expansion and contraction puts a ton of stress on whatever is painted on top. Saltwater and chlorinated pool water are even tougher. Salt is abrasive and wears down your top coat’s shine, while chlorine is an oxidizer that can accelerate color fade and even make some top coats turn yellow.
This is exactly why the prep work is the most important part of the whole process. You need a bond strong enough to hang on for the ride.
Pro Techniques for a Manicure That Won’t Quit
In the salon, durability is everything. These are the non-negotiable steps we take to build a manicure that’s ready for anything.
Step 1: The Perfect Prep (This is 90% of the Battle)
A great application on a poorly prepped nail will always fail. Period. The goal is to get the nail plate perfectly clean, dry, and free of any oils.
First, cuticle care. We gently push back the cuticles and remove only the non-living tissue that’s stuck to the nail. For a safe at-home version, just use an orange wood stick. Please, don’t be aggressive here; cutting live tissue is a gateway to infection, especially in warm vacation climates.
Next, we gently buff the nail surface with a very fine 240-grit buffer. The keyword is gently. We’re not trying to thin the nail; we’re just removing the shine to give the base coat something to grip onto. Finally, and this is critical, we scrub the nail with 99% isopropyl alcohol. You can get a huge bottle for about $5 at any pharmacy. It has to be 99%, not the 70% kind, because that one contains too much water. For gel services, we follow this with a pH-balancing bonder, a step that takes 30 seconds but can add a full week to your manicure’s life.
Step 2: The Art of Application (Thin to Win!)
Whether it’s gel or regular polish, the golden rule is the same: multiple thin coats are always better than one or two thick, gloopy ones. Thick polish takes forever to dry properly and stays soft underneath, making it easy to dent. Thick gel won’t cure all the way through, which leads to lifting and can even cause allergies.
Heads up! If you remember one thing from this entire guide, make it this: “cap the free edge.” It means running your brush along the very tip of your nail after each coat (base, color, and top). This creates a seal that prevents water from getting under the polish. Seriously, this ten-second step can dramatically reduce chipping and almost double the life of your tips.
Step 3: Curing and Sealing (Your Armor)
For gel, the curing process is a chemical reaction, and you need the right tool for the job. Don’t cheap out on the lamp. A decent 48-watt LED lamp, which is the standard you should look for, will cost you between $25 and $50 online. Always cure for the full time recommended by the gel manufacturer, usually 30-60 seconds, and do your thumbs separately to ensure the light hits them dead-on. Under-cured gel is a major health risk that can lead to lifelong skin allergies, so we take this very seriously.
The final step is that high-quality, non-yellowing, UV-blocking top coat. This is your manicure’s armor against the world. Apply it with care, and don’t forget to cap that free edge one last time!
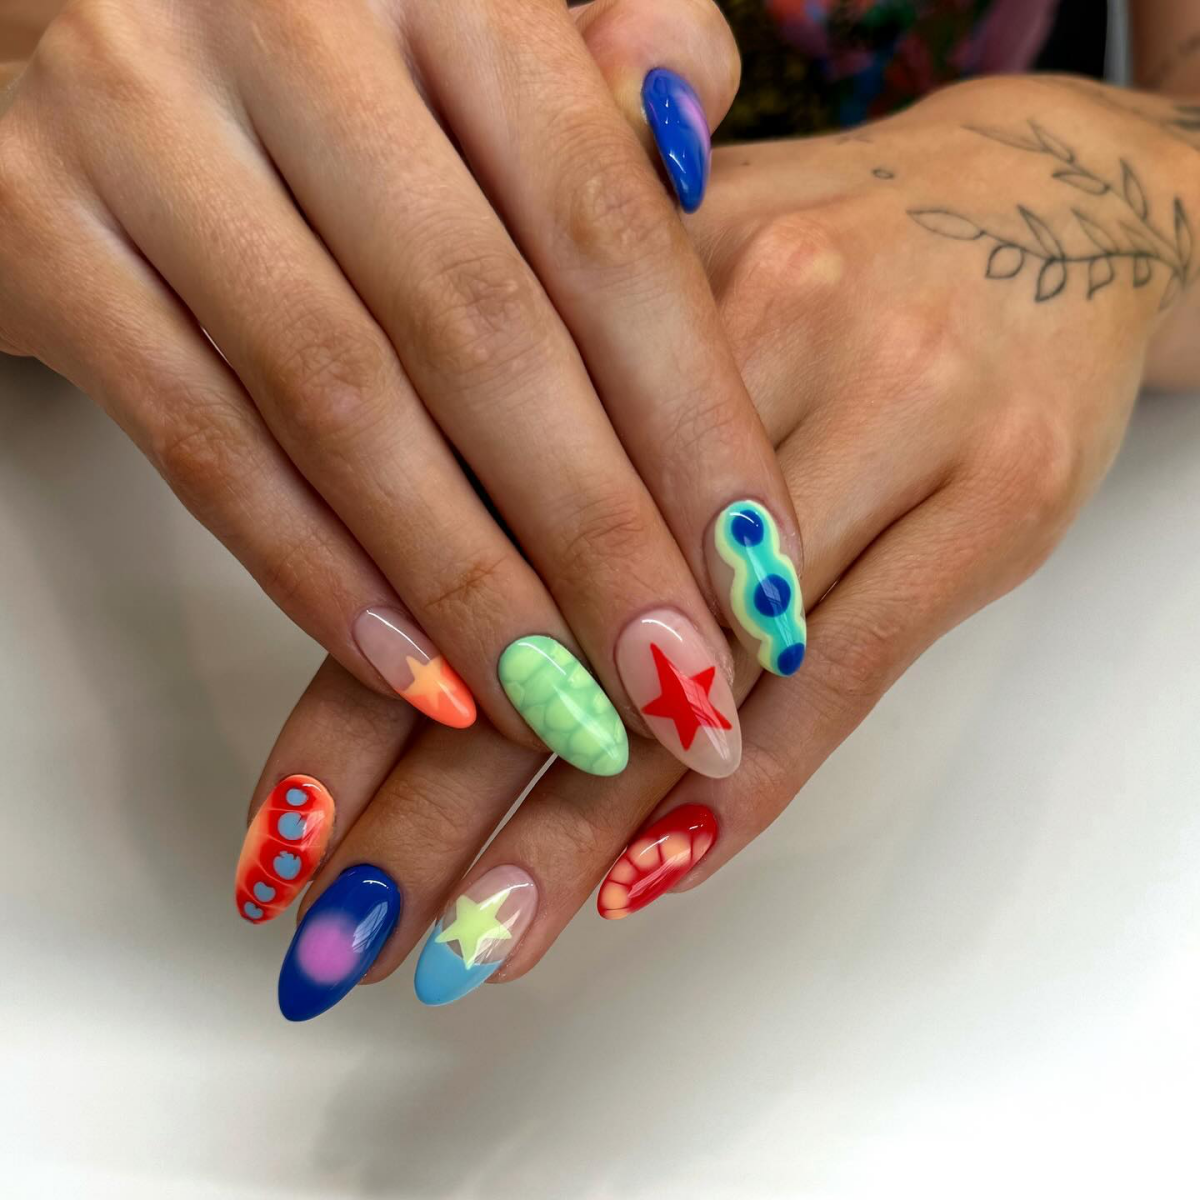
Choosing Vacation Colors (Like a Pro)
Okay, now for the fun part: color! But a pro thinks about color in terms of its properties, not just how pretty it is.
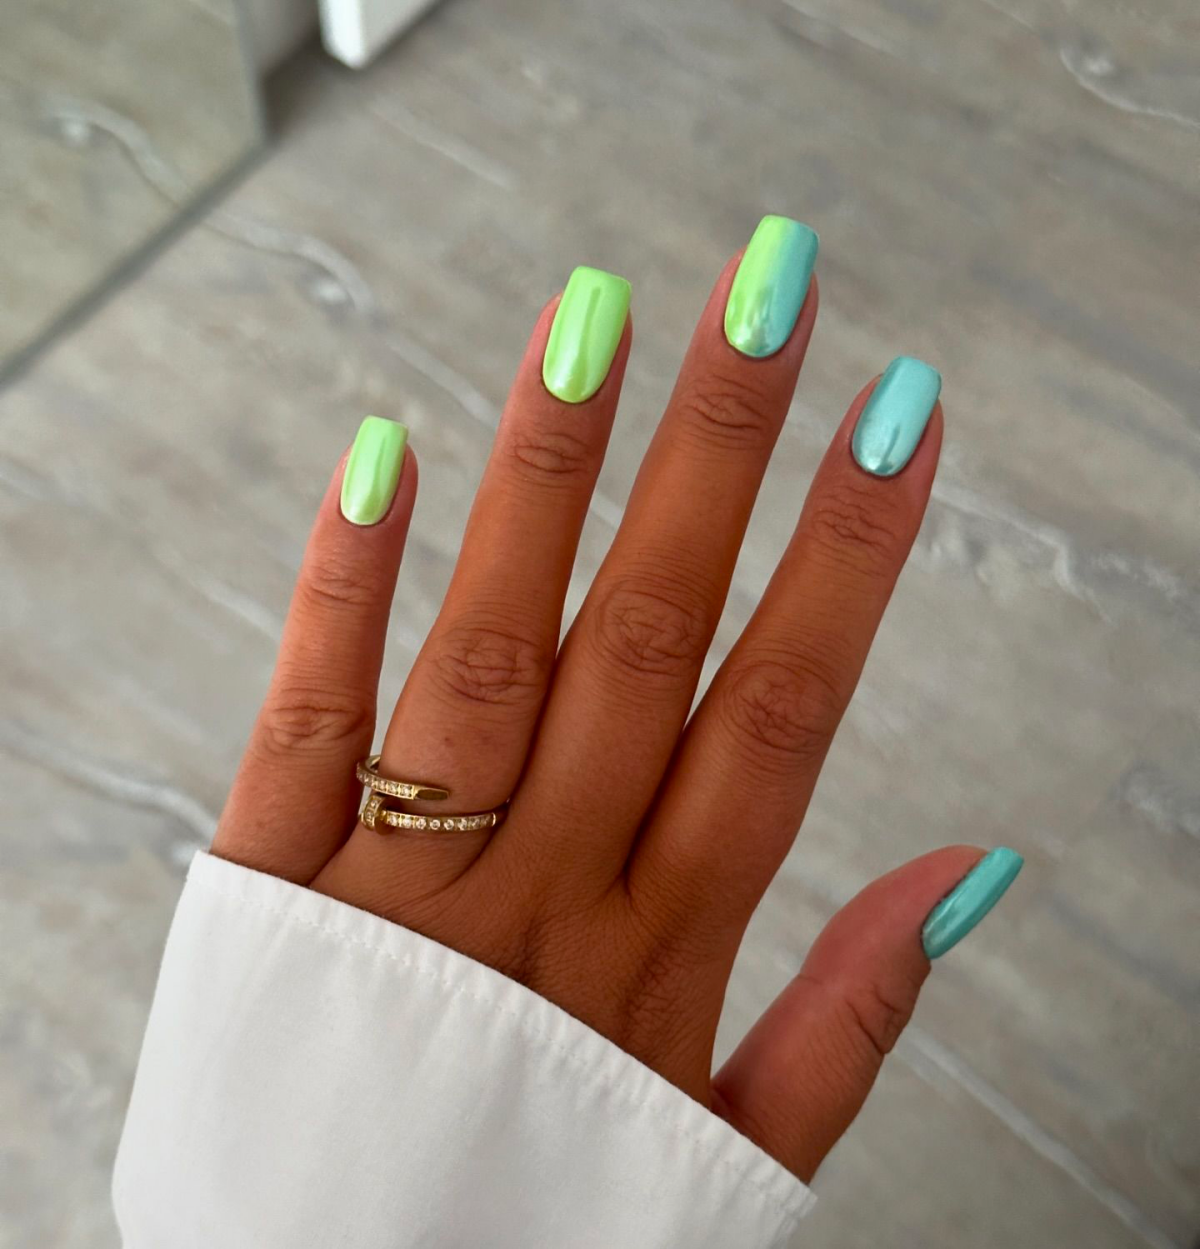
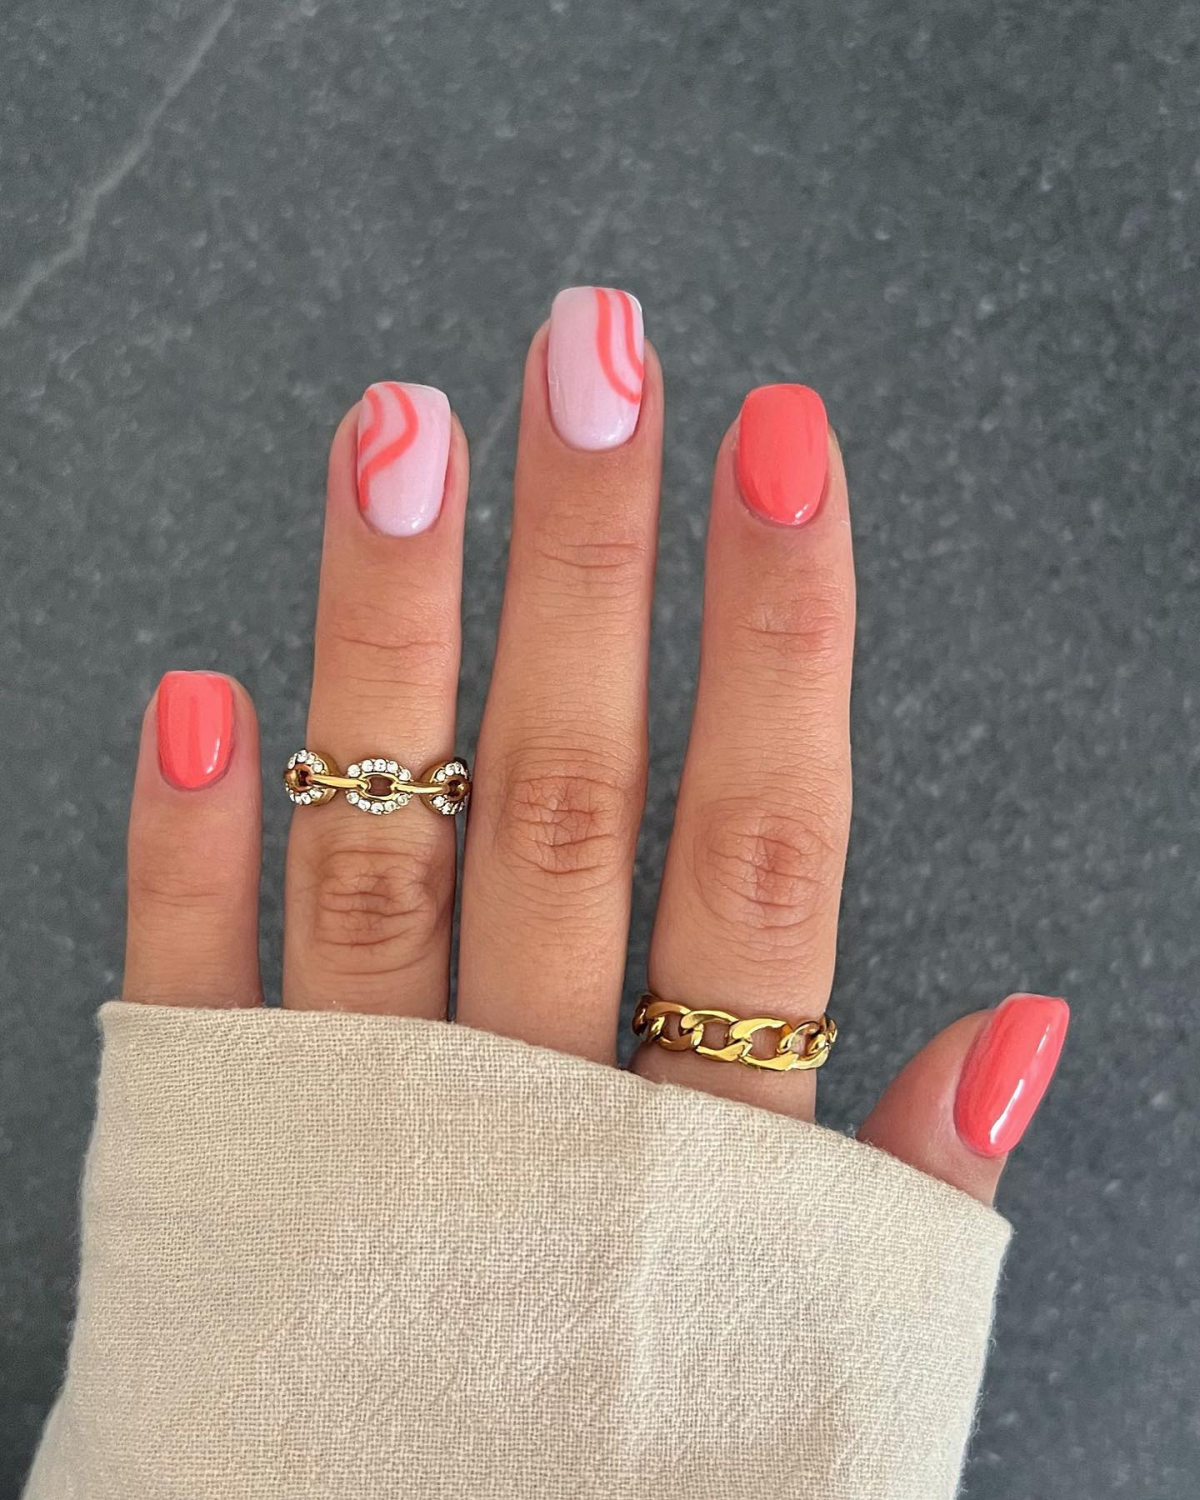
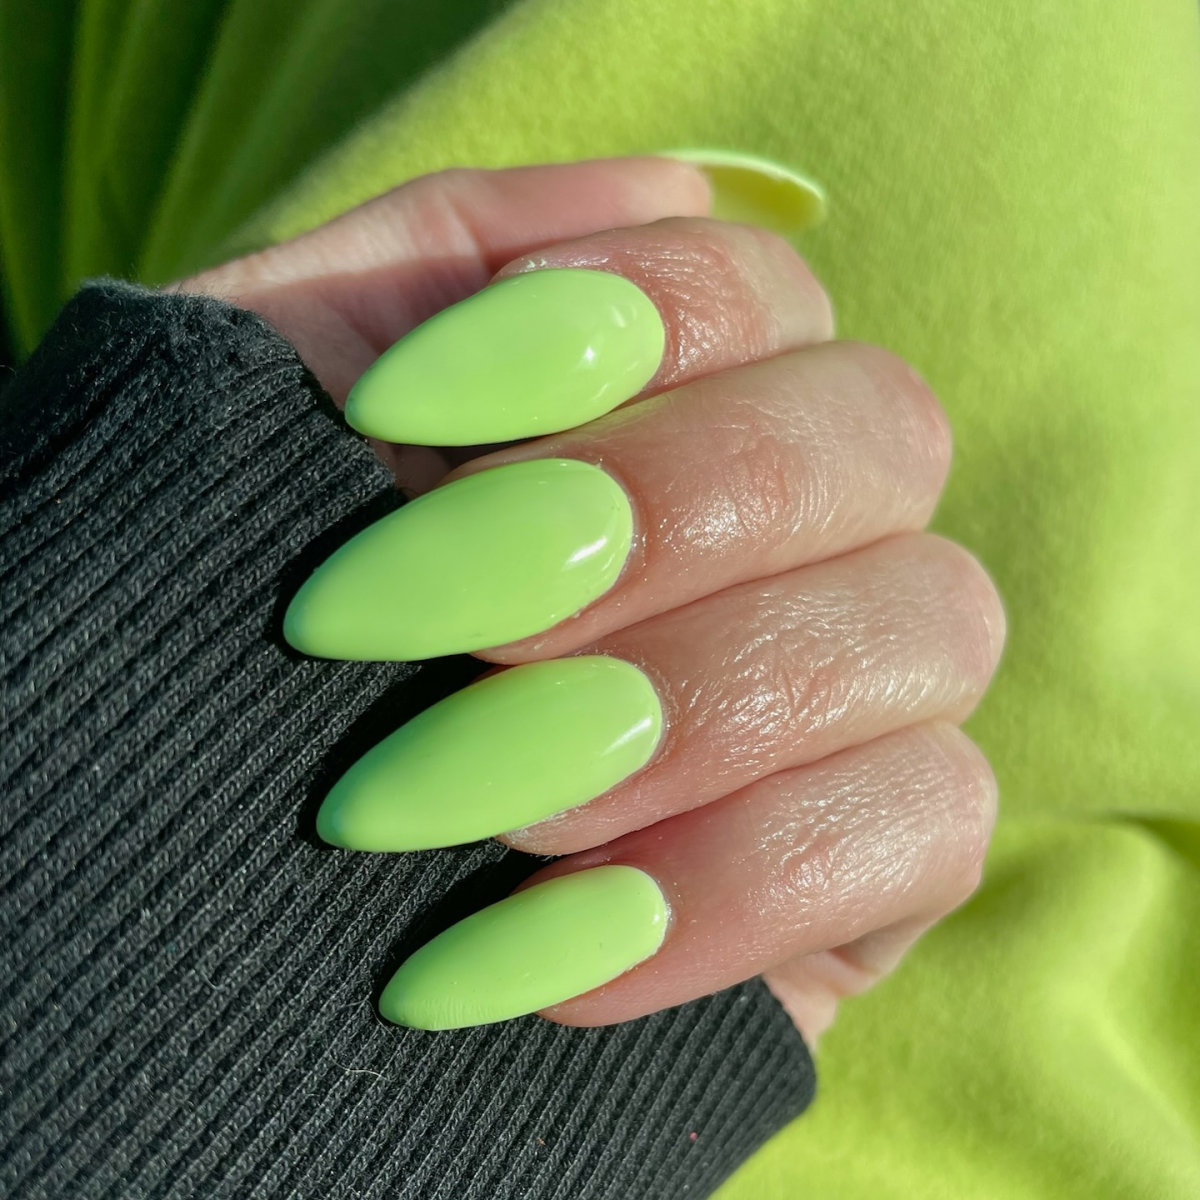
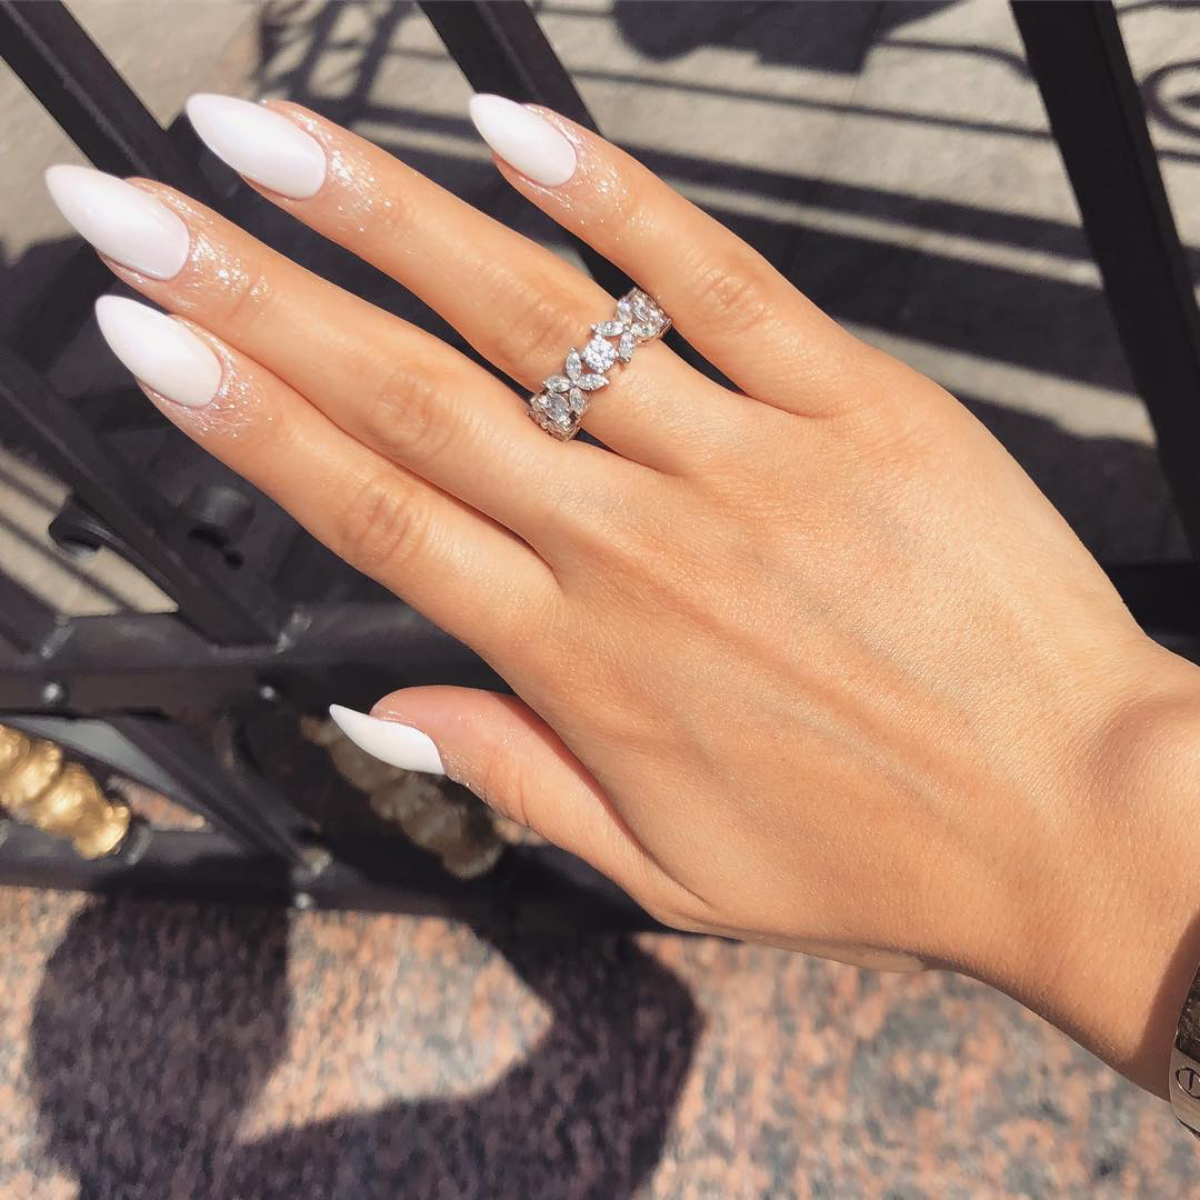
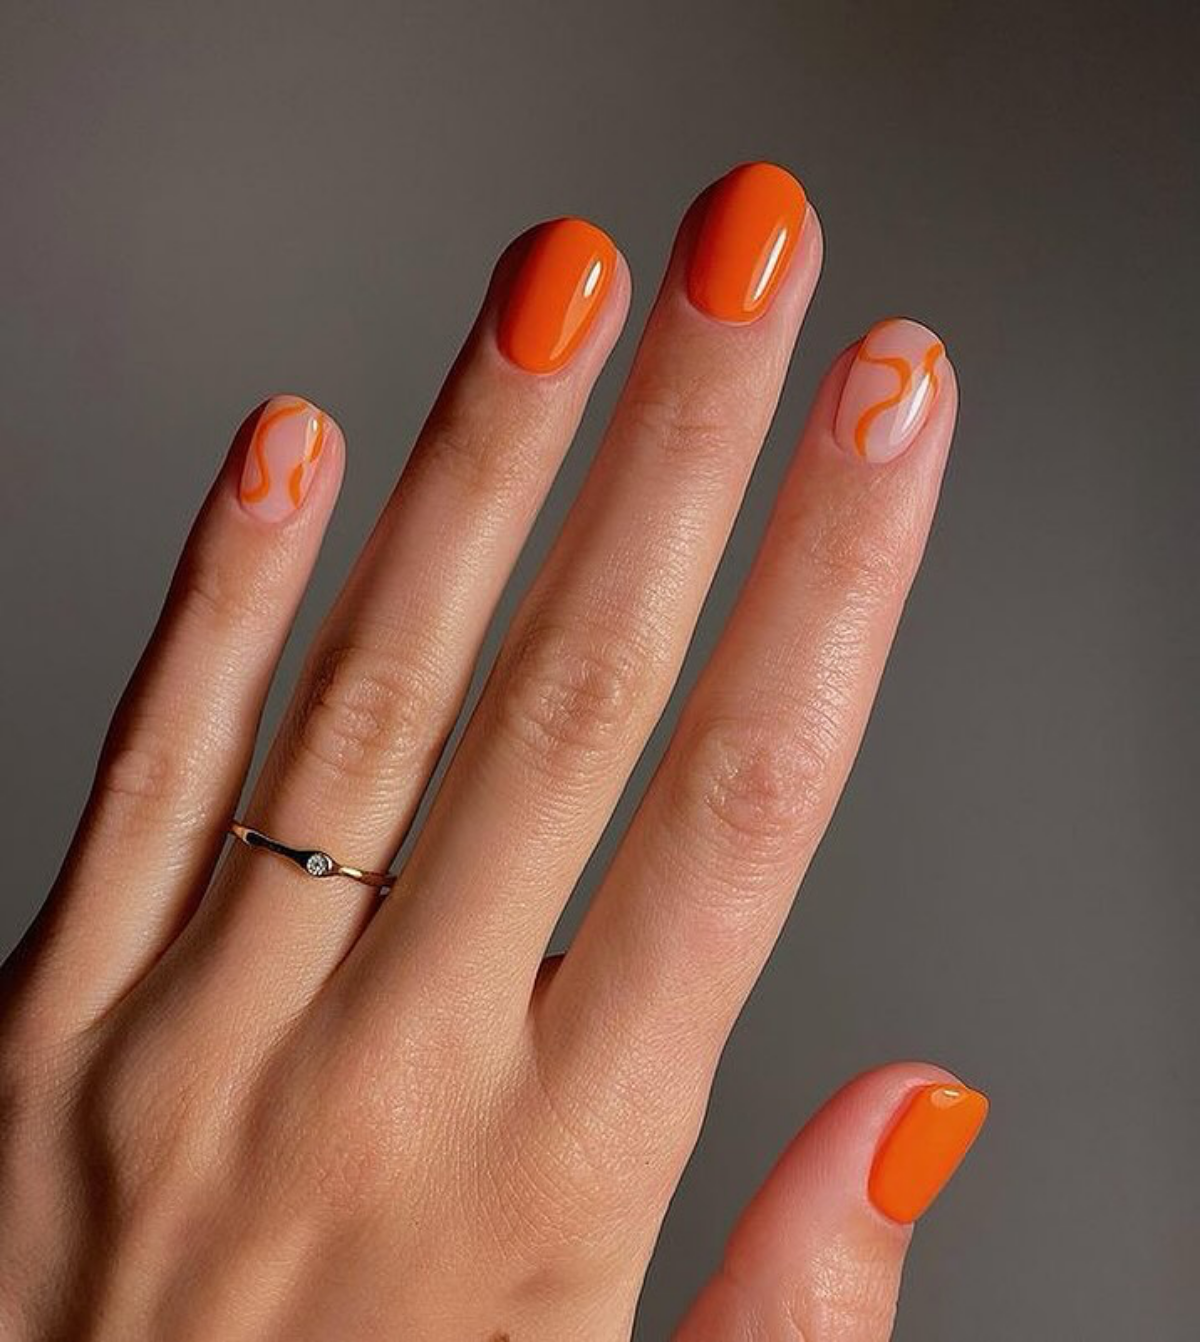
- Brights & Neons (Coral, Lime): The quintessential vacation shades! Just know that they are the most likely to fade in the sun. A quick tip: always apply neons over a solid white base coat to make them truly pop. Without it, they can look sheer and streaky.
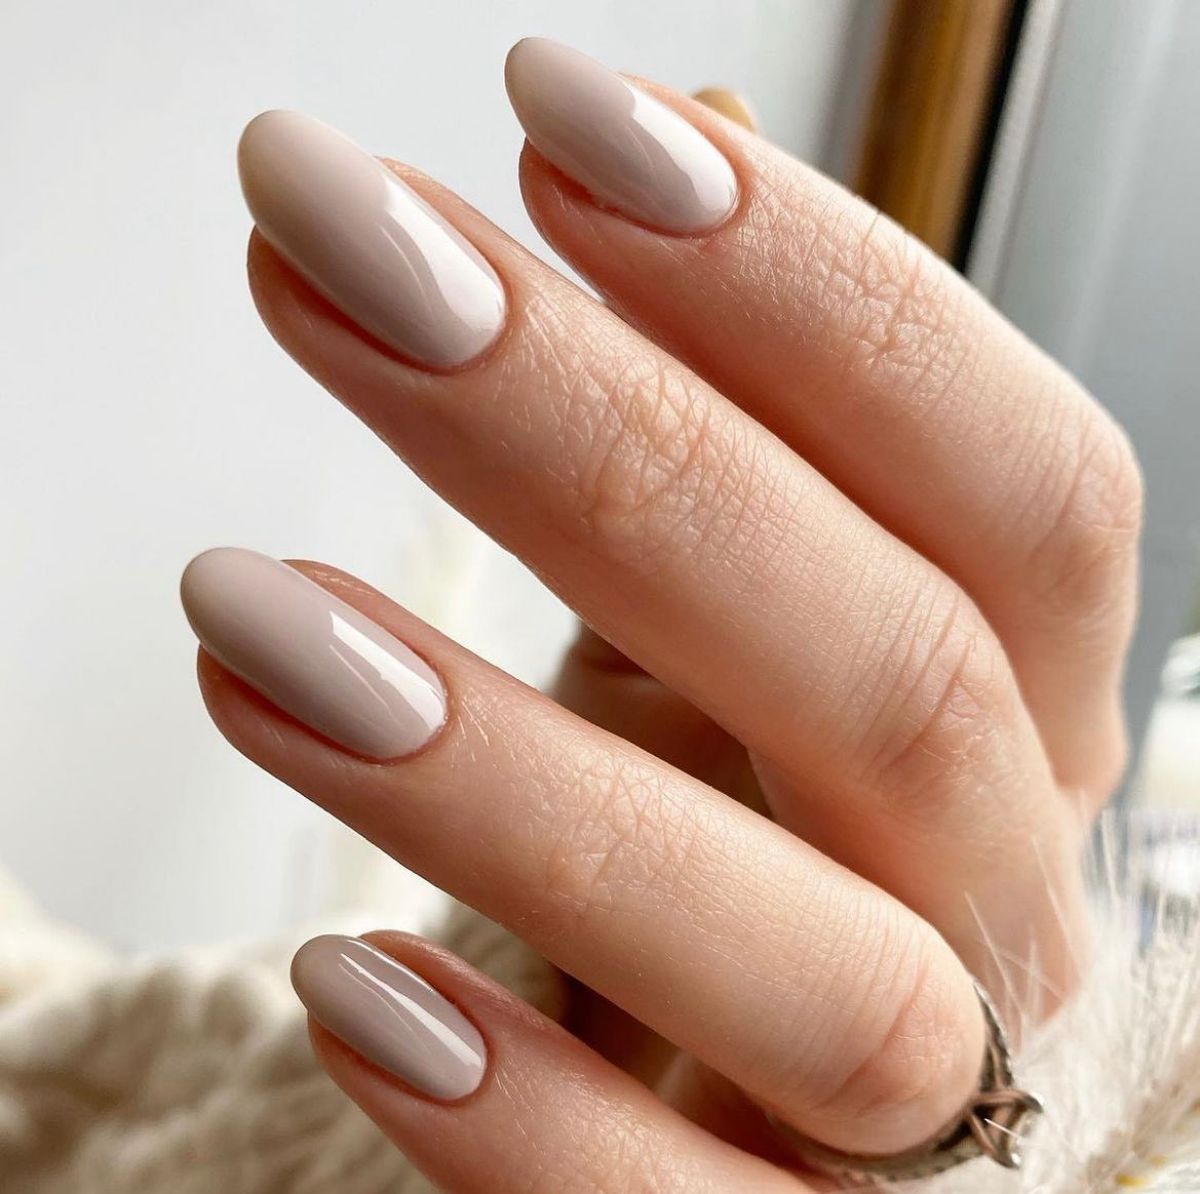
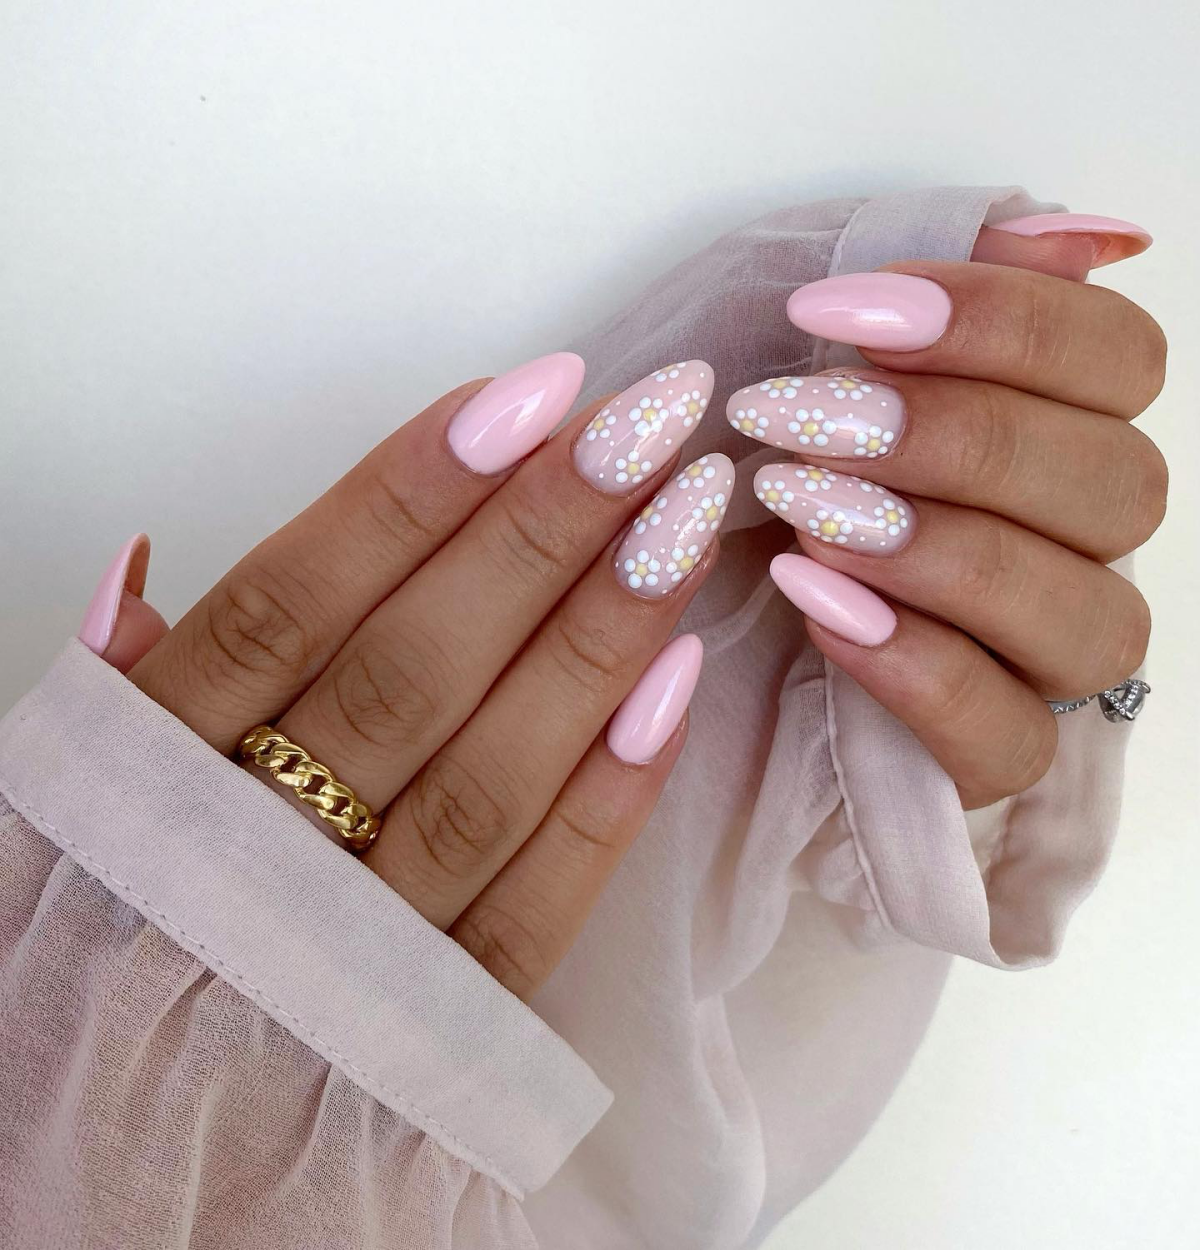
- Pastels & Whites: So chic, but notoriously tricky to apply. The key is patience and three very thin coats. Also, be aware of yellowing. Quick tip: Sunscreen is a notorious culprit. From what I’ve seen, chemical sunscreens containing avobenzone are the worst offenders. Mineral-based sunscreens (with zinc oxide or titanium dioxide) seem to be much kinder to your polish. A stain-resistant gel top coat is your best defense.
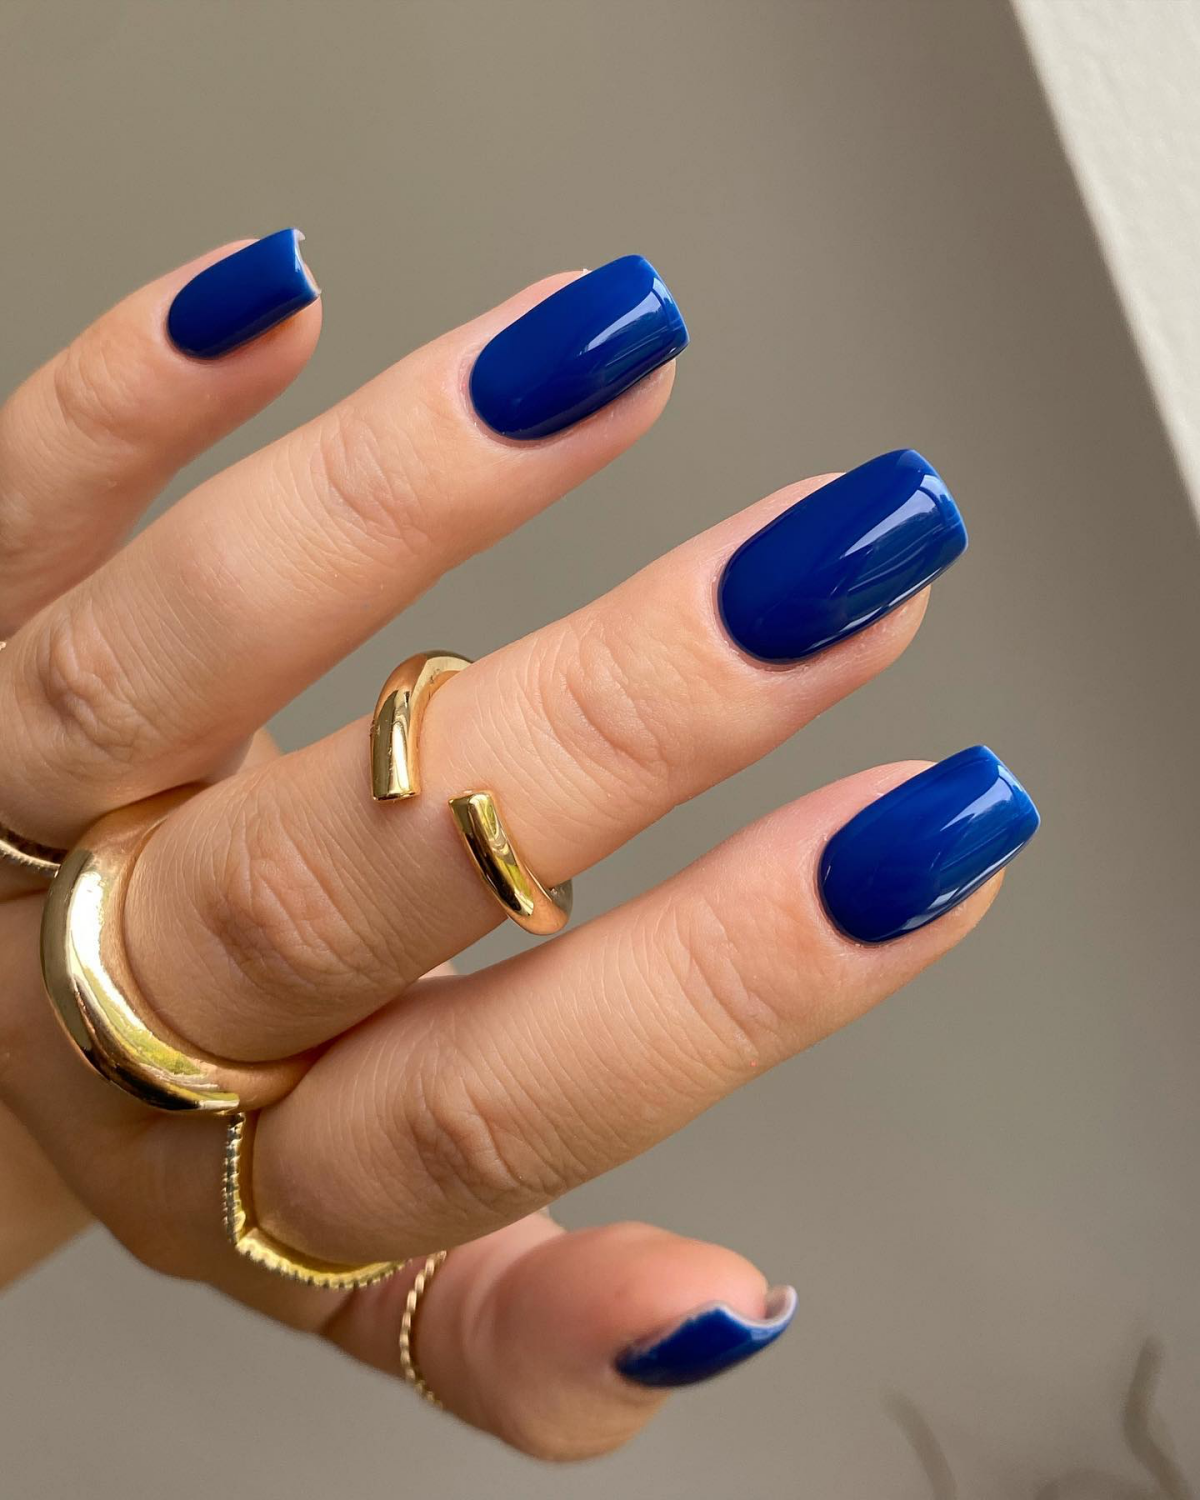
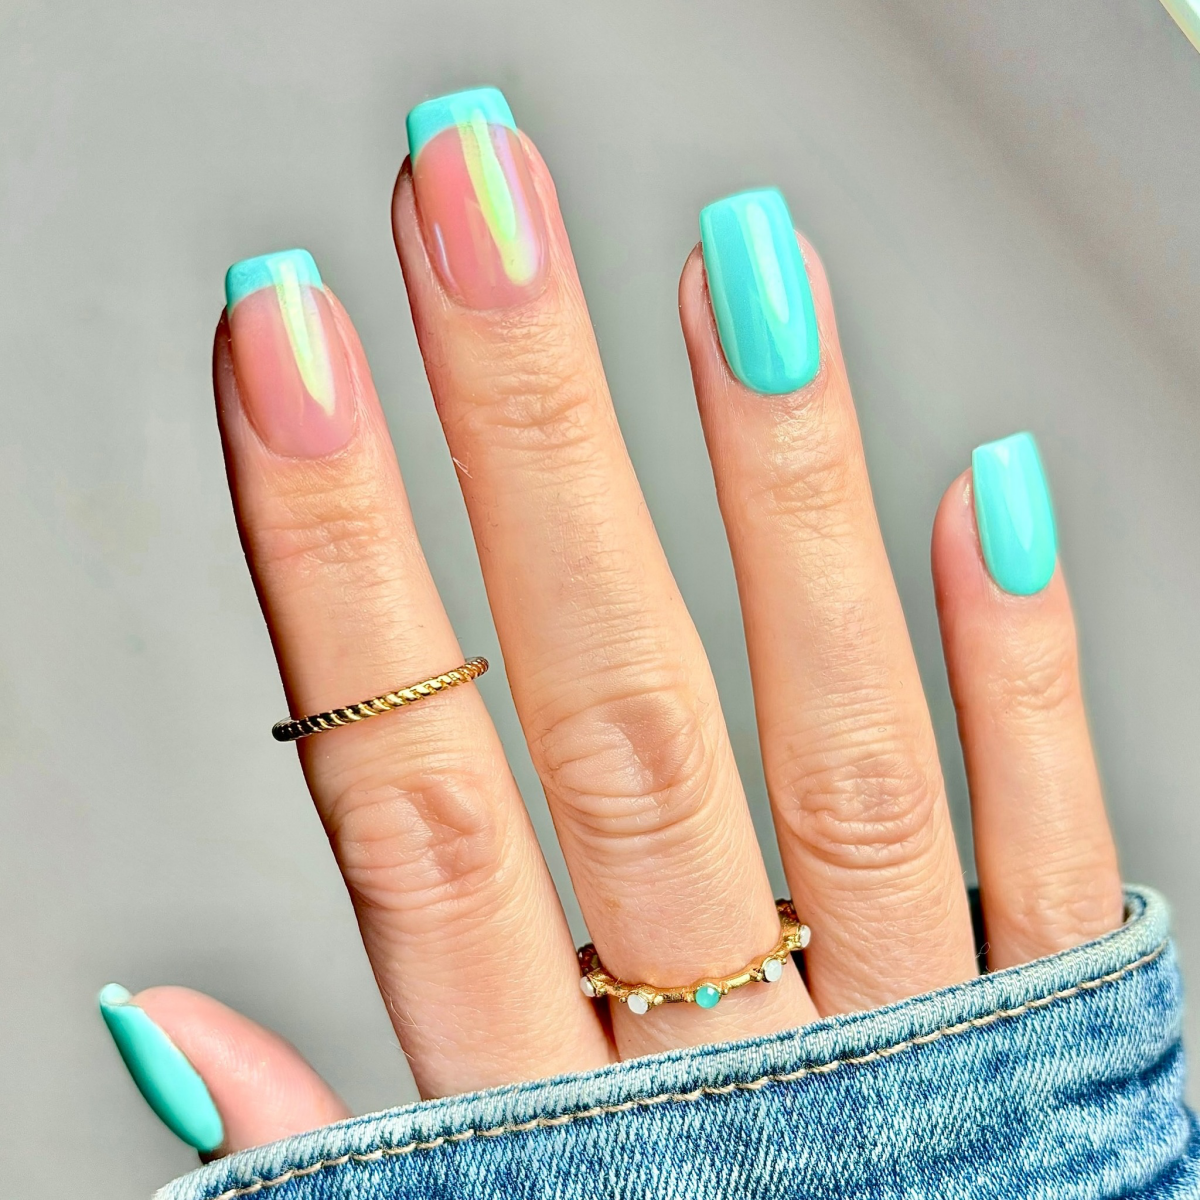
- Deep Blues & Turquoises: Stunning, but they come with a staining risk. The dark pigments can tint your natural nail. The fix? Never, ever skip the base coat. In fact, for really dark shades, I always use two coats of base coat just to be safe.
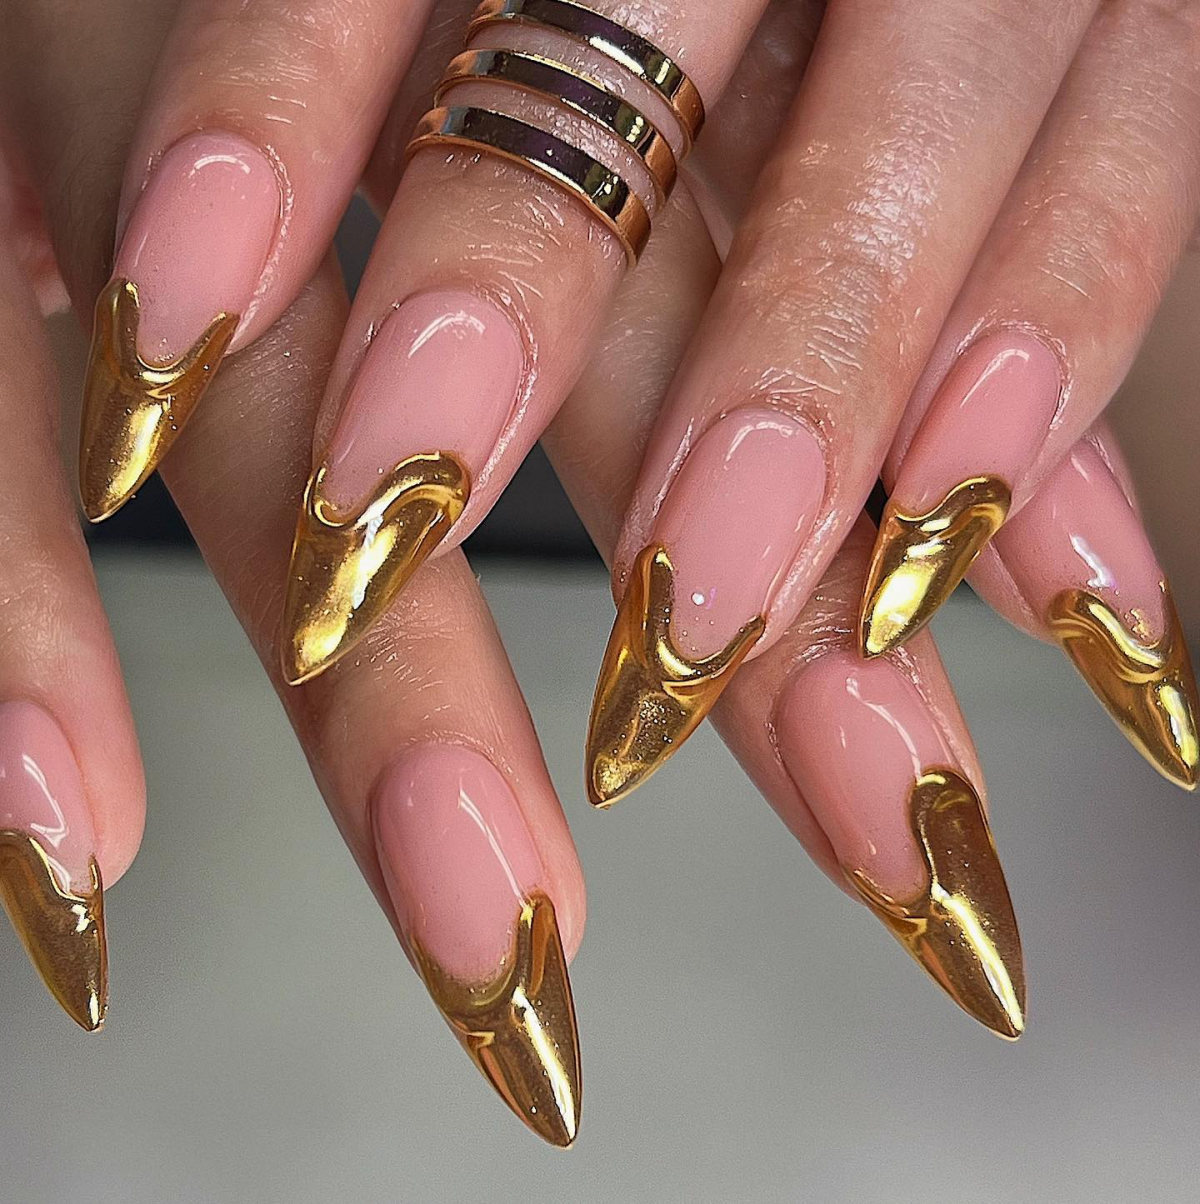
- Metallics & Jellies: Metallics are gorgeous but will highlight every single ridge on your nail, so a ridge-filling base coat is a must. Jellies, with their sheer, candy-like finish, are the opposite—they’re super forgiving and a great choice for a quick DIY manicure because small chips are less noticeable.
Planning for Your Specific Trip
Not all vacations are created equal. If you’re going to be hiking and swimming, your nails need more reinforcement than if you’re just reading by the pool.
For highly active vacations, I almost always steer clients toward a gel manicure and a shorter, more practical nail shape (think rounded or squoval, not sharp square corners). For extra peace of mind, you can even use a “builder” or “structure” gel as a base. Think of it as a flexible, rubbery shield for your nail that absorbs impact. It adds a bit of strength without a ton of bulk. If you’re trying this at home, products like Orly’s Builder in a Bottle are pretty user-friendly and can be a total game-changer.
The Aftermath: Post-Vacation Care and Quick Fixes
So you followed all the rules, but a corner still chipped while you were wrestling with your luggage. Don’t panic!
Lesser-known trick: You can do a quick patch job. Gently file the chipped edge so it’s smooth—don’t go crazy, just take the jaggedness off. Then, dab a bit of your top coat over the filed area to seal it. This little fix will prevent further peeling and get you through the rest of your trip.
When you get home, the most important thing is proper removal. To be frank, do not pick, peel, or pry off your gel manicure. When you peel off gel, you’re ripping off layers of your natural nail with it, causing damage that takes months to grow out. The right way is to gently file off the shiny top coat, then soak a cotton ball in 100% pure acetone, place it on the nail, and wrap it in foil for 10-15 minutes. The gel should then flake off easily with an orange wood stick. If it doesn’t, soak for five more minutes. Never force it.
After removal, your nails will be thirsty. Wash your hands and then go to town with a good cuticle oil. It’s the best way to restore moisture and flexibility to your nails and skin.
While this guide gives you the pro playbook, a service with a qualified technician offers expertise and access to professional-grade products that are hard to beat. But with the right knowledge and a little bit of care, you can absolutely give yourself a beautiful, worry-free vacation manicure. Now all you have to focus on is the sun and the sand.
Galerie d’inspiration
What’s the number one enemy of a pristine vacation manicure?
It’s not the pool or the sand—it’s your sunscreen! Many chemical sunscreens contain ingredients like Avobenzone, which can react with gel top coats, causing them to turn yellow or break down. To avoid this, try to apply sunscreen with the palms of your hands, or switch to a mineral-based formula (with zinc oxide) for your hands and fingers.
Did you know? Your natural nail plate is composed of about 18% water. When it gets dehydrated from sun and saltwater, it becomes brittle and prone to chipping and peeling.
This is why cuticle oil is non-negotiable on vacation. It’s not just for your skin; it’s for the nail itself. A daily dab of a quality jojoba-based oil, like the classic CND SolarOil, penetrates the nail plate and the surrounding skin, restoring flexibility. A flexible nail can bend slightly under pressure instead of snapping or chipping. Think of it as a deep conditioner that keeps your manicure pliable and resilient.

The Bold, Opaque Color: A vibrant, solid cream polish like a hot coral or deep turquoise looks incredible against sun-kissed skin. The downside? Even the tiniest chip at the tip is immediately obvious against the solid background, drawing attention to the imperfection.
The Forgiving Shimmer: A sheer ‘jelly’ polish, a glittery topcoat, or a pearlescent neutral is far more strategic. The multi-dimensional finish masterfully conceals minor wear and tear, and small chips simply blend into the overall sparkle. It’s the perfect choice for a low-maintenance, high-impact look that lasts.
Even the toughest manicure can face challenges. Pack a tiny


